
1. Rose Cluster with Tight Petal Waves
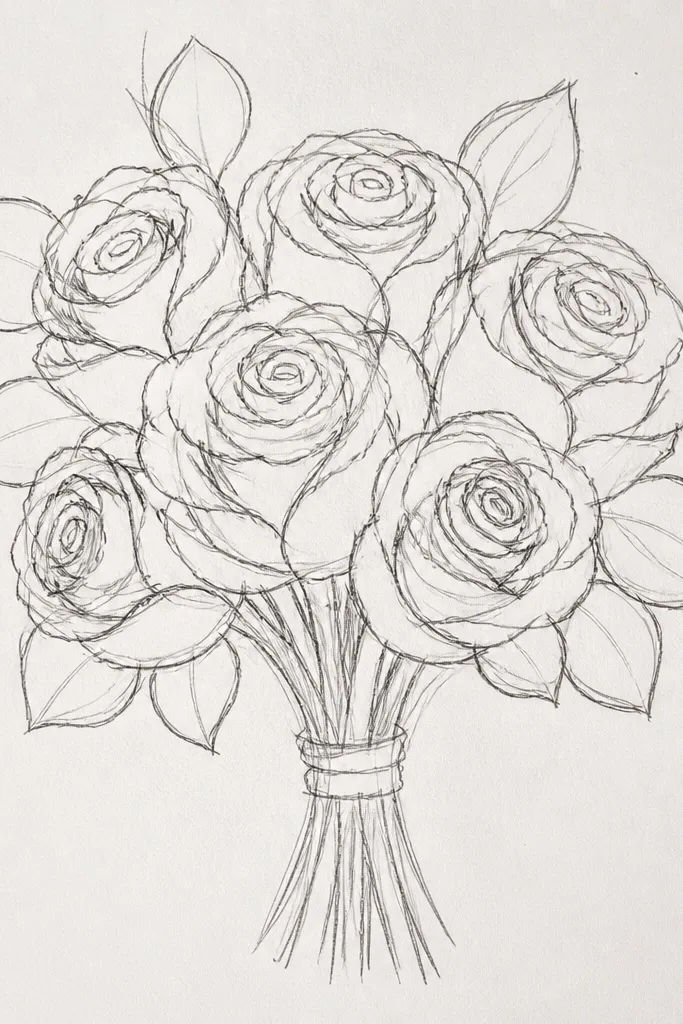
This idea gives you a bouquet that looks crisp because the rose petals are drawn as repeated waves. You’re not trying to draw every petal perfectly; you’re building a pattern that reads as rose structure at a glance. The outer contour stays bold, then the inner petal lines are shorter so the whole cluster doesn’t turn into a black blob. It works great for holiday gift tags and wrapping labels because the silhouette stays strong even when printed small. Skill level is beginner-friendly if you keep your strokes confident and consistent.
Start by drawing a rounded cluster shape — think a loose circle or oval where the rose will sit. Then outline the outer rose petals with 6 to 9 curved “C” shapes around the edge, making the tips point slightly upward. Add inner petal lines with shorter arcs that stop before the outer edge, using a thinner tip so the layers show without heavy clutter. Finish with 2 to 3 stems that curve behind the cluster.
Draw the outer contour first, then fill the inside only after the silhouette looks right.
Don’t add full-length inner lines that reach the outer contour — that’s what makes roses look muddy.
2. Daisy Ring Bouquet Outline
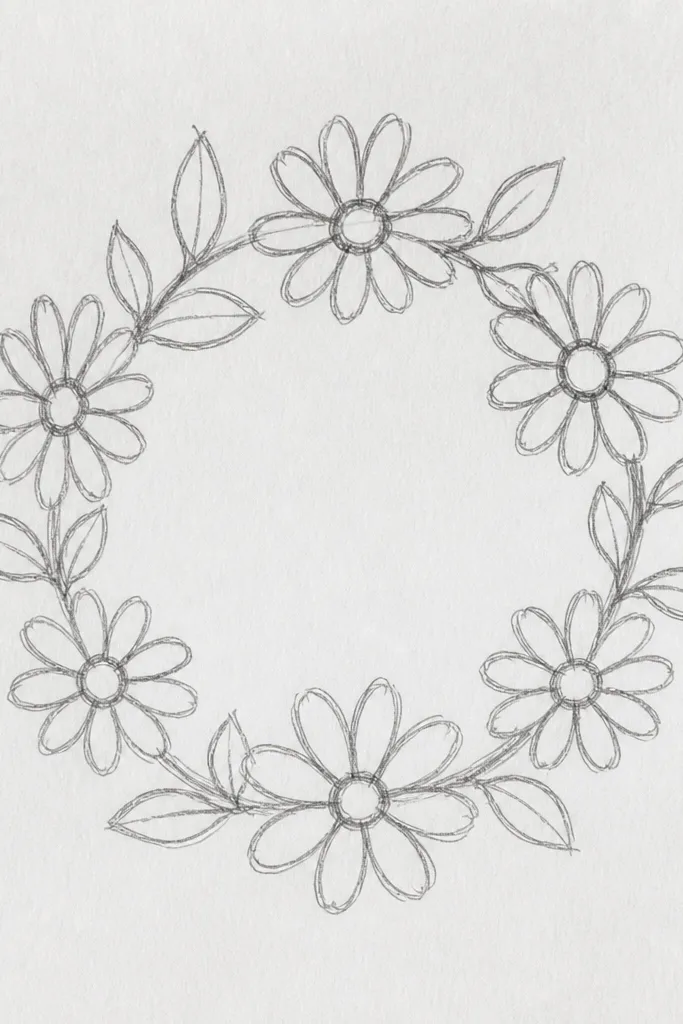
Sketch a circle lightly as your guide, then place 10 to 14 daisy heads around it. Draw each daisy with 8 short petals and a tiny center dot, keeping the petal curves the same length. Connect the daisies with thin stem lines that tuck behind the circle edge so the ring feels full. Finally, add a small ribbon bow or simple leaf accents at the bottom gap to anchor the composition.
A daisy ring is one of the cleanest ways to get a “designed” bouquet because the circle forces spacing. The petals are simple and uniform, so your line work stays tidy even if you’re not a confident artist yet. Keep the daisies at slightly different sizes to create depth, but don’t randomize the angles — rotate them in a consistent direction. This looks especially good for seasonal florals on cards because the ring shape frames text or a blank center. Expect about 45-60 minutes for a first clean version.
Common mistakeDon’t draw every petal the same size with zero variation or the ring looks like a sticker sheet.
Good to knowIf your daisies drift, draw the circle first darker than you think you need — it keeps everything aligned.
3. Tulip Fan Bouquet with Side Tilt
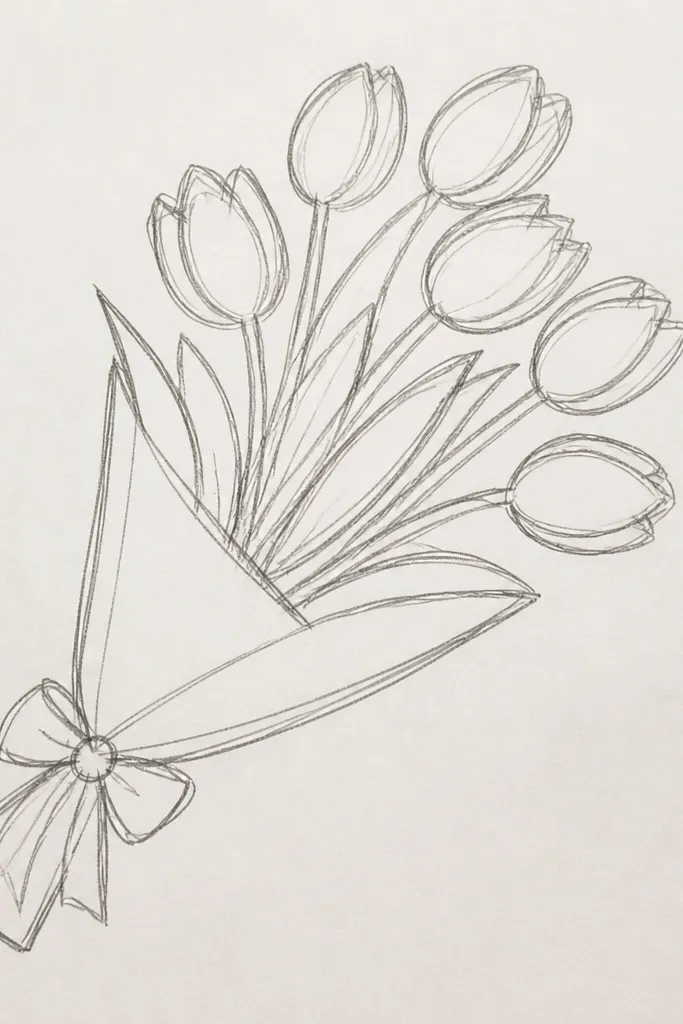
Start with a curved stem line that arcs from bottom left to top right, then sketch 7 to 9 tulip heads along it. Each tulip head should be a tall oval with a split down the middle where the petals fold, so draw one outer teardrop and a second inner teardrop inside it. Add a few leaves as long, narrow shapes that follow the same tilt direction. Finish by thickening the outer edge of each tulip head and thinning the internal fold line.
Tulips look beautiful in line drawings because their shapes are built from clear teardrops and a few strong folds. A side-tilt bouquet is also more interesting than a straight-up bunch — the heads lean the same way, so the whole drawing feels cohesive. Use a thicker contour around each tulip head so the negative space between them reads clean. This idea is great for spring holiday themes and also works for minimalist line art that still feels “bouquet.”
Common mistakeDon’t add extra leaf clusters all over — it crowds the tulip silhouettes.
Good to knowKeep the split line consistent — if half your tulips split wider, the bouquet stops looking designed.
4. Peony Bloom with Layered Petal Steps
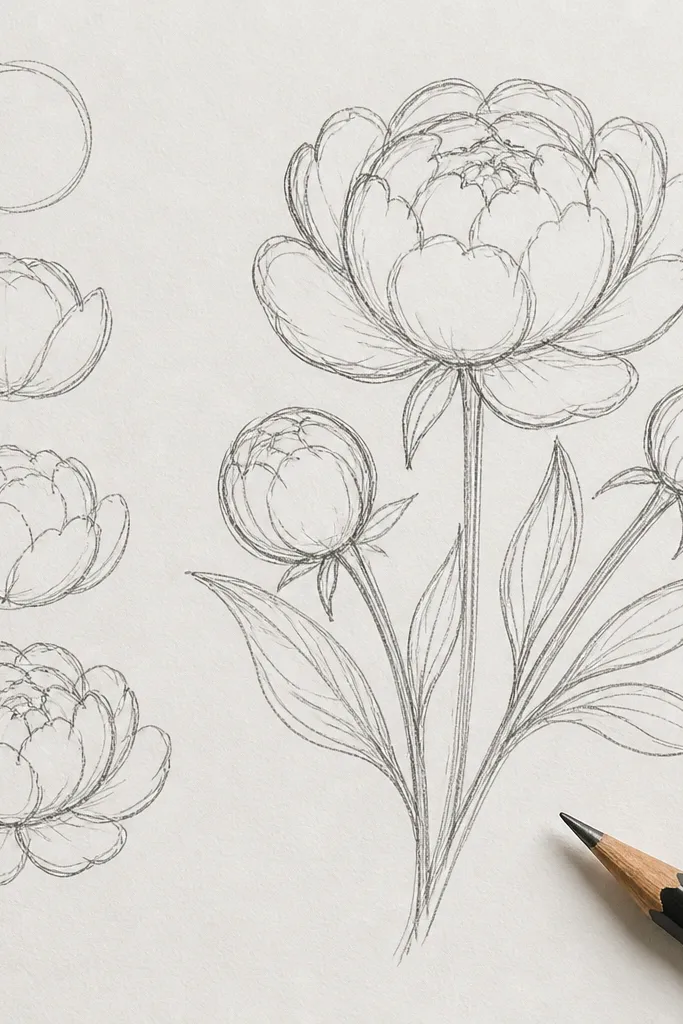
Draw a big circle or oval for the peony base, then sketch the first outer petal as a thick arc that wraps around the edge. Add 4 to 6 inner petal arcs that step inward, each one slightly shorter than the previous. Place 3 tiny stamens near the center — short lines with small tips. Add 2 side stems behind the bloom to make it feel like a bouquet, not a single flower.
Peonies are a cheat code for luxury-looking outlines because their petal layers can be drawn as steps. The trick is to keep each layer as a clean arc, not a nest of scribbles. When you draw the outer contour bold and then add 4 to 6 petal arcs inside, the bloom reads instantly even on small prints. This is perfect for holiday centerpieces on cards — it looks like a focal flower, not a filler sketch. Plan for about 50-70 minutes depending on how many layers you add.
Common mistakeDon’t draw petal arcs that overlap randomly — layered steps should nest inward.
Good to knowUse a stencil-like approach: draw one petal arc, then repeat it with the same spacing to speed up without losing consistency.
5. Lavender Sprig Bouquet Frame
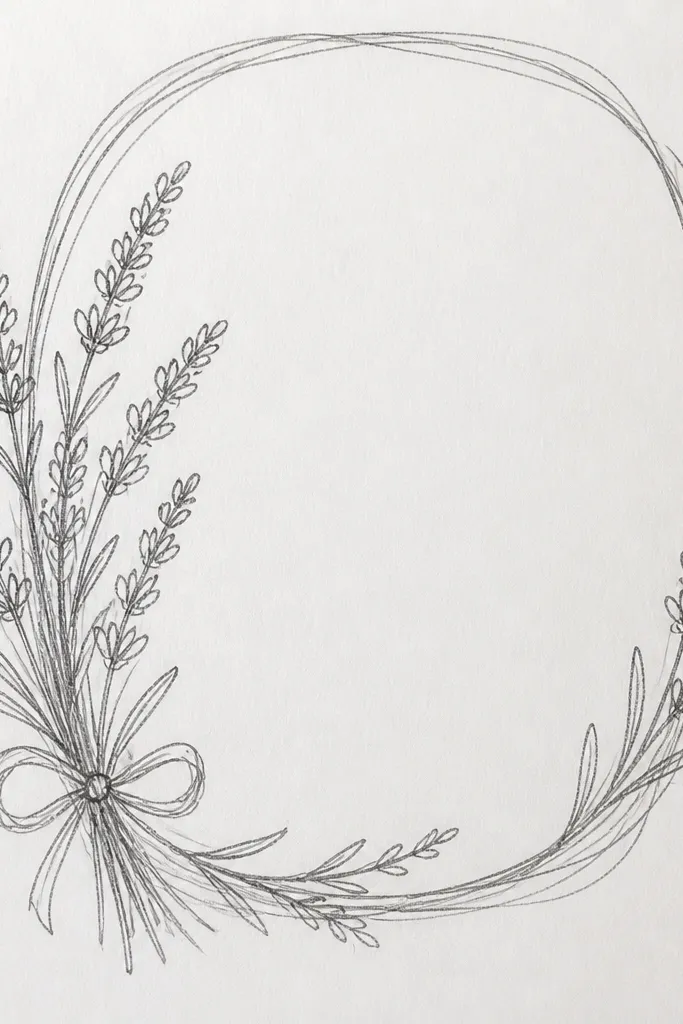
Lavender sprigs are airy but still look structured in line drawings. The buds are small circles or short ovals placed along a stem, which makes the outline look clean instead of messy. Use a curved frame composition: sprigs arc around a central blank area so your bouquet feels like holiday decor, not scattered flowers. This works beautifully for printable wall art because the center can stay text-free or hold a holiday message. It’s also a great beginner project because the shapes are repetitive and forgiving.
Draw a light oval frame guideline, then create 5 to 7 stems that follow the curve. On each stem, add small bud marks — use tiny ovals spaced evenly, leaving small gaps so the lines don’t clump. Add a few longer leaves as simple almond shapes attached near the stem curve. Thicken the outermost frame sprigs slightly, keeping inner bud lines thin.
Space the buds so each bud has breathing room; if they touch, the line drawing starts to look like noise.
Don’t fill the entire oval frame edge-to-edge with buds — leave negative space for that airy look.
6. Cherry Blossom Mini Bouquet
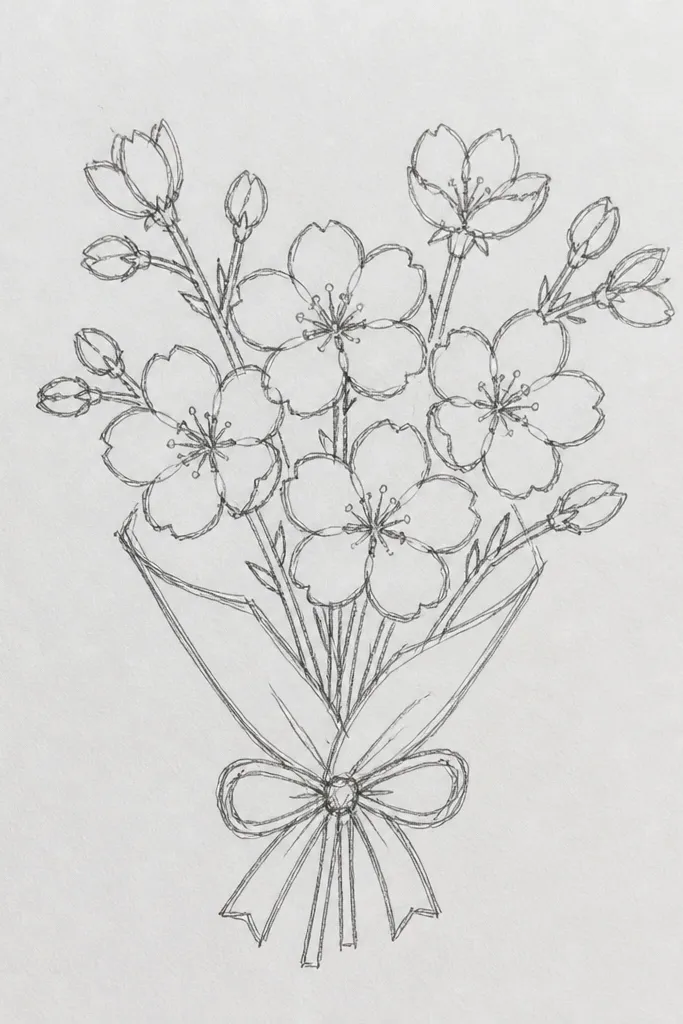
Sketch a few thin branching stems from a single base point, aiming them upward in a fan. For each blossom, draw a five-petal clover shape with rounded tips, then add a small center dot. Place blossoms at the ends of branches and some mid-branch for a natural cluster. Finish by adding 1 to 2 small leaf shapes and thickening only the outermost petal outlines.
Cherry blossoms look delicate but still readable when you keep each flower simple: five petals and a tiny center dot. A mini bouquet cluster makes the lines feel intentional and cute, especially for seasonal cards and small stickers. The line beauty comes from the branching stems — draw them thin, then let the petals do the visual work. Keep the blossoms at 2 sizes and vary placement slightly so the cluster has depth. Total time is usually 35-55 minutes.
Common mistakeDon’t draw every blossom perfectly identical — keep petal spacing slightly uneven for realism.
Good to knowIf your centers look messy, keep them as dots only — no extra lines in the middle.
7. Sunflower Bouquet with Layered Petal Rows
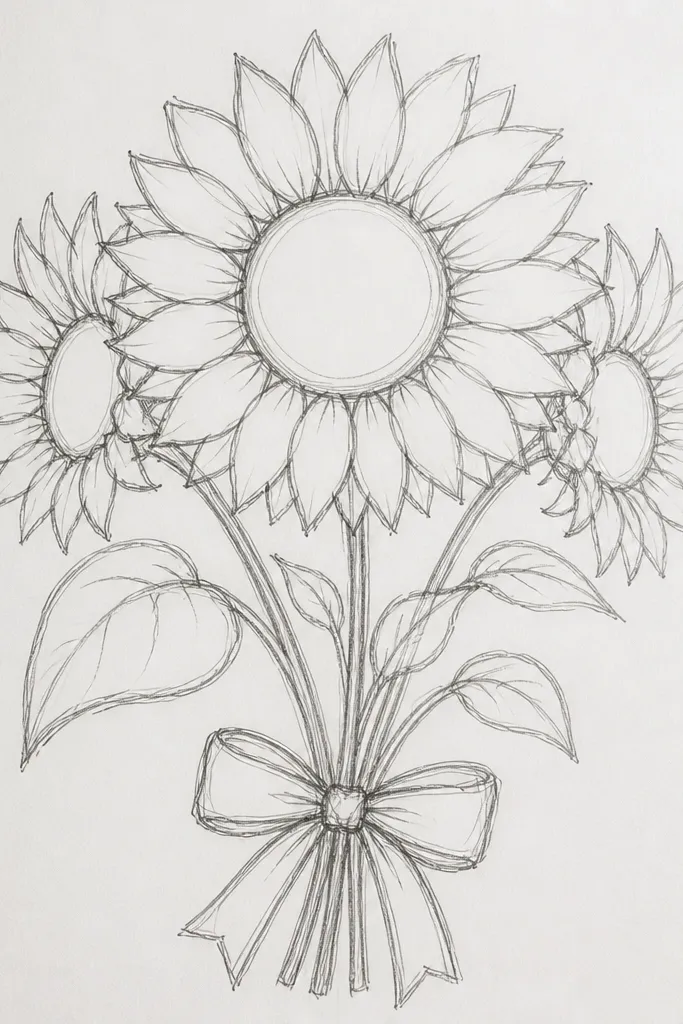
Draw one large circle for the main seed head, then outline 20 to 24 outer petals as teardrops around it. Add 2 smaller circles behind — each with 12 to 16 petals. For the seed center, draw concentric curved lines that wrap around the circle and stop before the outer circle edge. Connect stems with a few leaf shapes, then thicken the outer petals and seed circle line.
Sunflowers look bold in line drawings because you can draw them as rings: a big outer petal row and a textured seed center. The seed head is where most line work happens, but you can keep it elegant by using short curved strokes rather than tiny dots everywhere. A bouquet version works best with one large sunflower and 2 smaller ones behind it, so the silhouette stays clear. This is a strong pick for fall and harvest-themed holiday stationery. Expect 60-80 minutes for a clean seed texture.
Common mistakeDon’t use tiny dots for the entire seed head — it turns into a dark grainy patch.
Good to knowKeep the seed texture strokes curved in the same direction so the center looks intentional, not scribbly.
8. Hydrangea Cluster with Dot-and-Curve Texture
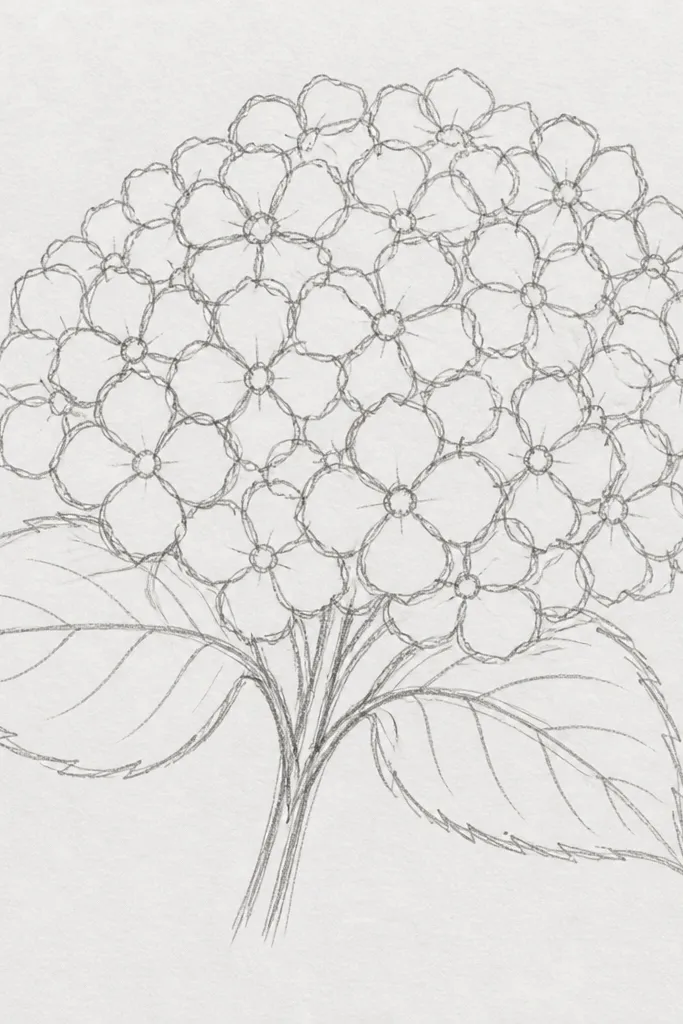
Hydrangea outlines look full without being chaotic if you use a “cluster of clusters” plan. Draw the bloom as a bunch of rounded shapes, then add texture with small dots and short curves. The outer contour should be bold, but inside you keep marks small so the texture reads as fluffy. This one is great for holiday decor because it looks like a soft puff of flowers — perfect for wrapping paper corners and card corners. Time is about 45-75 minutes.
Sketch an oval bouquet mass, then block in 6 to 10 small rounded “sub-blooms” inside it. Outline each sub-bloom with a smooth arc, then add tiny dots or short commas for texture. Add 2 or 3 thin stems behind and a couple leaf shapes peeking out. Finally, thicken the outer edge of the entire hydrangea mass and keep inner texture lines thin.
Use dots sparingly at first, then add just enough until the interior looks airy rather than empty.
Don’t outline every sub-bloom with heavy lines or the inside becomes too dark.
9. Carnation Ruffle Bouquet Outline
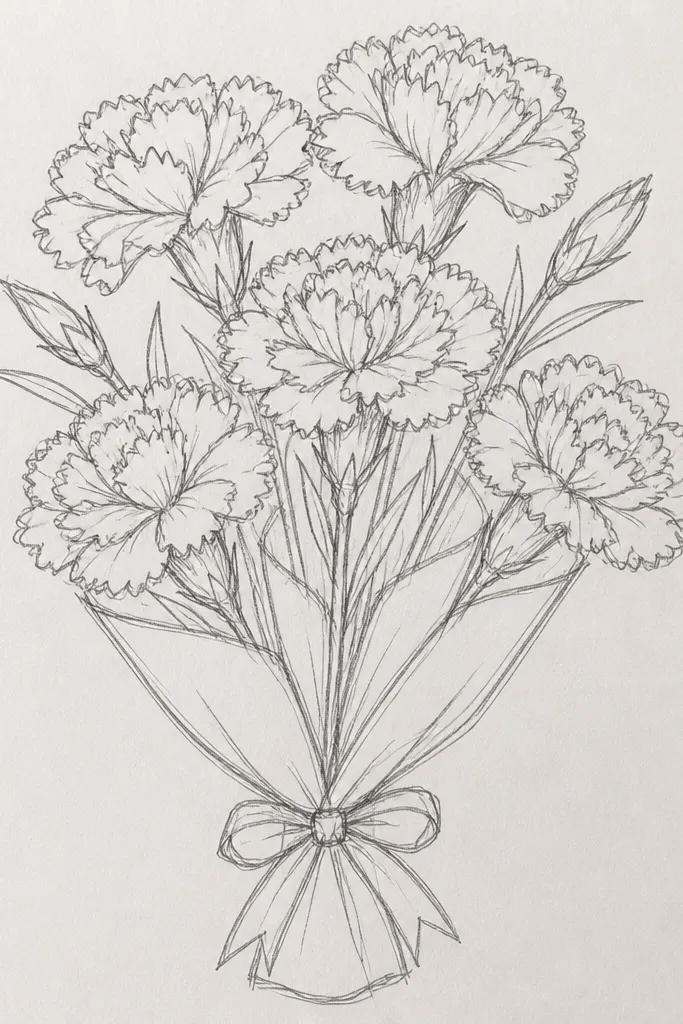
Start with a rounded carnation head shape — an oval with slightly pointed top. Draw 5 to 7 petal sections as curved lines inside the oval, leaving gaps between them. On each petal section edge, add ruffle scallops: small zig-zags along the border instead of full scribbles. Add 2 buds behind and 3 stems with a few leaves. Thicken the outer contour of the main flower first, then add ruffles with a thinner tip.
Carnations look like they took work because of ruffled petal edges, but you can get the look with simple zig-zag scallops. This idea is photogenic because the ruffles create a clear texture pattern that stands out in black-and-white. Draw one main carnation in front and smaller buds behind to keep it bouquet-like. The silhouette is clean if you keep the base shape simple and reserve ruffles for the petal edges only. Great for Mother’s Day cards and spring holiday tags.
Common mistakeDon’t turn ruffles into random waves across the whole flower.
Good to knowMake ruffles only on outer-facing edges; skip inner edges so the drawing stays readable.
10. Orchid with Curved Lip Center
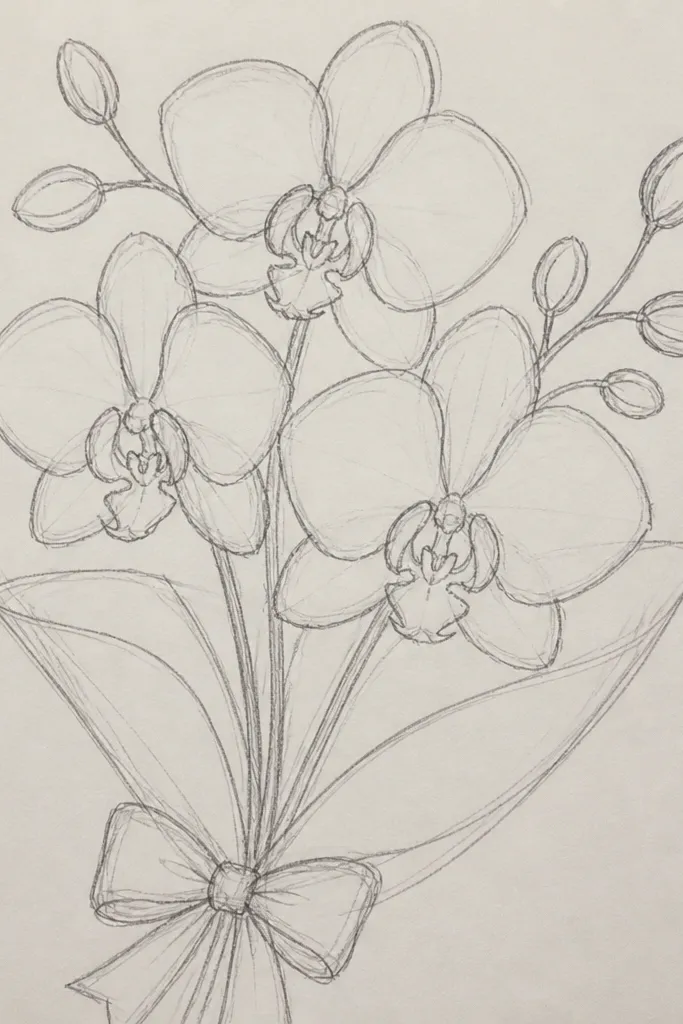
Draw a vertical stem line, then place 2 orchid heads along it at different heights. For each orchid, sketch three outer petals: two side petals as almond shapes and one top petal as a rounded teardrop. Then draw the curved lip center as a thicker arc shape with a small notch or fold line. Add a small bud below each orchid and finish with a few thin leaf lines near the stem.
Orchids look elegant in line drawings because they have a symmetrical structure and a signature center lip. A bouquet version works best as 2 orchids plus one bud, arranged at slight angles. Keep the petals clean and mirror the left and right sides so it looks polished. The visual payoff comes from the curved center lip — a smooth arc that anchors the flower. This is a great fit for modern holiday cards and minimalist wall prints.
Common mistakeDon’t add extra decorative lines inside the petals — orchids look best with restraint.
Good to knowMirror your petal shapes by drawing the left side first, then lightly guide the right side with the same curve spacing.
11. Baby's Breath Tiny Cloud Bouquet
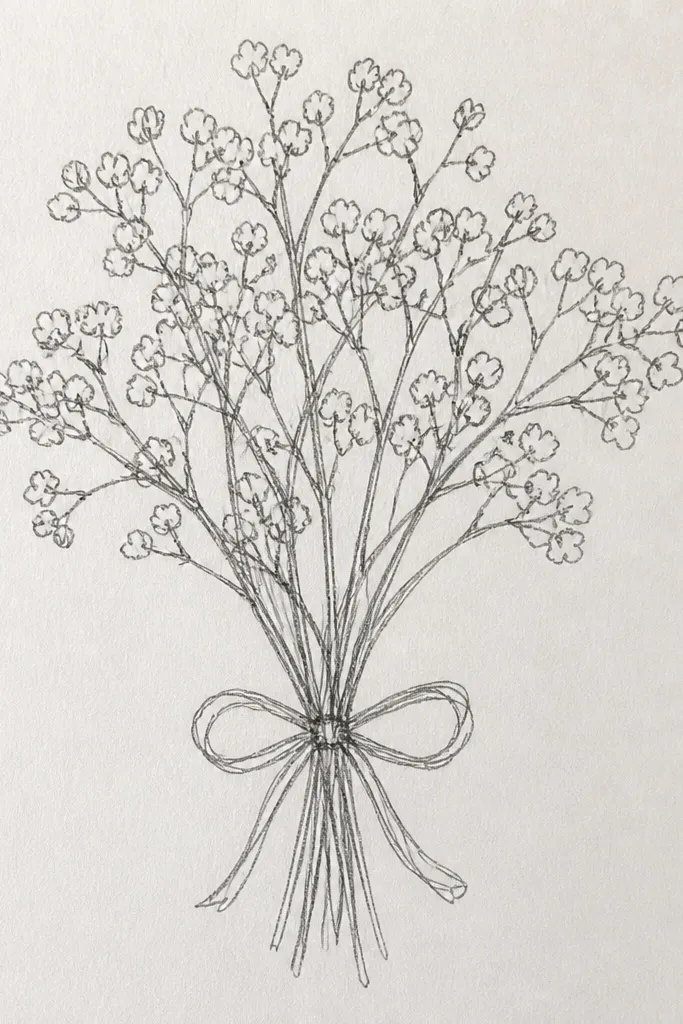
Sketch a soft cloud oval for the bouquet mass. Add a few thin stems at the bottom, then place tiny oval buds across the cloud, keeping them mostly near the edges and mid areas for volume. Add small connecting lines only where buds overlap. Thicken the outer perimeter line of the cloud, leaving inner buds with thin outlines.
Baby’s breath is all about controlled repetition. The look comes from tiny oval buds clustered into a cloud shape, with thin stems that disappear behind the mass. Draw the bouquet as one big rounded cloud, then fill it with evenly sized buds so the texture is airy, not speckled. This idea is perfect for winter holiday themes because it reads like soft frost. It also works well when you want a background that doesn’t overpower text.
Common mistakeDon’t outline every bud with heavy lines — keep them thin so the cloud stays light.
Good to knowUse two bud sizes: slightly smaller for mid-cloud and slightly larger near the edges for depth.
12. Poppy Bouquet with Bold Seed Pod
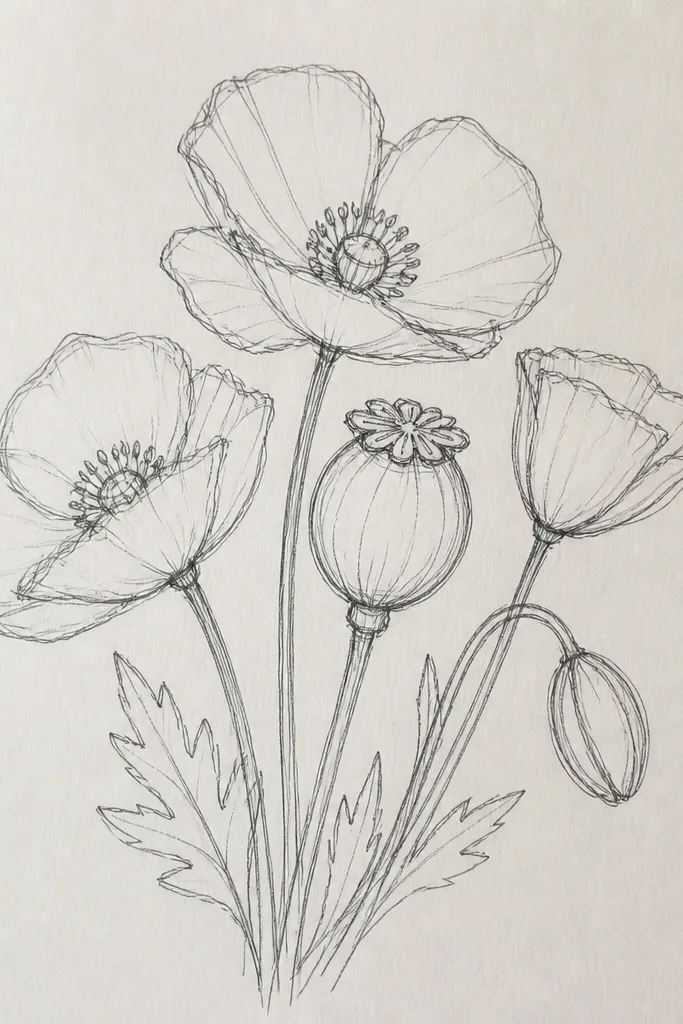
Start with a seed pod shape: an oval with a slight pinch at the top, then add 4 to 6 curved ridge lines inside. Draw 4 main petals around it as large teardrops with pointed tips, and add 2 smaller petals tucked behind. Add thin stems and a couple narrow leaves. Thicken the outer contour of petals and the pod outline, and keep internal pod ridges thinner.
Poppies look dramatic because the seed pod gives you a strong anchor, then the petals fan out. In line drawing, that means you get a clear silhouette and a focal point without heavy shading. Draw one front poppy with a detailed pod, then add 2 smaller poppies behind for a bouquet feel. The seed pod lines should be simple — a few curved ridges — so the drawing stays clean. Great for bold holiday prints and wrapping labels.
Common mistakeDon’t add too many ridges in the pod — 4 to 6 reads best in line.
Good to knowIf petals look uneven, keep the petal tips aligned to one imaginary clock direction.
13. Wildflower Meadow Bouquet Outline
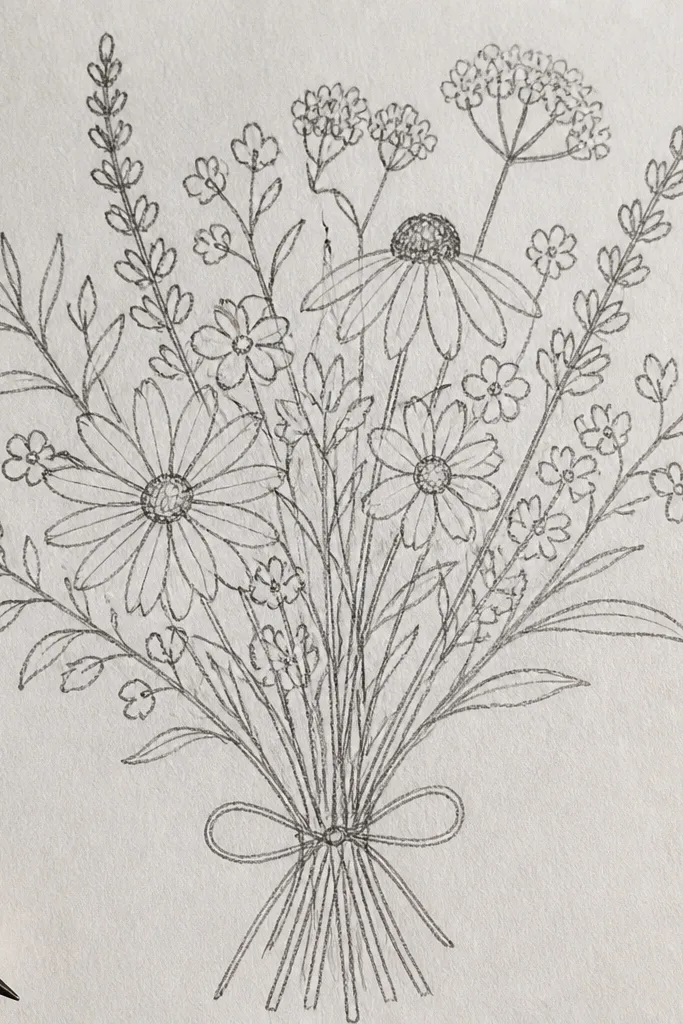
A wildflower bouquet works when you commit to a simple rule: every flower uses the same line thickness style. Mix small blooms like a tiny daisy, a small five-petal flower, and a small bud, but keep the shapes consistent and the outlines clean. The bouquet oval keeps everything grouped so it looks like a deliberate bouquet, not random elements. This works well for spring and summer holiday wrapping paper, especially if you want a lively look without clutter. Time is about 40-65 minutes.
Draw a bouquet oval outline first, then plan 12 to 18 flower spots inside it. Use a limited set of 3 flower types and repeat each type 3 to 5 times so the page stays cohesive. Draw stems that connect the flowers loosely and add a few leaf shapes that don’t fill every gap. Finish by thickening only the outer silhouette lines and leaving internal details minimal.
Limit yourself to three flower types — it keeps the drawing readable and photogenic.
Don’t sprinkle tiny flowers everywhere with no bouquet boundary.
14. Classic Rosebud and Ribbon Knot
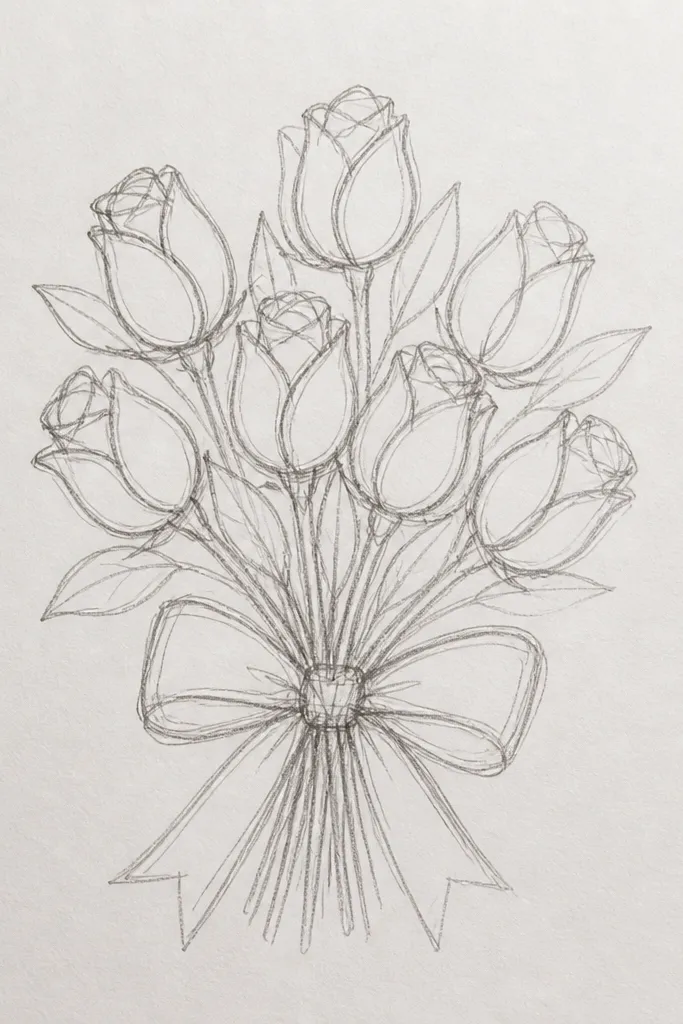
Sketch two rosebuds as small teardrop clusters with 4 to 6 petal lines each. Place them slightly left and right of center, then draw a ribbon knot in the middle as a loop with a small center fold line. Add ribbon tails that curve down and out, with 3 fold arcs per tail. Thicken the knot outline and the outer ribbon edges; keep rosebud petal lines thinner.
This is a holiday-friendly bouquet drawing because the ribbon knot gives you a clear decorative center and a strong silhouette. Use rosebuds instead of full roses so the line work stays light and the bouquet reads as cute and gift-like. The ribbon tails add motion, and motion makes line art look more “finished” in photos. Keep ribbon folds as 3 to 5 simple arcs so the ribbon looks crisp, not crumpled. Great for greeting cards and tag printing.
Common mistakeDon’t outline ribbon folds with the same thickness as the knot or it looks flat and heavy.
Good to knowDraw the ribbon first, then tuck the rosebuds behind it so the overlap looks intentional.
15. Eucalyptus and Berries Winter Bouquet
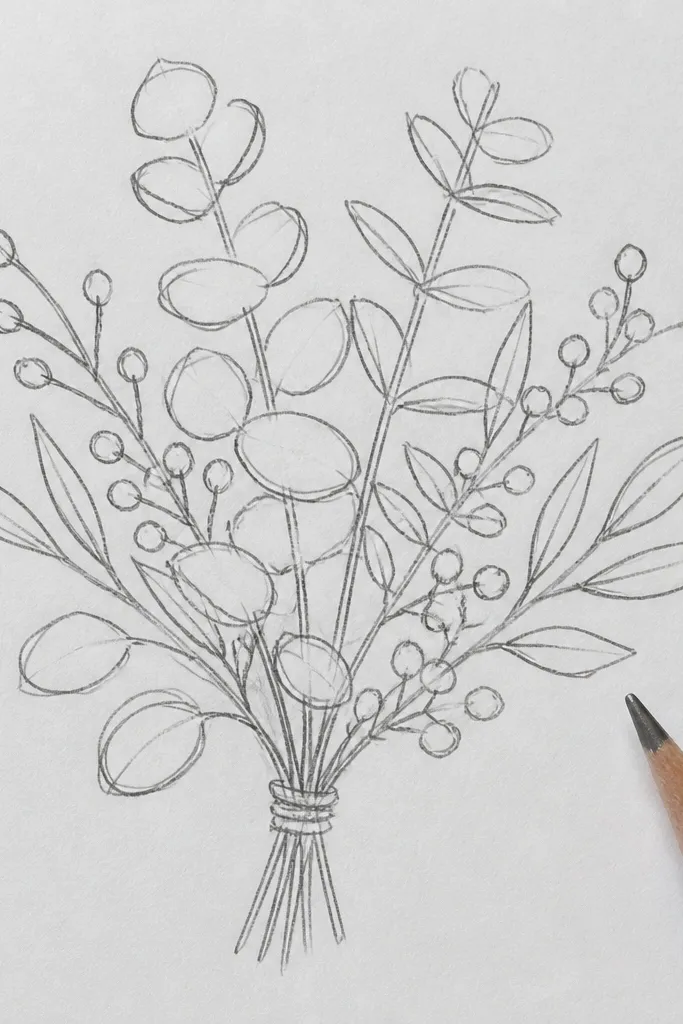
Winter bouquets look polished when they mix one big leaf shape with small berry clusters. Eucalyptus leaves are easy teardrops with a central vein line, and berries are just small circles grouped in bunches. The contrast gives you a clean, modern outline that still feels seasonal. Put the eucalyptus around the outside of the bouquet mass, then place berries near the center for a focal pop in line art. Great for holiday cards and winter wrapping corners.
Draw an outer bouquet oval with 6 to 8 eucalyptus leaves along the perimeter, each leaf as an almond shape with a simple center line. Add 2 to 3 berry clusters as groups of 6 to 10 small circles near the center. Connect everything with thin stems and add a few leaf stems that peek behind the berries. Thicken the outer contour of the eucalyptus leaves and berry cluster edges, leaving leaf veins thin.
Keep berry clusters grouped in three spots max — it looks intentional instead of scattered.
Don’t add too many leaf shapes inside the perimeter; it kills the crisp outline.
16. Sunburst Bouquet Star Frame
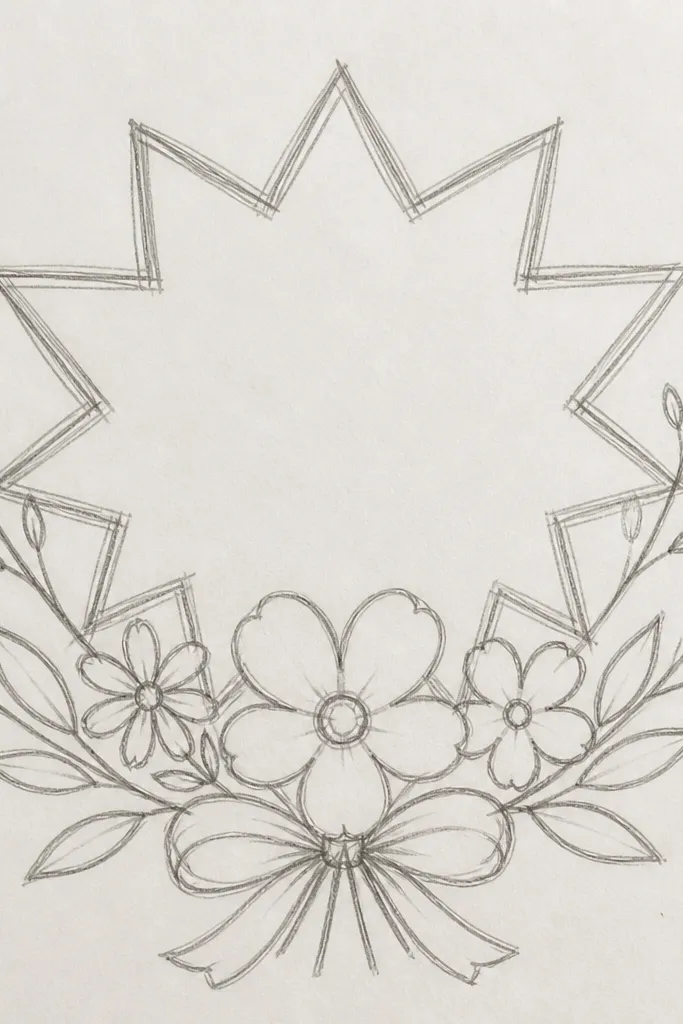
Draw a starburst frame first: 12 to 16 straight spokes radiating from a center point, then outline the outside tips with a clean starburst edge. Place a bouquet oval in the center using 3 to 5 flower heads and simple stems. Keep flower outlines slightly thicker than the starburst spokes so the bouquet reads as the focal point. Add a small ribbon bow at the bottom point of the starburst.
A star frame makes any bouquet look like holiday decor because it adds structure. The bouquet stays centered, and the starburst lines create energy without shading. You draw the bouquet flowers normally, then let the starburst spokes form a crisp border. This is ideal for printable seasonal cards where you want a bold graphic look in line art. It’s not hard, but you need steady symmetry for the spokes.
Common mistakeDon’t make starburst spokes the same thickness as the flowers or the frame overpowers everything.
Good to knowUse a ruler for the starburst spokes, then hand-draw the flowers on top for a natural look.
17. Anemone with Spiky Center
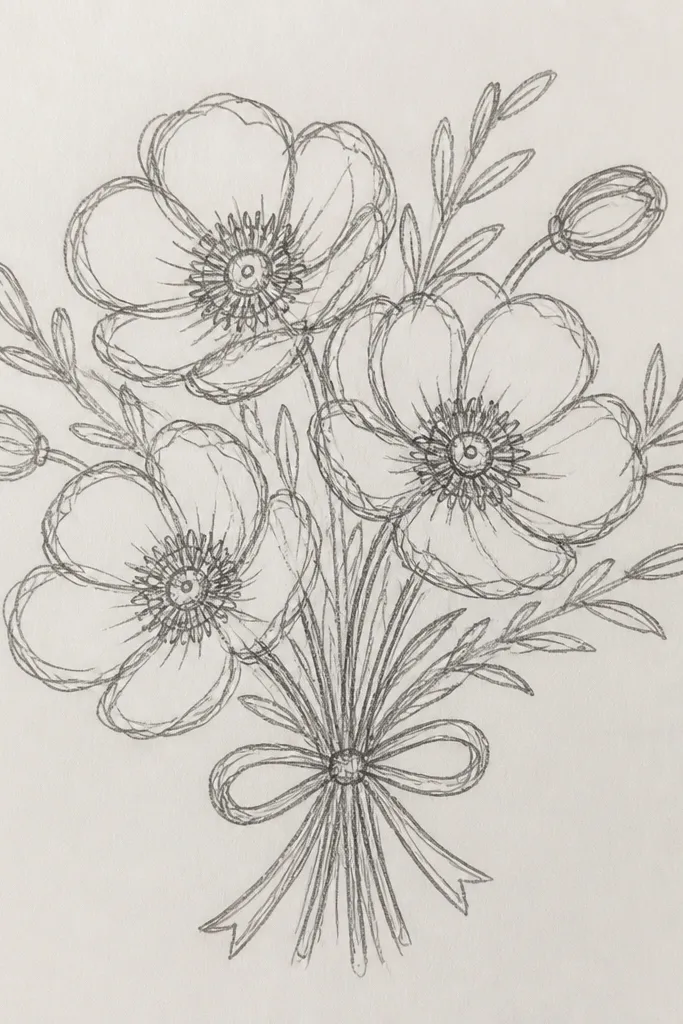
Draw a rounded flower head circle guide, then add 8 to 10 petals as teardrops around the edge. For the center, draw a small circle and add 12 to 18 short spikes radiating outward like a tiny sunburst. Add two smaller anemones behind with fewer petals and shorter spikes. Finish by adding a few thin stems and one or two leaves that curve upward.
Anemones look striking in line drawings because the center can be drawn as a burst of short lines. That gives you texture without shading, and the petals stay clean. Build it as one front anemone plus 2 smaller ones behind, then add thin stems and a few leaves. The center burst is the whole point — it’s what makes the bouquet feel graphic and photogenic. This is a strong option for fall and early winter holiday stationery.
Common mistakeDon’t over-detail the petals — the center texture should do the work.
Good to knowKeep spike length consistent within each anemone so the center reads like a deliberate texture.
18. Peach Blossom Branch Bouquet
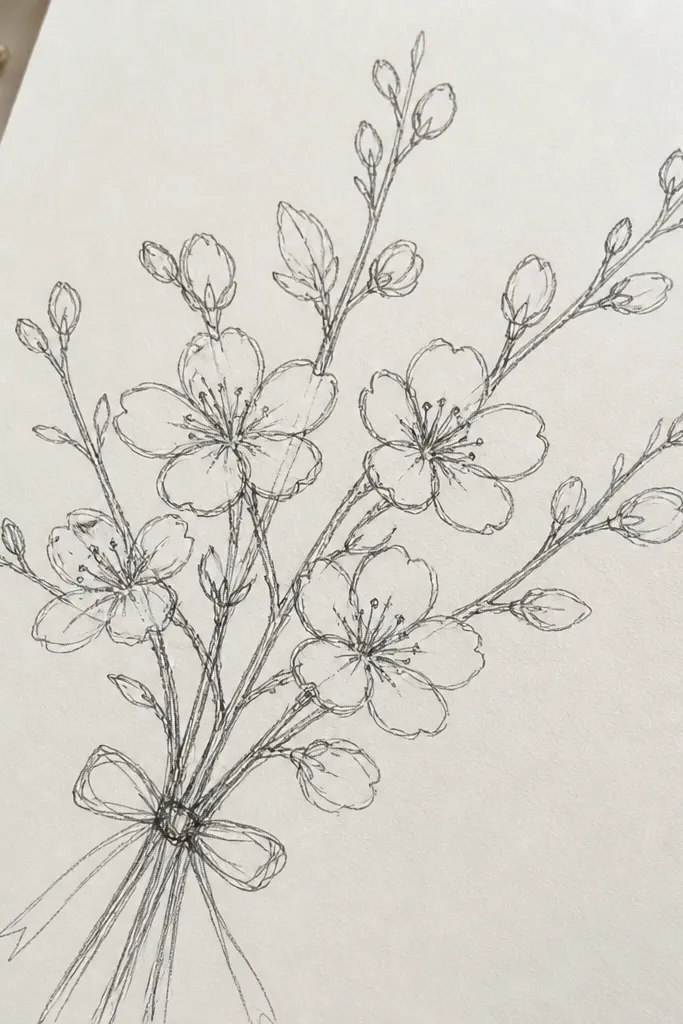
Peach blossom branches are beautiful because they look like a line drawing you’d frame, but they’re still simple shapes. Use a branching stem that curves like calligraphy, then add small five-petal blossoms spaced along it. The bouquet effect comes from repeating the blossoms as clusters rather than random single flowers. This one looks great on light-colored paper and prints sharply for holiday labels. Time is about 35-60 minutes.
Sketch one main branch line that curves upward, then add two smaller branches off it. Draw each blossom as 5 small rounded petals around a dot center, then place 2 to 4 blossoms close together at intervals. Add a few tiny leaves as short almond shapes attached near blossoms. Thicken only the main branch outline and the outer petal edges; keep internal lines minimal.
Leave gaps between blossom clusters so the branch line stays visible and elegant.
Don’t pack blossoms so tightly that the branch disappears under petals.
19. Dahlia with Geometric Petal Segments
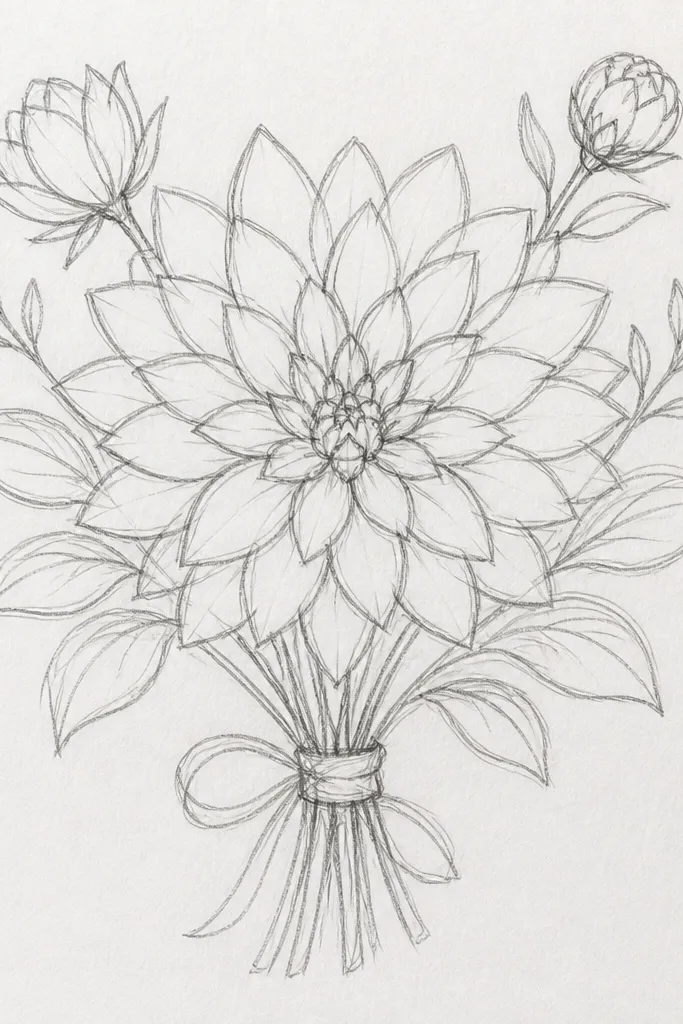
Dahlias look modern and photogenic because you can draw petal segments as geometric shapes in concentric rings. Instead of tiny petals everywhere, use 6 to 8 larger segment shapes per ring, which keeps the line work clean. A bouquet version works by putting one large dahlia in front and smaller buds or simple flowers behind it. The result feels decorative and graphic, perfect for holiday craft printables. This is a mid-level project because the symmetry matters.
Draw a large circle for the dahlia base, then sketch 3 concentric rings inside it. Fill the outer ring with 8 teardrop or diamond-like petal segments, each separated by a small gap line. Add a middle ring with 10 to 12 shorter segments and a small center circle with a few short lines. Add 2 thin stems and one smaller bloom behind the main dahlia, then thicken the outermost dahlia contour.
Use the same angle for each petal segment edge so the geometry feels intentional, not random.
Don’t let petal segments overlap — gaps are what make the rings readable.
20. Wreath Bouquet with Mixed Blooms
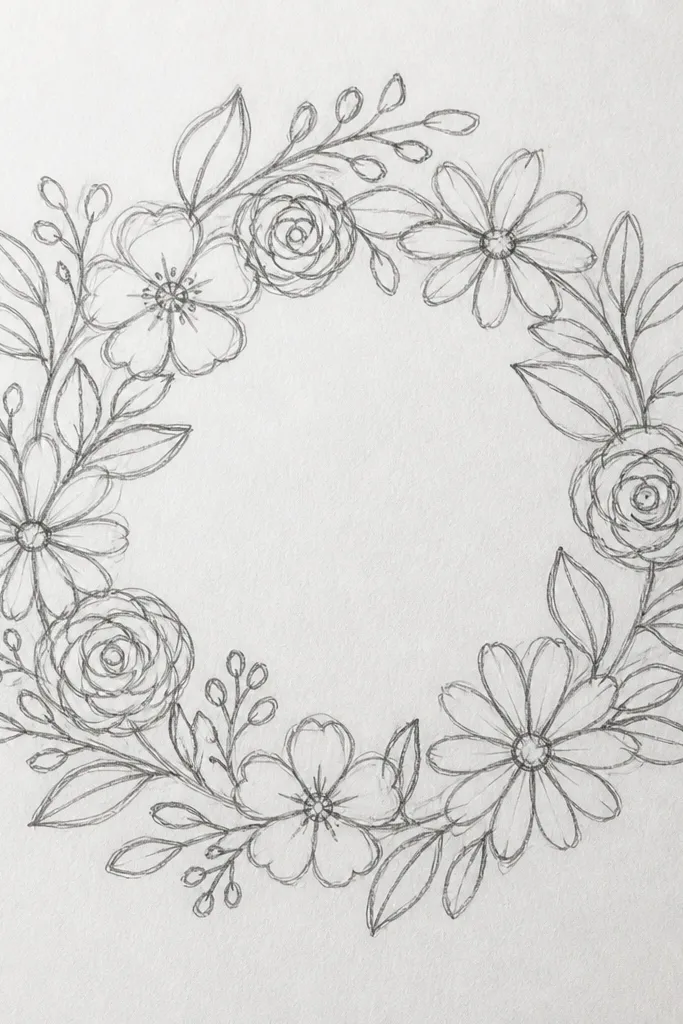
Draw a wreath ring guideline with an inner and outer circle. Plan 18 to 24 flower head placements around the ring, mixing three flower types (like daisy, small rosebud, and mini blossom). Connect each head to the ring with thin stem lines that tuck under the next flower. Add simple leaf accents between clusters and thicken only the outer ring contour plus flower head outlines.
A wreath bouquet turns your drawing into instant holiday decor, because the circle reads as a finished object. The beauty is in mixing bloom types without clutter: use 3 flower designs repeated around the wreath. Keep stems thin and let the flower heads create the texture. This works for door signs, printable wreath stickers, and card borders. Time depends on how many blooms you place, but 60-90 minutes is realistic for a neat first run.
Common mistakeDon’t add too many different flower shapes — the wreath becomes visually noisy.
Good to knowKeep flower heads slightly tilted inward toward the wreath center so the ring looks cohesive.
21. Hydrangea Bow Bouquet Corner
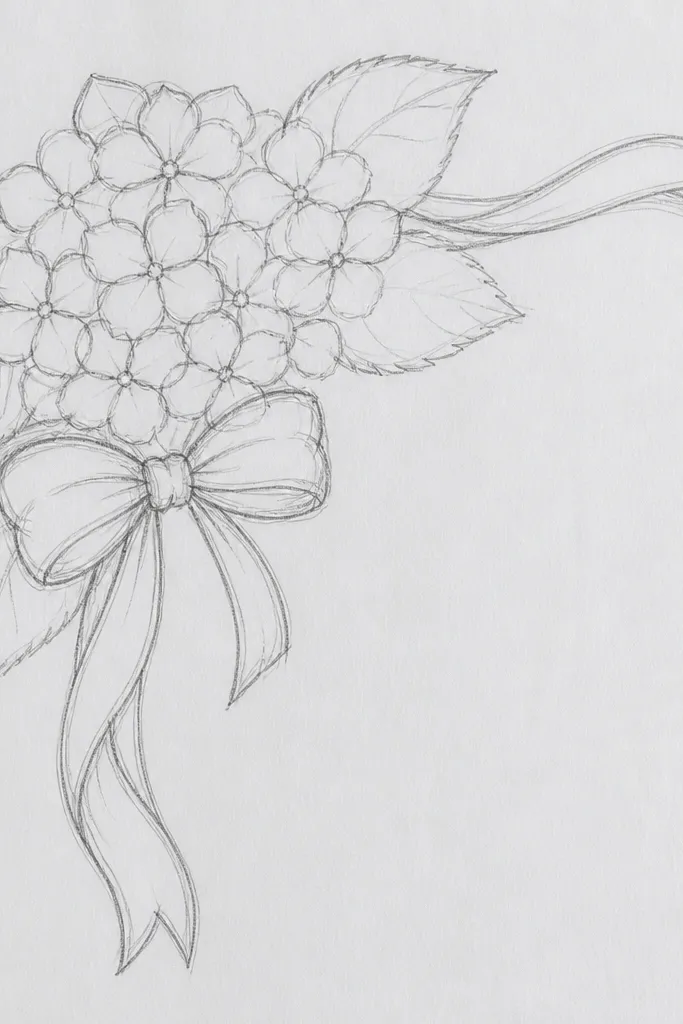
Start by sketching a corner guideline and place the hydrangea mass in that corner as a rounded oval. Add 6 to 8 sub-blooms inside with smooth arcs, then texture them with small dots and short curves. Draw a ribbon bow using two loops and a small center knot, letting the ribbon tails extend along the card edges. Thicken the hydrangea outer contour and the bow outer edges; keep interior dots thin.
This corner composition is made for cards and scrapbook pages because it fills space without requiring a full bouquet in the middle. You draw a compact hydrangea mass with rounded sub-blooms, then anchor it with a ribbon bow that points outward. The outline stays photogenic because the hydrangea outer edge is bold, and the bow creates a crisp shape contrast. Use this when you want a holiday aesthetic that still reads clean in black-and-white. It’s beginner-friendly if you keep the hydrangea texture small.
Common mistakeDon’t add extra leaves around the bow; let the hydrangea do the volume.
Good to knowGive the bow one clear direction — if both tails fan out randomly, the corner looks chaotic.
22. Rose Peony Hybrid Bouquet Cluster
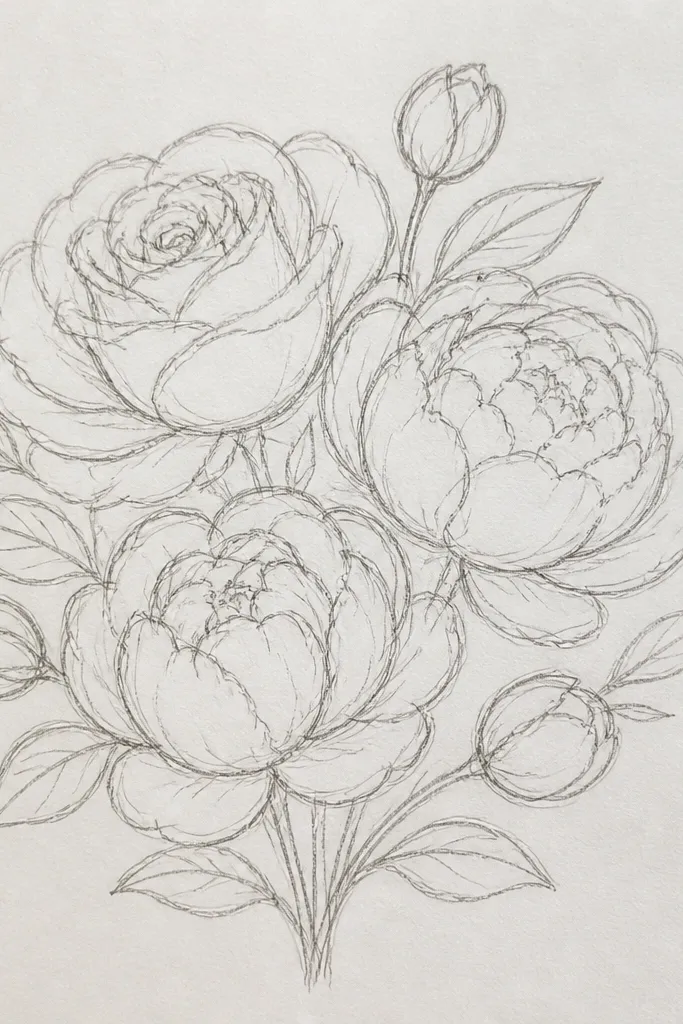
Draw a bouquet oval mass guideline, then place one peony slightly larger in front and one rose cluster to the side. For the peony, add 4 to 6 stepped arcs inside a big oval outline. For the rose, add 6 to 9 outer petal waves around a small center and keep inner lines shorter than the outer contour. Add 2 thin stems and a few leaf shapes, then thicken only the outermost silhouette lines for the whole cluster.
Mixing one rose cluster with one peony bloom creates a bouquet that looks complex without being messy. The rose gives you tight petal waves for detail, while the peony gives you large stepped arcs for softness. The eye reads the contrast, so your line art looks intentional even if you’re still learning. Keep the outer contour consistent across both flowers so the cluster feels unified. This idea is great for holiday invitations and printable art where you want one strong centerpiece.
Common mistakeDon’t add extra internal lines to both flowers equally — the bouquet needs one to be simpler.
Good to knowKeep the peony arcs smoother and fewer than the rose petal waves so the texture contrast stays clear.
23. Ribbon-Loop Bouquet with Three Buds
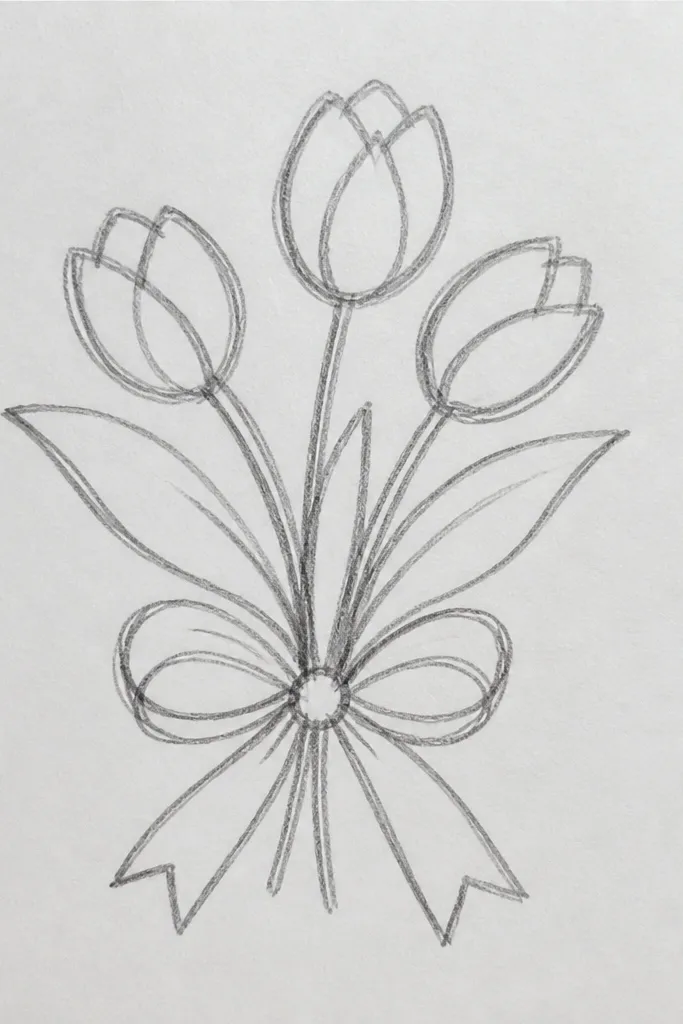
Draw a simple triangle placement for three bud heads, each bud shaped like a small teardrop with 4 petal lines inside. Draw two ribbon loops that wrap around the triangle, one loop at the top and one at the bottom, with a small center fold line where they meet. Add ribbon tail lines that curve outward and end cleanly. Thicken the outer ribbon edges and the bud outer contours, leaving fold lines thinner.
This is a neat holiday look because the ribbon loops create a frame around three bud flowers. Buds keep the line work simpler, so the ribbon stays the star and the bouquet reads as cute and gift-ready. Use 3 buds in a triangle arrangement so it balances visually. The loops should have smooth curves and a few fold lines only, or they’ll look like scribbles. Time is around 30-50 minutes for a clean outline.
Common mistakeDon’t over-crease the ribbon with many folds — three fold arcs are enough.
Good to knowUse a light pencil guide for ribbon loop symmetry; erase the guide before inking.
24. Crocus and Buds Spring Holiday Bouquet
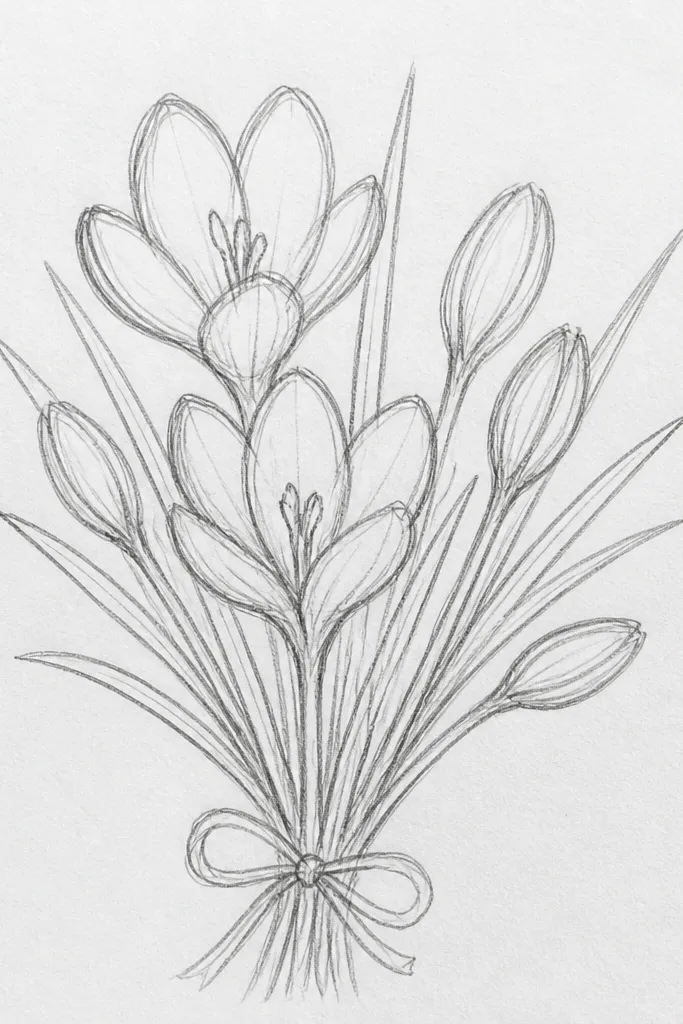
Crocus outlines look clean because they’re basically long petals with a simple center line. A bouquet with crocus plus a few buds gives you a layered look without complicated textures. The elongated shapes also make the drawing feel airy and elegant, which reads well in line art photos. Keep the crocus petals slightly curved and point the tips in one direction. Great for early spring holiday stationery and minimalist prints.
Sketch 7 to 10 crocus flowers, each as a long teardrop with a thin center line that splits the petal. Add 2 to 4 small buds as tiny teardrops with one or two fold lines. Draw stems as thin parallel lines that converge at the bottom and add a few long leaves as narrow blades. Thicken the outer contour of each crocus and keep the center split line thin.
If your petals look stiff, draw them with one continuous stroke for the outer edge, then add the center split after.
Don’t draw crocuses with rounded blossoms — keep the elongated petal shape.
25. Doodle Border Bouquet with Tiny Stars
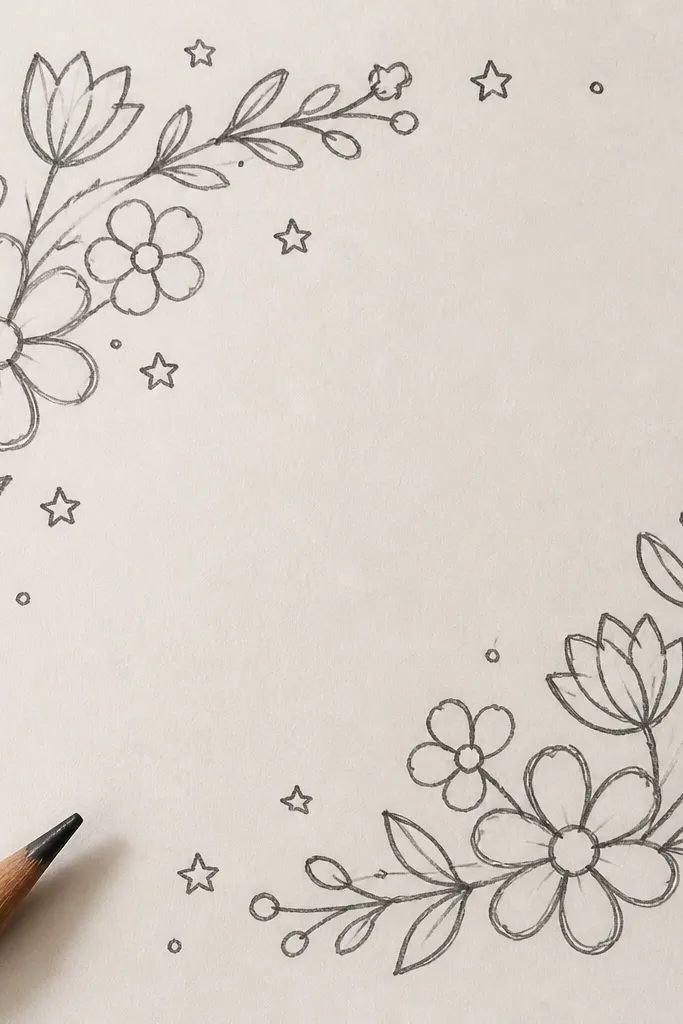
Draw a light rectangular or oval border around where the bouquet will sit. Place 5 to 7 flower heads inside the border using simple designs (daisy, bud, mini blossom). Add tiny 5-point stars in the border gaps, keeping them evenly sized and spaced. Finally, thicken the bouquet outer contour and the border line, then leave star lines thin so they don’t overpower the flowers.
This idea makes your bouquet look holiday-ready because it adds tiny star accents without turning into a random doodle page. The bouquet stays the main focus, while the stars add sparkle texture around it. Keep stars small and consistent: 5-point stars with 1 line each point. Use a border layout so it frames the bouquet and reads well in photos. This is good for seasonal labels, sticker sheets, and card corners.
Common mistakeDon’t sprinkle stars inside the bouquet mass — that’s where clutter happens.
Good to knowLimit stars to the border gaps only so the bouquet stays clean and centered.



