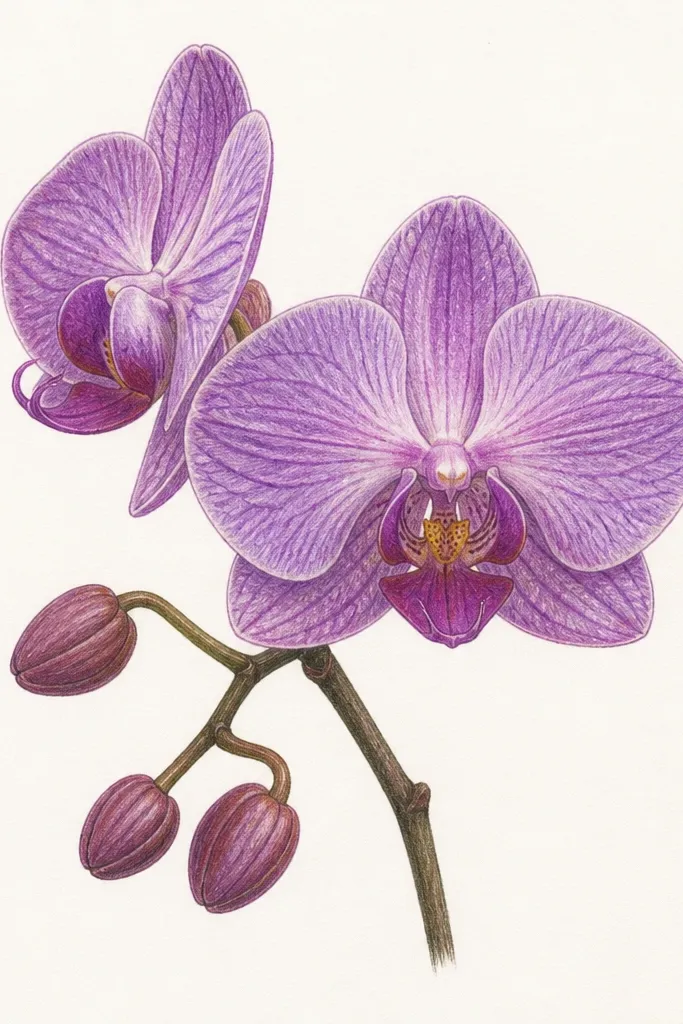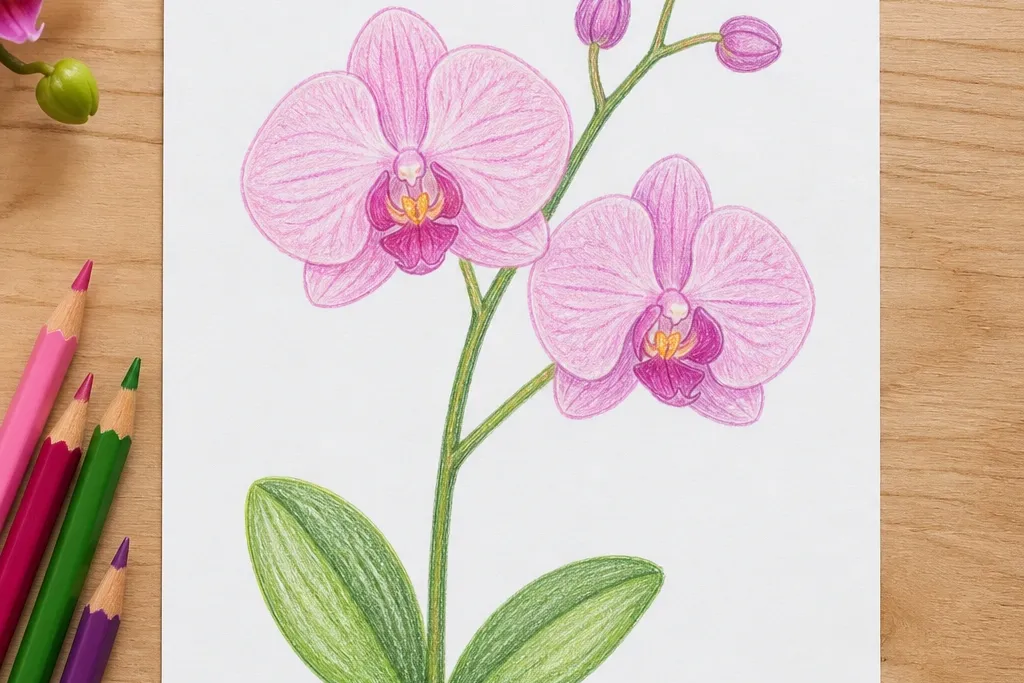

1. Classic Single Orchid with 3 Petals + Center Lip
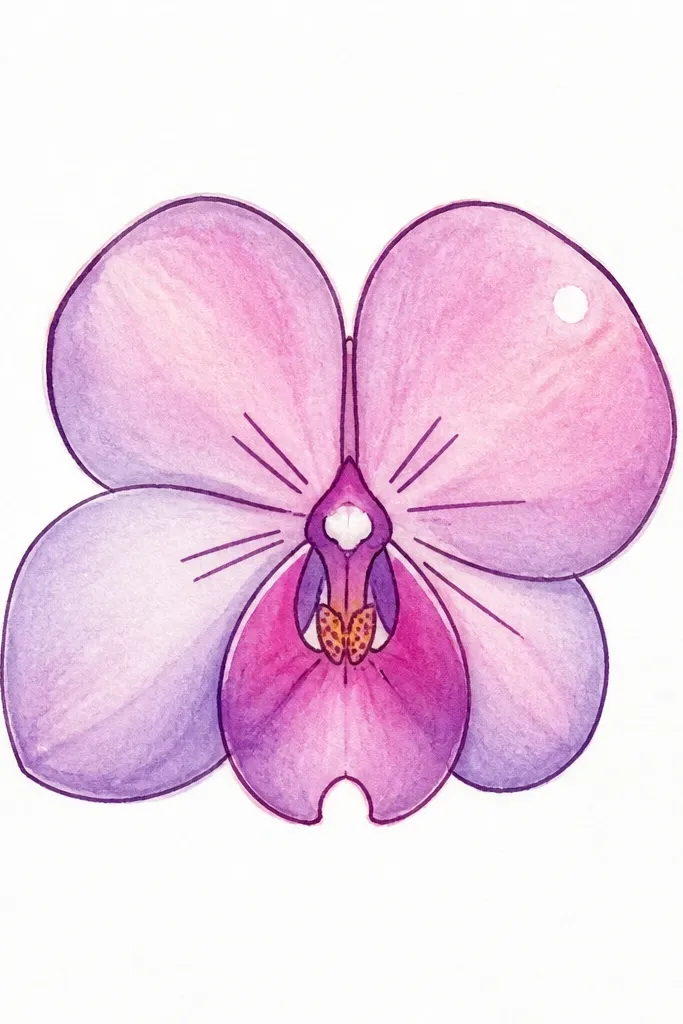
Start with one orchid so kids learn the structure without getting overwhelmed by spacing. The outer petals should look like tall teardrops — two facing forward and one slightly angled to the side. Color the outside in soft purple (light lavender) and add a deeper plum near the edges so the petals look layered. The lip in the middle is usually the brightest part, so make it a pink-magenta with a darker purple stripe down the center. This style looks best for classroom work because it stays neat even when hands are uneven, and it flatters anyone’s “not sure” drawing stage — it still reads as an orchid.
Step 1: Lightly sketch three petal shapes: two big teardrops and one smaller side petal, then draw a curved “U” for the lip in the center. Step 2: Add six short center lines, like tiny dashes, pointing inward from the lip. Step 3: Outline the main shapes with a 0.5 fine-liner or a black marker, then color with crayons or watercolor pencils. Step 4: Shade the petal edges with plum and leave a small white highlight dot on each outer petal. Step 5: Erase pencil marks gently once the ink is dry.
If the orchid looks flat, add one dark outline line along the lower edge of each petal — the shadow makes it pop.
Avoid coloring all petals the same tone — orchids need edge darkness and a brighter lip.
2. Side-View Orchid Leaning Right (Beginner Angle Trick)

Step 1: Draw a tall oval for the front petal and a smaller, lighter teardrop behind it, both tilted to the right. Step 2: Sketch the lip as a sideways teardrop with a small notch at the outer edge. Step 3: Add the center line and six short inner marks, but keep them tighter on the side-facing flower. Step 4: Outline the front petal and lip more heavily so they look closer. Step 5: Color the back petal with light lavender and the front petal with lavender plus plum at the edge.
Drawing an orchid in side view makes it feel more “real” because the petals overlap. I taught this to a group of 7-year-olds and the majority nailed the depth by simply making one petal bigger and darker than the others. Use two outer petals as a pair, then let the lip curve toward the same direction. Color the foreground petal with a slightly richer purple and keep the back petal lighter, like you’re shining light from the left. This style looks great for kids who get bored drawing straight-on shapes and for anyone who wants a more dynamic composition.
Common mistakeDon’t keep all petals the same size — side view fails when everything is evenly front-facing.
Good to knowMake the lip slightly larger than you think — in side view it reads orchid faster.
3. Mini Orchid Trio on a Sticky Note Background
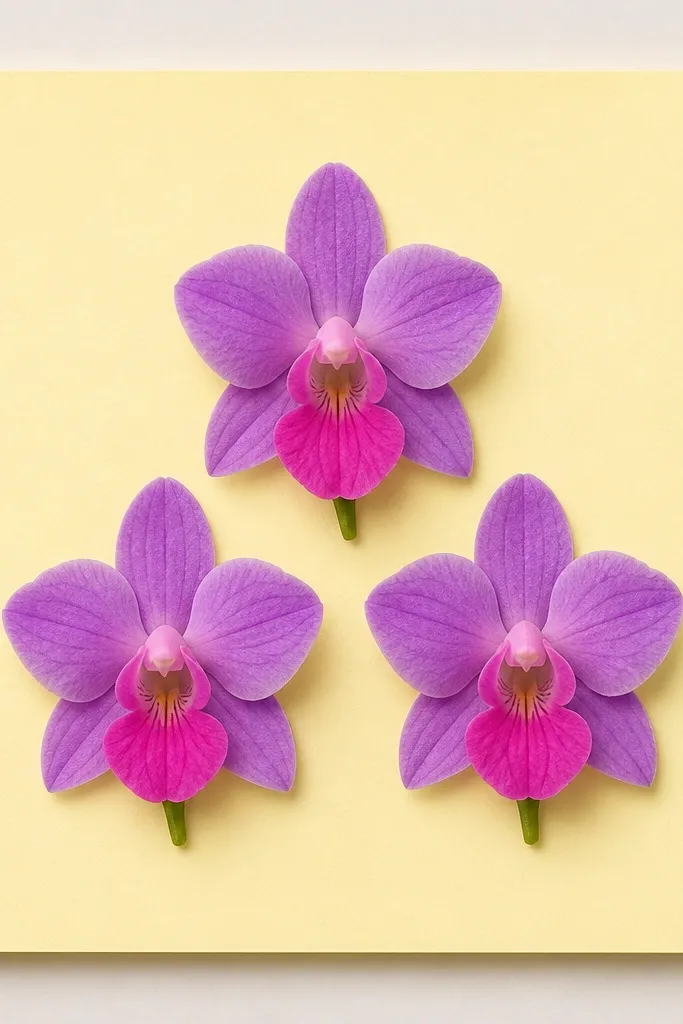
Step 1: Draw a rectangle on your page like a sticky note, then lightly divide it into three zones for the orchids. Step 2: Make each orchid smaller than the last by about a third, keeping the lip bright in all three. Step 3: Add stems with two short curved lines and a tiny leaf on one stem. Step 4: Outline each orchid with a dark marker, then color petals lightly with lavender and edges with plum. Step 5: Add one tiny highlight dot to each lip and outer petal.
This one is for kids who finish fast or need a “complete page” feeling. Small orchids teach spacing without requiring perfect petal detail, because the structure still reads at a tiny size. I like the sticky-note background because the color gives the drawing warmth even when the kids are still learning shading. Use pale yellow or peach paper as the base or draw a rectangle with a light wash. Color the lip bright pink so it pops against the warm background. It flatters anyone’s work because even a simple line orchid looks intentional when it’s grouped.
Common mistakeAvoid putting the orchids too close to the rectangle edges; leave at least 1 cm of breathing room.
Good to knowKeep the lip color the same on all three flowers — it makes the trio look like a set.
4. Orchid Drawing with Crayon Resist + Watercolor Wash
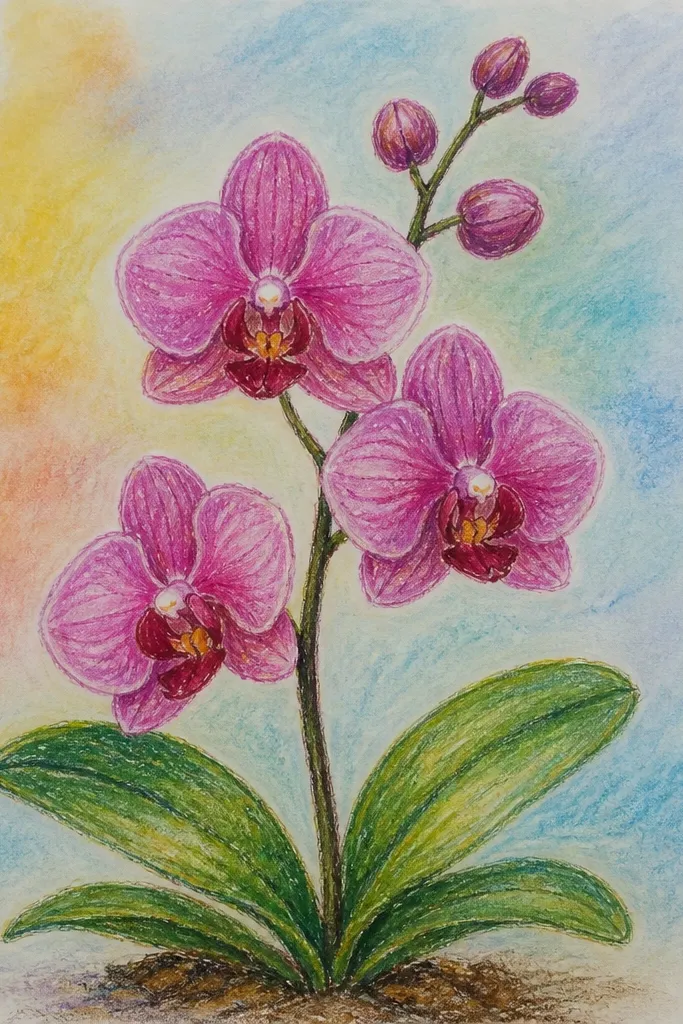
Step 1: Sketch the orchid lightly in your head, then draw the outer petals and lip with white crayon or very light wax crayon. Step 2: Add the six inner center marks and a center stripe using the crayon. Step 3: Paint the background first with a diluted blue-lavender wash, leaving the orchid lines untouched. Step 4: Paint over the petals with light purple, then deepen the petal edges with plum. Step 5: Finally, paint the lip with pink and a darker purple stripe down the middle.
This is the most fun “magic trick” version I’ve done with kids. Crayon lines resist watercolor, so the orchid outline stays crisp while the background becomes soft and dreamy. The orchid itself still follows the beginner structure, but the watercolor makes it look more advanced than it is. Use light purple and blue washes around the orchid, then add a stronger pink only on the lip. This style looks great for ages 6+ because it hides shaky sketch lines and rewards bold coloring.
Common mistakeDon’t use thick watercolor straight away — heavy paint smears the resist lines.
Good to knowLet the first watercolor layer dry fully before adding the darker plum edge so it doesn’t bloom.
5. Orchid in a Flowerpot Frame (Card-Ready Layout)
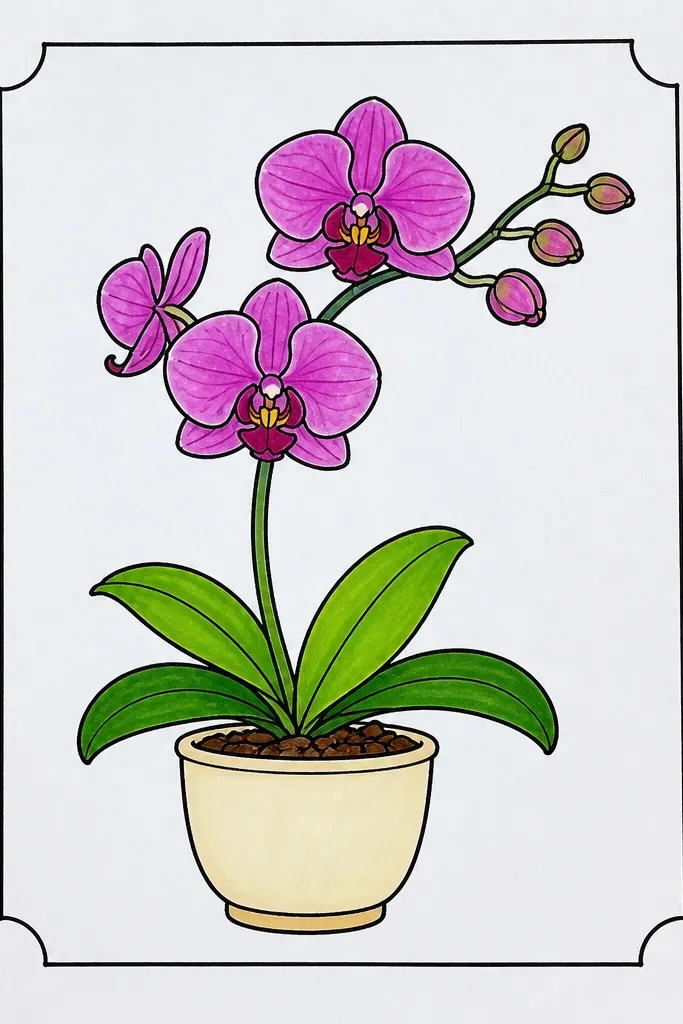
This layout turns a beginner orchid into a gift card piece. The flowerpot gives kids a place to anchor stems, which stops the drawing from floating in the middle of the page. I’ve seen this reduce “I don’t know what to do next” moments because the pot is a built-in finishing point. Keep the pot simple: two or three stripes and a rim line. Color the background mint or pale green so the purple orchid pops. This is a good fit for shy kids who like clear boundaries.
Step 1: Draw a rectangle pot with rounded corners, then add a rim line and 3 horizontal stripe bands. Step 2: From the pot, draw two stems that angle outward, then place one orchid on each stem. Step 3: For the main orchid, use the classic 3-petal + lip structure; for the smaller one, shrink the petals and keep the lip bright. Step 4: Outline stems and orchids with a dark marker, then color petals with lavender and edges with plum. Step 5: Add a tiny leaf on each stem and color the lip bright pink with a dark stripe.
Add a single shadow under the pot rim with a light gray pencil — it makes the pot look grounded.
Avoid cluttering the pot with lots of tiny patterns; three stripes read cleaner.
6. Orchid Drawing for Beginners Easy in Bubble Letters Border
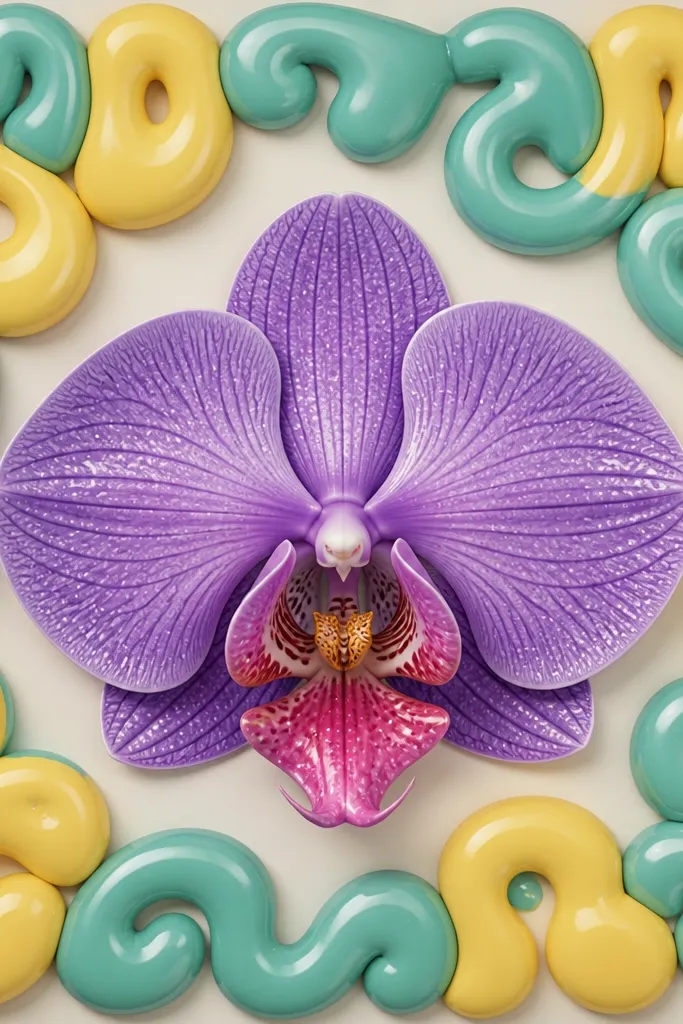
Step 1: Draw the orchid in the center using the classic structure (outer petals, inner petal, lip, six center marks). Step 2: Outline the orchid with a 0.5 fine-liner or thick black marker. Step 3: Draw a border around the page using bubble loops: thick teardrop shapes connected in a rectangle frame. Step 4: Color the border teal and yellow with crayons, leaving the orchid white highlights untouched. Step 5: Add one tiny leaf doodle on each side of the orchid stem to balance the frame.
This version keeps the orchid simple but makes the finished page look “designed.” The bubble-letter border is a kid-friendly way to add personality without forcing them to draw extra flowers. The orchid stays the focus: crisp outlines, light lavender fill, and a bright pink lip with dark center lines. I like teal and yellow borders because they frame purple without turning the page muddy. This style is great for birthday or spring-themed projects because it looks playful while still teaching orchid structure.
Common mistakeDon’t color over the orchid highlights with the border colors — it dulls the contrast.
Good to knowKeep the border thicker than the orchid outline; it makes the orchid look sharper.
7. Watercolor Pencil Orchid with Wet Petal Edges
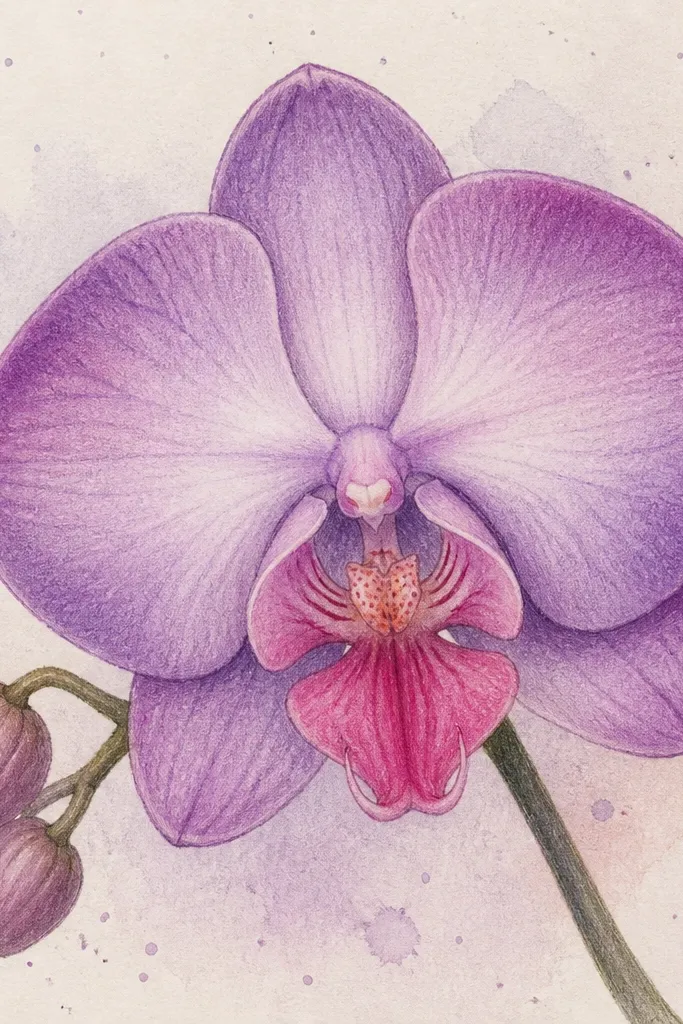
Step 1: Lightly sketch the orchid petals and lip with pencil, then color the outer petals with very light lavender pencil. Step 2: Add plum pencil to the petal edges and around the lip base. Step 3: Dip your brush in clean water, blot it on a paper towel, then gently tap the colored areas to activate the pigment. Step 4: Paint the lip pink and deepen the stripe with magenta; keep the center lines darker with a fine-liner once dry. Step 5: Add a tiny white highlight spot using a white gel pen after everything dries.
If you want a “grown-up” look without complicated steps, watercolor pencil with wet edges is the move I keep coming back to. You color lightly first, then touch a damp brush to the colored areas so the pigment blooms. That’s how you get the orchid’s smooth transitions instead of harsh crayon blocks. Keep the lip brighter and slightly more saturated than the petals, because the center is where the eye lands. This works well for kids who can handle slow, careful brush touches and for adults who want a calm, pretty page.
Common mistakeAvoid over-wetting; flooding the paper makes the petals bleed into each other.
Good to knowBlot the brush every time before touching pigment — it prevents puddles.
8. Orchid Mandala Frame with Simple Petal Repeats
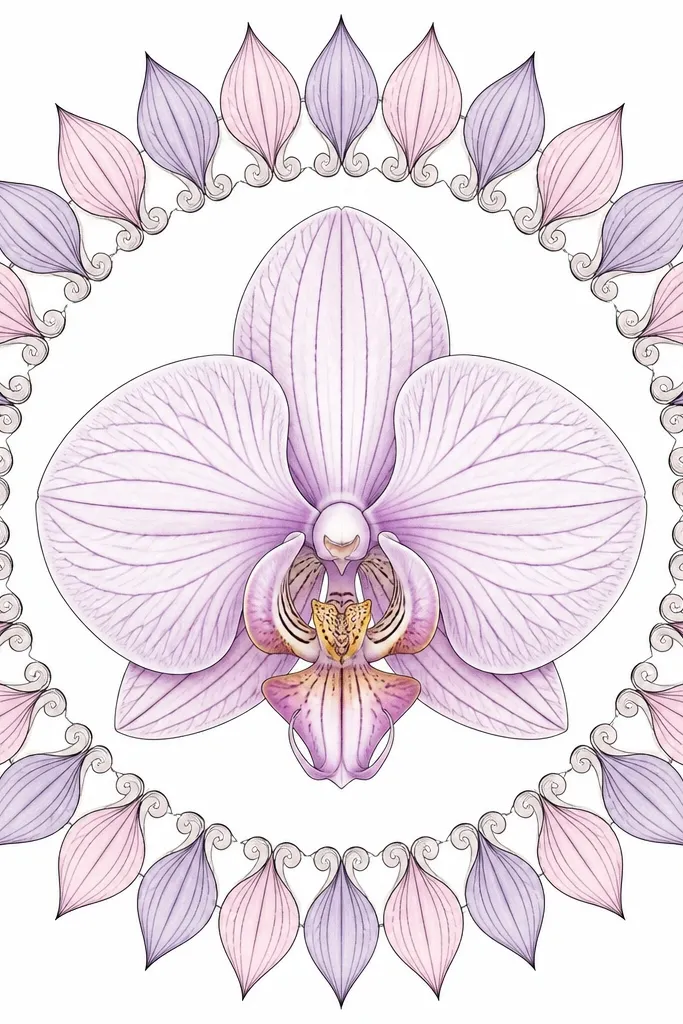
Step 1: Draw the center orchid first using the classic structure and dark outline. Step 2: Around it, draw a ring of 12 teardrops spaced evenly, all pointing outward. Step 3: Alternate colors: lavender on every other teardrop and pale pink on the rest. Step 4: Add a second outer ring with smaller teardrops or tiny dots between the larger ones. Step 5: Go back and add a few extra short center marks inside the orchid lip so it looks crisp against the frame.
A mandala frame turns a single orchid into a whole project without changing the orchid anatomy. The orchid stays beginner-friendly, but the repeated teardrops around it teach symmetry and spacing. I like alternating lavender and pale pink because it keeps the frame from looking like one flat color. The center orchid looks more “important” when the surrounding pattern is lighter and thinner. This style flatters small hands too because you can repeat a shape instead of inventing new ones.
Common mistakeDon’t make the frame shapes bigger than the orchid; the center should win.
Good to knowUse a paper compass or trace a round lid for the frame circle so the symmetry looks intentional.
9. Orchid Drawing on Black Paper with White Gel Highlights
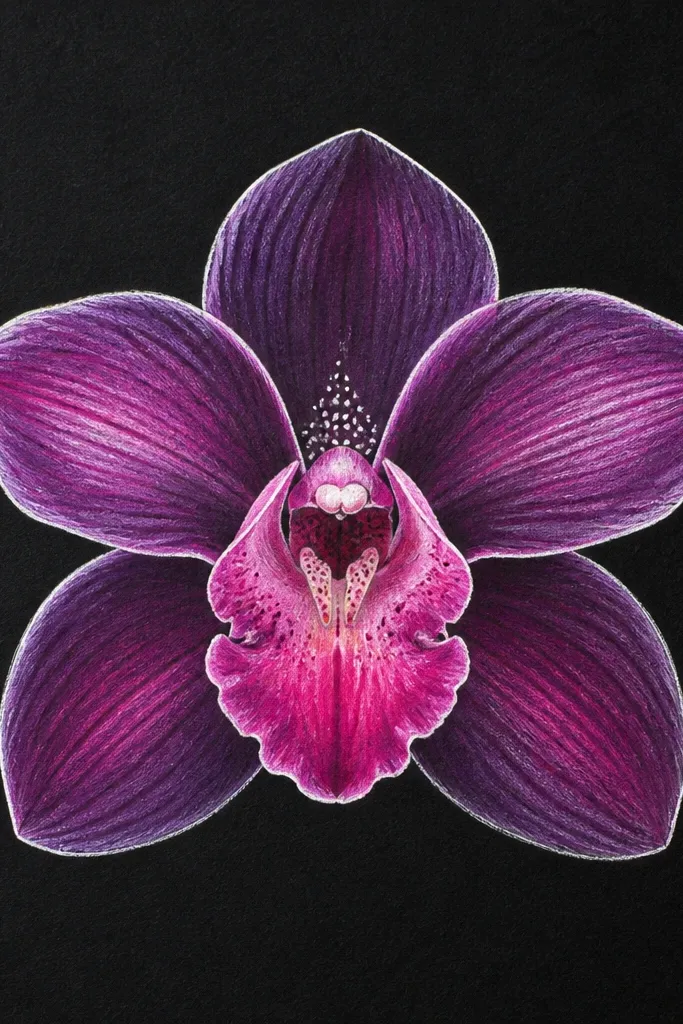
Step 1: Sketch the orchid lightly in your mind, then draw the outer petals and lip with a white gel pen or white pencil. Step 2: Add the six center marks and a center stripe, still in white. Step 3: Color the outer petals with purple colored pencil, keeping the center lighter. Step 4: Color the lip with magenta and deepen the edges with darker plum. Step 5: Add tiny white highlight lines near the top edge of each petal and sign the corner.
Black paper makes beginners look better instantly because your highlights are naturally bright. I used this with a mixed-age group and even the youngest kids understood where to add the white — it reads as light on the petals. Outline the orchid in white first, then color the petals in purple and the lip in magenta. Add a few extra white dots at the center to suggest texture without over-detailing. This style is great for kids who prefer bold colors and for projects that need high contrast.
Common mistakeAvoid using heavy black marker over the white lines; it turns the highlights gray.
Good to knowPress lightly with colored pencil at first, then build color slowly so the paper texture stays visible.
10. Orchid with Patterned Background Stripes (No Extra Flowers)
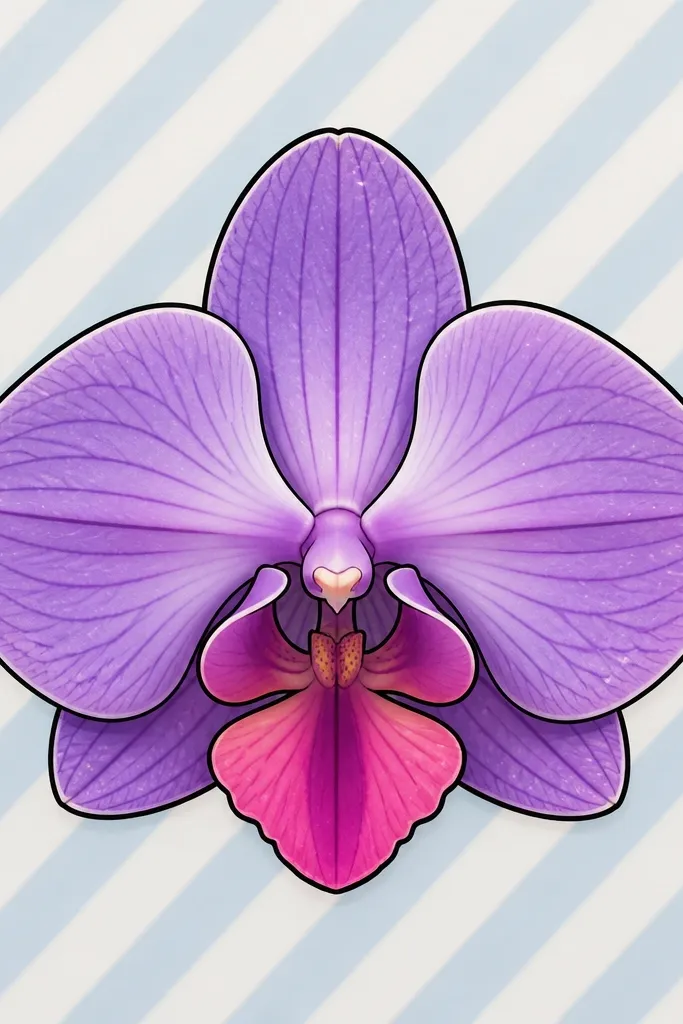
Step 1: Draw the orchid in the center using classic petal and lip shapes, then outline with a fine-liner. Step 2: Add diagonal stripes across the entire page behind the orchid, but stop the stripes at the orchid outline so they don’t smear over the flower. Step 3: Color the stripes pale blue and keep every other stripe white. Step 4: Color the petals lavender with plum edges, and color the lip bright pink with a dark stripe. Step 5: Add small highlight dots on each petal and a tiny leaf stem doodle if you want balance.
A patterned background makes the orchid look finished even when the flower is simple. The stripes guide the eye and give kids a clear task: keep the orchid edges sharp, then color the background in an even direction. I like diagonal stripes because they feel like movement behind the orchid stems. Use pale blue stripes and leave the stripe gaps white so the drawing stays airy. This is flattering for beginners because the contrast hides uneven coloring in the petals.
Common mistakeAvoid outlining the stripes too thick; thick stripe lines fight with the orchid outline.
Good to knowDraw stripes with a ruler or a folded paper edge for straight lines that make the whole page look intentional.
11. Orchid Drawing in a Simple Rectangle Frame with Water Splash
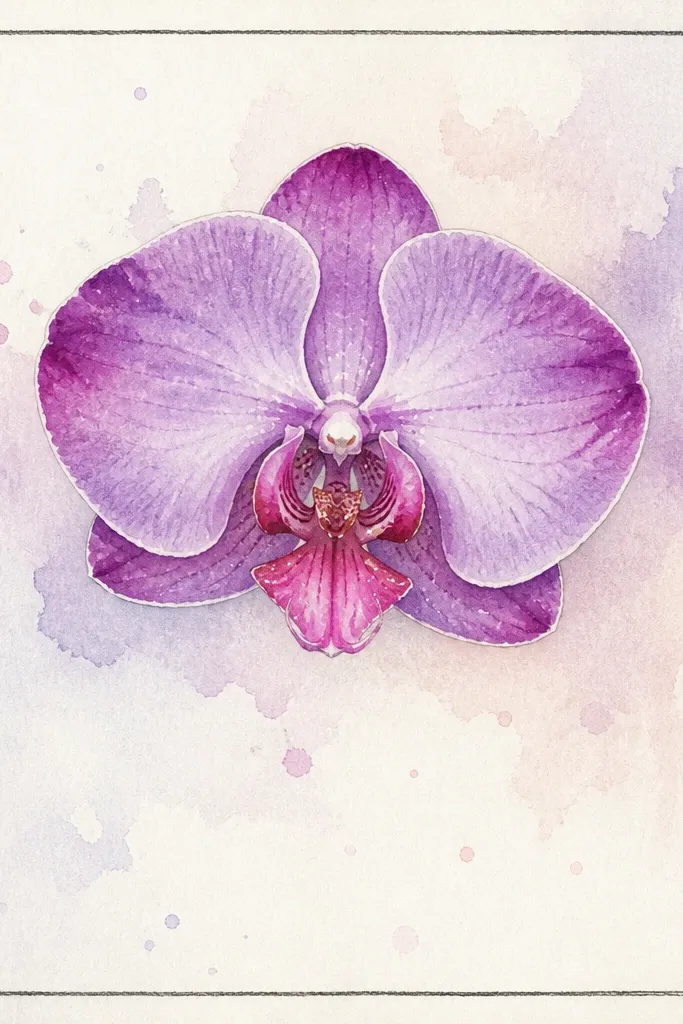
This is the version I use when kids want “pretty” but they don’t want to draw a lot of extra objects. The rectangle frame gives structure, and the watercolor splashes add a texture you cannot mess up. Keep the splashes light and let them stay mostly in the background so the orchid remains clear. Color the petals in two tones: lavender and plum, then leave a small unpainted highlight area on each petal. It looks good for cards, bookmarks, and classroom art because it’s repeatable.
Step 1: Draw a rectangle frame with pencil, leaving a small margin around it. Step 2: Lightly sketch the orchid and outline it with a dark marker once it’s positioned. Step 3: Paint a very light wash behind the orchid in pale lavender or soft blue. Step 4: Flick diluted paint using a toothbrush for small splashes, keeping them away from the orchid edges. Step 5: Color the petals lavender, deepen edges with plum, and paint the lip pink with a darker stripe.
Practice one flick on scrap paper first; you want tiny dots, not big blobs.
Avoid splashing over the orchid outline; it makes the flower look fuzzy.
12. Orchid Stem Pattern on Notebook Paper (Quick Daily Practice)
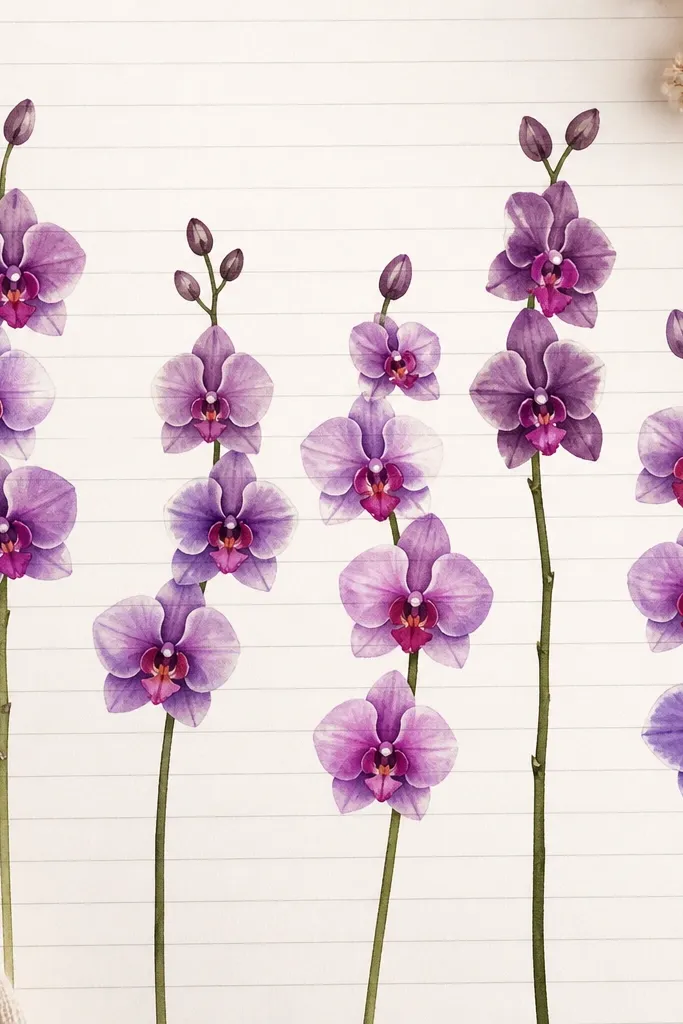
This is the quickest way to build consistency: place orchids along the page lines so spacing feels automatic. I used this idea for my own sketching routine because it forces the same proportions every time. Keep the orchids small and repeat the same center markings so they look like a series. The notebook lines also make it easier to keep stems straight, which improves the overall look faster than you’d expect. This style suits kids who like routine and adults who want steady progress without a full art session.
Step 1: Choose one notebook page and pick a spot about 1 inch from the top. Step 2: Draw a vertical stem line, then add one orchid using the classic structure, keeping the lip bright pink. Step 3: Repeat the orchid two more times down the page, each one slightly tilted left or right by a few degrees. Step 4: Outline the orchids with a fine-liner and color petals with lavender and plum edges. Step 5: Add one highlight dot on the top edge of each outer petal.
Use the same lip shape every time; tracing your own lip outline once helps your hand learn it.
Avoid random sizes — pick a height (about 2.5 inches tall) and stick to it.
13. Orchid Flower Crown for Kids (Headband Style Drawing)
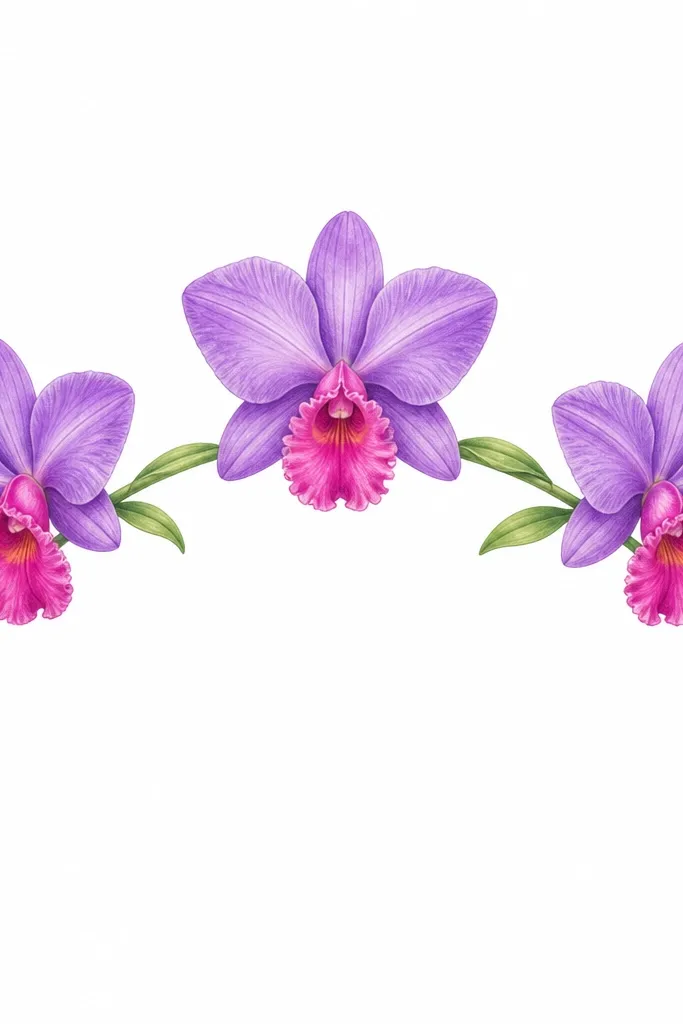
Step 1: Draw a curved headband arc across the page, about 2/3 of the width, with small ends dropping slightly. Step 2: Place one orchid in the center of the arc and two smaller orchids near the sides, following the arc direction. Step 3: Connect each orchid to the arc with a short curved stem and one leaf. Step 4: Outline everything with a dark marker, then color petals lavender with plum edges and lips bright pink. Step 5: Add tiny white highlight dots on each lip and one on each front petal.
A flower crown layout teaches kids how to curve stems and place flowers along an arc, which is where drawings often fall apart. The crown also makes the project feel like a craft even though it’s just drawing. Use three orchids — one centered, two flanking — so the composition looks balanced. I like the lip as the brightest pink because it makes each orchid read even if the petals are simple. This works for kids who enjoy making things “for someone,” like a pretend crown for a doll or a character.
Common mistakeAvoid straight stems on a crown; stems should curve to match the arc.
Good to knowKeep the side orchids smaller by about half, so the crown doesn’t look top-heavy.
14. Orchid with Lifted Paper Petal Effect (Tape + Color)
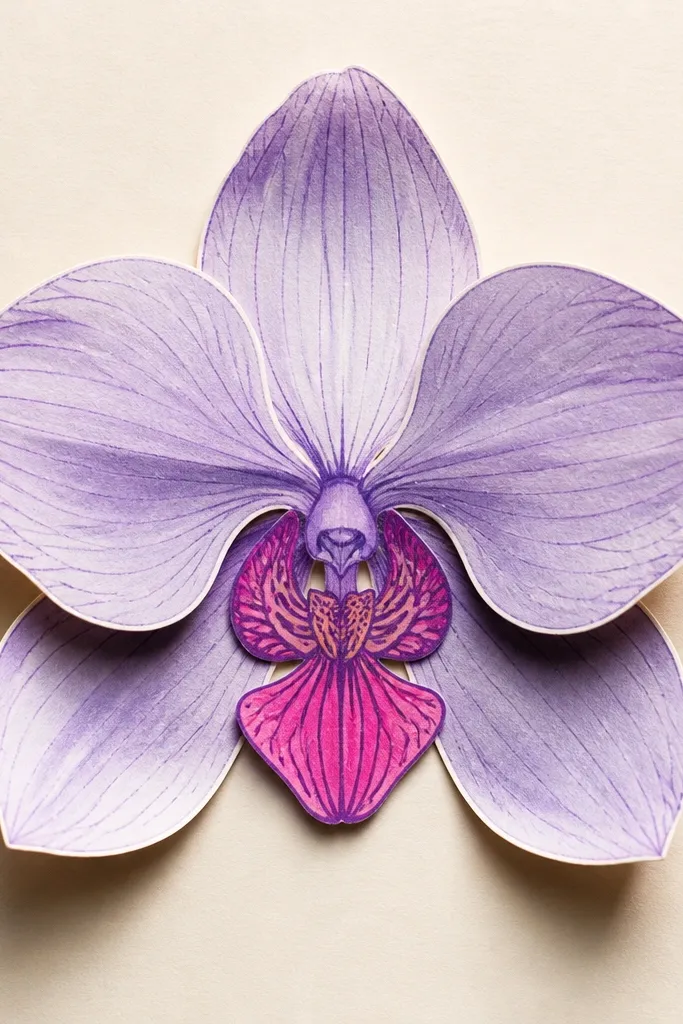
Step 1: Draw and color the orchid on a second sheet, then cut out just the two outer petals carefully, leaving the lip and inner petal on the base. Step 2: Place the cut petals back on the base orchid and mark where they land. Step 3: Tape tiny strips (like 1 cm) under the cut petals so they lift about 2-3 mm. Step 4: Outline the base orchid so the lifted petals blend, then add the center lines and stripe on the lip. Step 5: Press gently so the tape sticks and the petals hold their shape.
This one looks 3D and it’s surprisingly simple. You draw the orchid normally, then cut only the outer petals and lift them with tiny tape bits so they sit above the paper. The shadow makes the flower look more detailed even when kids keep the center simple. Use a bright purple for the lifted petals and a slightly different pink for the lip so the layers separate. This style is great for older kids who can handle cutting carefully, and it’s a fun upgrade for a display on a fridge or bulletin board.
Common mistakeAvoid lifting the lip too; the center should stay crisp and flat.
Good to knowUse a craft knife or kid-safe scissors with short snips; clean edges make the 3D effect look intentional.
15. Orchid Drawing with Tiny Butterflies and One Leaf (Minimal Scene)
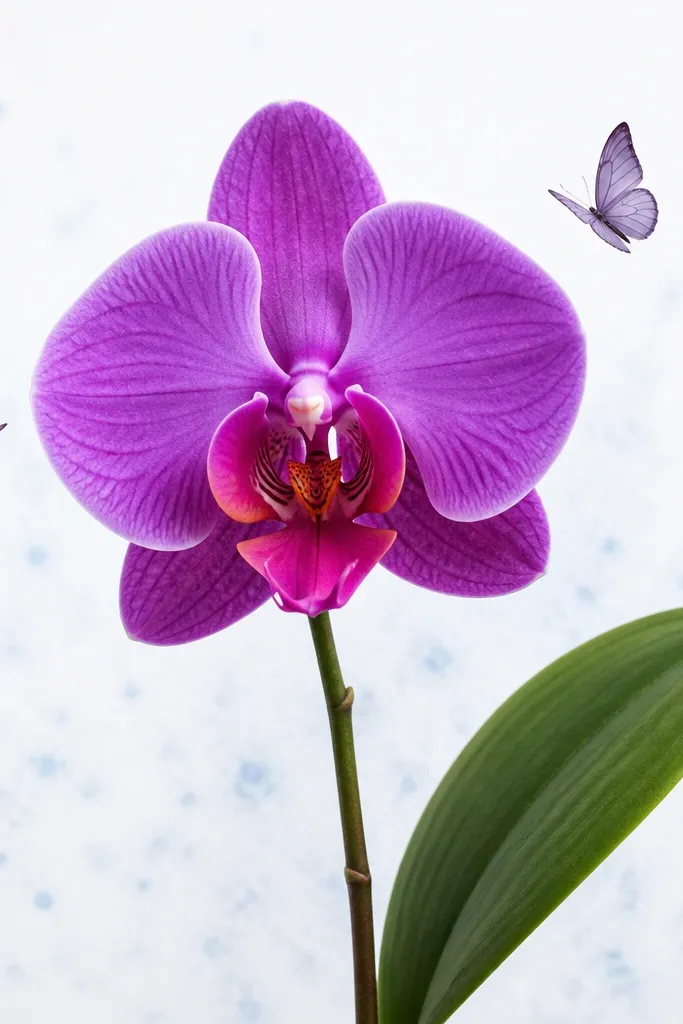
Step 1: Draw the orchid stem and the classic single orchid slightly above center. Step 2: Add one leaf using a simple oval with a center vein line. Step 3: Draw two butterflies near the top petals using two rounded wing teardrops per butterfly and a tiny body line. Step 4: Outline the orchid and butterflies with a dark marker, then color the petals lavender and edges plum. Step 5: Color the lip bright pink, add six center marks, and add a few light-blue speckles behind the butterflies with a brush.
If your kid wants a “story” but hates clutter, this minimal scene is perfect. The butterflies are simple shapes that don’t compete with the orchid, and the single leaf gives the stem a natural frame. Keep butterflies small — about the same width as the orchid lip — so the orchid stays the main event. Color the butterflies in pale blue and yellow with a few darker wing dots. This style flatters beginners because the extra elements are forgiving and the orchid still teaches the core structure.
Common mistakeAvoid adding lots of extra flowers; two butterflies and one leaf are enough.
Good to knowPlace butterflies where there’s empty white space; it makes the scene look airy instead of crowded.