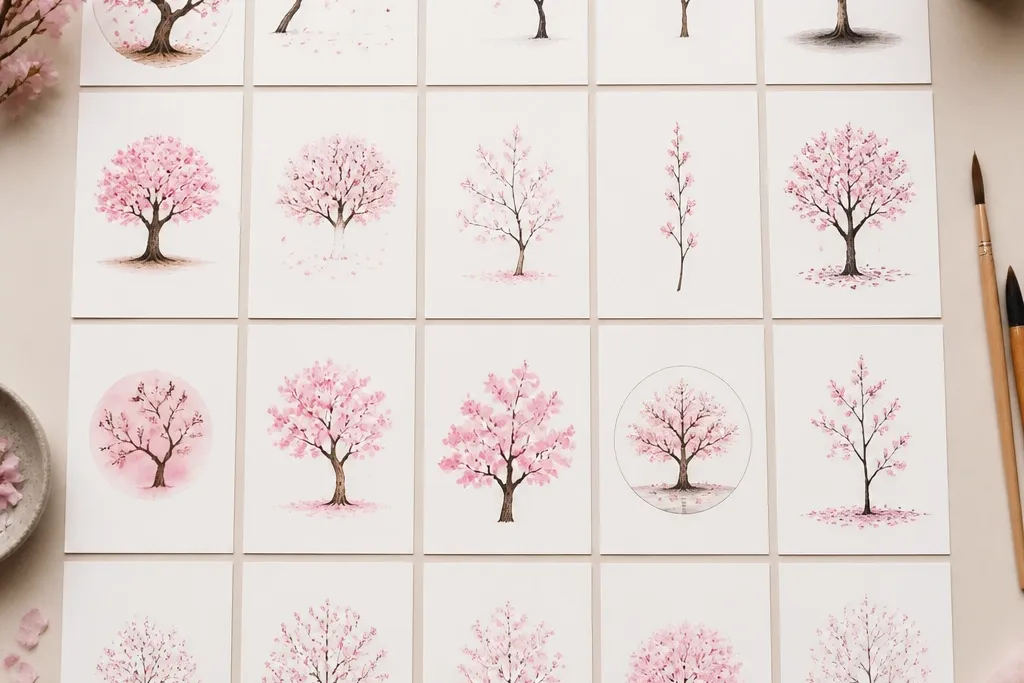
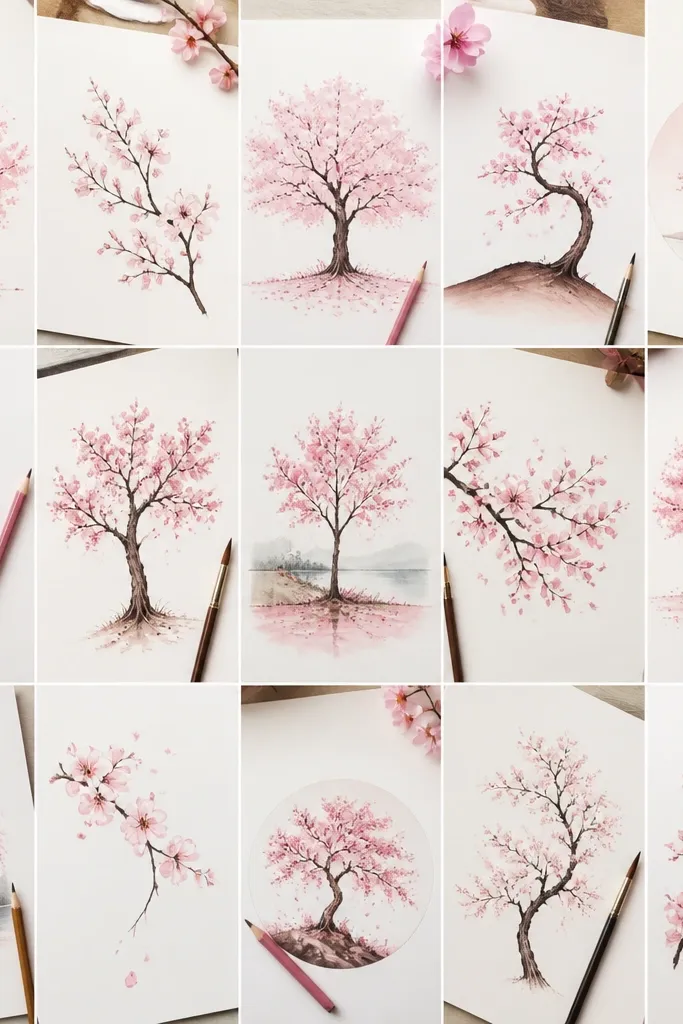
1. Crayon Blossom Burst on a Single Branch
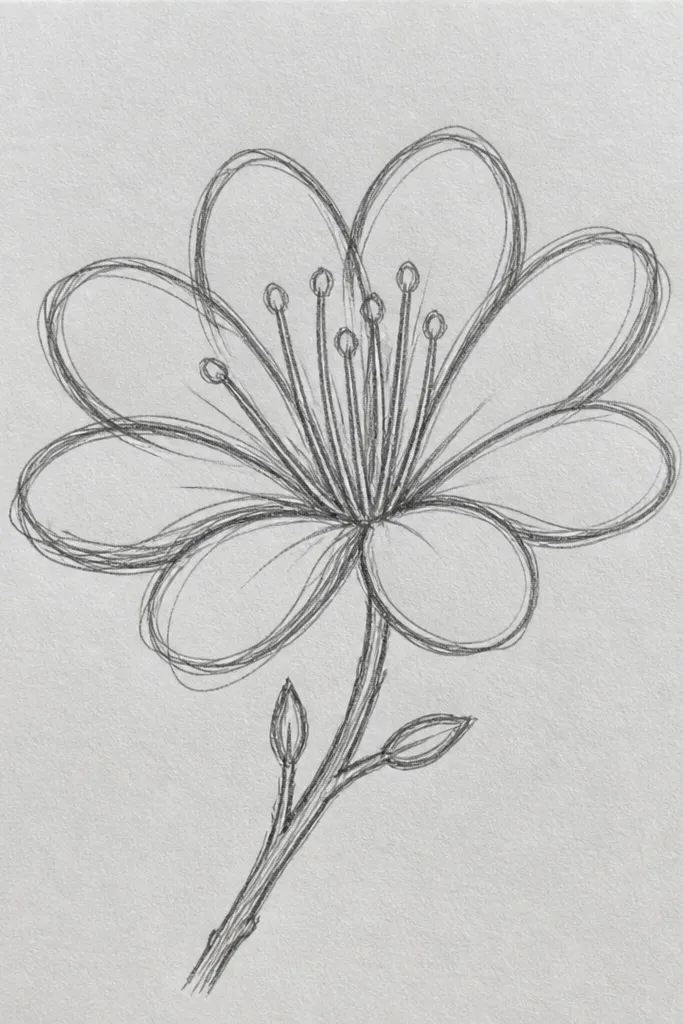
This one works because it keeps the tree small and confident. Draw the branch as one long arc that thickens slightly near the trunk, then place blossoms in grouped bursts — not scattered dots. Use three shades of pink: pale pink for base blossoms, medium pink for the cluster centers, and a deeper rose only where blossoms overlap. Kids and beginners like it because it looks “finished” even with simple shapes, and it doesn’t require shading skills. It flatters anyone’s style too — slim branches make the page feel airy, and the white space makes the blossoms pop.
Start by lightly sketching the branch line using a brown or dark peach crayon, curving it from bottom left to upper right. Add one big blossom cluster where the curve peaks, then place two medium clusters along the branch and leave the very tip for small dots. Press the crayon harder in the center of each cluster to create a darker core, then soften the edges with a lighter touch. Finally, add 5-8 tiny petal dots around the clusters to suggest drift, then stop — less looks cleaner here.
Good to knowUse a white colored pencil or crayon to “erase” tiny highlights on the blossom edges so they look glossy.
Common mistakeDon’t fill the whole page with pink — empty space is what makes the blossoms look like they’re floating.
2. Marker-Friendly Cherry Tree Silhouette with Pink Clouds
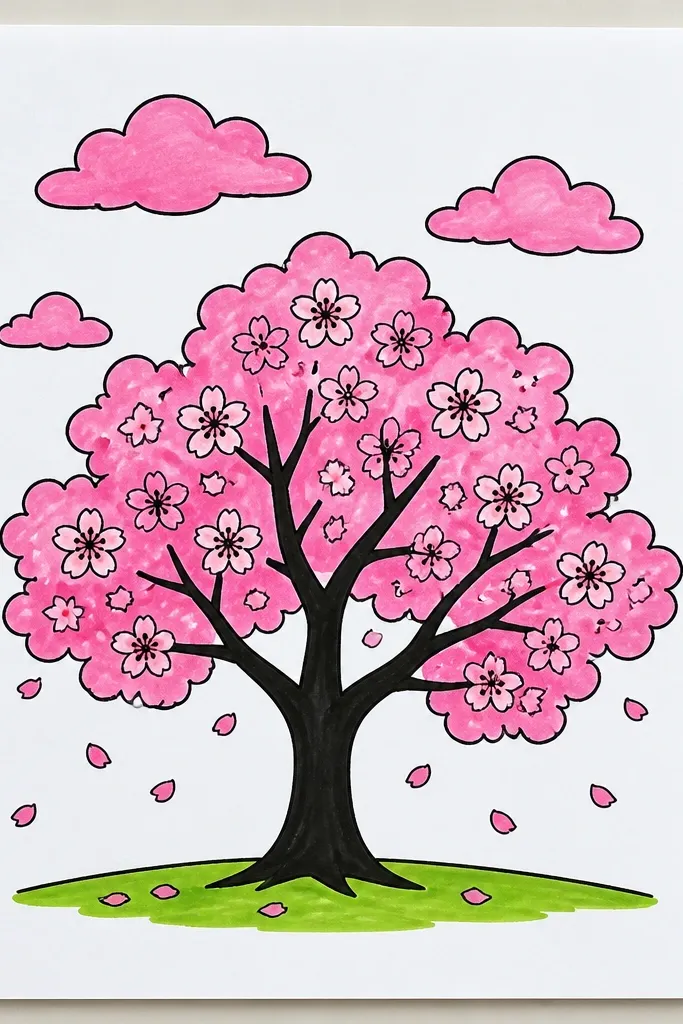
Silhouettes are fast and forgiving, especially with markers. You’re drawing the tree structure in one bold color, then placing blossom “clouds” on top so the petals look like soft puffs. Use dark brown or near-black for the trunk and main branches, then layer two pink tones: light pink clouds first, rose clouds second. This style looks great on kids' drawings because it hides shaky branch details while still giving a clear tree shape. It’s also flattering for wider paper, because the canopy fills the top half and makes the drawing feel balanced.
Start by drawing a thick trunk and 4-6 main branches with steady marker strokes, keeping the branches fanning upward. Fill the canopy area with rounded cloud blobs in light pink — leave gaps so the brown silhouette shows through. Add a second layer of rose-pink clouds slightly offset, concentrating more density near the trunk and thinning toward the tips. Finish with a few tiny dot clusters in the background using a pale pink marker, and keep them sparse near the edges.
If your markers bleed, outline the silhouette with pencil first, then go over with marker once the pencil lines are faint.
Avoid using one single pink tone for all blossoms — it looks flat and muddy instead of layered.
3. Pencil Line Art with Watercolor Wash Background
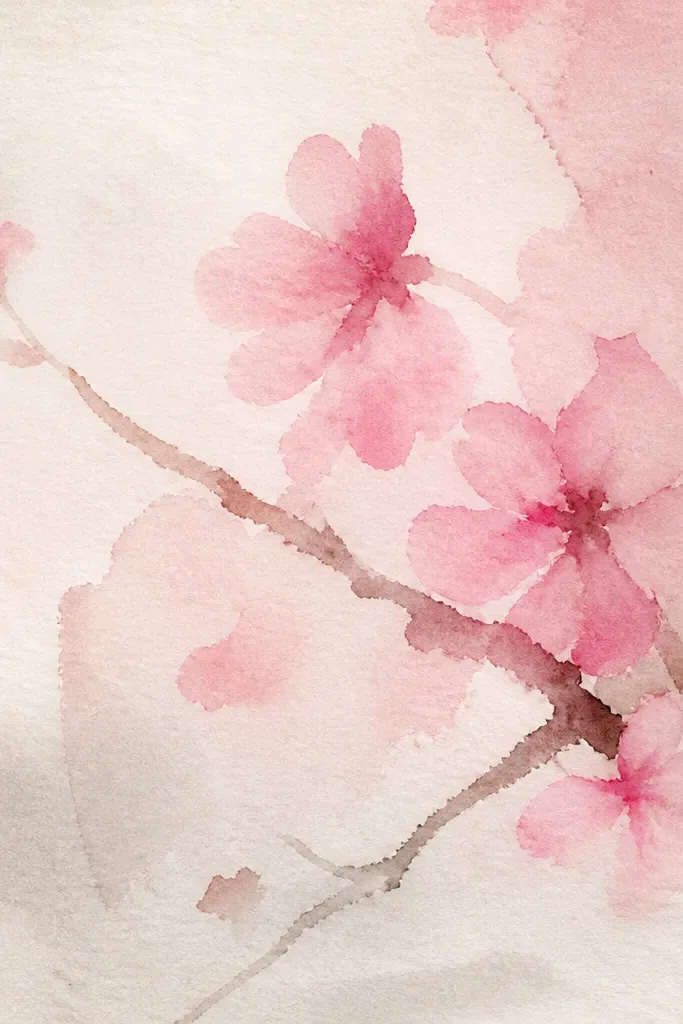
This is the dreamy one that still stays easy. You keep the branches as thin pencil lines, then paint a light watercolor sky wash so the blossoms feel suspended in air. Use a pale lavender wash for the sky, then add a blush-pink tint near the lower third of the page. For blossoms, stick to simple circle clusters — draw a few petal bumps around each circle, then leave the centers slightly lighter. This style looks flattering on any paper size because the wash creates depth, and the light line work keeps everything airy. It also works well for kids who love painting but get frustrated with detailed branches.
Start by sketching 3 big branches and several twig lines lightly in pencil, leaving the top right a little emptier for sky. Wet the background with a clean paintbrush (not the branches), then paint a pale lavender wash across the top and blend it into lighter color near the bottom. While the wash is still slightly damp, tap in blush pink for soft cloud-like color. Let it dry completely, then draw blossom clusters using circles and small petal marks in colored pencil or watercolor pencil, concentrating clusters along the branch arcs.
Good to knowUse a scrap paper under your hand to avoid smudging pencil lines while the wash dries.
Common mistakeDon’t paint directly over your pencil blossoms — it turns the petal outlines gray.
4. Cherry Blossom Branch Frame for a Kid's Coloring Page
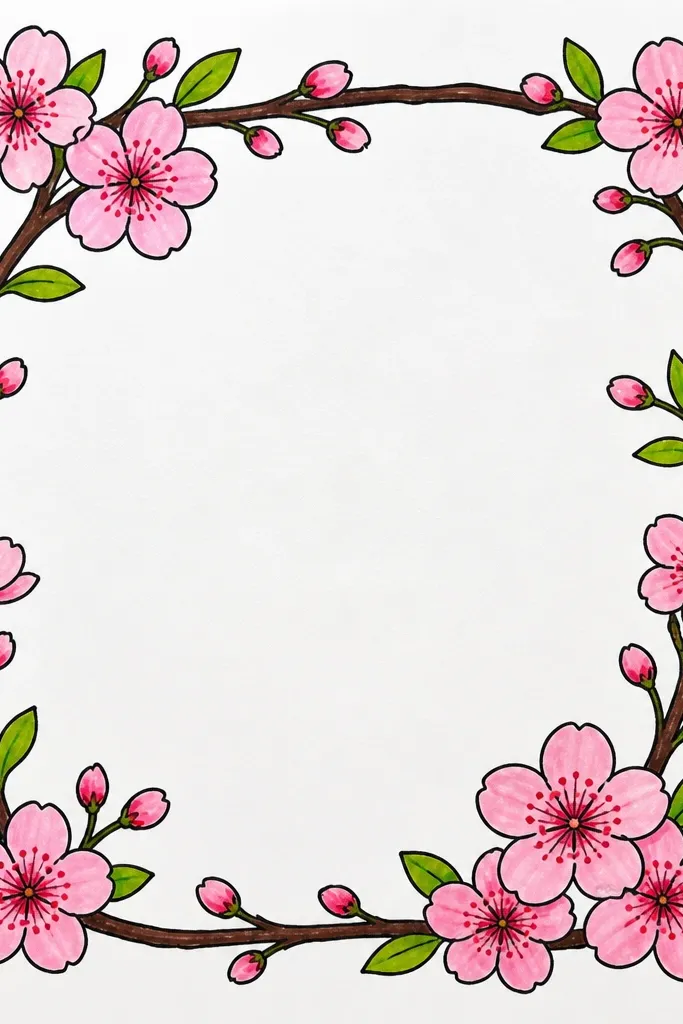
A frame is a cheat code for clean results. Kids can color inside the border without worrying about perspective, and you get a finished-looking piece even with minimal shading. Draw the border branches as two main arcs that connect at corners, then add short offshoot twigs. Place blossoms as clusters along the border only, leaving the center blank so the composition looks intentional. I like this for making cards because it gives you a built-in “window” for a message or a tiny drawing later.
Start by lightly drawing a rectangle margin about 1 inch from the paper edges. Add two thick branch lines along the top and left edges, then connect to the right and bottom corners with thinner arcs. Put blossom clusters on the border every 1.5-2 inches, mixing pale pink centers with darker rose edges. Color the branches with light brown or muted gray so the pink stays the star, then add a few stray blossom dots inside the rectangle for drift.
Good to knowUse a ruler for the outer rectangle, but freehand the branches so they look natural.
Common mistakeSkip perfect symmetry — a slightly uneven cluster spacing looks more like real branches.
5. Cherry Tree with Falling Petals and a Simple Ground Line
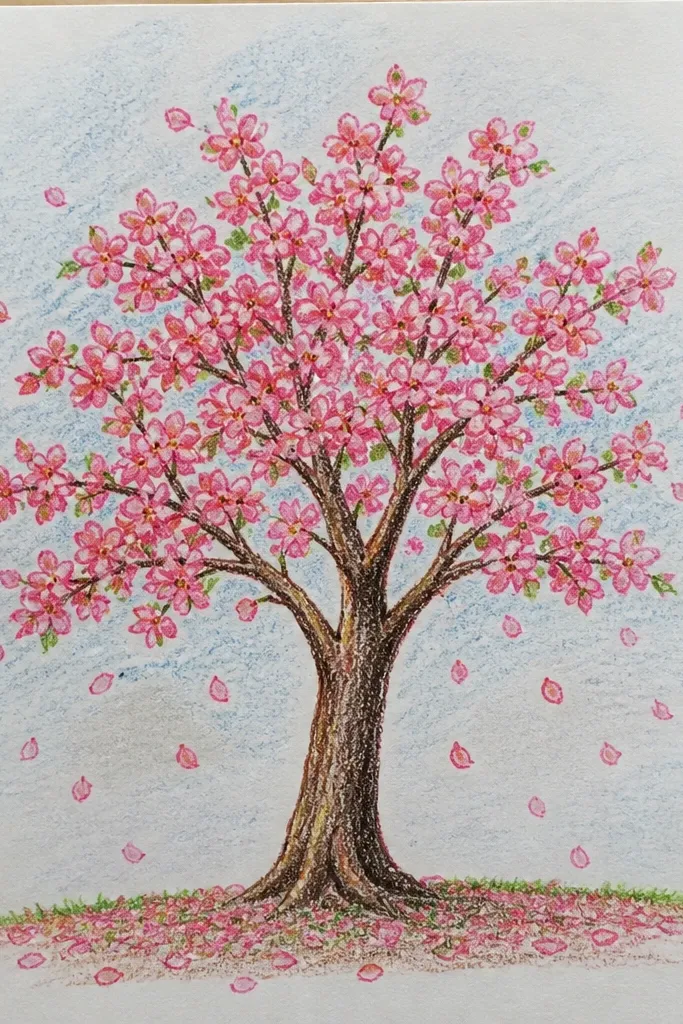
This one adds motion without adding complexity. The tree stays simple, and the falling petals do the heavy lifting for that “spring day” feeling. Draw falling petals as short teardrop shapes, then vary their size so some petals look close and others look far. Use a light gray ground line so the tree has a base, then keep the sky plain. This style is flattering for kids because it hides shaky trunk lines — the eye goes straight to the petal stream. It also looks great for classroom sheets because it’s easy to reproduce and color.
Start by drawing a straight horizon line with a soft gray pencil or crayon, leaving a small gap above it for the trunk. Draw the trunk as a slightly curved line, then add 4 main branches that spread upward. Place blossom clusters along the branch tips, then add falling petals: draw 20-30 teardrops, with longer ones near the top and smaller ones near the bottom. Color the petals pale pink and leave a few white by not coloring them at all, then add a few tiny shadow marks on the horizon line.
Good to knowTo make petals look like they’re drifting, slant half of them slightly left and half slightly right.
Common mistakeDon’t make petals all the same size — it reads like confetti.
6. Mini Cherry Blossom Tree in a Pot (Cute and Tiny)
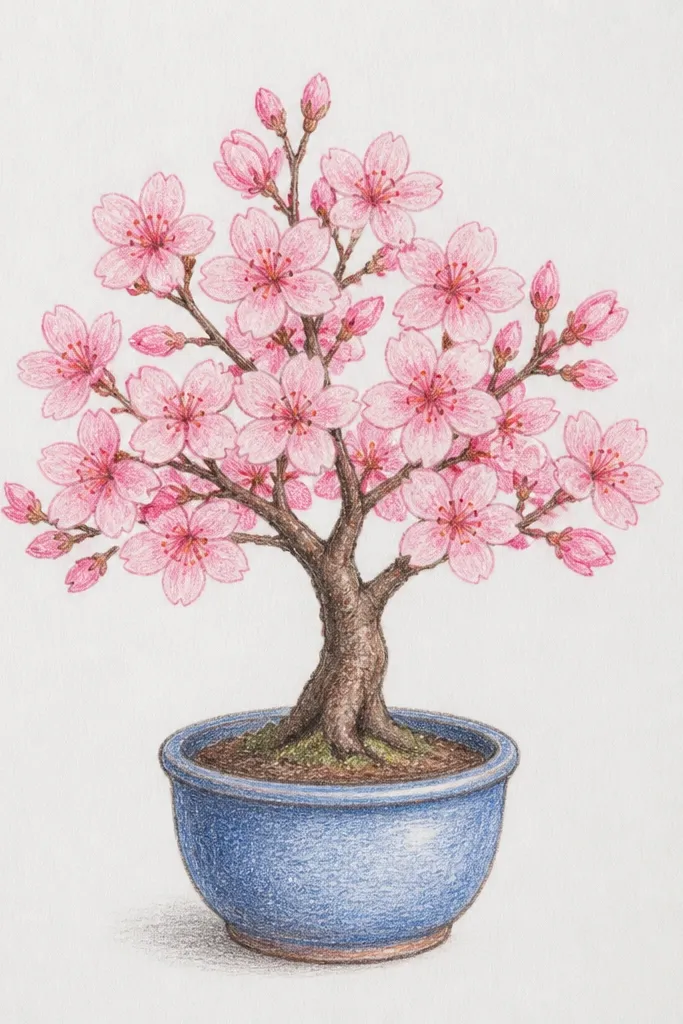
Tiny trees are easier than full trees because you control the space. A compact canopy also makes blossom clusters look dense and pretty instead of stretched out. Use a slim trunk so the pot and canopy feel balanced, and keep branch lines short. This style looks great on kids because it’s hard to mess up proportions when everything is small. It also looks good for adults who want something cute for a sticker sheet or classroom craft.
Start by drawing a small pot shape: an oval rim and a slightly wider base, both about 1.5-2 inches tall on your page. Draw a thin trunk line from the pot center, then add 3 short branches that spread like a fan. Add blossom clusters as round bumps along the tips, using pale pink first and rose second. Color the pot in light brown with a darker brown rim, then add 6-10 falling petals that land around the pot but don’t cover it completely.
Add one tiny highlight line on the pot rim with a white gel pen so it looks glossy.
Don’t let the canopy extend past the pot width — the tree will look top-heavy.
7. Cherry Blossom Branch with Hanging Blossoms Only
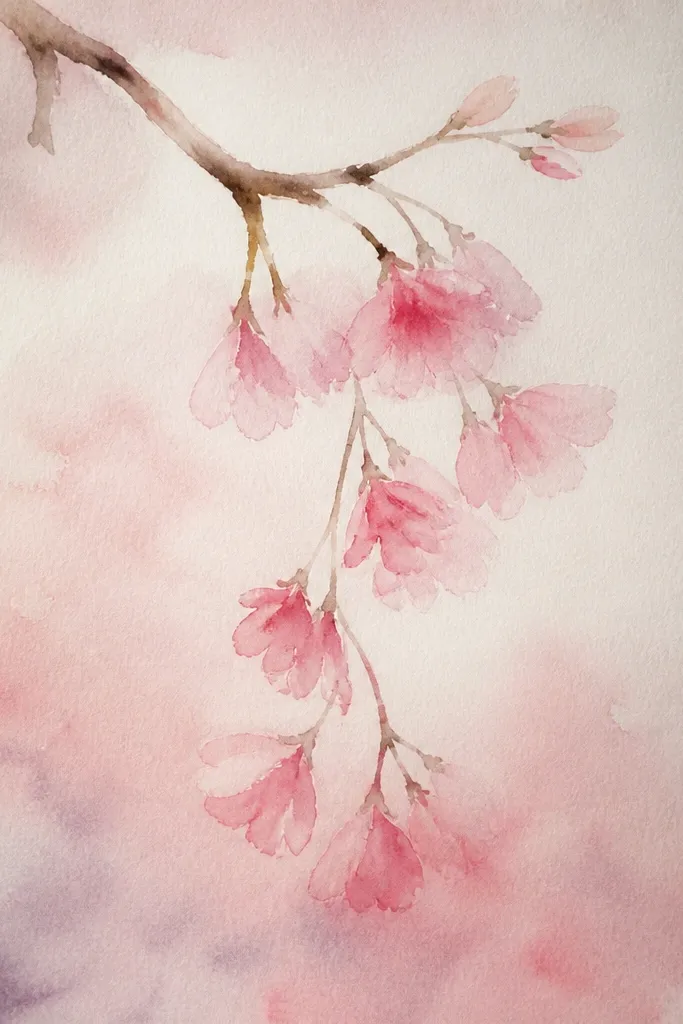
Hanging blossoms look special because they break the usual “upward canopy” shape. You draw one branch and then cluster blossoms underneath, which makes the drawing feel elegant without needing fancy shading. Use a light blue background if you want it to feel cooler, then add blossoms in blush pink and rose. This style flatters kids who struggle with lots of branch lines because you only need one main branch and a few offshoot twigs. It’s also great for cards because it leaves negative space for a message area.
Start by drawing a main branch line slanting down, then add 2-3 short twigs pointing downward from it. Draw blossom clusters under each twig: make 4-6 small petal shapes around a center point, then fill the cluster lightly with pale pink. Add a second pass with rose-pink only on the lower edges of each cluster to give depth. Finish by adding a few tiny petal dots drifting near the branch, keeping them mostly under the branch so the composition stays focused.
Good to knowUse a dotting tool or the eraser end of a pencil to tap blossom centers for consistent circles.
Common mistakeSkip drawing blossoms all over the branch — keep them hanging so the shape reads clearly.
8. Cherry Blossom Tree with Traditional East-Asian Brush-Style Branches (Still Easy)
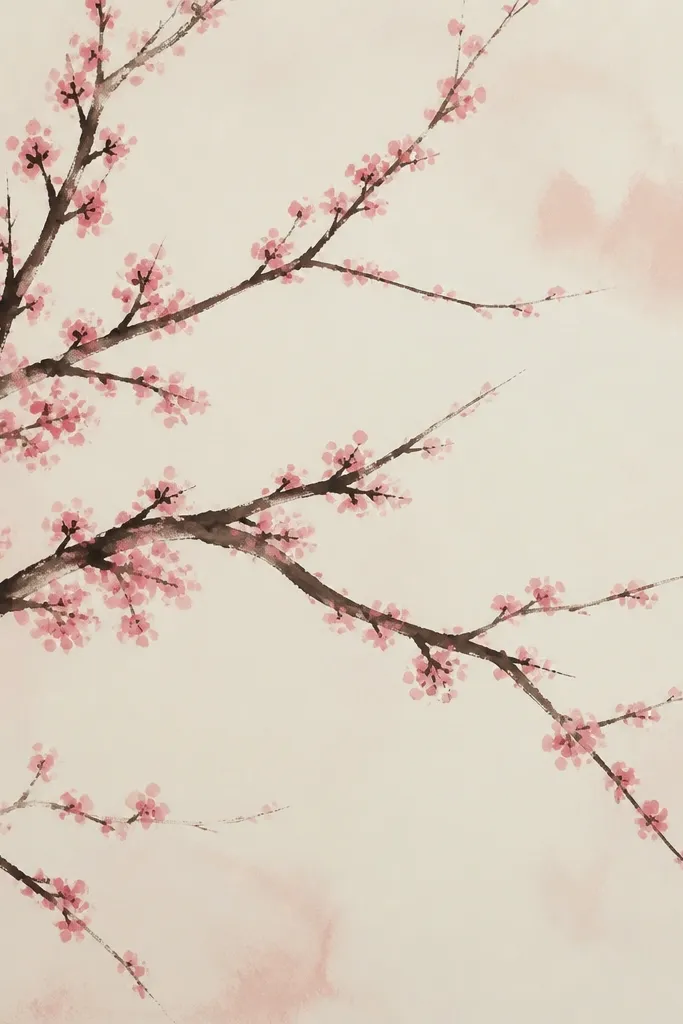
Brush-style branches look like you spent way more time than you did. The secret is taper: thick where the stroke starts, thin where it ends. You don’t need real calligraphy tools; a thick paint marker or a brush pen works great. Then you add blossom clusters as round marks, not detailed petals, so you keep it easy for kids. This style flatters most coloring palettes because the branches stay neutral and the pink pops. It also looks good on textured paper if your marker doesn’t bleed.
Start by wetting your brush pen tip slightly (just a touch) so the first part of each stroke lays down thicker. Draw 5-6 main branches with taper ends, curving them upward and outward. Add tiny twig marks with lighter pressure for variety. For blossoms, tap small round clusters along the branches using a pink marker or a cotton swab with pink paint, then layer rose dots in the centers. Leave some branches mostly bare so the negative space frames the blossom clusters.
Good to knowPractice one branch on scrap paper first — taper comes from pressure control, not perfect drawing.
Common mistakeDon’t outline every branch — filled-in blobs make it look heavy and cheap.
9. Watercolor Resist Look with White Gel Pen Blossoms
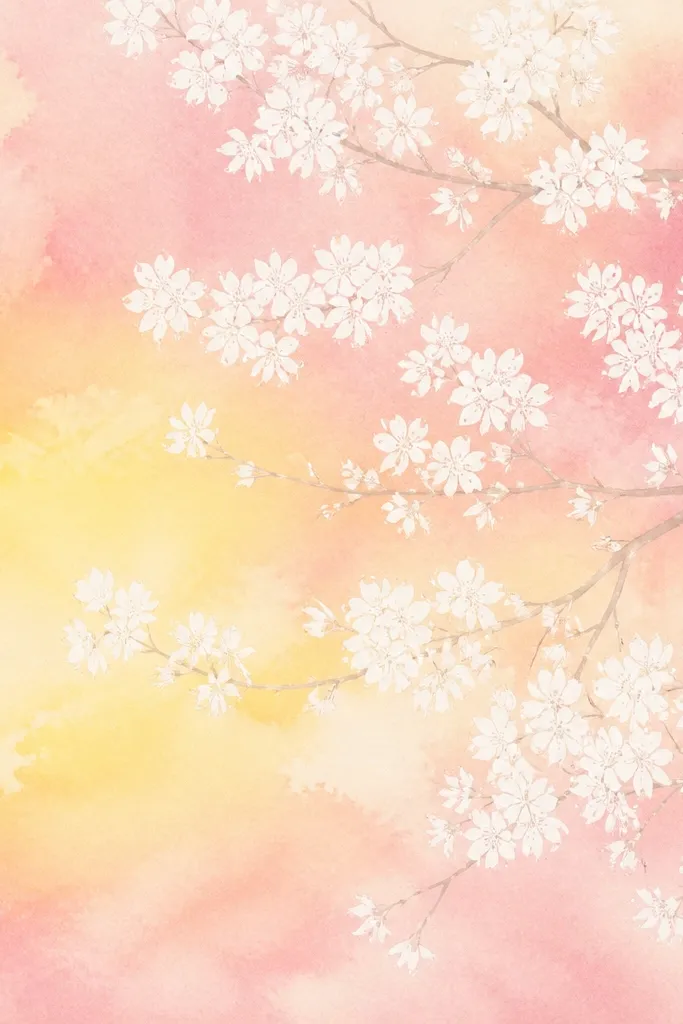
This gives you the “petals glowing” look without doing complicated masking film. You paint the background first, then draw blossom shapes with a white gel pen on top so they stay bright. It’s surprisingly forgiving because the white pen covers uneven watercolor edges. Use a faint branch sketch in light brown pencil, then paint a soft wash of pale pink and warm yellow near the bottom. This style flatters anyone who likes a soft, dreamy look and doesn’t want to fight with bleeding markers.
Start by sketching branch arcs lightly in pencil, keeping them simple and spaced out. Paint the background with a loose watercolor wash: pale pink across the middle and a warm yellow tint near the bottom for warmth. Let it dry fully. Then draw blossom clusters as small circles or teardrop petal bumps using white gel pen, focusing clusters near branch tips. Add a tiny dot of rose-pink marker inside a few white clusters for depth.
Good to knowUse a thicker gel pen (0.8-1.0) so the white stays opaque over watercolor.
Common mistakeDon’t paint too dark under the blossoms — white pen won’t rescue deep purple shadows.
10. Cherry Blossom Tree at Sunset with Orange Horizon
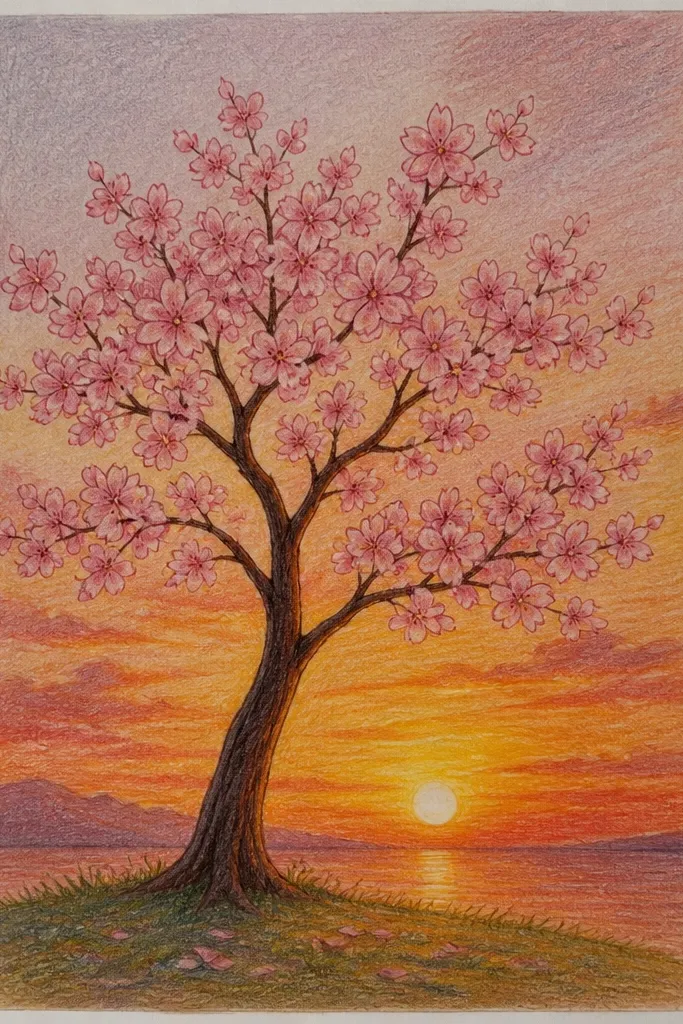
Sunset skies make cherry blossoms look extra soft and romantic, and you don’t need realism to pull it off. The orange horizon gives the scene a warm base, while the lavender sky cools the top so the pink petals look warmer by contrast. Keep the tree simple: one trunk and a few main branches, then blossom clusters on the tips. This style flatters kids because it uses big color blocks instead of lots of fine detail. For adults, it looks “gallery-ish” even when the drawing is quick.
Start by drawing a horizon line and a simple trunk with 4 main branches. Color the sky with crayons or markers in three horizontal bands: pale peach near the horizon, then lavender in the upper half. Add a warmer orange band right behind the tree so it looks like sunset light. Draw blossom clusters on the branches using light pink, then add rose accents at the cluster edges. Finish with a few falling petals in pale pink that drift down into the orange band.
Blend the peach-to-lavender boundary with light circular scribbles so it doesn’t look like hard stripes.
Avoid using only one color for the sky — a flat sky makes the blossoms look disconnected.
11. Cherry Blossom Drawing with Bubble-Petal Technique (Sponge or Thumb Prints)
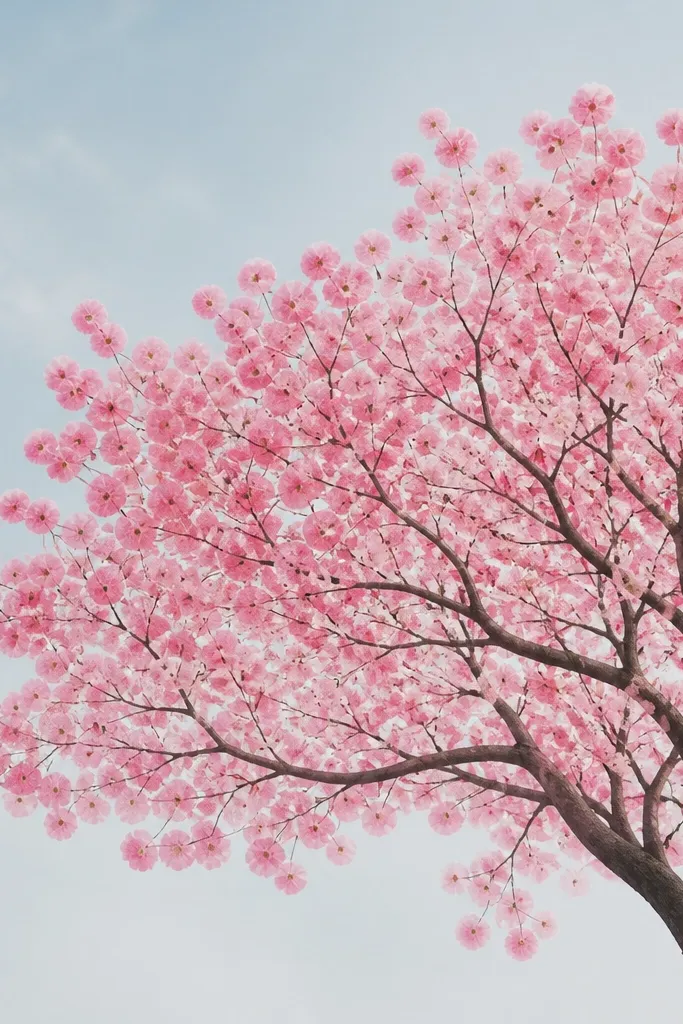
Bubble-petal clusters look like real blossoms because each petal mark is rounded and soft. The technique is simple: you’re pressing a sponge or the eraser end of a pencil to make consistent “petal dots,” then clustering them along branches. It’s a great option for kids because it reduces drawing precision demands — the canopy fills in fast. I like it for budget supplies because you can use a craft sponge you already have. The result looks whimsical, not messy, when you keep the clusters grouped and follow the branch direction.
Start by sketching 3 main branches and a few twig lines in pencil so you know where the canopy goes. Dip a sponge corner lightly into pale pink paint (or pink ink) and press clusters along the branch tips, leaving gaps for air. Switch to rose paint and press only the centers of a few clusters for contrast. Let it dry, then add a thin brown line on the branch areas you want to sharpen. Finally, add 5-10 tiny single-print petals drifting near the edges of the canopy.
Wipe the sponge between colors so rose doesn’t turn everything into one muddy shade.
Don’t press randomly across the whole page — clusters need to follow the branch arcs.
12. Cherry Blossom Tree with Branches Crossing Like a Wishbone
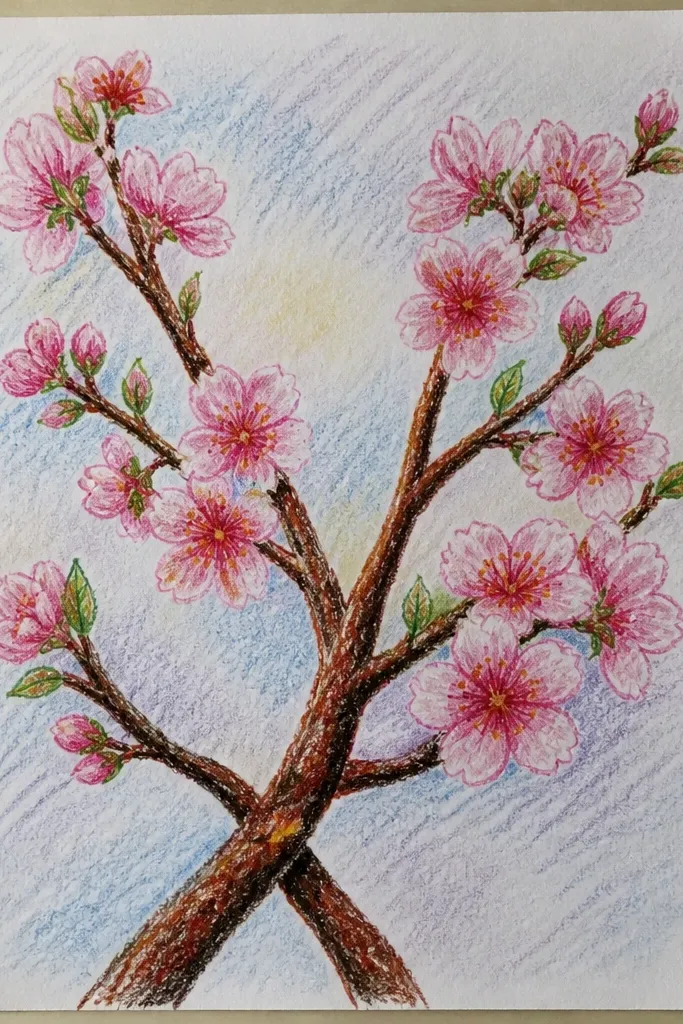
Crossing branches create instant structure. Your blossoms have clear “lanes” to sit on, so the drawing looks intentional even if blossoms are simple circles. Keep the crossing near the center and thin out blossoms near the intersection — that negative space makes the tree read as a real plant. Use soft pink and rose, and keep the branch color a neutral brown or gray-brown. This style flatters small spaces because it uses the page efficiently without needing a full canopy. It also looks great for kids who like symmetrical-looking compositions but can handle one imperfect crossing.
Start by drawing a light trunk line that leads to two main branches forming a loose X. Make each branch taper: thicker near the trunk, thinner at the ends. Add small twigs off the outer halves of the branches, not the crossing center. Place blossom clusters along the branch ends and the outer curves, using pale pink as the first layer and rose as the second layer in the cluster centers. Add a few petal specks around the outer edges for drift, then stop when the tree looks balanced.
Good to knowErase the crossing point lightly so the branch lines look like they pass behind each other, not like one blob.
Common mistakeAvoid heavy dark outlines on top of pink — it turns the drawing harsh.
13. Cherry Blossom Tree on a Paper Plate Sunset Craft Template
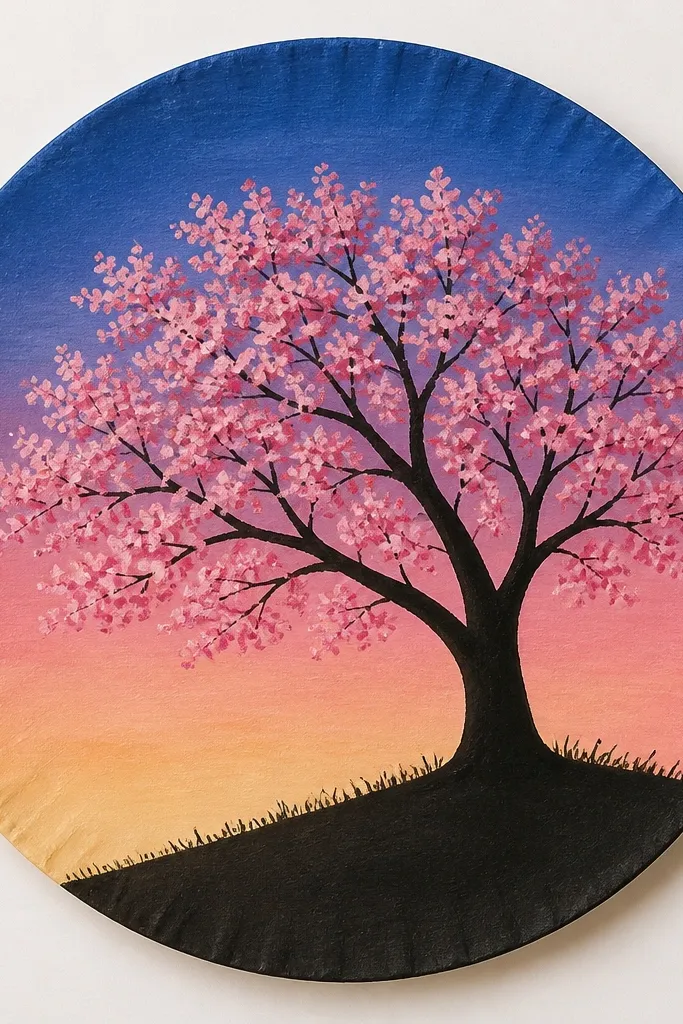
Using a circular frame makes the whole scene feel finished fast. I’ve done this with kids by drawing a circle boundary and letting them color inside it — the circular sky forces good spacing. Keep the tree as a silhouette so you don’t need detailed branches inside a small circle. Then add blossom clusters as small pink puffs on top of the silhouette canopy. This style flatters younger kids because it’s hard to mess up the horizon — the circle naturally contains it. It also looks great when you want a “sun” feel without drawing a complicated sun.
Start by tracing a paper plate on your paper to create a circle boundary, leaving a margin around it. Color the inside of the circle with a simple gradient: pale yellow at the top edge, then orange in the middle, then blush pink near the bottom. Draw a small horizon line across the lower third, and place a simple silhouette tree on it with a trunk and 4-5 branches. Add blossom clusters on the branch tips using pink markers or paint, with rose accents in the centers. Finish with a few tiny falling petals that curve downward toward the bottom of the circle.
Good to knowIf the paint stains, use marker for the blossoms and keep paint only for the sky.
Common mistakeDon’t place the tree too high in the circle — the horizon needs room for color to feel like sunset.
14. Cherry Blossom Tree with Perspective Branches (Near and Far Clusters)
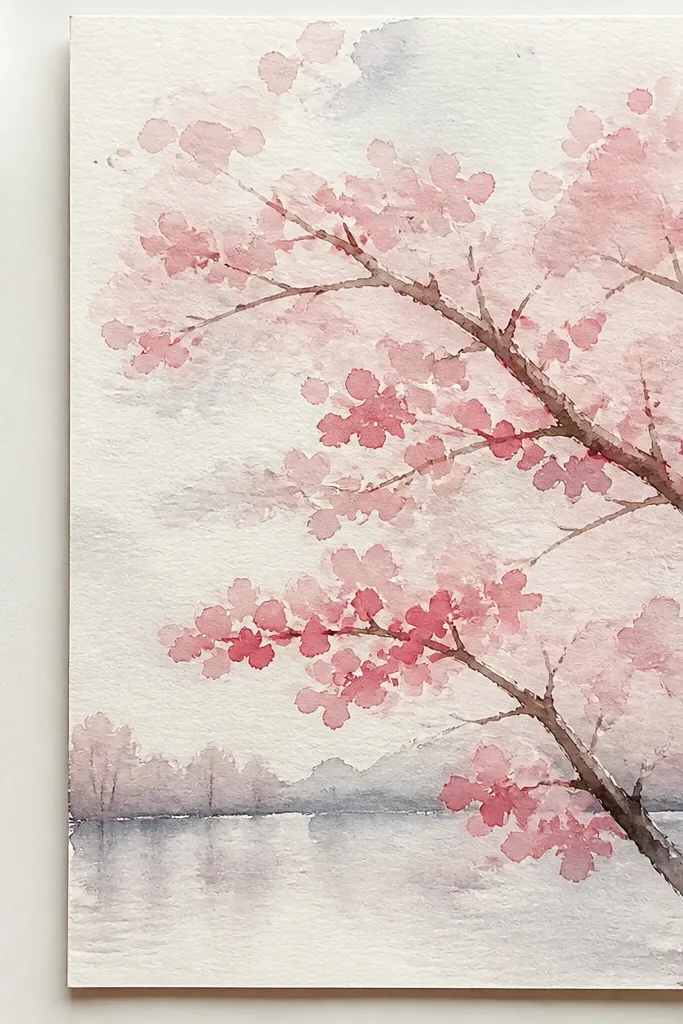
Perspective makes simple drawings look grown-up. You’re not drawing a complicated landscape; you’re just changing blossom size and detail between near and far. Foreground clusters are bigger and use darker rose, while background clusters are smaller and lighter pink. The branch lines also get lighter and thinner as they go “back,” which tricks the eye into depth. This style flatters older kids and adults who like a little challenge, but it’s still easy because the structure stays simple. The result reads like you’re looking at one tree from a slightly angled viewpoint.
Start by sketching the trunk and main branches with a light pencil, then pick one side as the foreground. Draw 2-3 larger branches on the foreground side with thicker lines, and draw thinner, lighter branches on the far side. Place larger blossom clusters on the foreground side, then add smaller clusters farther away using lighter pink. Color the foreground blossoms with pale pink plus rose centers, and keep the far blossoms mostly pale pink. Add a few tiny twigs near the far clusters so the canopy doesn’t look empty.
Use less pressure with your pencil as you move toward the background so far branches look faded.
Avoid making every blossom the same size — depth disappears fast.
15. Easy Cherry Blossom Tree with a Window Frame and Curtain Drift
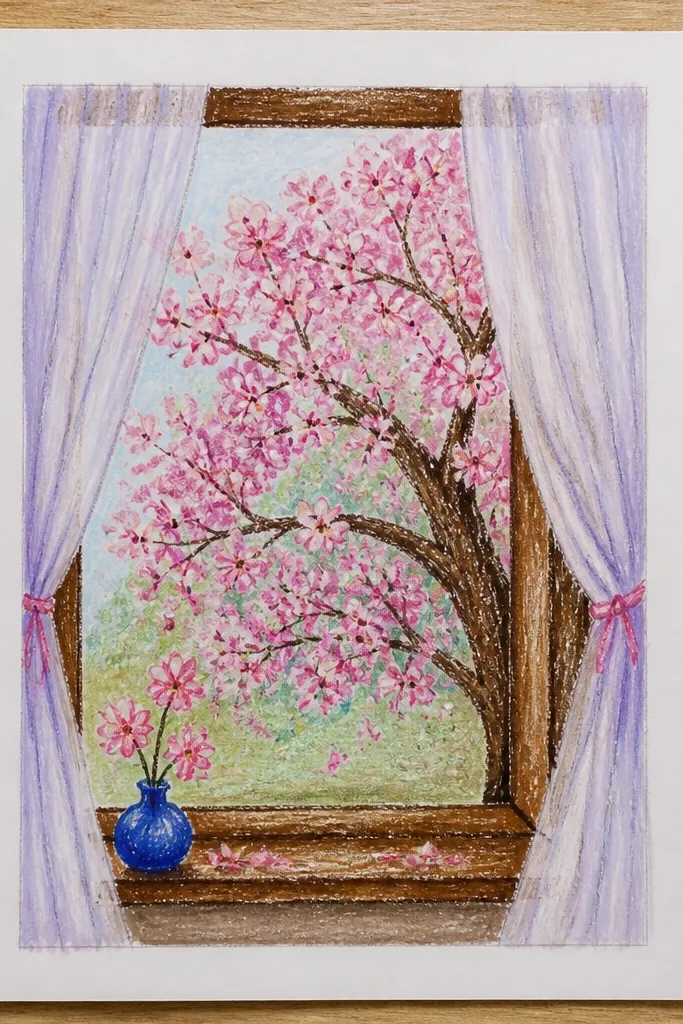
This is my favorite “story” version for kids because it gives them a simple composition rule: frame the scene. The window border makes the tree feel like it belongs in a picture, and the drifting petals create movement across the glass. Draw the window frame in a neutral gray or brown, then keep the tree slightly behind it by using lighter branch lines. Use pale pink blossoms with rose accents, and let a few petals cross the window opening so it feels like they’re blowing inward. It flatters smaller drawing spaces because the window frame controls the edges. It also makes your artwork look intentional even when the tree itself is simple.
Start by drawing a rectangular window frame with 1-2 inch margins, then add a vertical dividing bar if you want a classic look. Sketch the cherry tree inside the window using light pencil: trunk centered, 4 main branches that spread upward. Add blossom clusters mostly near the upper half of the window, and keep the lower half lighter so you can see the frame. Color the window frame with gray-brown and the blossoms with pale pink and rose centers. Finally, draw 10-15 drifting petal shapes crossing the window opening diagonally from upper left to lower right.
Good to knowShade one side of the window frame with darker pencil so it looks like it has depth.
Common mistakeDon’t overload the window with blossoms — the frame gets lost and the scene feels cluttered.