
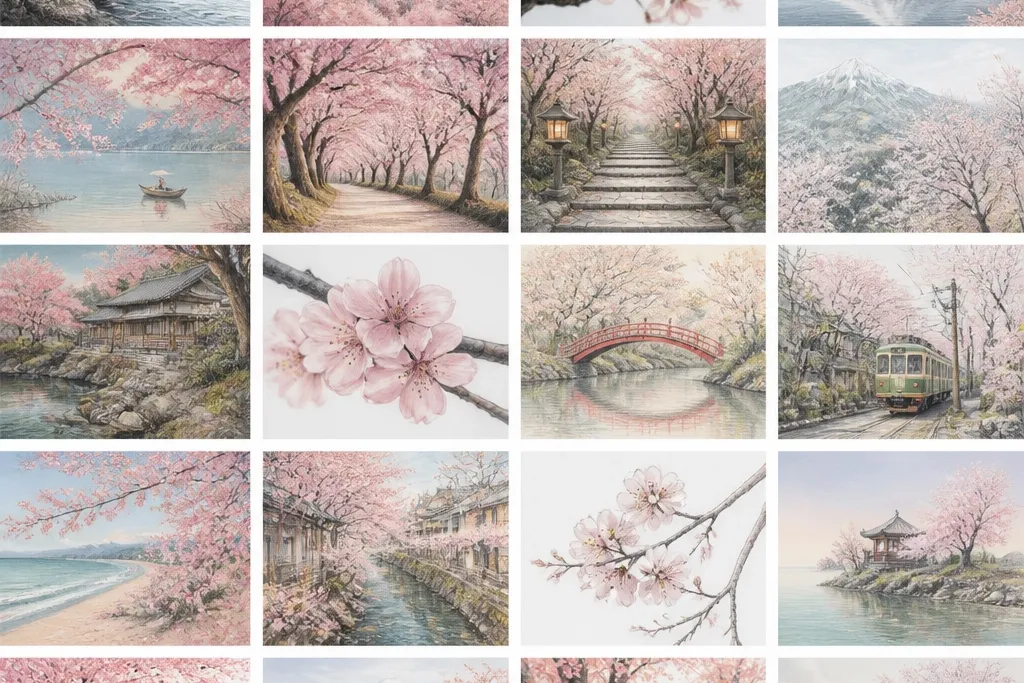
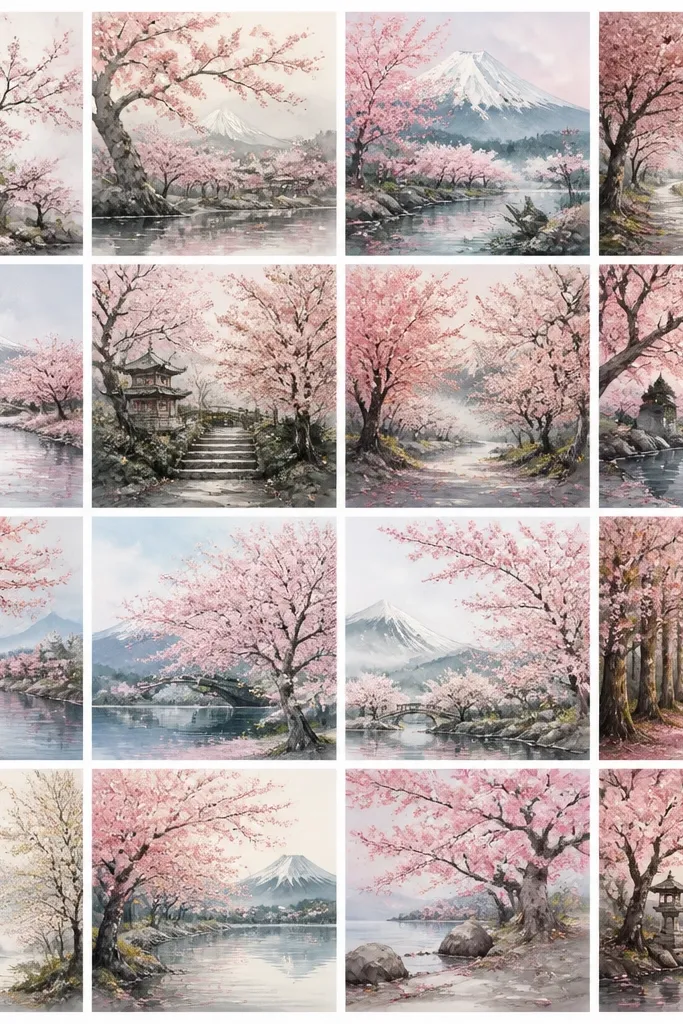
1. Lantern Path Under Soft Blossoms
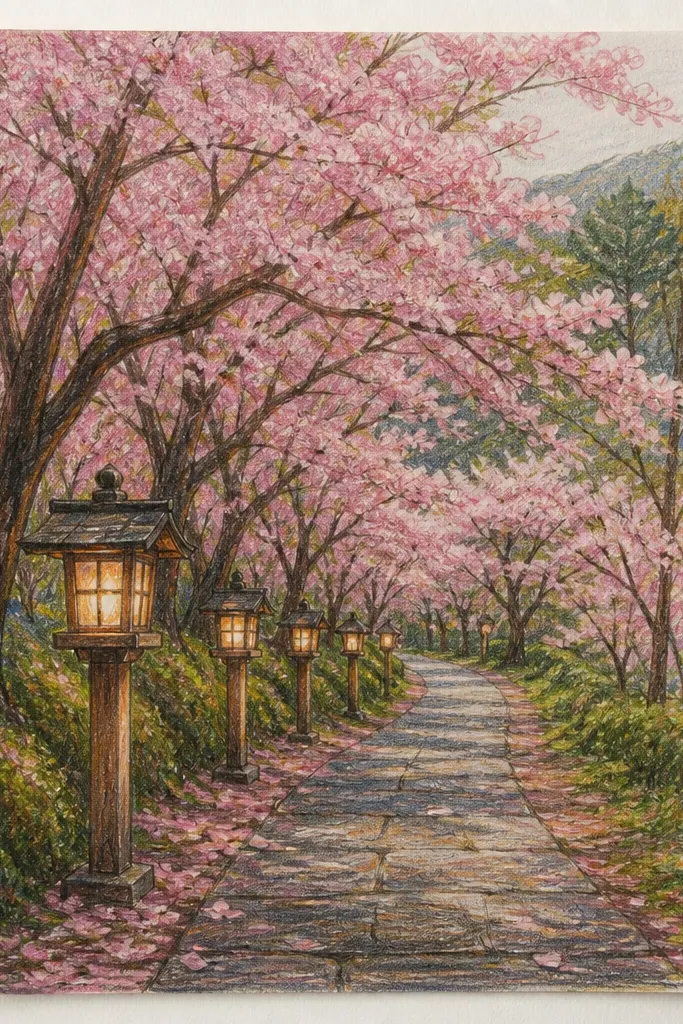
Start with a low horizon so the path dominates the bottom third. Use warm yellow-orange for the lantern glow and sky near the horizon, then fade into a pale blue-gray for the distance. The trees look cozier when the trunks are slightly thicker at the bottom and soften as they rise. This idea flatters kids and beginners because the lanterns give clear focal points and the blossom clusters can be drawn with repeatable shapes.
Step 1: Sketch the path as a wide ribbon that curves from the bottom center to the middle-right, and lightly block in a horizon line at about one third from the bottom. Step 2: Draw two tree lines flanking the path; keep the far trees smaller and lighter, then add blossoms as grouped teardrops, not individual sprinkles. Step 3: Place 6-8 lantern halos along the path, then color the halos first and outline them last so the glow reads clearly. Finally, shade the ground with a warm gray wash or pencil, keeping the darkest area right under the lanterns.
Add one bright highlight petal inside each lantern halo — it makes the glow look real.
Don’t outline every petal — thick outlines everywhere makes it look like a sticker sheet.
2. Foggy Morning Hill With Pink Mist
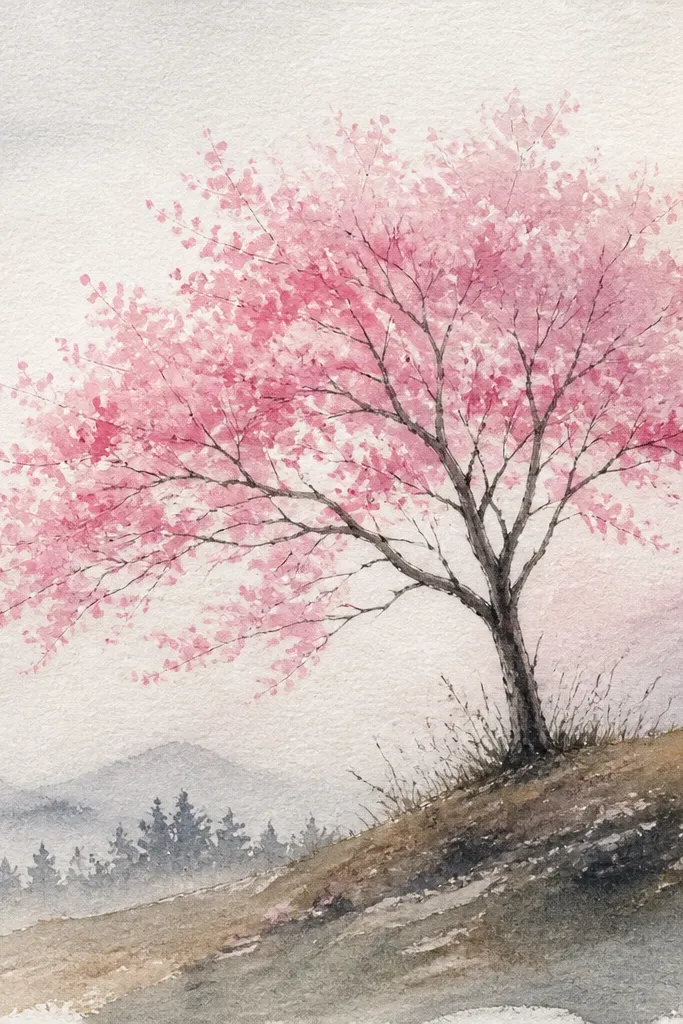
Cozy comes from softness here. Keep the farthest hills almost the same color as the sky, then let the middle hill carry faint pink haze from blossom drifting. Use cooler grays for distant edges and warm peach for the glow near the horizon. This works well for anyone who struggles with tree detail because you only need branch silhouettes and a few blossom clusters at the front.
Step 1: Draw a simple horizon and block three hill shapes, each slightly smaller and lighter than the last. Step 2: Color the nearest hill with warm gray; then add cherry branches on the front hill only, using short curved lines. Step 3: For the mist, lightly layer pale pink over the middle hill and blend it into the sky with a dry brush or soft pencil smudging. Finally, leave the farthest hill edge barely visible so the fog does the heavy lifting.
Use less pink than you think — 10% pink over gray reads like mist, not like frosting.
Avoid crisp outlines in the background; the moment you sharpen distant hills, the cozy fog disappears.
3. Cozy Window View of Blossom Trees
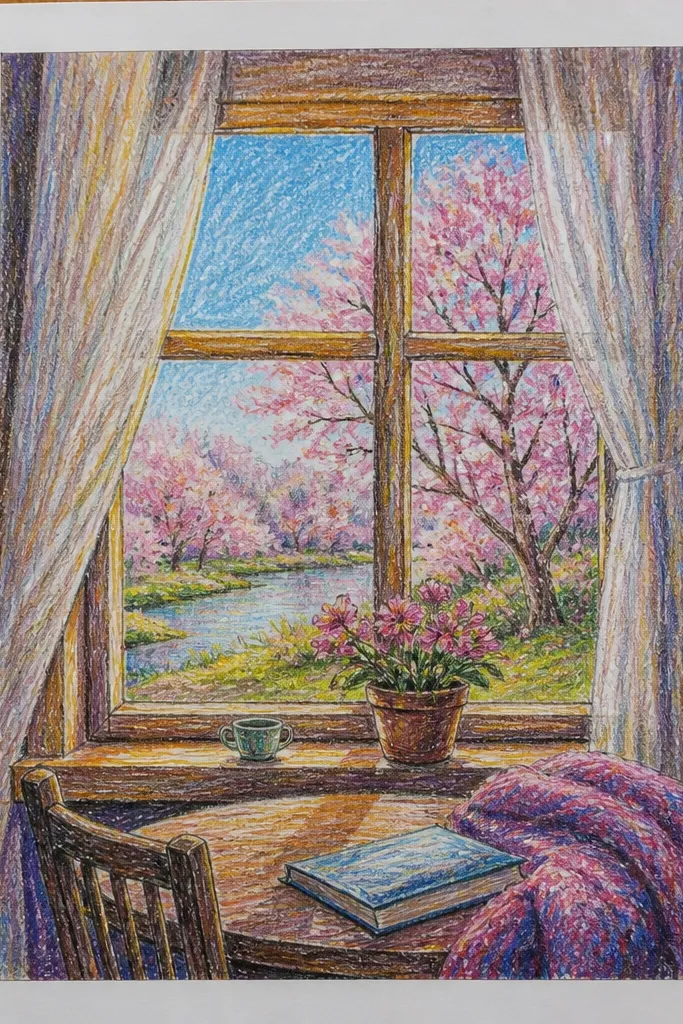
Step 1: Draw a window frame rectangle; add a thick inner border so it reads as a real opening. Step 2: On the ledge, draw simple panel lines and shade with warm brown, leaving a narrow highlight strip. Step 3: Fill the view with one main cherry branch that arcs from left to right, then add blossoms as overlapping circles or teardrops. Finally, keep the sky simple: paint or color a peach gradient behind the branch, and add two faint cloud puffs at the top corners.
This one feels cozy because it has a frame and a foreground surface. The window ledge gives you a warm, grounded base, while the blossoms inside the frame can be darker and more detailed than the outside. I like warm brown for the ledge and pale peach for the sky, because it makes the blossoms look like they’re lit from within. It’s also forgiving for kids: the hardest part is just drawing a clean rectangle.
Common mistakeDon’t make the window frame thin and pale; a weak frame makes the whole page look flat.
Good to knowAdd one tiny curtain fold on the left side with a darker brown line to give depth.
4. Bench in Bloom With Dappled Shade
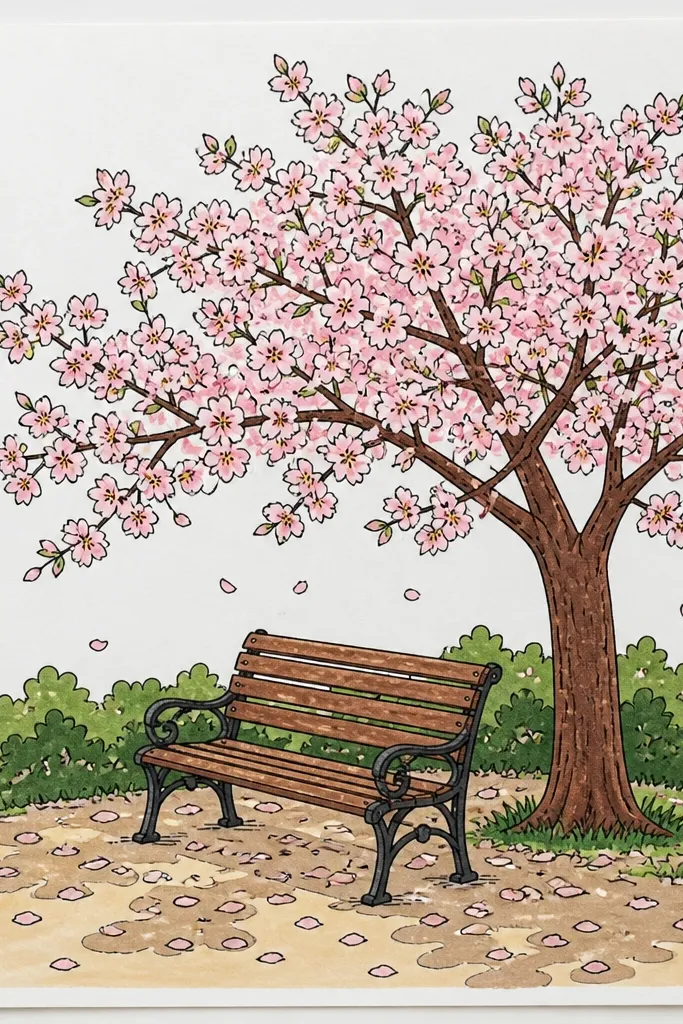
Step 1: Sketch the bench in the lower third, angled slightly toward the viewer, and add ground lines beneath it. Step 2: Shade the ground with a warm gray base, then erase or lighten small circles to form dappled sunlight patches. Step 3: Draw two cherry trunks behind the bench and add a canopy of clustered blossom shapes, keeping the densest clusters above the bench. Finally, color the sky lightly and add a few petal drops floating near the canopy line.
A bench instantly makes the scene feel lived-in. Draw the bench with simple blocky shapes and darker shadows so it anchors the viewer. The cozy look comes from dappled shade: not full darkness, just broken light spots on the ground. Use warm beige for sunlight, then warm gray for shadow, with pink blossoms as rounded clusters overhead.
Common mistakeDon’t make the shade pure black; it kills the warm cozy feeling.
Good to knowUse a white gel pen (or uncolored paper) to pop 8-12 tiny highlights in the dappled spots.
5. Cherry Blossom River Bend at Sunset
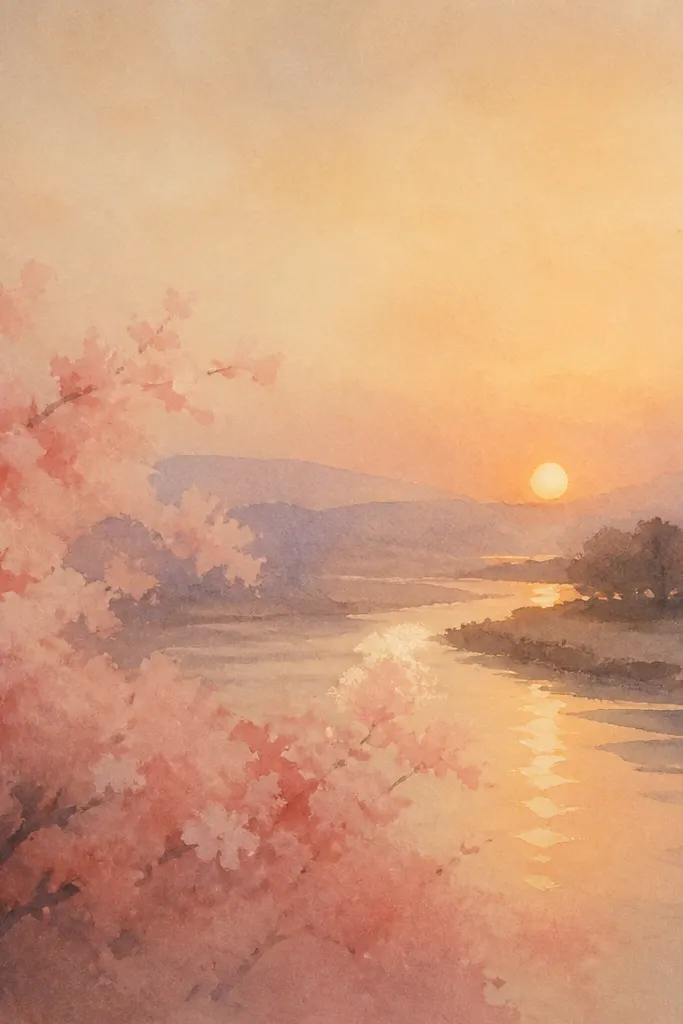
Reflections make landscapes feel special without extra work. Keep the sunset light warm and low, then color the water with horizontal strokes that follow the river curve. Blossoms look cozier when the reflection is softer and slightly lighter than the tree color above it. This idea flatters beginners because you can simplify tree shapes into silhouettes and focus on water texture.
Step 1: Draw the river as a thick S-curve; keep the horizon low and place the sun glow behind the river bend. Step 2: Color the sky peach to orange using light-to-medium pressure so it blends. Step 3: Add tree silhouettes on both banks, then cluster blossoms along the top edges only. Finally, draw the reflection with short horizontal lines in pale pink, then soften with a light smudge or water brush.
Make the reflection fade faster than the real trees — it sells distance.
Don’t outline the river edge with a bold black line; it makes it look like a cartoon sticker.
6. Hot Tea Steam and Blossom Branch
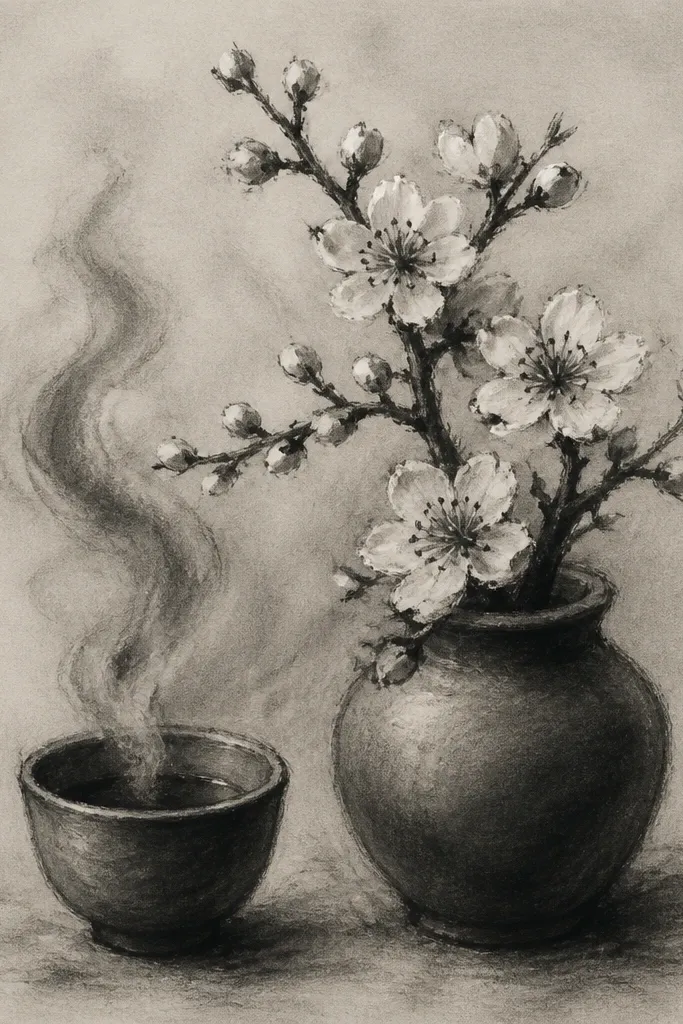
This is cozy because it adds a human moment. The steam gives you an easy texture to draw, and it also creates a natural “soft blur” that hides beginner mistakes. Use warm brown or muted orange for the cup, then pale pink and peach for the steam and sky. It flatters kids because the cup shape is straightforward and the branch can be one or two sweeping lines.
Step 1: Draw the cup first with a simple oval rim and a slightly tapered body; shade the inside with warm gray. Step 2: Add steam as 5-7 looping ribbons rising from the cup, and blend the steam into the sky with light pink. Step 3: Draw one branch that arcs from left to right above the cup, then add blossoms as small clustered circles. Finally, add a few petals drifting down near the steam so the scene feels connected.
Color the steam lighter at the top and darker near the cup — steam looks dimensional that way.
Avoid drawing steam with straight lines; the loops make it look warm, not harsh.
7. Blossom Canopy Over a Cozy Footpath
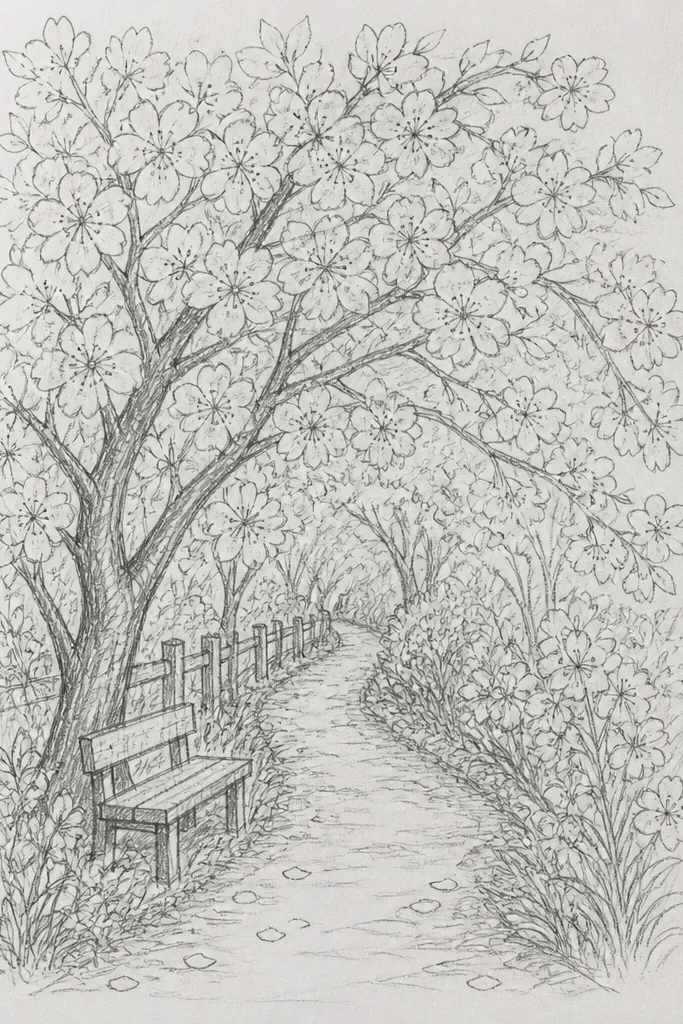
Tunnel perspective is the cozy trick here. When branches arch and meet above the path, the viewer feels pulled in. Use warm beige for the path and a mid-tone pink canopy; keep the far end of the path light so it looks like sunlight at the end of the tunnel. This flatters anyone who wants depth without complex buildings — you’re using one strong shape to do the work.
Step 1: Draw the path as two parallel lines that converge toward the center, then widen them at the bottom. Step 2: Create a canopy by drawing two thick branch arcs from left and right that meet near the top center. Step 3: Fill the canopy with grouped blossoms along the branch lines, leaving gaps so the sky peeks through. Finally, shade the path with a gradient: darker near the viewer, lighter toward the vanishing point.
Add 12-20 tiny petal dots along the path edges only — it looks natural without clutter.
Don’t cover the whole page with blossoms; the gaps are what create the tunnel cozy feeling.
8. Cozy Staircase With Cherry Blossoms Above
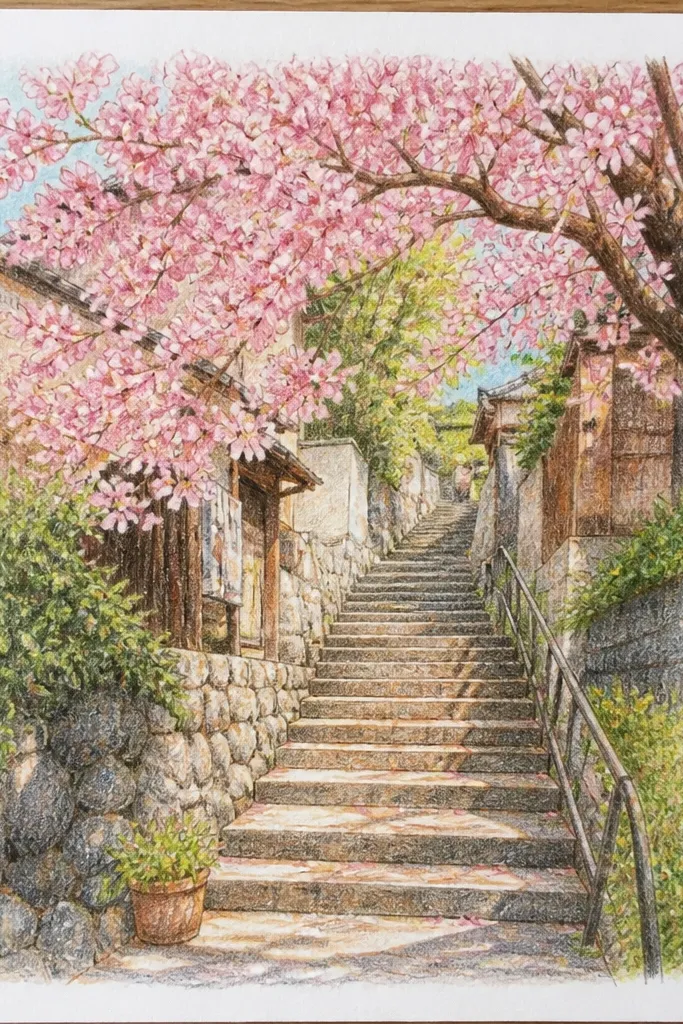
Stairs add rhythm and scale, which makes the scene feel like a place you can walk into. Keep step shadows warm gray and slightly bluish at the far edge so the steps look dimensional. Blossoms spilling over the railing makes the cozy messiness feel intentional. This works well for kids because you can draw steps as repeated rectangles and focus your blossom detail above the railing.
Step 1: Draw a diagonal staircase with 6-8 steps, using a vanishing point near the upper right. Step 2: Shade each step with warm gray, darker on the front edge and lighter on the far edge. Step 3: Add a simple railing line and let blossoms cluster just above it, with a few petals falling onto the top steps. Finally, color the sky with a peach wash and add two faint clouds to keep it from feeling empty.
Use a darker pencil for the step edges only; it keeps the drawing clean even with lots of blossoms.
Avoid making the steps all the same shade; the slight gradient sells depth.
9. Sakura Street Lamp and Snowless Winter Bloom
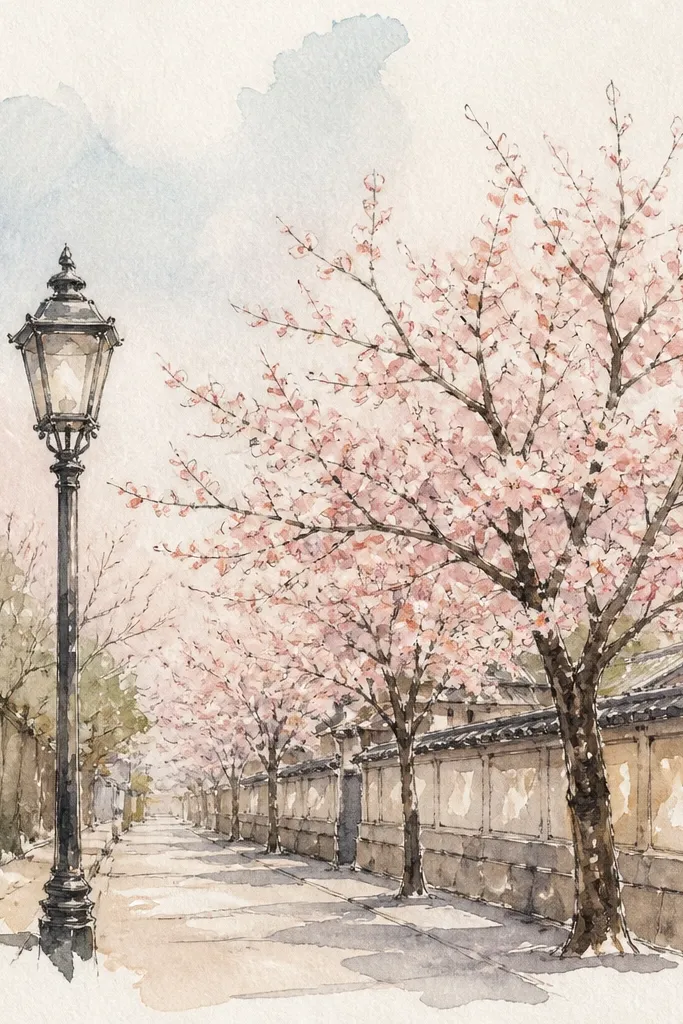
Step 1: Draw the lamp pole and lantern head in the center, then sketch a soft circular halo around it. Step 2: Color the ground with cool light gray, and add darker gray shadow patches under the lamp. Step 3: Draw branches from left and right, keeping them thin and slightly angled toward the lamp. Finally, add blossoms as clustered teardrops along the branch tips, and keep the sky pale blue-gray.
Warm light against cool gray is a cozy contrast I always come back to. Even without snow, the cool ground makes the lamp glow feel like a blanket. Use warm yellow-orange for the lamp halo, then cool gray for the ground and tree trunks. This idea suits beginners because you only need one main lamp and a few branch lines; blossoms can be grouped into 3-4 bigger clusters.
Common mistakeDon’t use bright neon pink; muted pink looks more like real blossoms in cool weather.
Good to knowColor the halo edge lighter than the center; it prevents that “flat yellow circle” look.
10. Cherry Blossoms Over a Small Pond
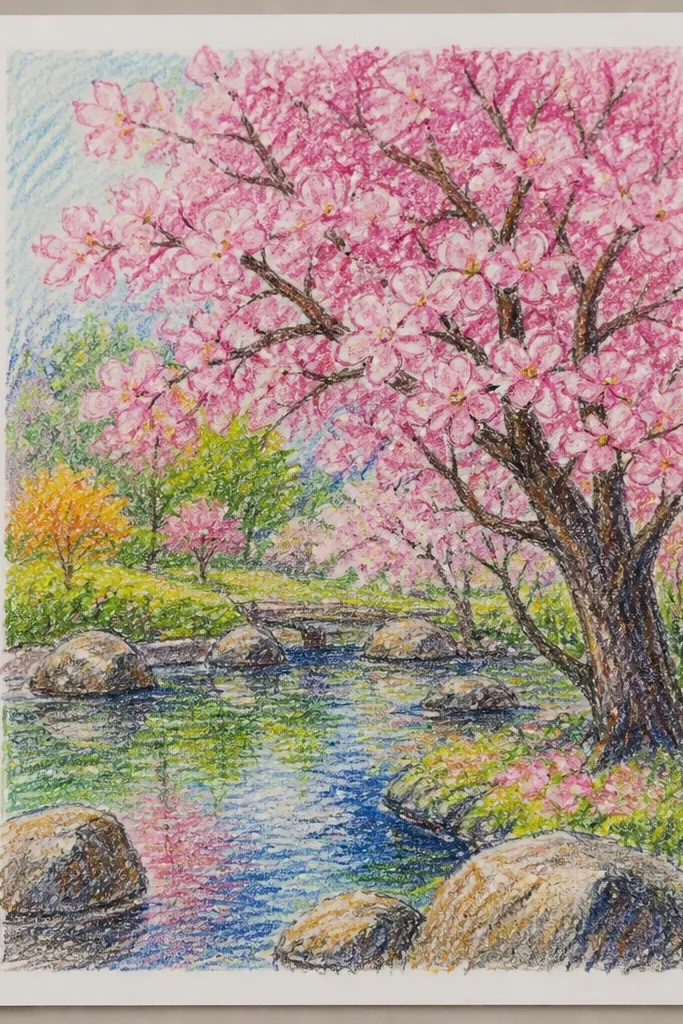
Step 1: Draw the pond as an irregular oval occupying the bottom center, and lightly sketch a shoreline curve. Step 2: Add one or two cherry trunks just behind the pond, then cluster blossoms along the lower branches that reach over the water. Step 3: Reflect the blossoms with curved, wavy lines in pale pink; add 6-10 tiny petal shapes sitting on the water. Finally, shade the pond edges slightly darker and blend the reflection so it fades toward the far side.
Ponds are basically reflection practice, and reflections are how cozy scenes feel dimensional. Keep the blossoms darker above the pond and lighter in the water, with a few broken reflection breaks where petals float. I like using muted green-gray for the far background so the pink pops without getting too loud. This is great for kids because you can treat water as a simple oval shape with textured lines.
Common mistakeAvoid perfect symmetry in the reflection; real reflections wobble.
Good to knowUse fewer reflection lines than you think. 15-25 wavy strokes look better than 60.
11. Blossom Branch on a Paper Fan Background
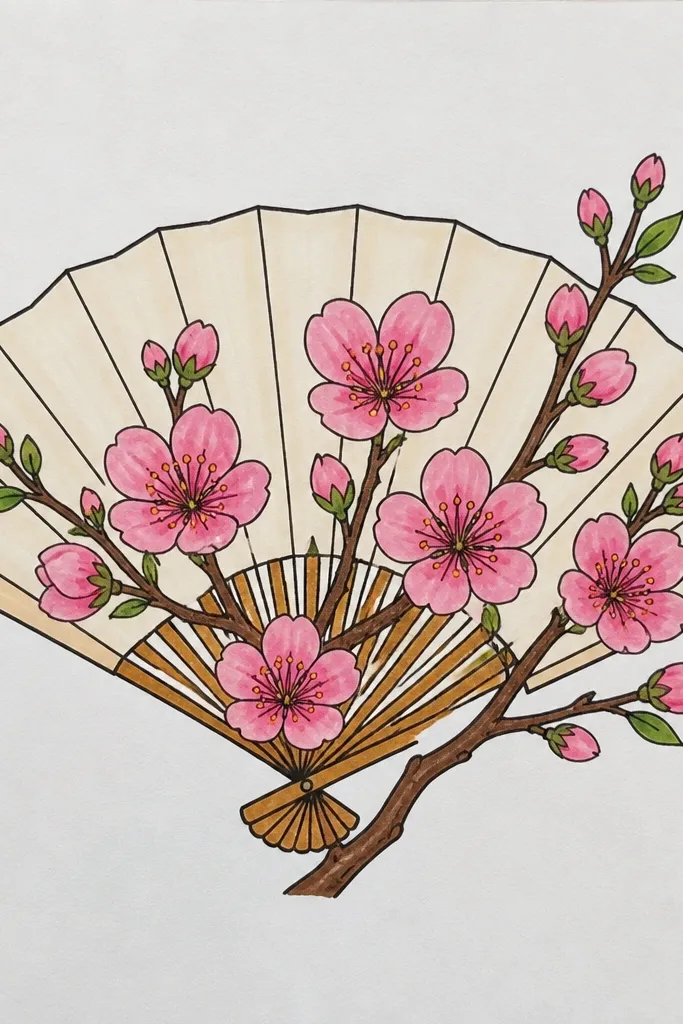
This one is cozy because it has a texture pattern behind it. The fan-like stripes give movement without extra drawing, and the cherry branch becomes the focal point. Use warm beige and pale peach for the striped background, then add blossoms in muted pink with darker centers. It flatters small spaces because the composition stays simple and centered.
Step 1: Lightly draw diagonal stripes across the page with a warm pencil, leaving some paper white between lines. Step 2: Darken a single branch line across the middle and add smaller side twigs. Step 3: Place blossom clusters at three points along the branch, using grouped circles and teardrops. Finally, add a faint shadow under the branch to separate it from the striped background.
Make the stripe spacing wider near the bottom to mimic how a fan looks closer to you.
Avoid filling the entire page with blossoms; the stripes need breathing room.
12. Cozy Cherry Blossom Rooftop With Warm Windows
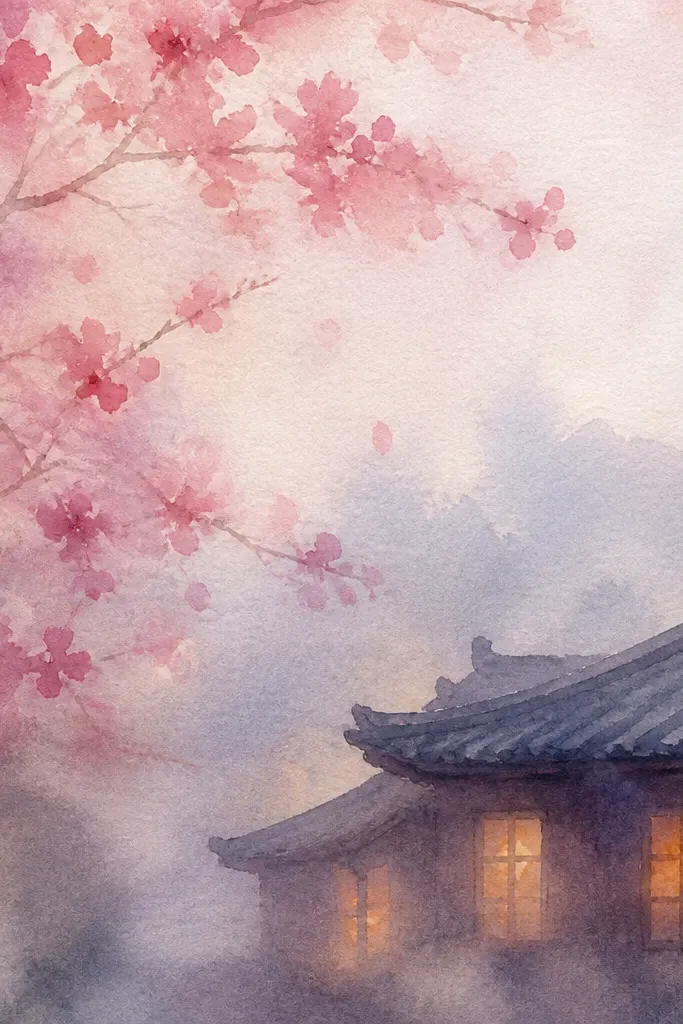
Windows turn landscapes into stories, and stories feel cozy. The trick is to keep the buildings simple: a slanted roof plus a few glowing rectangles. Use twilight blue for the sky and a peach band near the horizon so the whole page has one warm light source. This flatters kids and beginners because the windows are easy shapes and the branches can be grouped.
Step 1: Draw a slanted roof line and add 4-6 small window rectangles along the roof slope, leaving the window centers lighter. Step 2: Color the sky twilight blue, then add a peach strip along the horizon. Step 3: Draw two cherry branches that drape over the roof edge and cluster blossoms near the windows so it feels connected. Finally, shade the roof with warm gray and add a darker shadow line under each window glow.
Use a yellow pencil or crayon for window centers and leave a thin white highlight on the top edge.
Don’t make the sky one flat blue; the peach horizon glow is what makes it cozy.
13. Cherry Blossoms and a Blanket Picnic
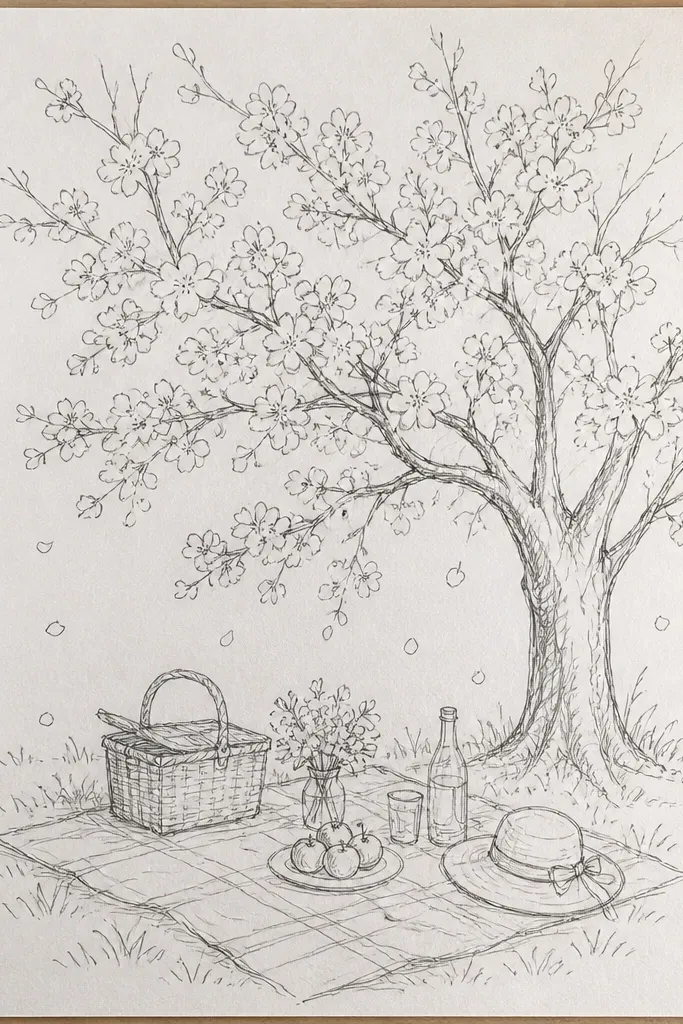
A picnic reads cozy instantly because it includes comfort objects. The blanket pattern gives you texture, and the basket gives you dark shapes to anchor the page. Use warm peach sky, muted greens for the distant hill, and pink blossoms with slightly darker outlines. This works for kids because the picnic items are simple shapes, and the blanket pattern can be quick stripes.
Step 1: Draw a blanket rectangle in the bottom third and sketch a plaid grid with light lines, then shade plaid squares with two tones of pink-beige and warm gray. Step 2: Add a picnic basket as a rounded rectangle and shade it with warm brown and a dark handle line. Step 3: Place cherry branches overhead, letting blossoms cluster in the top half only. Finally, add a few petals on the blanket corners and lightly shade the ground behind the blanket with a warm wash.
Add one bright red or dark brown object (like a lid) so the scene has a second focal point besides blossoms.
Avoid too many tiny details on the picnic items; keep them blocky so the blossoms stay the star.
14. Tiny Shrine Gate With Falling Petals
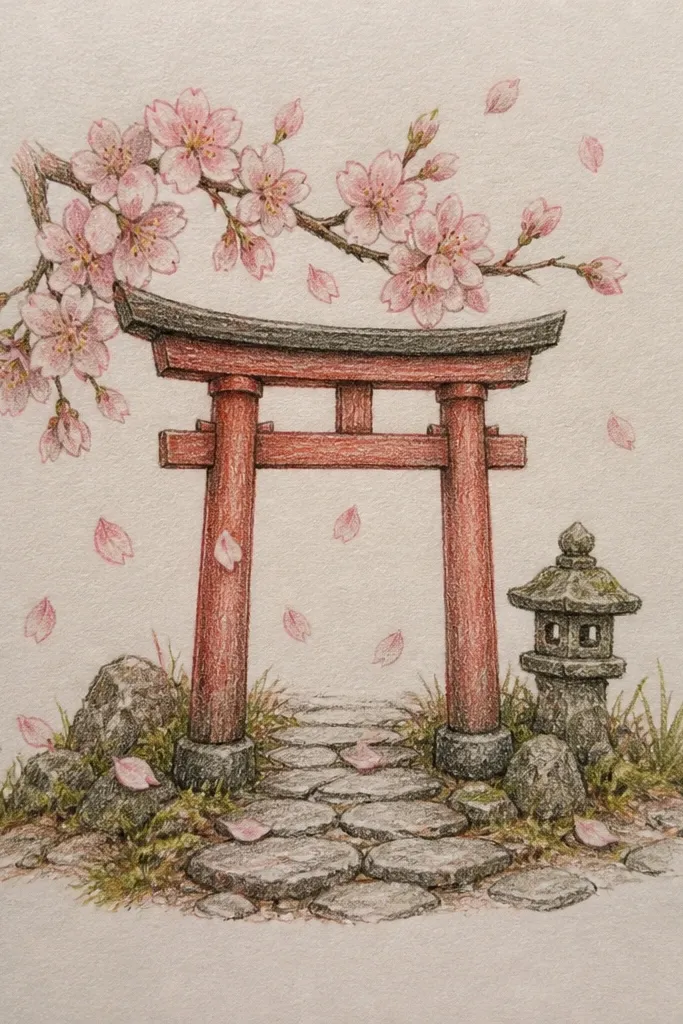
Step 1: Draw the torii gate centered, using two vertical posts and a top bar, then add a small base shadow on the ground. Step 2: Color the ground warm gray and keep it lighter near the horizon. Step 3: Draw falling petals as simple teardrops and circles, placing larger ones near the bottom and smaller ones near the top, with 1-2 clusters where petals overlap. Finally, add a soft peach wash to the sky and leave small paper highlights inside a few petals.
Falling petals create motion, and motion makes a cozy scene feel alive. A torii gate gives you a clear vertical element that balances the horizontal ground. Use warm peach sky, then warm gray ground with a slightly darker patch beneath the gate. The petals look better when you draw some bigger near the bottom and smaller near the top, like depth cues.
Common mistakeAvoid uniform petal size. That’s the fastest way to make depth look fake.
Good to knowColor petal edges slightly darker than the centers. It makes the petals look layered.
15. Cozy Cherry Blossom Alley Between Walls
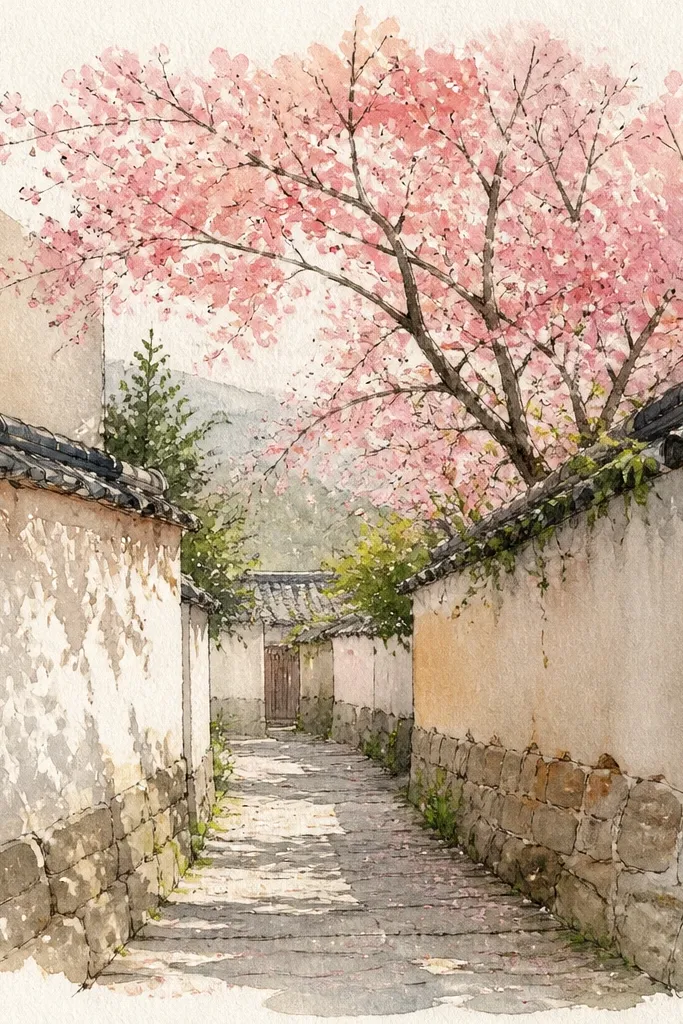
Alley perspective is a shortcut to depth. The walls frame the blossoms and make the scene feel sheltered, which equals cozy. Keep the walls in muted warm gray and slightly darker near the bottom, then let the opening at the far end glow peach. This flatters anyone who can’t draw distant buildings — you only need wall lines and blossom clusters on top edges.
Step 1: Draw two vertical wall lines that converge toward the center opening, and sketch the alley ground line as a curved trapezoid shape. Step 2: Shade the walls warm gray, darker at the bottom edges and lighter toward the center opening. Step 3: Add blossom branches along the top of both walls, with clustered petals spilling into the alley. Finally, color the opening bright peach and keep the sky only a thin strip so it looks like daylight at the end.
Add one soft shadow stripe on the ground that points toward the opening. It sells the light direction.
Don’t fill the sky with full clouds; keep it minimal so the alley framing stays the focus.
16. Cherry Blossom Stairway to a Lantern Door
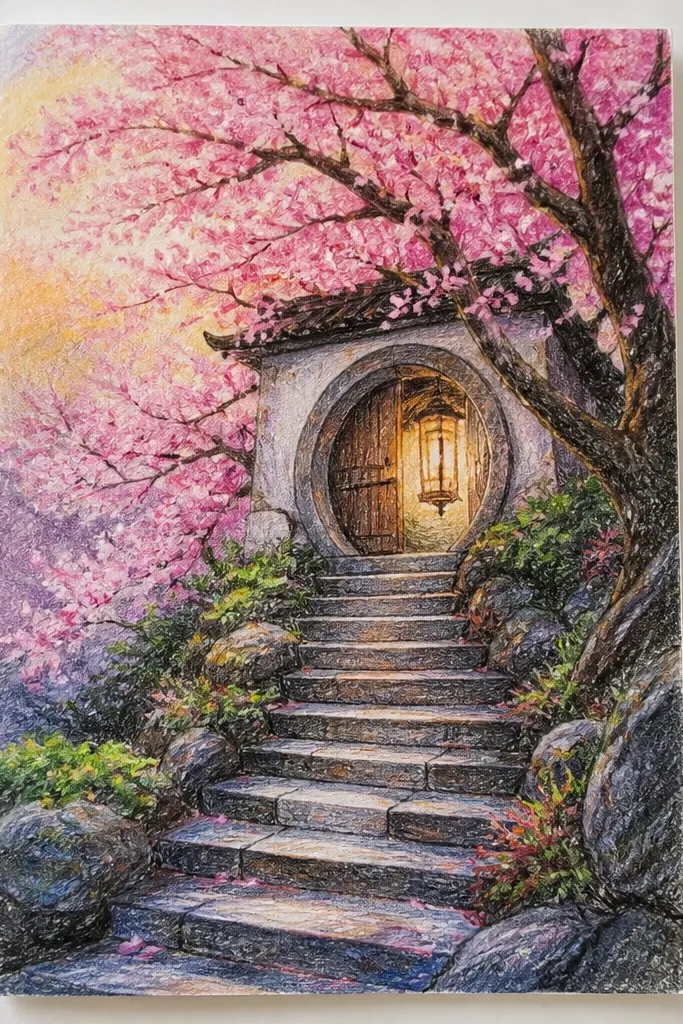
Step 1: Draw a set of 7-9 steps centered, each slightly smaller as they go up. Step 2: Color the door as a rectangle at the top with an amber oval glow behind it, then shade the door frame darker. Step 3: Add blossom branches on both sides of the stairs, with clusters that sit right above the step edges. Finally, sprinkle a few petals on the steps near the bottom and add a gentle gradient in the sky.
A door with a warm glow is cozy lighting in object form. The stairs guide your eye upward, and blossoms can hug the steps for a natural composition. Use warm amber for the door halo and warm gray for step shadows, then keep the sky cool blue-gray so the glow pops. This works well for kids because stair steps are repeatable and the door is just a rectangle with a glowing center.
Common mistakeAvoid making the glow too big; if the halo covers half the page, it turns into a distracting blob.
Good to knowUse a darker shade for the step risers and a lighter shade for the treads so the stairs read instantly.
17. Sakura Branch Still Life in a Vased Jar
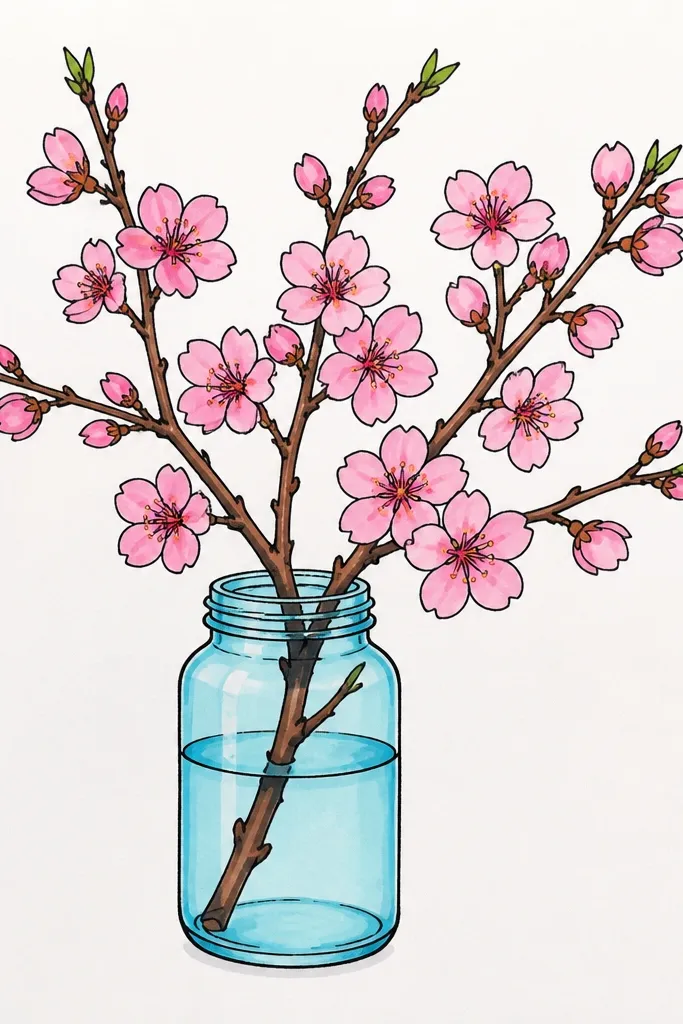
Step 1: Draw the jar as an oval top and a wider bottom shape; lightly outline a waterline inside the jar. Step 2: Sketch the branch with one main curve and a few side twigs. Step 3: Add blossoms in clusters on the upper branch, leaving some negative space so the jar outline stays visible. Finally, shade the tabletop with warm gray and add a soft cast shadow under the jar.
Still life can be cozy even without a landscape. The jar and tabletop give you warm grounding, and the blossoms create the landscape mood by filling the top area like a mini canopy. Use a pale cream background and a warm beige tabletop, then color blossoms in muted pink with slightly darker centers. This flatters beginners because you draw simple shapes first, then you only need to cluster blossoms.
Common mistakeAvoid drawing the branch with lots of tiny straight lines; fewer, thicker twigs look more realistic.
Good to knowLeave the jar highlights uncolored — a tiny white highlight makes it look glassy fast.
18. Blossom Wind Lines Over a Quiet Lawn
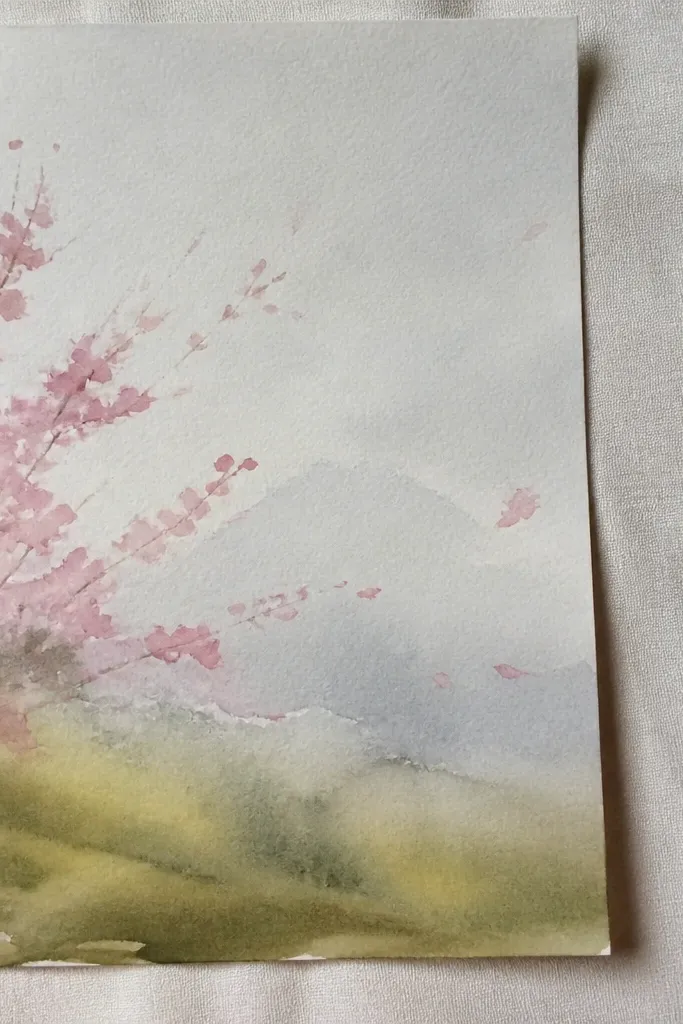
Step 1: Draw a horizon line and block in a lawn area with warm green-gray, darker near the bottom. Step 2: Add wind sweep arcs across the middle and top, then place blossoms at the ends of a few branches. Step 3: Draw petals traveling along the wind arcs — make them larger near the bottom and smaller as they rise. Finally, blend the sky lightly and add one faint cloud puff behind the wind lines.
Wind lines are a cozy trick because they show movement without needing detailed scenery. A quiet lawn gives you a calm base, and the wind lines add energy that still feels soft. Use warm green-gray for the lawn, pale peach for the sky, and muted pink for blossoms. This works for kids because the wind lines are easy arcs and the petals can be clustered into 2-3 main groups.
Common mistakeDon’t scatter petals everywhere. Keep most petals on the wind path so it reads as a breeze.
Good to knowUse pencil pressure changes: heavier at the start of each wind arc, lighter at the end.
19. Cozy Cherry Blossom Night Sky With Firefly Glow
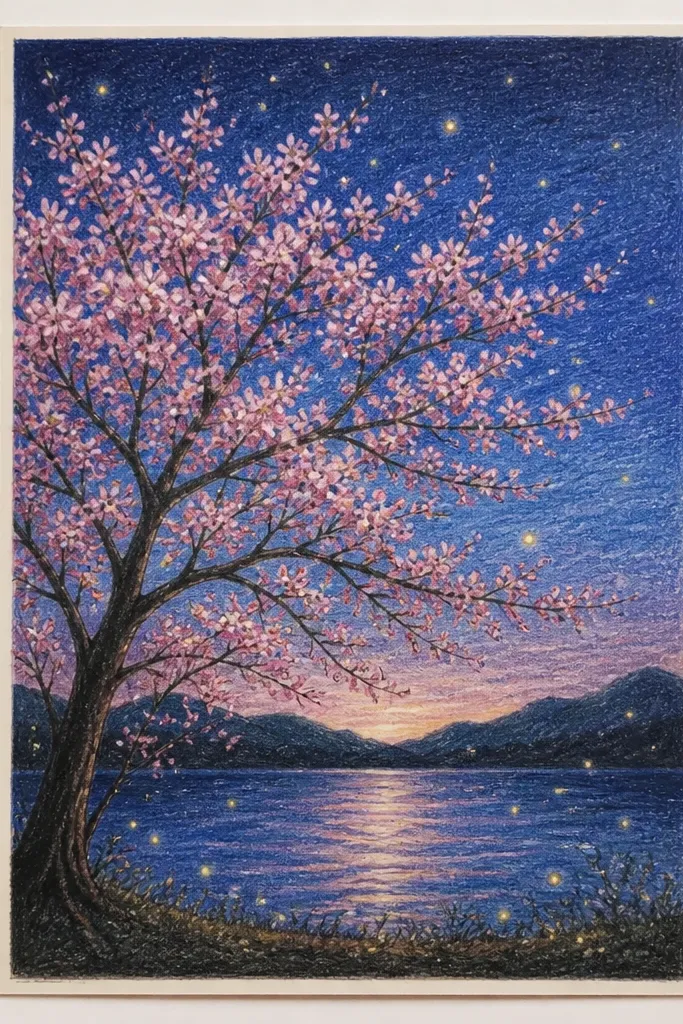
Step 1: Shade the sky navy, then blend lighter navy near the horizon with a lighter pencil or watered paint. Step 2: Draw cherry branches as dark silhouettes with blossom clusters highlighted in muted pink. Step 3: Add firefly dots as tiny yellow-green circles around the lower branches and a few near the ground light patch. Finally, shade a soft warm glow on the ground where the fireflies cluster.
Night scenes feel cozy when the light is small and warm, not neon bright. The firefly dots give you tiny focal points that make the blossoms look alive. Use navy for the sky, then warm gray for the ground, and muted pink for blossoms so they don’t fight the dark. This flatters beginners because you can rely on silhouette shapes and dots instead of detailed leaves.
Common mistakeAvoid using bright white everywhere; too many white dots makes it look like glitter, not fireflies.
Good to knowAdd 3-5 slightly bigger fireflies and keep the rest tiny. The size variation makes it look intentional.



