1. Single Lily in a Soft Teardrop Frame
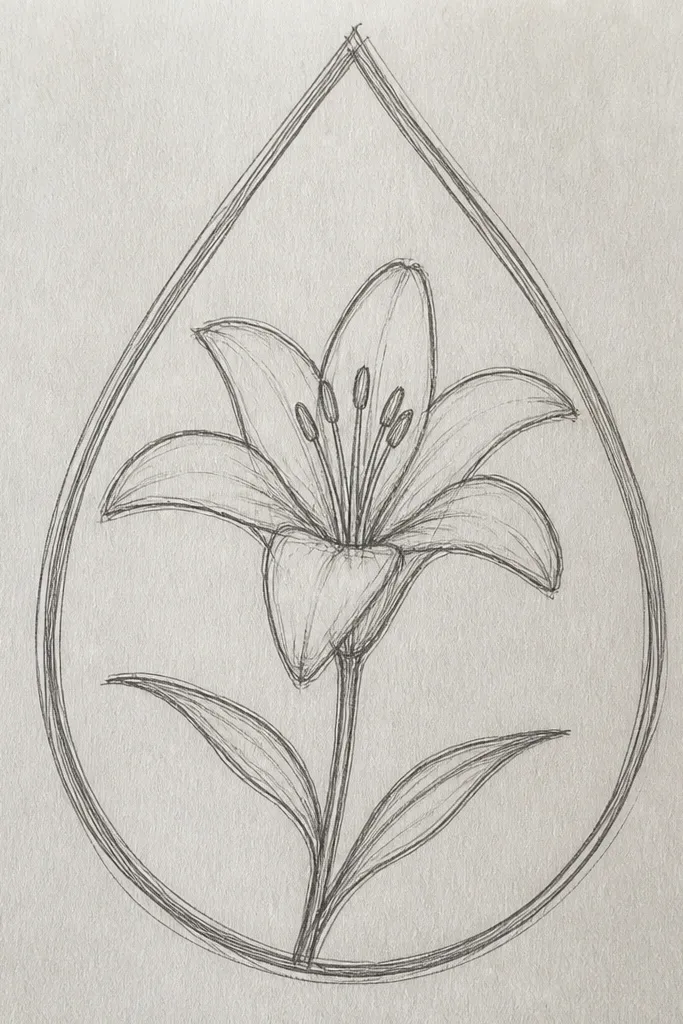
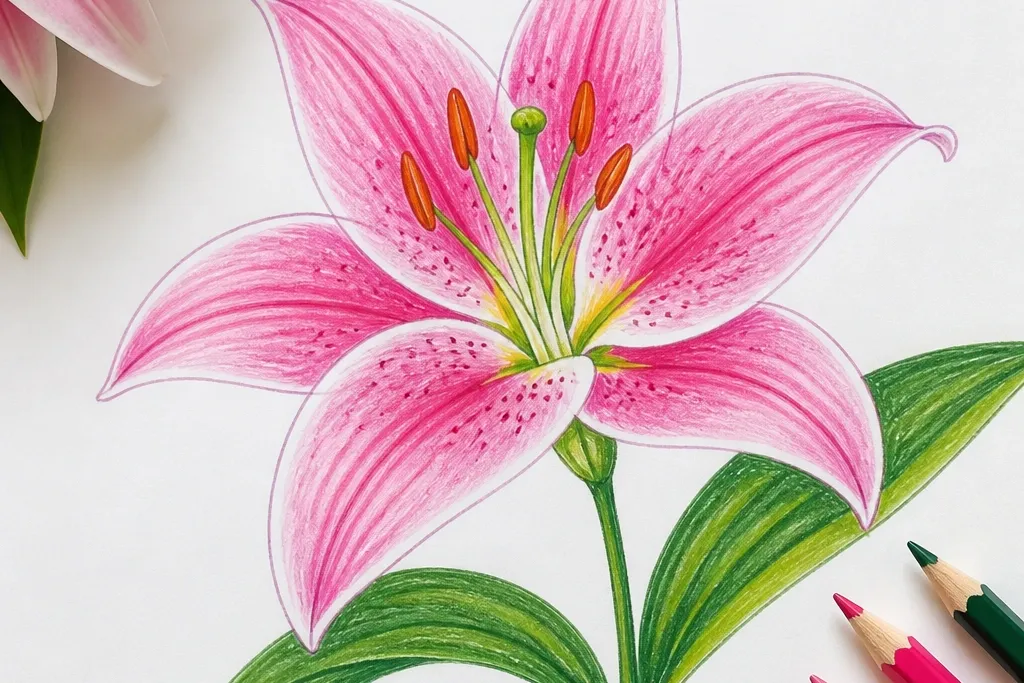
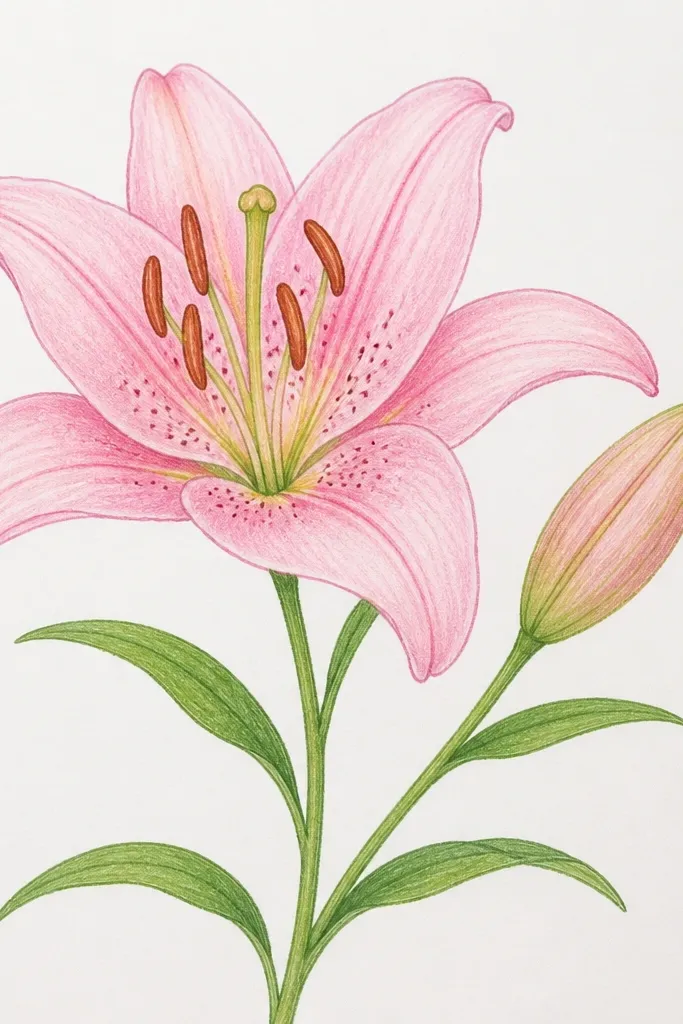
Start with one lily centered on the page so kids get instant symmetry. Use a teardrop outline for each petal, then curve the edges slightly inward toward the center so it looks cupped. The center should be a small oval with short inner lines that fan outward. This look flatters small hands because it uses big shapes, and the clean white space makes the drawing feel calm on white paper or light beige cardstock. Finish with a few dots in a warm gold-brown so the lily reads even with minimal coloring.
Good to knowTell kids to draw the petal tips like raindrops — same size, same point — and the whole lily will look balanced.
Step 1: Lightly draw a vertical stem line and a small oval at the top where the flower center will sit. Step 2: Draw 6 teardrop petals around the oval, keeping all petal tips at the same height. Step 3: Add 3-4 short inner lines from the center to each petal base, then place 5-8 small dots clustered at the lower center. Step 4: Trace the final pencil lines with a 0.5mm fineliner, leaving the petal edges smooth and unbroken. Step 5: Color the petal bases with a light orange-yellow, leaving the top petal highlights white.
Common mistakeDon’t shade the entire petal; full-color petals look flat and “cartoon-smeared” fast.
2. Two Lilies with a Curved Stem Sweep
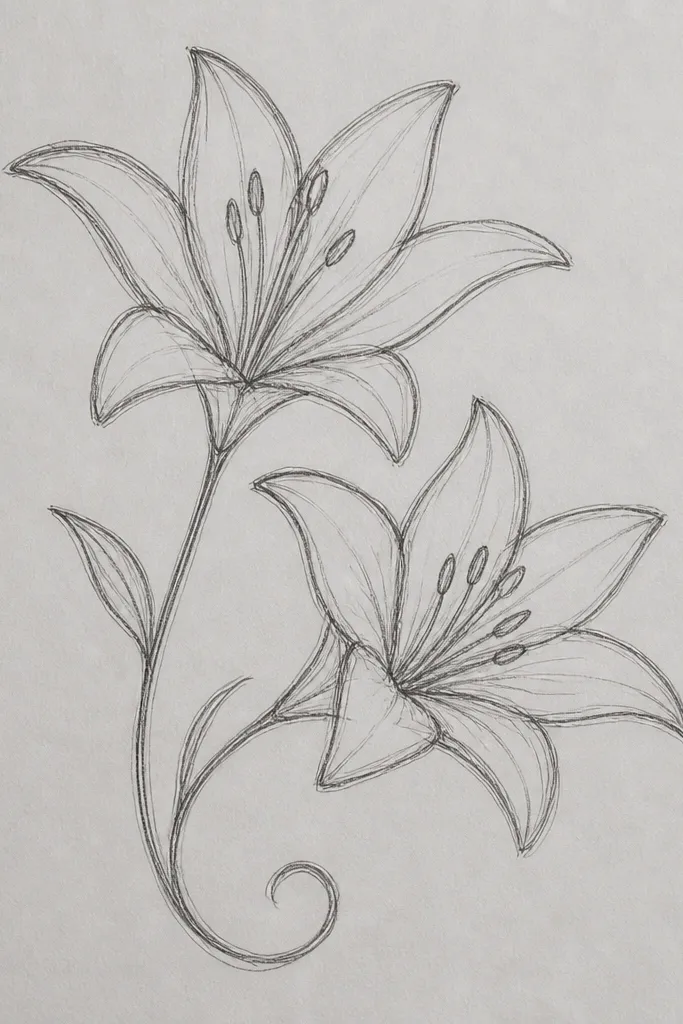
This one looks lively without being complicated, because the curved stem gives the page movement. I like it for kids who get bored drawing one flower — two lilies feel like a mini bouquet. The higher lily can be slightly rotated so the petals don’t match perfectly, which makes the drawing look more natural. The curved stem also works well for different skin tones when you color leaves green and petals in soft pinks or whites, because the contrast stays clear. It’s a great choice for greeting cards since the arc frames the center of the page.
Step 1: Draw a long curved stem line from bottom left to mid-right, then add two small ovals at the top for the centers. Step 2: For the higher lily, draw 6 petals around its oval; for the lower lily, draw petals but tilt them slightly so the tips point a bit downward. Step 3: Add inner stripes: 2-3 thin lines per petal starting at the center. Step 4: Add two leaves along the stem — each leaf is an oval with a single line down the middle. Step 5: Ink the outline with fineliner, then color petals with light pink and deepen the petal base with a darker rose near the center.
Keep the leaves smaller than you think; tiny leaves make the flowers look bigger and more “pro.”
Don’t make both lilies the exact same angle; identical petals can look pasted on.
3. Lily Bud + Bloom Combo
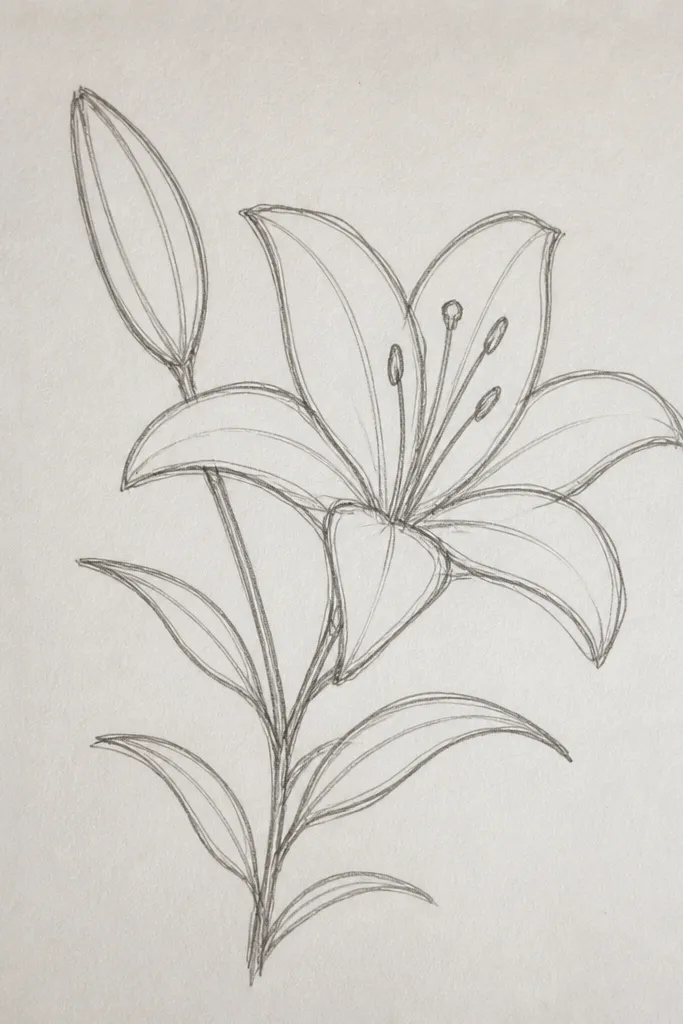
A bud makes the drawing look like it’s telling a story, and kids love that because it feels like “before and after.” The bud is easier than a full flower: you only sketch 4-5 petal edges wrapped around a small center. The bloom above keeps the page bright and readable. This combo flatters the page layout because the bud fills the lower space, so the drawing doesn’t feel top-heavy. If you use watercolor pencils, the bud looks extra soft and delicate with light shading only on the outer edges.
Good to knowFor the bud, leave the center mostly blank. Closed flowers read better when the inside is not fully filled.
Step 1: Draw the bloom first at the top — one lily with 6 teardrop petals and a small center oval. Step 2: Under it, draw the bud as a vertical oval with 4 curved petal lines inside, like folded paper. Step 3: Connect both with a stem line and add one leaf just beside the bud — an oval leaf with a center vein line. Step 4: Ink the bloom outlines and the bud petal edges, then erase only the light pencil guide lines you can still see. Step 5: Color the bloom petals pale yellow-pink and add small darker dots near the center; color the bud with the same color but keep it lighter so it looks closed.
Common mistakeDon’t draw a bud with the same size petals as the bloom; it will look like a second full flower.
4. Side-View Lily with a Narrow Petal Stack
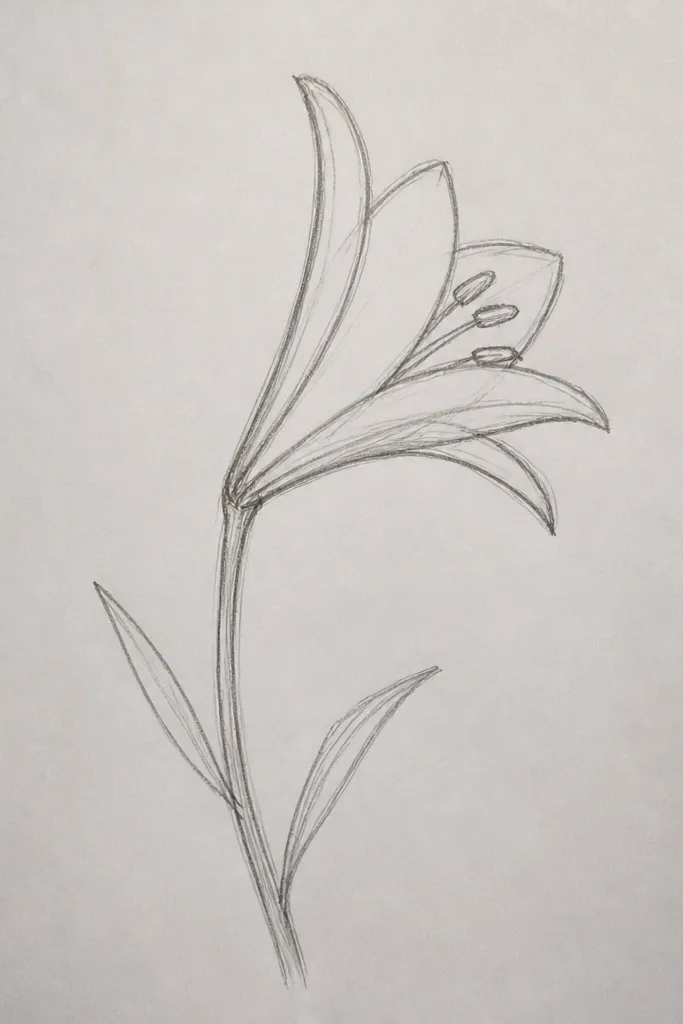
Side-view lilies look fancy, but the trick is simple: make the petals overlap more than you think. Kids usually draw lilies flat, so this teaches them that a flower can turn. The center cup should be slightly curved, like a spoon, and the inner lines should follow that curve. This style looks great in purple-pink tones because the overlapping petals create natural “shadow bands.” It also works well for older kids who want a challenge without getting lost in realism.
Step 1: Draw a curved stem line and a small curved center cup (a sideways oval). Step 2: Draw 5-6 petals, but make them narrower and place them at angles so each petal overlaps the next. Step 3: Add inner lines that start at the center cup and curve outward, 2-3 lines per petal. Step 4: Ink carefully around the outermost petal edges first, then ink the overlap lines inside so you don’t lose the stack effect. Step 5: Color with two tones: light pink on the top edges and a deeper magenta along the overlap areas.
Use short strokes when coloring overlap zones; long strokes make petals look smeared.
Avoid keeping all petals the same width; side view needs overlap to look real.
5. Lily Border Strip for a Scrap Paper Frame
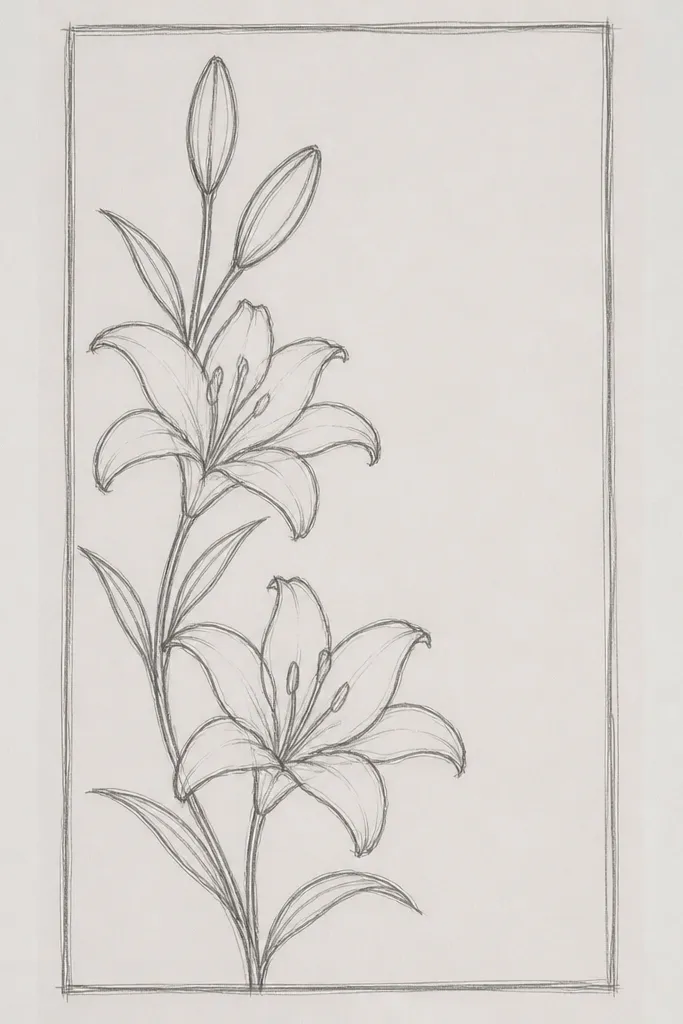
Borders are where kids get “wow” results fast because repetition hides small mistakes. This lily strip uses mini flowers, so even if petals aren’t perfect, the pattern still reads as intentional. I like adding tiny leaves between lilies to break up the repetition and keep the strip from looking too busy. When you color with two greens and one petal color, it looks cohesive even on cheap paper. This is great for upcycling: you can cut the strip and glue it to the edge of a notebook, a shoebox lid, or a recycled card.
Good to knowCut your strip after inking, not before. It keeps the lines from cracking when you handle it.
Step 1: Draw a long rectangle strip (about 3-4 cm tall) and lightly mark 1.5-2 cm spacing points across it. Step 2: At each point, draw a mini lily: a small center oval, then 6 tiny teardrop petals around it. Step 3: Add 4-6 dots clustered at the base of each center, and ink the outlines with fineliner. Step 4: Between lilies, draw a simple leaf oval with one center vein line. Step 5: Color petals in soft cream or pale pink, dots in warm brown, and leaves in medium green with a darker edge shade.
Common mistakeDon’t make the centers huge on mini lilies. Big centers steal space from the petals.
6. Lily on Recycled Cardboard with Paint Wash
Cardboard texture makes lilies look artsy without extra effort. You get a natural speckled background that makes the petals feel dimensional even if the drawing is simple. I use this when kids want to paint but hate staying inside lines — the cardboard makes the edges forgiving. The lily reads best when you keep the wash light and only deepen the petal base. This style looks good for neutral skin tones on paper crafts because the warm peach and brown dots create a friendly, earthy palette.
Step 1: Lightly pencil a single lily on the cardboard and ink the outline with a permanent marker or fineliner. Step 2: Mix watered-down peach paint (or watercolor) and wash it over the petals, leaving the top third almost white. Step 3: Add a second, slightly darker peach at the petal base near the center oval. Step 4: Use a small brush to place warm brown dots in a cluster at the center base. Step 5: Let it dry fully, then add a thin darker line along the petal inner edges to sharpen the shape.
If paint buckles the cardboard, paint in two thin layers instead of one heavy layer.
Avoid filling the whole petal with thick paint; it turns the lily into a blob on rough surfaces.
7. Lily with Patterned Petal Edges (Polka + Stripes)
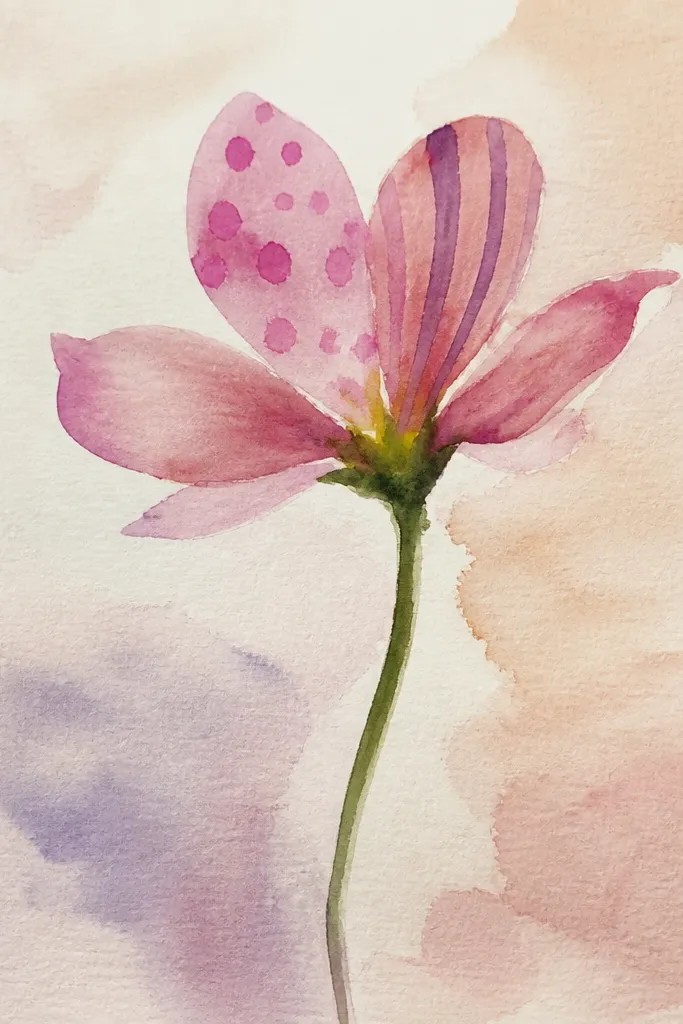
Patterns make this lily look designed, not just drawn. The trick is to keep patterns on the petal edges only, not across the whole petal. I’ve done this with kids using a black marker and a second color pencil; it turns into a wearable “art” look quickly. It flatters the page because the center stays simple while the edges carry the fun. Choose one pattern type per petal edge so it doesn’t turn chaotic. The result looks especially nice on white paper with a single accent color like teal or purple.
Step 1: Draw a standard front-facing lily with 6 petals and a small center oval. Step 2: Ink the outline first, then add 3-4 inner lines from the center to the base of each petal. Step 3: For alternating petals, add tiny polka dots along the outer edge; for the other petals, add 3-5 thin stripes along the edge. Step 4: Color petals lightly in pale pink, leaving patterned edges uncolored so dots and stripes stay crisp. Step 5: Add warm brown dots inside the center base and finish with a teal accent on the stripes.
Draw patterns from bottom to top along each edge so dots line up naturally.
Don’t pattern the entire petal surface — it kills the lily shape.
8. Lily with Watercolor Pencil Gradients
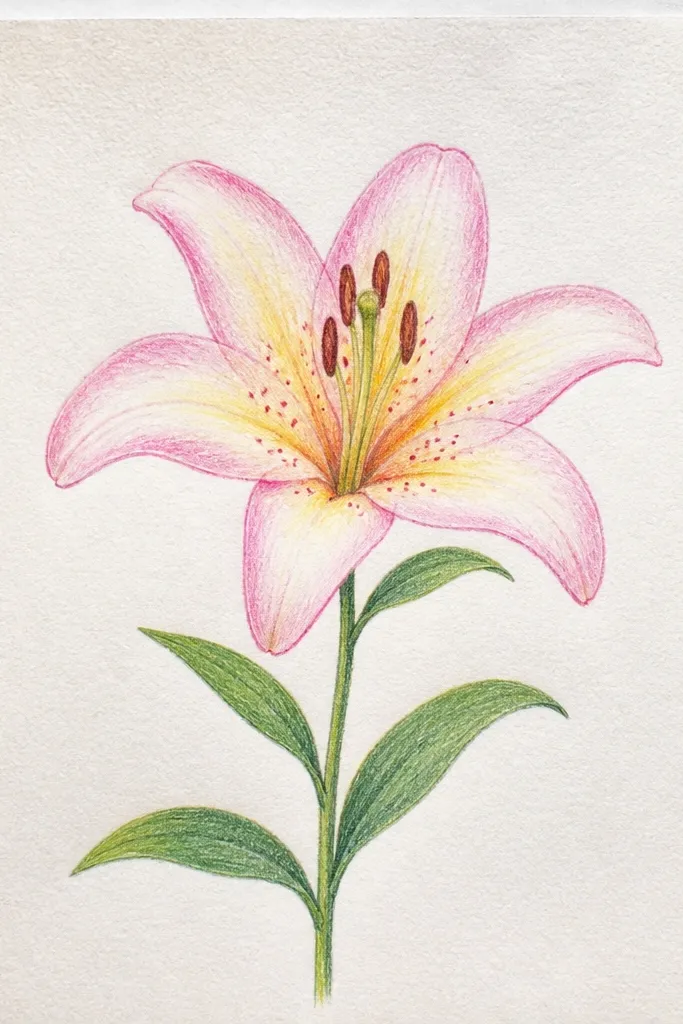
Watercolor pencil gradients make lilies look soft and grown-up, even when the drawing is simple. The look comes from leaving a highlight strip near the top of each petal and letting the color concentrate near the base. This flatters kids' effort because they don’t have to color perfectly inside lines; the brush blends the edges. For a gentle palette, use pale pink plus a tiny touch of deep rose near the center. The lily looks calm on both white paper and light craft paper.
Good to knowUse the brush like a sponge, not a paint roller. Light taps keep spots from spreading.
Step 1: Sketch the lily in pencil with 6 teardrop petals and a small center oval, then ink the final outline. Step 2: Color the petals with watercolor pencil using light strokes, focusing color on the bottom third and fading upward. Step 3: With a small wet brush, blend gently starting at the base and pulling color upward. Step 4: Color dots in a warm brown pencil, then touch them lightly with the wet brush so they soften but stay visible. Step 5: Let it dry and then add inner lines with fineliner if the blending made them too faint.
Common mistakeAvoid soaking the paper. Too much water makes petals wrinkle and muddy.
9. Lily in a Mason Jar Sketch (Upcycled Label Look)
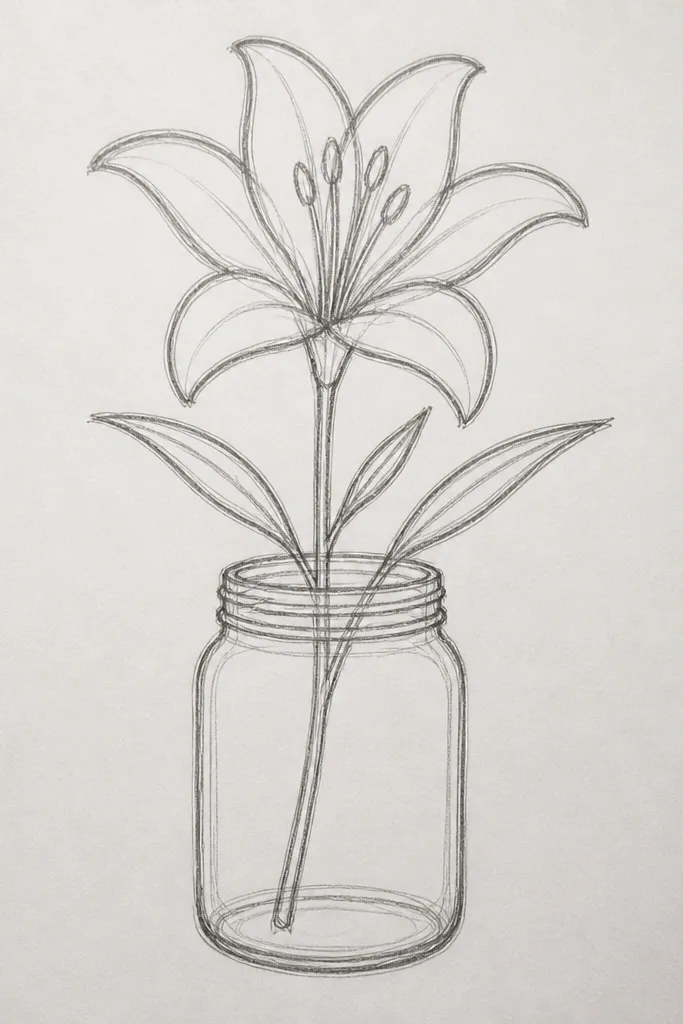
This idea looks like a real product label, and it’s a fun bridge to repurpose crafts. The jar shape gives kids a clear boundary, so the flower stays centered. I’ve used this on old cereal box cardboard and on scrap paper cut into small “jar label” rectangles. The lily bouquet inside can be simple: one open lily and one bud. Coloring the jar with a pale gray-blue makes the petals pop, and the overall look feels neat for gifting.
Step 1: Draw a tall rectangle for the jar body, then add a curved lid ring at the top. Step 2: Inside the jar, draw a single lily with 6 petals and a small center oval, plus a bud below it. Step 3: Add 1-2 leaves and a short stem line so the flowers look anchored. Step 4: Ink the jar outline and lily outlines, then erase pencil guides. Step 5: Leave the jar label area around the bouquet mostly blank, then color petals pale pink and buds cream, with warm brown dots at the center base.
If you plan to cut it out, ink first and only then color so the label edges stay sharp.
Don’t draw the jar too wide. A narrow jar makes the lily bouquet look fuller.
10. Lily Bookmark from a Drawing Template
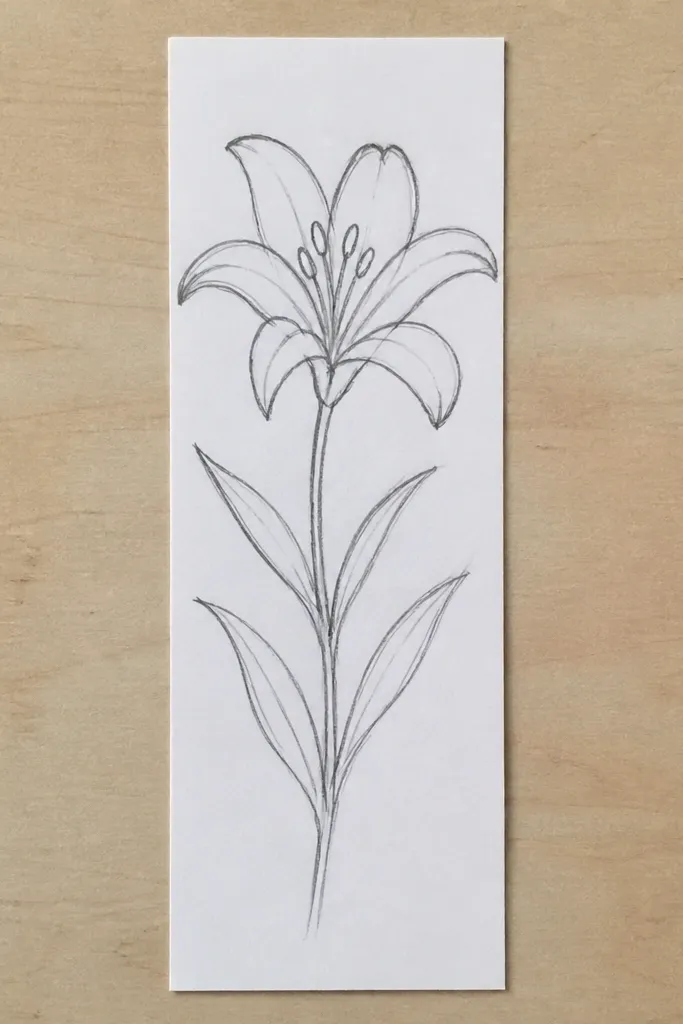
This turns the drawing skill into an actual object, and kids get proud fast. The bookmark format also forces nice proportions: the flower sits near the top third, while the stem and leaves fill the length. I like this for early readers because it’s easy to color and easy to cut. It flatters the page because the lily doesn’t have to be big enough to fill a whole sheet. Make the background light so the black outline looks crisp when you laminate later.
Good to knowPunch a hole 1.5 cm below the top and add yarn — your bookmark will feel special even on a basic drawing.
Step 1: Draw a bookmark rectangle about 18 cm tall and 6 cm wide, then round the top corners. Step 2: Place the lily near the top third: draw a small center oval and 6 teardrop petals around it. Step 3: Draw a long stem line down the page and add two small leaves, one on each side halfway down. Step 4: Ink the outlines and inner lines, then erase the pencil. Step 5: Color petals pale yellow with warm brown dots, and color leaves medium green with a darker edge line.
Common mistakeAvoid cutting before you ink. Pencil lines smear and look messy on bookmark edges.
11. Lily Mandala Tiny Dots Around the Flower
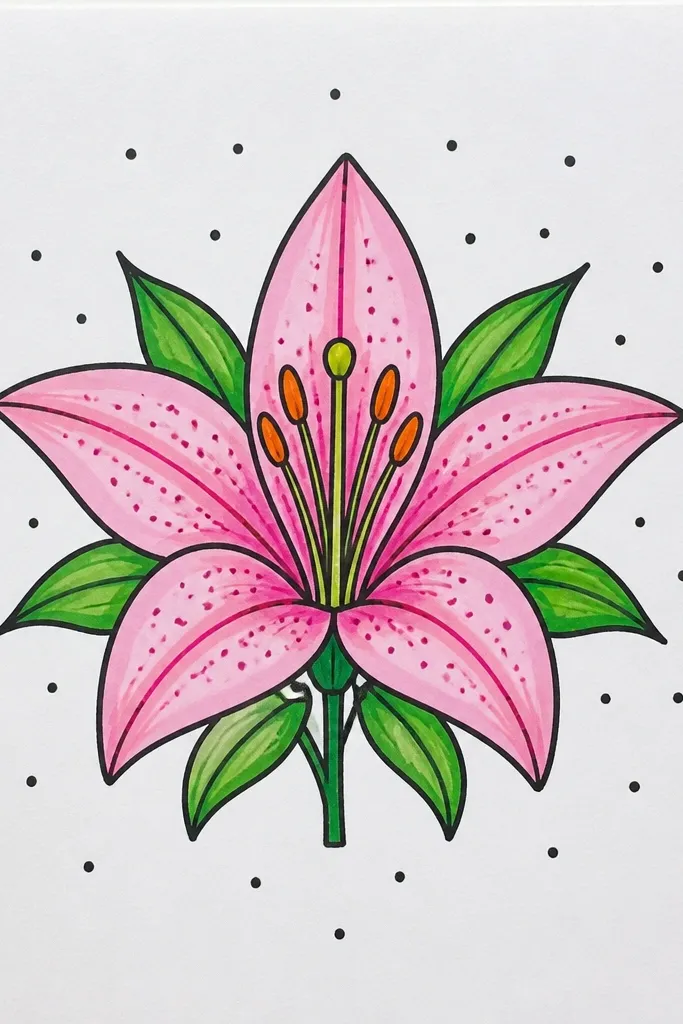
This looks detailed, but it’s still step-by-step easy because the outer pattern is only dots. The lily stays the main focus, while the dot rings frame it like a halo. Kids who like repetitive work do well here, and the result looks great for wall art or a handmade card front. The dot rings also hide small outline wobble, which is why this one works when hands are still learning control. Use one accent color for the dot rings so it doesn’t become a rainbow mess.
Good to knowUse a colored pencil to place dots, then go over the same dots with fineliner if you want them darker.
Step 1: Draw the lily in the center — standard 6 petals, inner lines, and a dotted center base. Step 2: Ink the lily first, then start dot rings around it: place dots in a circle at about 1 cm away from the lily petals. Step 3: Add 2-3 more dot circles outward, keeping spacing even. Step 4: Color the petals pale pink or pale cream, and keep the dot rings mostly uncolored except one color. Step 5: Color the dot rings with a single pencil or marker shade, and add a few extra dots between rings for a softer look.
Common mistakeDon’t make the dot circles uneven in spacing; sloppy spacing makes it look accidental, not patterned.
12. Lily in Profile on Wrapping Paper (Repeatable Print Style)
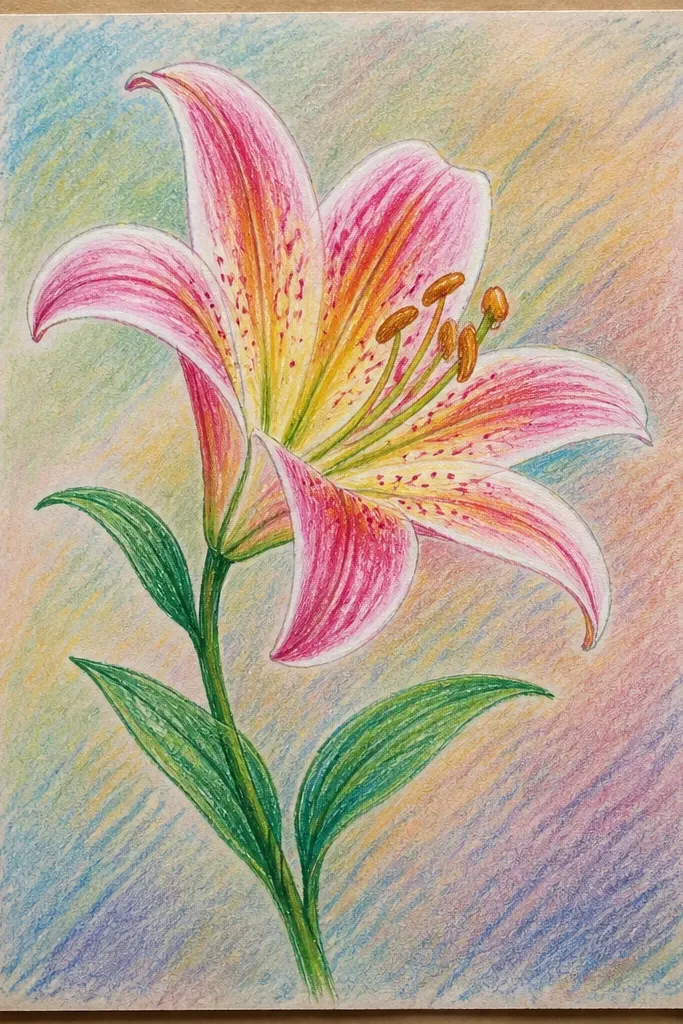
Profile lilies are perfect for repeat patterns because they take less space and still read clearly. I’ve used this style to decorate wrapping paper from old butcher paper and craft paper rolls. The overlapping petals in profile create a rhythm as the pattern repeats, so it looks intentional even with minor kid mistakes. This style works for warmer palettes like peach and brown, or cooler palettes like pale blue and gray-green. It also makes the page look fuller without crowding the center.
Step 1: Draw a profile lily unit: a curved center cup, 4 narrow overlapping petals, and 3-5 inner lines. Step 2: Add a tiny comma-like leaf next to each unit. Step 3: Repeat the lily units along a horizontal line, spacing them about 6-8 cm apart for a clean wrap. Step 4: Ink the outlines with a permanent marker so it holds up on paper rolls. Step 5: Color lightly with markers or watercolor pencils, keeping the center dots warm brown and the petals light peach or pale blue.
Do one test lily unit on scrap first. Once the size matches, repeat it without changing the proportions.
Avoid drawing profile lilies with wide petals. Wide petals kill the repeat rhythm.
13. Lily with Glitter Gel Center Dots (No Mess Plan)
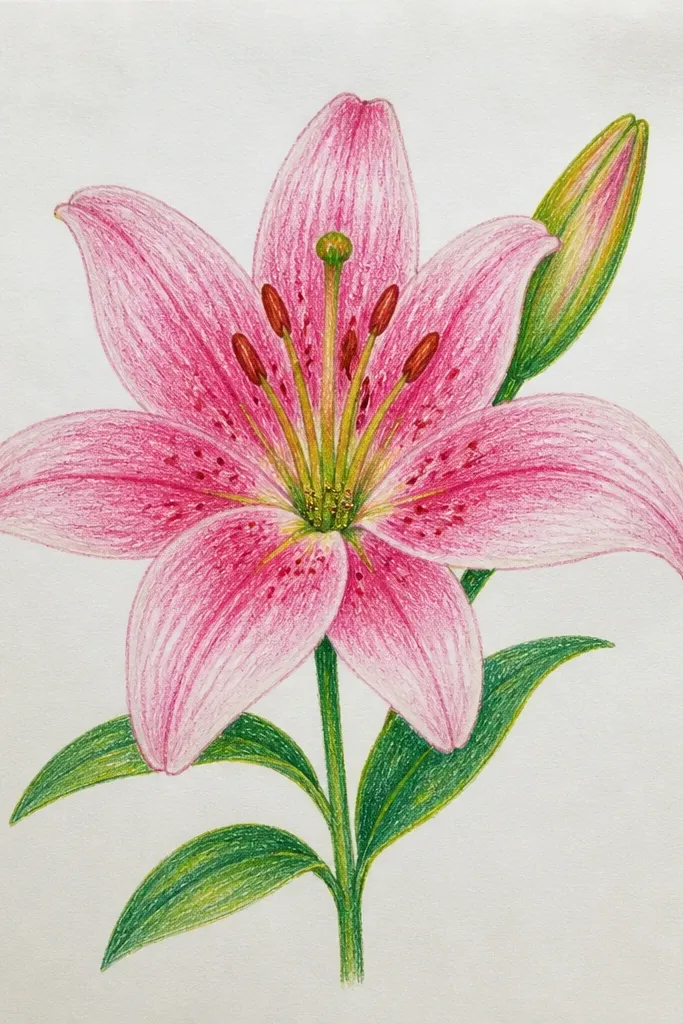
Glitter gel dots make the lily feel special, especially on handmade cards. The reason it looks good is simple: glitter stays in one spot — the center base — while the petals remain soft and matte. Kids love the sparkle, and you avoid glitter everywhere because the cluster is small. This works on both white and darker paper; on darker paper, the lily outline and glitter pop even more. It’s a great choice for birthdays because the center draws the eye.
Good to knowPut a scrap paper sheet under the page while you dot, so any stray glitter doesn’t land on your table.
Step 1: Draw and ink a single lily with 6 petals and a small center oval, then color petals pale pink or pale cream. Step 2: Add inner lines with fineliner so the center looks structured. Step 3: Place 6-10 tiny dots at the center base using a glitter gel pen, keeping dots close together. Step 4: Let glitter dry flat for 10-15 minutes before touching the page. Step 5: If you want extra definition, add a thin darker outline along the petal base after glitter sets.
Common mistakeAvoid glitter on the whole petal. It looks messy and turns the flower into a texture smear.
14. Lily with Soft Shadow Using Colored Pencil Edge Shading
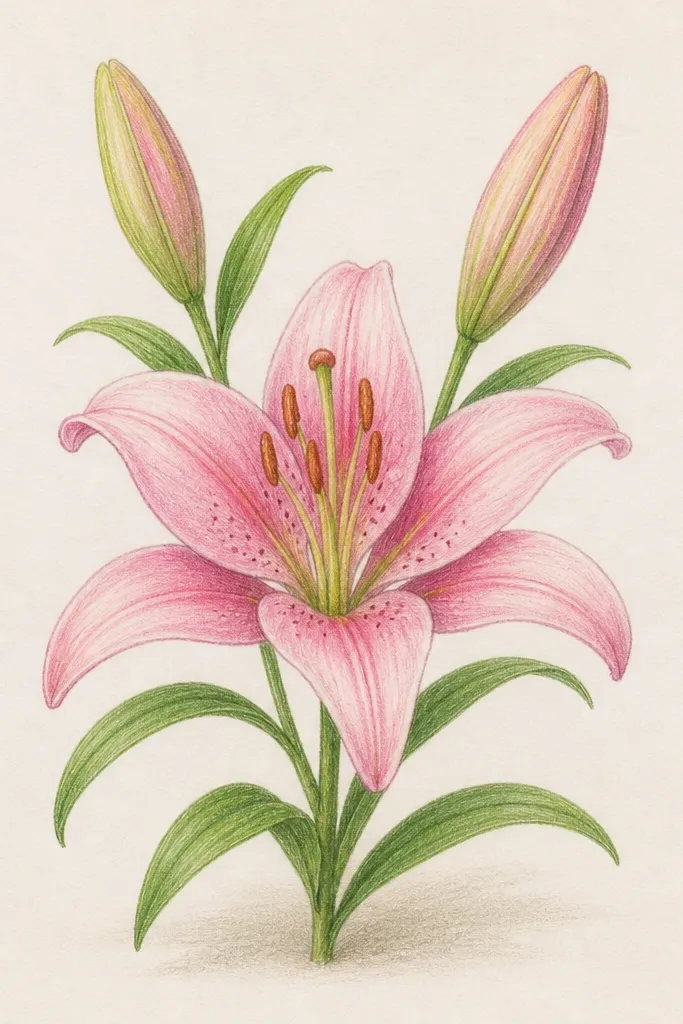
Edge shading is how you get depth without heavy coloring. I use a light peach pencil to shade only the side of each petal where it overlaps the next petal, like a gentle underline. This makes the lily look layered and gives kids a clear rule: shade one edge, not the whole petal. It looks good on paper that’s slightly textured because the pencil blends softly. For kids, it’s also a good way to learn “where light is” in a simple, visual way.
Good to knowChoose one “light direction” (like light from the left) and shade only the opposite edges. Consistency makes it look intentional.
Step 1: Sketch the lily with pencil and ink the outline with fineliner, keeping inner lines thin. Step 2: Color the petals pale cream or light yellow, leaving the top highlights white. Step 3: For each petal, shade a narrow band along the lower-right edge (pick one direction and keep it the same). Step 4: Blend lightly with a clean finger or a blending stump if you have one, then add warm brown dots at the center base. Step 5: Add a tiny shadow line at the base of the petals near the center oval to anchor the flower.
Common mistakeAvoid shading both sides of a petal. That makes the lily look muddy.
15. Lily Stem Twist with Hidden Heart Leaf
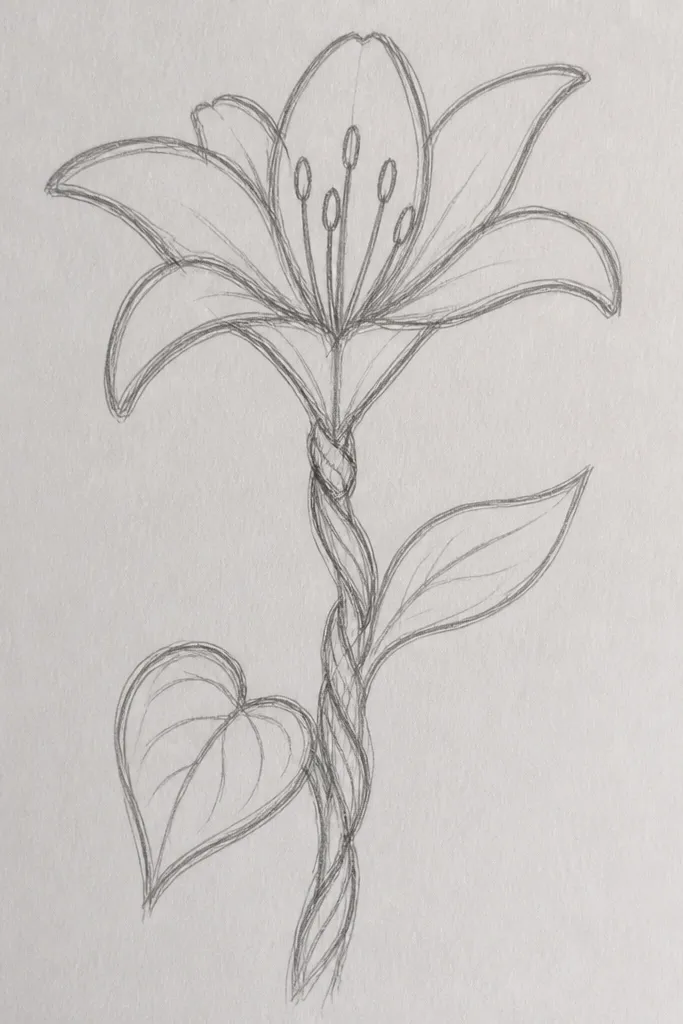
This one is a little playful secret: the heart-shaped leaf gives a cute surprise while the lily stays classic. The twisty stem adds energy, but the flower itself still uses the easy lily structure kids already learned. It’s great for cards because the heart leaf makes the message feel sweet without adding words. I like using a deeper green for the heart leaf so kids can see it even before they color. It also flatters the page because the heart leaf anchors the composition near the middle.
Step 1: Draw a twisting stem line that curves like an S, then add a lily at the top with 6 teardrop petals and a dotted center base. Step 2: Add two leaves along the stem — one oval leaf and one heart-shaped leaf (heart leaf means a heart outline with a center vein). Step 3: Add inner stripes: 2 lines per petal from the center outward, kept light. Step 4: Ink everything with fineliner, then erase pencil. Step 5: Color petals pale pink with warm brown dots, color regular leaf medium green, and color the heart leaf darker green so it stands out.
Make the heart leaf slightly bigger than the other leaf. It reads as a heart even in kid-drawn lines.
Don’t hide the heart leaf too low; place it where the eye lands first — around the center of the page.