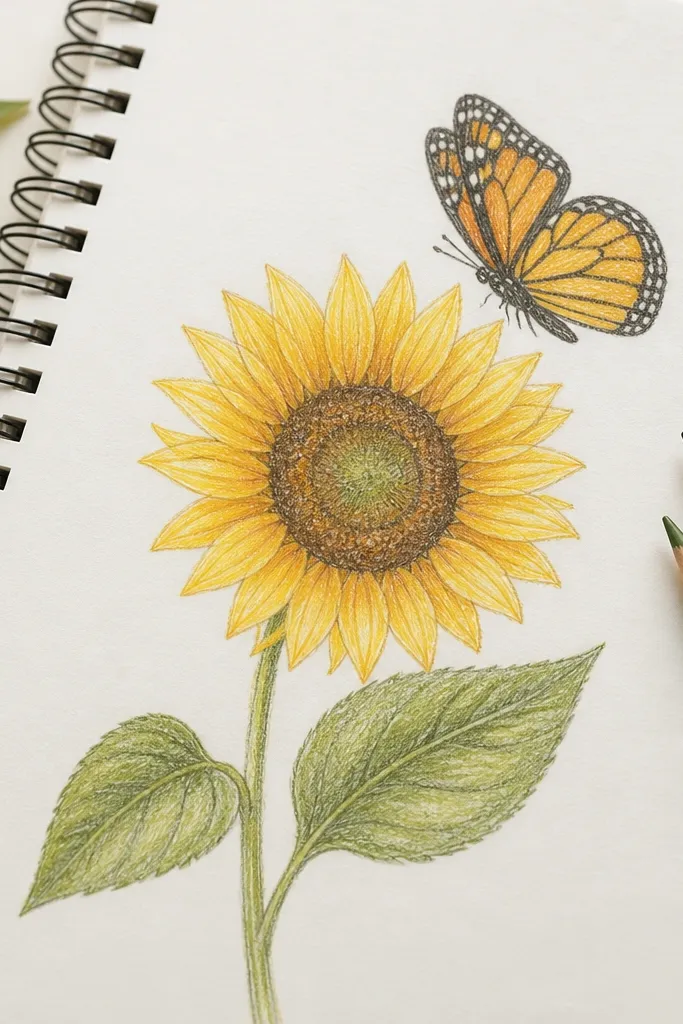
1. Classic sunflower halo butterfly
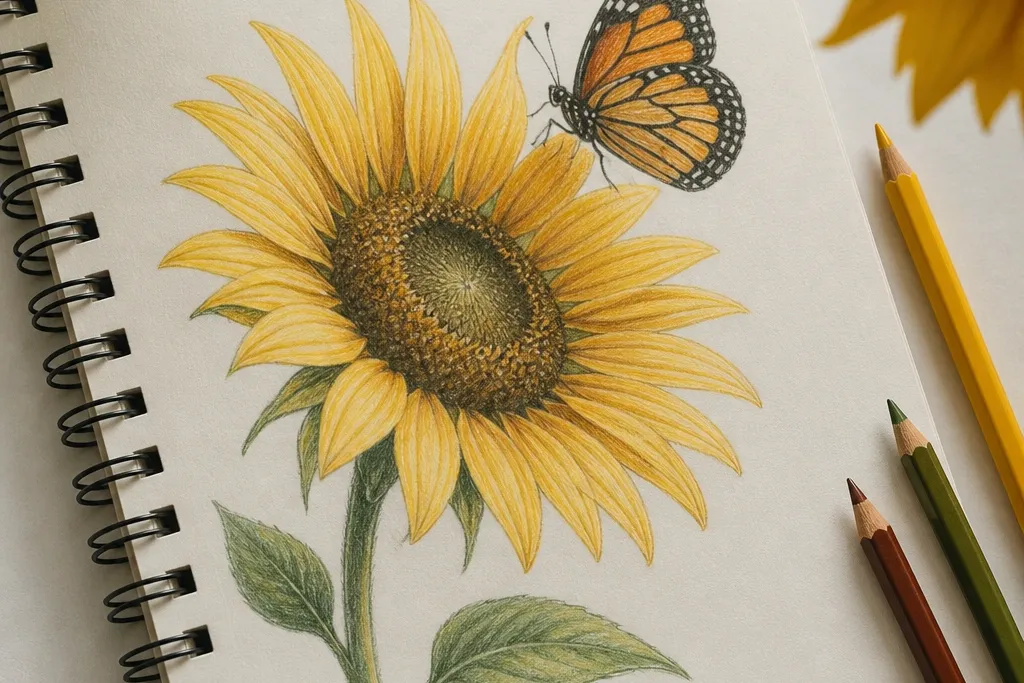
This one looks best when the sunflower is your background and the butterfly is your foreground. I draw the sunflower first, then place the butterfly so its body points straight at the center. Use warm yellows for the petals and keep the butterfly wings slightly cooler (pale honey to muted gold) so the contrast feels natural. It flatters most styles because the halo shape pulls the eye inward, making the wings look balanced even if your symmetry isn't perfect. For cards and labels, it also reads clearly at a small size because the sunflower ring is strong and round.
Start by sketching a circle for the sunflower head, then add two petal rings: 10-12 petals for the outer ring and 8-10 smaller petals for the inner ring. Draw the butterfly body as a thin oval with a small head, then outline the wings as two teardrop shapes that touch the body at the top. Place the wing tips just inside the sunflower outer petal ring so the petals frame them. Finally, add the center seeds: draw a tight spiral of 6-10 short dark marks, then outline the ring with a darker line.
Good to knowLeave 3-5 petal highlights uncolored so the yellow doesn't look flat.
Common mistakeDon't color the entire butterfly wings the same shade - add darker edges on the outer half only.
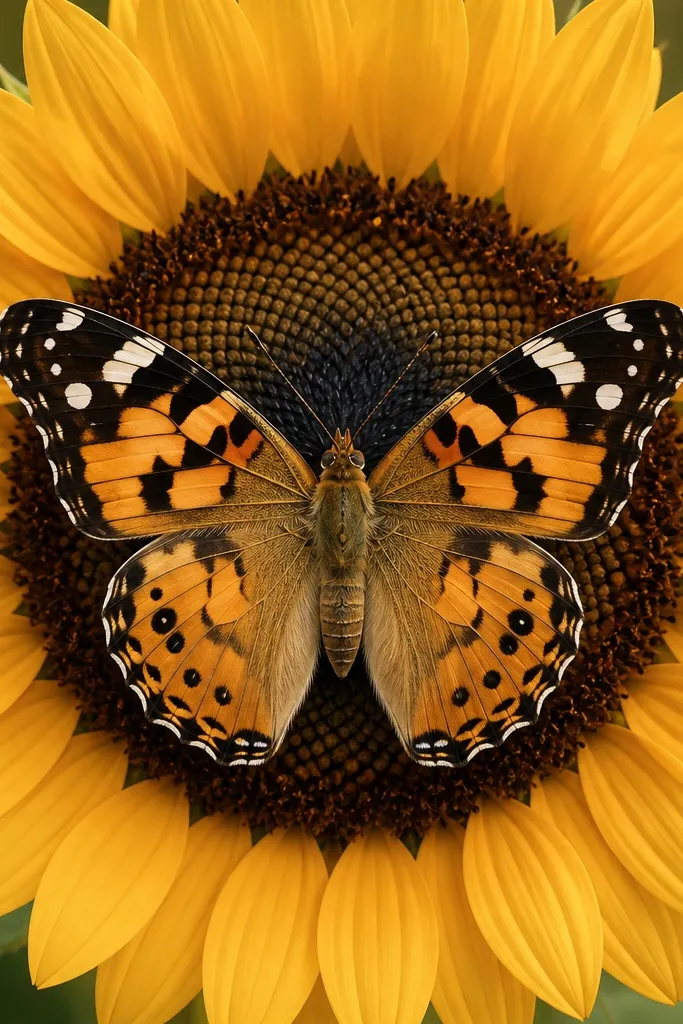
2. Sunflower stem swing wings
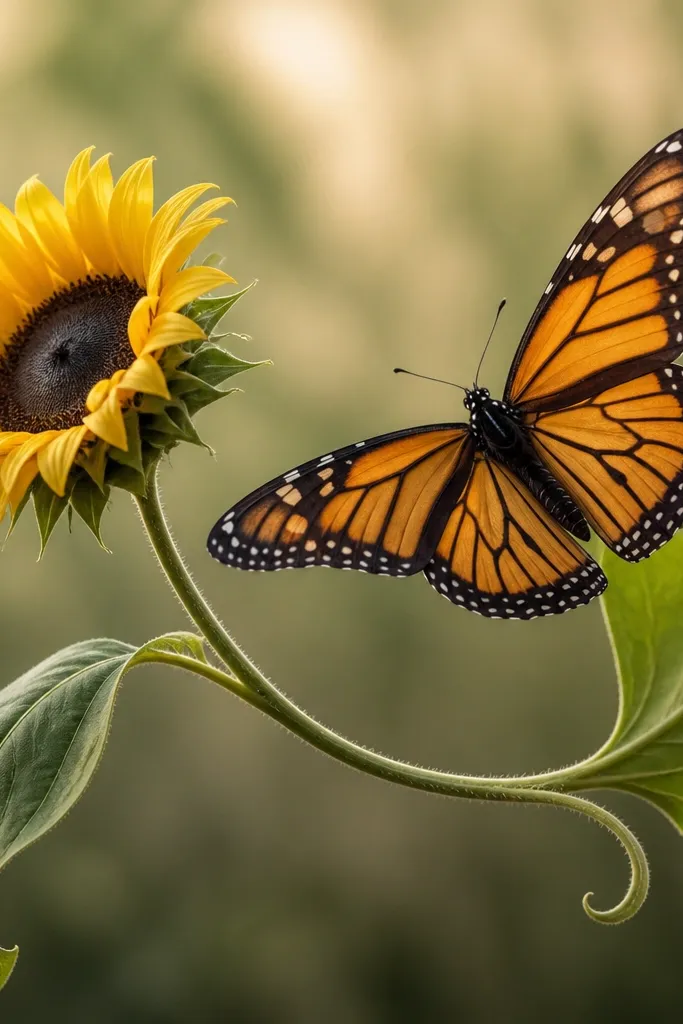
This design looks playful and airy, especially when you want movement. The sunflower head sits lower than the butterfly body, and the curved stem acts like a guide line for the viewer's eye. I use deep olive for leaves and a slightly orange-gold for petals so it feels warm, not flat. It flatters smaller layouts because the diagonal angle creates space without needing extra flowers. If you're upcycling a plain notebook cover, this one makes the page feel "alive" even with minimal color.
Draw a curved stem line from bottom left to mid-right, then attach a sunflower head at the upper end of the curve. Sketch the butterfly body diagonally, with wings shaped like two asymmetrical ovals - one stretched wider, one slightly narrower. Add 2-3 leaf clusters along the stem, each leaf drawn as a teardrop with a center vein line. Layer the petals by drawing longer outer petals and shorter inner petals; keep the outer petals pointing toward the butterfly wing tips.
Good to knowDarken the stem under the butterfly so it looks like the butterfly is "perched" on it.
Common mistakeSkip tiny leaf details if you're using markers - they bleed and turn into blobs.
3. Two-sunflower split wing fan
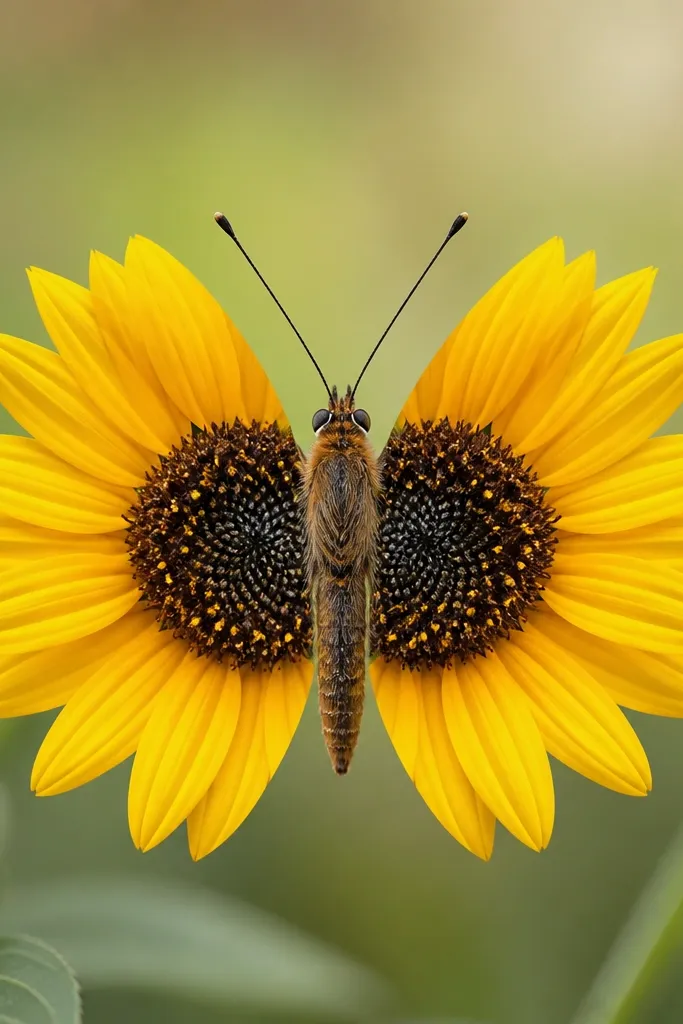
This layout is a lifesaver when you want your butterfly to look dramatic without complex wing shading. Two smaller sunflower heads create a symmetrical backdrop that makes the wings read clearly. I like using one sunflower in brighter yellow and the other slightly more muted (add a touch of ochre) so it feels intentional, not copy-pasted. It flatters wide paper because you get a full composition across the page. For wall art, it also looks great because the repeated sunflower shapes create rhythm.
Start with two circles for sunflower heads - left and right - leaving a gap in the middle for the butterfly body. Draw petals outward in a fan pattern on each side, about 8-10 petals per sunflower, with the inner petals slightly smaller. Sketch the butterfly body in the center, then draw wings as two curved rectangles with rounded ends that overlap the sunflower petals. Add the seed centers using short curved dashes, then outline the petal bases with a darker warm brown for depth.
Good to knowKeep the butterfly's body stripe darker (burnt sienna) so it anchors the whole design.
Common mistakeDon't place the butterfly too low or the split fan looks cut off when you frame it.
4. Watercolor wash + ink outlines butterfly
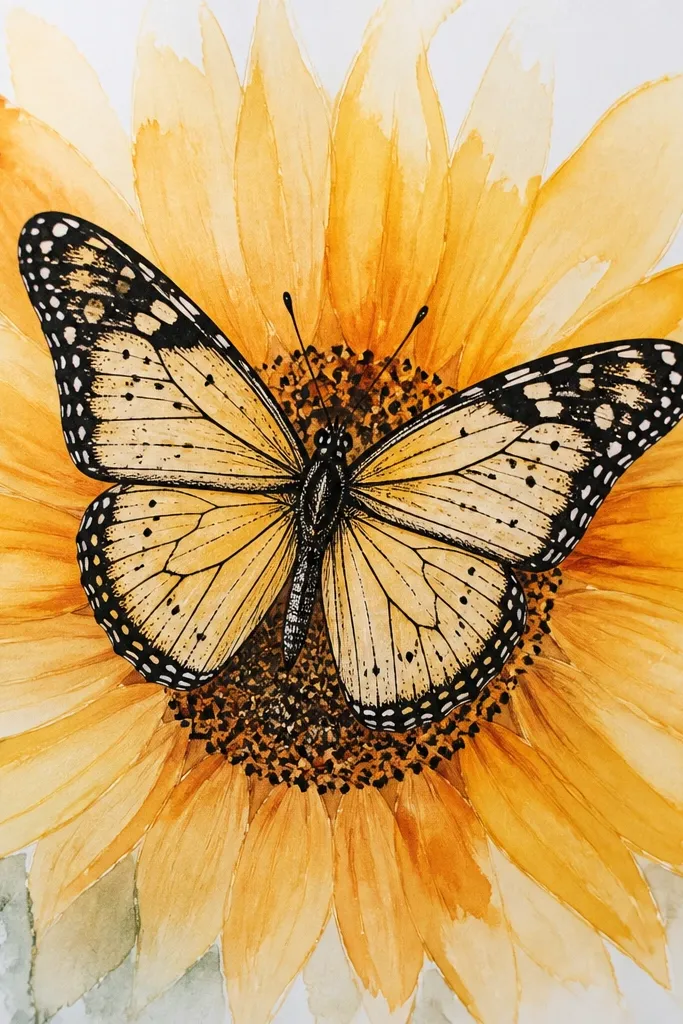
This is the cleanest way to get that "finished" look without fighting with perfect coloring. The ink outlines keep everything readable, even with loose watercolor. I use a light yellow wash for petals, then add a second warmer glaze at the petal bases. For the butterfly wings, I keep the wash pale, then ink the vein lines so it doesn't look like a blob. This flatters beginners because you can correct shapes with ink, and it still looks intentional.
First, pencil sketch the sunflower head and butterfly, then trace the butterfly outline with a fineliner (0.3 or 0.5). Apply watercolor to the sunflower petals using light yellow, then deepen only the inner petal bases with a warm orange glaze. Add a small watercolor "shadow" under the butterfly wings using diluted brown. After the wash dries, dot the sunflower center seeds with ink and add 6-8 wing vein lines.
Good to knowLet each watercolor layer dry fully before adding the next - it stops the muddy look.
Common mistakeDon't ink over wet watercolor or the lines spread.
5. Sunflower center spiral wings
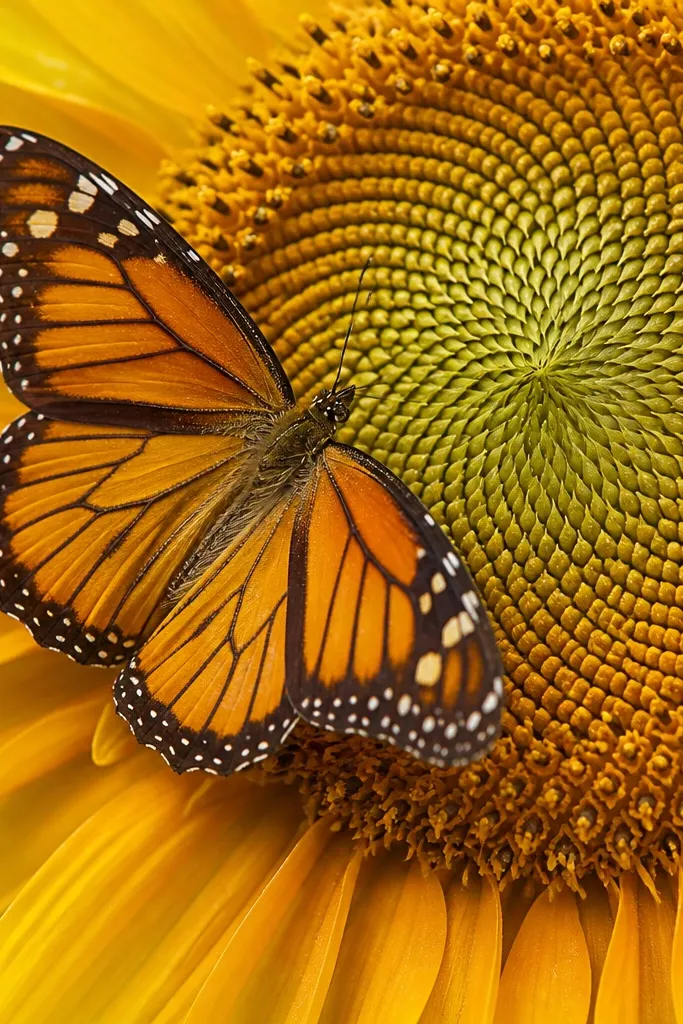
If you want your drawing to look designed, not decorated, this is it. The sunflower center spiral becomes a visual guide for the butterfly wing veins. I keep the wing shapes simple - big teardrops - and let the linework do the fancy part. The warm spiral adds depth behind the butterfly without needing heavy shading. It flatters slim vertical pages because the spiral naturally pulls the eye upward. It also looks striking in black-and-yellow only, which is perfect for quick upcycling prints.
Draw the sunflower head circle, then sketch a spiral in the center using 12-14 short arcs. Position the butterfly body in front of the spiral so the top of the body touches the inner spiral ring. Outline the wings as two large teardrops, then draw vein lines that curve in the same direction as the spiral. Color the petals with 2 tones: pale yellow for most petals and slightly darker yellow at the petal base. Finish by adding a few extra dark seed dashes where the spiral lines are densest.
Good to knowUse a ruler-less hand: keep the spiral arcs uneven so it feels organic, not mechanical.
Common mistakeDon't overfill the wing veins - 6-8 per wing looks crisp.
6. Petal curtain behind the wings
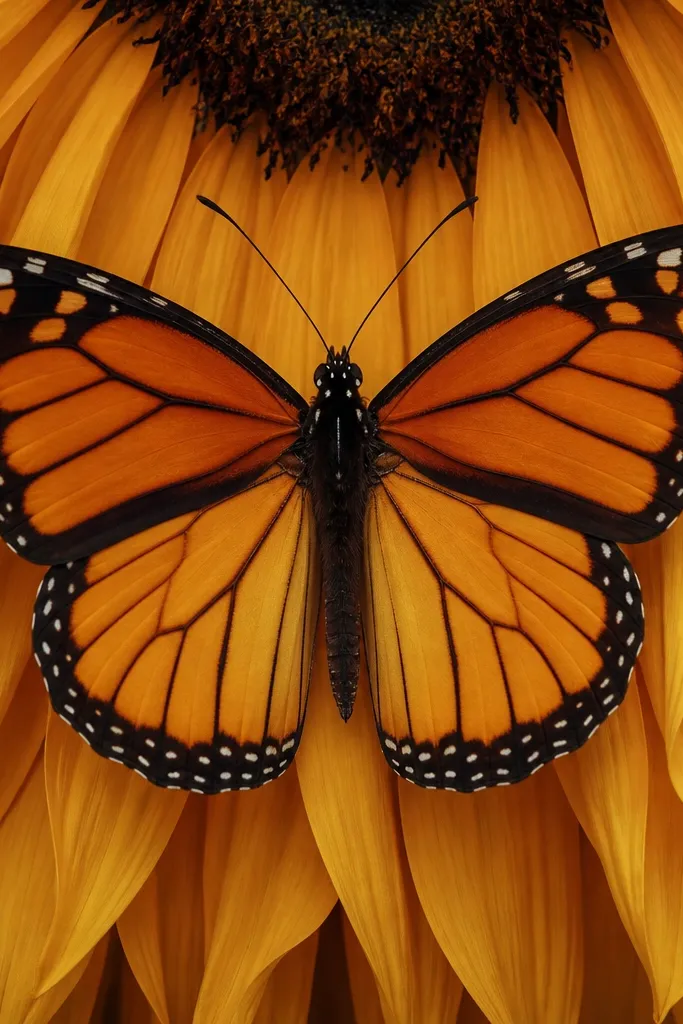
This one looks like you're staging the butterfly in front of a flower curtain. Long, overlapping petals create depth and hide minor wing shape mistakes. I use a gradient effect: lighter petals at the top, deeper gold at the bottom so the curtain feels dimensional. The butterfly wings look extra clean because the petal overlap gives you built-in masking. It flatters portrait prints and small frames because vertical curtains fill the space without clutter.
Draw a sunflower head circle high enough that petals can hang down behind the butterfly. Make the outer petals longer and draw them in overlapping rows like blades of grass, 12-16 petals total. Sketch the butterfly body in the center, then draw wings so the outer edges sit in front of the petal curtain lines. Add inner petals as shorter shapes inside the circle. Finally, dot the sunflower center with a mix of small dark seeds and a few tiny lighter gaps for texture.
Good to knowColor the bottom third of each outer petal slightly darker - it makes the curtain look intentional.
Common mistakeDon't make all petals the same length or the curtain loses the layered look.
7. Doodle border sunflower butterfly
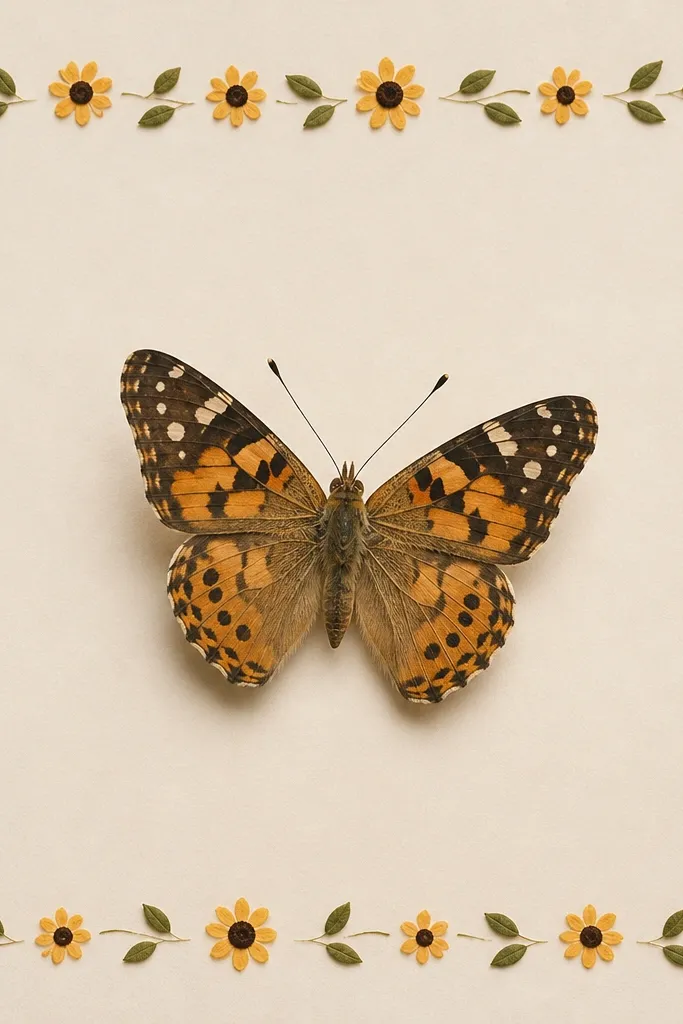
This idea is perfect when you want the butterfly to be the focal point but you also need the drawing to look complete on a plain card front. The doodle border gives structure and makes it feel like a set of stickers rather than one sketch. I keep the sunflowers in the border smaller and simpler, so the main sunflower-butterfly stays dominant. It flatters busy backgrounds because the linework is consistent and the shapes repeat. If you're making a set of upcycled gift tags, this style looks cohesive across the whole batch.
Sketch a rectangle border first, leaving a margin of about 1 cm around the edges. Place a main sunflower head behind the butterfly in the center, then draw a butterfly with wings about 2/3 the width of the rectangle. In each corner and along the sides, doodle mini sunflower heads as circles with 6-8 small petals and tiny leaf sprigs. Use the same line thickness for every doodle so the border doesn't look patchy. Color only the main sunflower and butterfly; keep border sunflowers in pencil or one flat yellow wash.
Good to knowUse one pen size across the whole border so everything feels like one hand.
Common mistakeDon't color the border as heavily as the main sunflower or the eye won't land on the butterfly.
8. Sunflower and butterfly on kraft paper
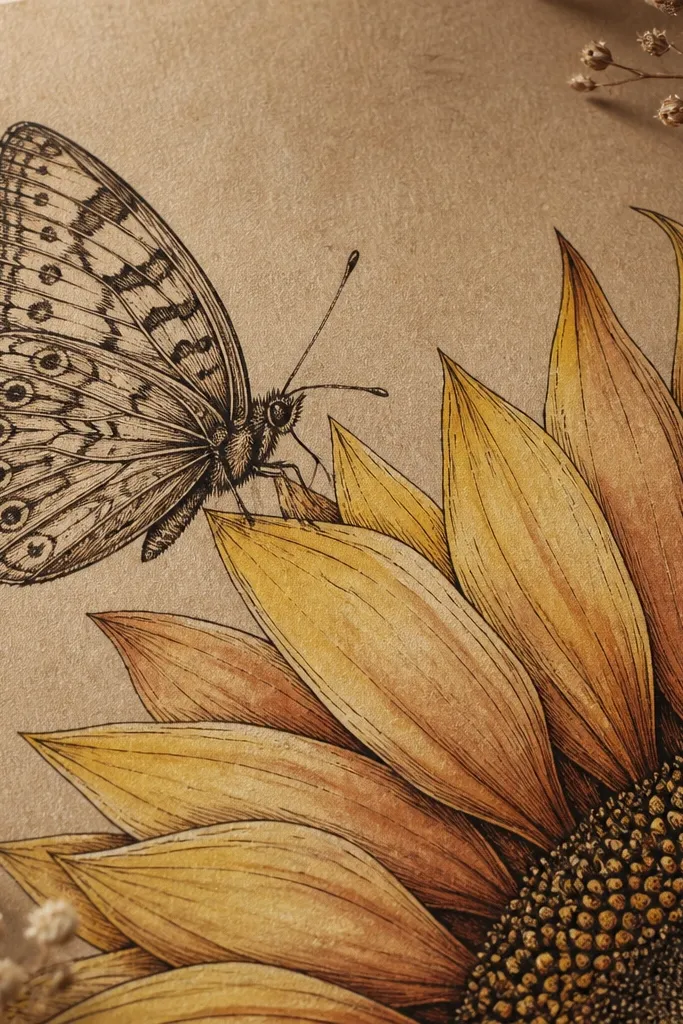
Kraft paper changes the whole mood. The warm tan background makes the sunflower petals look richer even with lighter pigment. I use dark brown ink for the butterfly outline instead of black, so it feels soft and vintage. For petals, I blend muted yellow with a light orange edge, then leave the kraft paper visible as highlights. It flatters earthy color palettes and looks great on upcycled envelopes, plant pots, and linen scraps. You'll also notice it hides minor pencil smudges because the paper texture is forgiving.
Sketch the sunflower head using a light pencil, then outline it and the butterfly with dark brown fineliner. Color petals with a muted yellow, pressing lightly so kraft shows through. Add orange-brown only at the petal base and along the outer edge of the petals. For the butterfly wings, color a pale yellow wash, then add darker brown veins near the wing edges. Finish by drawing the seed center with short ink dashes and a darker ring around the center.
Good to knowUse a kneaded eraser to lift pencil highlights on kraft - it looks like natural glow.
Common mistakeAvoid bright neon yellow; it fights the kraft warmth and looks harsh.
9. Monochrome sunflower butterfly with one accent
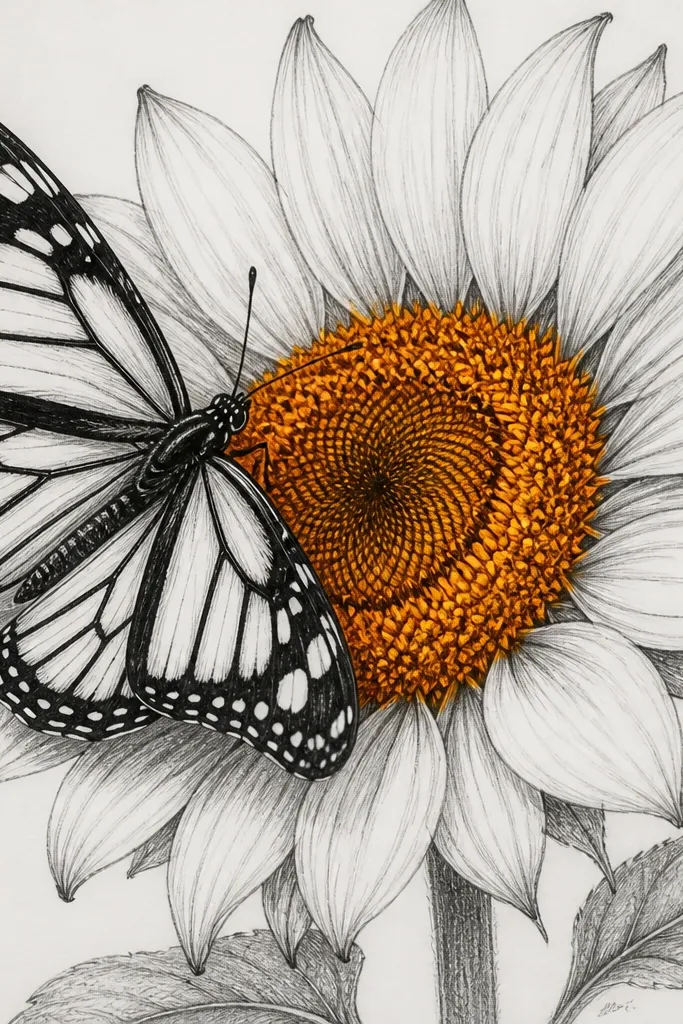
This one is all about restraint. When you keep everything monochrome, the single colored accent becomes the centerpiece and your drawing looks intentional. I use pencil shading and ink for the butterfly wings, then color only the sunflower center with a deep golden orange. The rest stays in grays, so even if your petals aren't perfect, the composition holds. It flatters minimalist tastes and looks sharp on white paper and sticker paper. For beginners, it's also less stressful because you're not fighting with full-color accuracy.
Start by drawing the sunflower head circle and the butterfly outline in pencil. Ink the butterfly wings and add simple vein lines, then shade the wings lightly with pencil. Draw sunflower petals with ink lines but keep them uncolored. Color only the center seeds with deep golden orange, filling the spiral ring and leaving tiny white gaps. Add a dark ring around the center and a few darker seed dashes so the accent looks textured.
Good to knowColor the center in two steps: first a light base, then darker seeds on top for depth.
Common mistakeDon't color the entire sunflower petals - the accent loses its job.
10. Bold outlines and flat color wings
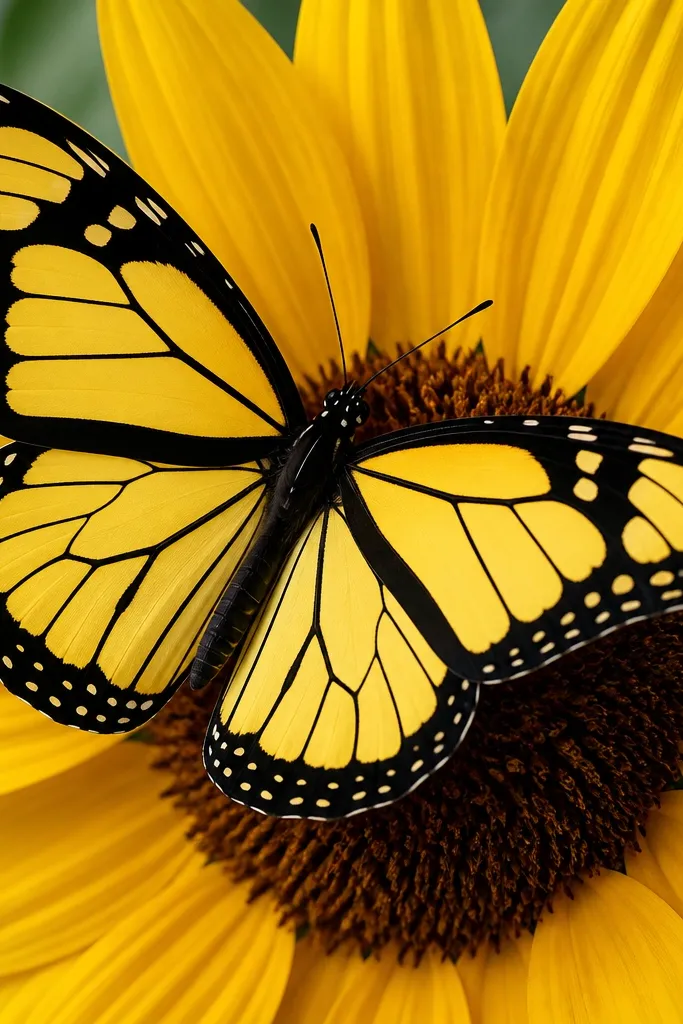
This is the style I use when I'm making something that needs to survive printing and cutting. Thick outlines keep the butterfly readable, and flat color blocks avoid the messy gradients that markers can smear. I like pale yellow wings with a darker gold border on the outer edge. The sunflower stays simple: petals as clean teardrops and a seed center that's just a spiral of dots. It flatters people who struggle with realism - your drawing still looks "designed" because the shapes are confident. It also looks great on mugs, stickers, and iron-on transfers.
Sketch the sunflower head and butterfly in pencil, then trace the butterfly outline with a thick fineliner or black marker. Fill the wings with flat pale yellow, leaving a narrow white highlight strip near the center. Add a thin gold border along the outer wing edges. Draw the sunflower petals as 12-14 teardrops around a circle, then fill petals with a single warm yellow tone plus a slightly darker inner petal base. Finish the center with a spiral of small dots in dark brown.
Good to knowKeep your highlight strip uncolored - it makes flat color look glossy.
Common mistakeSkip heavy shading if you're using cheap markers; it can look streaky.
11. Sunflower stem arch with wing shadow
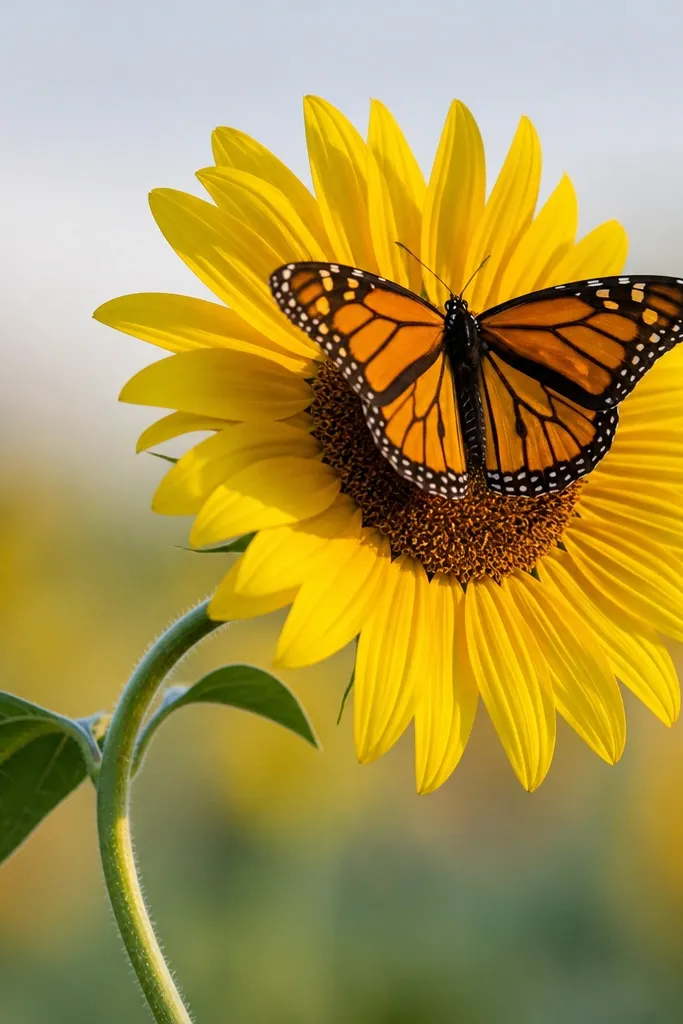
This design adds depth with almost no extra work. The wing shadow makes the butterfly feel layered, not pasted. I draw the shadow as a soft, slightly darker patch on the sunflower petals behind the wings, then sharpen the outer edge of the shadow. The result looks like a cutout pasted on top of the flower. It flatters drawings that need to look dimensional in a small space, like bookmark art. If you're using colored pencils, this is also a great way to use "light pressure then dark edge" for a clean look.
Draw the arching stem line and attach a sunflower head at the top. Sketch the butterfly body on the arch and draw wings as teardrops that overlap the sunflower petals. Color the sunflower petals with a light yellow base first. Then add the wing shadow: lightly press a darker yellow-brown behind the wing shapes and stop where the wing outline would be. Finally, outline the shadow edge with a darker pencil line or thin ink pass, then draw the seed center spiral.
Good to knowUse the same color for shadow and petal base, just one shade darker - it looks natural instead of muddy.
Common mistakeDon't use gray shadows; it makes the sunflower look sickly.
12. Sunflower seeds as butterfly texture
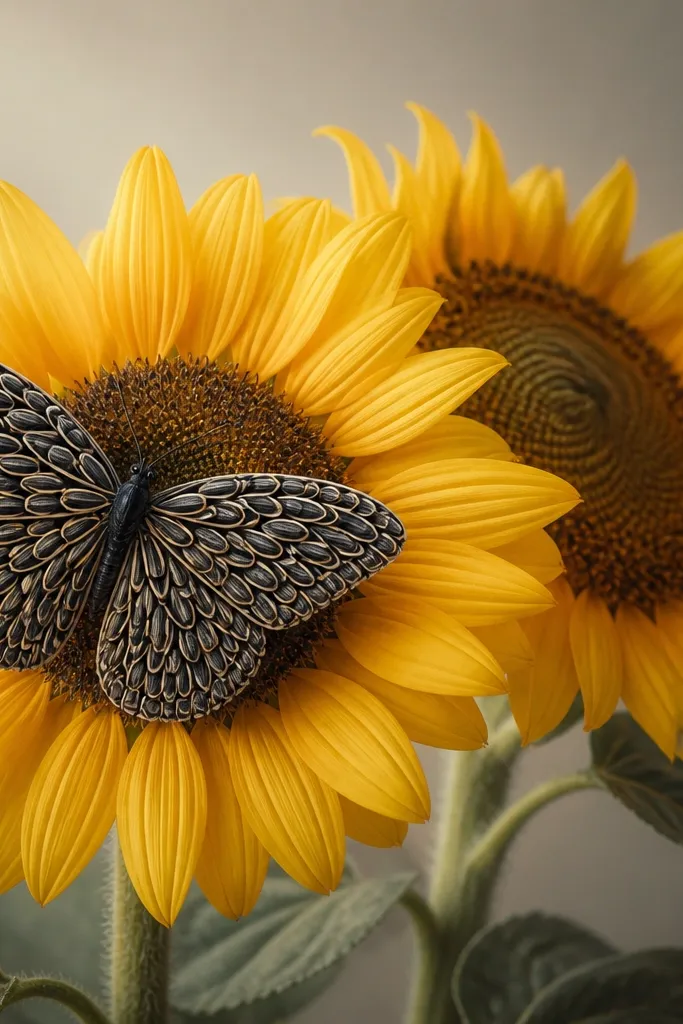
This one looks clever because the sunflower theme repeats inside the butterfly wings. Instead of drawing wing texture as random dots, you draw tiny seed shapes arranged like a gentle gradient. I keep the wing outline clean, then fill the wing interior with seed-like ovals that get darker toward the outer edge. The back sunflower center stays classic so the design doesn't feel confusing. It flatters anyone who loves patterns because it's very structured. For upcycled fabric labels, it also hides slight uneven coloring because the texture pattern covers it.
Draw the sunflower head first with an outer petal ring and an inner petal ring, then add the seed spiral center. Place the butterfly in front, with wings sized so they cover most of the sunflower center behind. Outline the wings, then fill each wing with tiny seed ovals: start lighter near the body and darker near the outer edge. Leave a small unfilled highlight patch near the wing top. Finish by adding a few extra dark seed ovals along the wing edges and a simple antenna line.
Good to knowUse the same seed shape everywhere - consistency makes it look intentional.
Common mistakeDon't randomize seed size too much or the wings look messy.
13. Sunflower petal fan behind body
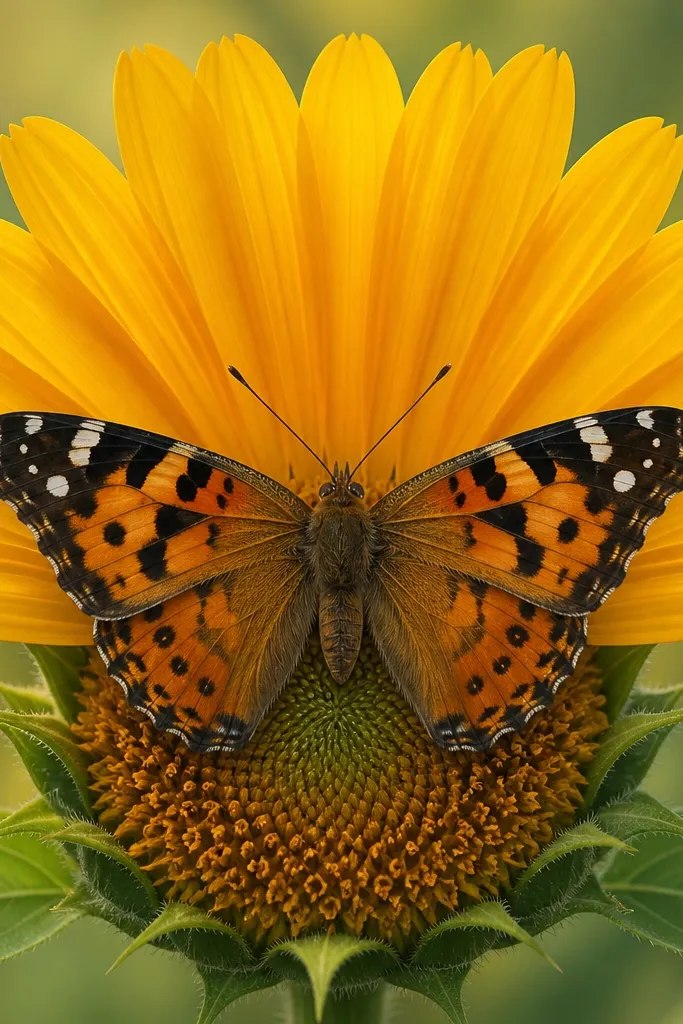
This layout gives you a strong silhouette without making the entire sunflower fill the page. The petal fan behind the body creates a clear stage, and the butterfly wings only need light shading. I draw the fan with petals that all point outward from the center, then let the butterfly wings overlap the fan edges. The effect is crisp and graphic, which looks great on scrapbook paper and sticker sheets. It flatters medium-size spaces because it doesn't require extra background elements. Also, it's easier than drawing a full sunflower head from every angle.
Sketch a small circle for the sunflower center, then draw petals as a fan shape opening upward with 14-18 petals total. Keep the bottom petals shorter so the butterfly has room. Draw the butterfly body and wings so the body sits over the center circle and the wings overlap the petal fan edges. Shade the butterfly wings lightly with a yellow pencil, then add darker vein lines near the edge. Color the sunflower petals with light yellow and add orange-brown at the petal base only.
Good to knowIf your fan looks uneven, count your petals and keep the spacing even on the top row.
Common mistakeDon't add a full second sunflower ring if the fan already fills the background.
14. Mini sunflower clusters around butterfly
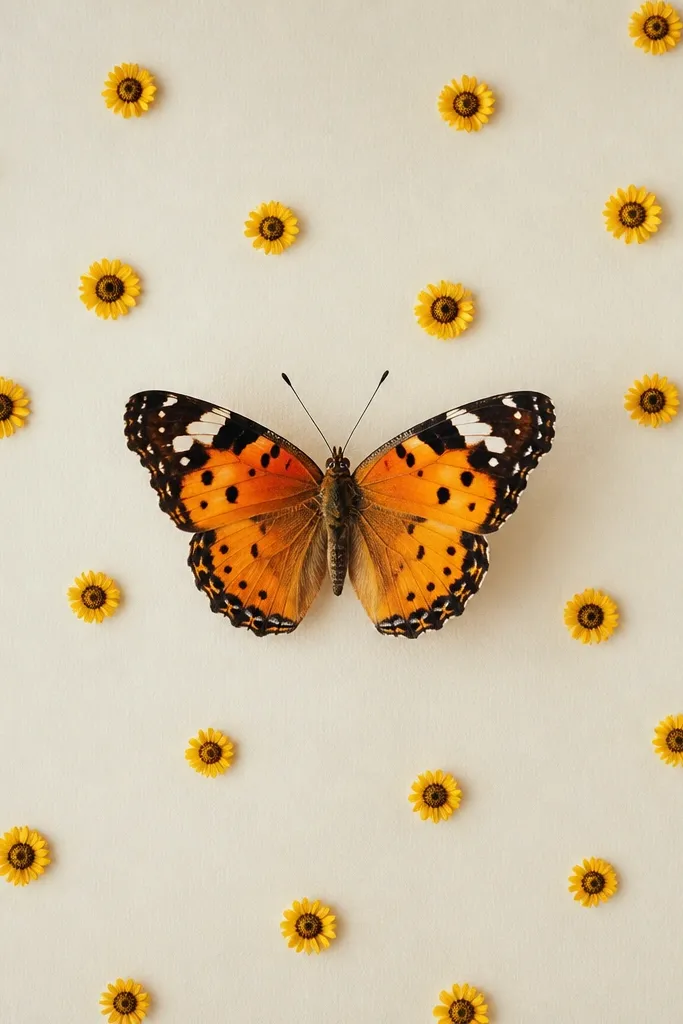
This style feels like spring without needing a large sunflower head dominating the page. Tiny sunflower clusters act like visual "anchors" so your butterfly stays the hero. I keep each mini sunflower simple: a small circle, 6-8 petals, and a few dark seeds. The wings can be more detailed because the background stays light. It flatters horizontal layouts like tote panels because the scattered flowers fill the edges. If you're drawing for a collage, this also plays nicely with other line art.
Draw the butterfly first, centered, with wings sized to occupy about half the page width. Add a small sunflower head behind the butterfly body so you still have that sunflower-butterfly link. Then scatter 6-10 mini sunflower heads around the butterfly: corners, top edge, and along one side. Use the same petal shape for every mini sunflower so the cluster feels cohesive. Color petals in pale yellow and deepen the seed centers with dark brown dots.
Good to knowKeep mini sunflower centers the same diameter; it makes the cluster look crafted, not random.
Common mistakeDon't overcrowd the space under the wings or it fights for attention.
15. Sunflower + butterfly in a circle frame
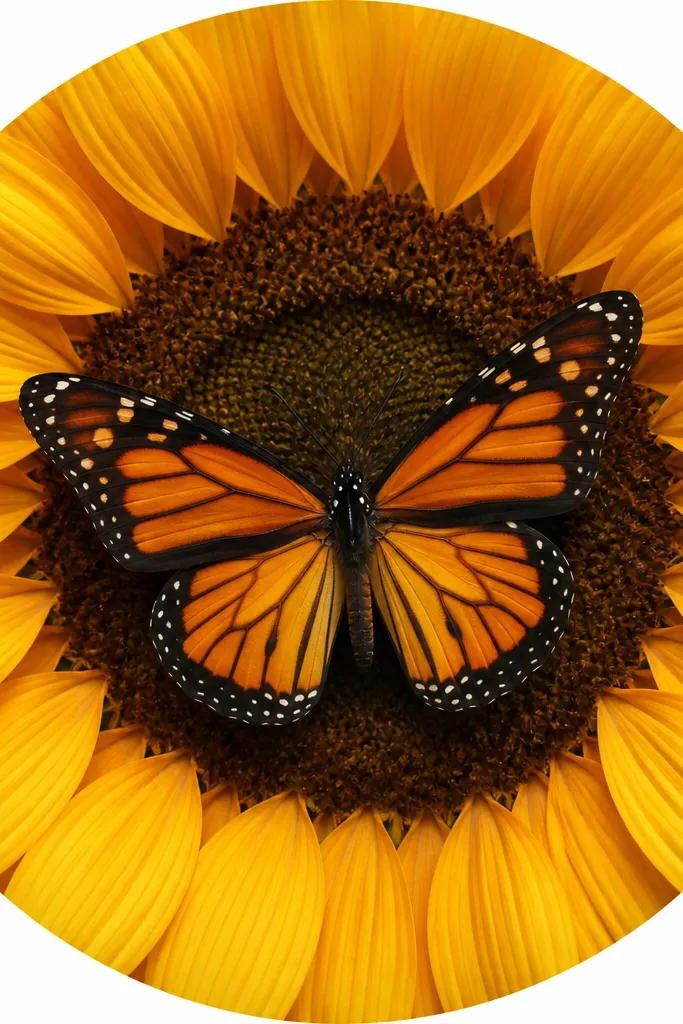
Framing is the fastest way to make a drawing look like a finished piece. The circle frame forces alignment, so even if your wing symmetry is slightly off, the composition still reads clean. I draw the sunflower petal ring so it nearly touches the circle border, then place the butterfly wings inside the ring gap. The sunflower center stays crisp and dark, which makes the whole thing feel crisp when printed. It flatters sticker-size art and looks great on upcycled jar labels. The design is also easy to scale because the circle math stays consistent.
Start by drawing a large circle frame, then draw a slightly smaller circle inside it for the sunflower petal ring. Sketch the sunflower head inside the ring with 12-16 petals that reach toward the inner circle edge. Draw the butterfly body at the center, then place wings so they sit inside the inner circle and overlap the sunflower petals. Add seed spiral marks in the sunflower center, then ink the butterfly wings and body. Color petals in warm yellow with a darker base edge, leaving small petal highlights.
Good to knowUse a compass or a jar lid for the frame - perfect circles make the whole drawing look intentional.
Common mistakeDon't leave huge empty space between the inner petal ring and the butterfly; it looks unfinished.
16. Sunflower butterfly with leaf swirls
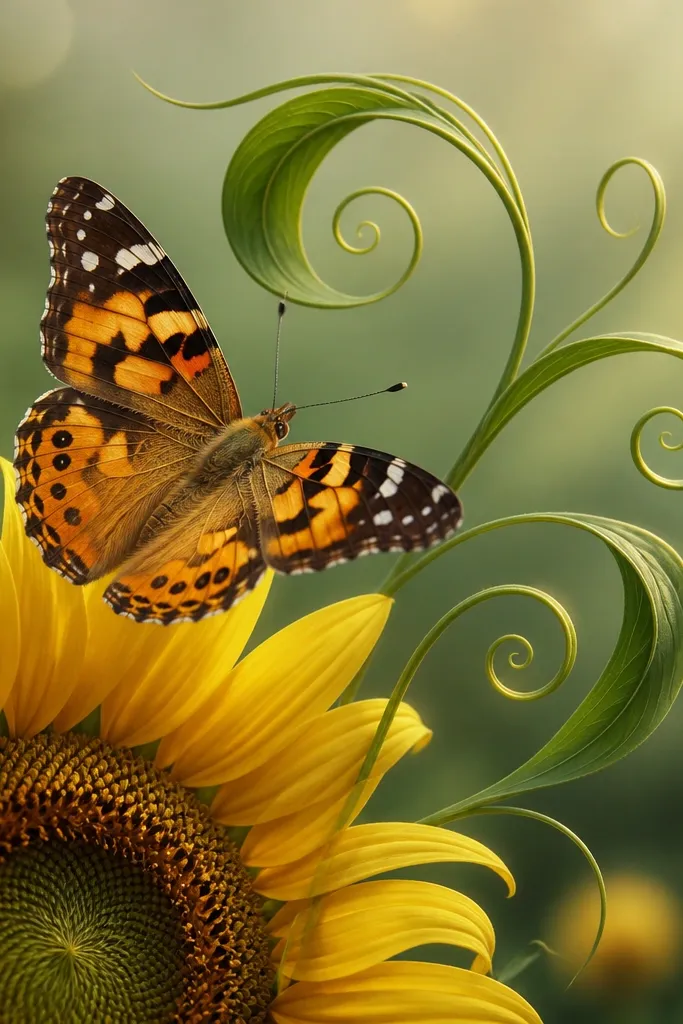
Leaf swirls give you movement without adding more flowers. The swirls guide the eye toward the butterfly body and make the sunflower feel like it's part of a bigger arrangement. I use two leaf tones: olive green for the main leaves and a slightly lighter sage for highlights. The butterfly wings look more dimensional when the leaf swirls sit behind them like soft ribbons. It flatters medium complexity - you get an ornate look without needing realistic shading. For wall decals and fabric transfers, leaf swirls also help fill negative space cleanly.
Draw the sunflower head first, then outline the butterfly wings so their outer edges overlap the sunflower petals slightly. Add leaf swirls on both sides: draw a long S-curve, then attach two teardrop leaves along it. Add a center vein line in each leaf, and shade the leaf base darker near the butterfly. Keep the leaf swirls behind the butterfly wings, then ink the butterfly on top. Finish by coloring sunflower petals and adding the seed spiral center with dark dashes.
Good to knowShade leaf bases with one side darker so the swirl looks like it wraps around the butterfly.
Common mistakeDon't draw leaf swirls in front of the butterfly body or the layers get confusing.
17. Sunflower butterfly with lace-like petal edges
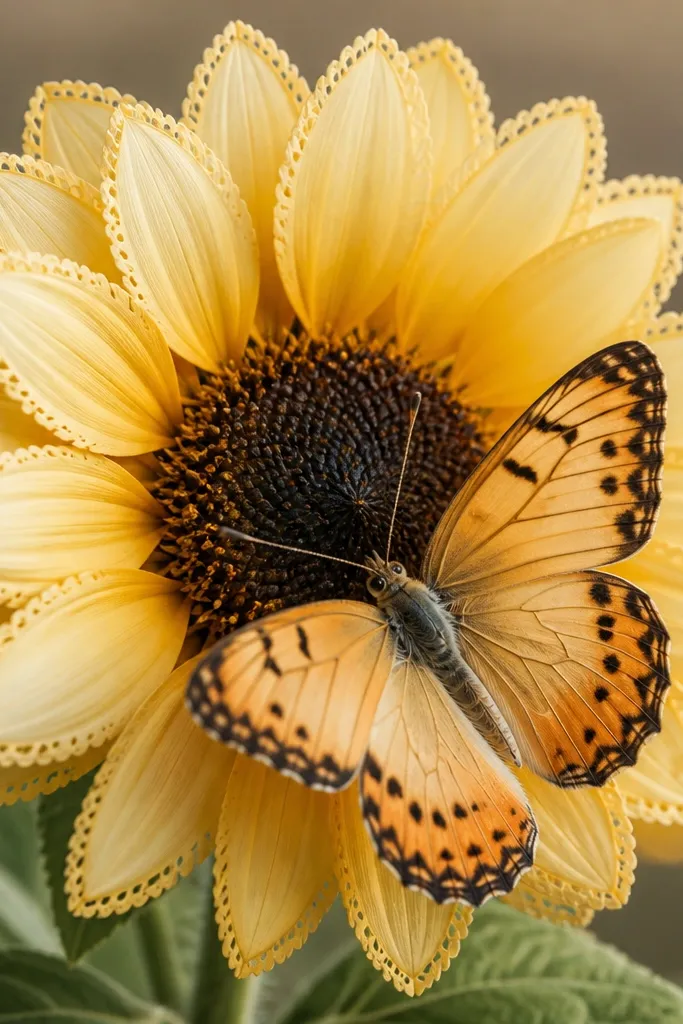
Scalloped petal edges make this look like paper cut work even if you're just drawing. The lace-like edges add texture, so you don't need heavy shading. I keep the butterfly wings simpler with thin vein lines, letting the petal texture do the visual work. This flatters printmaking and card art because scallops read clearly at a distance. It also looks great on upcycled lace scraps when you match the scallop rhythm. If you like a delicate look, this is the style that makes your drawing feel special without getting complicated.
Sketch the sunflower head circle, then draw petals with scalloped outer edges: each petal gets 3-5 small bumps along its rim. Make the outer ring petals longer and the inner ring petals slightly shorter. Draw the butterfly body and wings on top, keeping wing outlines clean and adding 7-9 vein lines per wing. Color the petals in pale yellow, then add a warm orange tint only at the petal base and along the scallop bumps. Add seed spiral marks in dark brown and a few tiny highlight dots in the center.
Good to knowUse a fine gel pen for scallops; it keeps the edges crisp instead of fuzzy.
Common mistakeDon't scallop every petal the same size - slight variation looks hand-drawn.
18. Sunflower butterfly silhouette cutout look
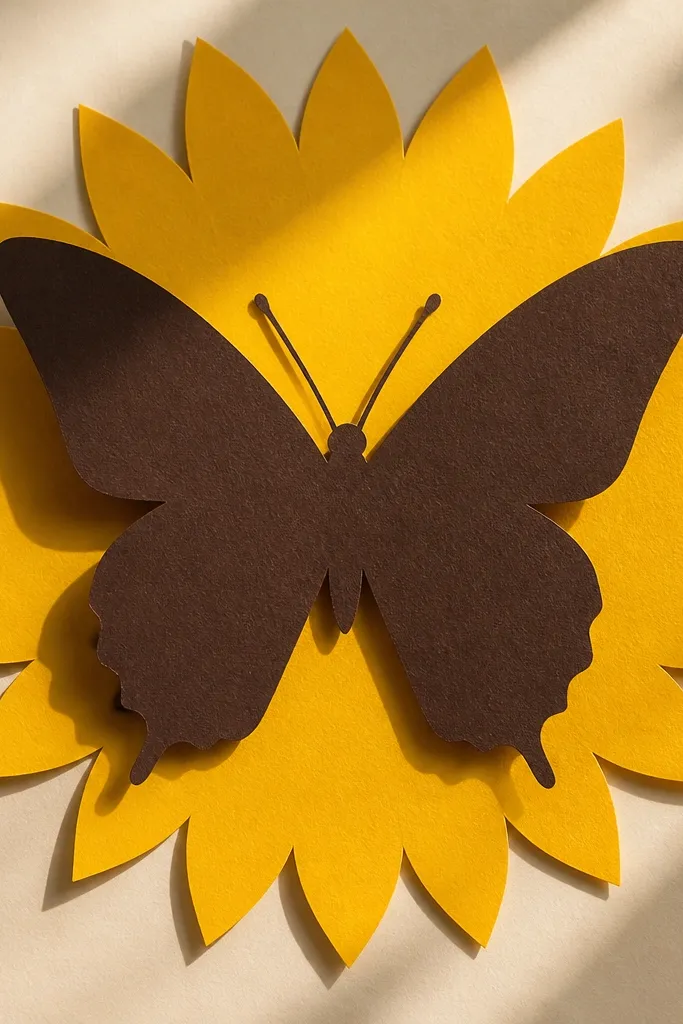
This is a graphic, high-contrast version that looks great on stickers and printed labels. The silhouette butterfly makes the shape readable instantly, so your wings don't need perfect detail. I use a dark brown silhouette for the butterfly and bright yellow for the sunflower petals. That contrast makes the whole piece pop even on busy backgrounds. It flatters anyone who struggles with fine wing veins because the shape does the work. For upcycling, it also matches the look of old craft punches and cut paper crafts.
Draw the sunflower head first as a filled shape: a circle center and 12-16 petal teardrops filled in yellow. Then sketch the butterfly outline as a silhouette: big wing shapes with a simple body oval and antenna lines. Trace the butterfly outline and fill it with dark brown marker or pencil. If you want extra depth, leave a small negative highlight on each wing edge by not filling all the way to the outline. Add a seed center spiral inside the sunflower with a darker brown pencil so it doesn't look flat.
Good to knowKeep silhouette edges smooth - run your marker line once and avoid wobbling.
Common mistakeDon't add lots of internal lines inside the silhouette; it defeats the cutout look.
19. Sunflower butterfly with striped wing gradient
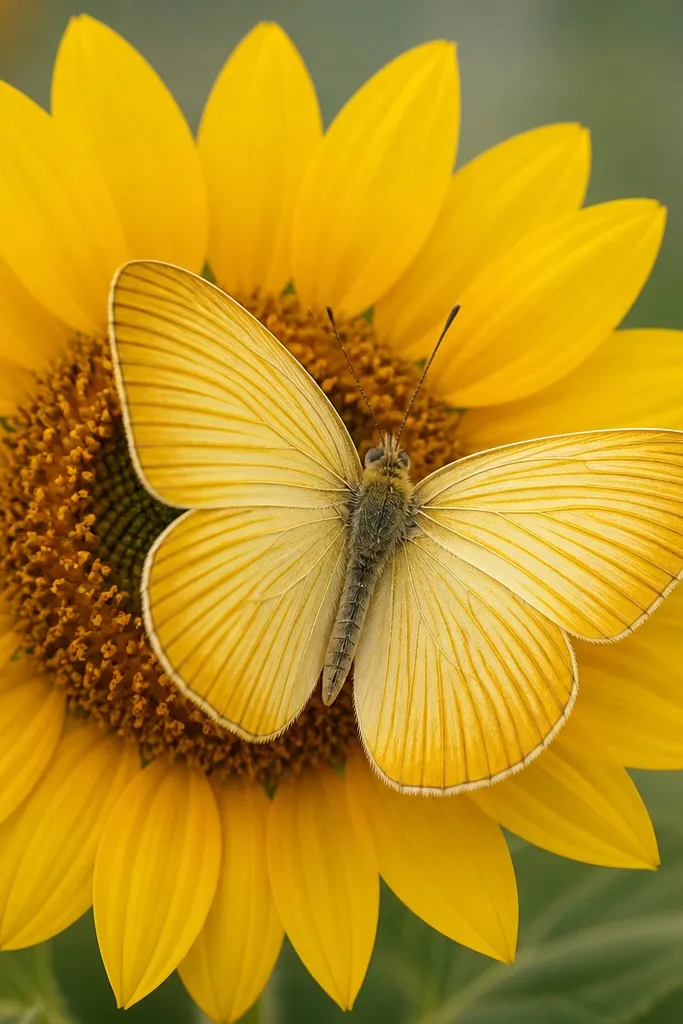
Striped wings look polished fast because the pattern creates depth without complex shading. I like diagonal stripes because they follow the natural curve of the wings and make them look curved rather than flat. The sunflower behind stays simple so the stripes don't compete. This flatters people who like structure and want a clean aesthetic. It also works well for marker color blending because you can build the gradient stripe by stripe. If you're drawing on thicker paper for transfers, stripes hide slight marker streaks.
Sketch the sunflower head with 12-14 outer petals and a smaller inner ring, then keep the petals mostly unshaded. Draw the butterfly body and wings, then mark 6-8 stripe guides on each wing from near the body toward the outer edge. Color stripes in diagonal bands: start with pale yellow near the body, then use deeper gold for the outer stripes. Add a dark outline along the outer wing edge and a few vein lines near the center. Finish with the sunflower center spiral using short dark dashes.
Good to knowUse the same stripe width on both wings; it makes the gradient look intentional.
Common mistakeDon't cross stripes randomly; keep direction consistent across both wings.
20. Sunflower butterfly with bud buds and extra petals
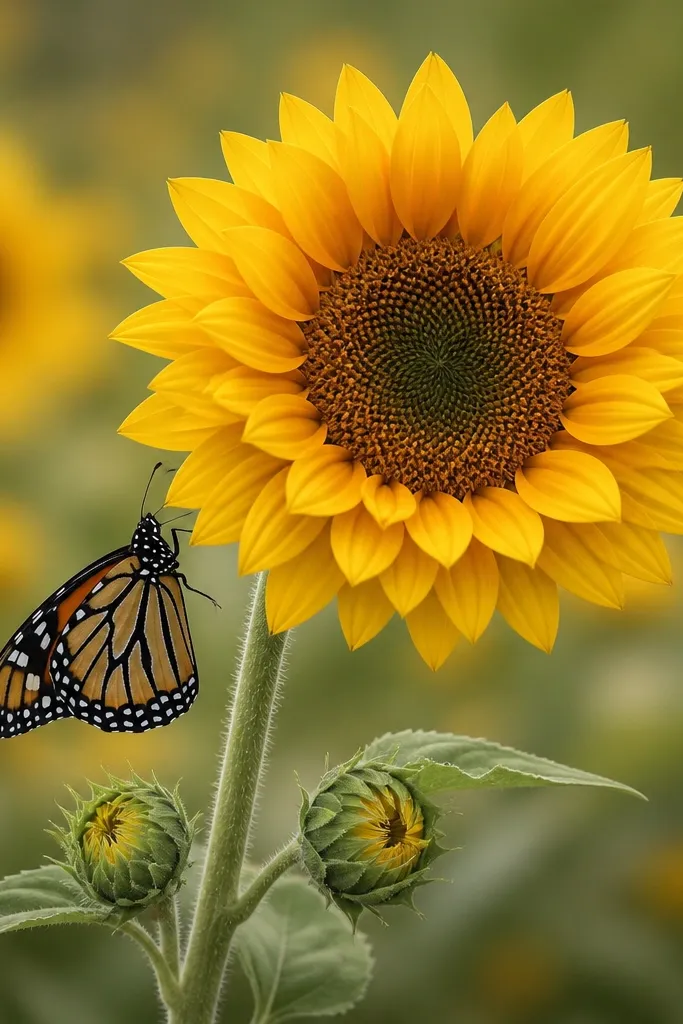
This one looks like a small illustration, not a quick sketch, because the extra buds give the butterfly context. The sunflower feels fuller because the petals overlap in layers, and the dense seed ring adds realism. I use three sunflower tones: pale yellow petals, warm orange at the base, and a darker brown ring around the center. The buds are smaller and simpler, so they support the composition instead of stealing attention. It flatters larger paper sizes, like 8x10, because you have room for the stem curve and the buds. It also looks great on tote panels and framed art because it feels like a scene.
Draw a curved stem line with the main sunflower head at the top, then add two small bud heads below as circles with 5-7 tiny petals each. Sketch the butterfly perched near the sunflower head, with wings angled slightly upward. Draw the sunflower petals in three layers: outer petals, inner petals, then a third ring of shorter petals tucked near the center. Color the petals with pale yellow first, then deepen bases with warm orange. Add a dense seed ring by drawing 20-25 short dark marks around the center circle, then a few longer marks in the middle spiral.
Good to knowKeep bud petals uncolored except for one warm base - it makes them look like they're behind the main flower.
Common mistakeDon't add too many extra petals everywhere; only the main sunflower gets the layered treatment.