1. Thrift-Frame Sunflower Bouquet with Pencil-Gel Pen Outline
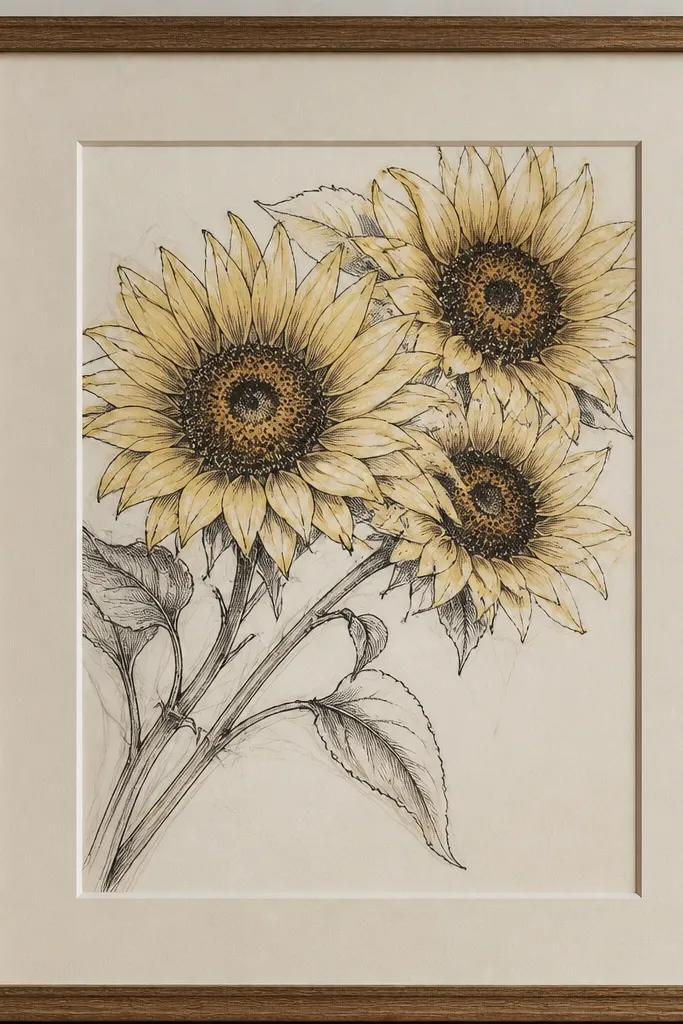
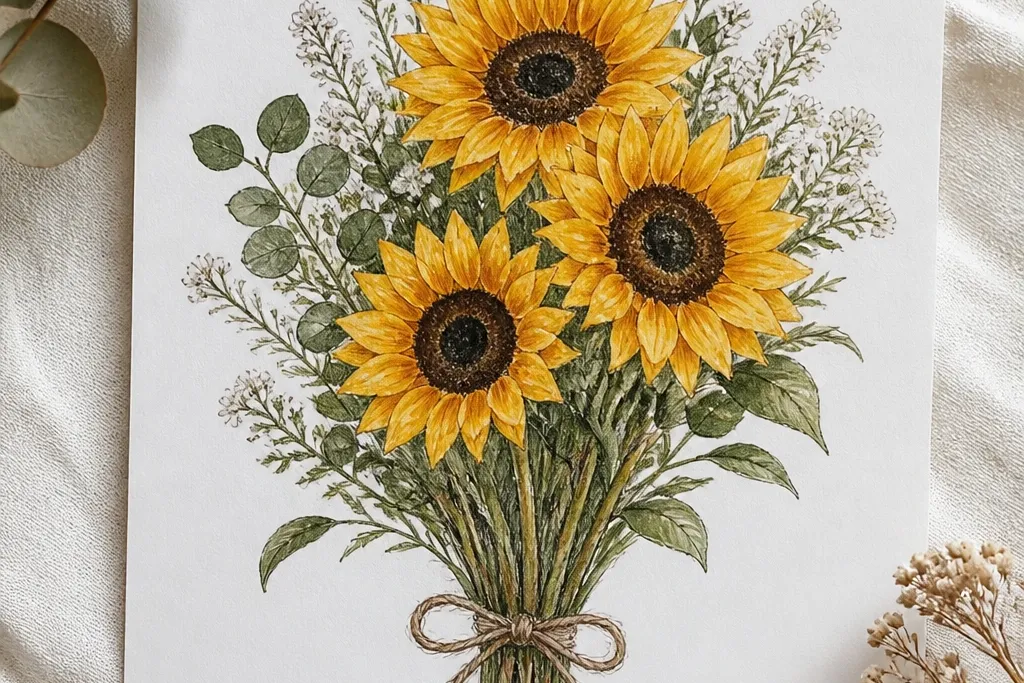
I like this one because it looks crisp even when your materials are basic. Use a 0.7 gel pen for the final linework so the petals have that clean edge that cheap markers usually miss. The mat should be cream or warm white; it makes the sunflower yellows look brighter without turning the ink harsh. This style flatters most spaces - it sits nicely in kitchens and entryways because it reads as tidy, not messy. If you're working with brown kraft paper, keep the outline slightly thicker around the center so the bouquet still looks bold.
Start by sketching the bouquet in pencil: three flower heads at different sizes, with one leaning slightly left. Then outline only the outer petal edges and the stem curves with gel pen, leaving the inner petal lines minimal. Add petals in two passes: light yellow first, then a deeper ochre line along the petal edge facing the center. Finally, shade the center with a mix of tiny dots and a dark ring right where petals meet the disc. Let it dry, then mount it on a cream mat with a 1/2 inch border before putting it in a thrift frame.
Good to knowIf your gel pen skips, warm the tip by scribbling on scrap paper for 10 seconds before you outline petals.
Common mistakeDon't color the whole center one flat brown - the speckled dots around the disc make it look alive.
2. Kraft Paper Sunflower Bouquet with Watercolor Pencil Tap Shading
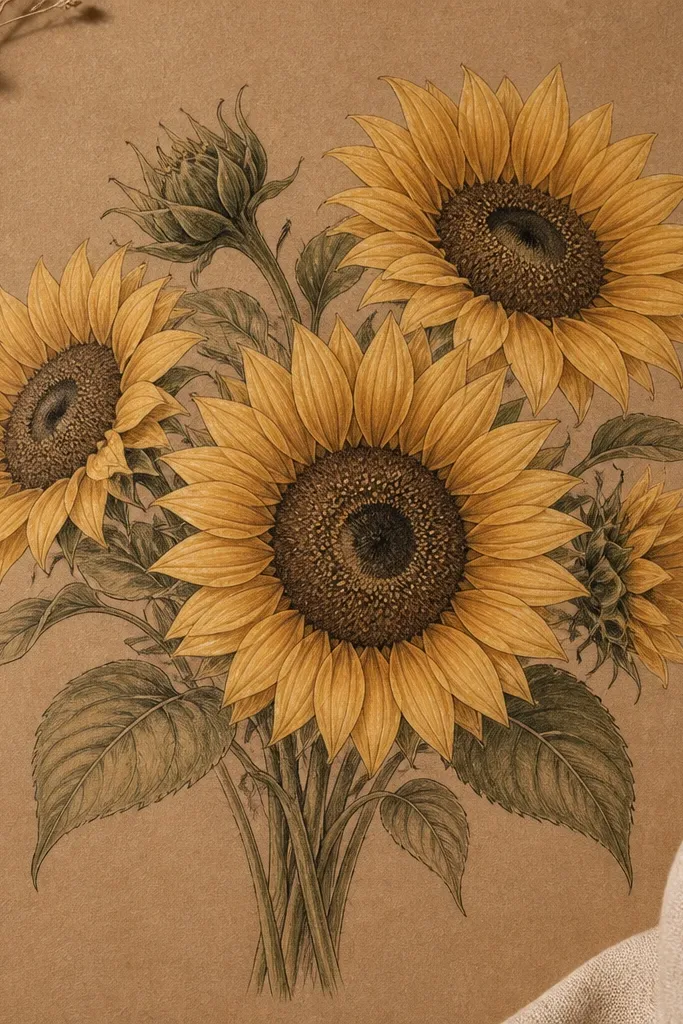
Kraft paper is my favorite cheap base because it already has warmth. When you tap watercolor pencils on kraft, the paper texture turns into natural speckling that makes petals look handmade. Keep the petal color slightly uneven - that's the point - so the bouquet doesn't look like it was printed. This looks best for rustic frames and neutral walls, and it works great for anyone who wants a softer, less "cartoon" sunflower. For deeper skin tones or warm-toned rooms, the brown base makes the yellow feel golden instead of neon.
Start by lightly drawing the sunflower heads and stems with a soft pencil, then erase the sketch lines that you won't keep. Use a watercolor pencil in light yellow for the petal fill, then add ochre taps near the center and along the outer petal edge. Dip a small round brush in water, then tap the brush onto the ochre areas only - not the whole petal - so the shading stays concentrated. Build the center with a tight stipple pattern in dark brown, then add a thin black-brown ring around the disc. Finish with a few loose green stem lines in pencil, then trace them with a thin gray-green marker.
Good to knowUse a damp brush on just 20-30% of the petal area; full wet blending kills the texture that makes kraft look expensive.
Common mistakeAvoid covering the whole background with yellow - leaving kraft visible keeps the drawing airy.
3. Marker-Only Sunflower Bouquet with Dark Edge Lines
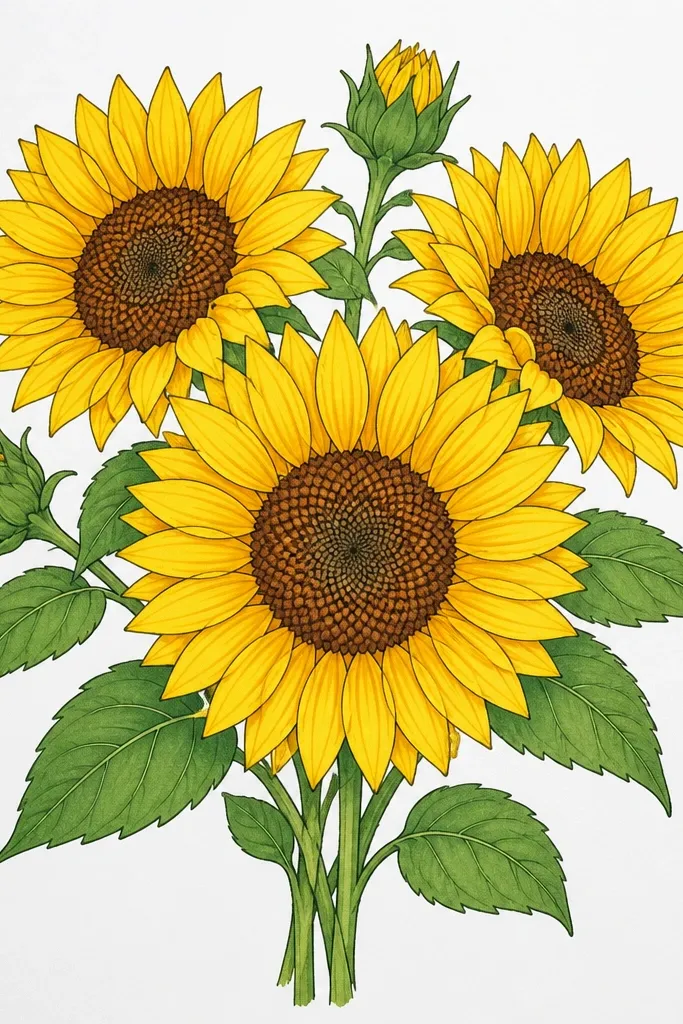
If you want a bouquet that looks polished without watercolor, this marker-only method works. I use two markers: one bright sunflower yellow and one deep ochre-brown for edges. The dark edge line gives the petals a "fold" effect, so they look dimensional even when you don't blend. This style flatters slim frames and prints well for smaller wall art because it stays high-contrast. It also looks great for gifts because it reads clearly from a distance.
Start by sketching the bouquet layout with a pencil: one main sunflower center top, two smaller ones behind it, plus stems crossing in the bottom third. Color the petals with the light yellow first, staying inside the petal shapes. Then add a thin ochre line along the petal edge that faces inward toward the center. For the center, draw a spiral of short dot marks, starting light brown and finishing with darker dots near the outer ring. Add leaves in two tones: mid green on the main leaf, then a darker green line down the center vein.
Good to knowKeep your petal edges consistent - if you switch between thick and thin lines, the bouquet looks rushed.
Common mistakeDon't blend every petal with multiple marker passes - it turns the yellow muddy fast.
4. Gel Pen + Wash Sunflower Bouquet on Scrapbook Paper
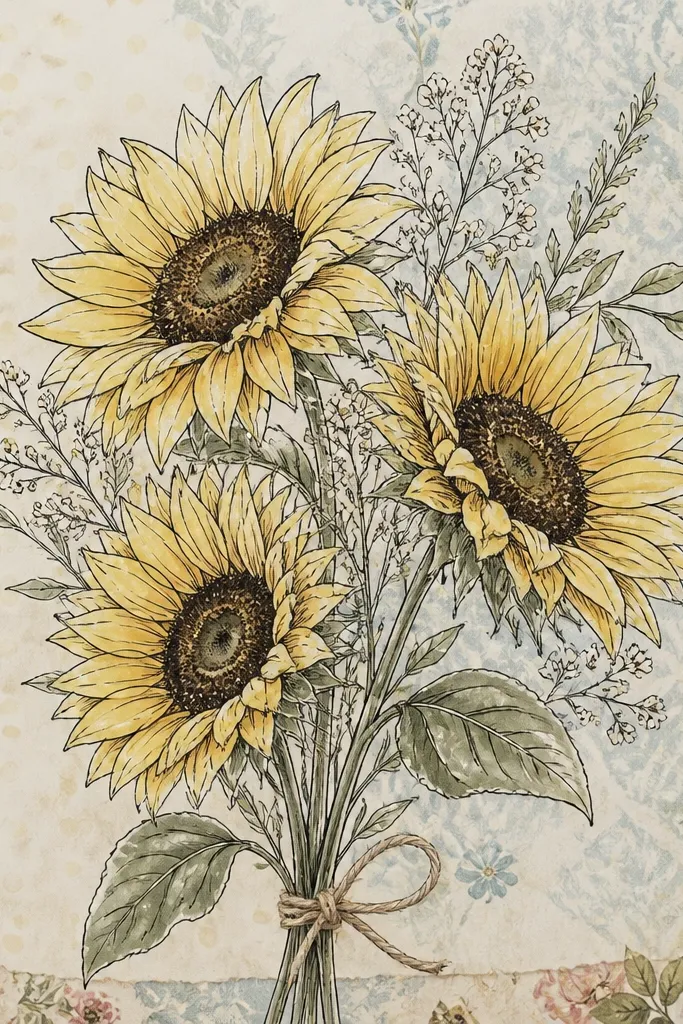
This is the easiest way to make cheap supplies look like a designed piece. The patterned scrapbook paper already gives you atmosphere, so you don't need to paint a full background. I outline with black gel pen for control, then use a very light wash for petals so the paper pattern still shows through. The bouquet reads airy and light, which looks good for small spaces and sunny corners. If your room already has prints, this drawing still works because the sunflower shapes stay the focus.
Start by choosing a scrapbook sheet with a subtle pattern (tiny dots, soft stripes, or faint florals). Sketch the bouquet in pencil directly on the paper, then outline the main petals and stems with gel pen. Mix a light yellow wash with water - it should look like pale tea, not bright juice - and paint only the petal interiors. Let the wash dry, then stipple the center with dark brown gel pen dots and add a thin ring. Finish by painting stems and leaf edges in a muted green wash so they don't overpower the flowers.
Good to knowTest the wash on scrap first - if it's too opaque, you'll lose the pattern underneath.
Common mistakeDon't paint over the gel pen lines while wet - it bleeds and dulls the crisp outline.
5. Sunflower Bouquet Drawing in a Dollar Store Shadow Box
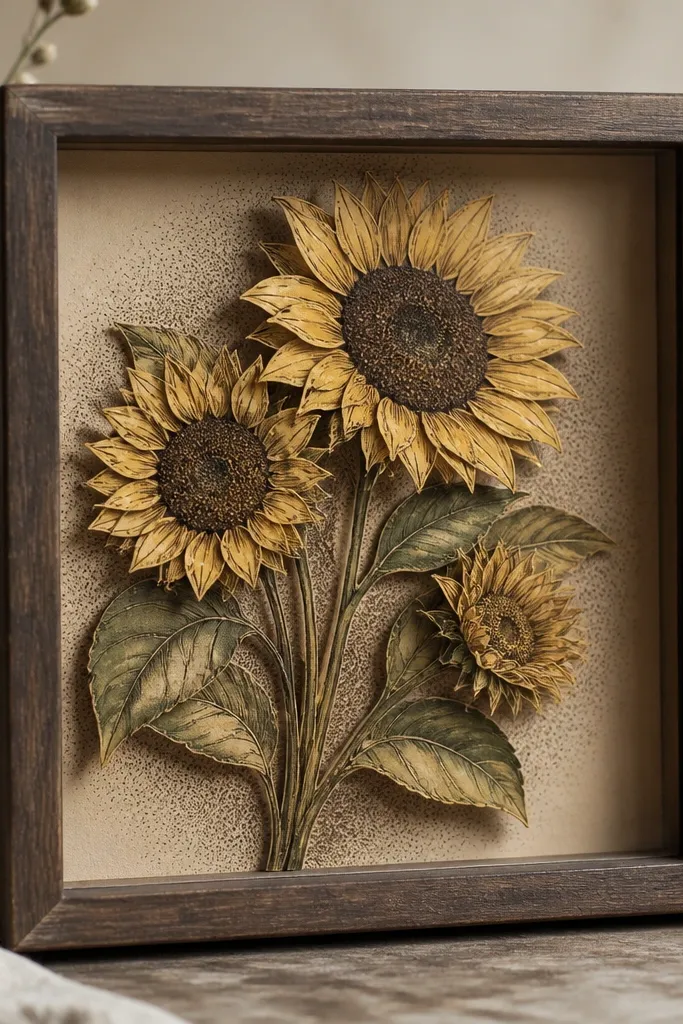
This is one of those cheap tricks that looks like you paid for a craft store kit. The shadow box creates depth because you're stacking layers, not just drawing on one sheet. I like raising the flower heads with foam tape so the petals catch light. The effect looks great for warm-toned decor and gift tables because it feels dimensional. If you're petite or want a compact piece, this fits well on shelves without taking over a wall.
Draw your bouquet on white cardstock, then cut out the top two sunflower heads and a few petals around the edges. Draw the full stems and bottom leaves on a separate base sheet, and glue that base to the shadow box backing. Attach the cutout heads with 1/8 inch foam tape so they sit slightly above the stems. Color the petals with light yellow marker, then add ochre edge lines and a dark dot center. Finally, place a muted beige background card behind everything so the raised layers pop.
Good to knowUse foam tape only on the center and one edge of each cutout - full coverage can make it look bulky.
Common mistakeDon't use super-thin paper for cutouts - it crumples and the bouquet looks sloppy.
6. Sunflower Bouquet with Collage Petals and Inked Veins
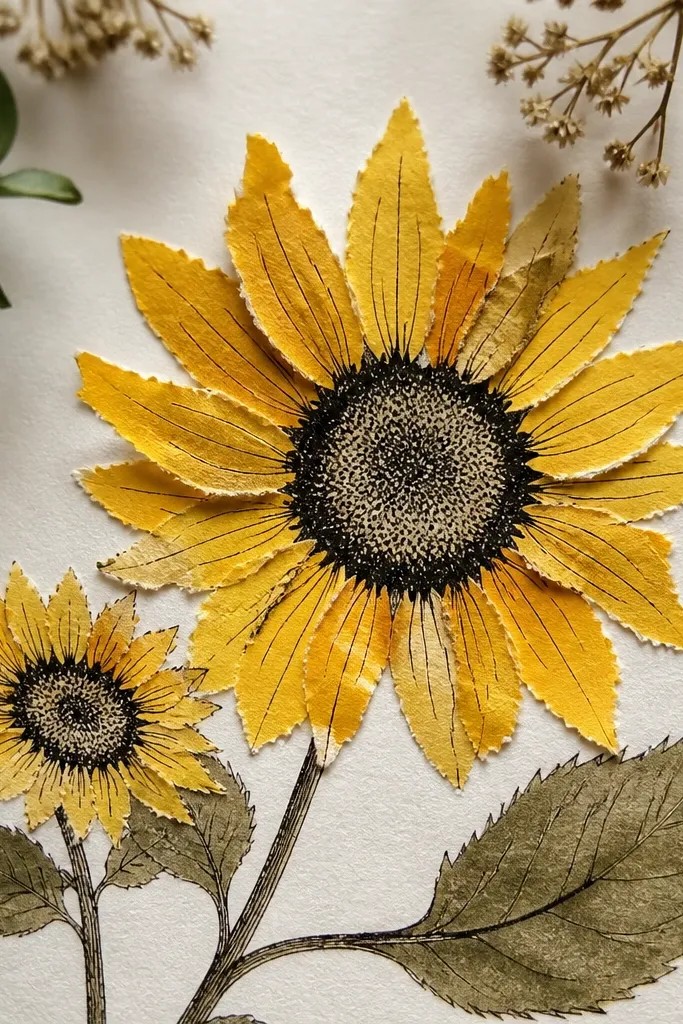
Collage petals are my go-to when you want texture without painting. Torn paper fibers catch light differently than marker color, so the bouquet looks handmade. You'll still ink the petal veins with a fine pen to make the collage read as intentional, not random. This style looks especially good in thrift frames because the paper edges add age and charm. It also flatters bold, warm rooms because the yellow has variation instead of one flat tone.
Start by tearing small strips of yellow paper in two shades: pale sunflower and deeper golden yellow. Sketch the bouquet outline on a base page, then glue petal shapes in overlapping layers using a glue stick. Once dry, use a 0.3 or 0.5 fineliner to draw vein lines on each petal - keep them curved and slightly uneven. Shade the center with dark brown ink dots, then add a thin ochre wash around the edge of the disc. Finish stems and leaves with pencil first, then trace with green fineliner for crisp edges.
Good to knowTear petal strips in different widths so no two petals look identical.
Common mistakeAvoid using glossy magazine paper - the shine fights the ink and looks cheap.
7. Coffee Stain Sunflower Bouquet Drawing on Reused Envelopes
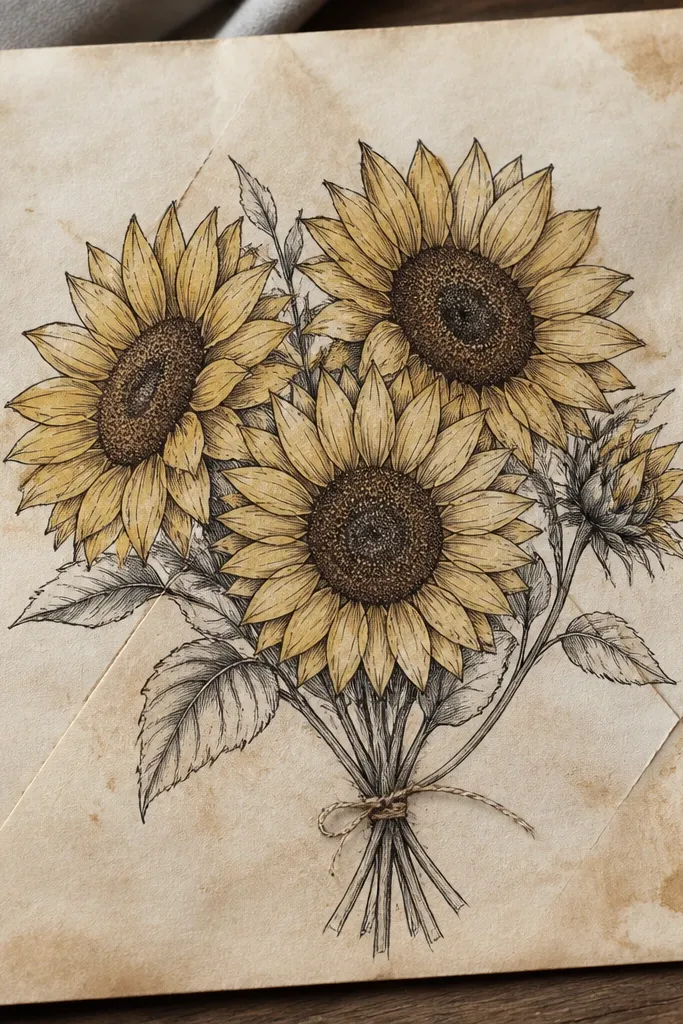
This one turns trash mail into art with zero paint budget. Coffee stains give you a warm, vintage background and make yellows look deeper. I outline with a dark pen so the petals don't disappear into the sepia wash. It's perfect for gift tags, small cards, and anyone who likes a softer, older-paper look. In rooms with beige, wood, or black decor, the coffee tone makes the bouquet feel cozy.
Start with a clean envelope or scrap paper and brew coffee, then dilute it so it's light enough to avoid pooling. Brush or dab the coffee stain, then let it dry completely under a fan. Sketch a sunflower bouquet in pencil, then outline petals and stems with a fineliner. Color petals using light yellow pencil or marker, then add ochre at the petal bases and edges. Shade the center with a darker brown stipple and a thin ring so it still looks defined against the sepia background.
Good to knowIf the coffee pools, blot with paper towel immediately - you want speckles, not big blotches.
Common mistakeDon't skip the dark center ring - it's what keeps the sunflower from looking like a blob.
8. Tissue Paper Sunflower Bouquet with Black Marker Outline
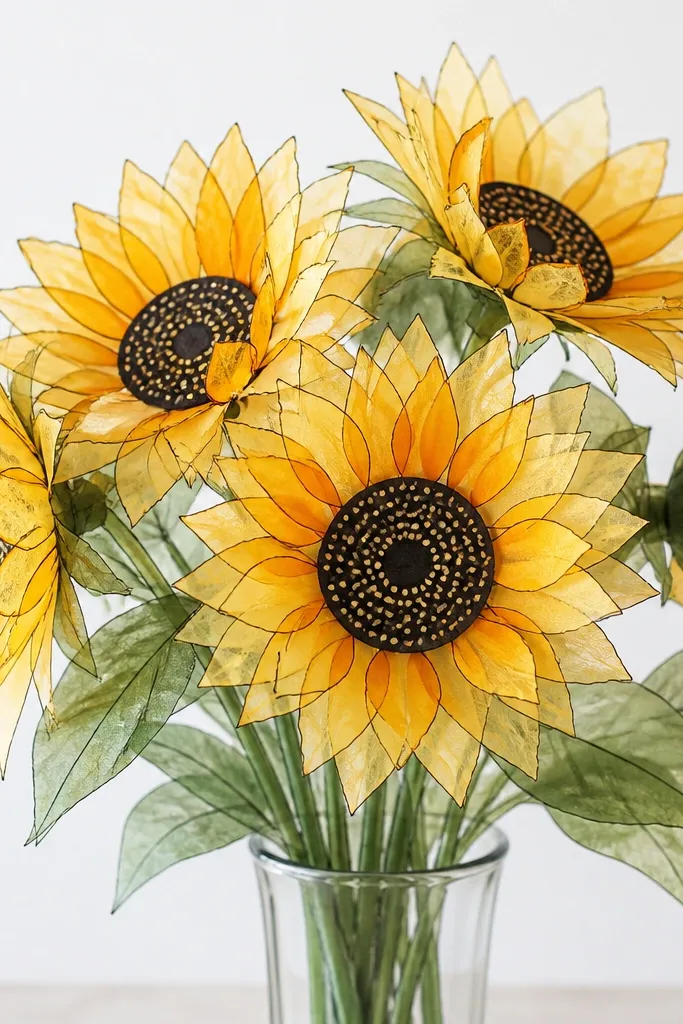
Tissue paper petals look like stained glass when the light hits them, and they're cheap. You don't need to color the tissue heavily - the layers create depth. A black marker outline makes the edges crisp, so the bouquet reads clearly instead of looking like vague blobs. This style looks great for party decor and handmade cards because it has that soft glow. It also flatters bright spaces since the yellow comes from layered tissue, not heavy paint.
Cut tissue paper squares into petal shapes and layer them behind a drawn outline on white cardstock. Start by drawing the bouquet with black marker: petal outlines, stem curves, and leaf shapes. Then glue tissue petals one by one using a thin layer of glue at the base of each petal. Layer two shades of tissue: pale yellow on the top layer and deeper yellow underneath. Finish the center with dark brown marker dotting and add a thin black-brown ring. Let it dry flat under a book for 20 minutes so petals don't curl.
Good to knowUse tweezers to place tiny tissue petals - your fingers leave dents in the paper fibers.
Common mistakeDon't use too much glue on tissue - it soaks through and creates dark spots.
9. Sunflower Bouquet Drawing with Washed-Out Background and Bold Center
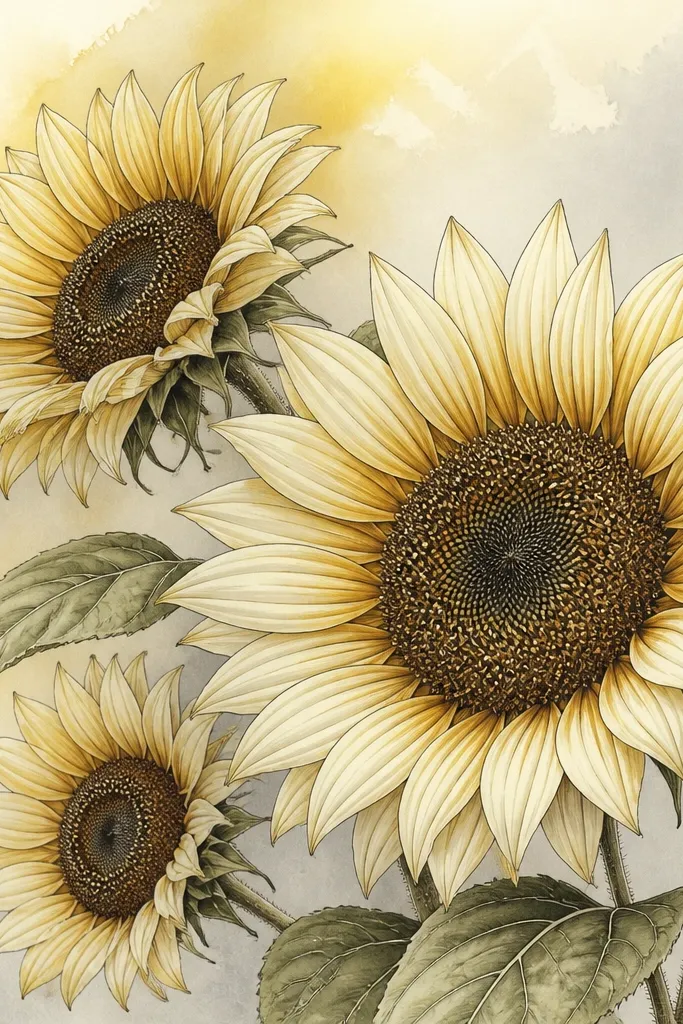
This is the "make the center do the work" approach. If your budget is tight, you don't need a full background painting - you need a strong focal point. I keep the background very pale so the sunflower heads pull forward. The bold center - dark ring plus dot texture - makes the whole bouquet feel finished. This flatters minimalist decor because there's breathing room around the flowers. It also works well for larger paper sizes where a full background would waste color supplies.
Start by washing the background with diluted gray and pale yellow - use a small brush and keep it super light. Let it dry, then sketch the bouquet with pencil and outline petals and stems with dark pen. Color petals only lightly: pale yellow fill, then a narrow ochre band near each petal base. Build the center with dot stippling in dark brown, then add a thicker dark ring and a few tiny lighter dots for highlight. Add simple green stems and one or two leaves so the bouquet stays airy.
Good to knowIf your center looks flat, add one extra dark layer around the ring - not more dots everywhere.
Common mistakeDon't darken the petals all over - saving color for the center makes the drawing look intentional.
10. Monochrome Cream + Ochre Sunflower Bouquet on Black Paper
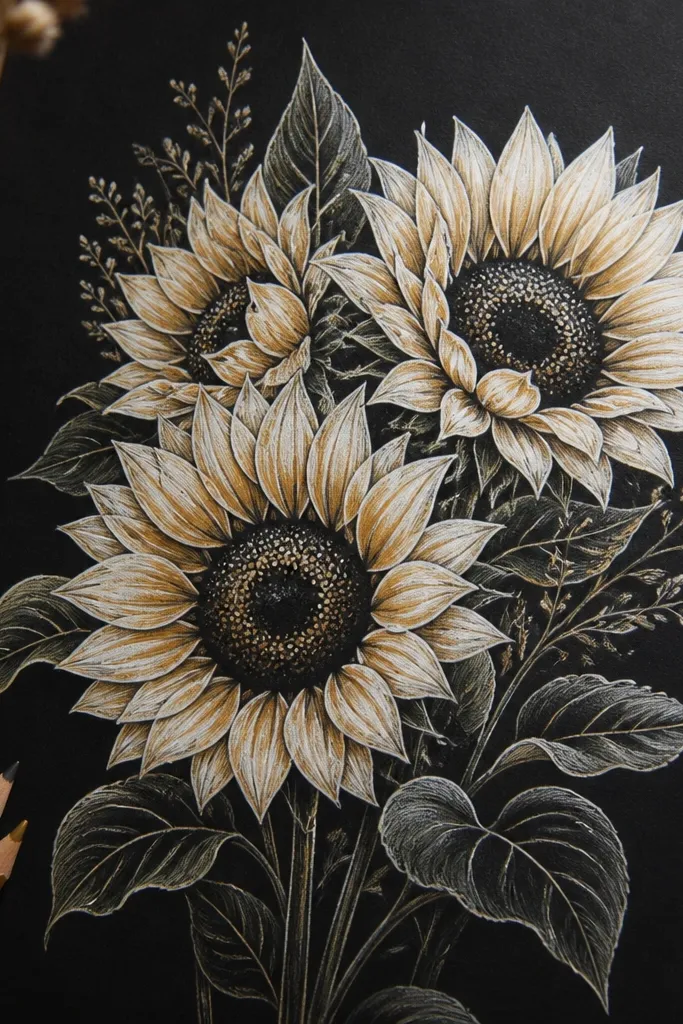
Black paper makes cheap materials look dramatic fast. I use cream and ochre tones so the bouquet doesn't scream neon yellow. White gel pen is the secret for highlights on petals - it makes edges look like light is catching them. This style looks best in modern frames and on shelves where black decor is already present. It flatters people who want a cleaner, less "country" sunflower look, because monochrome tones keep it graphic.
Start by sketching the bouquet lightly with gray pencil so you don't gouge the paper. Color petals with cream pencil or chalk, then add ochre shading near the center and along the petal edge. Outline only the outer petal tips with white gel pen, then add short highlight strokes on a few petals. For the center, draw a dark brown disc and stipple lighter brown dots around it, then add a thin lighter ring where petals meet the disc. Finish stems and leaves in muted green or gray-green pencil, then add a few white highlight lines on leaves.
Good to knowUse a kneaded eraser to lift pencil for highlights - it gives a soft edge that chalk alone can't.
Common mistakeAvoid using bright yellow on black - it looks like a sticker, not a drawing.
11. Sunflower Bouquet Drawing with Cut Paper Petal Templates
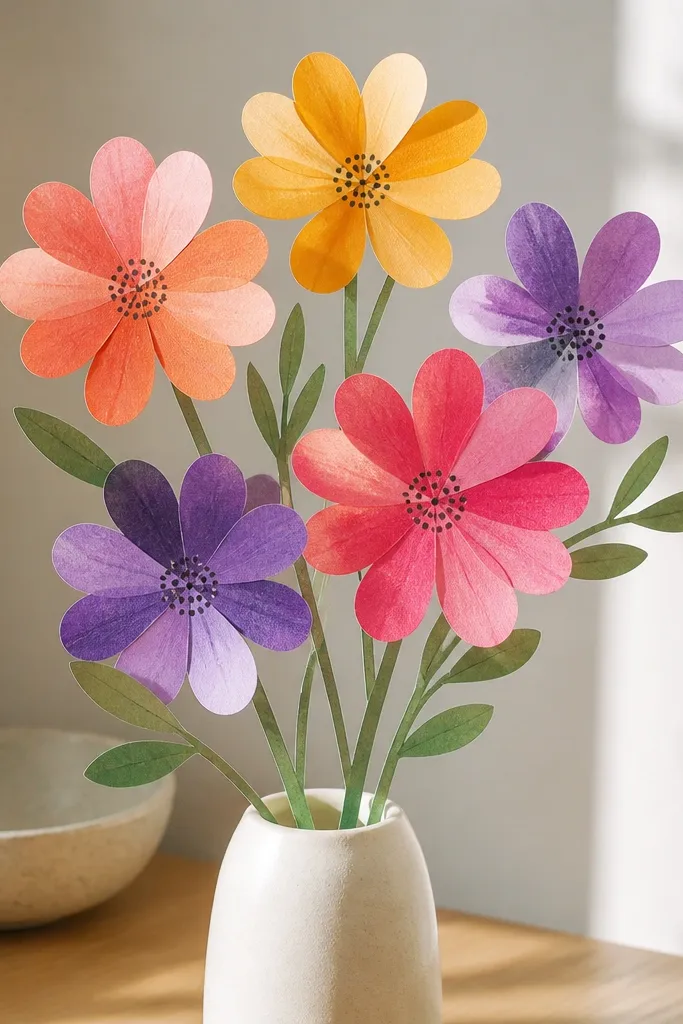
Templates are how you get "clean" results without spending on fancy art tools. I cut one petal template from cardboard, then trace and cut repeat petals from scrap yellow paper. Even if your paper is cheap, the consistent petal shape makes the bouquet look designed. The center still needs your hand - that's where you add dots and a dark ring. This style looks great for wedding stationery and gift tags because it's neat and repeatable. It also flatters small bouquets where shape consistency matters more than painterly texture.
Start by making a petal template: an oval-ish teardrop about 1 1/2 inches long with a slightly pointed tip. Trace the template onto two yellow scraps and cut out 20-30 petals. Arrange petals on your base sheet in overlapping rows, then glue them down with a thin line at the base. Add marker shading on the glued petals: light yellow fill, then a darker ochre edge line. Draw the center as a circle, stipple brown dots, and add a darker ring. Finally, draw stems and leaves with consistent line weight using one pen thickness.
Good to knowCut petals in two sizes (small and medium) so the bouquet has natural variation without looking messy.
Common mistakeDon't glue every petal flat - tuck a few edges up with a slight curl so petals aren't all the same plane.
12. Sunflower Bouquet with Embroidery Floss Stems and Inked Petals
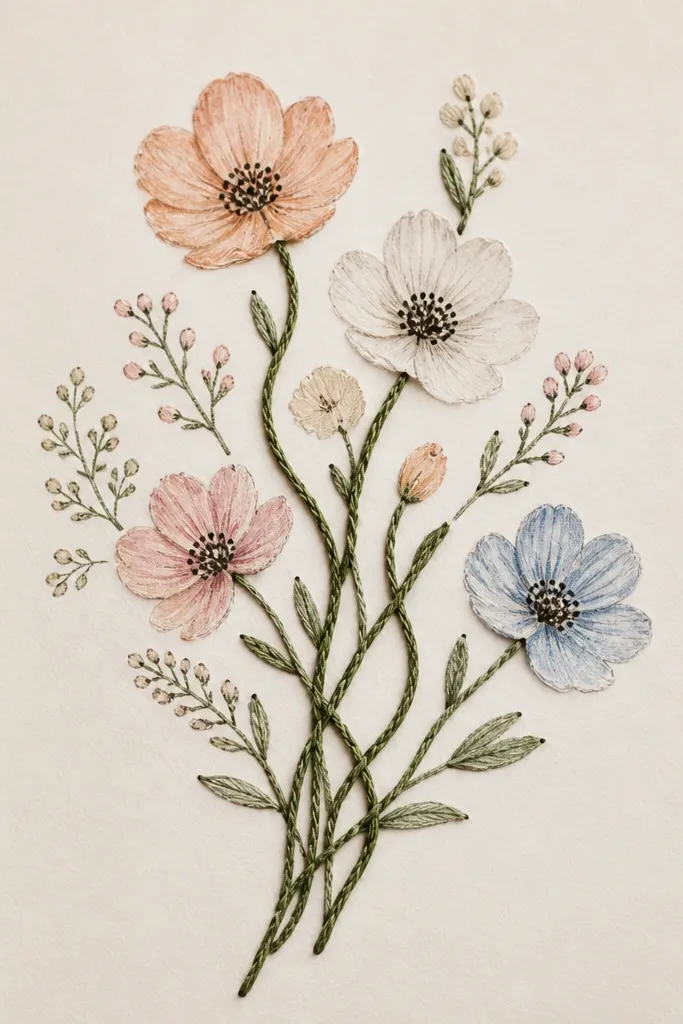
This is the one that makes people touch the artwork. Stitched stems add real texture, and floss is cheap if you buy a multi-pack. I ink the petals so the sunflower shape is crisp, then stitch only the stems and a few leaf veins for contrast. It looks good on thick cardstock because the needle has something to grab. For gifts, it feels extra because it has a tactile element without turning into a full craft project.
Start with thick cardstock and sketch your bouquet layout. Outline petals and leaves with a dark pen, then color petals with light yellow and ochre edge shading. Poke holes along the stem path using a needle or pushpin, spacing holes about 1/4 inch apart. Thread embroidery floss through the holes, pulling snug but not warping the paper, and knot at the back. Add leaf veins by stitching short lines and then finish the flower center with brown dot shading and a dark ring.
Good to knowUse a slightly twisted floss for stems - it looks more organic than flat string.
Common mistakeDon't stitch over wet marker ink - it smears when the paper flexes.
13. Sunflower Bouquet Drawing on Recycled Book Pages with Sepia Ink
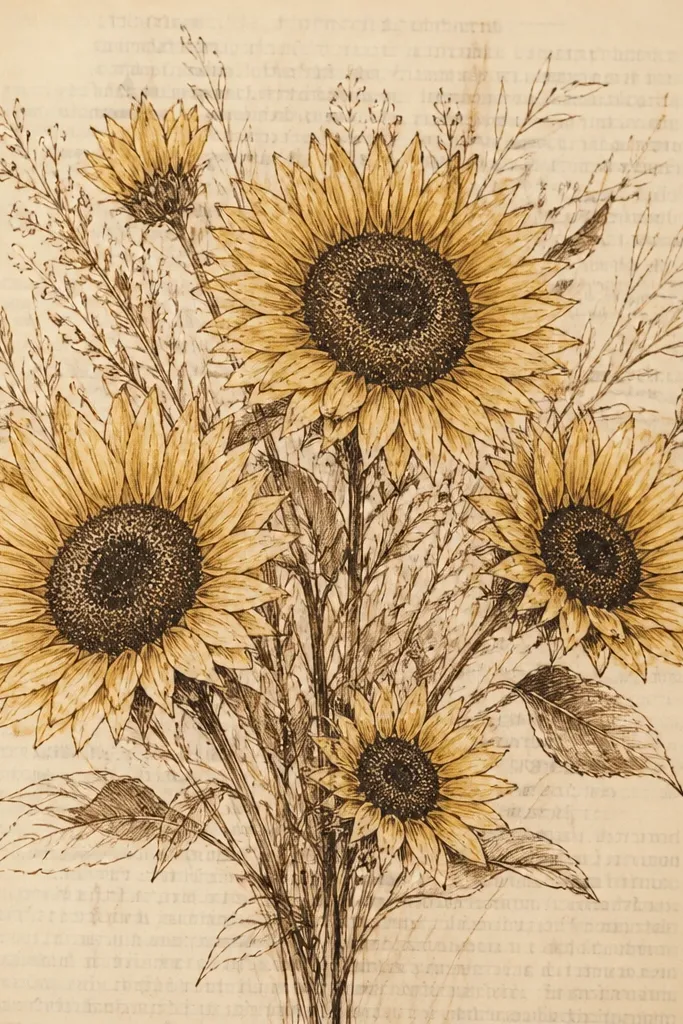
Old book pages bring instant character, and they're free if you keep one thrift book around. The printed text shows through under light color, so the bouquet looks like it belongs in a vintage journal. I use sepia ink to tie the sunflower to the paper tone, then add light yellow pencil for petals so the flower doesn't overpower the page. This style works for gift envelopes, tags, and journal covers. It flatters warm decor because the whole piece reads antique instead of bright and new.
Cut a page piece about 6x8 inches so the bouquet has room. Sketch the sunflower heads and stems with pencil, then ink the outer petals and stems with sepia or brown fineliner. Color petals with light yellow pencil, then add ochre shading only near the center and along petal edges. Make the center with a tight dot pattern in dark brown, and add a thin darker ring. Leave some areas of book text visible around the stems and behind petals so the background stays interesting.
Good to knowPress the paper under a heavy book for 30 minutes before drawing so it doesn't curl when you ink.
Common mistakeAvoid heavy coloring that covers all text - the page character is part of the look.
14. Sunflower Bouquet Drawing with Washi Tape Frame and Center Pop Dots
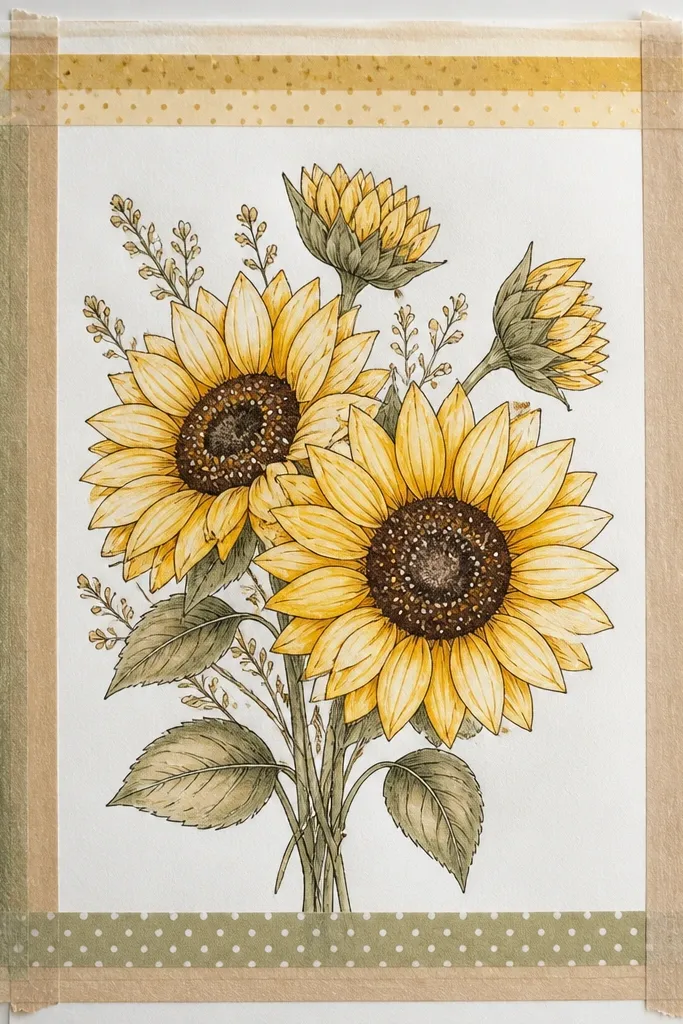
Washi tape is a cheap way to make a drawing look finished before you even frame it. I use it as a border and sometimes as tiny stem markers behind the bouquet so the piece looks intentional. The center pop dots are where you spend the attention - add a few brighter dots so the sunflower reads glossy. This looks great for desk art and small wall prints because the tape frame gives it structure. For people who like clean aesthetics, it keeps the chaos under control while still looking handmade.
Start by taping a rectangle border with washi tape on white paper, leaving a 1/2 inch inner margin. Sketch your bouquet so one sunflower head sits near the top center and stems cross toward the bottom corners. Outline petals and stems with a dark pen, then fill petals with light yellow marker or pencil. Add ochre edge shading on each petal and keep it consistent - one shade per edge line. For the center, draw the base in dark brown, stipple around it, then add a few tiny bright dots with a white gel pen. Finish with simple green leaf shapes and stop - don't over-detail.
Good to knowChoose washi tape in muted colors like sage, tan, or faded navy so the sunflower stays the hero.
Common mistakeDon't place the tape too close to the petals - it makes the bouquet look cramped.
15. Sunflower Bouquet Drawing with Color Pencil Burnishing for Petal Glow
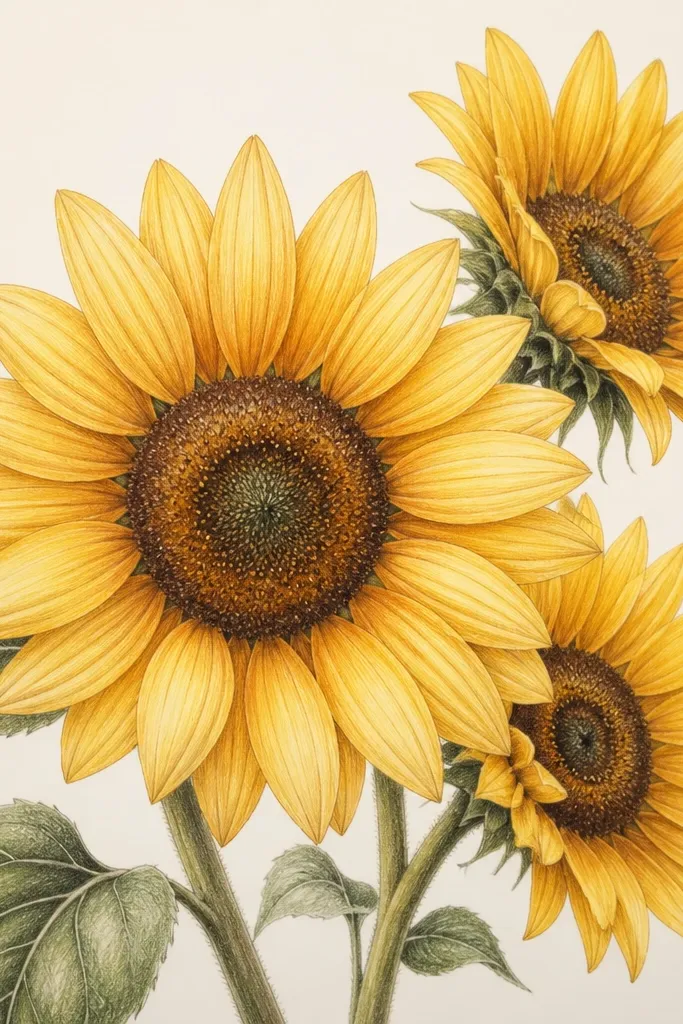
This one looks expensive because burnishing makes the petals look smooth and lit from within. You get that glow by layering light color, then polishing the surface so the waxy pencil finish catches light. I pair it with a detailed center so the smooth petals don't look too plain. This style is great for larger paper sizes and for anyone who likes a gentle, calming look instead of bold marker contrast. It flatters neutral outfits and warm rooms because the palette stays soft and golden.
Start with a light pencil sketch of the bouquet and keep petal shapes slightly overlapping. Color petals with a light yellow pencil first, using small circular motions to cover evenly. Then add ochre along the petal edges facing inward toward the center, and blend only the boundary lines by burnishing with light pressure. For the center, layer dark brown pencil for the disc, then add dot texture with a harder pencil tip. Add a thin dark ring where petals meet the disc, then lightly shade stems and leaves with muted green pencil. Leave the background mostly white or lightly tinted so the petals keep their glow.
Good to knowBurnish the petals with a colorless blender pencil or even the side of a clean pencil - it polishes without adding new color.
Common mistakeAvoid pressing hard too early - you'll dent paper and the gradient turns patchy.