1. Chunky Sunflower Center with Two Bees in Flight
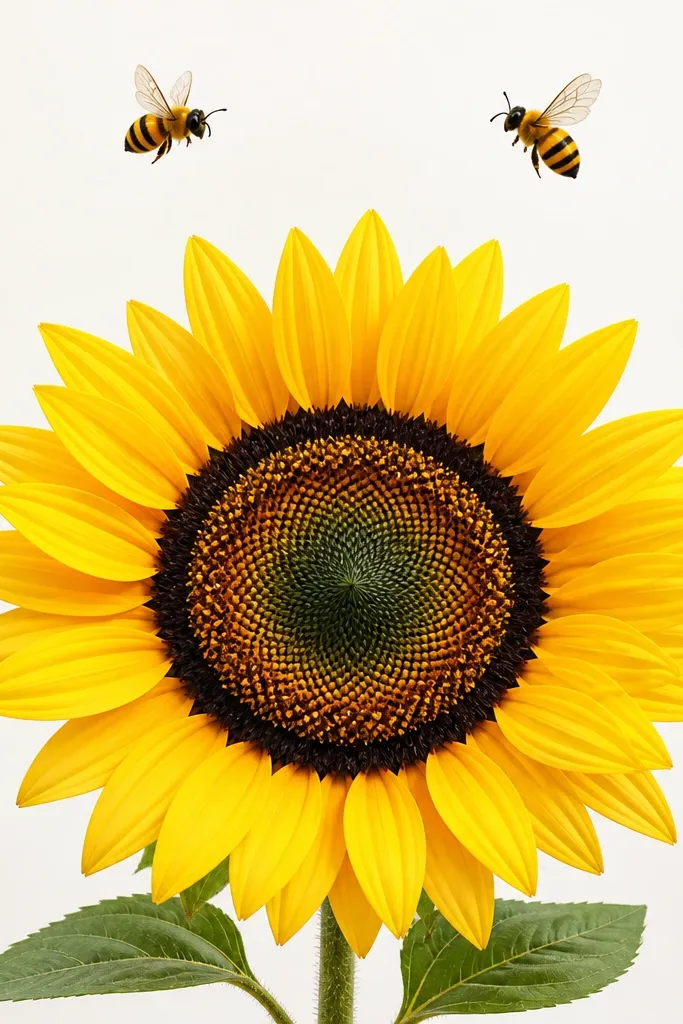
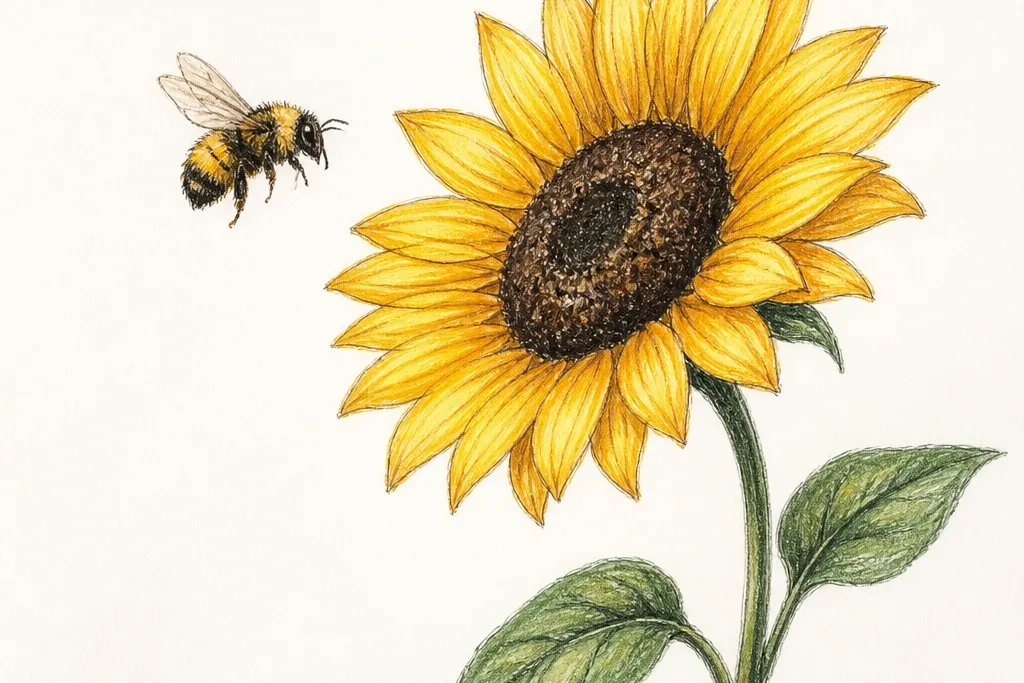
This one looks cute because the sunflower center is the biggest shape on the page, and the bees stay small. I draw the center as a thick ring first, then fill it with short curved lines so it looks like seeds without tiny detail. The bees sit at an angle - one slightly higher than the other - so it feels like a moment, not a sticker. I've used this on card fronts and it flatters anyone's style because the shapes are bold and readable from a distance. If you like warm, friendly art, stick to sunflower yellow plus a burnt orange center; it reads cheerful without looking neon.
Start by sketching a circle about 2.5 inches wide, then draw a second ring inside it with your pencil. Add 12 to 16 petal arcs around the outside edge, each arc curving up and ending in a blunt tip. Ink the center ring and petal outlines with a 0.5 fineliner, then erase pencil lines lightly. Draw two bees: oval bodies about 0.6 inches long, three stripes, and wings that look like sideways teardrops. Color with two yellows (one lighter for petals highlights, one medium for base) and use burnt orange only for the center ring and a tiny bit on the bee stripe edges.
Good to knowDot a few pollen specks around the bees using a brown pencil or fine marker - it makes the empty space look intentional.
Common mistakeDon't add lots of tiny hairs on the bee - it turns into messy scribbles fast.
2. Sunflower Bouquet Corner Card with One Smiling Bee
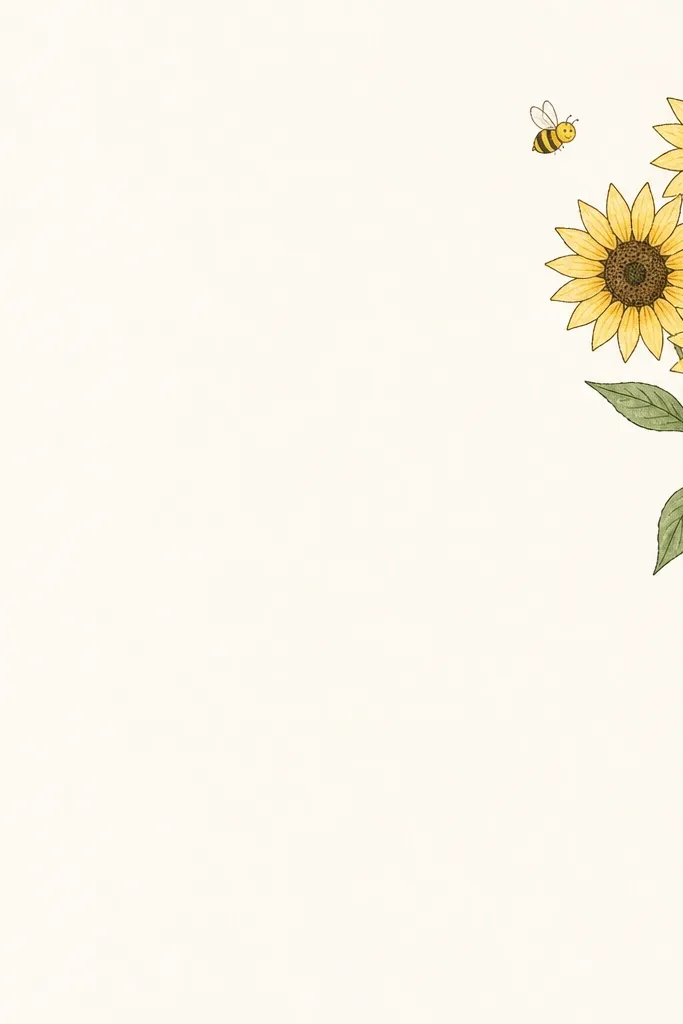
Corner compositions are forgiving because your drawing has a boundary - it doesn't have to fill the whole page. This design works great on A2 cards because the bouquet sits in a neat space and leaves room for a message or blank background. The smiling bee makes it feel friendly, and the simple face lines keep it from looking childish. I've done this on cream cardstock and the black outlines pop hard without needing heavy color. For skin tone and personal style, the colors stay warm and neutral - yellow, green, and a soft brown bee - so it fits almost any recipient.
Start with a light pencil guide: draw one sunflower about 1.8 inches wide, then two smaller ones below it around 1.2 to 1.3 inches. Add short stems that angle down toward the center of the card corner, and draw leaves as teardrop shapes with one center vein line. Ink everything with a 0.3 fineliner so the lines stay delicate. Place the bee near the top sunflower, then add a small smile line and two dot eyes. Color the petals with medium yellow, shade the base of each petal with deeper golden-orange, and color the bee stripes with warm brown instead of pure black.
Good to knowIf your bee face looks uneven, draw the smile first, then match the eyes to it - it anchors the expression.
Common mistakeDon't outline every leaf vein thick - thin lines only, or it looks cluttered.
3. Bee on a Sunflower Seed Head (Side View)
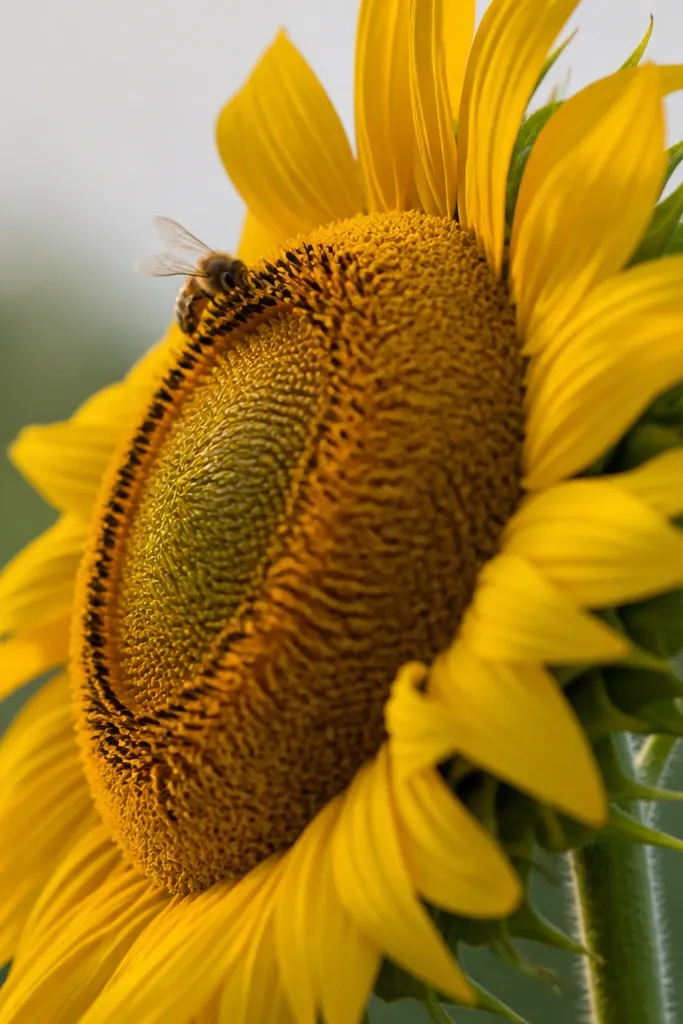
This is my go-to when I want the drawing to look slightly more "illustration" than doodle. The side view of the sunflower center adds depth because you draw it like an oval rim rather than a perfect circle. The bee perched on the edge looks playful and balanced, especially on bookmarks and small labels. I like warm brown for the bee stripes here because it blends into the sunflower seed texture. This style also hides imperfections: even if your bee body is a little lopsided, the rim angle makes it look intentional.
Sketch a sunflower center as an oval rim about 2 inches wide, then add a curved outer edge like a thick donut. Draw 10 to 14 petals around the top half only, so it reads as a side-facing flower. Ink the rim and petal outlines, then add seed texture with short "comma" marks inside the center. Draw a bee perched on the rim: oval body, two simple legs touching the edge, and wings lifted with a slight curve. Color the rim with yellow-orange, then deepen the seed texture with light brown and a few darker dots.
Good to knowUse a white gel pen to add three tiny highlight dots on the bee wings - it instantly makes it look crisp.
Common mistakeDon't draw the bee in the exact center of the sunflower - offset it toward one side of the rim.
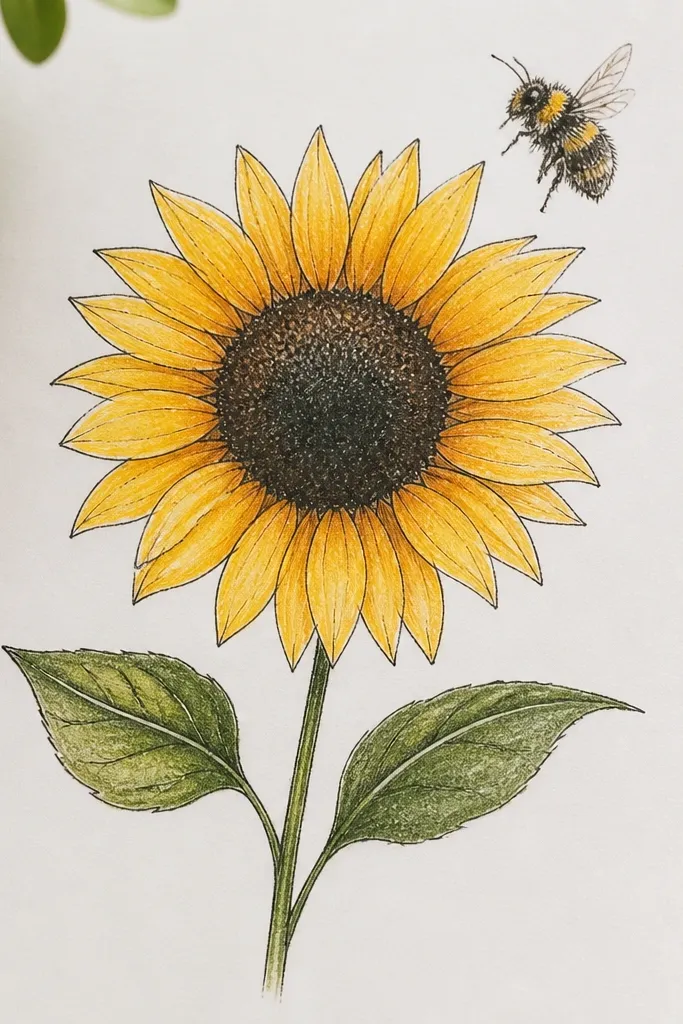
4. Single Sunflower Sticker Style with Big Bee Stripes
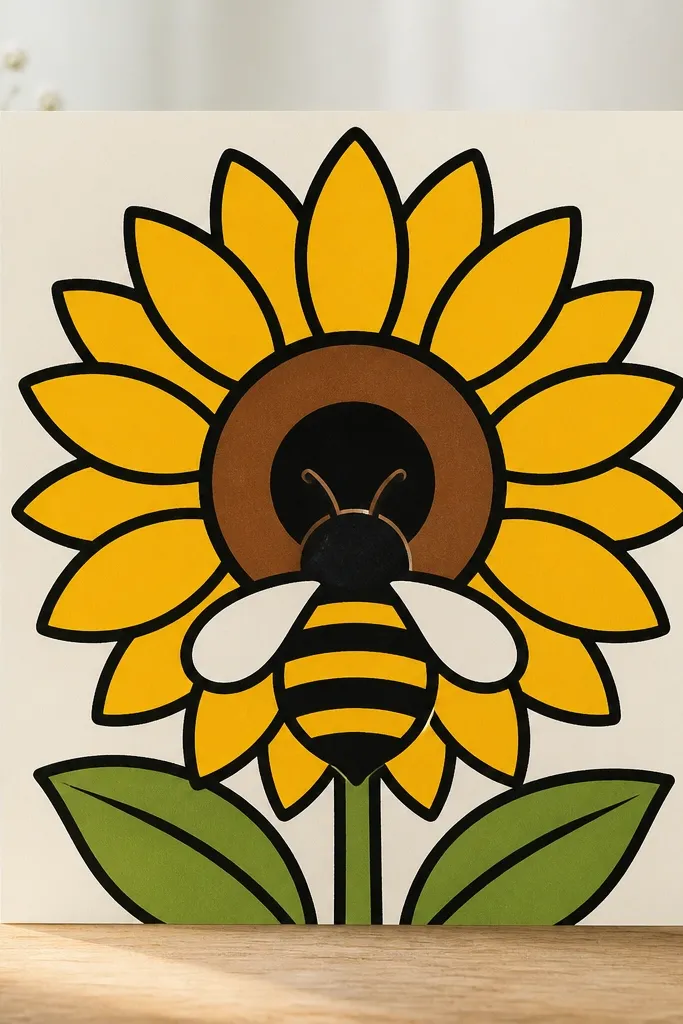
Sticker style looks clean on labels, jar tags, and scrap paper because the thick outline acts like a border. Big bee stripes read clearly even when your line work isn't perfect. I've used this on upcycled kraft paper and it looks great because the warm base color makes the yellow feel brighter. The sunflower stays simple: petals are just curved teardrops around a ring center. This is also the easiest option for beginners because you're not chasing tiny seed dots or fine wing veins.
Start by drawing the sunflower center ring first and make it wide - about one third of the flower's total width. Add petals as 12 teardrops, each with a rounded tip, and leave a little gap between petals so it doesn't look like a blob. Ink with a 0.5 fineliner, then add a thick outline around the whole sunflower like a sticker border. Draw the bee in front: body oval, three thick stripes, and two small wing shapes tucked behind the body. Color petals with medium yellow, center ring with orange, and stripes with warm brown; leave the bee belly white for a clean look.
Good to knowAdd one tiny antenna line on top - it makes the bee look alive without extra work.
Common mistakeDon't color over the outlines with watery marker - it blurs the sticker border.
5. Pencil Sketch Look on Upcycled Book Pages (Light and Airy)
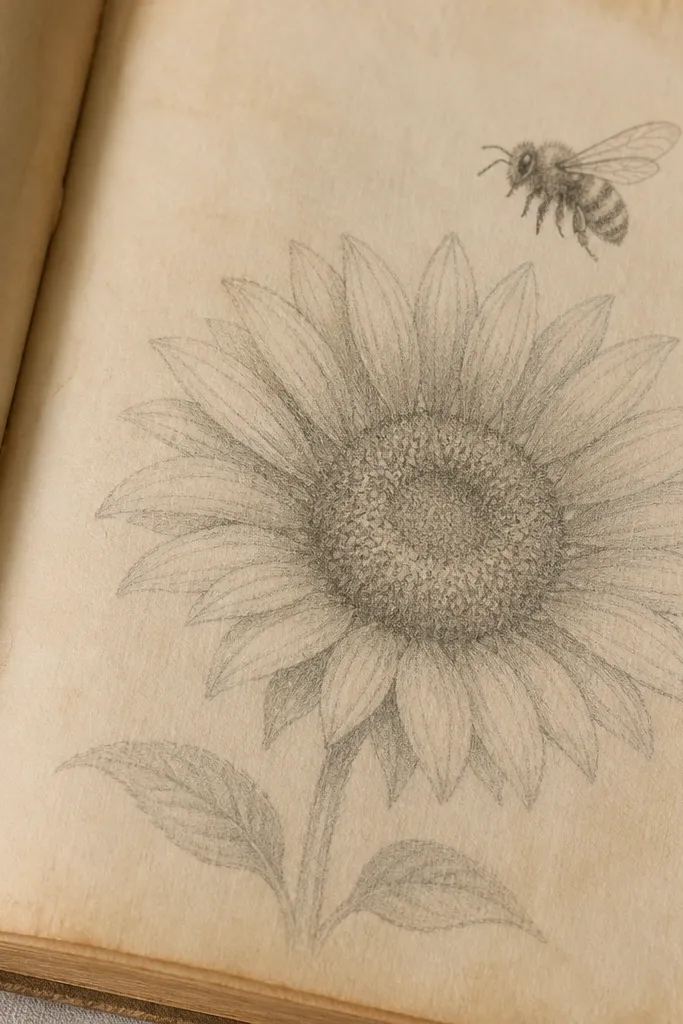
This one works when you want the drawing to blend into an old page instead of covering it. The pencil sketch look is forgiving because small mistakes disappear into the paper texture. I did this on a torn book page that had darker print behind it, and the sunflower still read clearly because I kept the center darker than the petals. A light bee outline keeps the face and stripes subtle, which looks classy on bookmarks and journal covers. If you like muted decor, this is your lane.
Start by choosing book pages with fewer dark blocks of text near where you'll draw, then lightly sketch the sunflower center as a circle. Shade the center with short graphite dashes, pressing harder at the bottom so you get a gradient. Draw petals as light arcs with uneven thickness, then add a few leaf shapes in the corner. For the bee, draw an oval body and three stripes as light lines, plus wings as two curved outlines with minimal detail. Finally, use a kneaded eraser to lift highlights from the petals if the page is too dark.
Good to knowFix the pencil with a matte fixative spray if you'll handle the page a lot - it keeps smudges away.
Common mistakeDon't press hard on the petals - heavy graphite makes it look dirty on textured paper.
6. Marker-Only Version for Fast Gifts (No Pencil, Just Light Lines)
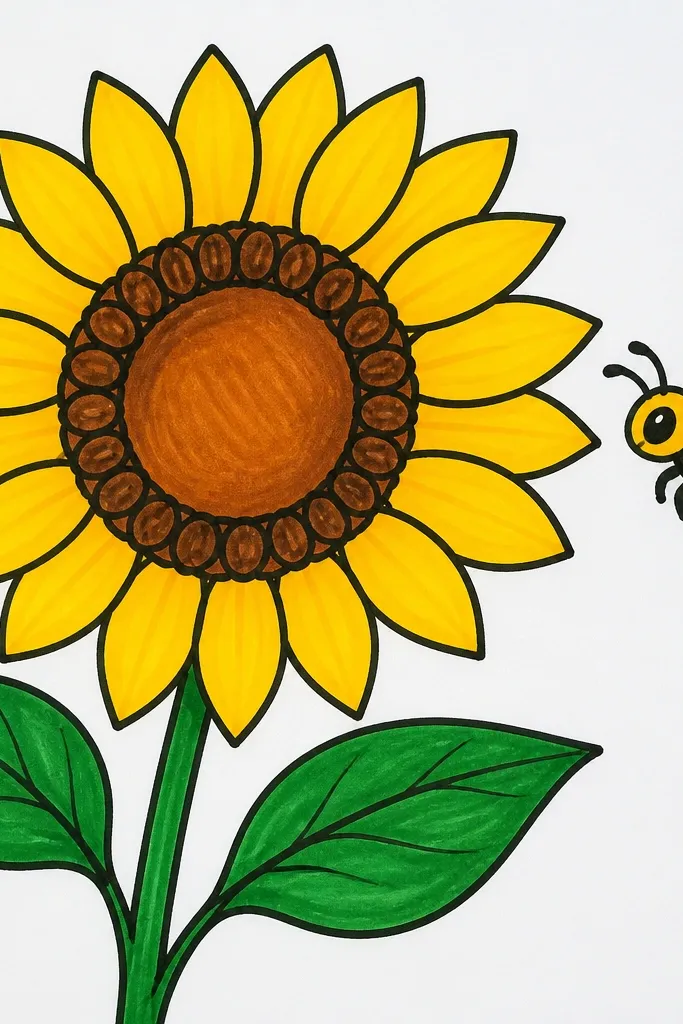
If you need Bee and Sunflower Drawing quick easy for last-minute gifting, marker-only is the fastest path. The trick is to keep the sunflower center ring thick and skip tiny seed dots. The bee looks cute because the stripes are bold and evenly spaced, not because of detailed wings. I've done this on index cards and it looks clean because the lines are consistent across the whole piece. This style is friendly for people who don't like erasing or smudging.
Start with a light pencil if you want placement, but you'll ink right away: draw the sunflower center ring with a black marker and keep it smooth. Add 10 to 14 petals as curved loops around the ring, then draw a short stem and two leaves. For the bee, draw an oval body and add three stripe bands, leaving a thin gap between stripes so they read. Add two wings as simple curved shapes and two dot eyes. Color petals with yellow, shade the petal base with orange marker, and color the bee stripes with warm brown.
Good to knowUse the chisel tip for petals and the fine tip for stripes; it keeps everything from looking the same width.
Common mistakeDon't overwork the wings - two clean shapes look better than ten tiny lines.
7. Sunflower Stem + Bee Trail on a Tote Bag
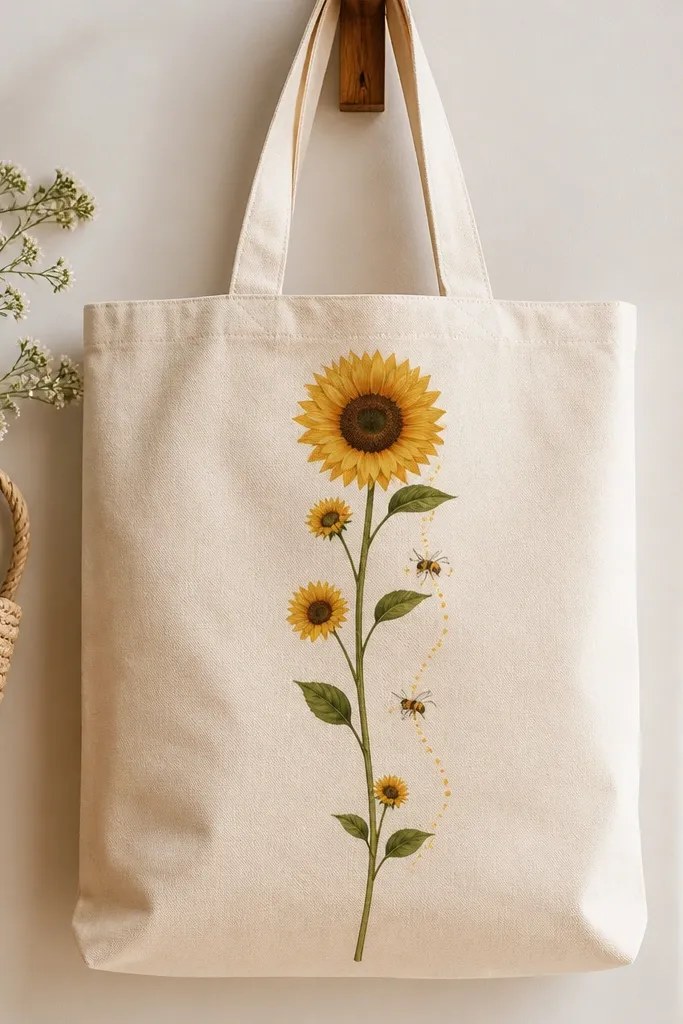
This is the upcycling one I reach for because totes are forgiving and the vertical line guides the viewer. The bee trail makes it feel like motion, and the dotted pollen around the bees hides small spacing issues. I've painted this style on plain canvas totes using fabric markers, and it holds up after a few washes when you set it right. The sunflower colors look bright even on beige fabric. If you want your tote to look "intentional" without being busy, keep the bees small and the pollen dots light.
Start by drawing a vertical guideline down the tote center with a chalk pencil or washable marker. Sketch one main sunflower at the top, then add two smaller blooms halfway down the stem. Draw leaves as simple teardrops with one center line, then ink lightly. Add three bees along the stem: one hovering near the main bloom, and two following lower down, each with three stripes and small wings. Finish by dotting pollen specks around the bees with a light brown or tan fabric paint dabber.
Good to knowAfter drawing, heat-set fabric markers according to the brand directions so the lines don't crack in the wash.
Common mistakeDon't outline on slippery vinyl-like fabric - it smears unless you use the right marker.
8. Sunflower Wreath with Tiny Bees Around the Edge
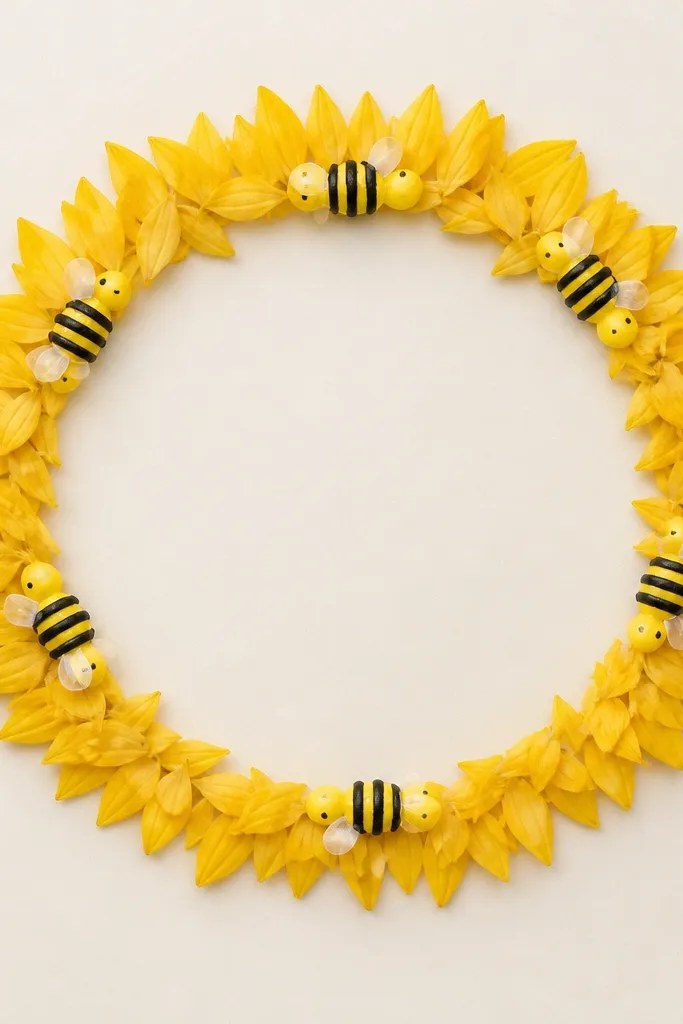
A wreath is a cheat code because the circle forces balance. Tiny bees around the edge make the design look complete even if you're drawing quickly. I like this for wall hangings, framed paper, and craft trays because it reads like a pattern rather than a single scene. The sunflower petals can be simple arcs, and the wreath still looks full. This design also works across skin tones and decor styles because the palette stays warm and neutral.
Draw a big circle guide using a plate or bowl, then sketch small sunflower centers as little circles along the perimeter. Add petals as short curved lines that radiate outward from each center, keeping them consistent in size. Ink everything with a fine black pen, then place bees between flowers: draw an oval body and three stripe bands, plus two wings. Space the bees evenly so the ring looks intentional. Color with medium yellow for petals, orange for centers, and warm brown for bee stripes; add tiny green leaf hints inside the circle if you want depth.
Good to knowUse a ruler to keep spacing even - even a quick wreath looks better when the centers line up.
Common mistakeDon't crowd the bees too close together - they start to look like blobs.
9. Bee and Sunflower Line Art on Recycled Cardboard (Cutout Style)
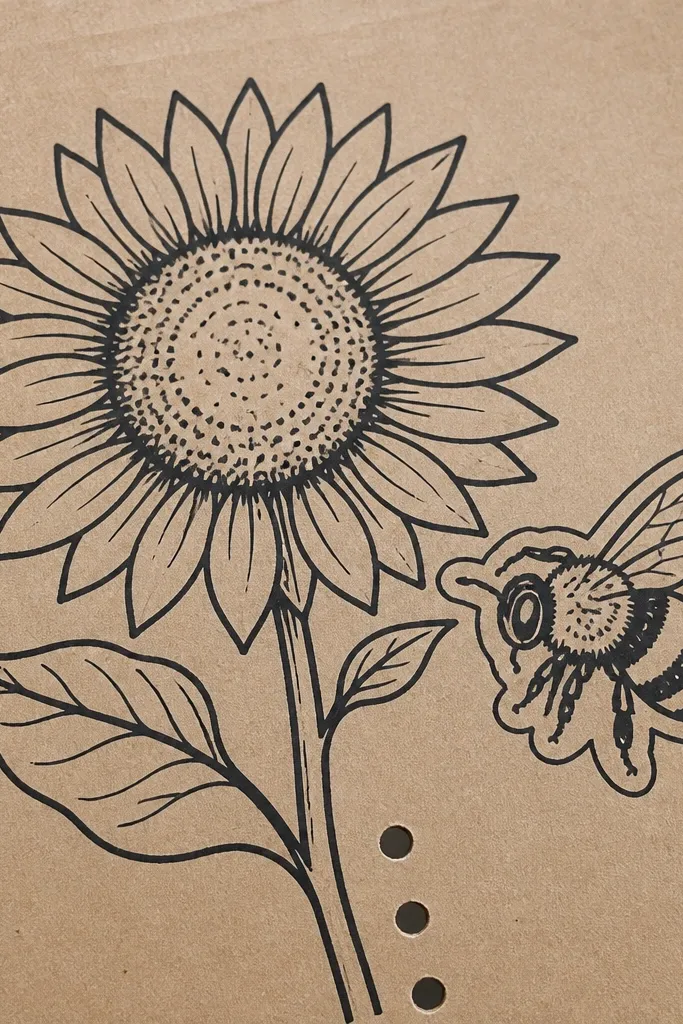
Cutout style looks bold because the cardboard color acts like your background. I've made these for plant labels and shelf decor by drawing line art, then cutting a shape out so it casts a small shadow. The bee looks great on cardboard when you keep the stripes thick and the wings simple. The sunflower petals can be fewer - 10 to 12 - and still read. This is also a good way to use scrap cardboard without worrying about perfect paper texture.
Start by drawing the sunflower center circle and petals on cardboard using a pencil, then ink with a black marker. Add the bee on one side of the flower so the design has a clear silhouette. Trace a second outline around the bee only - a thicker line - so it feels layered when you cut it. Cut the cardboard shape carefully with an X-Acto knife, then sand the edges lightly with fine sandpaper. Color the petals with yellow paint marker or watered-down acrylic (thin coats), then paint the center ring orange and the stripes warm brown.
Good to knowSeal with matte clear spray after paint dries so the cardboard doesn't get scuffed.
Common mistakeDon't use heavy wet paint - cardboard warps and the cut edges look wavy.
10. Sunflower Face and Bee Sunglasses (Funny, Cute, Giftable)
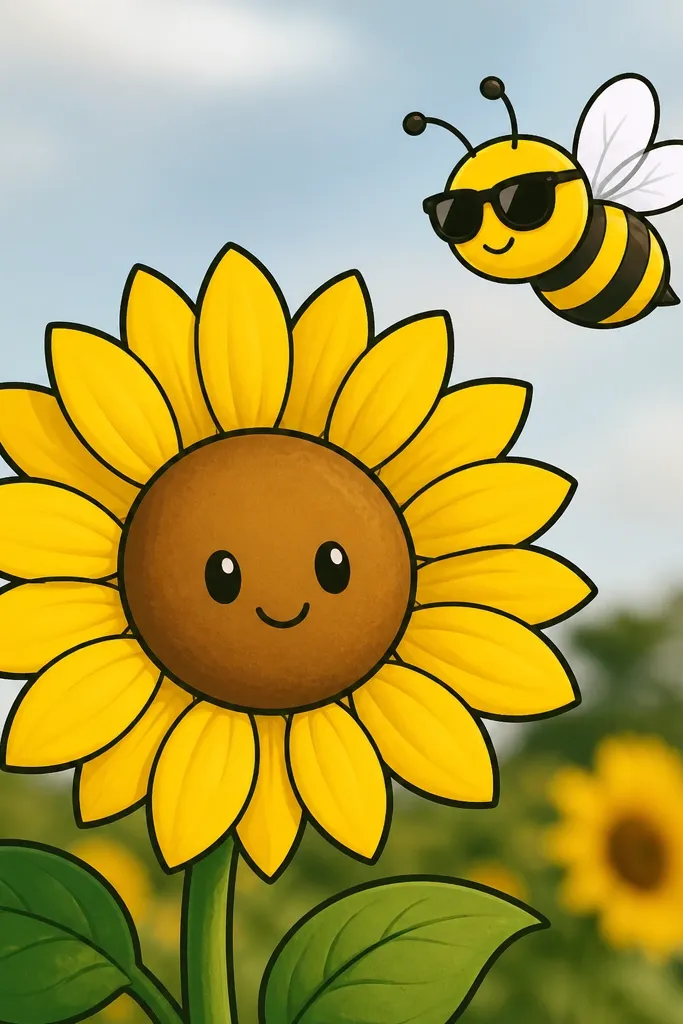
This one is playful and still easy because it uses cartoon features instead of realistic texture. The sunflower face gives personality, and the sunglasses on the bee add a punch of humor that people remember. I've drawn this on greeting cards with a bright white gel pen highlight on the sunglasses for extra pop. It's also good for kids' parties or teacher gifts because it's instantly readable. Keep the colors bold: sunflower yellow, a deeper orange for the center, and black for the sunglasses.
Sketch a sunflower with a big center circle, then add petals as rounded teardrops around it. Draw two small eyes and a curved smile inside the center area, then ink all lines. Place the bee above the sunflower and draw the sunglasses as a curved rectangle with two side arms. Add three stripes on the bee body and two simple wings. Color petals yellow, center orange, sunglasses solid black, and bee body warm brown; finish by adding a tiny white highlight dot on one lens.
Good to knowKeep the facial features small and centered - big eyes can make the whole drawing look off.
Common mistakeDon't shade the face with gray - it turns cartoon into creepy fast.
11. Sunflower + Bee on Sheet Music Page (Vintage Upcycle)
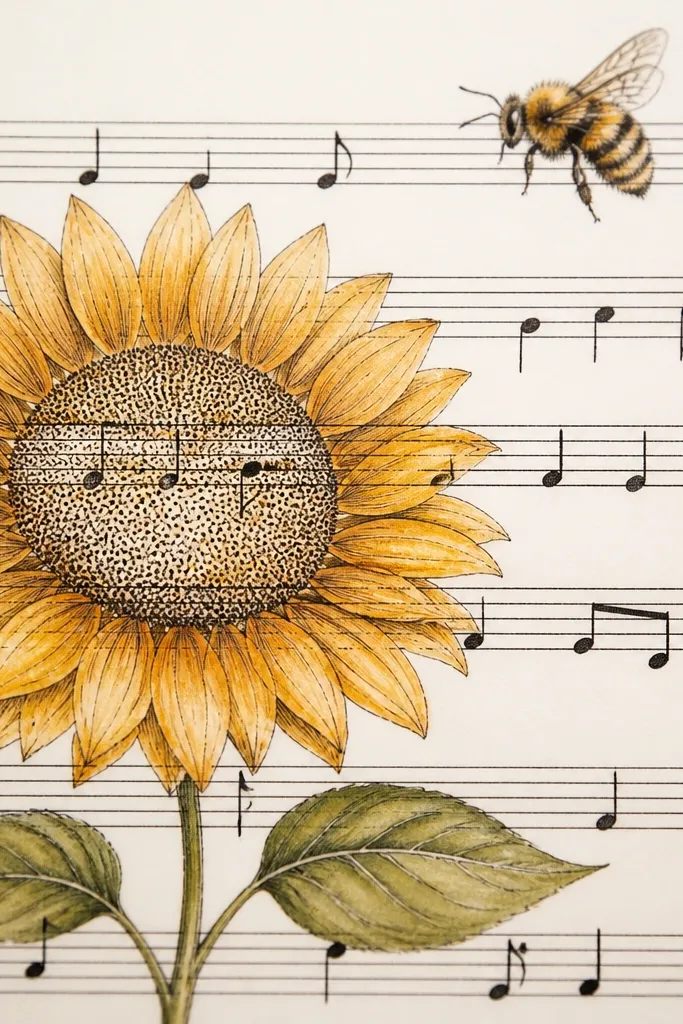
Sheet music already has texture, so your drawing should be clean and limited. This design works because the sunflower center covers a small area and the petals flow over the staff lines without needing perfect symmetry. The bee floats near the top notes so it feels like it belongs to the page. I've made these for music teachers and the contrast between crisp black lines and the printed notes looks classy. If your decor leans vintage, this is one of the best quick designs.
Start by picking a section of sheet music with fewer dense measures near where the sunflower will go. Sketch the sunflower center and petals in pencil, keeping the petals larger than you think so they read over the lines. Ink the outlines with a fine black pen, then fill the center with small dot clusters instead of seed dashes. Draw the bee above the sunflower with three stripes and two simple wings, then color with yellow and warm brown. Leave the staff lines visible where possible - they act like the background texture.
Good to knowUse a white gel pen to add two tiny "note" dots near the bee wings if it feels too busy.
Common mistakeDon't outline over every staff line - that creates a heavy, muddy look.
12. Bee with Flower Pollen Cloud (Soft Dots Shading)
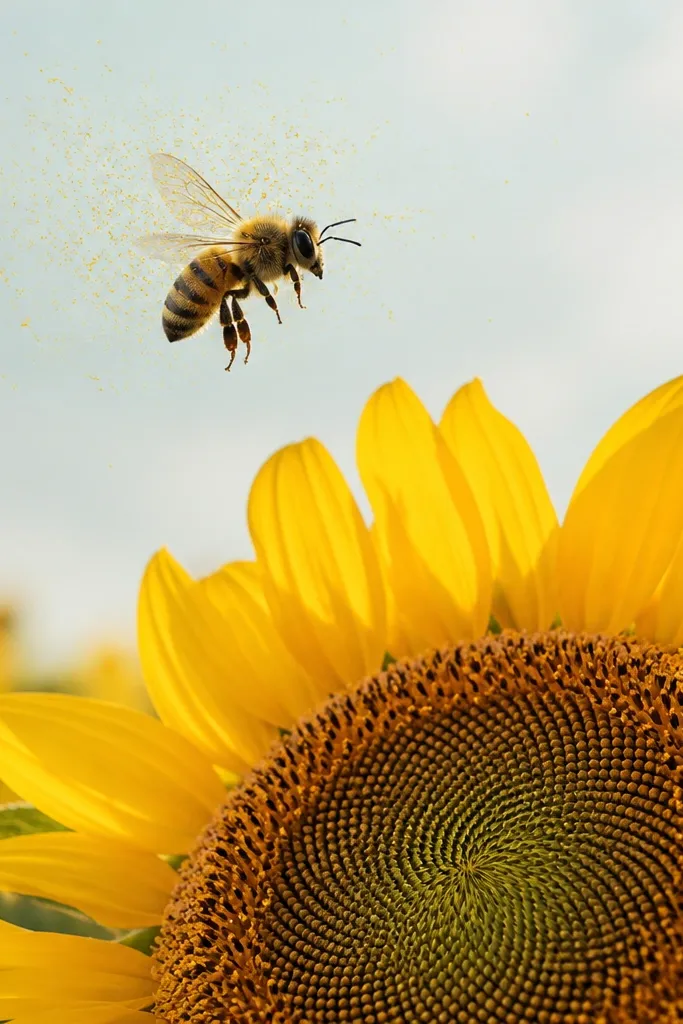
This design looks dreamy without being complicated because the pollen cloud fills empty space. The bee stays simple - oval body, three stripes, two wings - and the "magic" happens with dot shading. I've used this on bookmarks and small framed art where you want movement but not a busy scene. The yellow dot cloud also hides uneven spacing between sunflower petals. If you like soft, airy aesthetics, keep your dots light and use two dot sizes.
Sketch the sunflower first: center ring plus 12 petals, then ink. Fill the center with dot shading using a fine brown or dark orange pen so it looks like seeds. Draw the bee above the sunflower, then add a pollen cloud around the wings as a loose circle made of dots. Color the petals with medium yellow and shade the base with orange. For the pollen cloud, use a light yellow and vary dot size - small dots near the bee, bigger ones around the edge. Finish by coloring the bee stripes warm brown and leaving the belly light.
Good to knowPractice the pollen cloud on scrap first - dot density is what makes it look soft, not messy.
Common mistakeDon't use pure bright yellow dots everywhere - too much saturation makes it look like confetti.
13. Sunflower Seeds as Pattern (Bee in the Negative Space)
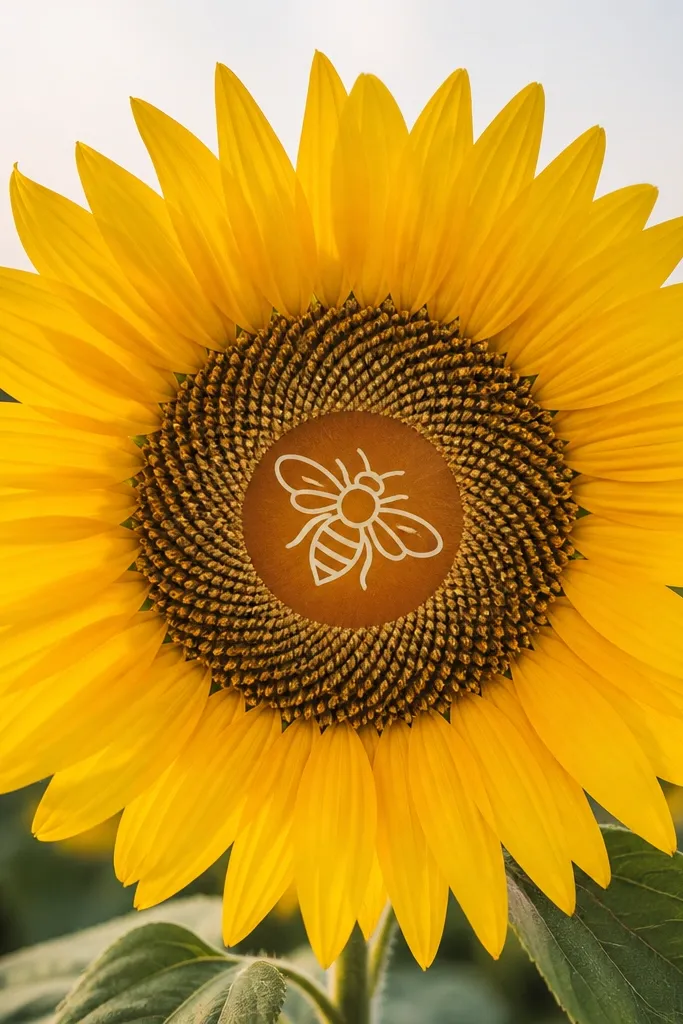
Negative space designs look more "designed" and less like a quick doodle. Here, you color the sunflower center background lightly, then carve the bee outline using white gel pen or leaving it uncolored. The sunflower seeds become the pattern, which keeps the eye busy without adding tiny detail on the bee. I used this on thick paper for coasters and it reads well because the center pattern gives the sunflower weight. This is a fun option when you want a cleaner look than traditional full-color bees.
Draw the sunflower center as a circle, then sketch a seed pattern inside using small curved ovals. Color the center base with a light golden yellow, leaving a small oval area where the bee will sit. Ink the bee outline on top or leave it uncolored, then use a white gel pen to trace the bee body and wings so it pops. Add petals as simple arcs around the center and ink them. Finish by shading petal bases with orange and coloring bee stripes with warm brown only where the bee is outlined.
Good to knowIf you plan to use white gel pen, test it on the same paper first - some stocks need a thicker gel layer.
Common mistakeDon't color the entire center solid - the seed pattern disappears.
14. Fabric Napkin Bee and Sunflower Border (One Side Only)
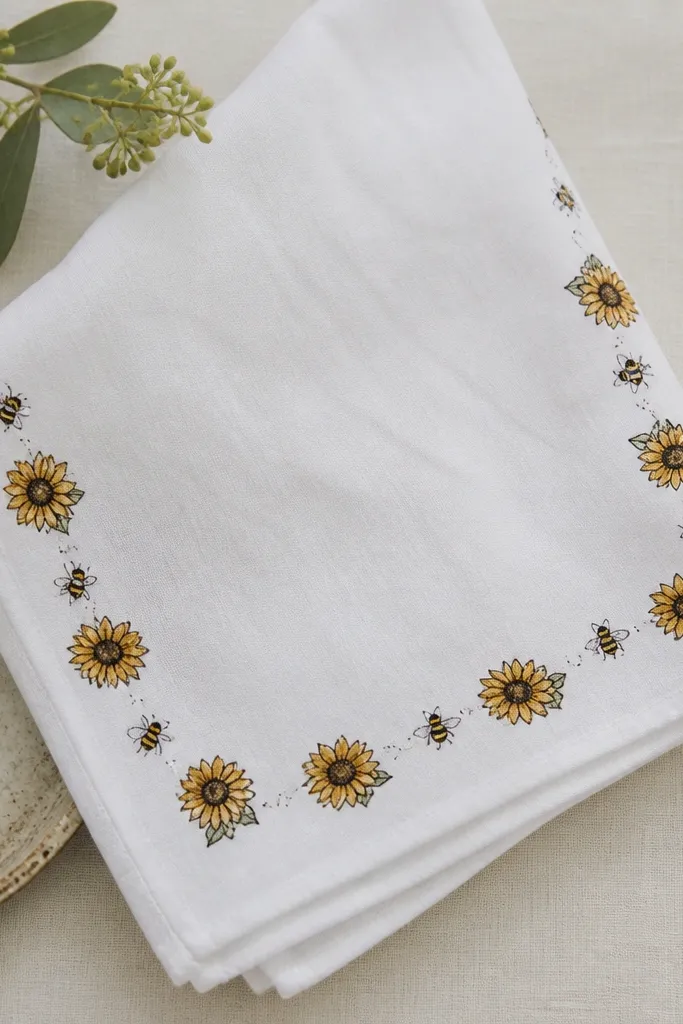
Borders look fancy but they're simple because you repeat one unit. This one works on napkins and cloth table runners because the design sits at the edge and doesn't need to cover the whole fabric. I've done this with fabric markers on cotton napkins and it looks crisp even after washing when you let it cure fully. The color stays muted compared to greeting cards, which makes it feel more "table" and less "party craft." If you host dinners, this border makes everyday meals look styled.
Start by drawing one unit in the corner: a mini sunflower about 1 inch wide with three to four petal arcs and a small seed center, plus one tiny bee hovering above it. Trace or copy that unit into a straight line along one napkin edge, spacing units about 1.5 inches apart. Ink with fabric marker and color petals light yellow, center orange, and bee stripes warm brown. Add a few green leaves between sunflowers so the border doesn't look too flat. Let the ink dry completely, then heat-set per marker directions before your first wash.
Good to knowUse painter's tape to mark a straight guideline before you draw the first unit - it keeps the border from drifting.
Common mistakeDon't overload the border with dark outlines - heavy lines on fabric look stiff and bulky.
15. Sunflower and Bee on Ceramic Tile with Paint Pens (Small Wall Accent)
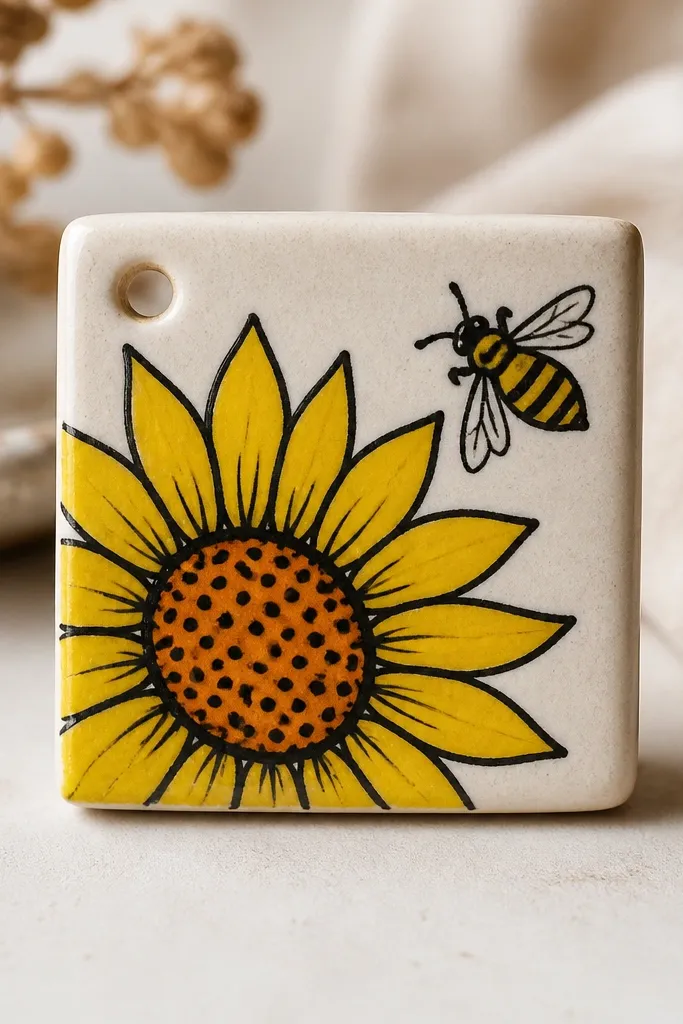
Tiles are durable, and paint pens make the drawing look crisp even on glossy surfaces. This design is for small wall accents or keychain-style tags when you seal it well. The sunflower center reads strong on ceramic because the paint sits opaque and doesn't sink in like paper. I've made one for my entryway and it stayed bright after hanging in daylight. Keep the bee simple and bold; ceramic doesn't forgive tiny line work.
Clean the tile with rubbing alcohol and let it dry. Sketch the sunflower and bee lightly with pencil, then outline using a black paint pen made for ceramics. Color petals with sunflower yellow, shade the base with orange, and fill the center ring with orange plus a few darker dots. Paint the bee body warm brown and stripes with a slightly darker brown, then add two wing outlines. Let the paint dry, then seal with a clear ceramic sealer in thin coats.
Good to knowDrill or add a hanging hole only after the paint is fully cured - fresh paint can chip around the drill point.
Common mistakeDon't skip cleaning - paint pens can peel on dusty glossy tile.
16. Bee and Sunflower Drawing on Recycled Glass Jar Label (Weatherproof Look)
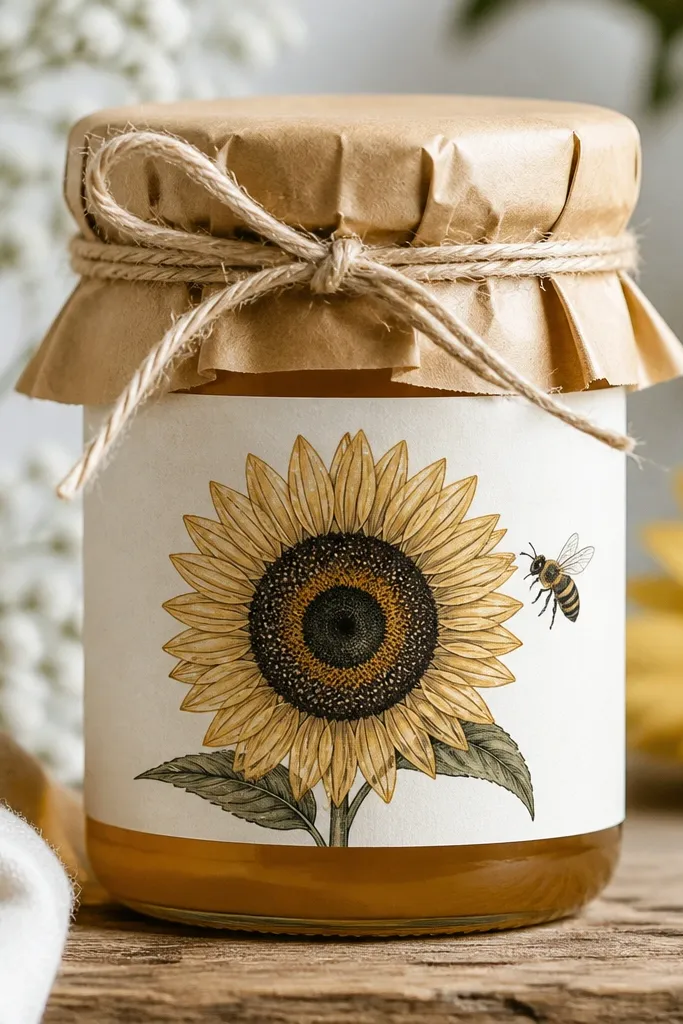
Jar labels need strong contrast because glass shows glare. This design works because the sunflower outlines are thick and the bee stripes are bold, so the drawing still reads through light reflections. I've done this on kraft paper labels and it looks warm and farmhouse without trying too hard. The sunflower stays centered, and the bee sits off to one side so the label doesn't feel stuck. If you want your upcycled jars to look cohesive, use the same line thickness across every label.
Cut a kraft paper label about 3 inches tall and 4 inches wide. Draw a sunflower about 2 inches across and a bee about 1 inch tall beside it. Ink with a waterproof black pen, then color petals yellow and shade with orange. Color the bee stripes warm brown and add a tiny highlight dot on the wings with white gel pen. Wrap the label around the jar, trim any overlap, and secure with twine or label tape.
Good to knowIf your jar gets condensation, seal the label with a thin clear matte spray so the ink doesn't smear.
Common mistakeDon't use water-based markers directly on kraft paper - they feather at the edges.
17. Sunflower and Bee in a Polaroid Frame on Scrapbook Paper
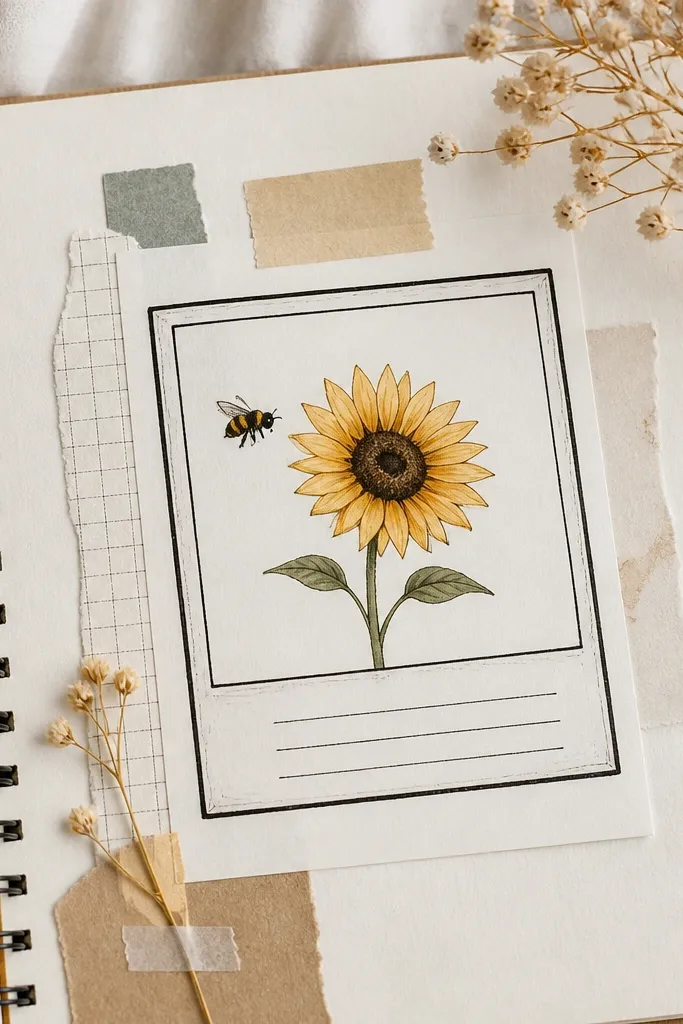
Faux Polaroid framing makes a quick drawing look like a keepsake photo. You get a clear boundary, plus a bottom space that can hold a date, a tiny note, or just blank paper. I like this style for memory pages because the sunflower and bee sit neatly in the "photo" box. The bee looks extra cute because it's scaled slightly larger than the sunflower center. This is great for people who want cute art but also want it to fit into a scrapbook layout.
Start by drawing a rectangle frame about 3.5 by 4.5 inches, then sketch a slightly larger white border around it like a Polaroid. Inside the frame, draw one sunflower with a center ring and 10 to 12 petals, then place the bee near the top right of the flower. Ink outlines with a 0.3 fineliner for the drawing, then use a thicker black pen for the frame border. Color petals with medium yellow and shade with orange at the base; color bee stripes warm brown. Add a few pollen dots around the bee so it ties into the sunflower.
Good to knowKeep the frame border thicker than the internal lines - it makes the illustration look crisp.
Common mistakeDon't color the frame itself with yellow - it fights the sunflower colors.
18. Bee and Sunflower on Denim Pocket with Fabric Paint Dots
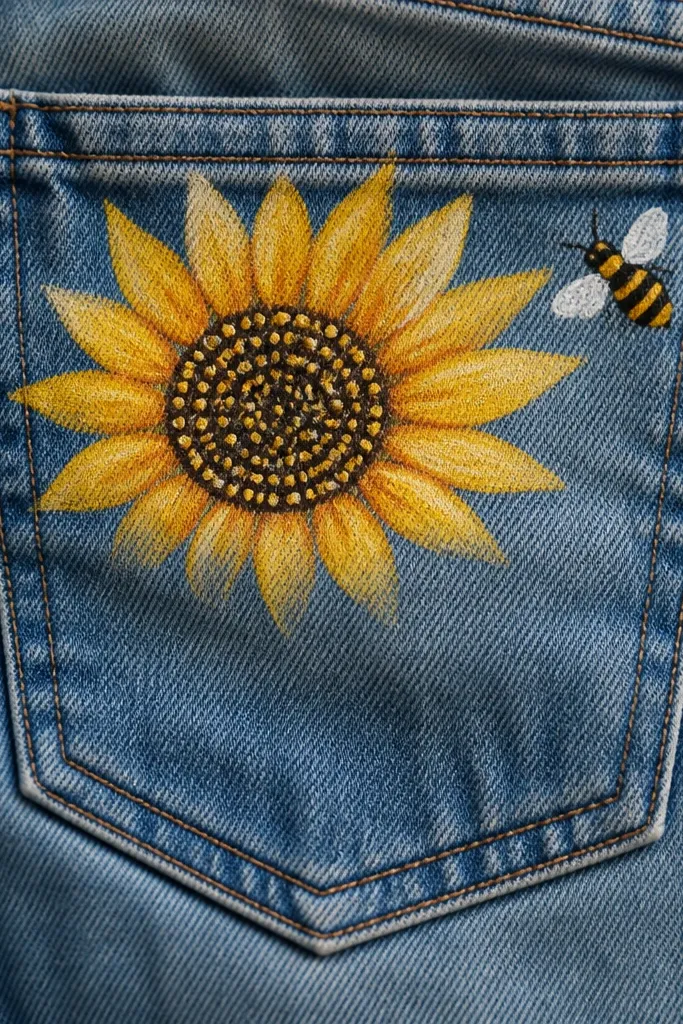
Denim takes paint differently than paper, and dots look better than thin lines. This design works because the sunflower center is a dot texture, and the bee stripes are bold but not overly detailed. I've used this on jeans pockets and it looks like a patch even though it's just paint. The blue fabric makes the yellow petals feel brighter, and the warm brown stripes blend into the denim wash. If you like casual style, this is one of the best ways to add charm without making it look costume-y.
Wash and dry the denim first so the surface isn't oily. Sketch the sunflower in pencil lightly, then outline with fabric paint or fabric marker in black-brown. Paint petals with yellow in two thin layers so you don't get streaks, then paint the center as an orange base with dots on top. Draw the bee with a warm brown body and three stripe bands, then add wings as small curved marks. Let the paint cure, then heat-set if your fabric paint instructions say to do so.
Good to knowUse a small sponge tip for the center dots - it keeps them uniform and round.
Common mistakeDon't paint the denim too wet - it spreads into the weave and blurs the bee stripes.
19. Sunflower with Bee in the Center Spiral (Single-Line Style)
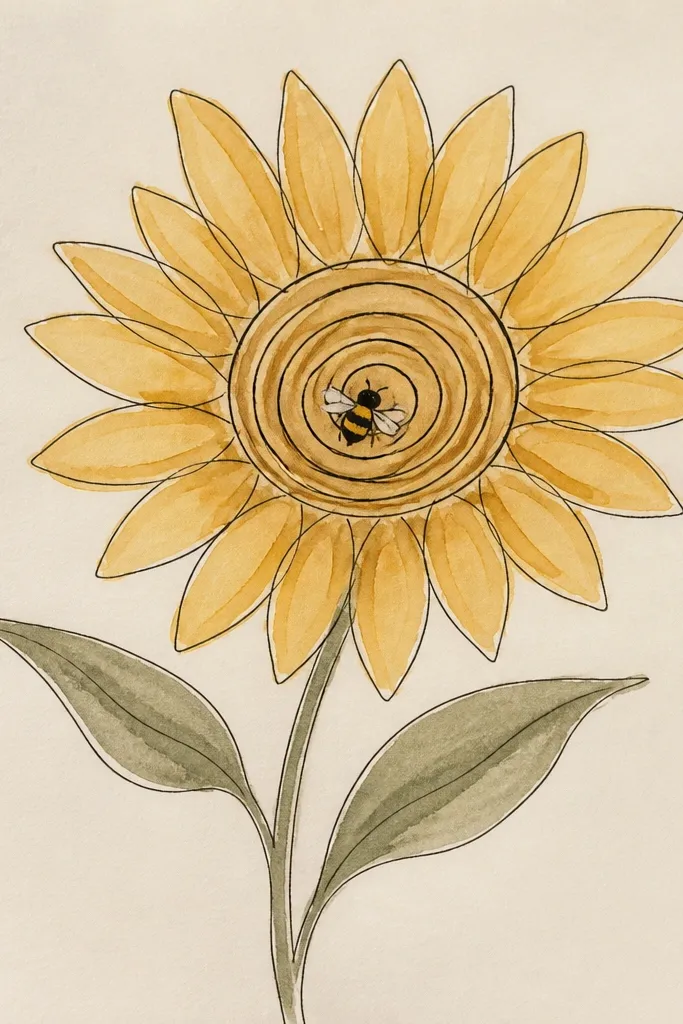
Single-line style looks modern and still cute when you keep the sunflower center as the main graphic. The spiral center gives movement and makes the bee look like it's "inside" the flower. This works well on stationery, bookmark corners, and even plain brown paper bags. I like it because it hides uneven coloring - you don't need perfect shading when the lines do the work. The result feels intentional, not rushed.
Draw a sunflower center as a spiral starting at the outer edge and winding inward, about 1.8 inches across. Add 10 to 12 petal arcs around the spiral with simple rounded tips. Ink the whole design with a single fineliner weight, then add the bee inside the spiral: oval body, three stripes, and two tiny wing curves. Color petals with yellow and shade at the petal base with orange, leaving the center mostly line-only for contrast. Add a warm brown on the bee stripes only so it doesn't overpower the spiral.
Good to knowIf you lose the spiral line, stop and restart - a clean spiral beats a messy one.
Common mistakeDon't add heavy seed dots in the spiral - it fights the line style.