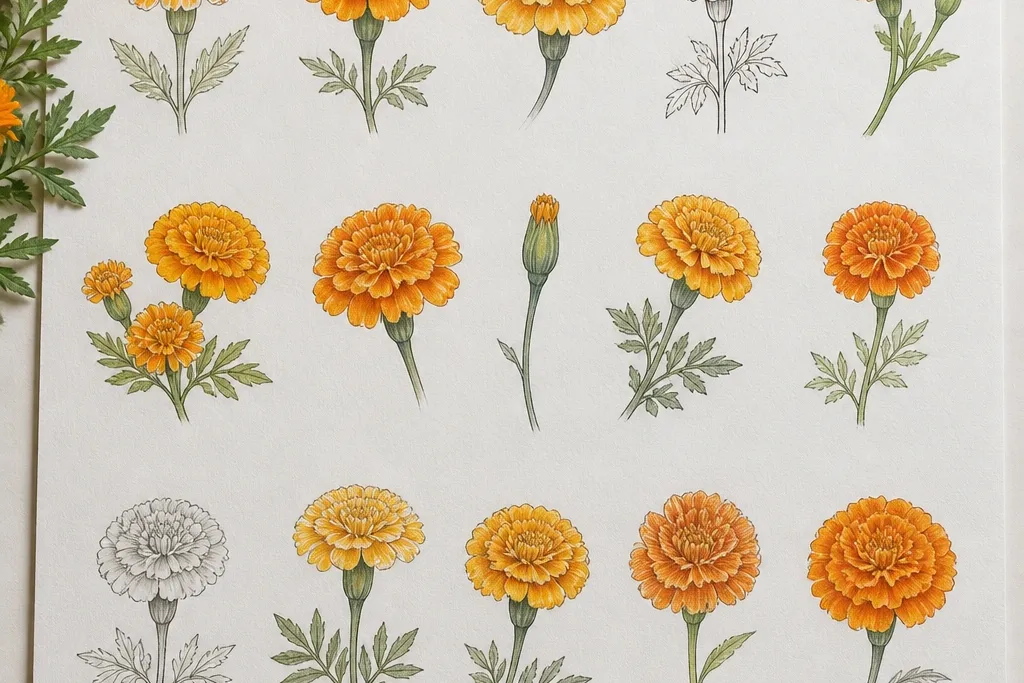

1. Classic U-Petal Marigold Pop
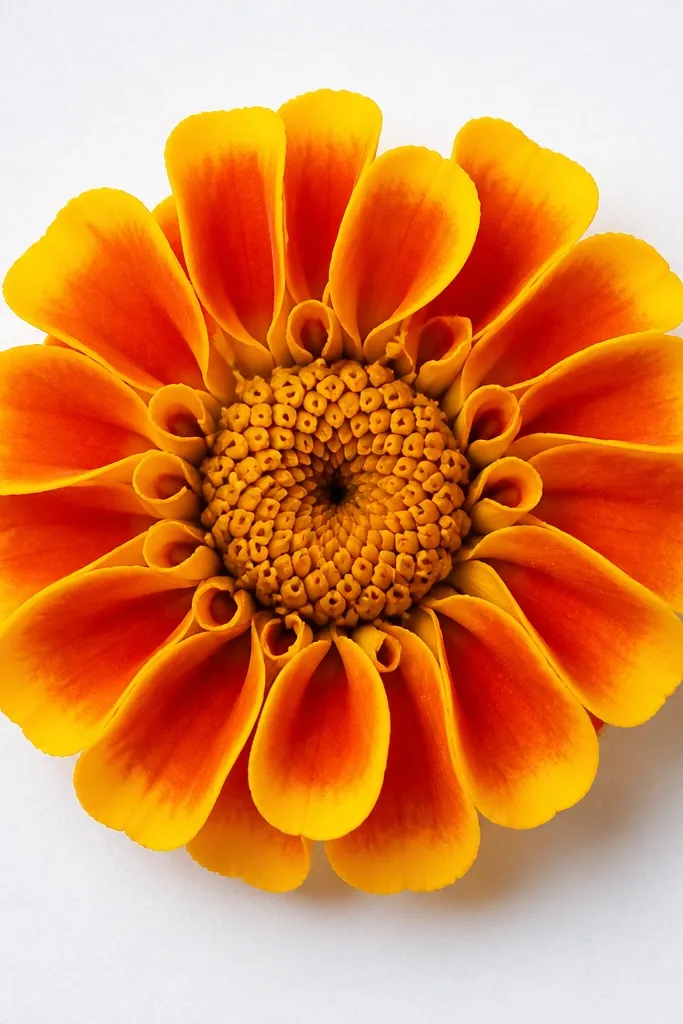
This one looks like the marigolds you see in front-yard beds because the petals sit like little scoops. The seed center is a small spiral made with short loops, then the petals go outward as repeated U shapes with their openings facing the center. I like it for kids because the pattern is predictable and the flower stays round even if petals aren’t perfectly identical. For coloring, it flatters warm skin tones and golden crayons — yellow near the center and orange on the outer petals looks lively without needing gradients.
Start by drawing a small spiral in the middle using 4 to 6 tight loops. Then add a ring of U-shaped petals around it — each U should touch its neighbor, about the same height as the spiral’s diameter. Build a second ring with slightly larger U petals, leaving a tiny gap at the base so it doesn’t look like one thick blob. Finally, add 3 short curved lines inside the center to show texture, then outline the whole flower with a black fine-tip pen and color.
Good to knowColor the petal bases first (yellow), then fill the tips (orange) so the bloom looks dimensional.
Common mistakeAvoid making the U petals too wide — if they look like parentheses, the flower flattens.
2. Teardrop Layered Marigold
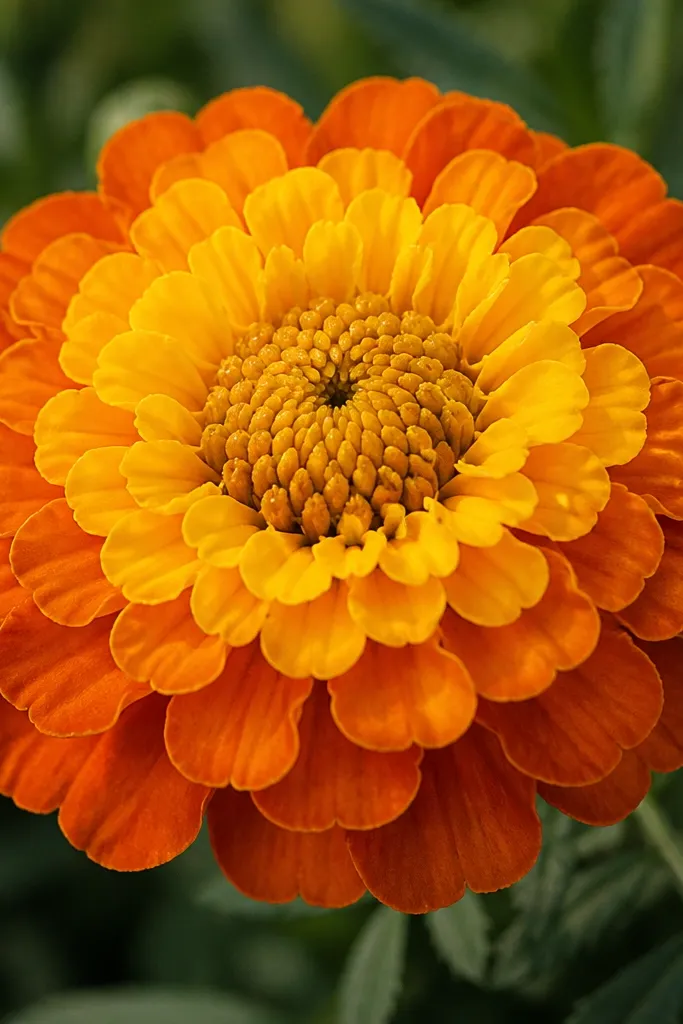
Teardrop petals give the marigold a layered look, like it’s packed tight. I draw the center as a small circle with tiny bumps, then each petal is a teardrop that points toward the center. This design is forgiving for kids because teardrops can be uneven and it still reads as a flower. It also looks great for wall art because the three petal bands separate clearly when you color them.
Draw a small seed head circle, then fill it with 6 to 10 tiny dots or short ovals clustered together. Around that, place 10 to 12 teardrop petals — each teardrop should overlap the next by about a third of its width. Add a second layer with 10 larger teardrops, and a third layer with only 6 to 8 bigger ones near the outer edge. Outline, then color in three values: yellow in the inner layer, orange in the middle, and darker orange at the outer tips.
Press less with crayons on the first layer so the inner yellow stays bright.
Avoid drawing every teardrop the exact same size and angle — one or two slightly tilted petals make it look real.
3. Comma-Stroke Feather Marigold
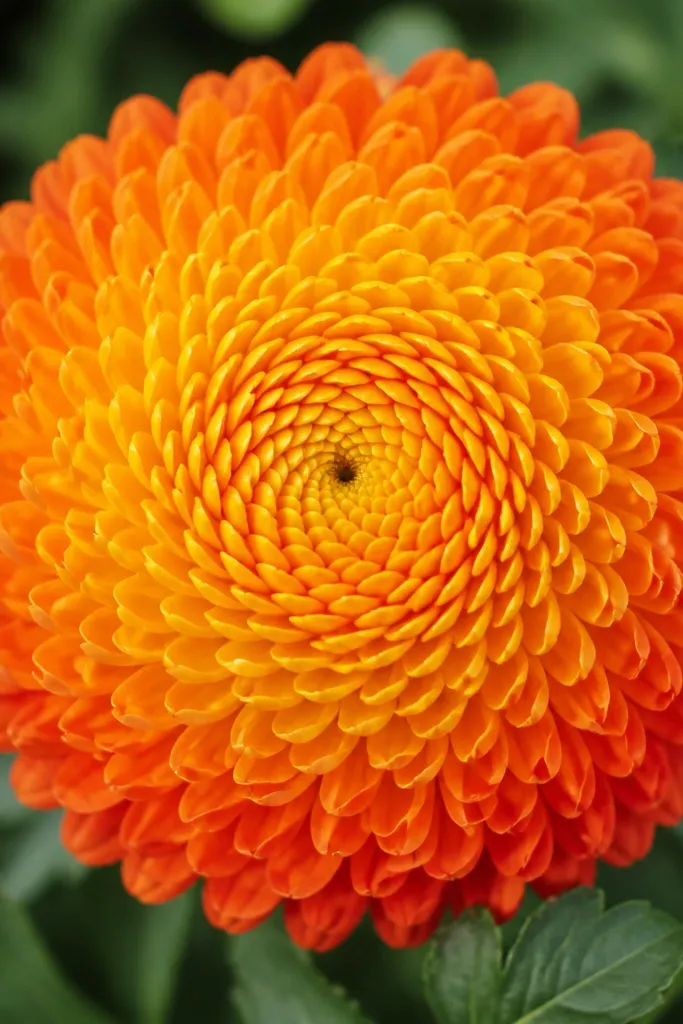
Comma strokes are the fastest way I’ve found to get a marigold that looks airy instead of stuffed. The center is a tiny spiral, and the petals are little curved marks that look like punctuation around it. This works especially well for younger kids because they can repeat the same stroke without needing perfect shapes. When you color it, keep the center brighter and let the outer marks deepen — it looks like the petals are fanning out.
Start with a small spiral in the center. Then add 18 to 24 comma strokes around it, each stroke curved toward the center and touching the next one lightly. Leave the outer edge slightly irregular so the bloom looks fluffy. Add 2 to 3 short lines inside the center for texture, then outline with pen. Color each comma stroke tip with orange-red, and keep the base of each stroke yellow.
If lines look shaky, use a pencil first and trace over with a pen only after the sketch looks clean.
Avoid spacing the commas too far apart — the flower starts to look like a sun with dots.
4. Spiral-Center Mini Marigold
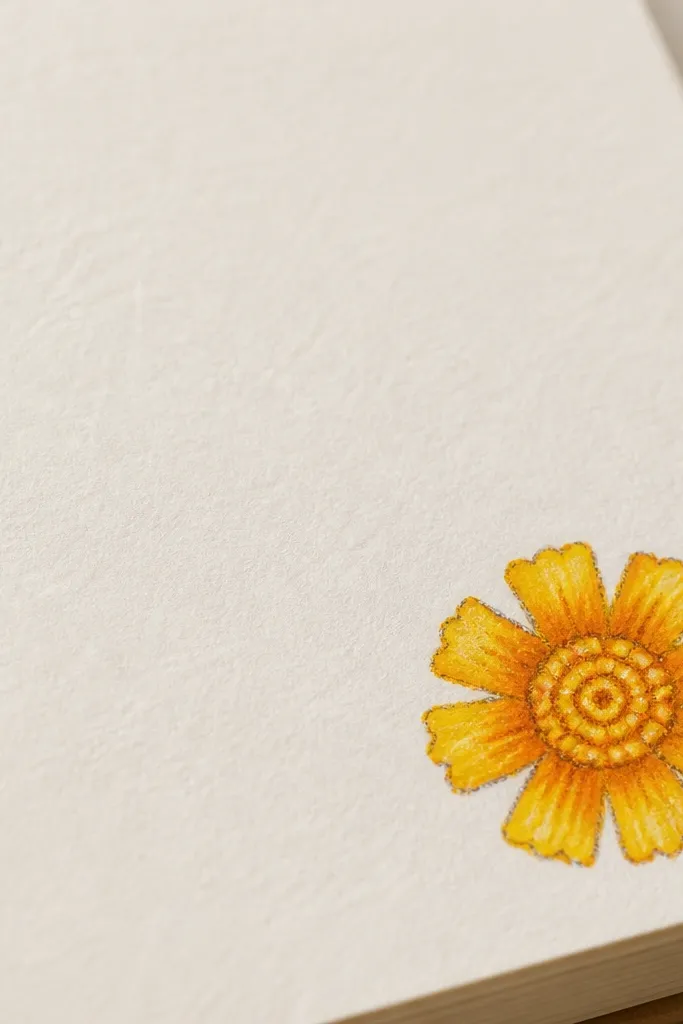
This is the “small and sweet” marigold I use when kids are filling a card or a page border. The center spiral is the star, and the petals are kept minimal so it doesn’t take long. It looks good even if the drawing is tiny because the spiral gives the eye a focal point. For coloring, use fewer colors and keep it bold: one bright yellow and one orange is enough for it to pop.
Draw a spiral that takes up about a quarter of the flower’s total width. Then add a single ring of 10 to 12 short petals — each petal is either a teardrop or a U shape, but keep them small. Add 3 short curved lines inside the spiral to show seed texture. Outline with a pen, then color the spiral and inner petal bases yellow and the outer petal tips orange.
Good to knowUse a ruler under the paper while drawing so the spiral stays centered and the petals don’t drift.
Common mistakeAvoid adding multiple petal layers — mini flowers look cramped when you overdo the rings.
5. Marigold Face on a Stem
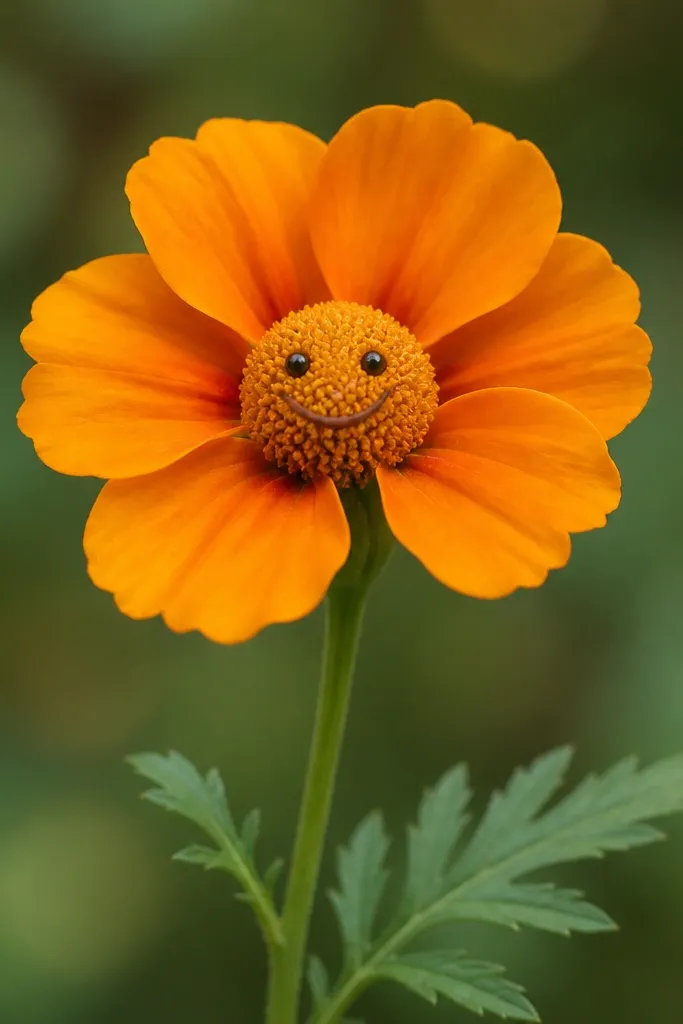
This one is for kids who like character art. You still get a real marigold shape, but the center becomes a cute face — the petals frame the expression. I’ve used this on grade-school craft days because it teaches the flower structure first, then lets imagination take over. It flatters bright coloring supplies: yellow for the petals, orange for the outer edge, and green for the stem makes the face read clearly.
Start by drawing a stem line that curves slightly, then add one leaf shaped like a sideways teardrop with a center vein. Draw the marigold center as a bumpy circle, then mark two small eyes and a smile inside it. Around the center, draw 12 U-shaped petals, all the same height, touching at the base. Outline everything, add light texture dots on the center, then color: yellow petals, orange tips, green stem and leaf.
Good to knowKeep the eyes tiny — if the face gets too big, the flower stops looking like marigold and starts looking like a sticker.
6. Three-Petal-Row Marigold Crown
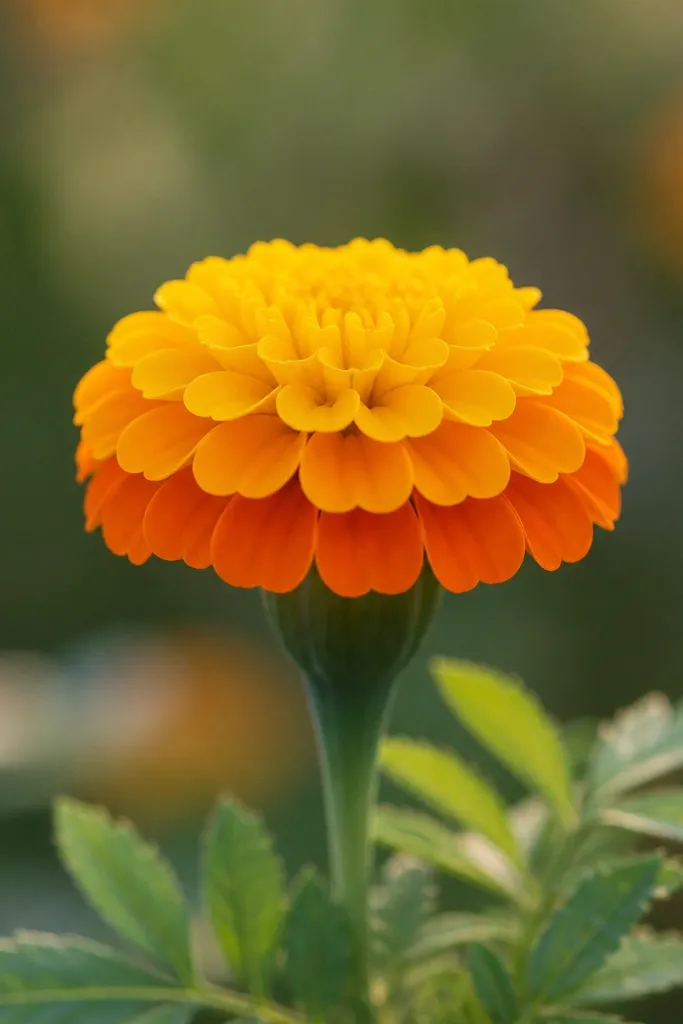
This design is clean and graphic. Three petal rows make it look like a crown around the seed head, and that structure is easy for kids to copy. I like it for posters because it reads from far away. The center is a small ring of dots, and each petal row has a slightly different size so you see depth when coloring. It also works on skin-tone friendly palettes: yellow and orange feel warm, and the final outline makes it look finished.
Draw a small circle for the seed head and fill it with 12 tiny dots. Then add the first petal row: 9 rounded U petals around the circle. Add the second row: 10 to 11 petals that are slightly longer, placed so they cover the gaps between the first row petals. Add the third row using 8 larger petals at the outer edge. Outline and color with yellow for row one, orange for row two, and darker orange for row three.
Good to knowIf your petals are uneven, keep the row spacing even — that fixes the “crooked crown” look fast.
Common mistakeAvoid making the third row petals the same size as the second row — it flattens the depth.
7. Marigold with Curly Ribbon Petals
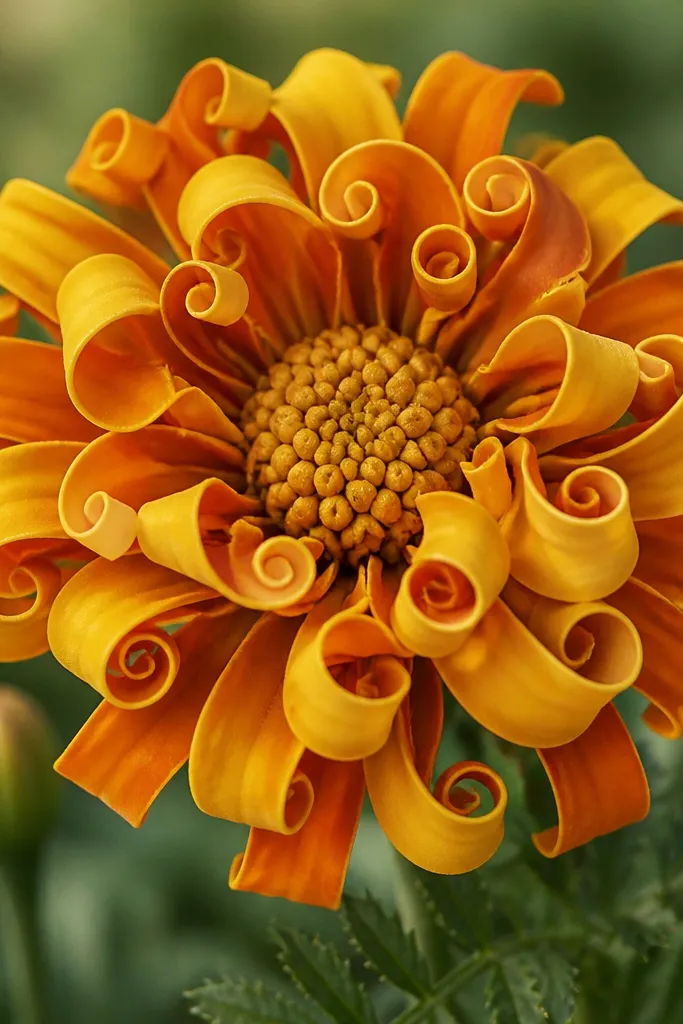
Curly ribbon petals make the flower look like it’s full and slightly dramatic, even though it’s still simple. I draw the petals as short ribbons with a curl at the end, so the bloom has movement. Kids like this one because it feels like doodling, but it still looks like a marigold. Color it with two tones and the curls do the work — yellow bases and burnt orange tips look handmade and warm.
Start with a textured seed head: draw a small circle and add short zig-zag lines inside it. Then draw 12 ribbon petals around the center — each petal starts as a curve from the center and ends with a little curl. Keep each ribbon petal about the same width so it looks cohesive. Add a second outer ring with 8 to 10 slightly larger ribbon petals. Outline with pen, color the inner ribbon bases yellow, then color the curled ends burnt orange.
Use a thicker marker for the curls and a lighter crayon for the base so the curl edge looks crisp.
Avoid making the ribbons too long — long ribbons turn the flower into a spiral doodle instead of a marigold.
8. Marigold Bud in Profile
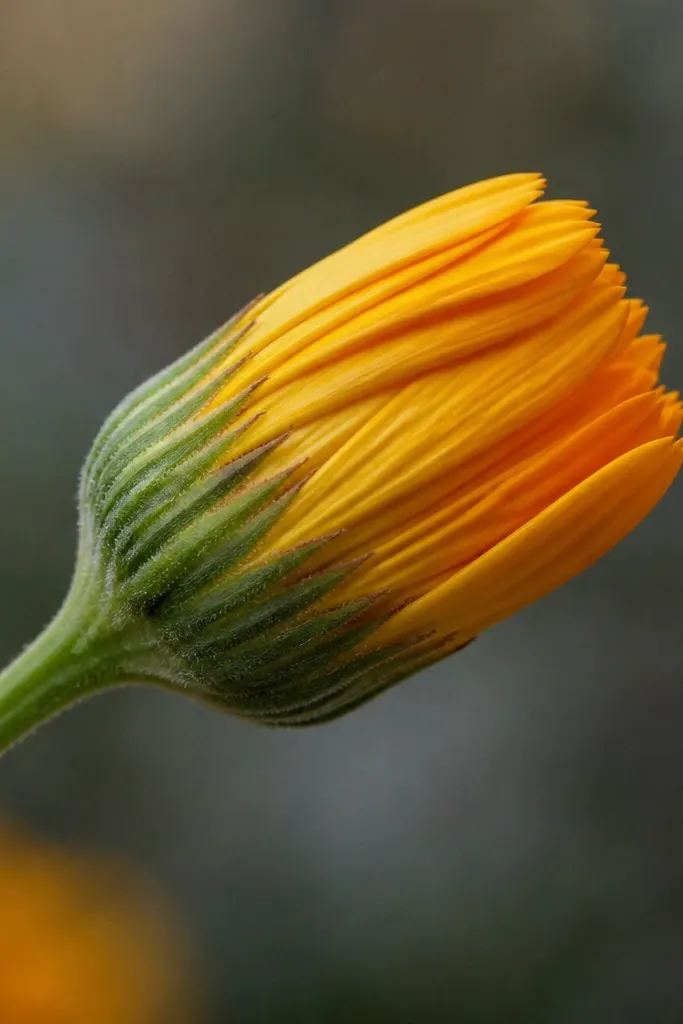
Profile buds are a great way to keep drawings from all looking identical. This one teaches kids that marigolds are layered even when you don’t see the full front. I sketch it as an oval seed head with petals wrapping like scallops. It looks good for kids who struggle with symmetry because it’s naturally one-sided. Coloring feels intuitive: yellow on the visible side, orange on the petal edges, and a lighter tone on the back for depth.
Draw a vertical oval seed head and fill it with small curved lines. Then add 8 scallop-like petals around the oval — each scallop is a half U shape that leans slightly toward the front. Keep the back petals shorter so the bud looks tucked. Add a second layer: 6 larger scallops that wrap more toward the outside edge. Outline the front edge more darkly, then color: yellow for the front petals, orange for the outer scallop edges, and a pale yellow for the hidden side.
Good to knowShade the petal edges with orange first, then fill the center petals with yellow so the layering shows.
9. Marigold with a Big Seed Spiral
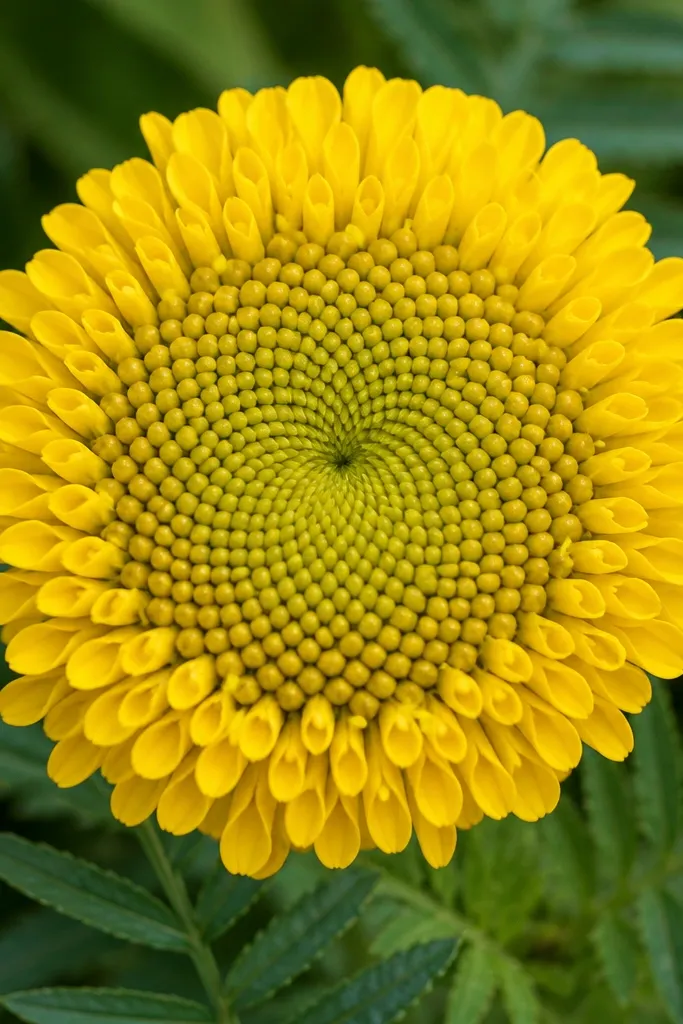
When the seed spiral is big, the whole flower looks more intentional and less like “petal wheel.” This is my go-to when kids rush and forget the center texture. The spiral gives them a checkpoint: if the spiral looks good, the flower will too. It also looks great for coloring books because the petal shapes stay simple while the spiral adds detail. Use a bright yellow base and add orange only on the outer petal tips for a clean, modern look.
Draw a spiral that takes up about half the flower’s width. Then place 14 to 16 small teardrop petals around it, each one pointing inward and overlapping slightly. Add 4 short lines inside the spiral to suggest seeds. Outline with pen, then color: spiral and inner petals yellow, outer petals orange at the tips only. Finish by adding 3 tiny dot seeds near the spiral edge with a dark orange pencil or marker.
Good to knowIf kids press too hard, draw the spiral lightly first so the pen trace doesn’t get muddy.
Common mistakeAvoid adding extra petal rings — the big spiral already adds detail.
10. Marigold in a Circle Bouquet Frame
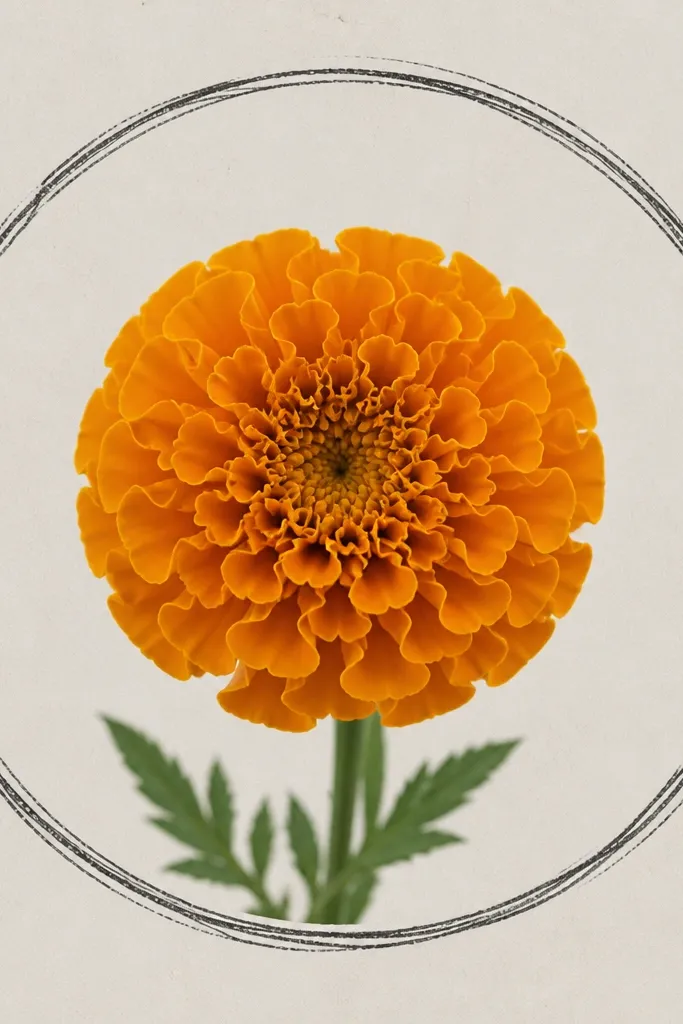
This one is a composition idea as much as a drawing. A circle frame makes the marigold look like a sticker or bouquet label, which helps kids feel proud of the finished piece. The marigold itself stays simple: U-shaped petals and a bumpy center. When you color, you can keep the flower bright and leave the frame a softer neutral like light brown or pale green. It flatters kids because the frame gives structure even if the flower is slightly uneven.
Draw a circle first about 2 inches wide on your paper. Inside it, draw a seed head circle and fill with tiny dots. Add 12 rounded U petals around the center, keeping them inside the circle boundary. Add a second ring with 8 slightly larger U petals, still staying inside the frame. Outline the circle and the flower, then color petals yellow and orange, and color the frame with a light green wash or light brown crayon.
Use the circle as a boundary — stop petals before they hit the edge so it stays crisp.
11. Marigold with Zigzag Petal Edges
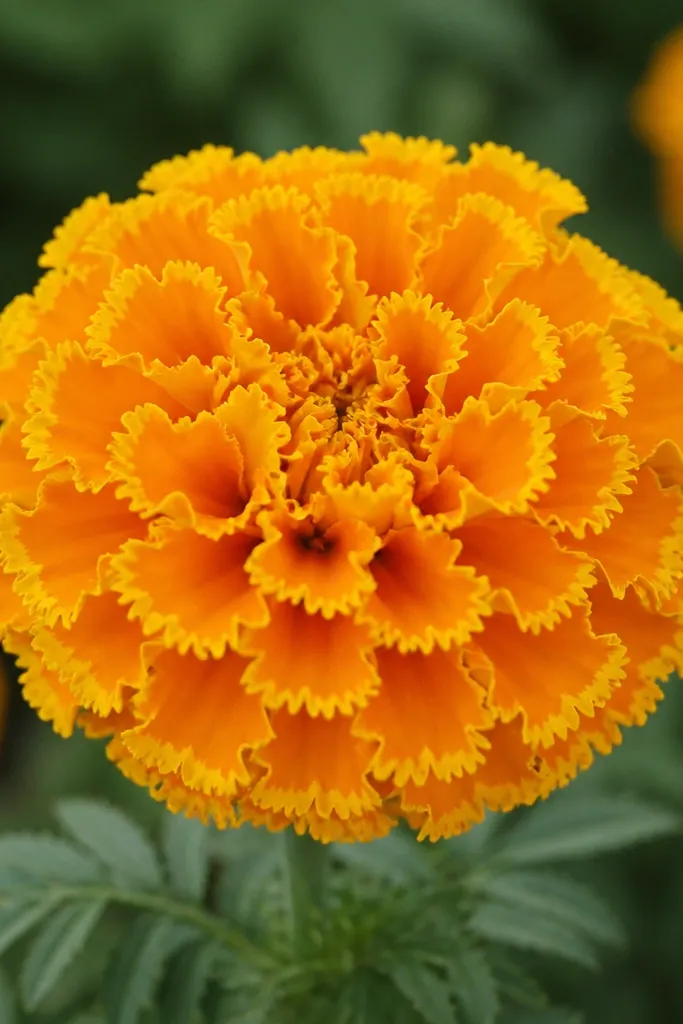
Zigzag edges make a simple petal look fancy without changing the whole structure. The trick is that the petal shape stays U-shaped, but the outer rim is wavy. This reads as frilly marigold petals when you color because the zigzags catch the light. Kids like it because it feels like “decorating.” It also looks good on lighter paper because the lines stay crisp and don’t require heavy shading.
Draw a small spiral or bumpy seed head circle in the center. Add 10 to 12 U-shaped petals around it. For each petal, draw a short zigzag along the outer rim — think of it as 3 to 5 little peaks along the top edge of the U. Keep the inner rim smooth so the flower doesn’t get too busy. Outline with pen, then color: yellow for the inner half of each petal, orange for the outer zigzag peaks.
Good to knowUse a mechanical pencil with a firm line for the zigzags so they don’t smear when you color.
12. Marigold Flower Crown for Kids' Heads
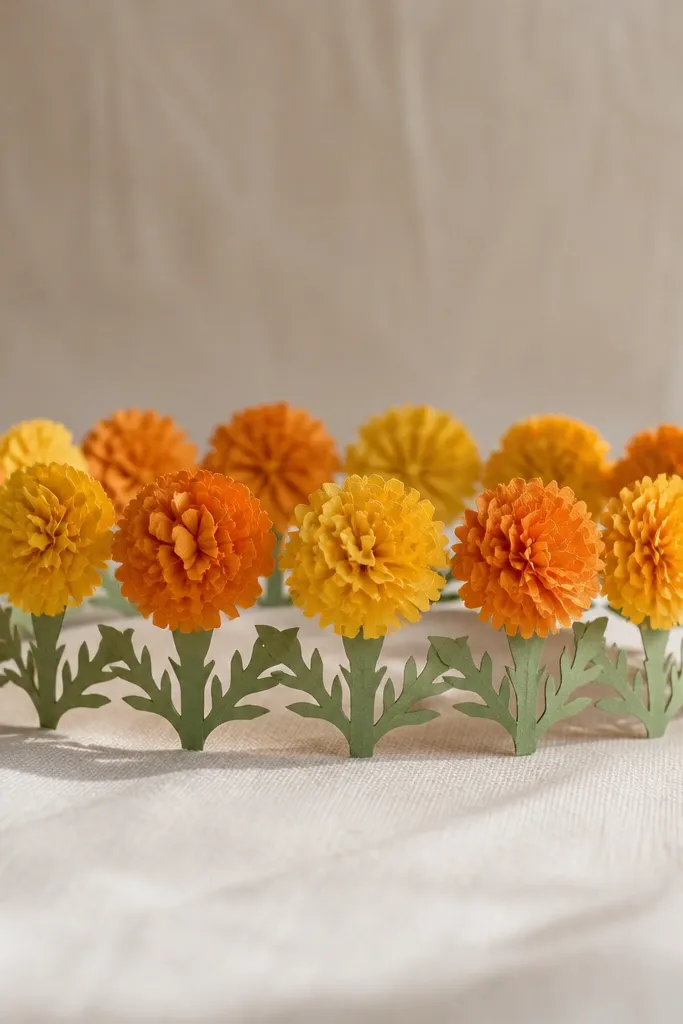
This is drawing turned into a craft plan. You’re not just making one flower — you’re making a repeat pattern kids can cut and glue into a crown band. I’ve made these for birthdays where every kid gets the same base template but different marigold colors. The marigolds are simple: small seed spirals and one ring of U petals, repeated across the strip. It flatters everyone because the colors are bold and the outlines read well even from across the room.
Draw a long strip guideline where the crown will sit, then place a tiny marigold every 1.5 to 2 inches. For each marigold, draw a seed spiral and add 8 to 10 short U petals around it. Add a short stem line below each flower and a tiny leaf on alternating sides. Outline everything with pen, then color each flower with a consistent palette: yellow petals, orange tips, green stems. Leave a small blank margin at the ends so the crown band connects cleanly.
Good to knowColor alternate flowers with slightly different orange intensity so the crown looks intentional, not random.
13. Marigold Bouquet of Three Sizes
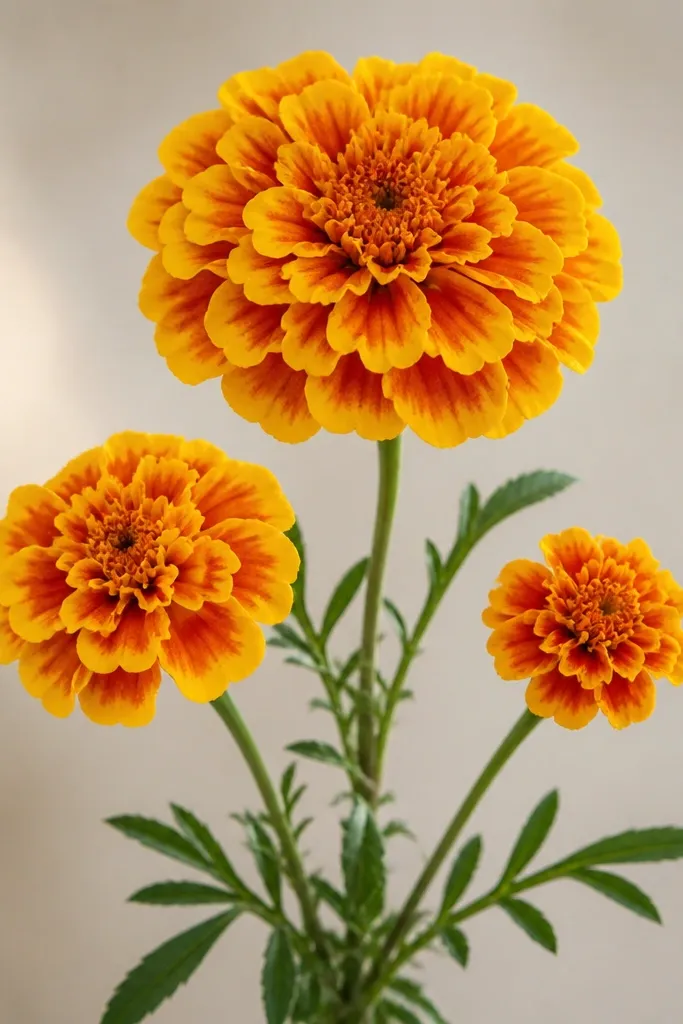
Three sizes make the drawing feel like a bouquet instead of three separate flowers. I do this when kids finish their first flower and get bored — they can reuse the same shapes but scale them. The marigold stays simple: bumpy center plus U or teardrop petals. When you color, the smallest flower gets the brightest yellow, and the largest gets more orange at the outer edges. That contrast makes the bouquet look lively without complicated shading.
Draw three circles in a triangle layout: one big, one medium, one small. For each circle, add the seed head texture and then choose the same petal shape for all three — I use U petals. Make the big flower have 14 to 16 petals, the medium has 12 to 14, and the small has 9 to 11. Add two short stems that meet near the bottom, then add one leaf under the medium flower. Outline everything, then color: yellow near centers, orange toward outer petals, and darker orange around the biggest flower’s outer tips.
Good to knowKeep the stem lines thin compared to the flowers so the flowers stay the focus.
14. Marigold on a Wavy Leaf Plate
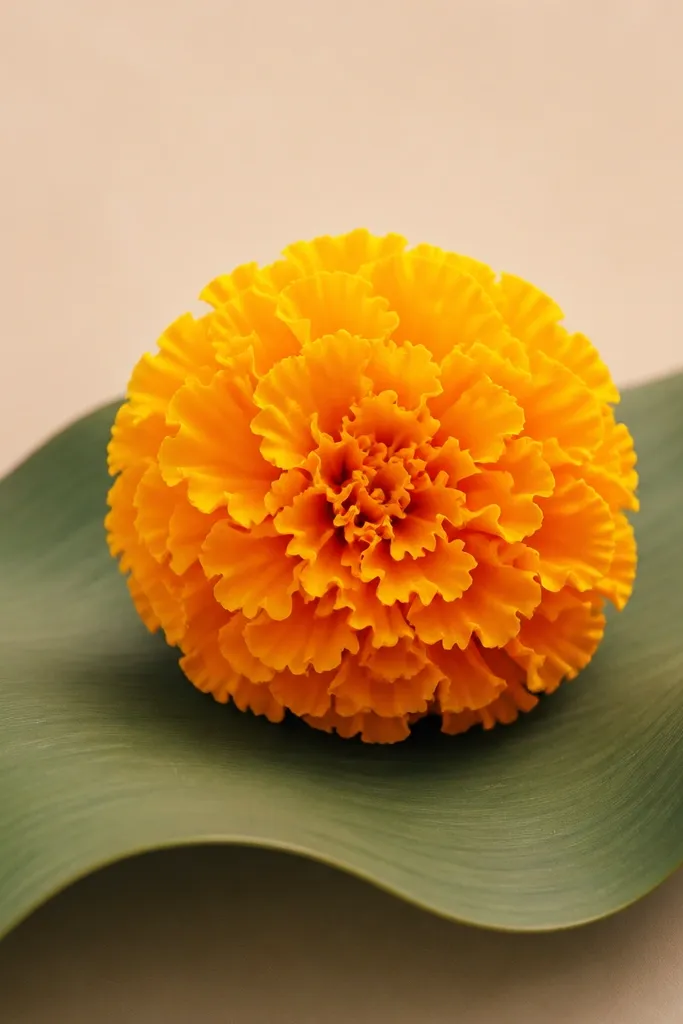
This one gives kids a background shape so the marigold looks placed, not floating. The leaf plate is a big wavy oval, and the marigold sits in the center like a food illustration. It’s also great if you’re making a card front because the leaf shape gives you space to write or add a small message. The flower can be simple: spiral center and one or two rings of U petals. Coloring looks clean because the leaf is a single green tone and the flower does the color work.
Draw a large wavy oval leaf — the edge should ripple like a soft scallop, not a straight oval. Place the marigold center in the middle of the leaf and keep it about half the leaf’s width. Draw a bumpy seed head, then add 12 U-shaped petals around it. Add a second ring with 7 to 9 slightly larger U petals if there’s room, keeping the outer petals inside the leaf boundary. Outline the leaf edge and the flower, then color: green leaf with a slightly darker edge, yellow petals, orange outer tips.
Good to knowAdd one center vein line on the leaf and two side veins — it makes the leaf look intentional even with simple coloring.
15. Mini Marigold Pattern Tiles
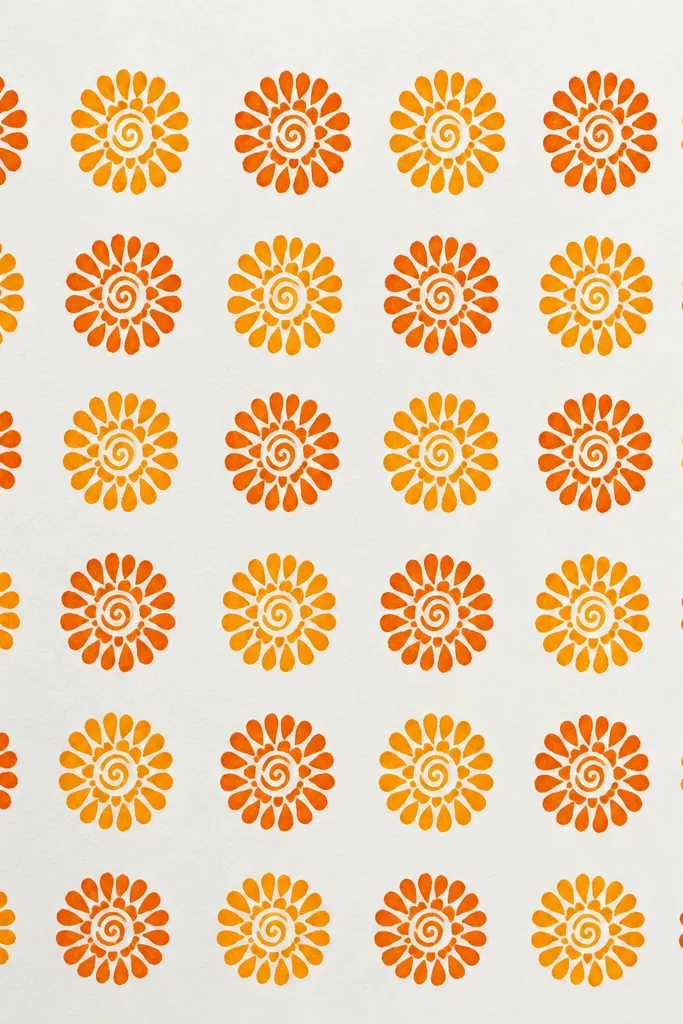
Pattern tiles are the best way to turn “practice drawing” into something pretty. Each marigold is tiny, but together they look like wallpaper. I use this when kids need something structured and they keep asking for “more flowers.” The center spiral stays consistent, and the petals are short comma strokes or tiny teardrops. Color alternates make the whole page look planned, even if each flower has slight differences.
Draw a light grid — 4 by 4 tiles or 3 by 5 tiles works great depending on paper size. In each tile, draw a seed spiral about 0.4 inches wide, then add 8 to 10 comma strokes radiating outward. Keep petals short so they don’t overlap the next tile. Outline with pen and erase any pencil lines that show through. Color with alternating shades: odd tiles use bright orange tips, even tiles use a deeper burnt orange tips, and keep the centers yellow.
Good to knowIf the page looks messy, choose one petal shape for all tiles and commit to it.