
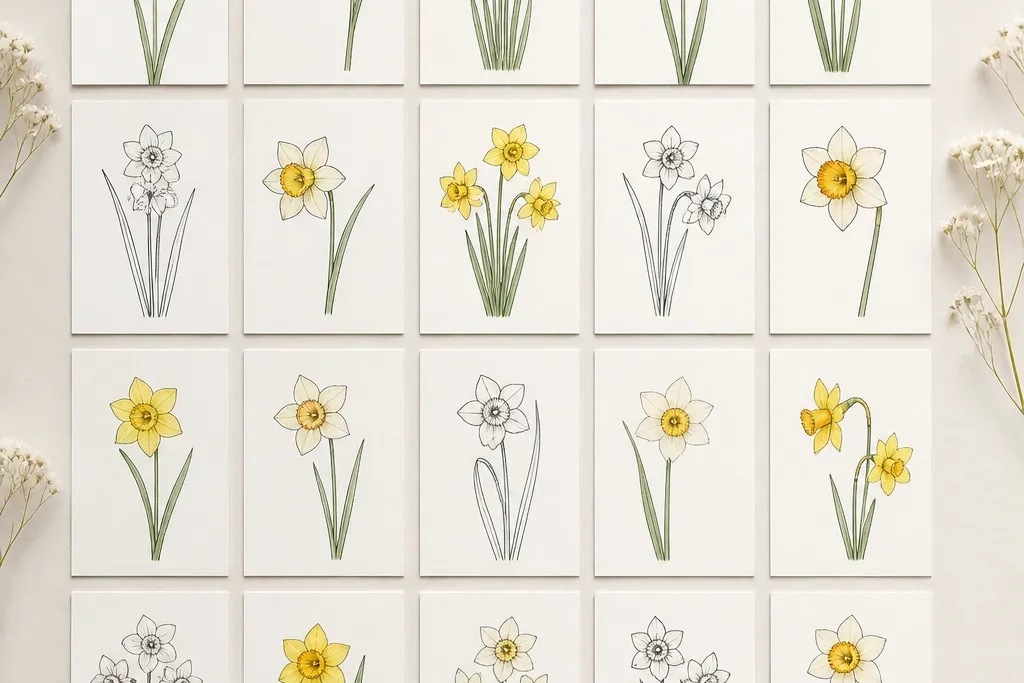
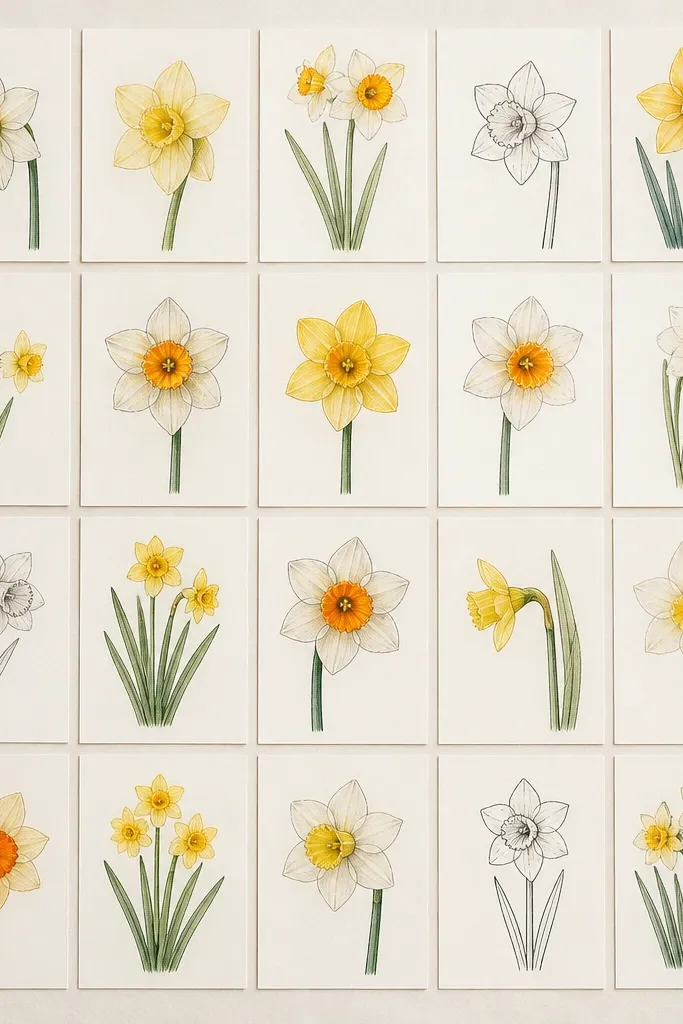
1. Tiny Cup Center Narcissus (Crayon Line + Yellow Fill)
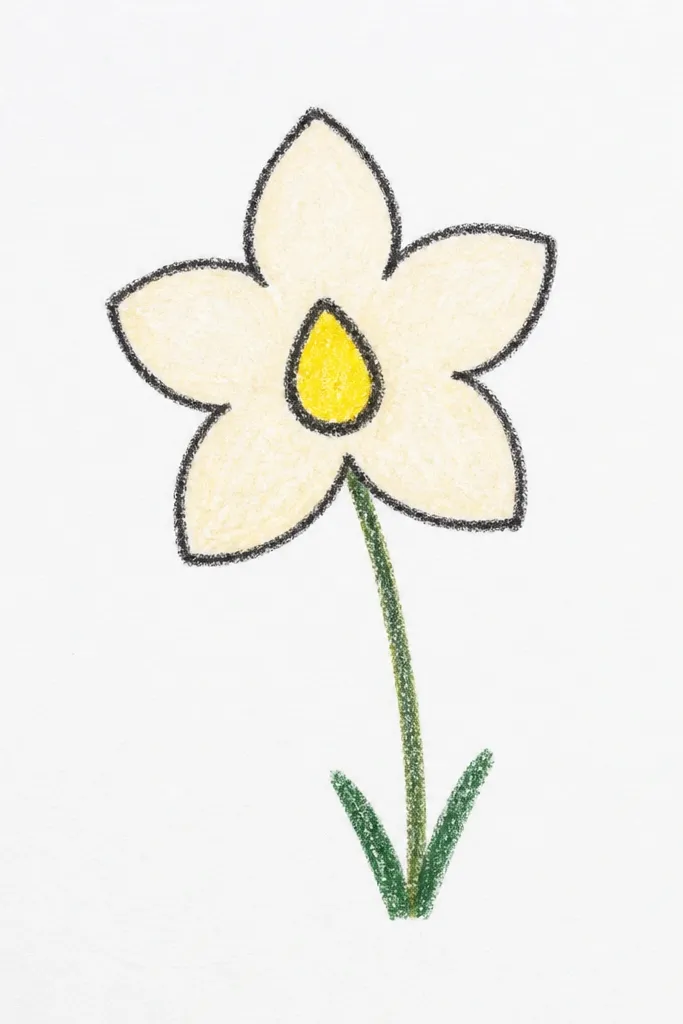
This is the fastest narcissus I’ve taught because the center is small and forgiving. Draw the cup as a tight loop — like a rounded bowl — then color it with a bright yellow crayon (think school-bus yellow, not orange). The petals go around in 5 simple arcs, leaving tiny gaps so the flower doesn’t look flat. Use pale cream or light beige for petals so the yellow center pops. It works well for kids because even messy coloring still reads as a cup, and the clean petal arcs keep the flower recognizable.
Step 1: Draw a small curved cup in the middle — two lines that meet at the top like a rounded “U” with a slight twist. Step 2: Add 5 petal arcs around the cup, all the same size, spaced evenly like a fan. Step 3: Color the center cup solid yellow, then lightly shade each petal with cream, leaving a white highlight strip on each petal. Step 4: Add a single thin stem in green and two short leaves near the bottom. Finally, darken the outlines once with the same crayon so it looks finished.
Use yellow for the cup and keep the petals lighter than you think — the contrast makes it look “real” even with basic coloring.
Don’t color the petals the same yellow as the center or the flower loses its structure.
2. Tall Narcissus with Long Cup and Slim Petals
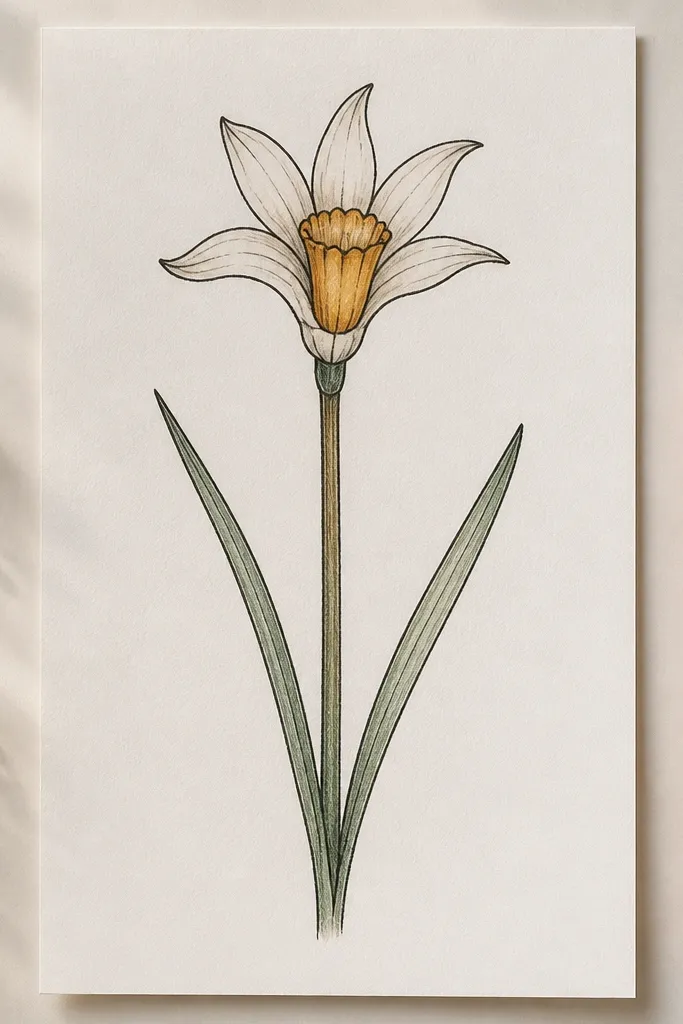
This version flatters drawings that look too short or chubby. A longer cup makes the flower read taller, and slim petals keep it light instead of bulky. I like using soft orange-yellow for the cup and pale yellow for petals, because the cup looks warmer and the petals look airy. It also looks great on kids' pages where you need to fill vertical space — like a worksheet margin or a tall card. For anyone with a heavy hand on shading, this one hides it because the petals are narrow.
Step 1: Sketch a vertical stem line first, then place the cup at the top — draw a narrow bell shape with a slightly flared rim. Step 2: Add 6 slim petal curves around the cup, each starting near the rim and curving outward gently. Step 3: Shade the cup with orange-yellow, then add a light gradient by pressing less on the top rim. Step 4: Color the petals pale yellow or cream, and leave the very center edge almost uncolored so it looks glossy. Step 5: Add two leaves that are thin and slightly curved, not wide.
Good to knowIf your petals look uneven, count them out loud (1-2-3-4-5-6) while you draw so spacing stays consistent.
Common mistakeAvoid thick, fat petals — they make the tall cup look like a hat.
3. Side-Facing Narcissus (Cup Profile View)
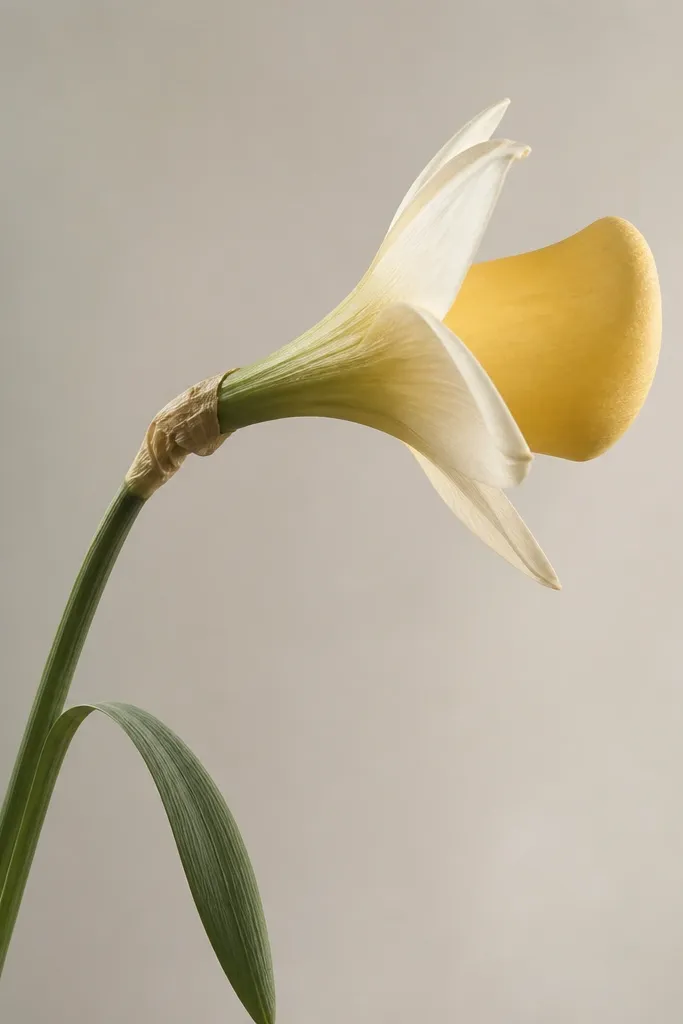
Side views make kids feel like they’re doing “real art,” not copying a symbol. The trick is changing the cup from a front bowl into a crescent profile so the flower looks turned. I use a light gold for the cup and pale cream for petals, and the overlap lines behind the center create depth. This one looks good on brown paper too, because the warm gold reads even with minimal coloring. It suits anyone who wants variety on a single page without changing the whole drawing style.
Step 1: Draw the stem curve first, then place the cup as a crescent on the side of the top — a thick arc with a rim line. Step 2: Add 4 petal arcs that overlap behind the cup, with the front edges slightly longer than the back ones. Step 3: Trace the outline with a marker so the profile shape is crisp. Step 4: Color the cup light gold, then lightly color the nearest petal edges cream, leaving the far petals lighter. Step 5: Add one leaf that points down and one short line indicating a stem shadow.
Shade the far side of the petals one shade lighter than the near side to sell the turn.
Don’t keep a front-facing cup oval in a side view — it looks stuck-on.
4. Narcissus Bouquet Trio (Three Flowers, One Stem Base)
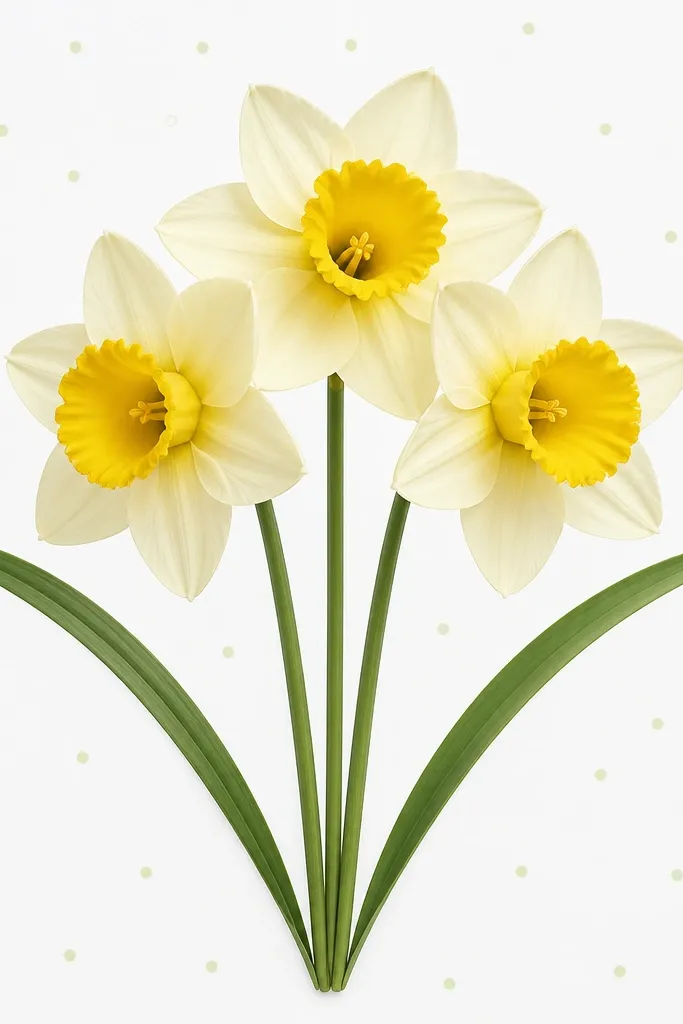
A trio is my go-to when kids finish too fast. You teach them that one flower pattern repeats, but the bouquet still looks “designed” because stems group together. Keep the flowers different sizes — one small, one medium, one slightly taller — and the bouquet feels natural. I use bright yellow for the cups and pale cream for petals, then add a few green dots behind the flowers to fake pollen specks. This looks great on a card because the base stem gives you a visual anchor.
Step 1: Draw a “Y” shape for the stems that meet at one point near the bottom. Step 2: Place three cups at the ends of the stem branches — small cup for the smallest flower, larger for the center flower. Step 3: Add 5 petal arcs around each cup, matching the petal size to the flower size. Step 4: Color cups bright yellow and petals cream, then add a tiny orange-brown line at the cup rim for depth. Step 5: Add two leaves that overlap the stems slightly, then dot a few light green circles in the background.
Good to knowVary flower heights by 1 inch (on your page) so the bouquet doesn’t look like a sticker sheet.
Common mistakeAvoid drawing all three cups the same size — it reads flat and toy-like.
5. Marker-Only Narcissus (No Shading, High Contrast)
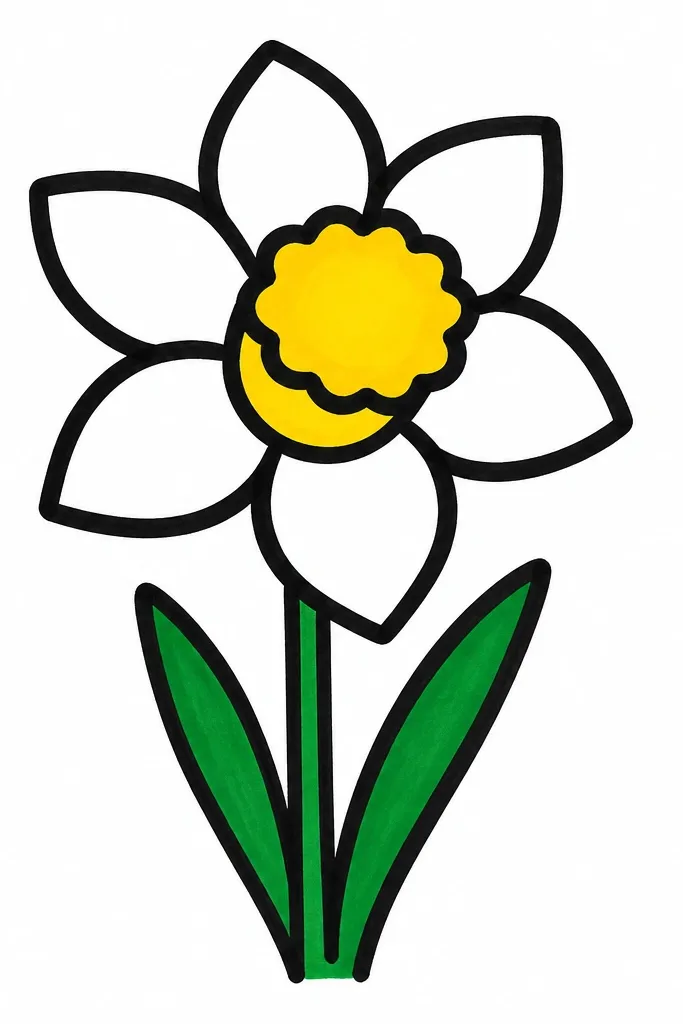
This is the drawing idea I use when someone’s coloring gets messy or time runs short. High-contrast marker outlines make the shape read instantly, even without shading. Fill only the cup in yellow, and leave petals white with the outline — that creates a crisp, graphic look. It’s also a great option for kids who press too hard with crayons; marker fill stays controlled. The result looks modern and intentional, not unfinished.
Step 1: Draw the cup as a rounded bowl shape in the center and outline it thick with black marker. Step 2: Add 5 petal arcs around the cup, keeping each petal line smooth and similar thickness. Step 3: Fill the cup completely with yellow marker, staying inside the black outline. Step 4: Add a thin green stem line and two leaf shapes using short curved strokes. Step 5: Go back once to thicken the cup rim and petal outer edges so it looks crisp.
Good to knowIf your marker bleeds, test on scrap paper first and let the page dry flat before adding green.
Common mistakeDon’t fill the petals — it turns into a blob when kids color outside the lines.
6. Pencil Sketch Narcissus with One Soft Wash
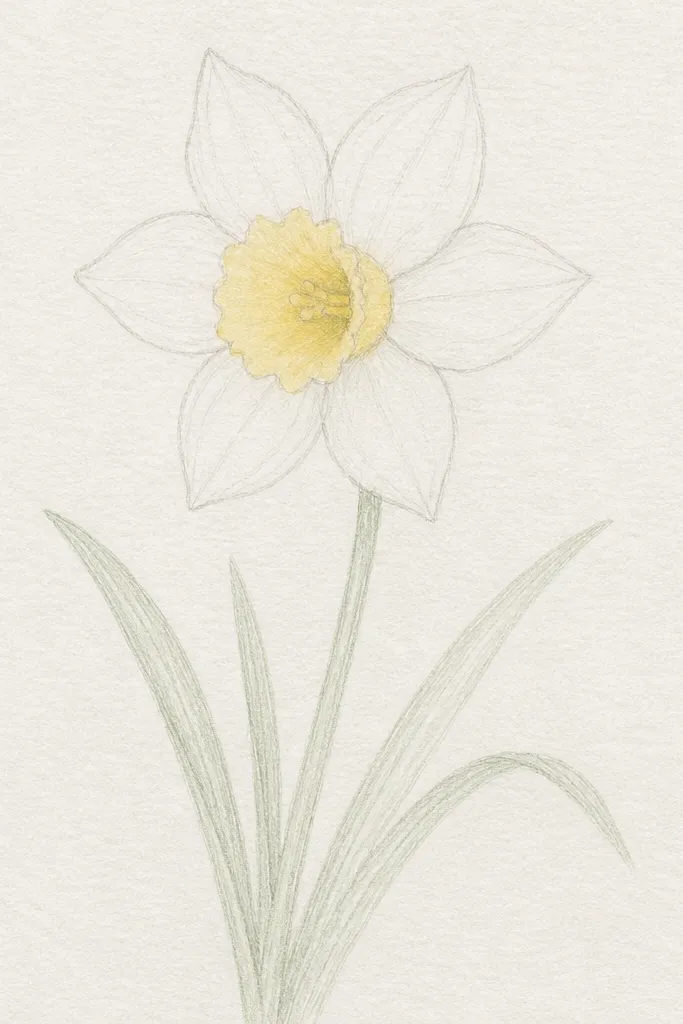
If you want it to look grown-up without taking hours, this is it. You keep pencil lines light, then add one controlled wash to the cup only. The wash spreads just enough to look organic, while the petals stay clean and airy. Textured paper matters here - it holds the wash and creates a gentle speckled edge. This version flatters anyone who wants a calm, gentle look instead of loud coloring.
Step 1: Lightly sketch the cup and 5 petal arcs with a 2H or HB pencil so you can erase easily. Step 2: Mix a very light yellow (school watercolor or diluted paint) and paint only the cup interior with a small brush. Step 3: Leave the petals unpainted, then add a pale green pencil stem and leaves. Step 4: Let the wash dry fully, then erase any pencil smudges around the cup rim. Step 5: Add one darker pencil line along the cup rim for definition.
Dilute your yellow until it looks like lemonade — strong paint pools and ruins the cup shape.
Don’t waterpaint the petals too — it blurs the petal arcs and makes it harder to read.
7. Crayon Resist Narcissus (Watercolor Over Wax)
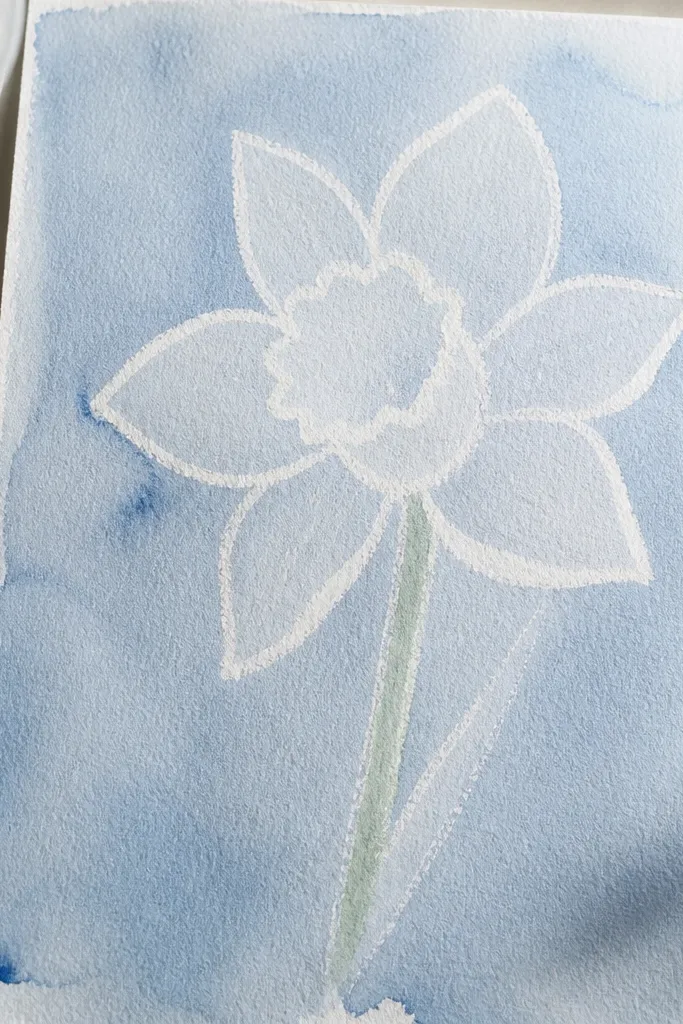
This one looks magical because the flower appears as a clean white shape after painting. Kids love it, and it’s still simple because you only need one watercolor wash color. The cup and petal outlines stay crisp because the wax blocks the paint. I’ve done it with pale blue and pale lavender; both make the narcissus feel like spring air. It also works for teen or adult beginners because you don’t have to blend — you just paint the background and let the resist do the work.
Step 1: Draw the narcissus with white crayon — cup shape, 5 petal arcs, then a simple stem and two leaves. Step 2: Color the cup area faintly with yellow crayon if you want a hint of warmth, then press lightly. Step 3: Paint over the whole page with a light blue watercolor wash, starting at the top and working down. Step 4: Keep the edges of the wash wet but not dripping so the flower stays defined. Step 5: After it dries, trace the cup rim and petal outlines with a yellow marker or colored pencil to bring back the flower details.
Good to knowUse thick crayons, not sketchy thin ones — wax coverage matters for clean resist lines.
Common mistakeDon’t press too hard on the wax — deep grooves make watercolor puddle.
8. Circle Template Narcissus (Perfect Petals for Kids)
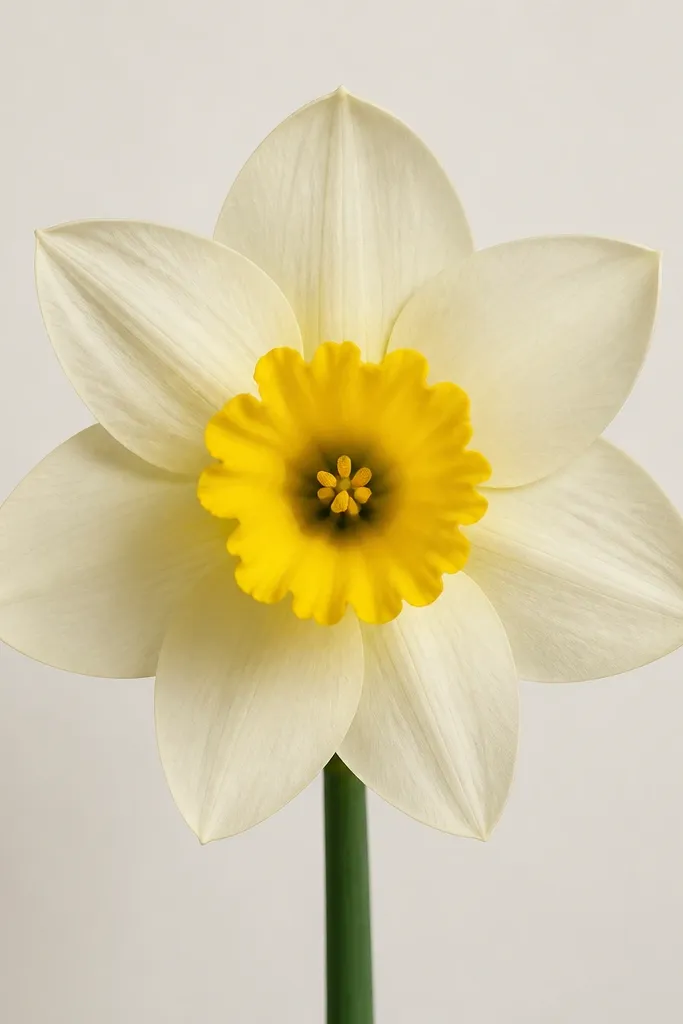
When kids struggle with spacing, templates fix it fast. You’re not making a “perfect” flower for show — you’re giving their hands a map so the result looks intentional. The petals become evenly spaced arcs because each petal starts at a marked point around the circle. I use this when a kid’s petal arcs drift too close together. It’s also a great way to teach symmetry without lectures.
Step 1: Draw a light pencil circle about 3 inches wide where the petals will go. Step 2: Mark 6 evenly spaced points around the circle with tiny dots. Step 3: Draw the cup in the middle — a rounded bowl with a rim line. Step 4: From each dot, draw a petal arc outward and slightly upward, then connect the petal base to the cup rim. Step 5: Color petals cream and cup yellow, then draw a green stem line from the circle bottom and add two leaves.
Good to knowIf you don’t have a compass, trace a roll of tape or a small cup for the circle shape.
Common mistakeAvoid dark template lines — erase the circle marks before final coloring.
9. Narcissus with Side Dots Background (Pollen Look)
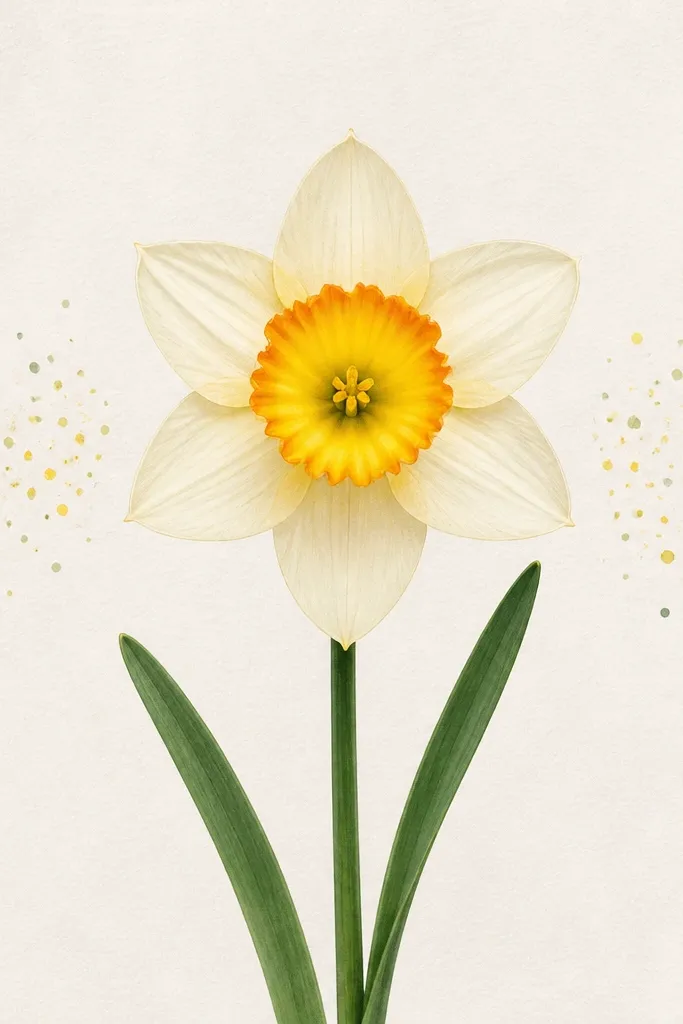
The background dots make the drawing feel finished without extra flowers. I’ve used this style in classrooms because it’s easy for kids and still looks designed. The trick is keeping dot size tiny and concentrated near the flower, not all over the page. Use greenish-yellow dots for a spring pollen vibe, then a few darker yellow dots inside the cup area. This one looks good on plain white paper and also on heavier drawing paper.
Step 1: Draw the narcissus normally: cup first, then 5 petal arcs. Step 2: Color the cup yellow and add a thin orange-brown rim line with a colored pencil. Step 3: Lightly shade petals cream and add a few short pencil lines on each petal to suggest texture. Step 4: Dot the background — cluster small circles to the left and right of the flower, keeping them within a half-inch radius. Step 5: Add a thin green stem and two leaves, then darken the flower outline once.
Use the tip of a colored pencil for dots — it gives you crisp circles without blobs.
Don’t scatter dots across the whole page or it turns into noise.
10. Narcissus Line Art Only (Adult Card Style)
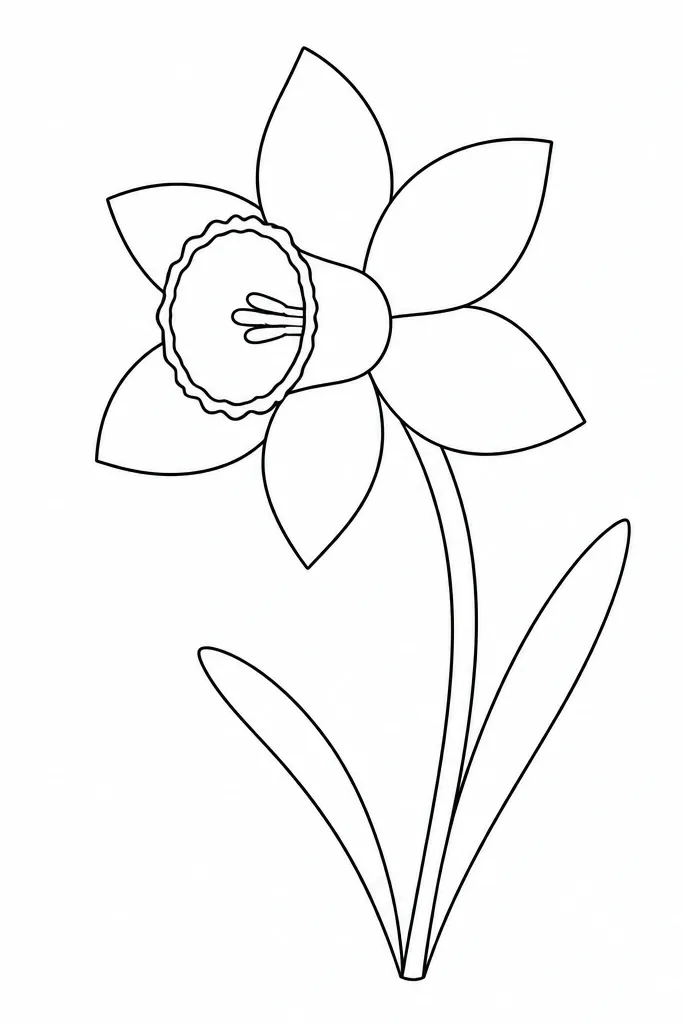
Sometimes you want the flower to look like it belongs on a store-bought card. Line art only gives that effect, and narcissus works especially well because the cup has a clear silhouette. Keep your outlines consistent — one line thickness. I use a 0.5 fineliner for the petals and a slightly thicker 0.8 for the cup rim so it reads clearly. This works for adults and older kids who can control a pen. It also looks great when you add a single color later, like a yellow dot in the cup.
Step 1: With a fineliner, draw the cup first as a rounded bowl with a second rim line inside it. Step 2: Add 5 petal arcs around the cup, each with a smooth curve and a slight taper at the ends. Step 3: Draw a curved stem line from the base and add two leaves as thin ovals attached to the stem. Step 4: Go back to thicken only the cup rim and the outer edge of the top petals. Step 5: Leave everything else unfilled so the negative space stays clean.
Good to knowUse a kneaded eraser to lift pencil marks before you ink so you don’t get gray smudges under the pen.
Common mistakeAvoid sketchy repeated strokes on every petal — it looks messy fast.
11. Narcissus Cup Inside a Heart Shape (Sweet Kid Valentine)
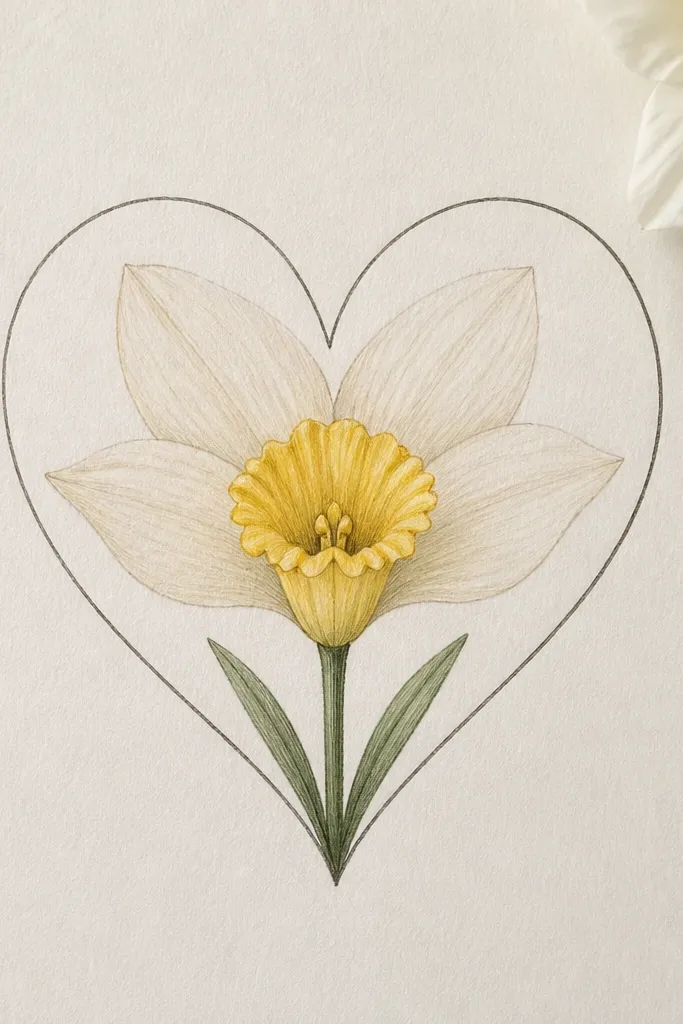
This is a cute twist that still reads as narcissus because the cup and petal arcs stay intact. The heart frame gives kids an easy boundary, which makes the drawing feel confident. I’ve done it for Valentine cards with 7-year-olds and the results look intentional even when the petals vary. Use warm yellow for the cup and pale cream for petals so it stays spring-like. This also flatters small spaces — you can fit one flower per card front.
Step 1: Draw a heart outline about 4 inches tall, then lightly mark the center. Step 2: Place the cup in the middle of the heart — rounded bowl with a rim line. Step 3: Draw 5 petal arcs that follow the heart’s top curve, keeping petals mostly inside the heart. Step 4: Color the cup yellow and petals cream, leaving the heart outline uncolored. Step 5: Add a small stem from the heart bottom point and two tiny leaves angled outward.
Good to knowKeep the heart outline thin so it doesn’t overpower the flower.
Common mistakeAvoid coloring the heart background red — it competes with the yellow cup.
12. Narcissus with Patterned Petals (Dots or Stripes)
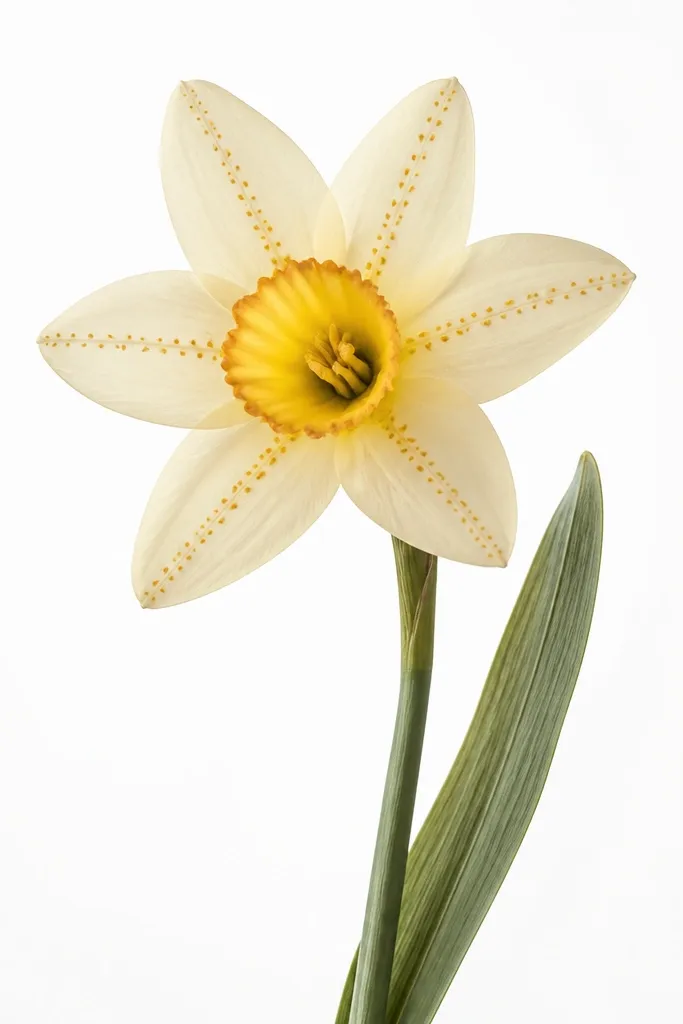
Patterned petals make the drawing look custom without making it complicated. You draw the narcissus shape normally, then add a simple pattern inside each petal — dots or thin stripes. I like dots because kids can do them with a pencil tip or marker cap. The key is pattern placement: keep it near the center of each petal and fade it toward the tips so petals still feel soft. This is a great idea for older kids who want to “decorate” but still need the flower structure to guide them.
Step 1: Draw the cup first and outline 5 petal arcs around it. Step 2: Color the cup solid yellow and add a thin darker rim line. Step 3: Color petals cream, then add dots along the inner half of each petal using an orange-brown pencil. Step 4: Add a few short leaf veins on the leaves so they match the patterned style. Step 5: Trace the main outline again in black or dark brown so the patterns don’t look faded.
Good to knowUse a marker cap to make uniform dots — press lightly so you don’t tear paper.
Common mistakeDon’t fill the entire petal with dots — it turns into a textured scribble.
13. Narcissus in a Simple Mug Vase (Kids' Still Life)
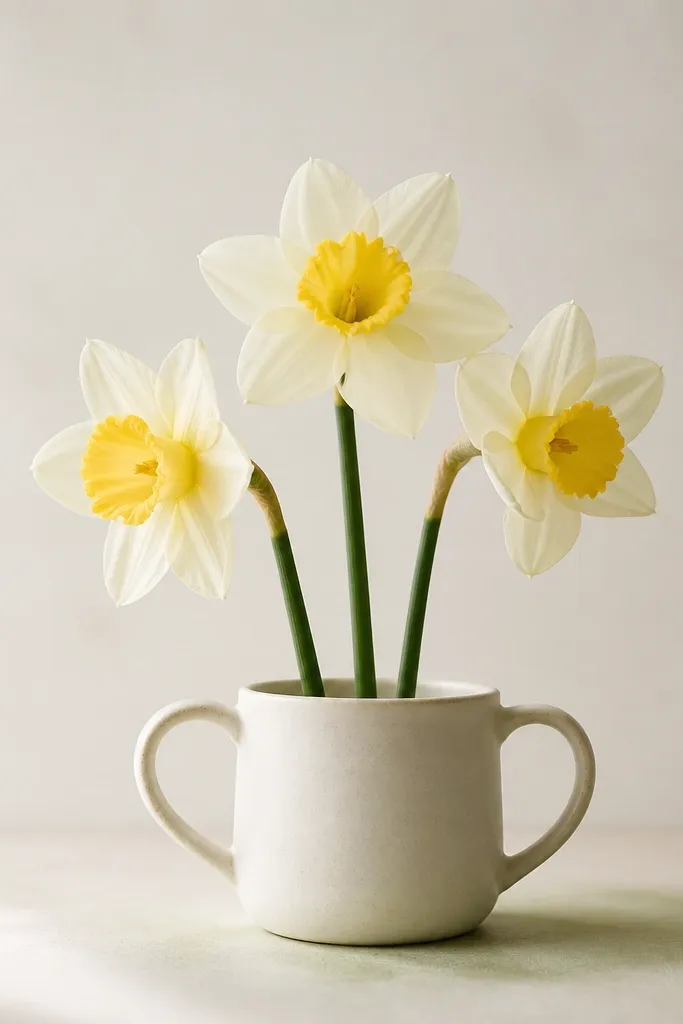
Adding a mug turns a single flower into a whole scene. Kids draw the cup and petals, then suddenly it looks like a real picture because the vase gives scale and context. I use a basic mug outline — two vertical sides, a slight lip, and two handle lines — so it’s easy. The flowers look cohesive when you keep the stem thickness consistent and angle the stems slightly toward the center. This is great for budget paper because you don’t need fancy materials; a few solid color blocks do the job.
Step 1: Draw the mug first — a rounded rectangle body with a lip line and two handle arcs. Step 2: Draw 2 or 3 stems rising from the mug opening, slightly different heights. Step 3: Add one narcissus on each stem end, using the same cup and 5 petal arcs. Step 4: Color cup yellow, petals cream, and mug a neutral gray or light brown. Step 5: Add a soft green shadow under the mug and a couple of leaf lines near the base.
Shade inside the mug opening with a light gray pencil so the flowers look like they’re actually inside.
Avoid drawing the mug after the flowers with no overlap — it looks pasted on.
14. Narcissus with Water Droplet Highlights (Glossy Look)
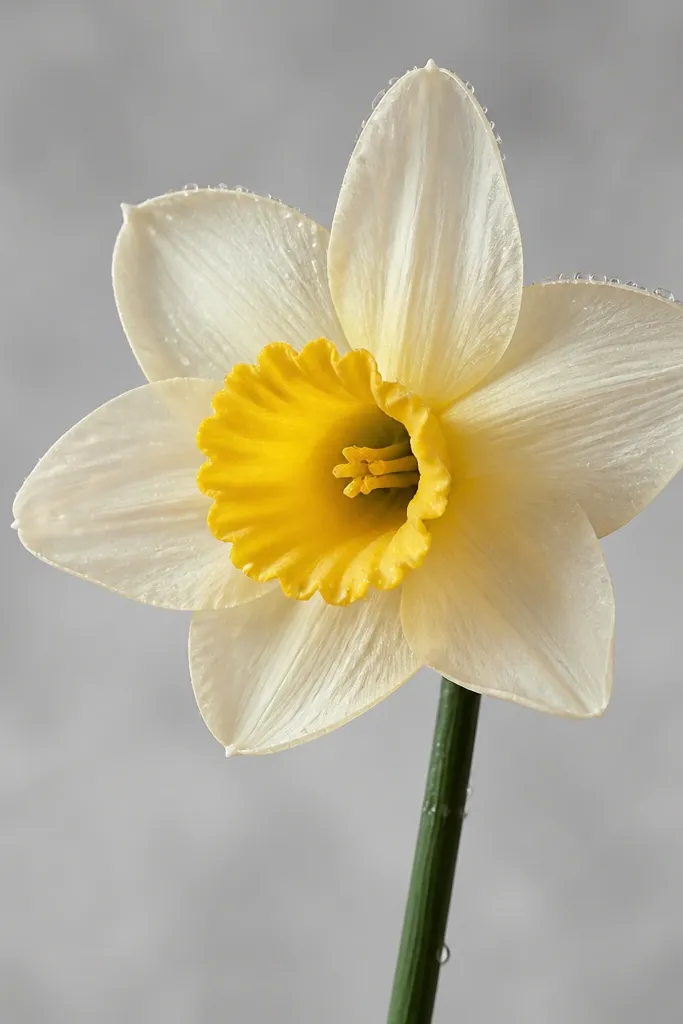
Glossy highlights make a simple narcissus look like it’s fresh after rain. You don’t need fancy paint effects — just white gel pen or white crayon. Place highlights where light would hit: on the upper rim of the cup and along the outer edge of 1-2 petals. The gray wash background makes the highlights pop. This is a great idea for older kids and adults because it rewards careful placement, and the result looks “finished” fast.
Step 1: Draw the narcissus with dark outline, then color the cup yellow and petals cream. Step 2: Shade the cup rim with a faint orange-brown pencil to show depth. Step 3: Add a light gray wash background with watercolor or watered-down gray pencil shading. Step 4: After everything dries, add 3-5 white teardrop highlights with a white gel pen on the cup and one petal edge. Step 5: Add 2 small water droplets on the stem with the same gel pen, then outline the droplet edge lightly with green pencil.
Good to knowLet gel pen dry fully before you press down again or you’ll smear it.
Common mistakeDon’t add highlights all over the flower — a few placed ones look realistic.
15. Narcissus Side-by-Side with One Bud (Beginner-Friendly Growth)
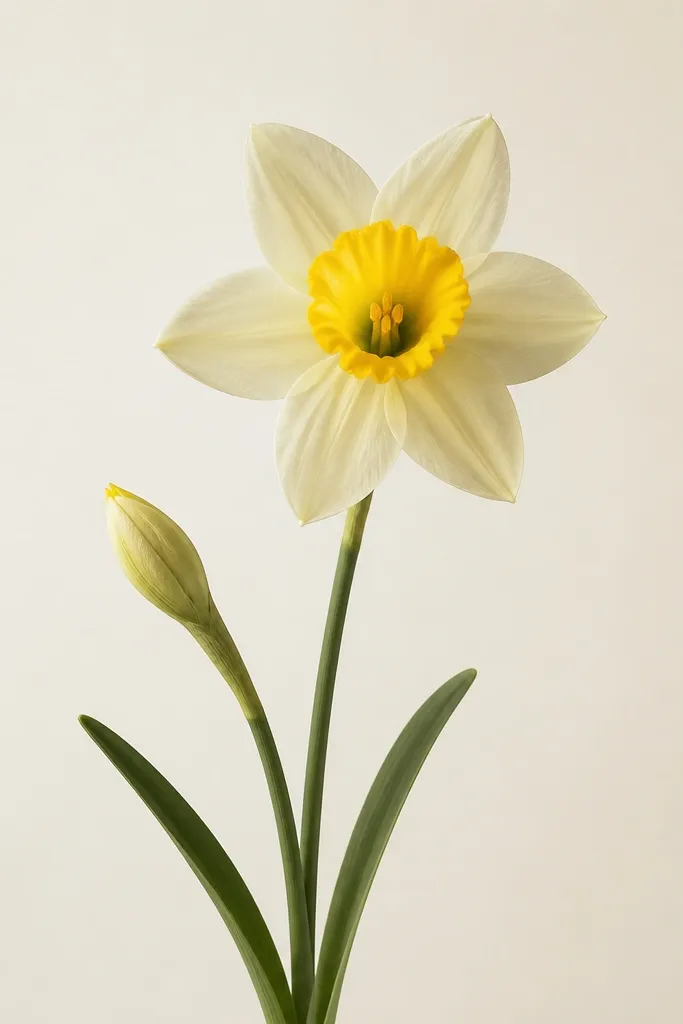
This idea teaches growth without adding complexity. The bud is just a simpler cup shape, so kids can reuse the same muscle memory as the open flower. I like placing the bud slightly lower and to the side so the composition feels natural. Use the same yellow tone for the bud tip so it connects visually to the open flower. This works great for kids who want more than one element but still feel overwhelmed by “extra flowers.”
Step 1: Draw a main stem line, then sketch the open flower position near the top and the bud position below. Step 2: Draw the open narcissus first: cup bowl in the center and 5 petal arcs around it. Step 3: Draw the bud as a smaller rounded cup or a tight oval with a hint of rim line. Step 4: Color the open cup yellow and petals cream, then color the bud tip lightly yellow. Step 5: Add two leaves near the base and a few short stem lines to show direction.
Keep the bud smaller by about half the height of the open flower so it reads clearly as a bud.
Don’t give the bud full petals — it stops reading as a bud.
16. Narcissus with Soft Shading Using Colored Pencil Only
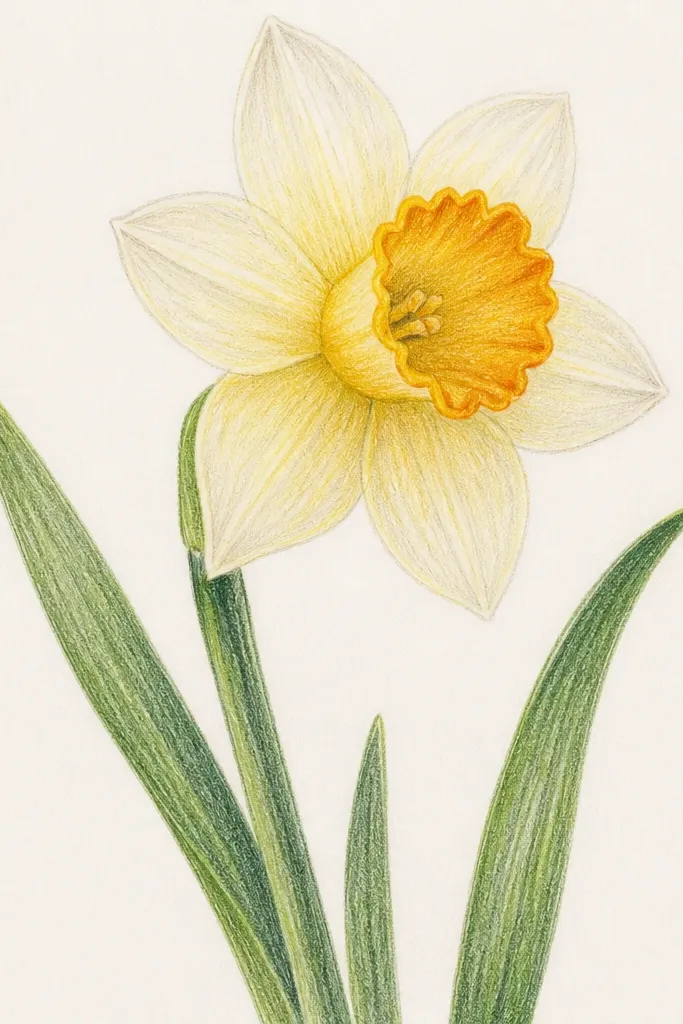
Colored pencil layering makes narcissus look delicate instead of flat. I like this version when you want a smoother, more realistic look without watercolor. The cup gets the most shading because it’s the focal point — shadow one side, then blend lightly toward the center. Petals get only a base shade near where they meet the cup, leaving most of the petal pale. This flatters drawings for both kids and adults because it’s forgiving: you can build color gradually.
Step 1: Outline the cup and 5 petals lightly with a dark pencil. Step 2: Color the cup base in light yellow, then add orange-brown shading along one inner edge. Step 3: Blend with a lighter pencil by gently stroking from the shaded edge toward the center of the cup. Step 4: Shade each petal near the base with light yellow, then leave the tips mostly cream. Step 5: Color stem and leaves in two greens — a light green for the main leaf and a darker green along the vein.
Good to knowUse the side of the pencil for petals and the tip of the pencil for the cup rim line.
Common mistakeAvoid pressing hard early — it makes pencil marks tough to erase.
17. Narcissus with Thick Outline + Pastel Fill (Sticker Look)
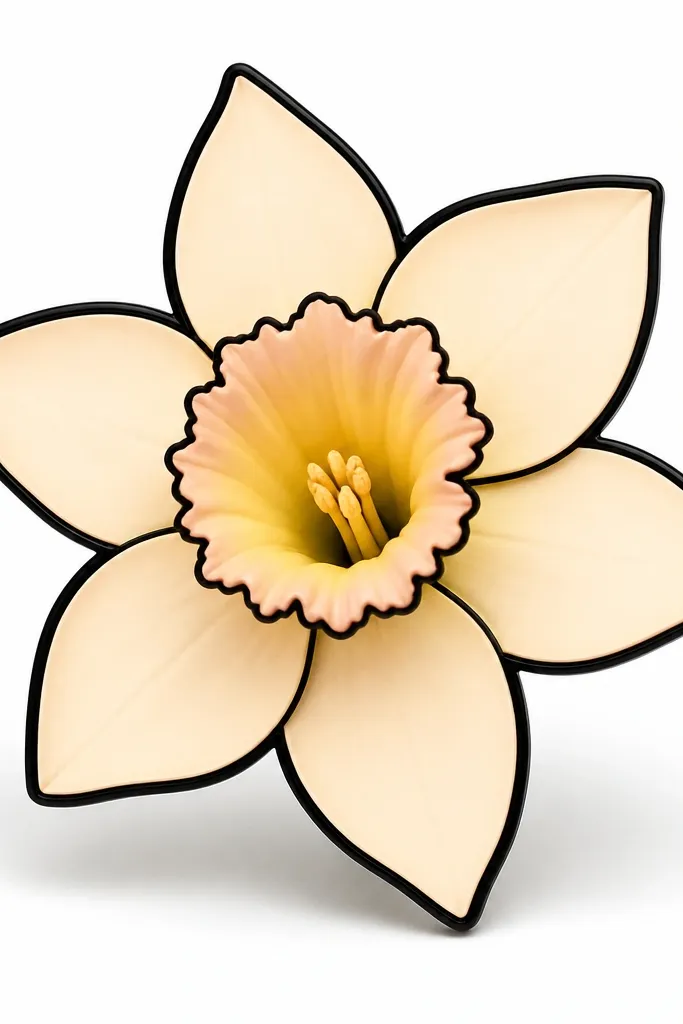
This is the “printable sticker” look I’ve seen work best for kids who like bold lines. Thick outlines keep the flower readable, and pastel fills make it feel soft instead of harsh. I use a tiny pink-brown tint at the cup rim because it mimics the natural warmth you see in narcissus centers. The faint gray shadow under the flower gives dimension without needing realism. It’s also a nice option for birthdays or party cards where you want cheerful, not sketchy.
Step 1: Draw the cup and petals with a dark marker, making the outline thicker than usual. Step 2: Fill the cup pastel yellow, then add a small pink-tan rim shade near the top. Step 3: Fill petals in pale peach-cream, keeping the color smooth with short strokes. Step 4: Add a green stem and two leaves, then draw a faint gray oval shadow beneath the flower. Step 5: Go over the outline once more where the petals meet the cup so the junction looks clean.
If you don’t have pastel colors, mix yellow with a tiny bit of orange or brown in colored pencil until it looks soft.
Don’t leave gaps in the marker outline at the cup rim — the flower looks like it’s breaking apart.
18. Narcissus Patterned Background Stripes (Easy Design Page)
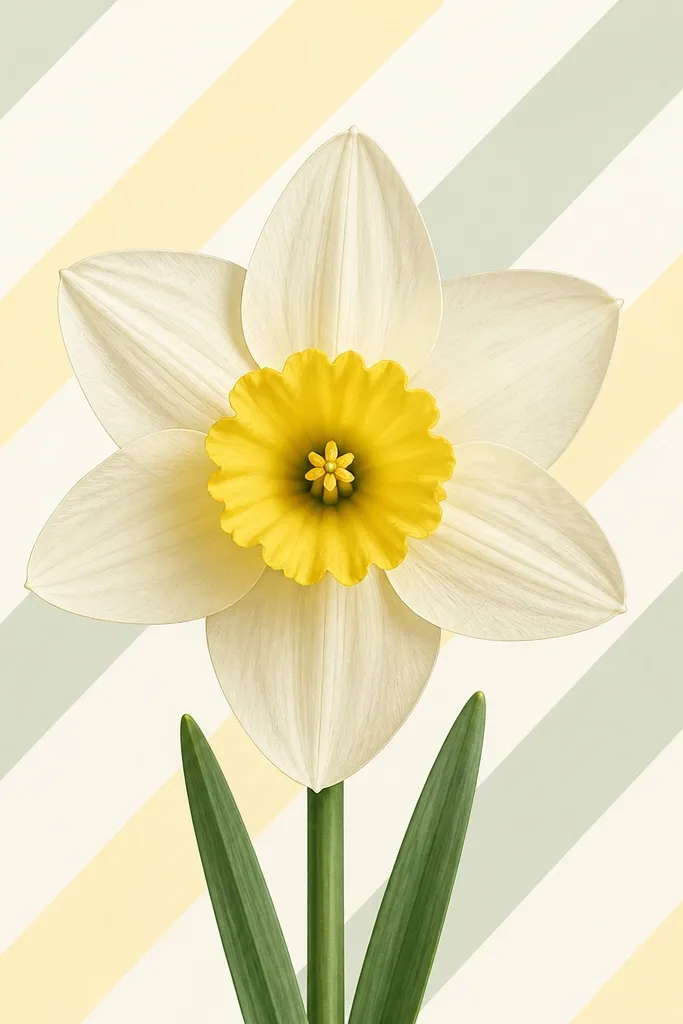
Background stripes turn a single narcissus into a full design page. The flower stays simple, and the stripes add energy without extra drawing. I keep the stripes light so they don’t compete with the yellow cup. This works especially well for kids because they can draw the narcissus first, then fill the background with ruler-guided stripes. For a more finished look, leave the flower area blank while you stripe around it.
Step 1: Draw the narcissus in the center — cup and 5 petal arcs, plus a stem and two leaves. Step 2: Use a ruler to draw faint diagonal lines across the background, staying at least 0.5 inches away from the flower edges. Step 3: Color alternating stripes pale green and pale yellow with colored pencil or crayon. Step 4: Color the cup bright yellow and petals cream, then add a darker rim line on the cup. Step 5: Erase any stripe marks that got too close to the flower outline and darken the flower outline once.
Good to knowMake the stripes wider than your petal width so the background doesn’t look too busy.
Common mistakeAvoid coloring stripes over the flower outline — it makes edges disappear.
19. Narcissus in Glass Jar Frame (Kids' Craft Card)
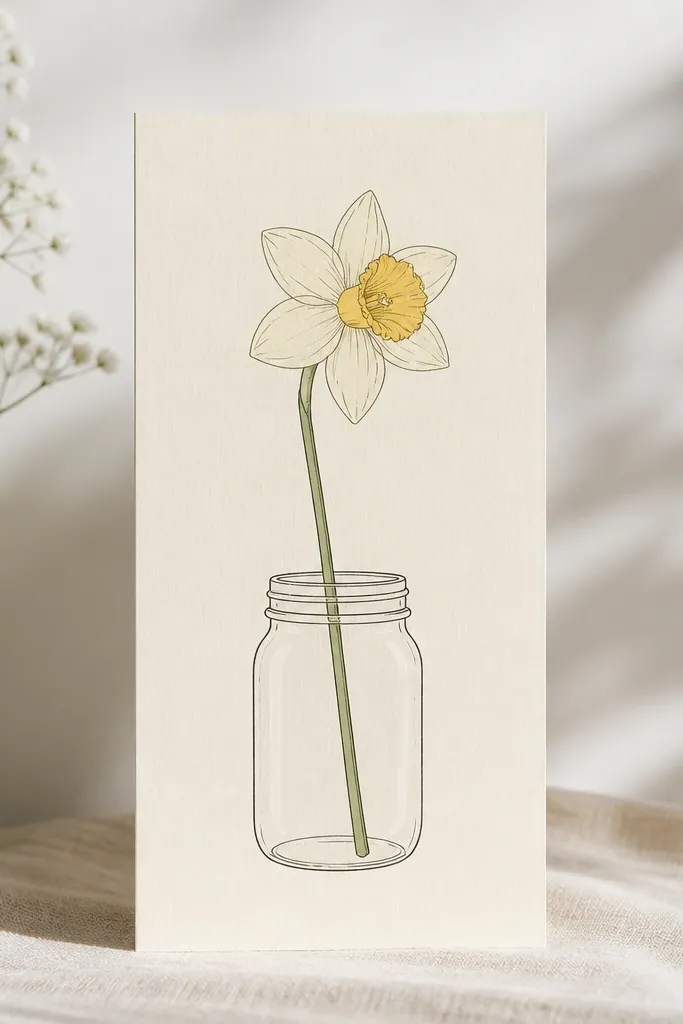
A jar frame makes the drawing look like a handmade card you’d actually send. The jar is simple geometry: rectangle outline, lid line, and a couple of highlight curves. Those highlights are the part that makes it feel like glass, even when the flower is basic. This is great for kids because it gives them a “structure” to fill, and the narcissus still stays the star. It also works for adults who want a satisfying project in one sitting.
Step 1: Draw a tall rectangle as the card border, then outline a jar inside with rounded corners and a lid line near the top. Step 2: Draw the narcissus stem inside the jar, then place the cup at the top of the stem. Step 3: Add 5 petal arcs around the cup and color cup yellow, petals cream. Step 4: Add 2-3 curved highlight lines on the jar by leaving them white, then lightly shade the jar sides with light gray pencil. Step 5: Add a thin shadow line at the jar base and two small leaf lines near the stem.
Good to knowShade the jar sides lightly, but keep the highlight lines untouched so the glass reads instantly.
Common mistakeDon’t fill the jar with solid gray — it turns into a block and flattens the scene.
20. Narcissus with Cup Rim Speckle (Pencil Texture)
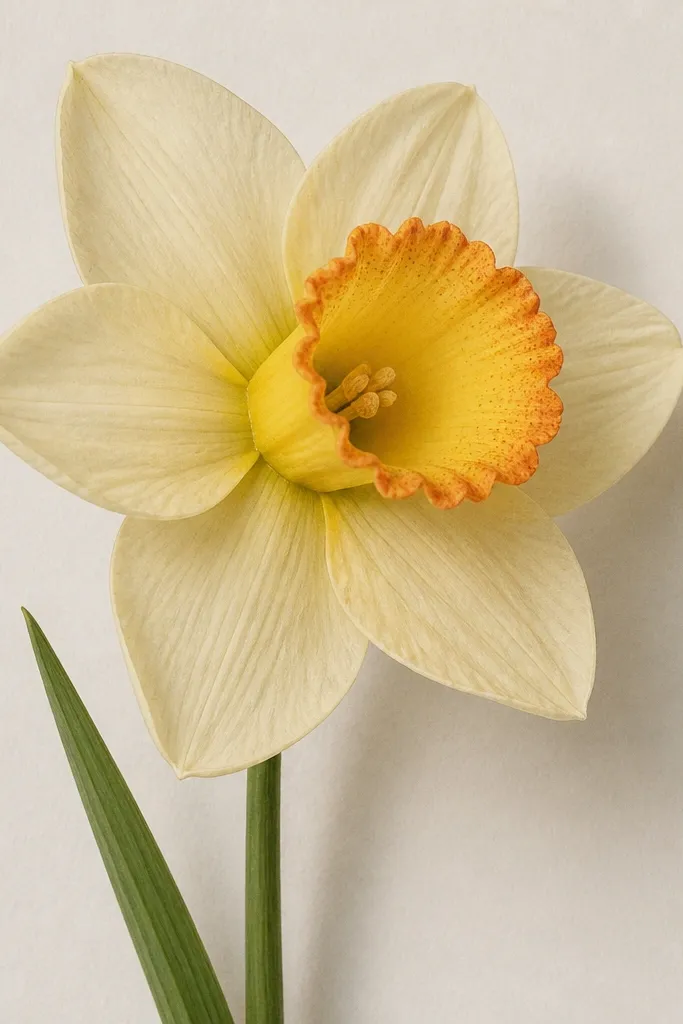
Speckling the cup rim gives narcissus that “tiny detail” look without needing complicated coloring. I do this with colored pencil because it’s controllable and doesn’t bleed. The petals stay simple and pale, while the cup gets textured along the rim and inside edge. This works for kids who like dots but want them in a meaningful place. It also flatters close-up compositions because the viewer’s eye lands on the rim speckles first.
Step 1: Draw the cup as a rounded bowl and outline the rim with a dark pencil or marker. Step 2: Add 5 petal arcs around the cup, then keep petals mostly unshaded except near the base. Step 3: Color the cup yellow, then add an orange-brown rim band. Step 4: Use a darker pencil to add tiny speckles along the rim — keep them small and clustered, not across the whole cup. Step 5: Color stem green and add one leaf with a visible vein line.
Good to knowTest your speckle size on scrap paper first so it matches your petal scale.
Common mistakeDon’t speckle the entire cup flat — keep it mostly on the rim.



