
1. Oxeye Daisy in a Tight Circle
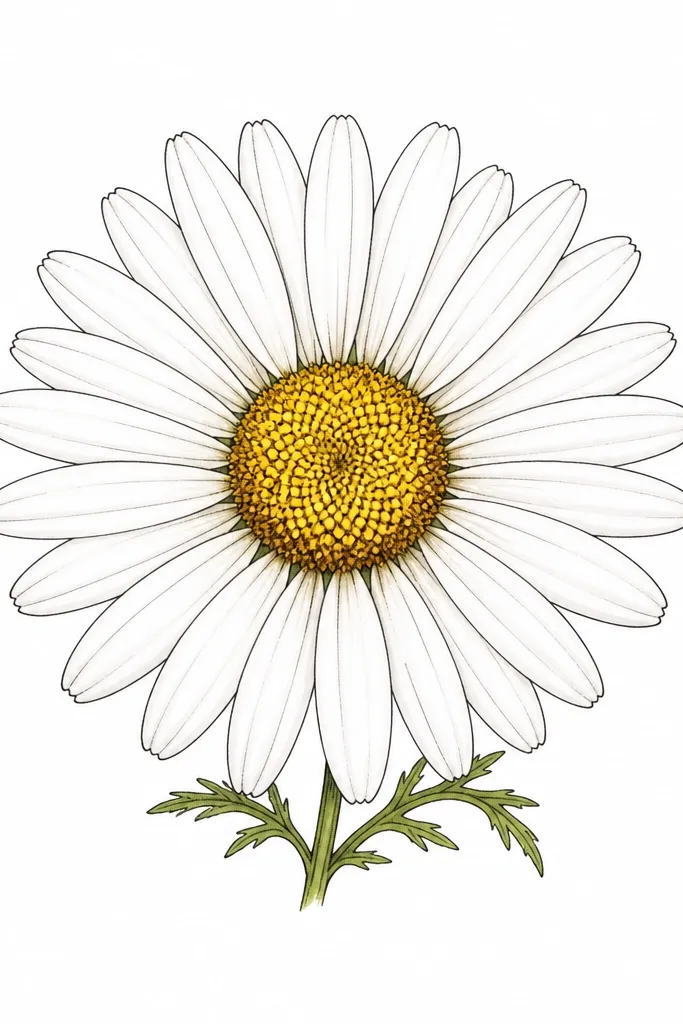
Draw the oxeye daisy like a clock face. The center is a small circle with a darker ring around it, then your petals sit evenly spaced like thin teardrops. I like this one for kids because it forgives uneven petal spacing — the daisy still reads as “daisy.” For color, keep the center warm honey (burnt sienna mixed with a touch of yellow) and leave the petals mostly white with just a faint gray shadow at the base.
Good to knowColor the center first, let it dry 2 minutes, then add tiny dot marks around the ring for texture.
Start by sketching a small circle for the center, then add a second ring around it. Place 12-16 petals using the same teardrop shape — each petal starts at the ring and points outward. Outline the petals with a fineliner, then shade only the petal bases with a light pencil or diluted gray wash. Finish by adding two tiny leaves under the head, one on each side, so the flower doesn’t look floating.
Common mistakeDon’t shade the whole petal — it turns flat and gray fast.
2. Buttercup with Rounded Petals
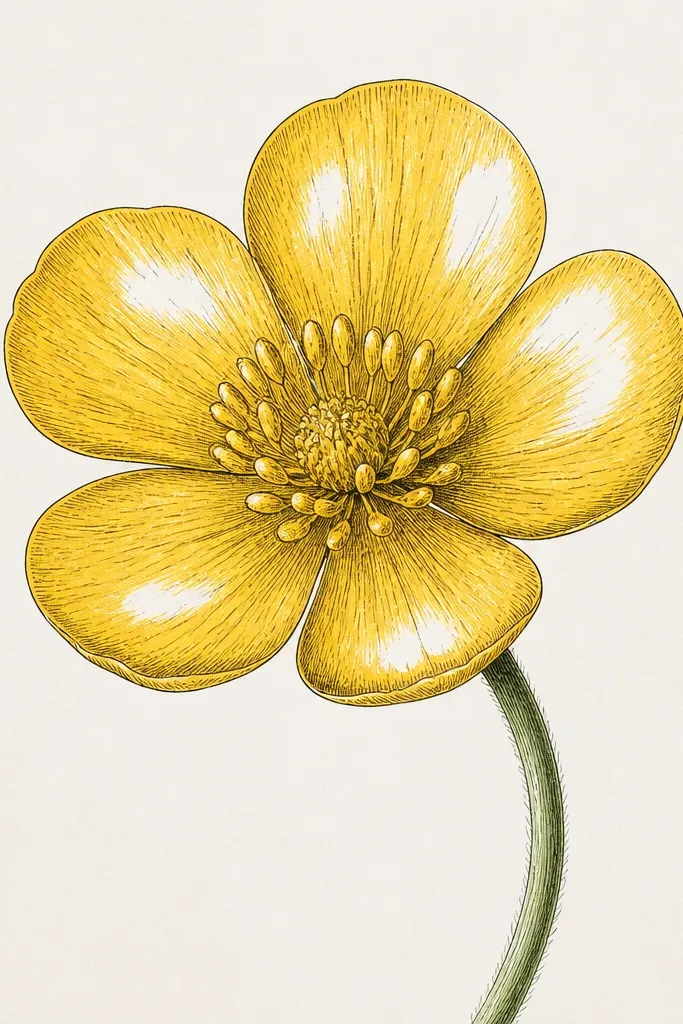
Buttercups are friendly because their petals are chunky and rounded. You’re drawing five big shapes that look like slightly squished ovals, not delicate points. This style looks good on anyone’s page because it makes a bold focal point even with minimal detail. I use a warm yellow-orange wash for the petals and keep the center a deeper mustard, so it looks like light hits the flower.
Start with a small circle for the center, then draw five rounded petals around it like a flower-shaped cookie cutter. Add one extra “petal fold” line inside two opposite petals to show depth. Outline the petals with pen, then paint a thin layer of yellow-orange watercolor pencil across the petals, leaving a bright highlight area unpainted. Finally, draw a simple stem with two small leaves — one slightly behind the stem and one facing forward.
If your paint bleeds, use less water and tap the brush on paper for color instead of brushing back and forth.
Skip tiny speckles on the petals — they make it look like a cheap sticker.
3. Wild Violet Cluster on One Stem
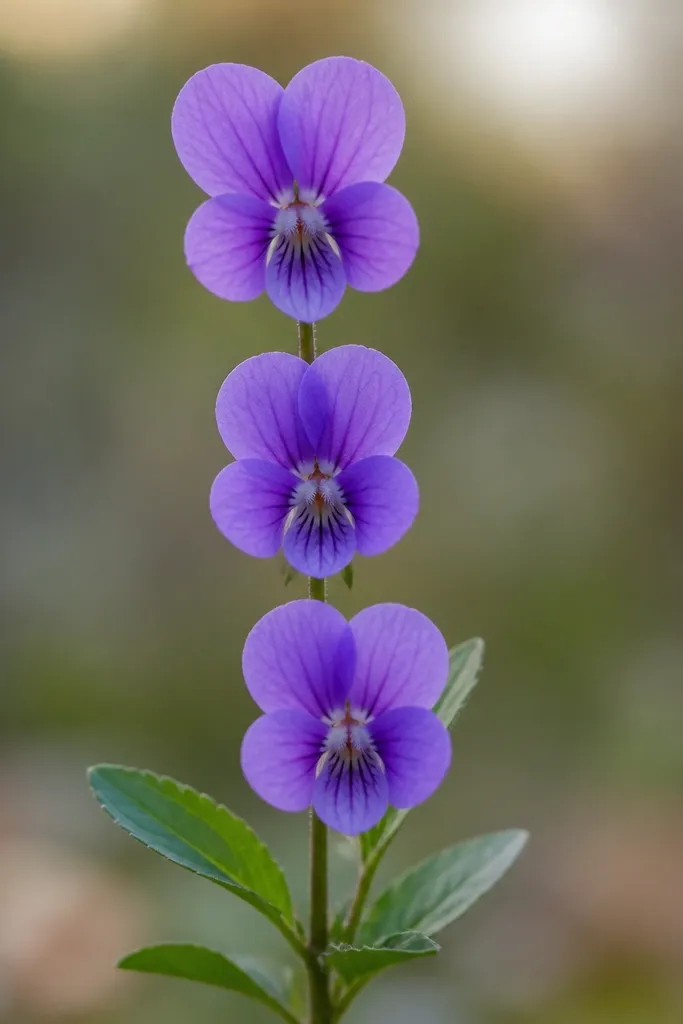
Violets give you variety without complexity because each flower has the same three-part petal structure. The top petal is larger and rounded, the side petals are smaller, and the center line suggests the “direction” of the bloom. I like it for budget pages because you can draw three flowers with the same template and still feel like you made something. Use cool purple for the petals, then add a tiny darker dot at the base of the center for that classic violet look.
Good to knowUse a colored pencil to deepen the bottom of each petal, not the top — it makes the flowers look dimensional.
Sketch one stem line that curves slightly, then place three flower heads along it with small gaps. For each head, draw one big rounded petal on top and two smaller side petals beneath it. Add a short center line and a small notch at the bottom of the top petal to suggest the fold. Outline with fineliner, then tint petals with diluted violet, leaving the paper showing through for softness. Add two simple leaf shapes near the bottom of the stem.
Common mistakeDon’t make the petals all the same size — violets read wrong when they look perfectly symmetrical.
4. Clover Leaves with a Single Flower Dot
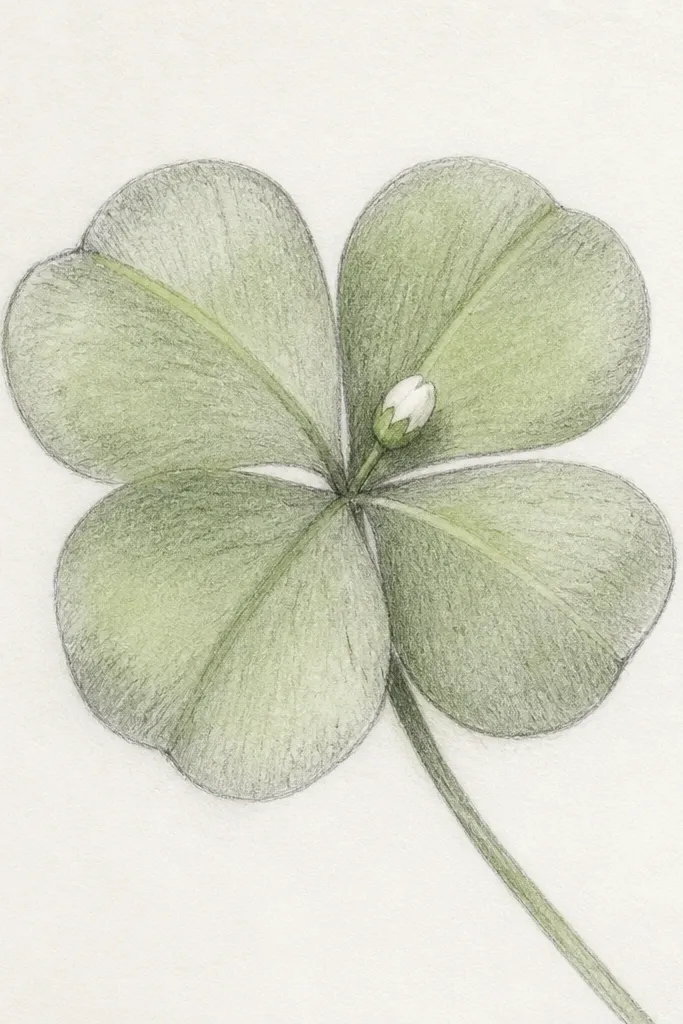
Clover is the easiest entry to wildflower drawing because it’s mostly shape, not shading. You draw three or four heart-like leaflets, then add one small bud or tiny star dot to keep it “wildflower.” This idea works for kids because it’s quick and doesn’t require precision. I keep the leaves light green with a slightly darker vein line in pencil so the clover doesn’t look flat.
Start with a center point and draw three leaflets first, like three rounded teardrops sharing one base. Add a fourth leaflet if you want the classic four-leaf look. Lightly sketch a curved vein line in the middle of each leaflet. Outline with pen lightly, then paint with a very thin green wash. Add a tiny bud dot near the center — a small circle with two short lines — and you’re done.
If you’re drawing on cards, make the clover fill about 70% of the space so it looks intentional.
Don’t darken the whole leaflet — one vein line is enough.
5. Dandelion Puff with Spokes
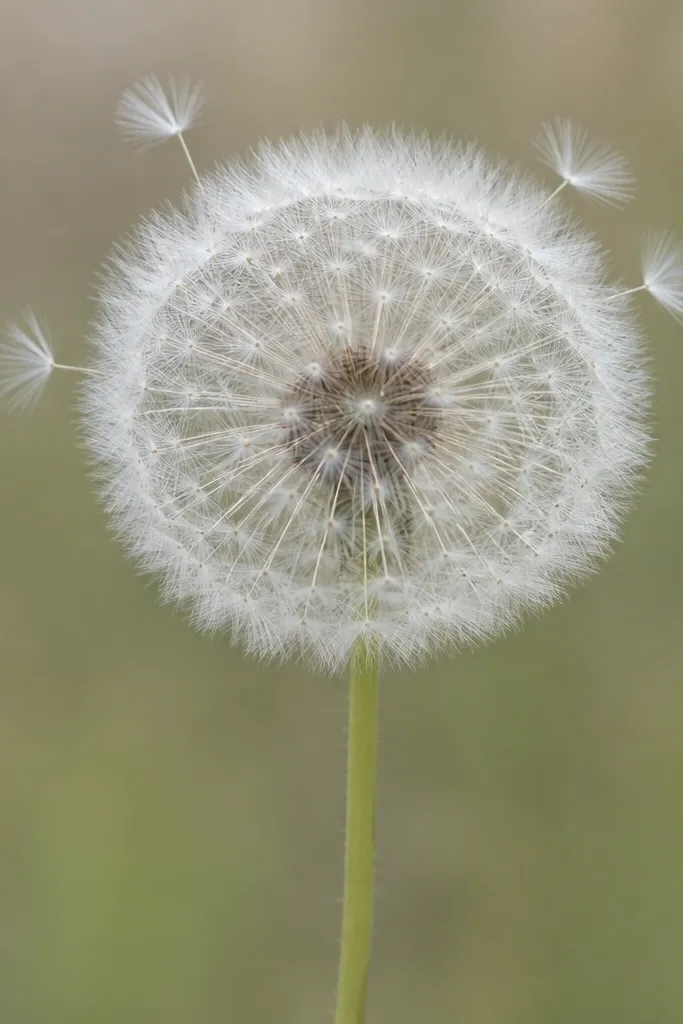
A dandelion puff looks hard, but it’s just a circle filled with repeated lines. The “dreamy” part comes from leaving the center slightly lighter and letting the outer seeds float. I love this when I want a light, airy page because it fills space without heavy color. Use pencil for the sketch, then draw thin spokes with a fineliner and tint the outer seeds pale yellow-green.
Good to knowVary spoke length randomly by 10-20% so it doesn’t look like a perfect wheel.
Draw a light circle in pencil for the puff size. Add 30-40 spokes radiating from a slightly off-center point, making the outer spokes longer and thinner. Erase the original pencil circle once the spokes are in place. Outline the stem with a single curved line and add one small leaf shape near the base. Add a very light wash of yellow-green at the outer edge only.
Common mistakeDon’t ink thick lines across the whole puff — it turns into a dark ball.
6. Poppy with Wavy Petal Edges
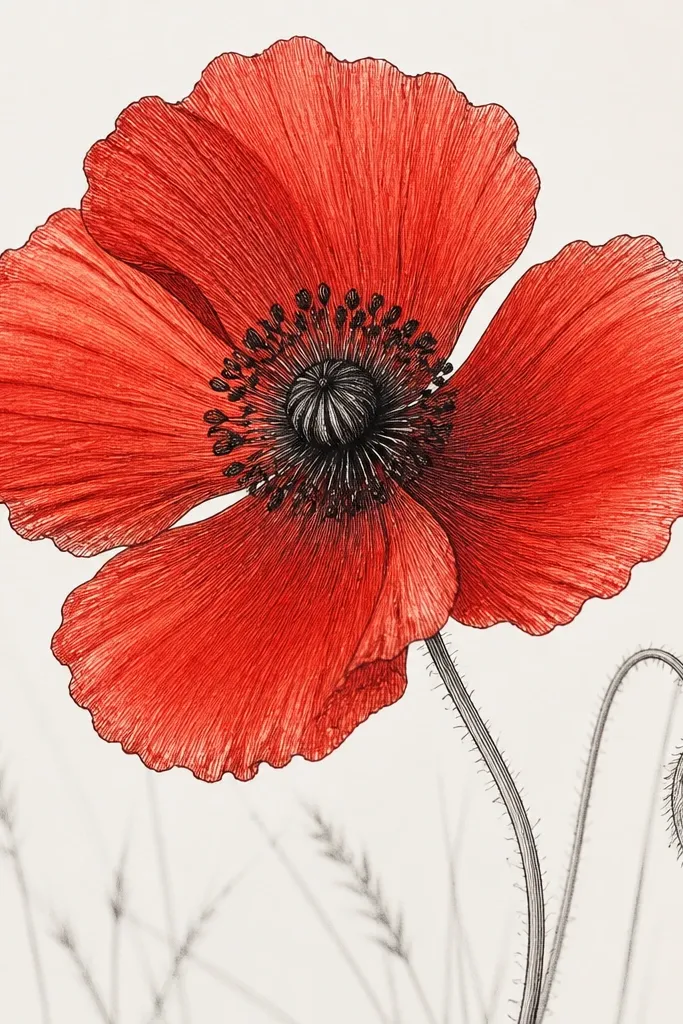
Poppies look dreamy because their petals are wide and slightly uneven. That wavy edge is the secret. You don’t need dozens of lines — you need 4-6 scallops per petal and a detailed center. This one looks great for kids because the shape is bold and forgiving. For color, I use a diluted warm red with a darker red at the petal base and a near-black center.
Sketch a small oval for the center and draw four big petals around it, each petal wider at the bottom. Add wavy scalloped edges using short zig-zag marks along the outside of each petal. Draw a few thin filament lines rising from the center and add a small dark blob at the very center. Outline with fineliner, then paint with diluted red, leaving a lighter strip along one side of each petal. Add a simple stem and one narrow leaf below.
Paint the petal base darker first, then drag a lighter red wash outward while it’s still wet.
Don’t make the center empty — even 5 filaments make it read as a poppy.
7. Wild Aster with Layered Petals
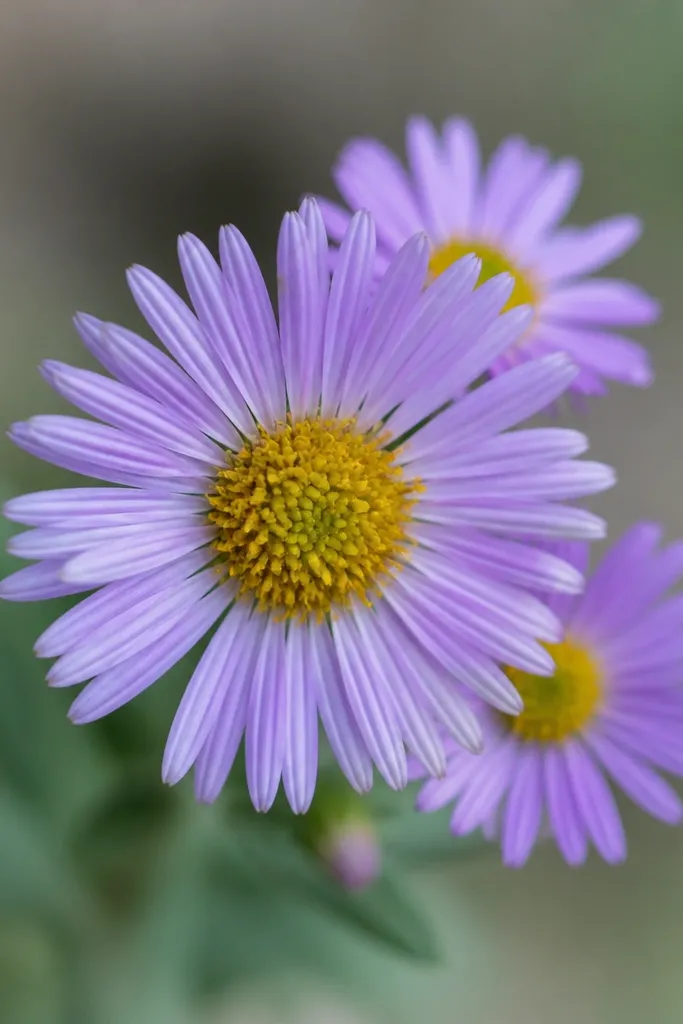
Asters look delicate but they’re doable because the petals are thin rays. You draw the center first, then add ray lines in small clusters. I like this for fuller pages because you can layer two blooms behind the main one and it still looks organized. Color is simple: yellow center, then purple-blue rays with a lighter edge.
Good to knowIf rays look messy, keep them the same length and vary spacing instead.
Draw a medium circle for the center, then add a second ring around it to guide ray placement. Create ray petals as short curved lines, about 25-35 rays, grouped in slightly uneven sections. Add a second smaller aster behind the main one with fewer rays so it looks like depth. Outline rays with pen, then color the center yellow ochre and tint the rays with diluted periwinkle or violet-blue. Finish with thin stems and tiny leaf shapes.
Common mistakeDon’t shade the rays heavily — leave most petals unpainted for a airy look.
8. Queen Anne's Lace Style Lace Flower
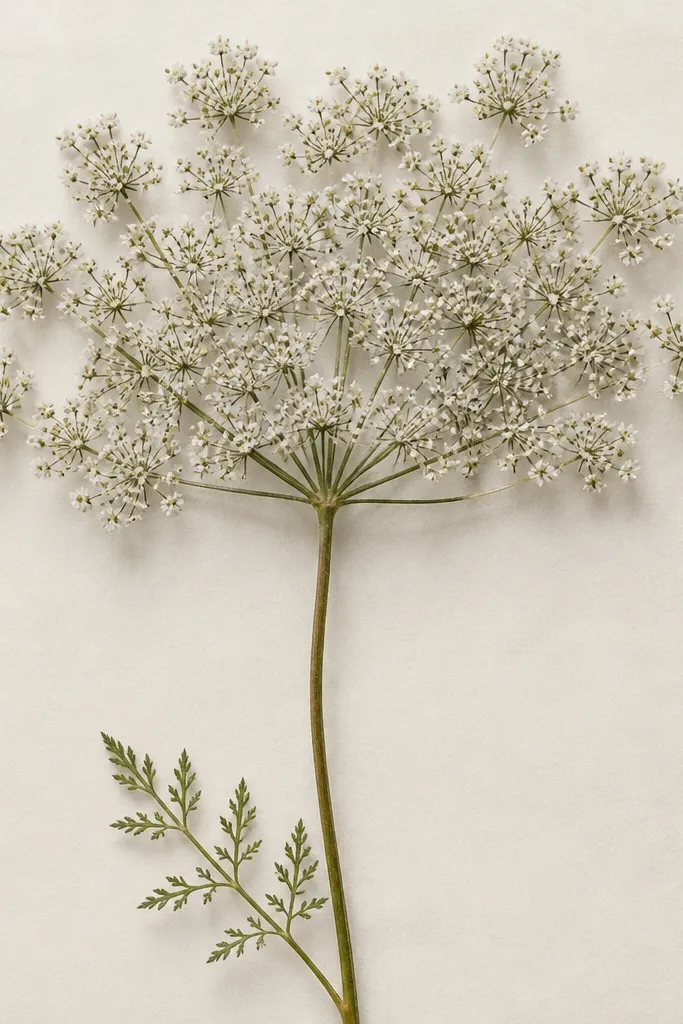
This style is airy and pretty because you’re drawing a “lacy” cluster, not one flower. The easiest version is a circle of tiny dots and short strokes that suggest many small florets. It looks dreamy even when it’s simple because your eye reads the cluster as texture. Use a light gray pencil for the lace marks and a faint green for the stem and leaves.
Sketch a circle for the flower head, then add a ring of small dots inside. Fill the circle with short curved strokes that vary in length, keeping them mostly near the outer edge. Add a few tiny thicker dots in the center to anchor it. Draw a thin stem line and a lacy leaf shape at the base using three lobes. Outline the stem and major edges lightly, then erase stray pencil lines.
Use the tip of a fineliner for dots — pressing makes them look like ink blots.
Don’t turn it into a heavy outline — the lace needs to stay light.
9. Wild Rosebud with Soft Petal Overlap
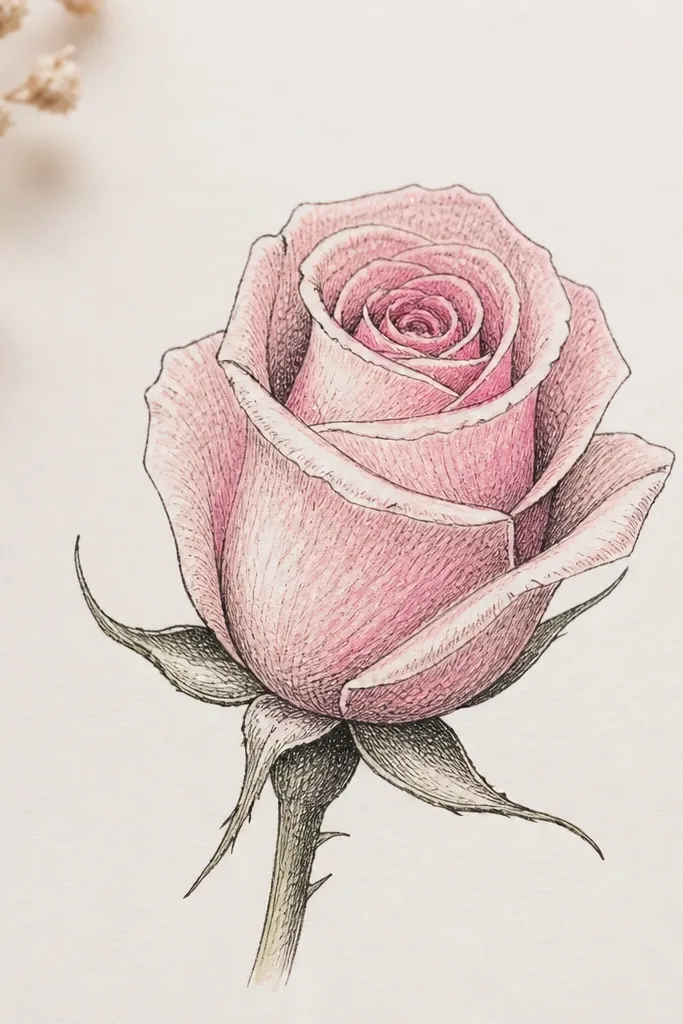
Rosebuds look fancy, but you can draw them with simple overlapping curves. The trick is to keep the center tight and let each petal wrap around it like a spiral. This one flatters any page because it has a strong silhouette with gentle shading. I use pale pink for the outer petals and a deeper rose shade on the inner folds, so the bud looks like it’s about to open.
Draw a small oval center, then add three curved petal loops around it. Each loop should overlap the previous one by about a third. Add two more outer petals, slightly larger and more open at the top. Outline with fineliner, then shade the overlap lines with a light rose pencil or diluted rose watercolor. Add a short stem and two small leaves with simple serrated edges.
Make one petal opening lighter than the others — it reads like a highlight.
Don’t draw too many petals at once or it turns into a tangled blob.
10. Wild Strawberry Flower with Five Petals
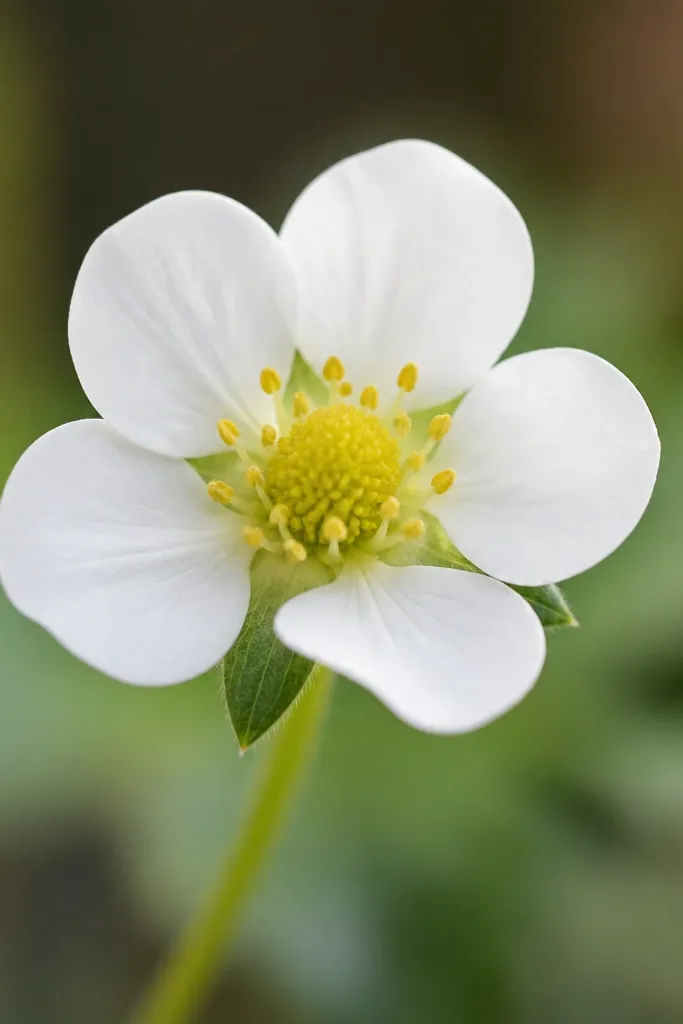
If you want a flower that feels playful and very “budget craft,” strawberry blooms are perfect. They have five rounded petals that are easy to repeat, and the center cluster is a small circle with tiny lines. This looks great for kids because the shape is clear and you can add a strawberry leaf texture later. I keep petals white with a faint cream tint and color the center pale yellow.
Draw a small center circle, then place five rounded petals around it like a simple star rounded at the tips. Add a green calyx at the base: a small star shape with 5 points touching the stem. Outline with pen, then lightly tint petals with diluted cream. Color the center pale yellow and add 8-10 tiny short lines radiating from the center to suggest stamens. Finish by drawing a short stem and a single leaf behind the bloom.
For a more realistic look, paint the calyx slightly darker green than the leaf.
Don’t make the petals pointy — strawberry petals look wrong when they’re too sharp.
11. Chicory Blue Flower with Narrow Rays
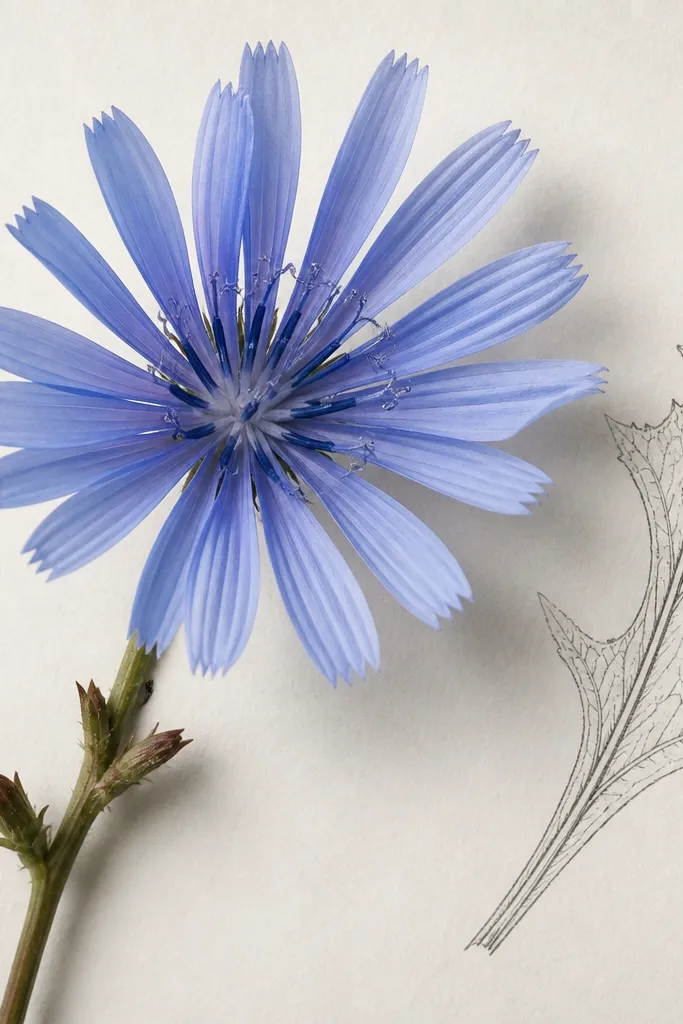
Chicory is a cool-toned dream flower. The petals are long and narrow, so your drawing looks delicate even without heavy shading. The center is darker and gives you contrast, which is what makes the simple lines look “finished.” I like this for pages that need a pop of blue. Use deep navy at the center and a lighter cornflower blue on the rays.
Good to knowAdd one faint shadow line at the base of each ray to make it look layered.
Draw a small dark center circle, then add 12-18 narrow ray petals around it. Each ray is a thin almond shape or a long teardrop line, slightly curved outward. Outline rays with pen and keep them evenly spaced. Tint the rays with diluted cornflower blue, leaving the very base near the center darker. Add a narrow leaf next to the stem using 3-4 long segments.
Common mistakeDon’t color the whole petal uniformly — the center needs to stay darker.
12. Wild Daisy with Three Petal Sizes
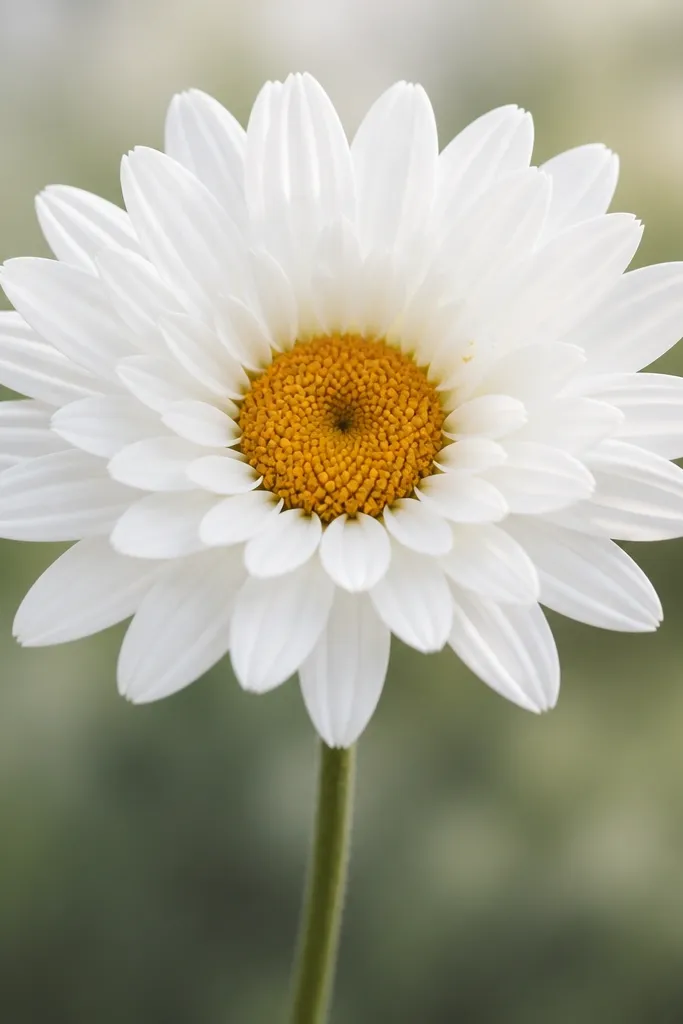
This is my go-to “simple but not flat” daisy. Instead of drawing all petals the same size, you use three sizes: a smaller inner ring, a medium ring, and larger outer petals. That tiny change makes the flower look like it has depth even with minimal shading. It’s also great for kids because the repetition stays easy — you just switch sizes once or twice. Color the center warm brown-yellow and keep petals mostly white with light gray shading at the base.
Sketch the center circle, then draw a smaller inner ring of 10 petals. Add a medium ring of 12 petals around that, then finish with 8-10 larger outer petals. Outline each petal base with pen so petals look anchored to the center. Lightly shade under each petal with a soft pencil or dilute gray. Add two leaves on the stem, one simple oval leaf and one smaller pointy leaf.
Trace your outer petals lightly in pencil first so you keep the spacing even.
Don’t shade the center too dark — it overpowers the clean daisy look.
13. Lavender Sprig with Tiny Buds
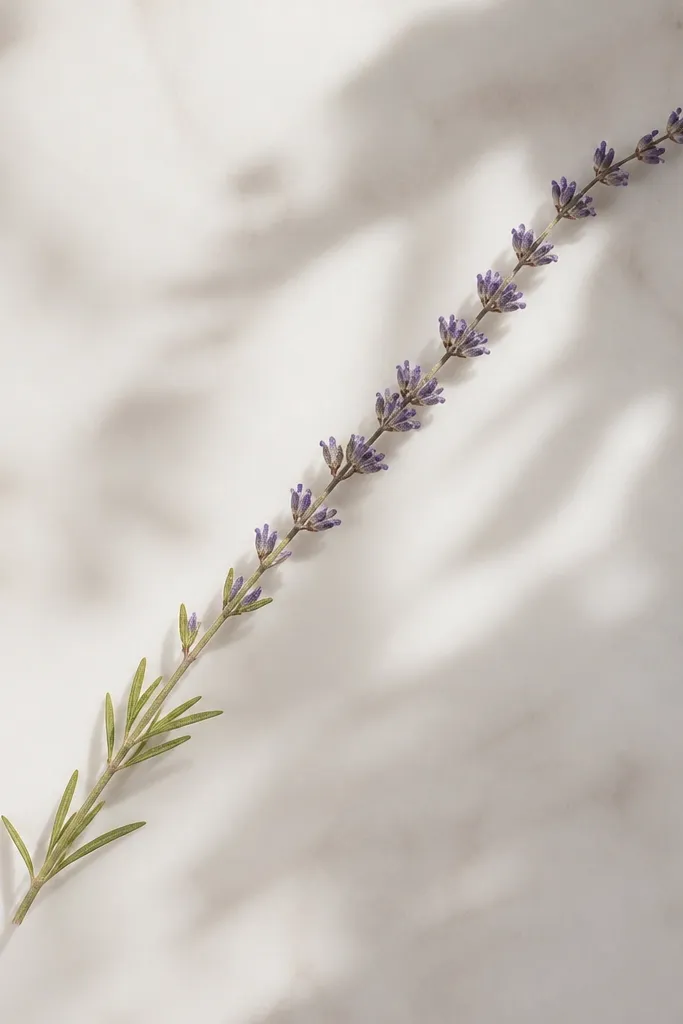
Lavender sprigs look dreamy because they’re texture, not complex shapes. You draw a single curved stem and fill one side with small vertical buds like tiny commas. The whole thing reads as lavender even if you only do 15-25 bud marks. I like it for bookmarks and small pages because it uses vertical space well. Color is muted: gray-purple buds with slightly darker tips.
Good to knowUse a darker purple pencil on just the top half of each bud for that “layered” feel.
Draw a gentle curve for the stem. Add a light guide line along one side, then place 20-30 bud marks as small vertical teardrops or rectangles with rounded tops. Keep the bud marks touching the guide line so it looks like one cluster. Outline the stem with pen, then tint buds with diluted gray-purple watercolor pencil. Add two tiny leaves near the bottom using a simple oval with a center vein.
Common mistakeDon’t make every bud the exact same height — lavender looks fake when it’s too uniform.
14. Field Grass Stems with One Daisy
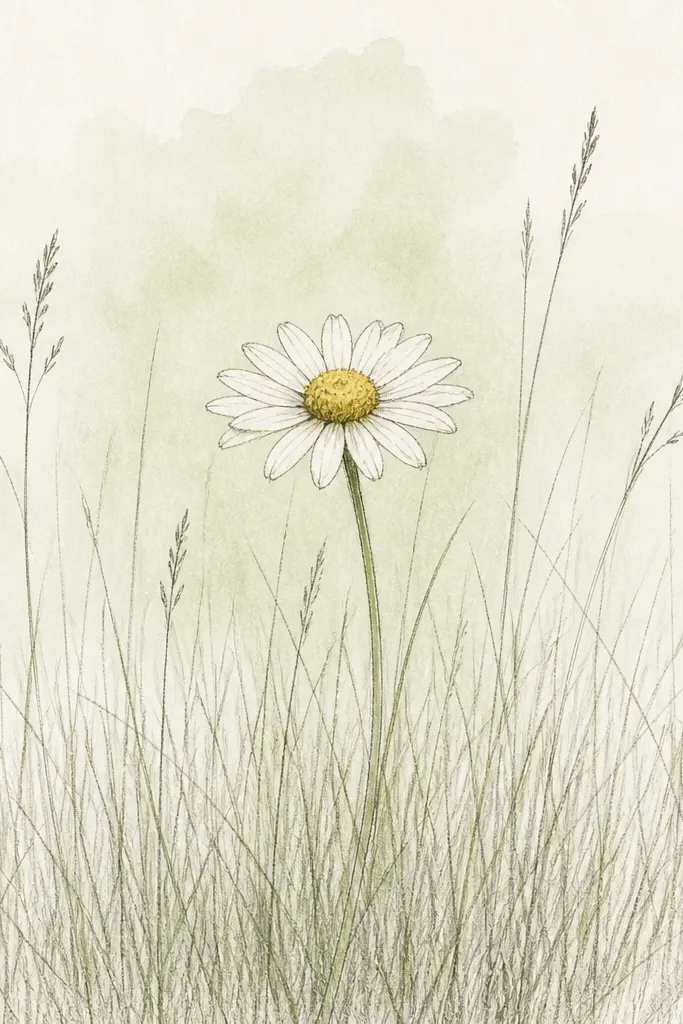
This idea cheats the “wow” effect. You keep one flower simple, then fill the background with grass strokes so the page feels like it has a setting. It looks good for kids because they can repeat grass lines without worrying about petal accuracy. Your color stays budget-friendly too: just light green for grass and one yellow-brown center for the daisy. The contrast between one detailed flower and lots of simple lines is what makes it feel intentional.
Start with a daisy head near the center: center ring plus 12 petals. Then draw 25-40 grass blades across the bottom, each blade a thin line that curves slightly. Vary blade length so it looks natural. Add faint green wash behind the grass lines, keeping the daisy area whiter. Finish by drawing a single curved stem connecting the daisy to the grass.
Use a ruler edge or the side of your pencil for grass — it gives consistent thin lines fast.
Don’t outline every grass blade in pen — it gets heavy and muddy.
15. Thistle Puff with Spiky Seeds
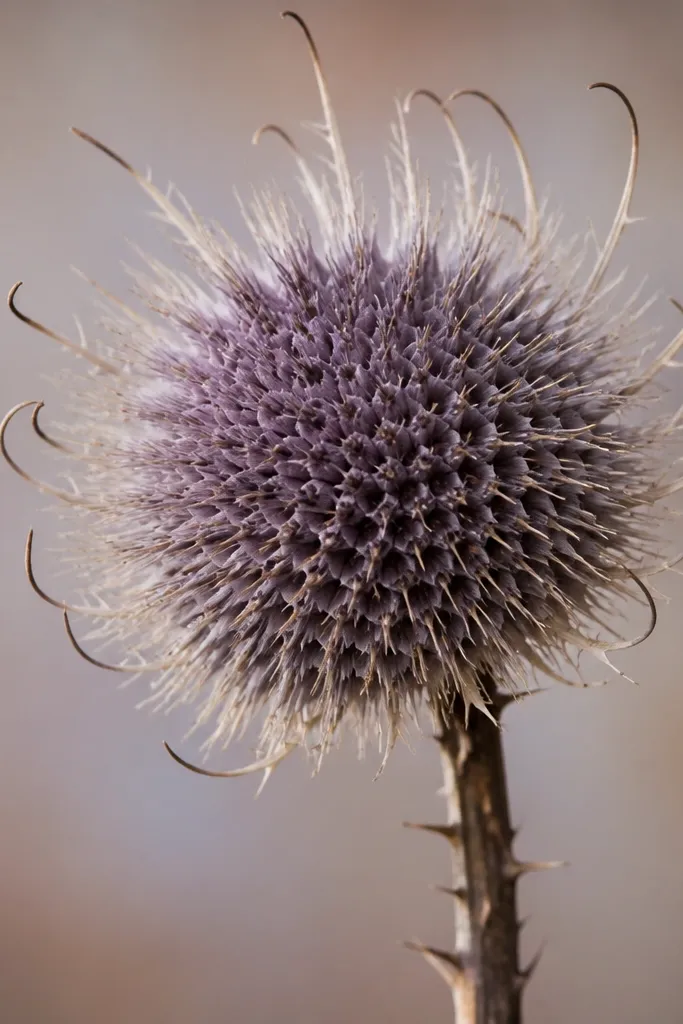
Thistle looks cool even when you keep it simple. The spiky seeds are short lines radiating from a circle, and the whole head reads as “spiky texture.” This one works well on darker paper too, but it’s easiest on white. I use a muted purple-gray for the puff so it doesn’t scream “kid art,” and a darker outline for the center area.
Good to knowIf your spikes look chaotic, draw them in rows — top row, bottom row, then fill the gaps.
Draw a circle for the thistle head. Fill it with 40-60 short spikes using the fineliner, keeping spikes shorter near the center and longer around the edge. Add a few curved hooks at the outer edge to suggest seeds. Shade the head with a thin purple-gray wash, then darken the center slightly. Add a stem and one rough leaf shape with jagged edges.
Common mistakeDon’t make the spikes all the same length — it loses the thistle puff illusion.
16. Wild Rose with Five Petals and One Fold Line
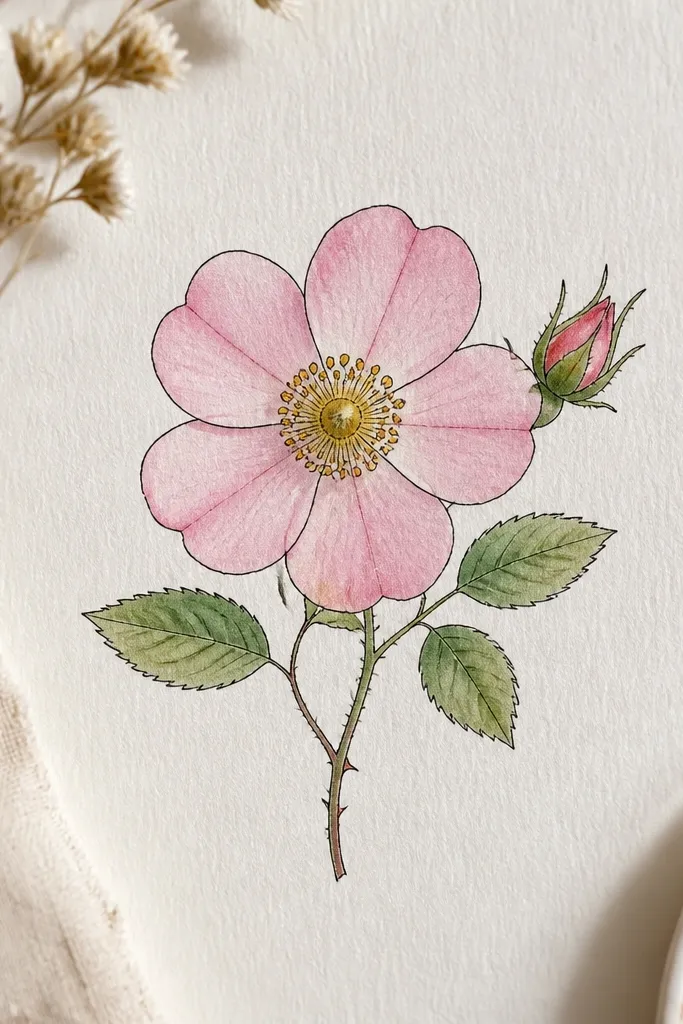
This rose is simple enough for beginners but still looks “done.” You draw five petals, then add one fold line in the middle of each petal so it looks like it curves. That fold line gives you dimension without heavy shading. Color it pale pink with slightly deeper pink at the fold lines. It looks flattering on any page because the rose has a clear shape and a soft color palette.
Sketch a small center circle, then draw five rounded petals around it. Add one curved fold line inside each petal that starts near the center and curves toward the outer edge. Outline everything with fineliner and erase pencil marks if needed. Paint petals with diluted pink, then deepen the area around each fold line with a second pass of slightly stronger pink. Add two small leaves on a short stem, keeping the leaves simple and not too detailed.
Use a tissue to blot watercolor pencil for a softer edge on the petal tips.
Don’t add lots of extra lines — the one fold line is the whole point.
17. Cornflower with Starry Center Rays
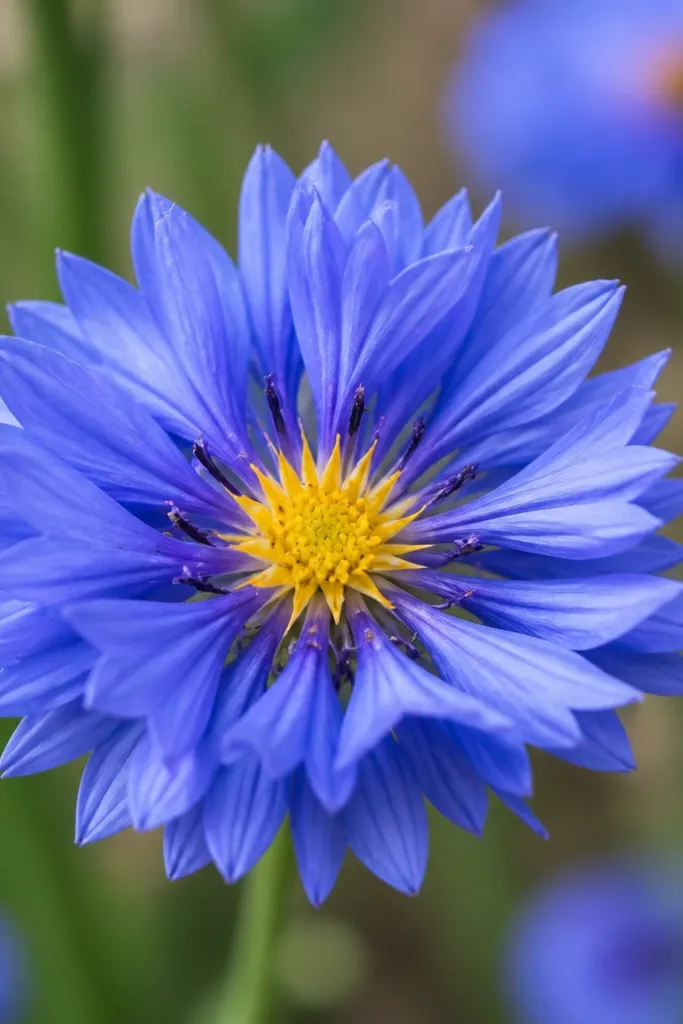
Cornflowers look like they’re lit from within. The secret is the bright center plus small rays inside it. You draw fewer petals than aster, and each petal is a clear almond shape. This one looks great for kids because it’s a clean starburst that doesn’t require shading skills. I keep the blue in the petals light and airy, then make the center a strong yellow with tiny dot rays.
Draw a bright yellow center circle. Add 10-12 blue petals as almond shapes radiating outward, each petal slightly narrower at the base. Outline with pen, then color petals with diluted cornflower blue. Inside the center, draw 8-12 tiny lines or dots radiating outward like a sun. Add a short stem and one narrow leaf.
When you paint the center, let the yellow fully dry before you add the tiny rays.
Don’t overpaint the blue — thick paint kills the airy cornflower look.
18. Forget-Me-Not with Five Tiny Petals
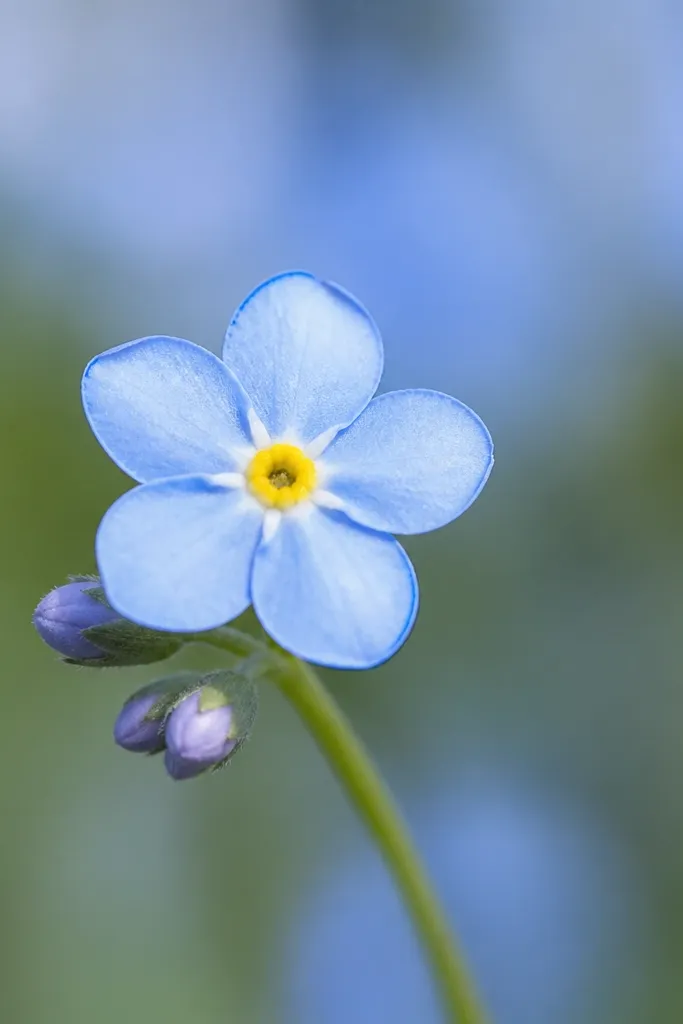
Forget-me-nots are tiny, and tiny is the advantage. You draw five small petals, then add one yellow center dot and a couple of short lines for the center. The flower stays cute even when the petals aren’t perfect. I like this for kids because it’s fast and looks sweet in clusters. Use soft sky blue for the petals and keep the center bright and crisp.
Sketch a small circle for the center, then draw five small rounded petals around it like a tiny flower cap. Outline lightly with pen, then fill the petals with diluted sky blue watercolor. Add a bright yellow dot in the center and two short curved lines that sit just above the dot. Draw a thin stem and add a single small leaf with a simple vein line. Repeat once or twice on the same stem for a cluster.
Use a finer brush tip for the yellow dot so it stays round.
Don’t mix blue and yellow into a muddy center — keep the yellow clean.
19. Sea Thrift with Rounded Petals and Center Specks
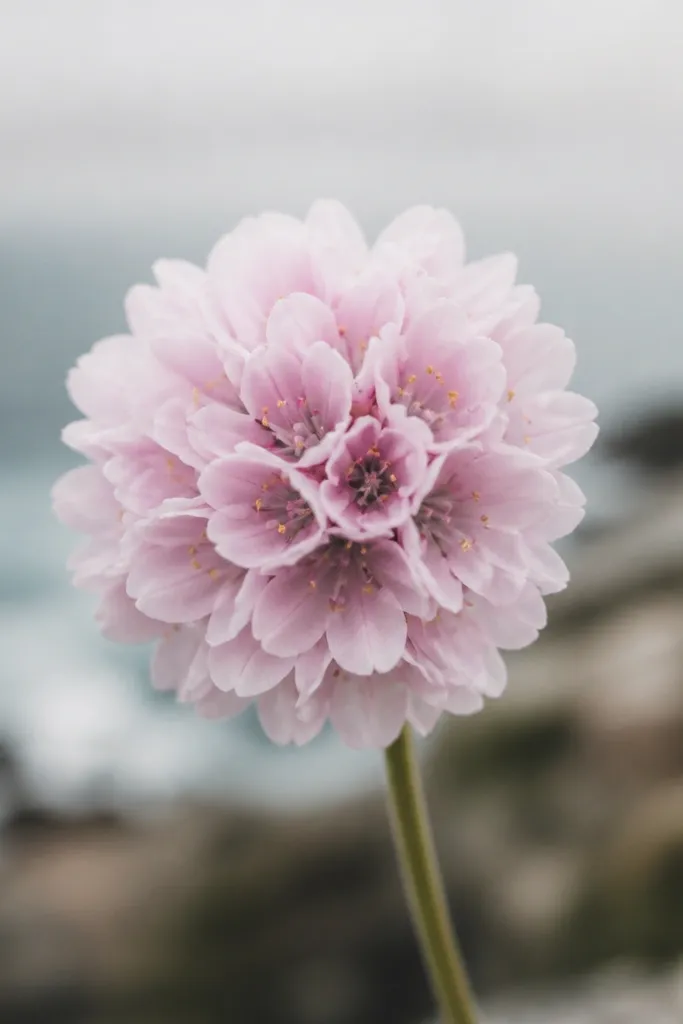
Sea thrift has a busy, charming center and soft rounded petals. You can draw it with a simple ring of small rounded petals, then add speckles in the center for texture. This looks dreamy because the petals are light and the center adds contrast. I use pale rose pink and a darker warm brown for the center specks. It works great when you want something pretty without complicated leaves.
Draw a small dark center circle. Around it, place 10-14 small rounded petals as tiny circles or short ovals touching the center. Outline petals with pen, then paint them pale rose pink using a light wash. Add tiny specks in the center with a dark brown pencil or pen dot. Add one simple leaf shape below using two curved lines and a center vein.
Make your center specks different sizes — the randomness makes it look real.
Don’t outline every petal edge thick — keep lines thin so the petals stay soft.
20. Meadow Cluster with Overlapping Three Bloom Heads
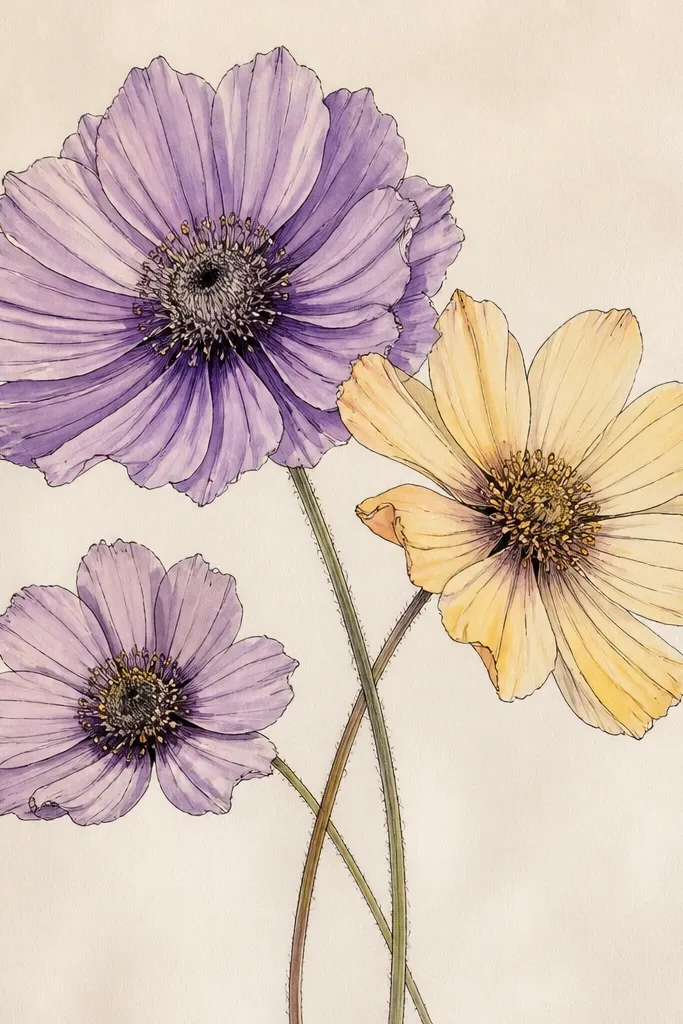
This is how you make a page look like a bouquet without drawing a bouquet. You pick three simple flower heads — one larger in front, one medium behind, and one small peeking from the side. Overlap is the whole aesthetic. It flatters kids because each head can be a simple template like a daisy or violet, and the whole cluster still looks cohesive. I keep colors muted: one warm yellow center, one purple-blue petal set, and one pale pink bloom.
Choose three flower head types from this list, then sketch them first in pencil at different sizes. Place the largest bloom slightly off-center, then tuck the medium bloom behind it so petals overlap by at least a third. Add the small bloom last, tucked behind the stems. Outline all three heads with pen, then paint lightly with one watercolor pass per flower. Finish by drawing stems that weave between the heads without crowding the center.
Use one color family across all three blooms, like purples and yellows, so the cluster feels calm.
Don’t spread the flowers too far apart — overlap makes it look intentional.
21. Wild Daisy Buds Along a Stem
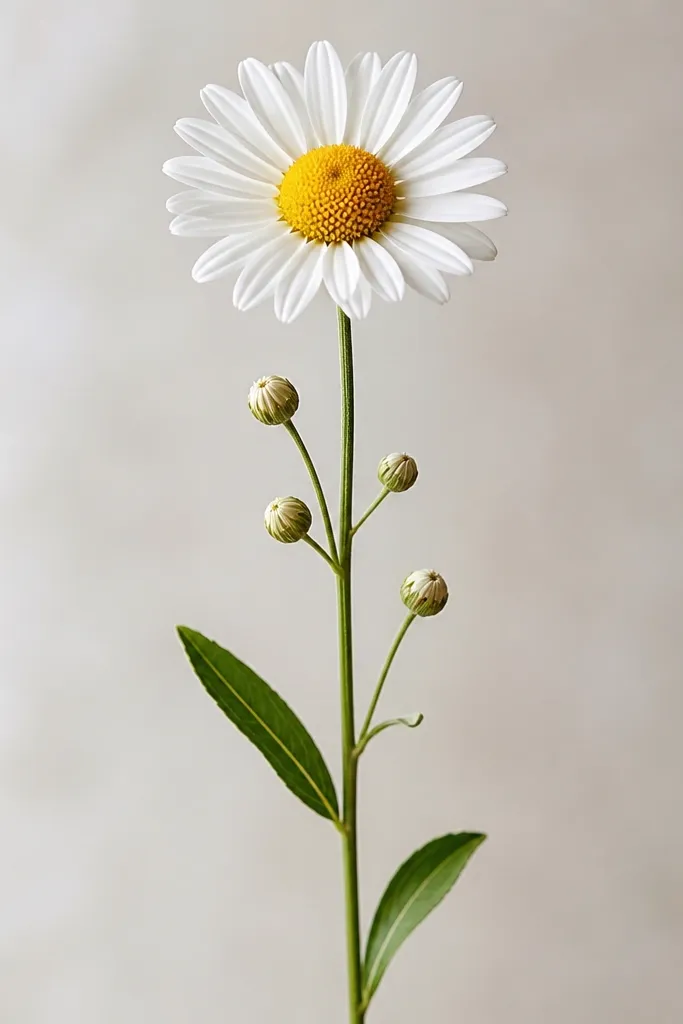
Bud flowers make your drawing feel like it’s growing. The open daisy gives you a focal point, and the buds fill the stem without needing full petal detail. This is great for kids because they can reuse one tiny shape for the buds. I shade buds with just a hint of yellow at the center and keep the petals as short arcs so they look like closed blooms.
Draw a main stem line curving slightly upward. Place one open daisy head near the top, then draw 4-6 buds along the stem below it. Each bud is a small oval or circle with 5 short petal arcs around it, not full petals. Outline the open daisy with fineliner, then outline buds lightly. Paint the open daisy center warm yellow-brown, and add tiny yellow tint to each bud center.
Keep bud size consistent — about half the diameter of the open daisy center.
Don’t draw buds with full petals — closed buds look better with hints.
22. Wild Iris with Three Petals and One Vein
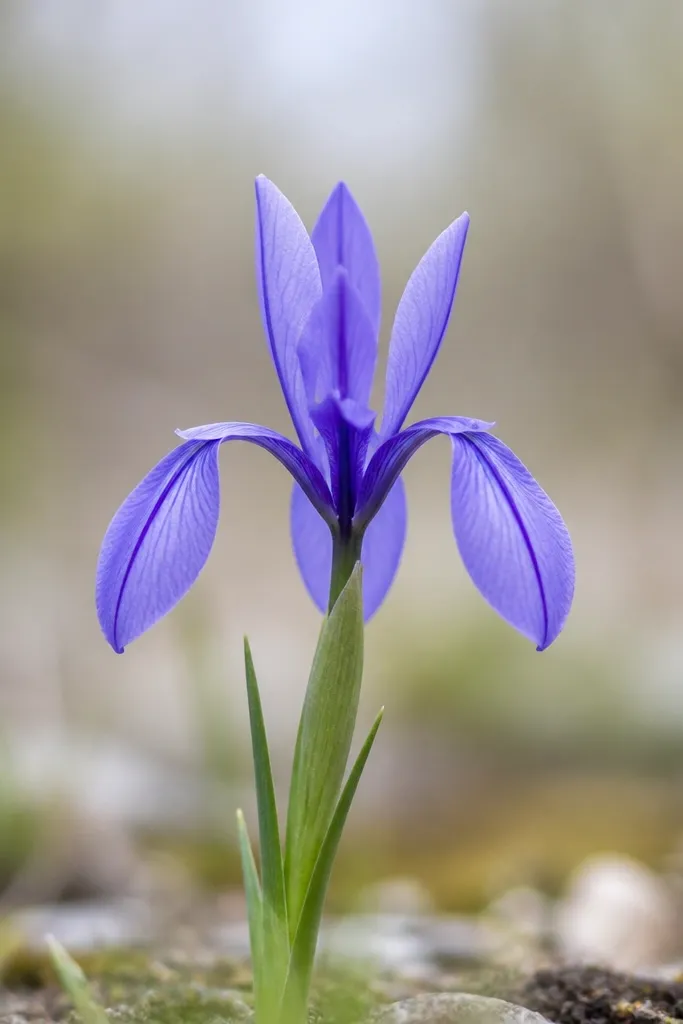
Iris looks complex, but a simple wild iris sketch is just two sets of petals: three upright and three drooping. The vein line is what makes it read as iris, even without lots of color. I like it for older kids because the shape needs a little control, but it still stays doable. Color it with muted lavender and add a deeper purple stripe down the center of each petal.
Good to knowDraw the vein line before you paint so you can keep it crisp.
Sketch a center point and draw three upright petals first, as narrow teardrops angled upward. Then draw three drooping petals below, angled outward and slightly down. Add one center vein line on each petal using a straight-ish line that curves with the petal shape. Outline with fineliner, then paint petals with diluted lavender. Add a deeper purple stripe on the vein line and finish with a couple of long narrow leaves coming from the base.
Common mistakeDon’t add lots of small texture marks — the single vein stripe does the job.
23. Wild Daisy with Pencil-Only Shading
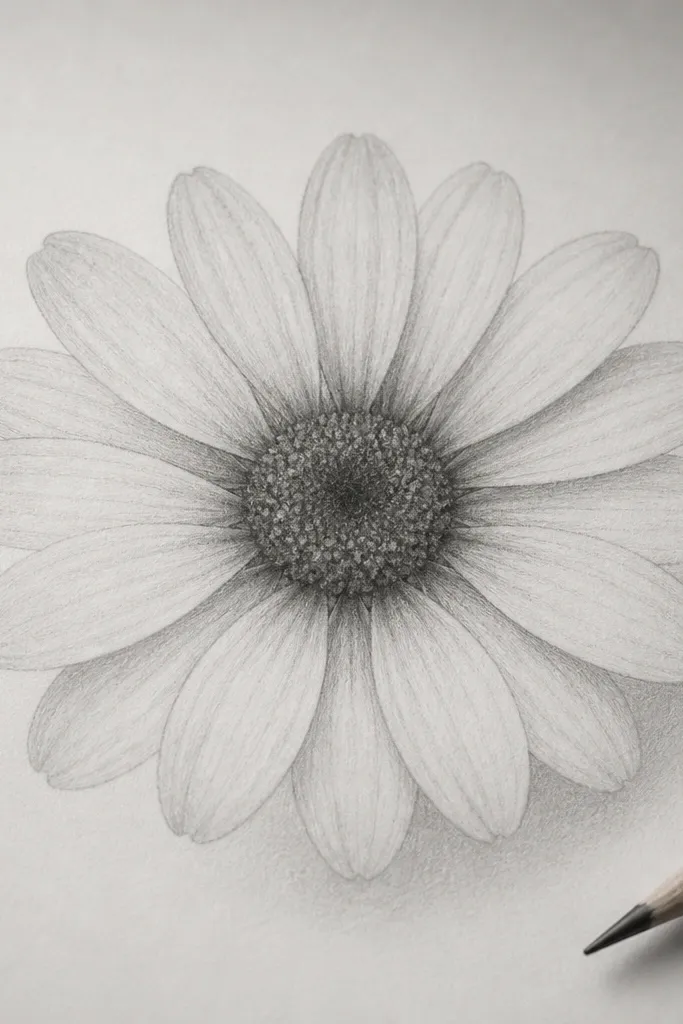
This one is for when you want clean, calm art without ink. Pencil-only daisies look soft and dreamy because the graphite fades naturally. The key is to shade in two places only: the center and the petal bases. Use a 2B for the center and a lighter HB for petals so you get contrast without harsh lines. This style works on any skin tone palette if you’re coloring later, and it’s easy for kids because erasing stays simple.
Sketch the center circle lightly, then add 12-16 petals as teardrops around it. Shade the center with a 2B pencil and blend outward slightly with a fingertip or blending stump. For petal bases, shade just a small strip where each petal meets the center. Leave most of each petal unshaded so the paper stays bright. Add a few pencil leaf lines and a faint stem curve.
Use an eraser edge to lift tiny highlights in the center for extra sparkle.
Don’t smudge the whole flower — it turns gray and flat.
24. Wild Hemp Leaf with Flower Bud Tips
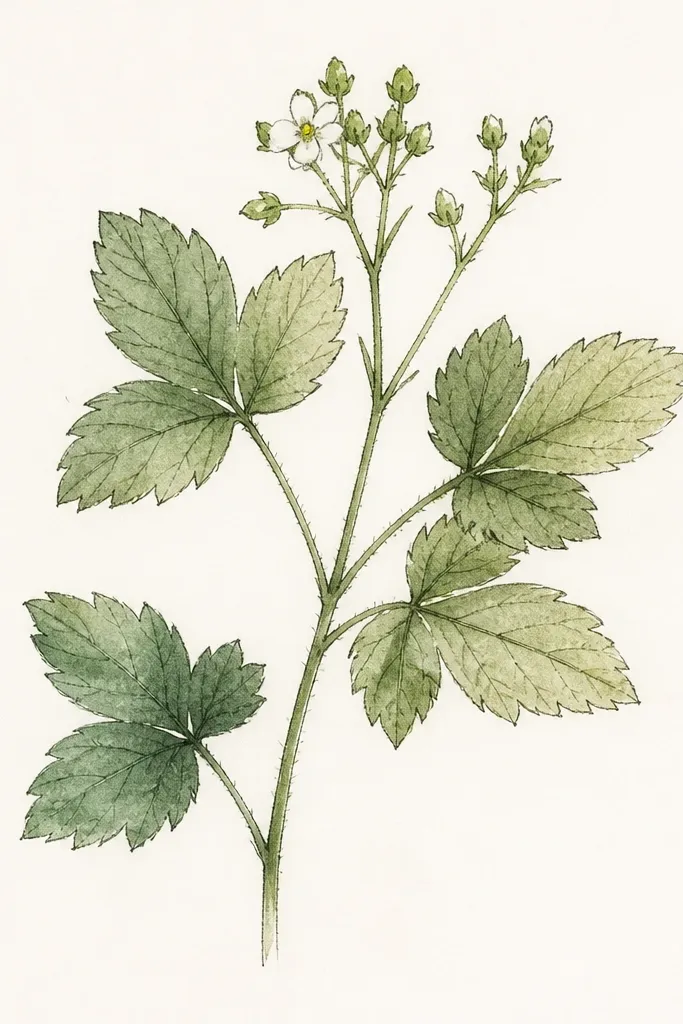
If you want wildflower vibes without drawing a full flower head, draw the plant structure. Hemp-like leaves with tiny bud tips look natural and interesting, especially on a page corner. The flower part can be just one small dot or tiny star — the leaf does most of the work. I like it because it looks good even if your drawing is a little imperfect; the plant shape hides it. Color the leaves in muted green and keep the bud tips lighter.
Sketch a stem that runs diagonally across the page. Add 3-lobed leaves along it using simple rounded lobes and a center vein line. At the top, add 2-3 tiny bud tips as small ovals or dots. Outline leaf edges with pen and keep lines thin. Tint leaves with diluted green pencil, leaving the bud tips mostly uncolored or lightly tinted.
Keep leaf lobes slightly uneven — perfect symmetry reads artificial fast.
Don’t add a big flower head — this style relies on the leaf shape.
25. Small Wild Bouquet with Two Colors Only
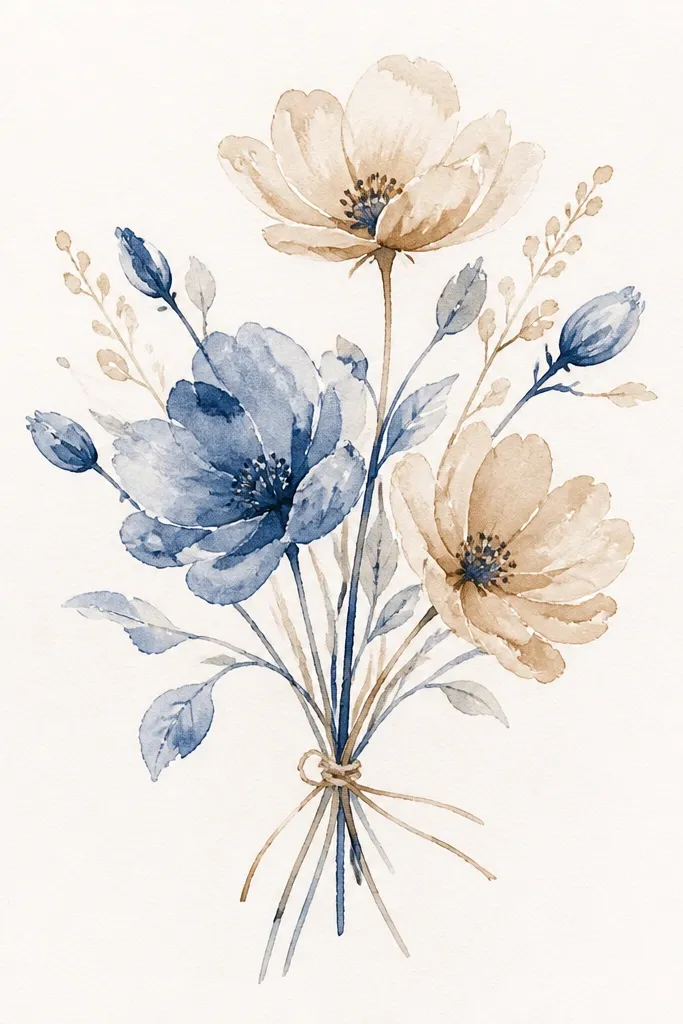
This is my “kid-friendly but pretty” method. You pick two petal colors and reuse them across different flower types: for example, violet-blue and pale yellow. That keeps the page from looking messy, even when you’re mixing daisy, violet, and lavender sprig. It also makes the drawing look intentional because the palette is limited. I use light washes and leave white paper for highlights so the bouquet stays airy.
Choose three flower heads: one daisy, one violet, and one lavender sprig. Place them close together like a small cluster, with stems crossing behind the heads. Outline everything with fineliner, then color petals using only two hues. Start with the lighter color first, then add the darker shade only at centers and folds. Add a few small buds as tiny circles so the bouquet looks full without extra work.
Pick one flower to be the darkest contrast — usually the daisy center or violet folds.
Don’t add extra colors “just because” — the page loses its calm.



