
1. Mini Rosebud + Baby's Breath Cluster
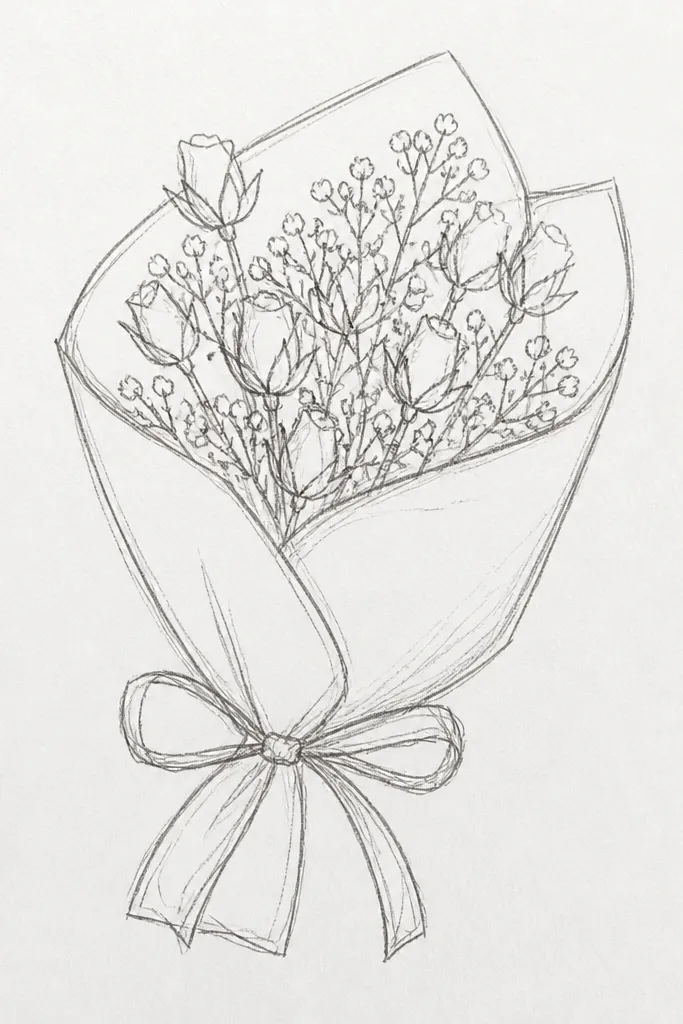
This drawing works because it creates contrast between a defined focal bloom and lots of delicate filler. The rosebud gives you a clear shape to anchor the bouquet, while the baby’s breath marks stay airy and light. Use thin stems and keep the filler flowers smaller than the rosebud so your eye lands instantly. It’s also very photo-friendly because the negative space around the tiny stars makes the cluster look crisp.
Good to knowUse a 0.3 or 0.35 fineliner for the star flowers so they don’t turn into dots.
Start by sketching one vertical stem with two gentle side bends. Draw a rosebud using 6-8 curved petal wedges wrapped around a small center — keep the outer petals slightly darker. Add baby’s breath as tiny five-point star shapes in a loose halo around the bud, leaving gaps between them. Finish with 6-10 comma-shaped leaves and lightly shade only the rosebud center.
Common mistakeDon’t shade the filler flowers — shading them makes the bouquet look heavy.
2. Daisy Chain Bouquet with One Big Center
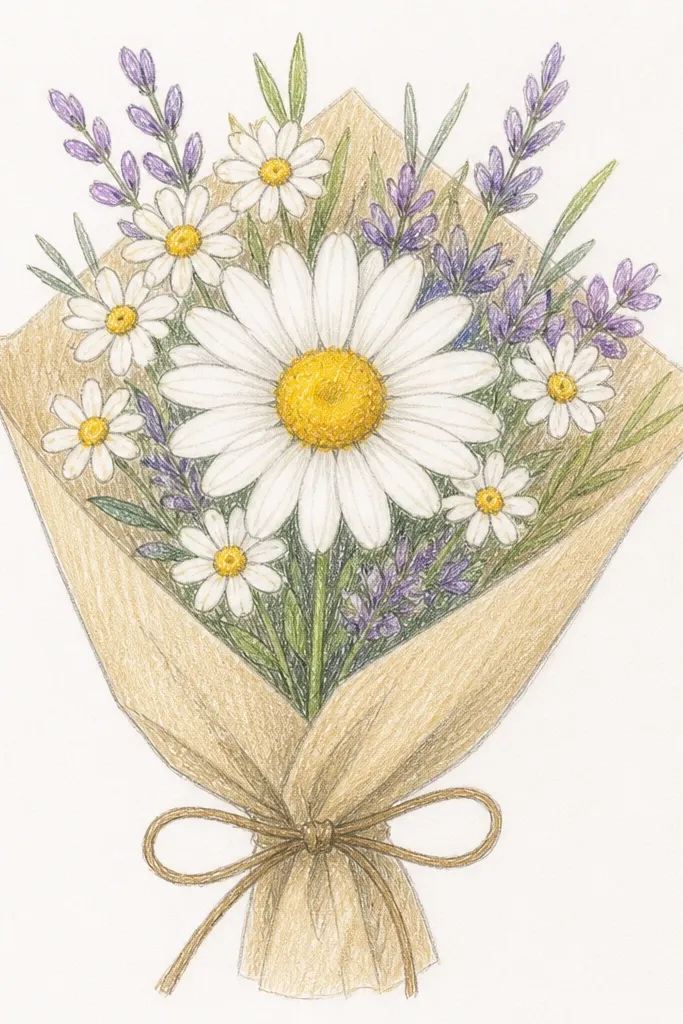
A daisy chain looks dainty when you keep the petals uniform and let one center bloom be the hero. The petals read like lace if they’re evenly spaced and slightly curved, and the big center adds the only strong contrast. This idea is great for year-round art because daisies don’t scream a season; they look cheerful without being themed. It also photographs well because the symmetrical centers make the composition feel tidy.
Good to knowKeep petal spacing consistent by drawing three petals first, then mirroring around the circle.
Draw a main stem that curves gently like an S, then place three daisies along it. For each daisy, sketch a small circle center, then add 12-14 petals as thin almond shapes pointing outward. Make the middle daisy’s center bigger and darker by shading the ring and leaving a tiny white highlight. Connect the daisies with 2-3 small leaf sprigs and add a few short grass-like strokes for movement.
Common mistakeAvoid drawing too many daisies — five or more starts to look busy and loses the dainty feel.
3. Peony-Style Petal Fan on a Skinny Stem
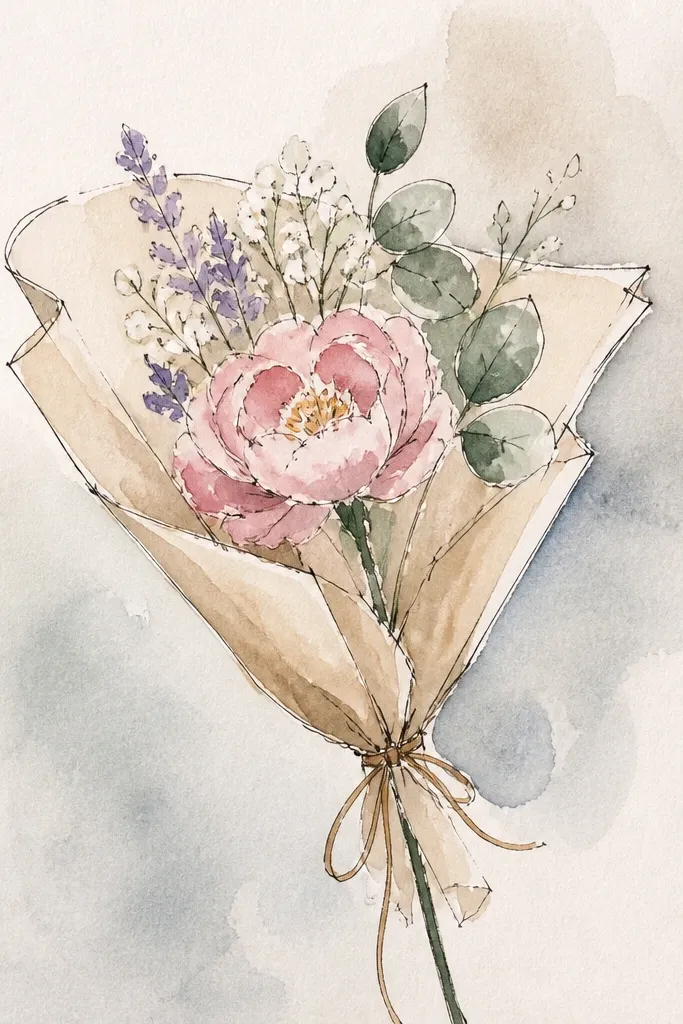
This is a dainty bouquet drawing that stays elegant because the bloom is shaped like a fan. A peony-style flower can look messy if you draw layers randomly, so this idea uses controlled arcs: inner petals curl inward, outer petals arc outward. The skinny stem keeps everything light, and the layered petals give you texture without needing heavy shading. It’s a strong choice for wall art because the silhouette reads clearly even in a small photo.
Good to knowShade with short strokes following the petal direction — it makes the layers look intentional.
Start with one thin stem and a simple leaf at the base. Draw the flower as three arcs: an inner arc of 7-9 small curved petals, a middle arc of 10-12 petals, and an outer arc of 12-16 petals. Thicken the outer petal edges with a pen line, then shade lightly between layers. Add 3-4 small bud-like dots near the base to suggest a mini bouquet without adding clutter.
Common mistakeDon’t outline every petal the same thickness; thick lines on the inside make it look cartoonish.
4. Wildflower Sprig with Two Taller Blooms
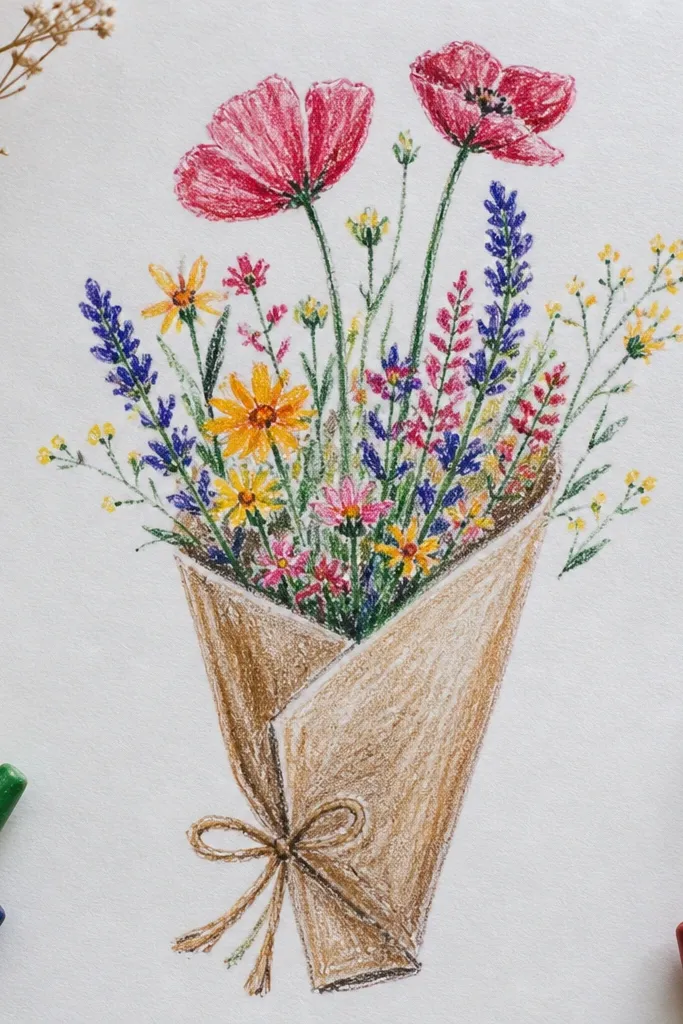
Wildflower sprigs look dainty when you keep them vertical and let two blooms rise above the rest. This design uses a simple hierarchy: tall flowers for structure, smaller buds for softness, and tiny leaf marks to connect everything. It’s a great year-round option because it doesn’t depend on seasonal colors — the shapes do the work. For photos, the vertical line gives a clean frame and keeps the drawing airy.
Draw one long stem with a slight twist and add two taller flowers near the top. Make each tall bloom with 5-6 narrow petals around a small center dot, then add 2-3 smaller bud circles or teardrops lower down. Fill the gaps with tiny leaf marks and 3 short grass strokes at the bottom. Shade only the centers and a few petal bases so the flowers stay light.
Use a ruler only for the stem line if your hand shakes — the flowers can be freehand.
Skip dense background scribbles; the blank space is what makes it look dainty.
5. Lavender Bunch with Soft Striped Petals
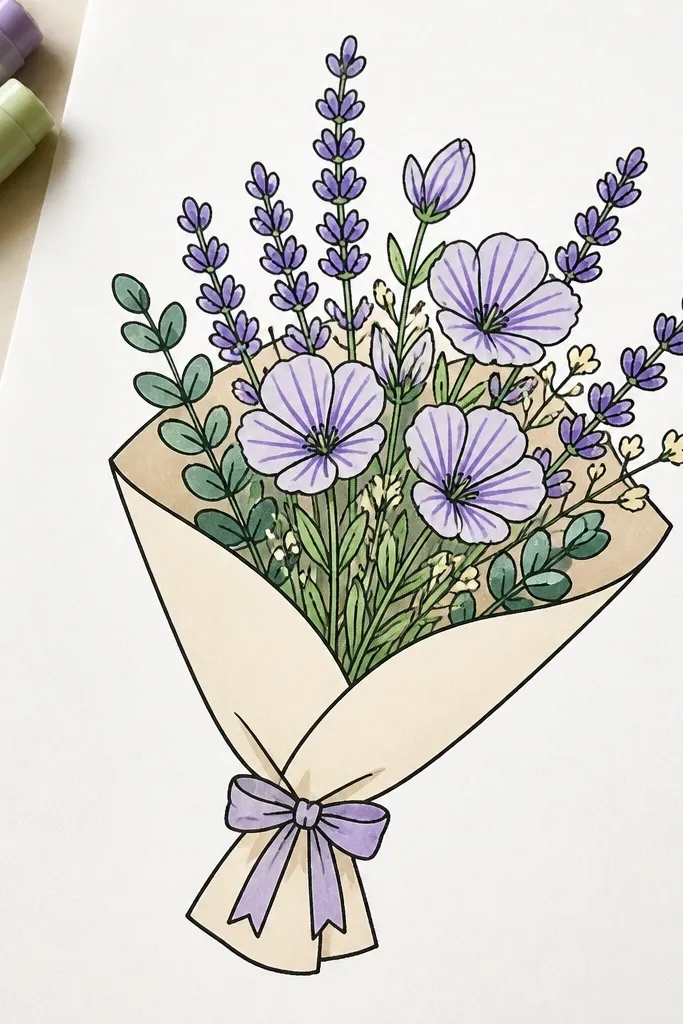
Lavender bunches are photogenic because the buds create a repeating texture. The trick is to draw each bud as a small oval with a tapered tip, then group them into a compact cluster so it reads as one bouquet. Striped shading on each bud makes it look delicate instead of flat. This one works for seasonal holiday art too because it can be styled as winter-sweet or spring-clean just by changing your line darkness and shading density.
Good to knowKeep bud sizes within a 2:1 ratio — if some buds are too big, the bunch stops looking delicate.
Sketch a short bouquet stem cluster with two main branches. Draw 12-18 lavender buds as small tapered ovals stacked loosely, all pointing toward the top. Add a light stripe down the center of each bud using a pencil or fine marker, leaving the sides lighter. Finish with a few narrow leaves drawn as thin curved lines with tiny tips.
Common mistakeDon’t shade the entire bud — full shading kills the airy lavender look.
6. Tulip Bud Pair with One Leaf Ribbon
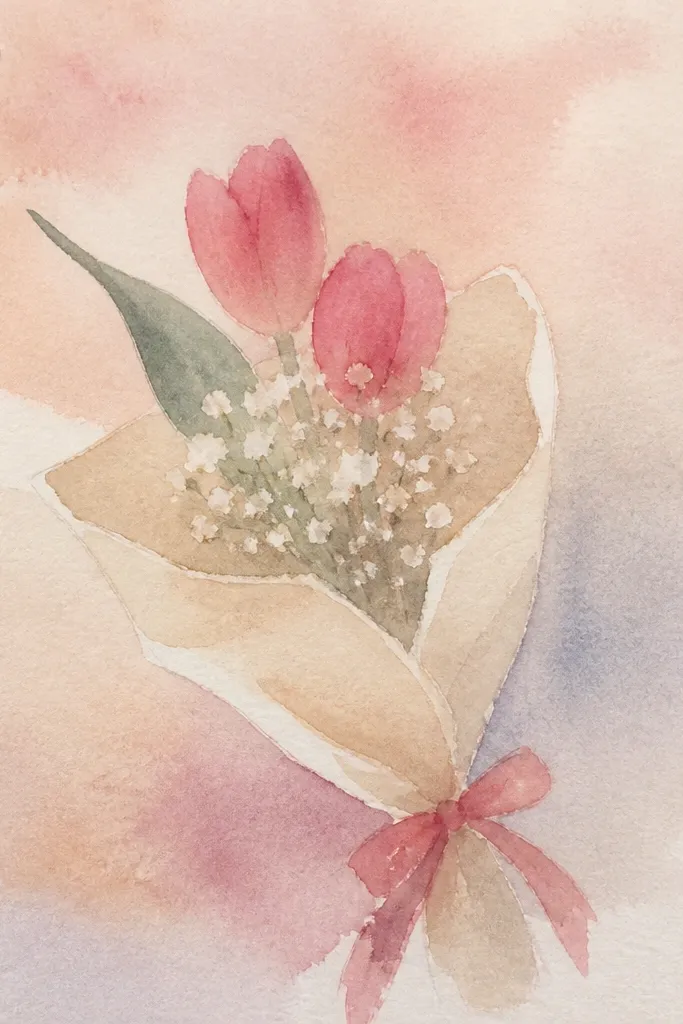
Two tulip buds are dainty when they’re spaced like parentheses and supported by one clean leaf shape. This idea uses a single “leaf ribbon” to guide the eye, so the bouquet looks styled rather than scattered. The tulip bud petals are simple teardrops with a folded center — easy to draw, hard to mess up. It photographs beautifully because the buds create a neat vertical rhythm.
Good to knowUse one leaf ribbon, not many leaves — it keeps the composition dainty and balanced.
Draw two stems that meet at the bottom, then split into two tulip buds. For each tulip, outline a teardrop bud and add a curved fold line down the center, stopping before the tip. Shade only the fold area lightly for dimension. Add one long ribbon leaf that curves across the stems, then finish with two small leaflets tucked under the buds.
Common mistakeAvoid drawing a tulip with too many petal layers; it turns into a rose and loses the tulip silhouette.
7. Anemone-Like Bloom with Dot Center
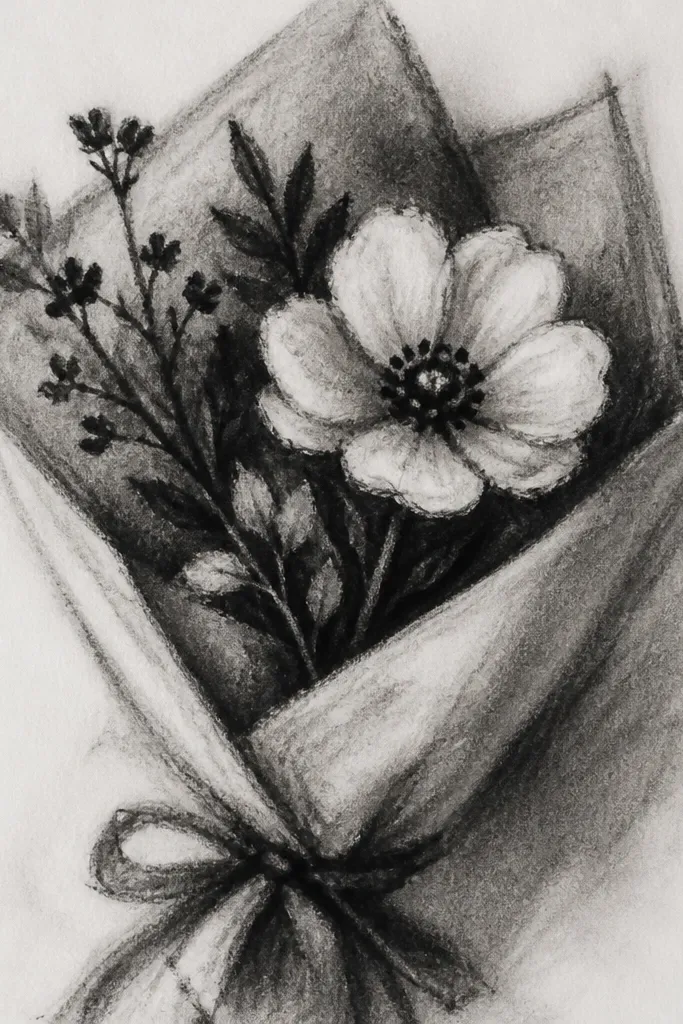
Anemone-style flowers look delicate because the center is detailed while the outer petals stay soft. This drawing gives you a clear focal point: a ring of small petals around a dotty center, then a few tiny companion blooms. It’s a smart choice when you want “gorgeous details” without doing heavy shading. The dotted center makes the image pop in photos even with minimal color.
Good to knowKeep dot spacing even by tapping the pen lightly in small repeats.
Draw one main flower with 10-14 outer petals as slightly curved ovals. Create the center as a small ring, then fill the ring with 20-30 tiny dots using a fineliner. Add two small side blooms as simpler 6-petal shapes near the base. Finish with 5-7 comma leaves and a light stem line.
Common mistakeDon’t over-enlarge the center; a huge center makes the bouquet look cartoonish.
8. Cherry Blossom Sprig with Falling Petal Confetti
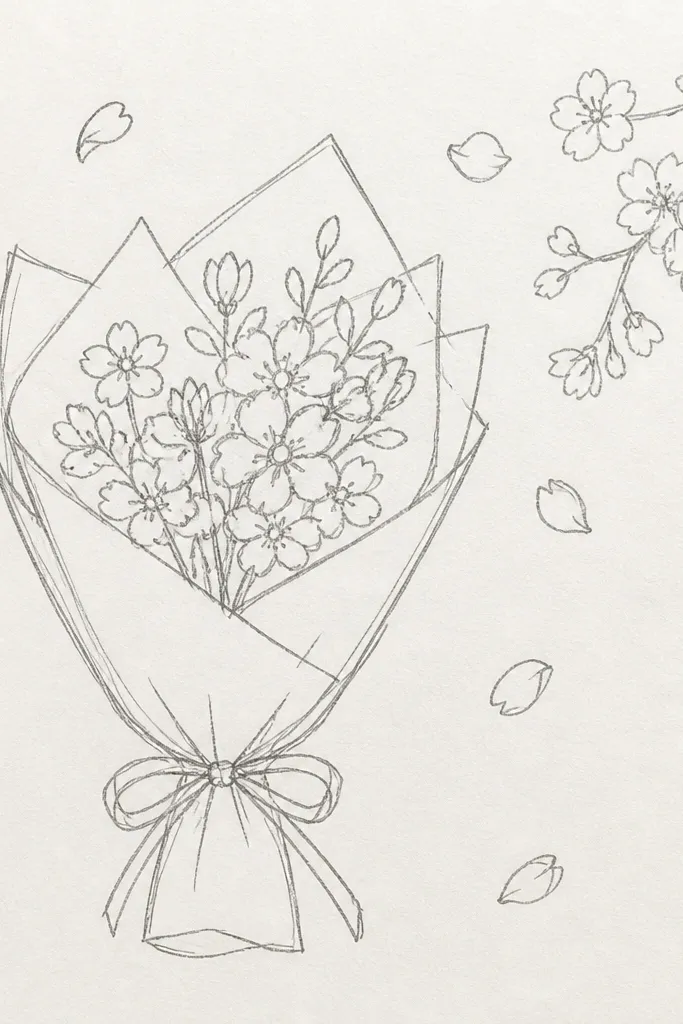
Cherry blossom sprigs look airy and dainty because the petals are tiny and the composition has built-in motion. This idea uses a few clusters along a thin branch plus scattered petal confetti around them. The confetti gives you that “gorgeous details” look without filling the whole page. It also works for year-round art because you can keep shading minimal and treat it like a light sketch rather than a seasonal poster.
Draw a curved branch line, then place 3-4 small blossoms along it. Each blossom is a five-petal flower around a tiny center dot, with petals slightly separated. Add 6-12 loose petal shapes around the branch — simple teardrops and tiny curved ovals. Shade the center dots and lightly darken petal bases where they meet the center.
Use a different line weight for the branch than the blossoms so the blossoms float.
Don’t outline every confetti petal heavily; use lighter lines so it stays delicate.
9. Garden Rose + Buds with Negative-Space Bouquet Base
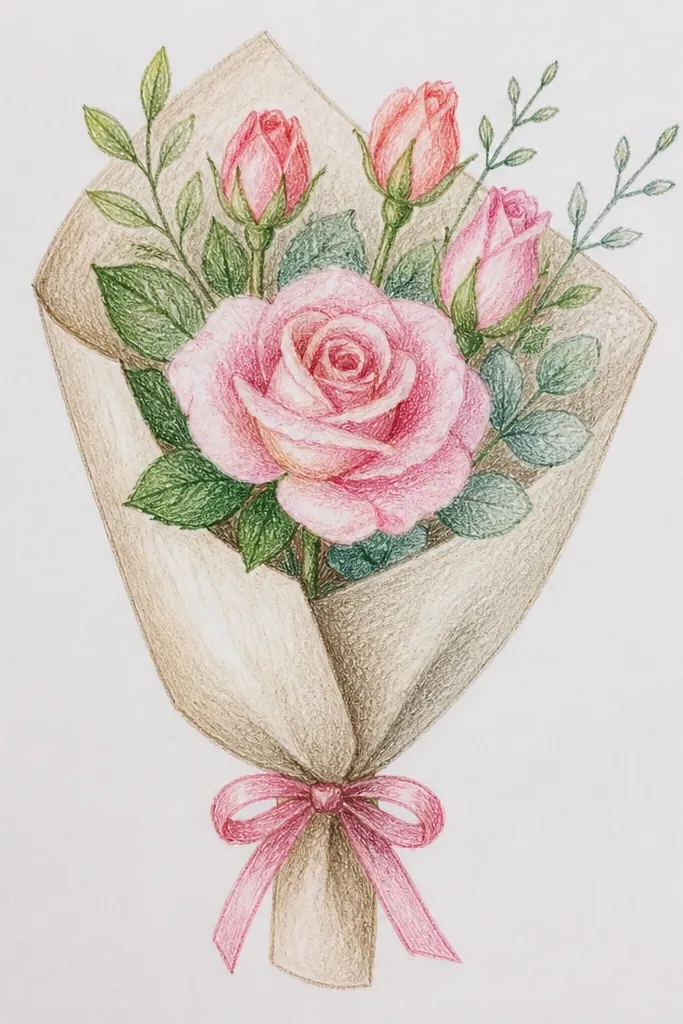
This drawing is made for clean, photogenic composition. The main rose is detailed enough to be the focal point, but the buds are kept small and spaced with open white space. The negative-space base — where you leave the area under the bouquet mostly blank — makes the whole drawing look lighter and more intentional. It’s also a good choice if you’re practicing “gorgeous details” because you get room for line work without overcrowding.
Good to knowLeave at least one finger-width of blank space around the rose silhouette in your first draft.
Sketch one main stem and draw the rose as a spiral of 12-16 petal shapes, starting tight at the center. Add 4-6 small buds as tiny circles or teardrops around the rose, leaving clear gaps between them. Draw a few thin leaf lines only on the sides of the bouquet so the center stays open. Finish by tracing the outer rose petal edges with a pen and shading only inside the rose’s spiral.
Common mistakeDon’t add a thick bouquet wrap line at the base; it makes the drawing look heavy.
10. Clover-Leaf Bouquet with Tiny Forget-Me-Not Stars
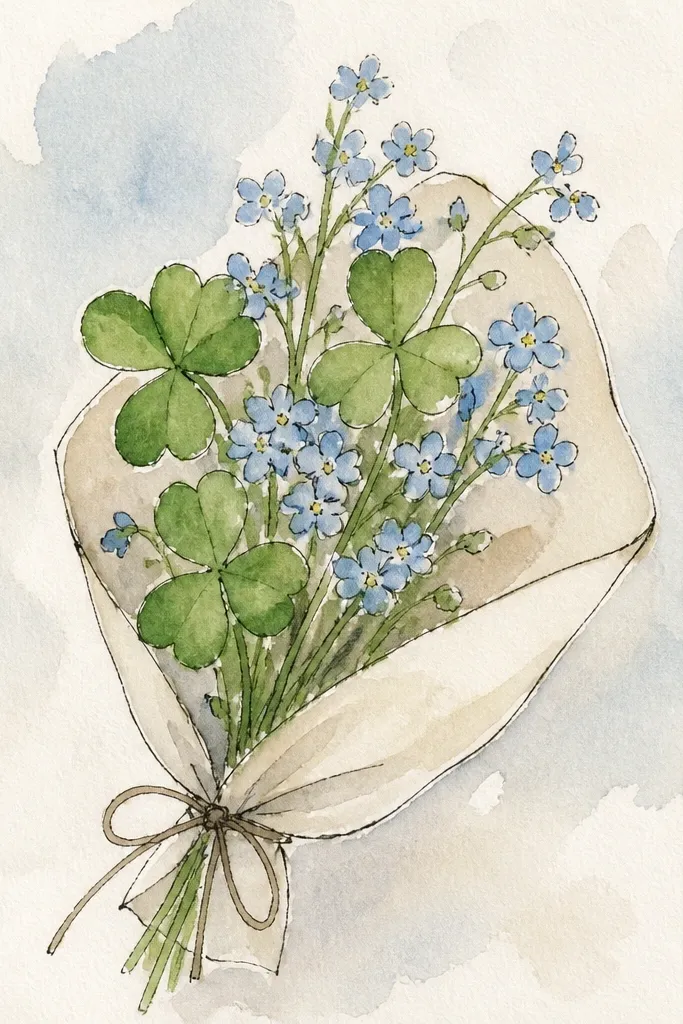
This idea looks dainty because it pairs big-simple leaf shapes with tiny star flowers. The clover leaves create a soft structure, while the forget-me-not stars add visual sparkle. You get gorgeous detail without needing complex petals — the star shapes and centers do the work. It’s also easy to scale for holiday tags because the clover leaves read clearly even when the drawing is small.
Good to knowCluster the stars in one side of the bouquet so the silhouette stays clean.
Draw a short curved stem and add three clover leaves near the base, each made of three rounded lobes. Add 10-14 tiny five-petal star flowers along the upper stem — each star is easy: five teardrops around a small dot. Add one small leaf sprig to frame the stars. Shade the star centers darker and keep the clover leaves light with only a few line veins.
Common mistakeAvoid drawing too many clover leaves; it turns into a plant sketch instead of a bouquet.
11. Wreath-Style Mini Bouquet in a Half-Circle
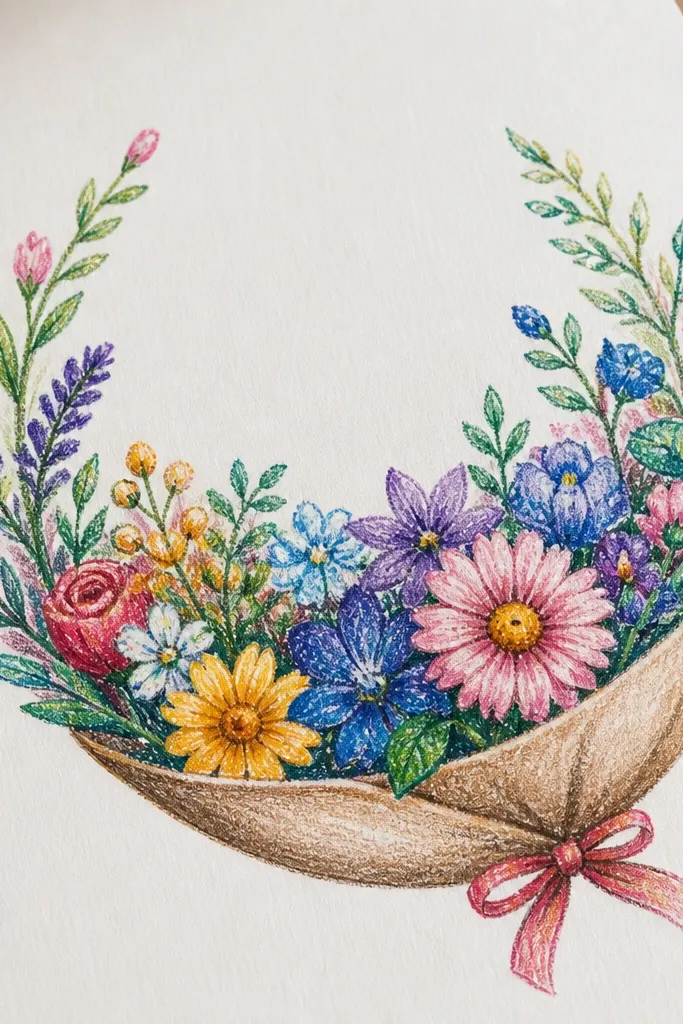
A half-circle bouquet looks “styled” because it frames the flowers like a wreath without filling the entire page. This makes it great for holiday seasonal art: it reads like ornament placement even when the flowers are simple. The key is consistent spacing — the flowers sit along a curve, so the drawing looks intentional. It’s also very photogenic because the open bottom area lets your background stay airy.
Good to knowUse a pencil guide arc, then erase — your final lines should feel free, not ruled.
Draw a faint half-circle arc as your guide. Place small blooms along the arc: use either mini daisies, tiny rosebuds, or simple 5-petal flowers, keeping them all about the same size. Leave the bottom center mostly blank so the bouquet feels light. Add small leaf sprigs between flowers and outline the most important outer petals with a pen.
Common mistakeDon’t crowd the arc; leave gaps or the wreath becomes a dark ring.
12. Anthurium-Like Leaf + Rosebud Bouquet Mix
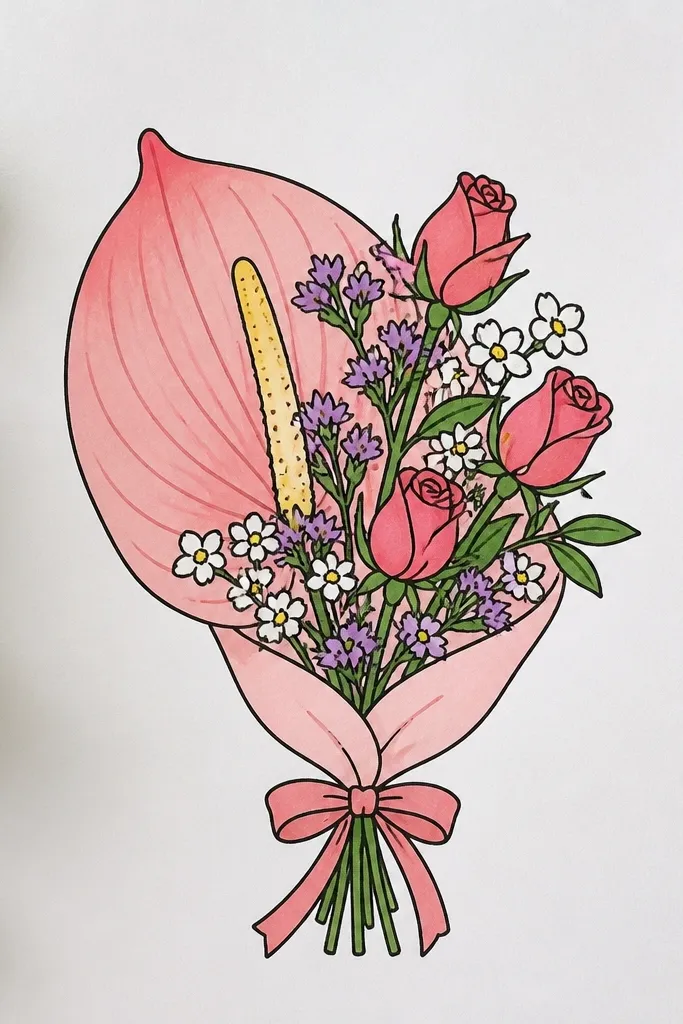
Mixing one bold leaf shape with tiny rosebuds is how you get that designer look without drawing a ton of petals. The leaf provides a strong silhouette, while the rosebuds keep the bouquet dainty. This works especially well for holiday-themed seasonal art because the leaf shape can hint at winter greenery without being literal. For photos, the elongated leaf gives you a diagonal line that makes the whole drawing feel dynamic.
Draw one elongated leaf using a heart-to-oval shape with a pointed tip, then add a midrib line. Place two rosebuds at the base of the leaf, facing slightly different angles — each rosebud is a small spiral of 6-8 petal wedges. Add 8-12 tiny filler dots or small bud dots around the buds. Outline the leaf edges and shade the rosebud centers lightly for contrast.
Keep the leaf line smooth and single-pass; extra sketchy lines make it look messy.
Don’t add multiple large leaves — one leaf keeps the bouquet dainty and readable.
13. Sunflower Mini Bouquet with Petal Slits
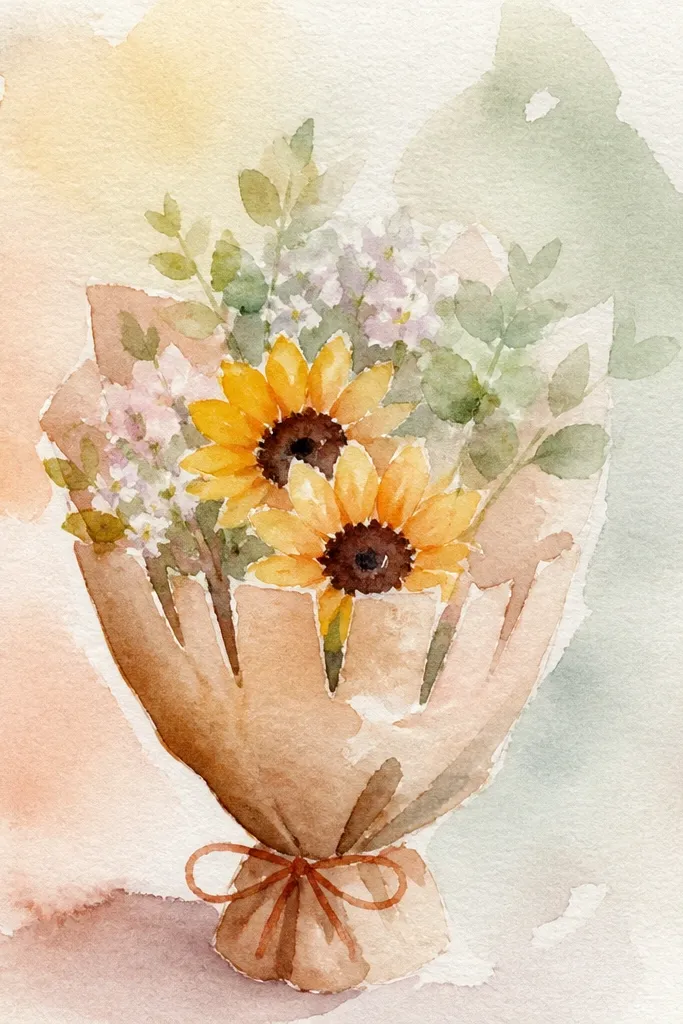
Sunflower mini bouquets can look dainty instead of chunky if you draw narrow petals with clear separations. This design uses a small cluster of one main head and two smaller buds, so you get structure without heaviness. The center is where you add gorgeous detail: slitted lines or tiny arcs that suggest texture. It’s a great choice for holiday seasons because it still reads warm and cheerful year-round.
Good to knowKeep petal widths consistent — wide petals make it look like a cartoon sticker.
Draw three sunflower heads along one stem: one bigger center bloom and two smaller side blooms. For each sunflower, outline a circle center, then add narrow petals as thin curved shapes with small gaps. Shade the center with short slits or tiny arcs radiating inward. Add a few small leaves as simple almond shapes and lightly shade leaf veins.
Common mistakeDon’t fill the entire center solid black; leave lighter gaps for that delicate texture.
14. Dahlia-Like Layers with Curved Petal Ridges
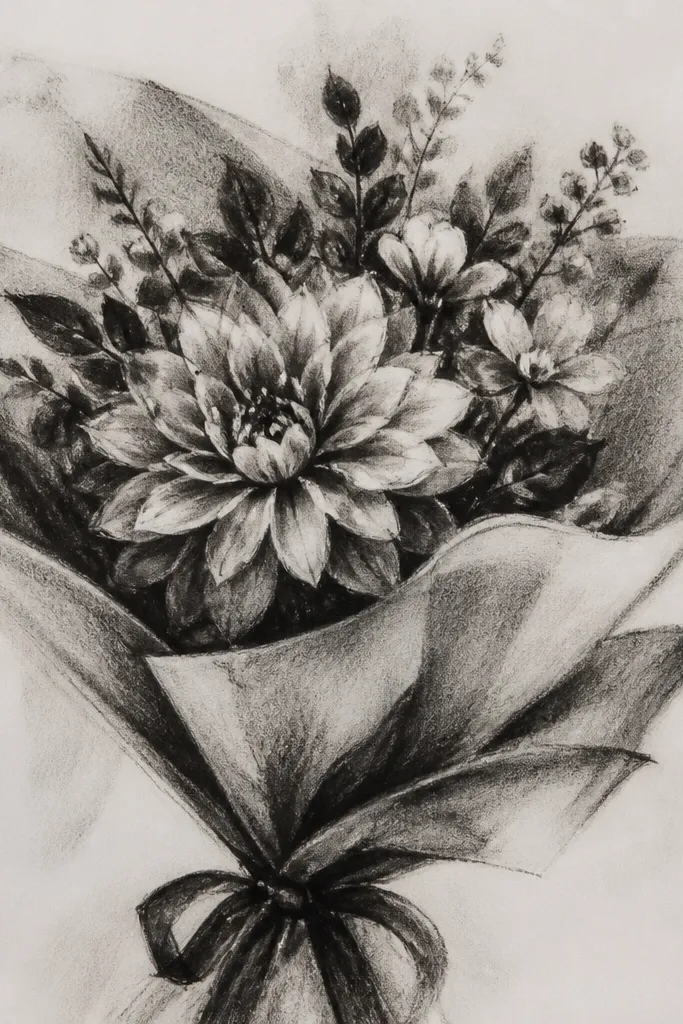
Dahlia-inspired drawings look gorgeous because the petals create repeating ridges. You don’t need a perfect dahlia to get the effect; you need consistent layering. This idea keeps layers controlled and dainty by using smaller petal groups and leaving the center less shaded. The result looks textured but still light — exactly what you want for a photogenic bouquet drawing.
Good to knowUse pencil first for the petal ridges, then go over only the outermost petal edges in pen.
Sketch one main flower head and draw the center as a small spiral. Add outer layers as curved petal strips that overlap like scallops, 5-7 strips per layer. Work outward in three layers, each slightly larger than the last. Add two small side buds as simple circles with petal hints and finish with a few thin leaves on the sides.
Common mistakeAvoid drawing dozens of tiny petals; three to four layers is enough for the dahlia look.
15. Hydrangea Cloud with Dotty Floret Texture
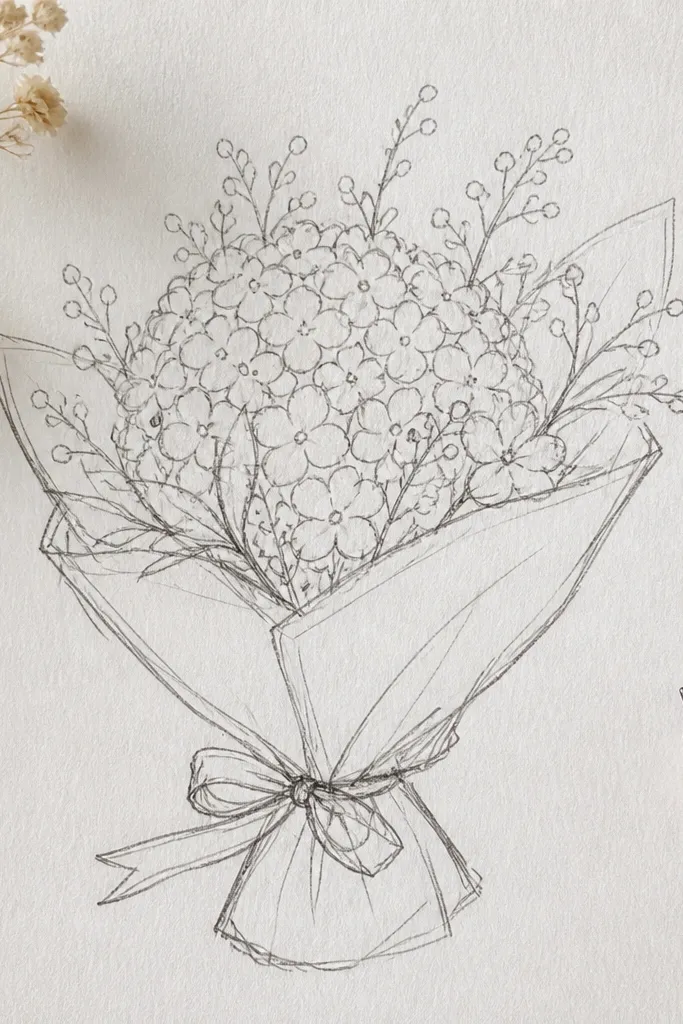
Hydrangea drawings look dainty when you treat the bloom as a cloud and texture it with dots instead of full petals. This idea creates a soft, rounded bouquet shape that looks full in a photo but stays delicate on paper. The dotty florets are the gorgeous detail — they catch light and create depth even without heavy shading. It’s also a strong year-round option because hydrangea shapes work with any color palette you pair later.
Draw a rounded cluster outline as a loose cloud shape around a central stem point. Fill the cloud with tiny circles and short teardrops in clusters, leaving some white gaps. Add a few small leaf shapes peeking from the bottom sides. Shade the base of the cloud slightly darker and leave the top lighter for a lifted look.
Keep dot size small and consistent, then vary density — dense at the bottom, airy at the top.
Don’t outline every dot; use dots only and let the cloud outline carry the shape.
16. Orchid Sprig with One Curved Lip Petal
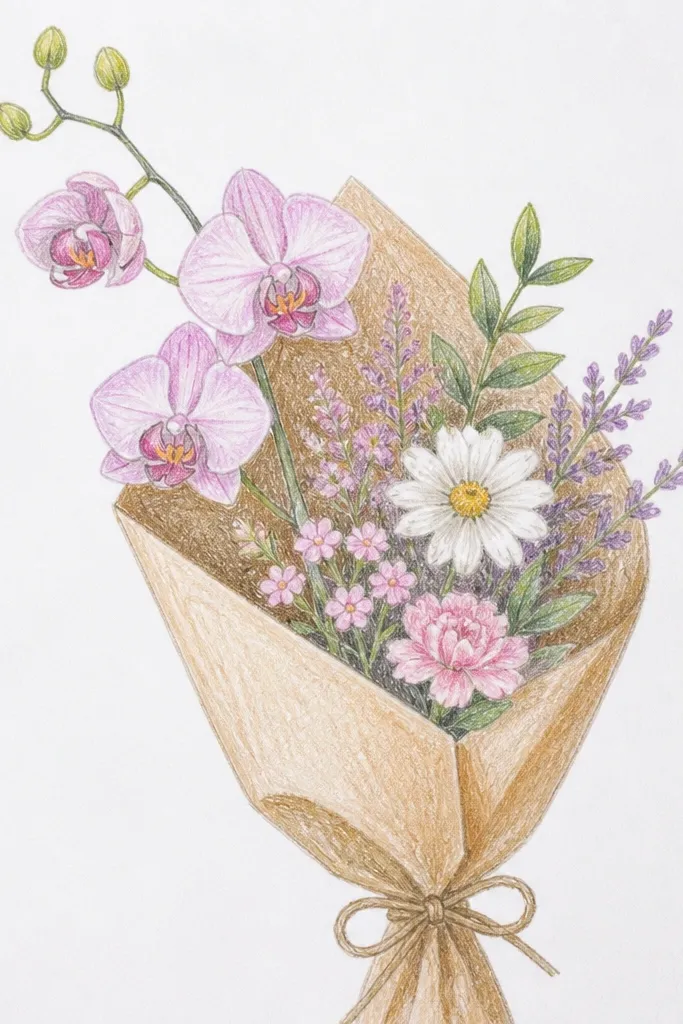
Orchid details look fancy even in a dainty bouquet because orchids have a distinct center petal. This drawing uses one curved lip petal as the hero and keeps side petals simple. Add a few thin leaf blades and you get a polished mini bouquet that feels intentional. It’s great for seasonal holiday art when you want something that looks “gift-like” without using obvious holiday icons.
Draw one slender stem and place two orchid blooms near the top. For each orchid, outline three side petals as simple ovals and add one central lip petal that curves downward. Draw two small lines branching from the lip to suggest veins. Shade only the lip base and add 3-4 thin leaf blades along the stem.
Use a slightly darker line on the lip petal outline so it reads instantly.
Don’t clutter the orchid with extra patterns; one lip detail is enough.
17. Rosebud + Sage Bundle with Soft Leaf Veins
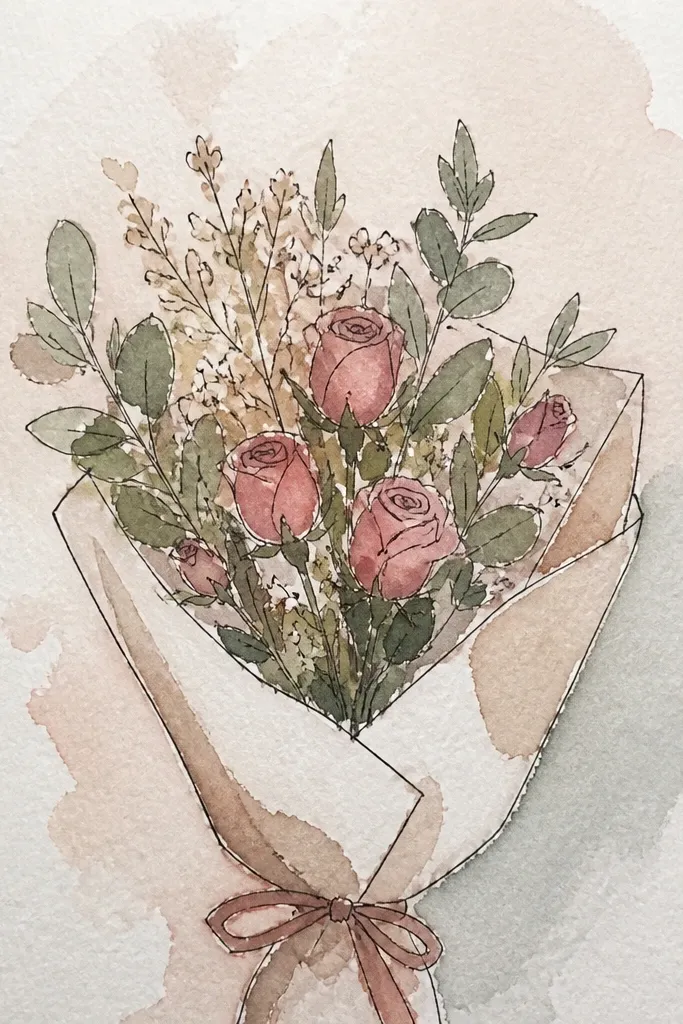
This one reads like a styled bouquet because the sage leaves add texture and movement while the rosebuds stay minimal. The key is leaf veining — few thin lines, not a full sketchy texture map. The rosebuds stay small and controlled, keeping the whole drawing dainty. For photos, the contrast between smooth bud shapes and leaf lines makes it look detailed without getting busy.
Good to knowKeep the veins light pencil, then go over only the leaf outlines in pen.
Sketch two rosebuds on a short stem, each as a spiral of 6-8 petal wedges with a lightly shaded center. Add 4-6 sage leaves as narrow ovals with a pointed tip, arranged around the buds. Draw one midrib line on each leaf and 2-3 short side veins. Finish with a few tiny filler dots near the buds and lightly outline only the outer leaf edges.
Common mistakeAvoid thick dark shading on the leaves — it makes sage look heavy.
18. Bellflower Mini Bouquet with Twisted Stems
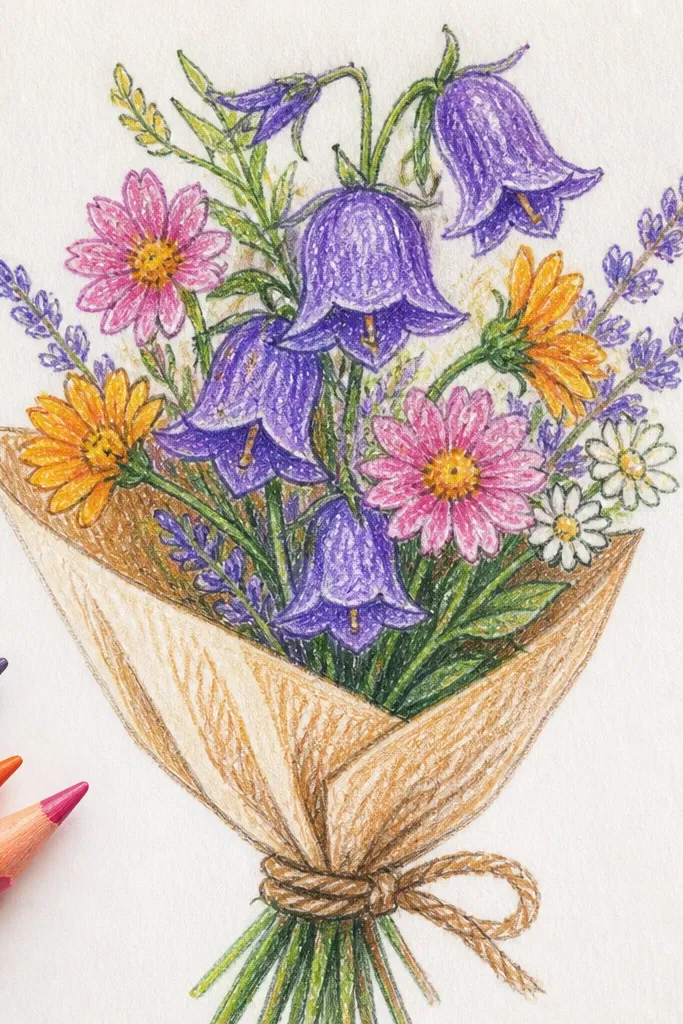
Bellflowers are naturally dainty because they hang and taper. This drawing uses twisted stems and three bell shapes to create a gentle rhythm that looks good in a photo. Keep the bell petals thin and separate so the flowers look delicate, not like filled blobs. Add a few tiny leaves and you get a bouquet that feels delicate even with minimal shading.
Draw one twisted stem line and split into two smaller stems. Sketch three bellflowers: each bell is an upside-down teardrop with a small notch at the top. Add 3-4 short lines inside each bell to show folds, then shade lightly near the bell opening. Add small comma leaves near the stem intersections and outline the bell edges lightly in pen.
Twist the stem slightly in one spot only — too many twists make it look chaotic.
Don’t fill the bells solid; leave the inside mostly white for daintiness.
19. Sweet Pea Cluster with Butterfly-Like Petals
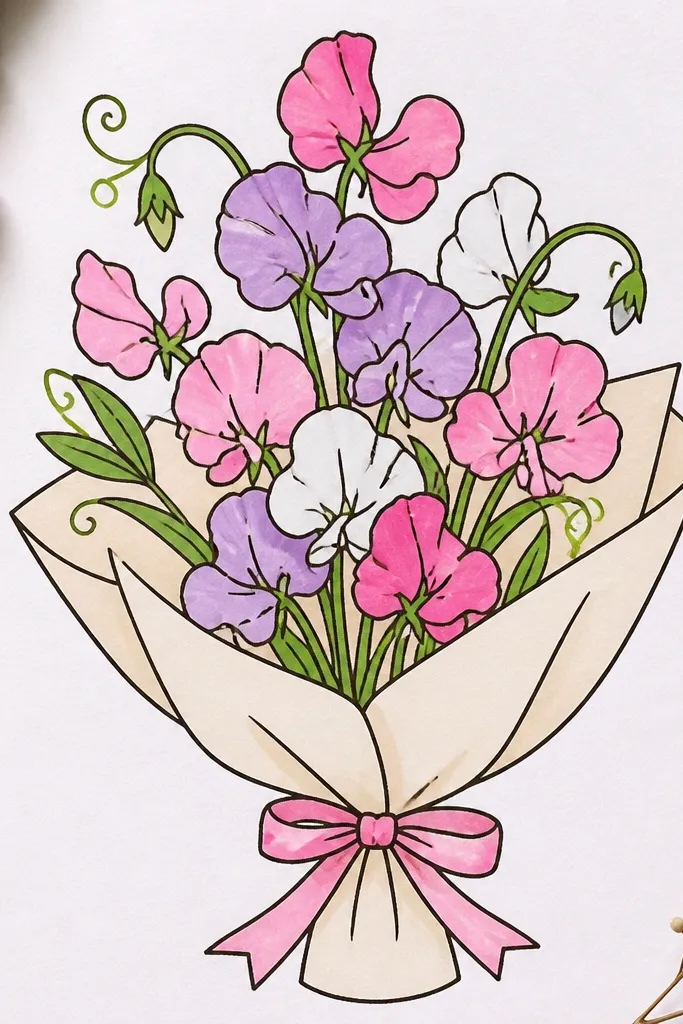
Sweet pea clusters look gorgeous because the petals have a butterfly-like shape and the tendrils add motion. This idea keeps the cluster small and grouped, so it stays dainty instead of sprawling. The tendrils give you extra detail that reads well in photos, even when the flowers are light. It’s a strong year-round option because it feels airy and romantic without being tied to one holiday.
Start with a stem and add a few curling tendrils as thin lines that loop back on themselves. Draw 4-6 sweet pea blooms as butterfly shapes: a top petal and two side petals around a tiny center. Shade only the fold lines between petals using a light pencil pass. Add small leaves as simple ovals with a center line and keep them tucked near the tendrils.
Make tendrils thinner than stems — it keeps the bouquet delicate.
Avoid adding long, heavy leaves; they fight the dainty petal shapes.
20. Freesia-Like Sprig with Layered Inner Stripes
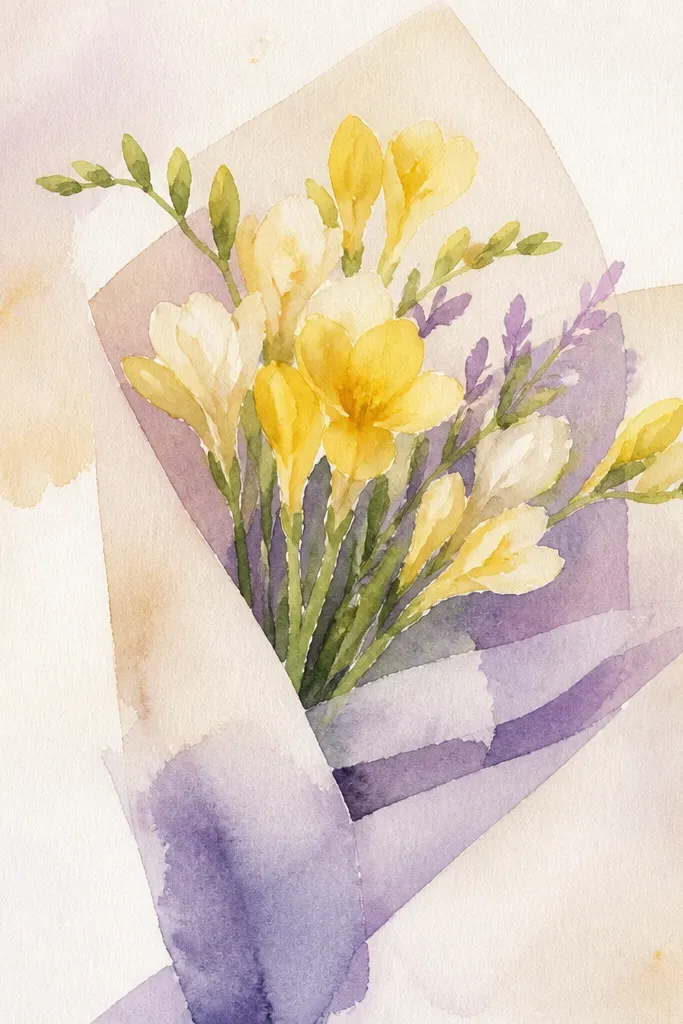
A freesia-like sprig is a cheat code for “gorgeous details” because the layered petals and inner stripes create depth with minimal work. Keep the flowers small and stagger them along the stem so the bouquet looks full but still light. The inner stripes are what make it feel delicate and polished. This drawing is ideal if you want something that looks refined in a photo without using color.
Good to knowUse consistent stripe length on each flower so the whole sprig looks coordinated.
Draw a main stem with two short side branches. Add 10-14 flowers as small teardrops that overlap, each with a faint inner stripe line down the center. For dimension, outline the outer edge of each flower slightly darker, then keep the stripe lighter. Add a few narrow leaves as long ovals and place them off to one side for balance.
Common mistakeDon’t thicken every stripe; only the outer edges should carry weight.



