
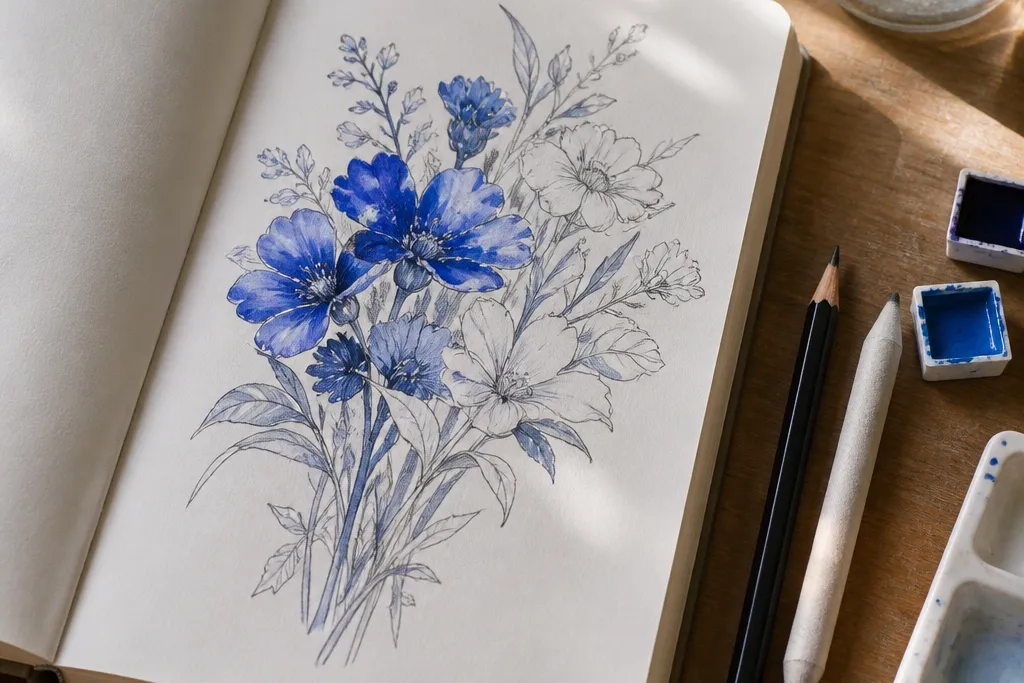
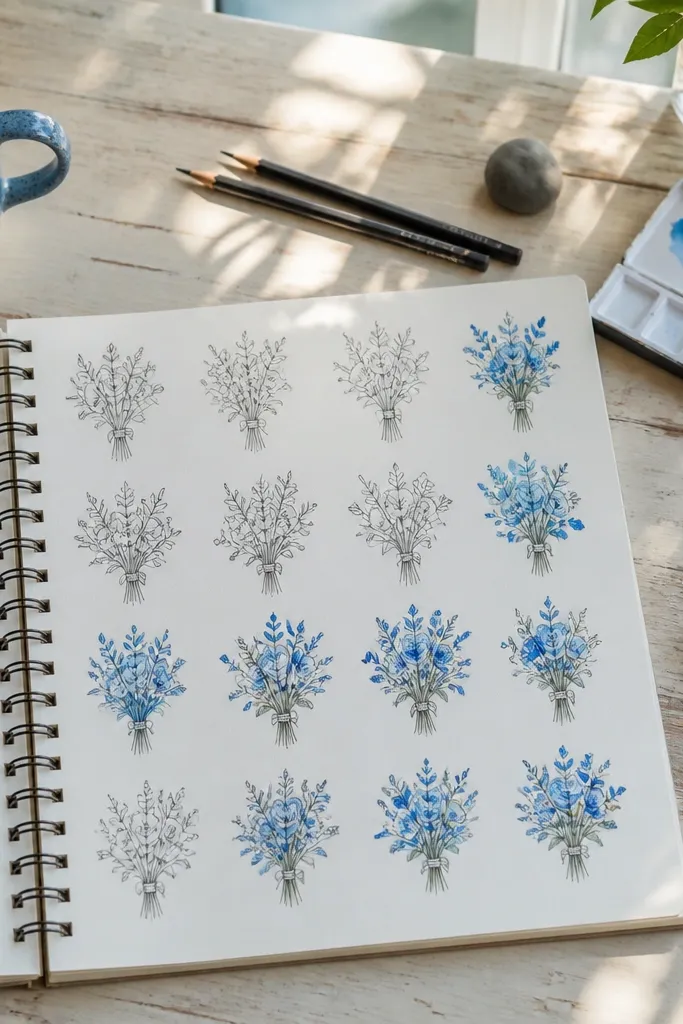
1. Denim-Blue Daisy Cluster on Off-White Paper
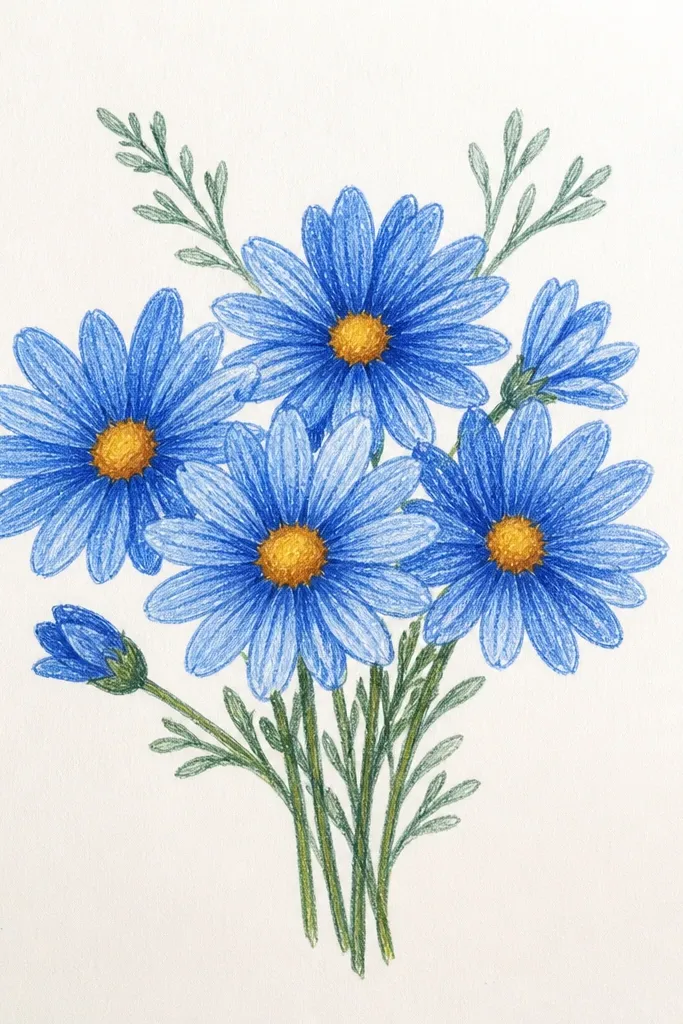
Step 1: Lightly sketch a loose cluster shape, then draw one center circle and mirror the petal ovals around it. Step 2: Add stems as two main curves and connect smaller stems with short lines, then shade only the lower edges of petals. Step 3: Color centers with a warm neutral (light brown or warm gray) so the blue pops, then finish by deepening 6-8 petals with denim blue for depth.
Start with 5-7 daisies drawn as circles with 10 tiny oval petals each. The easy part is the repetition: once your oval size matches, every bloom looks consistent. Use two blues — a light sky blue for petal bases and a deeper denim blue for the underside shadow. Leave the top half of each petal paper-white so the bouquet looks airy instead of flat. This one is great for quick wall art or greeting cards because it reads clearly even when the drawing is small.
Common mistakeAvoid shading the top half of petals — it kills the bright, easy look.
Good to knowUse the paper-white highlight as your “shine.” Don’t color over it at all.
2. Forget-Me-Not Sprigs with Tiny Five-Petal Stars
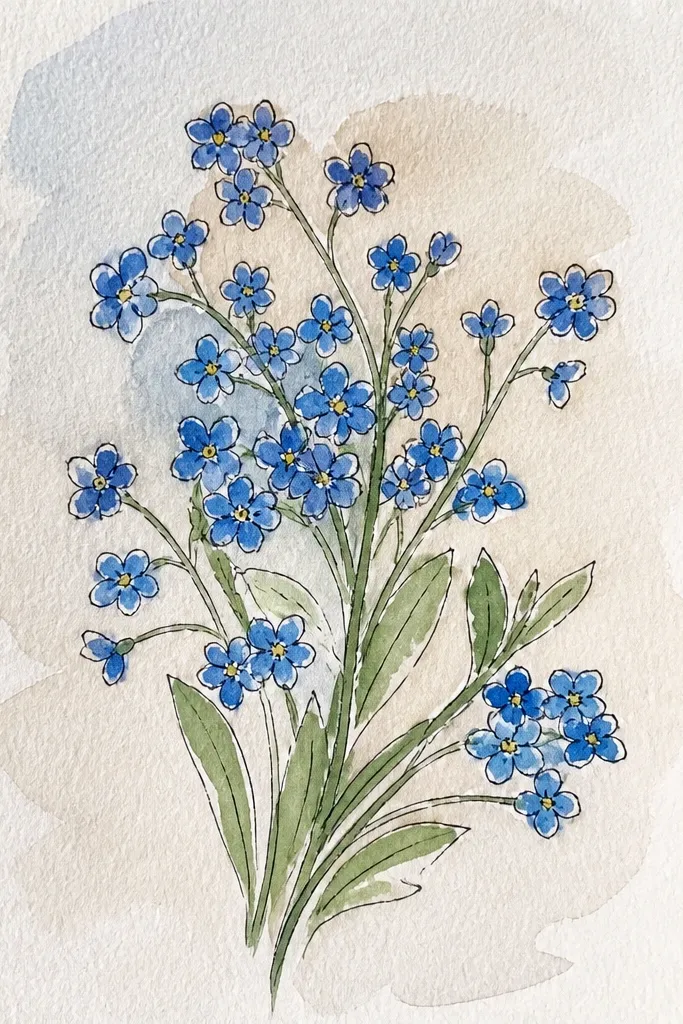
Forget-me-nots are ridiculously forgiving because each flower is basically a tiny star with five petals. Draw 12-20 of them in a loose spray, then vary spacing so it doesn’t look like a sticker sheet. For the blue, use a light blue for the petals and a darker blue ring near the center to suggest the fold. Add one or two small leaves as simple blades to keep the bouquet from looking like floating dots. This is a strong choice for beginners because the shapes are small and the drawing stays “easy” even when you pack it with flowers.
Step 1: Draw 2-3 thin curved stems and place tiny five-petal stars along them, each petal as a teardrop pointing outward. Step 2: Color lightly with a light blue, then darken only the petal bases where they meet the center. Step 3: Add 6-8 small leaf blades behind the sprigs, then outline stems lightly so they stay visible through the blue.
Keep your star size consistent by using the same pencil pressure for every flower.
Don’t outline every petal in dark blue; it turns the whole sprig into a heavy blob.
3. Cornflower Bouquet with Simple Petal Rings
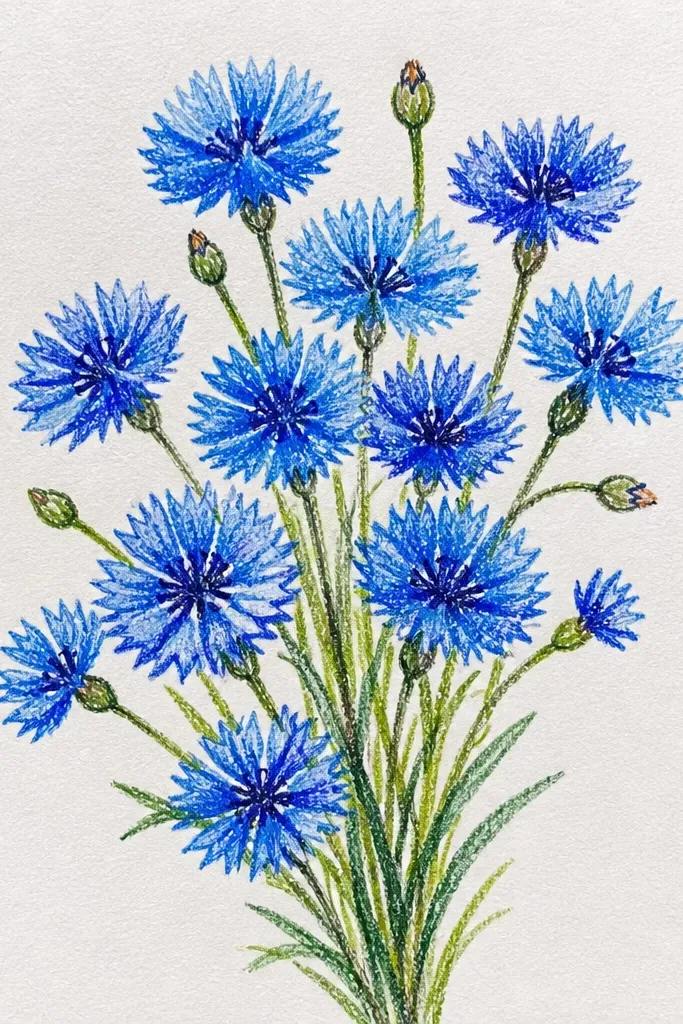
Step 1: Sketch the bouquet silhouette, then draw each bloom as a center circle with two oval rings. Step 2: Shade the underside of petals with a deeper blue, leaving the top edges lighter. Step 3: Add a few curled leaf shapes behind the blooms and lightly reinforce stem lines so the bouquet doesn’t drift.
Cornflowers look detailed, but you can draw them with two rings of petals. Start with a center circle, add a ring of short ovals, then a second ring slightly larger. The bouquet looks realistic fast because each bloom has a natural structure for shadows. Use a mid blue for the first ring and a deeper blue for the bottom edges of both rings. Keep the top edges lighter so the petals look curved. This is ideal if you want “easy but not childish” results.
Common mistakeAvoid overworking shadows inside the center — keep the center simpler than you think.
Good to knowRotate the petal ovals slightly between flowers so they don’t line up like a pattern.
4. Blue Rose Spiral with Teardrop Petals
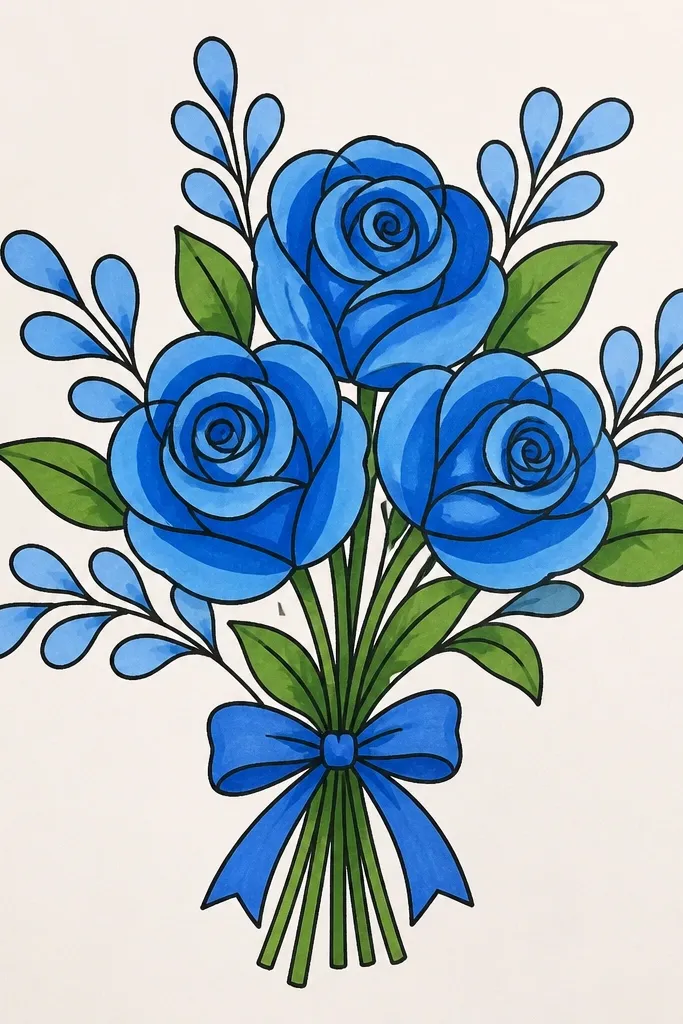
Step 1: Sketch a small spiral in the center, then add teardrop petals following the spiral outward. Step 2: Shade each petal starting at the inner fold with a darker blue, then blend outward with the mid blue. Step 3: Add two buds as half-spirals and draw a few simple leaves at the bottom for a finished bouquet feel.
A rose looks hard until you reduce it to a spiral of teardrops. Draw 1-2 big blooms plus a couple buds, and the bouquet will feel lush without being complex. For blue roses, use a light blue base and then deepen folds with a darker blue along the inner curve of each petal. The key is leaving a narrow highlight strip on each petal — not a big white area, just a controlled lighter edge. This drawing works well in pencil because you can build the spiral gently. It also works in colored pencil if you layer lightly and stop before it gets waxy.
Common mistakeDon’t fill the whole petal with dark blue — the folds need gradients, not solid blocks.
Good to knowUse short strokes that follow the petal curve; straight strokes flatten the bloom.
5. Hydrangea Globe with Dot-to-Petal Texture
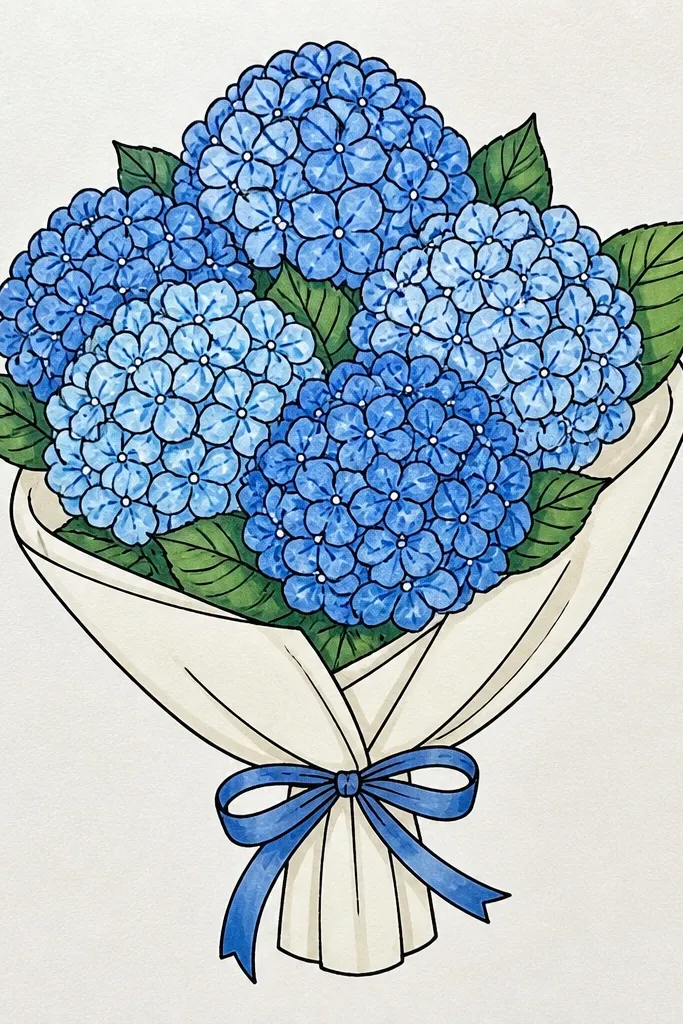
Hydrangeas are easy when you treat them as a texture map. Draw a big circle for the bloom, then fill it with many small marks that act like tiny petals. You’ll get depth by using three values: light blue for the upper cluster, mid blue for the bulk, and a darker blue for the lower edge and between clusters. This is one of the fastest ways to make a bouquet look full without drawing 100 distinct flowers. It’s also forgiving if your drawing lines aren’t perfectly neat.
Step 1: Draw 1 large circle and outline a second behind it for depth, then lightly mark clusters. Step 2: Color the top cluster with light blue, fill the middle with mid blue, and darken the bottom edge and gaps with deeper blue. Step 3: Add a short stem and two simple leaf shapes, keeping them minimal so the texture stays the focus.
Use a darker blue only in the “gaps,” not everywhere — gaps create shape.
Avoid turning each mark into a full petal outline; texture should look implied.
6. Blue Tulip Cups with One Side Shadow
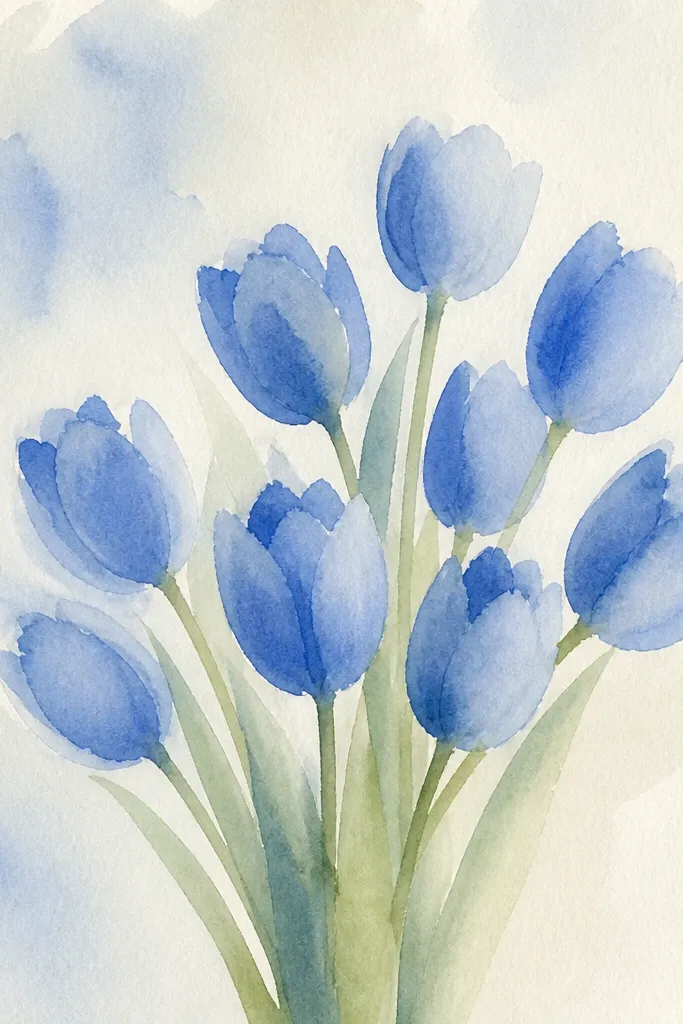
Tulips are clean and fast because each bloom is a cup. Draw a teardrop shape that narrows at the top, then add a split line down the center. For a convincing blue, shade only one side of the cup with a darker blue, keeping the opposite side lighter. Add a few stems that overlap so the bouquet looks arranged, not scattered. This is a great pick for colored pencil if you want an “instant bouquet” look with minimal blending.
Step 1: Sketch 6 tulips as teardrop cups with a center seam line. Step 2: Color the whole bloom with a light-to-mid blue, then deepen one side of each cup with a darker blue. Step 3: Add leaves as narrow curved blades and connect everything with two main stems that cross slightly.
Pick one consistent light direction and keep every shadow on the same side.
Don’t shade both sides of the tulip cup — that makes them look flat.
7. Blue Wildflower Mix with 3 Shape Vocabulary
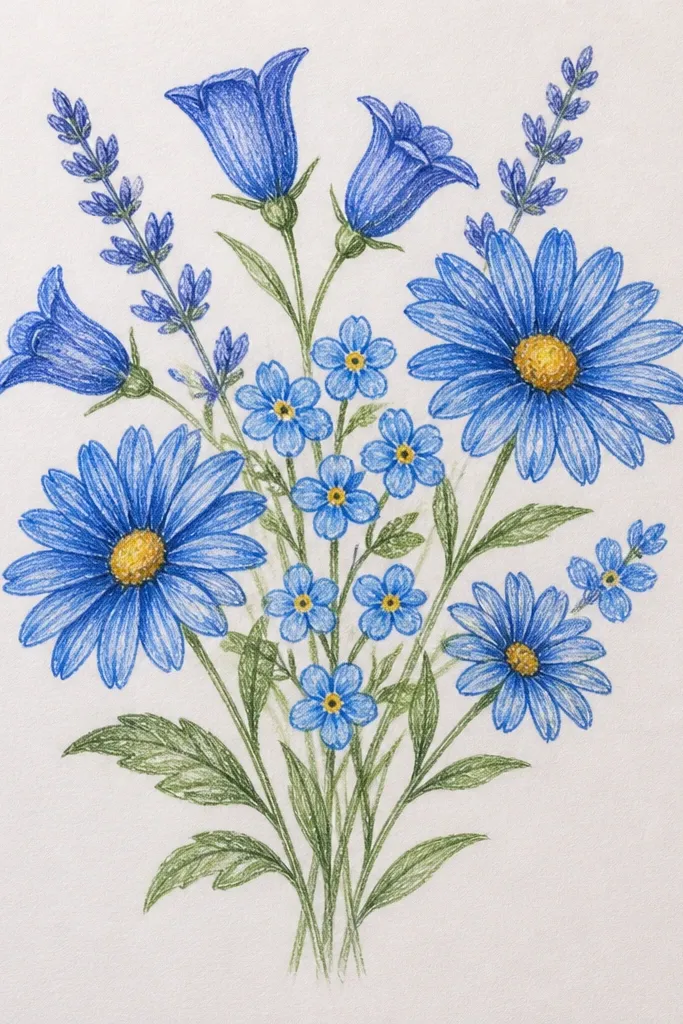
Step 1: Draw a bouquet outline shape, then place 3-5 stars, 3-5 small daisies, and 2-3 cups in different heights. Step 2: Shade each flower with the same rule: light base, darker shadow on the lower edge or inner fold. Step 3: Add thin stems and 5-8 leaf marks, keeping leaves simpler than flowers so the bouquet reads quickly.
This is the easiest “bouquet” approach because you limit the vocabulary. Use three flower types: tiny five-petal stars, small daisy ovals, and one simple cup bloom. Scatter them across a loose bouquet silhouette so the composition feels intentional. Keep blues consistent using one light blue and one darker blue for shadows. The result looks varied without becoming a detailed drawing. This one is perfect if you want the promise of “easy sessions” to be real — you can finish in one sitting.
Common mistakeAvoid adding extra flower types. Three shapes is what keeps it easy.
Good to knowIf you’re running out of time, stop adding flowers and add 2-3 stronger shadows instead.
8. Blueberry-Blue Bouquet with Rounded Petal Clumps
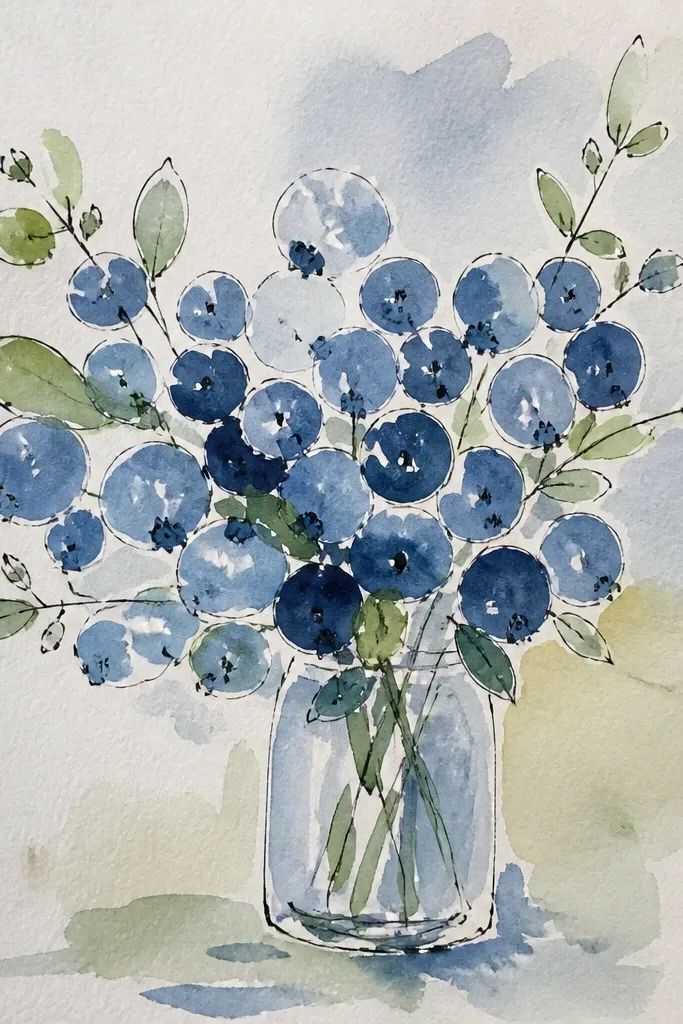
This style makes blue look rich without complicated realism. Each blossom is a clump of rounded petals drawn as small rounded shapes around a center. Color it with a blueberry tone — a medium blue for the main petals and a darker blue for the underside. Add a few light highlights by leaving small gaps uncolored on the top of each petal clump. It’s a great option for beginners because the petals don’t need perfect symmetry. You get a full bouquet in under an hour if you keep the petals small and grouped.
Step 1: Sketch 8-10 clumps across a bouquet outline, each clump using 5-7 rounded petal bumps around a tiny center dot. Step 2: Color the whole clump medium blue, then shade the bottom edges with darker blue. Step 3: Add stems as soft curves and place 2-3 bigger leaves at the base for balance.
Use a light hand on the first layer so you can deepen shadows later without muddying.
Don’t try to draw individual veins in leaves — keep them simple.
9. Color-Pencil Blue Bouquet with Pencil-First Outlines
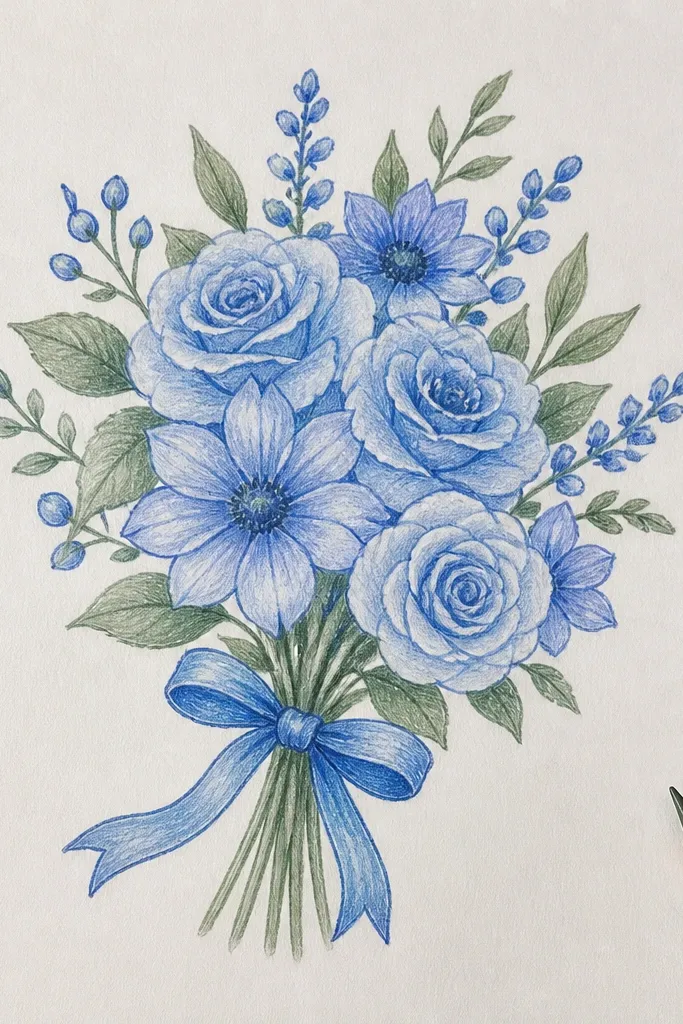
This is the control method when you want color without losing crispness. You start with a light pencil layout for stems, flower placement, and petal direction. Then you color in structured layers: mid blue first across petals, darker blue in folds, and paper-white highlights last. Pencil-first keeps your bouquet shapes aligned, so your “easy” drawings don’t drift. It also helps if your colored pencils are inconsistent in coverage. The final look is clean, readable, and still soft.
Step 1: Lightly sketch the bouquet silhouette and mark flower centers, then draw petal directions with quick strokes. Step 2: Apply mid blue to all petals lightly, then add darker blue only where petals overlap or fold. Step 3: Burnish highlights by gently going over the highlight strip with a lighter pencil or by leaving them untouched and sharpening the contrast with deeper folds.
Keep your pencil lines faint. Dark underlines show through and make the blue look dirty.
Don’t press hard on the first color layer; you can’t recover highlight paper-white areas.
10. Marker-Then-Pencil Blue Bouquets with Strong Contrast
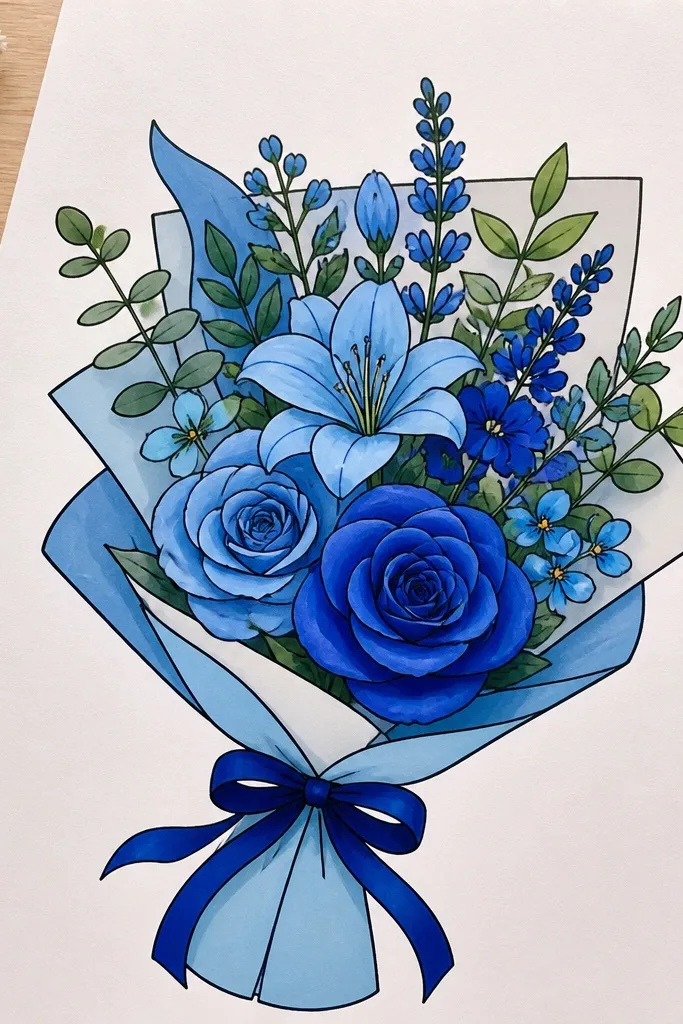
Markers make blue look bold and fast, and pencil makes it look controlled. Use a blue marker for quick mid-tone filling on petals, then add pencil shading only in folds and around petal overlaps. This combination works when you want the bouquet to look like a finished illustration, not a sketch. It also helps you avoid the “waxy buildup” problem that happens with colored pencils if you keep layering. Choose a marker with a fine tip so petals stay defined.
Step 1: Sketch the bouquet and draw petal outlines lightly, then fill petals with blue marker in one pass. Step 2: Add deeper creases with a darker colored pencil by following petal overlap lines. Step 3: Add paper-white highlights by leaving small uncolored edges and then sharpen them with a light pencil pass.
Use marker for flat fills, pencil for shadows. That division keeps it clean.
Don’t blend marker with heavy pencil over the same spot — it smears the edges.
11. Water-Soluble Pencil Blue Bouquet Wash with Crisp Stems
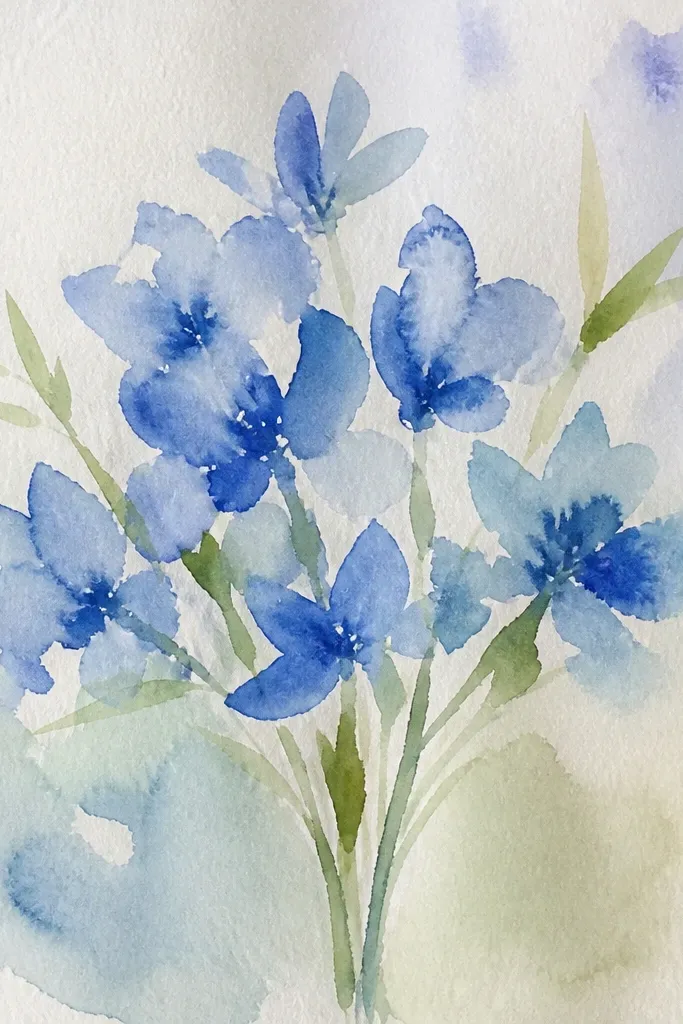
Water-soluble pencil is the fastest way to get smooth gradients in blue petals. Draw your bouquet in pencil first, then color petals with water-soluble blue and activate with a light brush. Leave stems and leaves mostly dry and crisp so the bouquet has structure. This style looks airy and painterly, and it’s forgiving for easy sessions because you can correct the intensity while the wash is still damp. It’s best on thicker paper that doesn’t buckle.
Step 1: Sketch stems and flower shapes, then color petals with water-soluble blue using light pressure. Step 2: Lightly wet a small area with a damp brush and pull the color outward to create gradients; deepen shadows by re-applying blue in small patches. Step 3: Let it dry fully, then add crisp stem lines with a regular pencil or fine pen.
Work in small sections. If you wet the whole bouquet at once, you lose petal separation.
Avoid soaking the paper. Buckling ruins the petal shapes you worked to keep simple.
12. Blue Buds and Open Blooms with One-Line Leaves
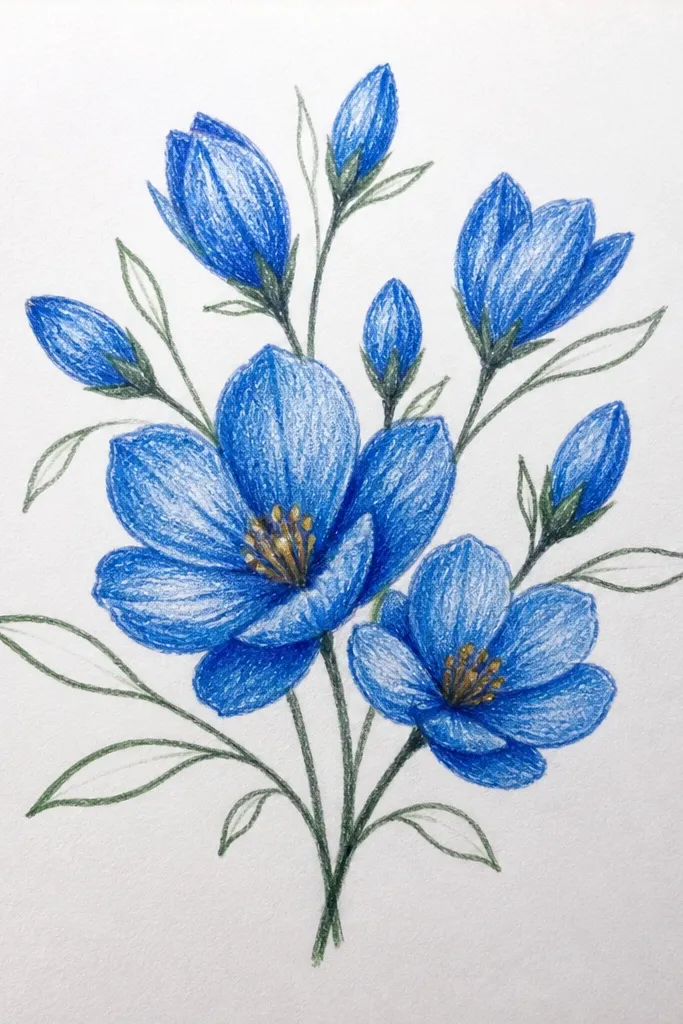
This bouquet style looks thoughtful because it mixes open flowers with buds. Buds are just small teardrops or half-cups, so they’re easy to draw and they fill space without extra work. Use light blue for buds and deepen the bottom with darker blue. For leaves, draw one clean line with a few short side strokes. The combination keeps the bouquet from looking empty while staying beginner-friendly. It also gives you a natural rhythm: open blooms catch attention, buds support the shape.
Step 1: Sketch 3 open blooms and 5-7 buds across a bouquet outline, then place a few leaves behind them. Step 2: Color open petals with light blue and add darker blue only at folds; color buds with a light base and a darker underside. Step 3: Add stems with two main curves so the bouquet looks tied together.
If the bouquet looks crowded, make buds smaller instead of removing flowers.
Avoid adding extra leaf detail. One-line leaves keep the drawing easy.
13. Blue Peony-Style Layers with Big Petal Blocks
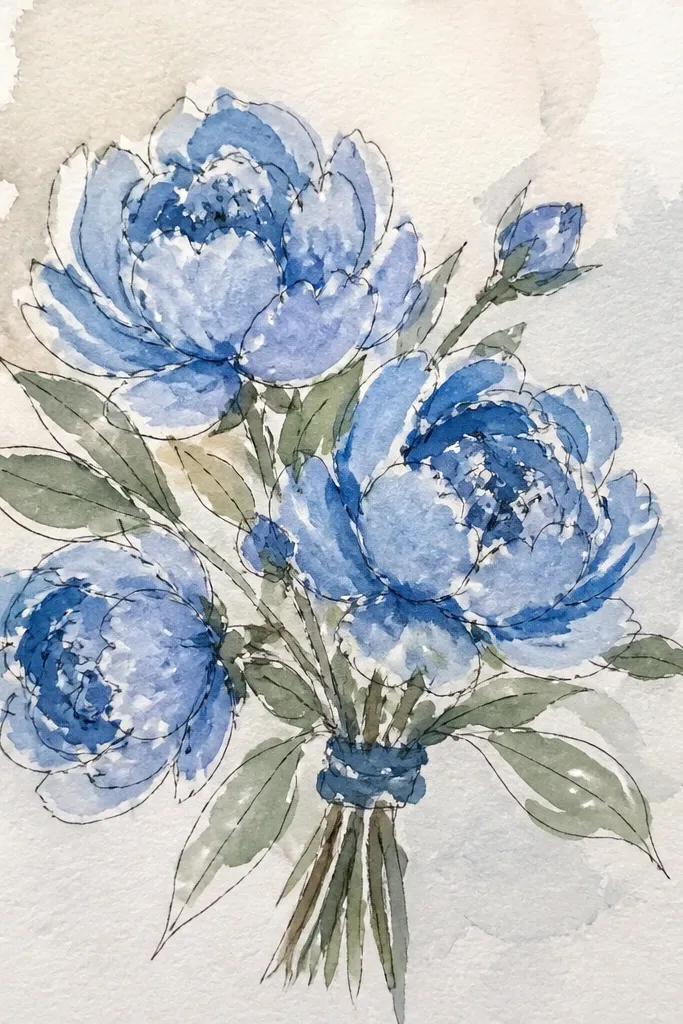
A peony-style flower is easy when you draw big petal blocks instead of tiny individual petals. Each layer is a rounded shape that overlaps the previous one. Use a light blue for the top layers and deeper blue for the lower layers and the overlaps. Leave narrow highlight edges on the top of each petal block so the bloom feels dimensional. This is a good choice if you want a dramatic bouquet look without fine realism.
Step 1: Sketch one large circle bloom shape and divide it into 3-4 layer zones using light arcs. Step 2: Draw rounded petal blocks inside each zone, then shade overlaps with darker blue. Step 3: Add a second bloom behind it and keep stems simple so the petals stay the focus.
Outline overlaps lightly with pencil before coloring. It makes the layering read instantly.
Don’t draw the peony like a rose spiral. Layers win for this style.
14. Blue Bouquet in a Simple Vase Silhouette
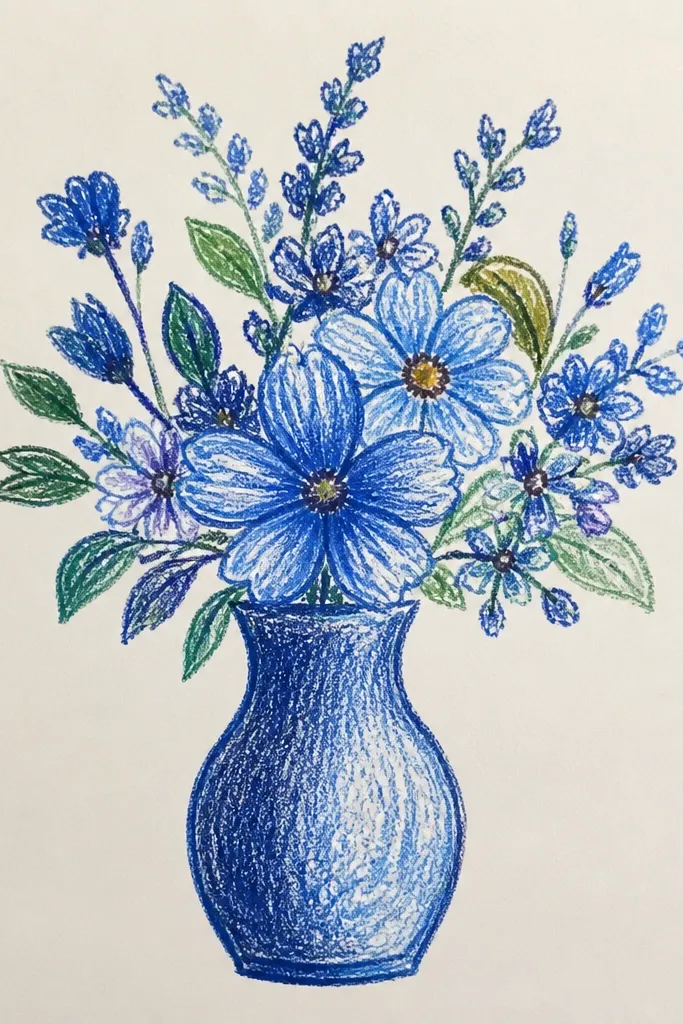
Step 1: Draw the vase first, then sketch flower placement points on top of the vase opening. Step 2: Color petals with light blue, then deepen folds and overlaps with darker blue. Step 3: Add 6-10 leaves as simple curved blades and lightly shade the vase rim so the flowers sit naturally on it.
A vase silhouette makes your bouquet look “finished” even if the flowers are simple. Draw the vase as a basic trapezoid with a narrow neck, then place flowers rising out of it. Use blue petals with a consistent value system: light top, mid body, darker folds. Add a few leaf shapes at the base to connect the bouquet to the vase. This one is perfect for easy sessions because the background stays clean and your focus stays on petal shapes and color.
Common mistakeAvoid complex backgrounds. A plain background is what keeps this easy.
Good to knowKeep the vase one value only. If you over-render the vase, the flowers lose priority.
15. Pencil Sketch Blue Bouquet with Eraser-Highlight Technique
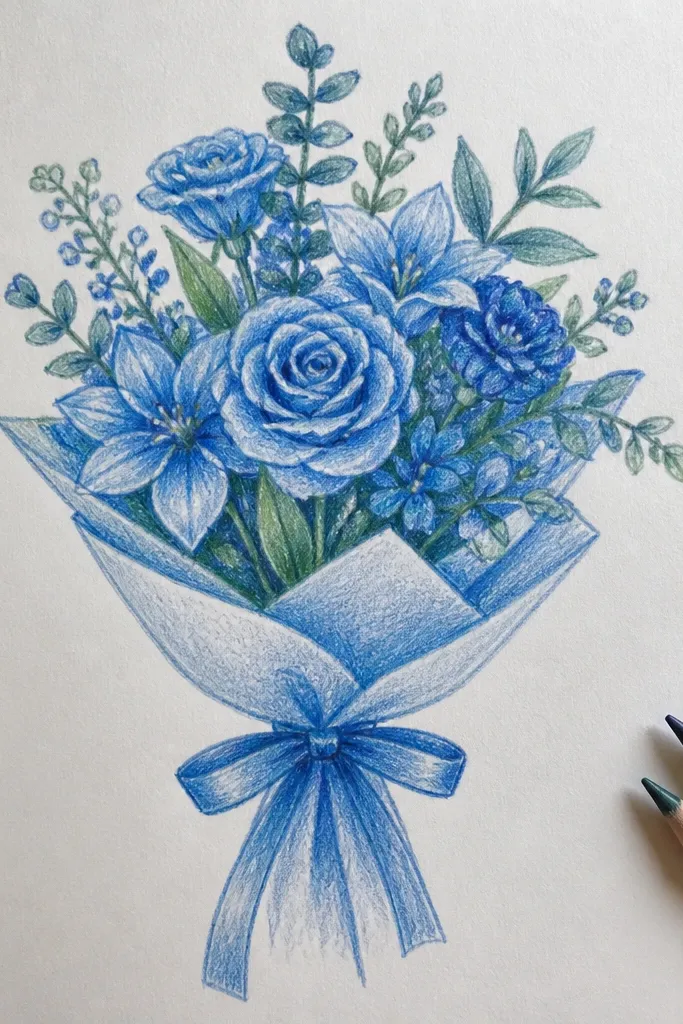
If you want a pencil drawing that looks brighter without heavy coloring, use the eraser-highlight technique. You draw your petals with light graphite, shade folds with a darker pencil, then lift highlights with a kneaded eraser. This creates crisp bright edges that colored pencil sometimes struggles to preserve once you’ve layered. The bouquet stays easy because you’re not blending endlessly. It’s especially good on smooth paper where graphite lifts cleanly.
Step 1: Sketch the bouquet lightly with a hard pencil (HB or 2H), then add darker graphite only in petal folds and overlaps. Step 2: Shade the petal undersides with short strokes, keeping the top half lighter. Step 3: Use a kneaded eraser to lift highlights along petal edges and around flower centers, then lightly re-darken only the shadow next to each lifted highlight.
Use a kneaded eraser, not a block eraser. It gives you controlled highlights without tearing paper.
Don’t keep erasing after you’ve added dark shadows — it smudges and dulls the contrast.



