
1. Spear Leaf with Center Vein Ladder
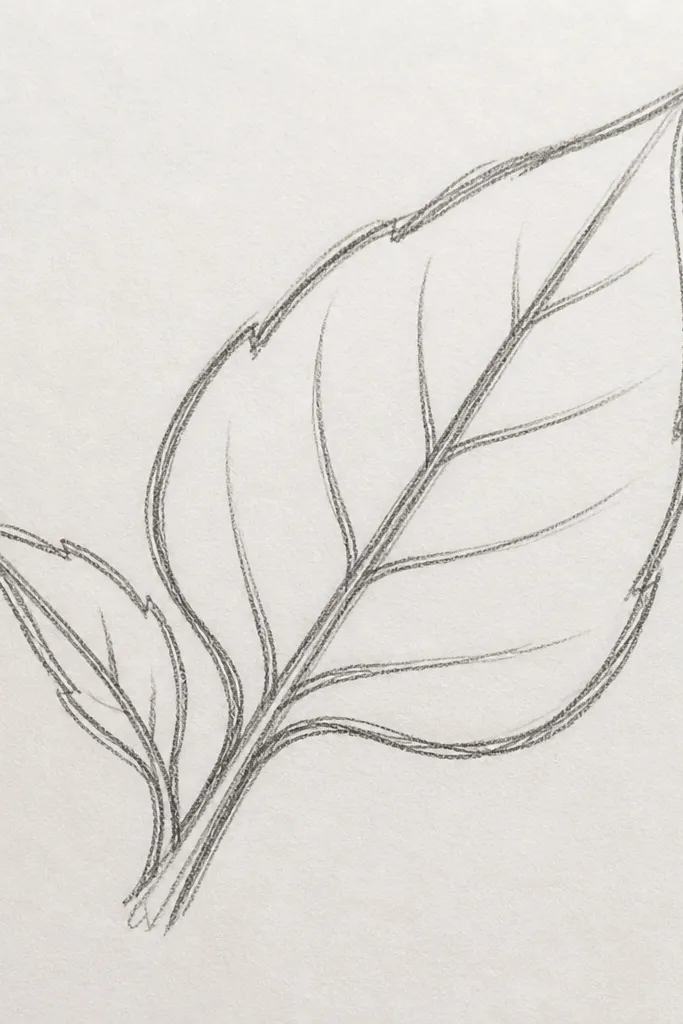
This leaf style is clean and readable, which is exactly why it works for a year-round sunflower drawing. Start with a spear shape that tapers at both ends, then draw one strong center vein. From that center line, add short angled “ladder” strokes on both sides, all the same length. It looks structured and calm, and it pairs well with loose sunflower petals because the leaf lines give the composition a steady rhythm.
First, lightly sketch an elongated spear leaf about 2.5 to 3 inches long, with a narrow tip and a slightly wider base. Then draw a single straight center vein from tip to base, and add 6 to 8 side vein rungs per side, angling them toward the tip. Finally, shade only the underside edge with 2-3 soft strokes using HB, leaving the top edge mostly unshaded.
Keep all side veins the same angle — slight consistency makes it look “designed,” not accidental.
Don’t shade the whole leaf — the clean outline is the point.
2. Oval Leaf with Curved Vein Bowties
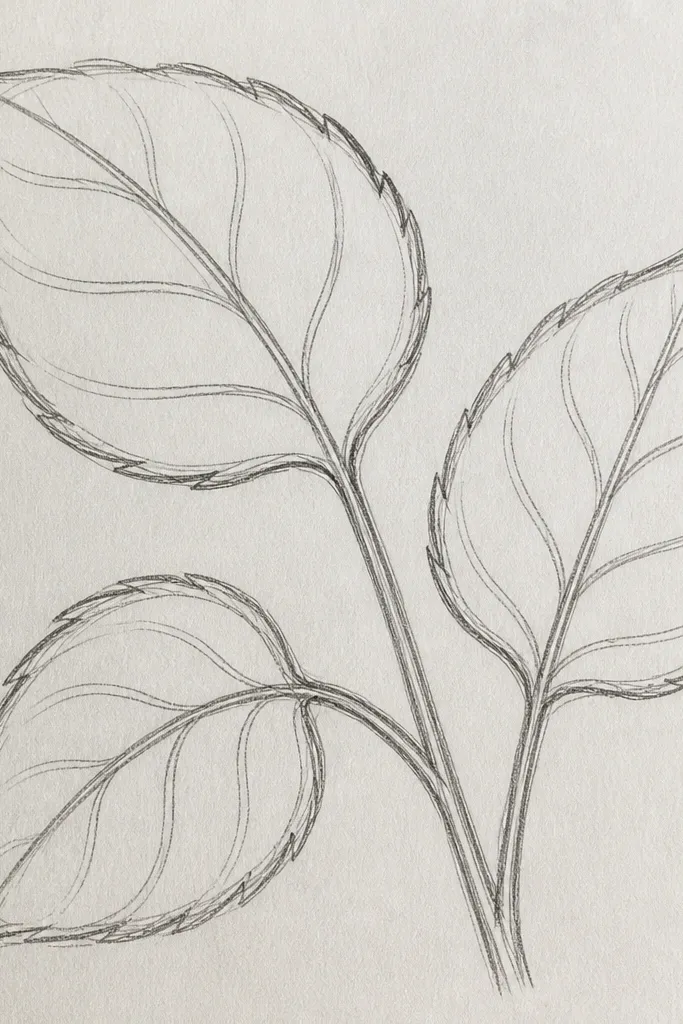
If your drawings look too rigid, this one fixes that. The oval leaf silhouette stays simple, but the veins curve like a gentle wave, which gives movement even in a small sketch. The “bowties” are small U-shaped vein loops that sit along the midrib, creating texture without clutter. This leaf is great for year-round sunflower drawing because it keeps the palette light and the shape readable across different paper colors.
Start by drawing an oval leaf with a slight point at one end and a rounded other end, about 2 inches wide. Draw a curved center vein that arcs subtly instead of staying perfectly straight. Then add 5 to 7 vein pairs that look like small bowties: each pair is a curved line that branches off the center and reconnects near the edge. Shade with a thin line along the lower outer edge using a 2B pencil.
Good to knowUse the same bowtie spacing on both sides so your leaves look symmetrical even when you tilt them.
Common mistakeDon’t add random extra veins — bowties are already the texture.
3. Lobed Leaf with Three-Point Fan
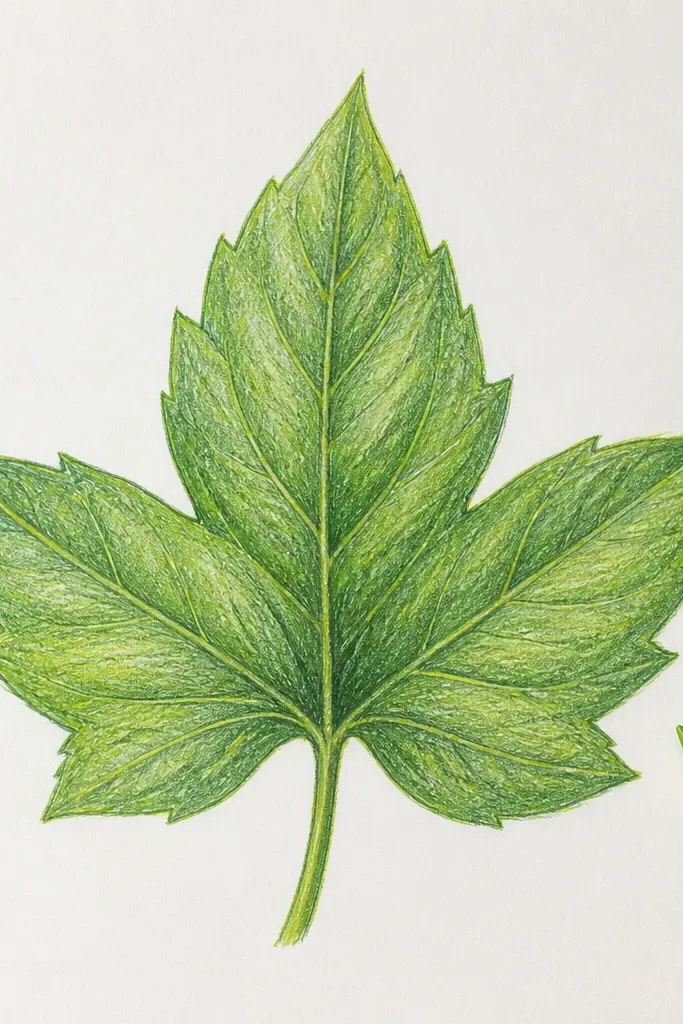
Lobed leaves add a “real plant” look fast, and they make your sunflower drawing feel dimensional. This design has three main lobes like a fan, so it reads well even when you draw small. The vein spread is the key: instead of one midrib dominating, you draw a forked structure that fans out, then you shade between the lobes. It’s one of the best options when you want a photogenic sketch for upcycled paper or a bookmark border.
Sketch a leaf outline with three rounded lobes — think of a clover-like silhouette but longer. Draw a center vein that splits into two branches near the base, then add a third branch toward the middle lobe. From each branch, add short curved veins that stop before the edge, then lightly shade the spaces between lobes. Keep the shading in small wedge strokes so it doesn’t turn into a muddy blob.
Outline each lobe first, then add veins — it prevents the leaf from looking lopsided.
Don’t shade over every vein line — keep shading as wedges between lobes.
4. Hand-Fan Leaf with Zigzag Side Veins
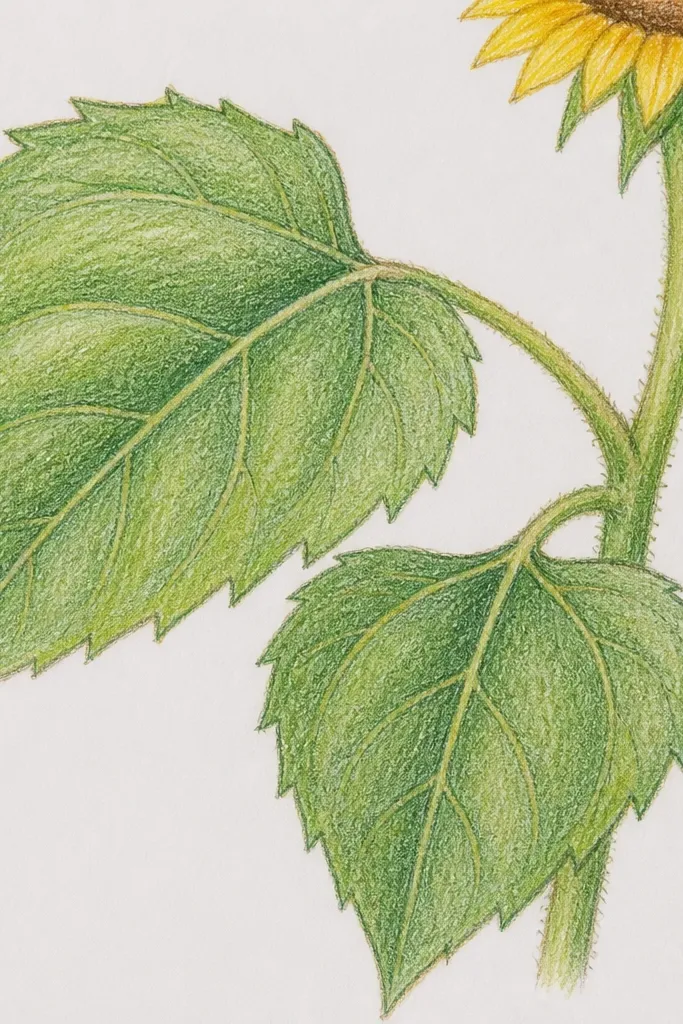
This leaf is for when you want texture that still looks pretty in photos. The hand-fan outline is wider near the base and narrows toward the tip, and the zigzag side veins create a crisp, decorative pattern. Because sunflower leaves often show strong side veining, this drawing style makes your sketch feel botanically believable without needing tons of detail. It also looks great on darker paper because the zigzags catch the light.
Draw a fan shape: wider at the base, tapering to a point, with a smooth outer edge and a slightly wavy inner edge. Add a center vein line, then create 7 to 10 side veins per side using short zigzags that follow the leaf curve. Keep each zigzag tight so the texture stays uniform. Shade with a soft gradient along the lower half of the leaf using 2B, leaving the upper edge lighter.
If your zigzags wobble, lightly draw a guide curve first, then trace zigzags along it.
Don’t make the zigzags too large — they should read as texture, not separate lines.
5. Tapered Leaf with Edge Hatch Shadows
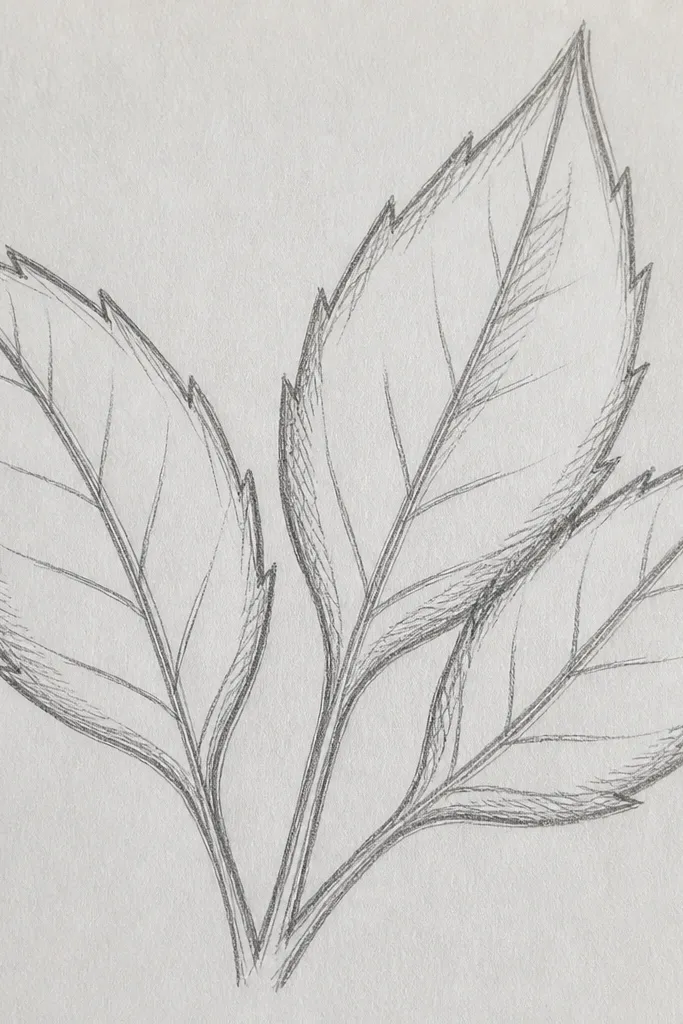
Edge hatching gives you that satisfying “sketchbook” depth without messy shading. The leaf outline is simple and tapered, but the shadows come from tight little hatch marks that hug the edge. This is a strong option for a year-round sunflower drawing because it works in winter-themed palettes too — the linework stays crisp and clean. It’s also easy to reproduce across a whole page so your leaves look cohesive.
Sketch a tapered leaf about 2.5 inches long, with a pointed tip and a rounded base. Draw a faint center vein, then add 4 to 6 side veins that stop short of the edge. Now shade using edge hatching: place 10 to 14 short hatch strokes along the lower edge only, all angled the same direction. Finish by pressing a little harder on the bottom-most hatch row so the shadow has a clear boundary.
Use a mechanical pencil for hatch lines so you get consistent stroke thickness.
Don’t hatch across the whole leaf — the edge shadow is what makes it look intentional.
6. Round Leaf with Spiral Midrib
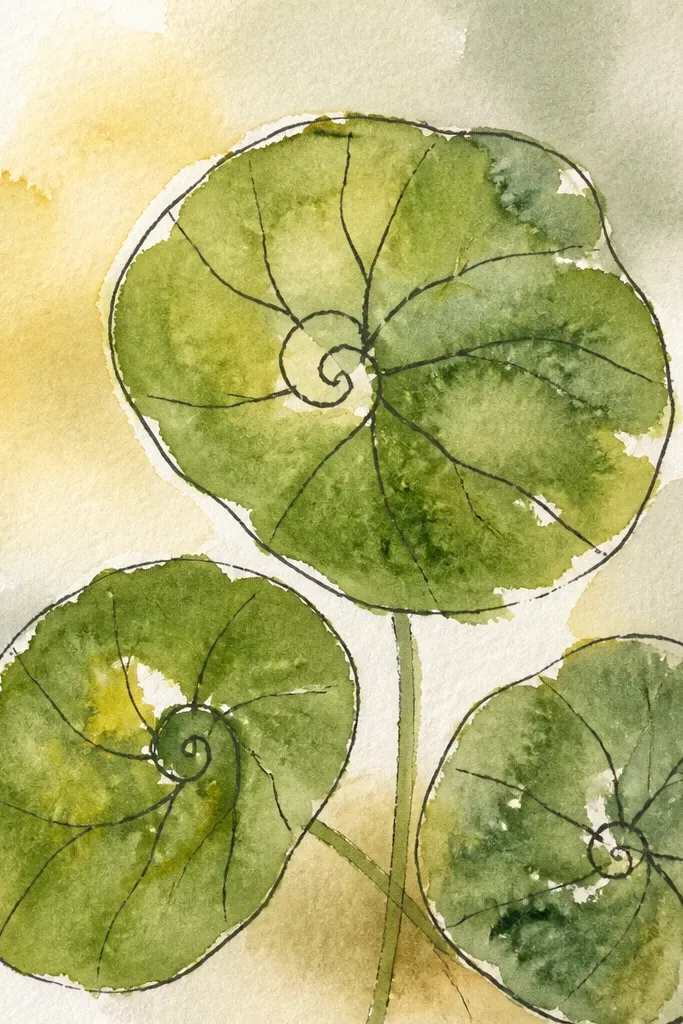
A round leaf with a spiral midrib is playful, and it makes your sunflower drawing feel decorative instead of botanical textbook. The silhouette is simple, but the spiral vein gives it a surprising twist that still reads as a leaf. Use it when you want variety between leaves around the sunflower head. It’s especially photogenic when you leave the top half unshaded and let only the lower curve catch the pencil tone.
Draw a nearly circular leaf with a slight notch at the base, about 2 inches wide. Add a center vein that curves into a soft spiral — start near the base, twist slightly, then drift toward the tip. Add 5 short veins on each side that follow the spiral’s direction. Finally, shade only the lower right quadrant using light 2B strokes so the spiral shape stays visible.
Good to knowKeep the spiral gentle. A tiny curve reads as “leaf movement,” a big spiral reads as “scribble.”
Common mistakeDon’t add heavy shading — the spiral vein should stay crisp.
7. Sunflower Leaf Pair with Overlap Shadow
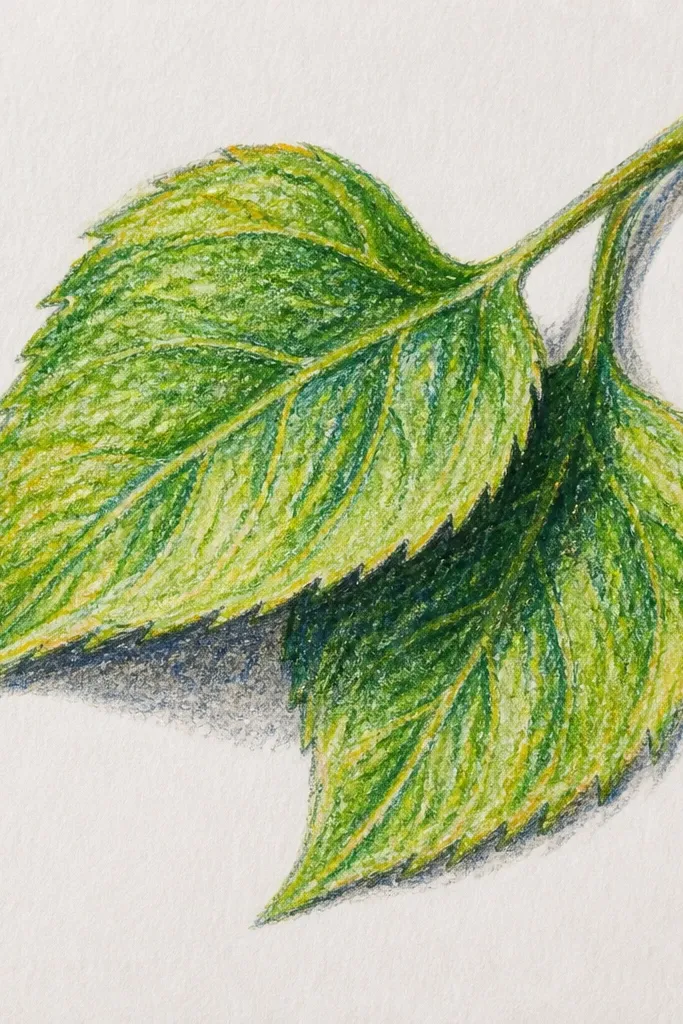
This one fixes the most common composition issue: leaves that look pasted on. By drawing two leaves overlapping and adding a narrow shadow gap, you instantly get depth. It’s a perfect leaf idea for year-round sunflower drawing because you can repeat the same pair shape around the sunflower head for a consistent frame. The overlap also makes your sketch look finished, even when your petals are still loose.
Sketch two leaves that overlap by about one-third of their width, with one slightly tilted forward. Draw both outlines first, then add a dark line where the top leaf covers the bottom one. Shade the shadow area with a soft pencil (2B or 4B) using short strokes that follow the overlap curve. Add vein lines only on the visible portions — this keeps the covered leaf from turning confusing.
Good to knowAim for a thin shadow gap. A wide gap makes it look like two separate stickers.
Common mistakeDon’t draw veins on the hidden overlap area.
8. Leaf with Crosshatch Texture Panels
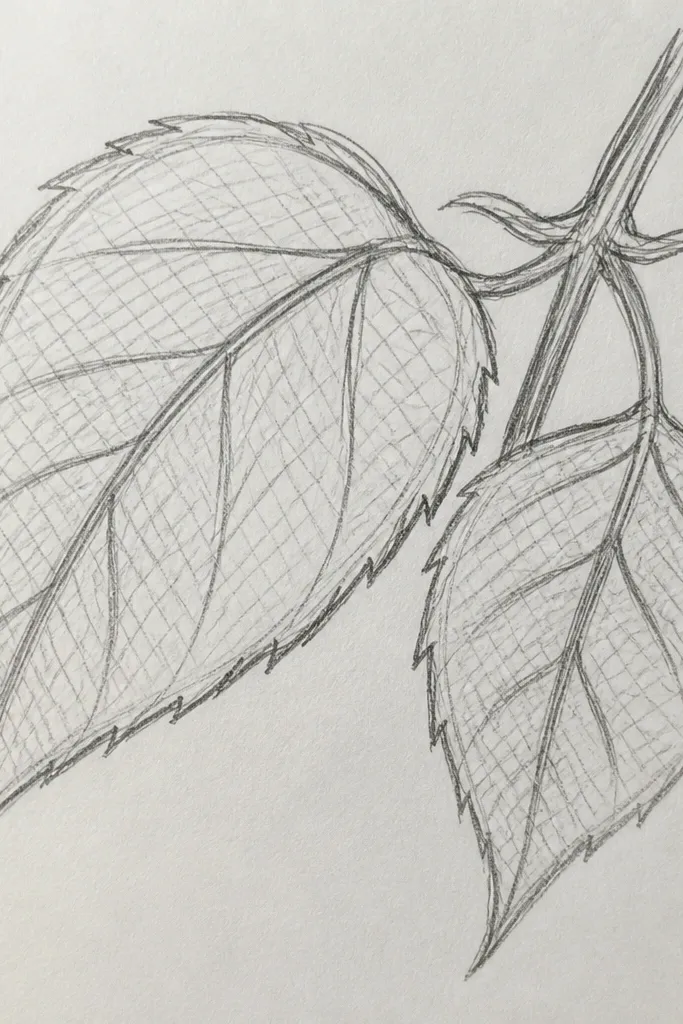
Crosshatch shading makes your leaf look textured like real plant surfaces. The trick is doing it in panels, not as a uniform net across the whole leaf. This style is great for upcycling because the texture holds up when you trace onto thicker paper or transfer to a stencil. Use it when you want your year-round sunflower drawing to look more “finished” without adding more linework.
Draw a simple oval leaf and mark three horizontal zones across it lightly. In each zone, shade with diagonal hatch strokes in one direction, then add a second set crossing them. Keep the hatch spacing tight so the tone looks even. Finally, reinforce the midrib and add 4 side veins per side with lighter pressure so the crosshatch remains the hero.
Rotate your pencil angle slightly between the two hatch directions — it makes the crosshatch look denser.
Don’t crosshatch the entire leaf edge-to-edge. Leave a thin margin of clean outline.
9. Leaf with Speckled Vein Texture
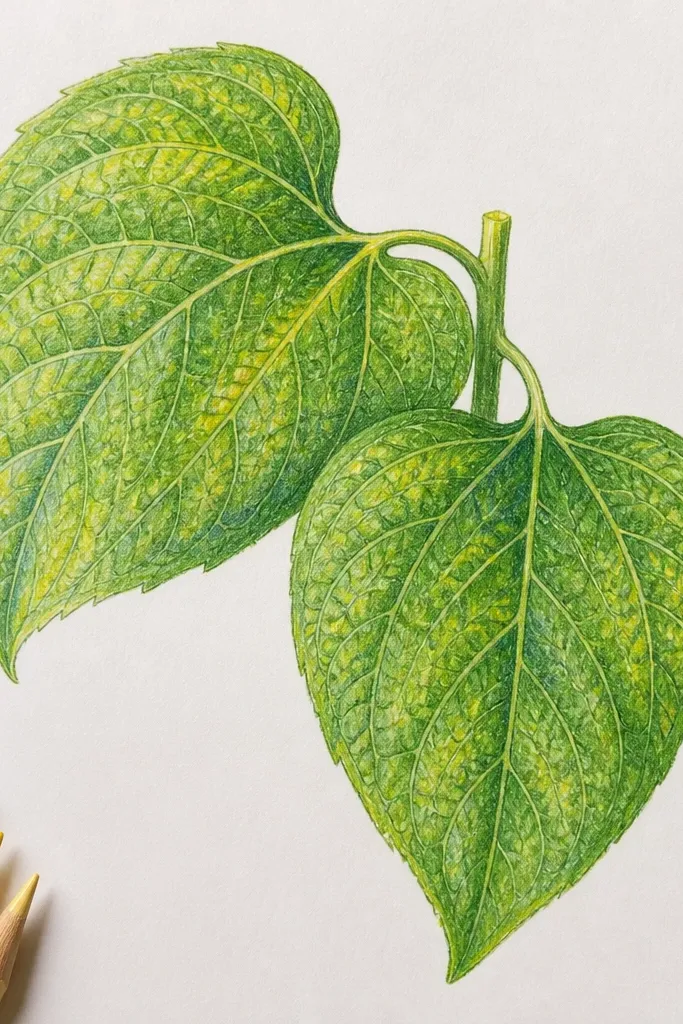
This is a leaf drawing idea that looks delicate in close-up and still readable from a distance. Instead of drawing lots of extra lines, you add small dots along the vein path to mimic tiny surface variations. It works beautifully for a year-round sunflower drawing because it adds texture without making the leaf look heavy. If you’re planning to cut your drawings into stickers or bookmarks, the dot texture gives you visual interest along the edges.
Start with a tapered leaf outline and draw the center vein plus 5 side veins per side. Then, along each vein, place a line of tiny dots spaced about 2 to 4 millimeters apart. Use an HB pencil and keep dots small so they don’t clump. Shade lightly under the lower edge with one pass of 2B, then stop — the dots do the rest.
Use the tip of your pencil lightly and lift after each dot. Dragging smears the dots into lines.
Don’t outline every dot — you only need dots on the veins.
10. Leaf with Single-Loop Border
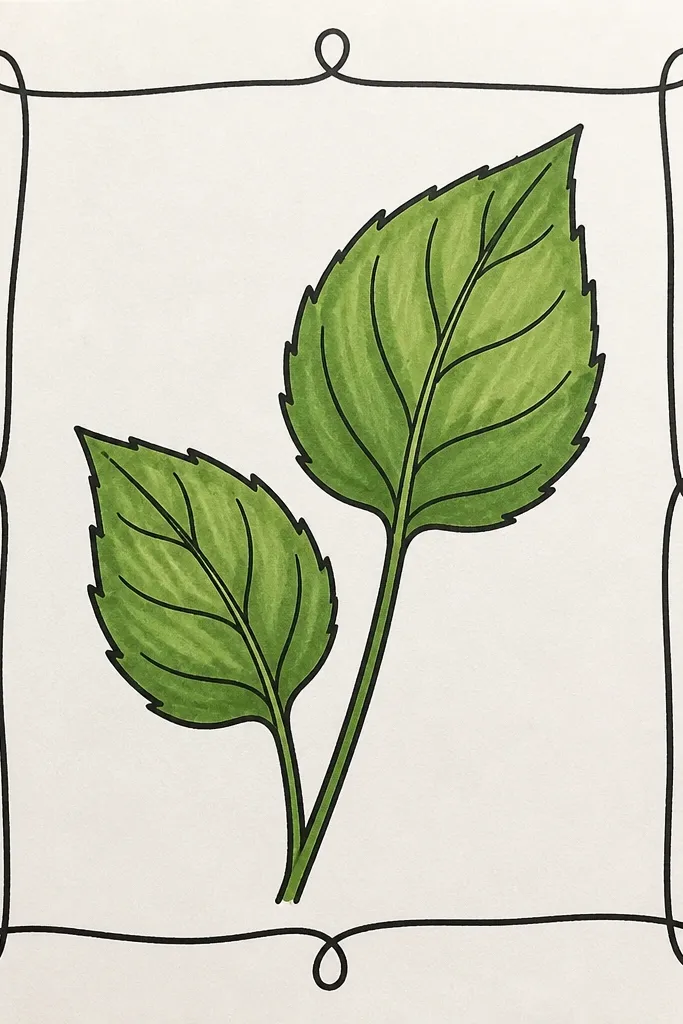
A single-loop border leaf looks graphic and clean, which makes it ideal for DIY art you want to photograph. You draw the leaf outline twice, then add a loop-like vein that travels from base to tip. The result is a leaf that looks like it belongs on patterned paper or a modern wall print. This style is perfect when you want your sunflower leaves to look cohesive across a whole set, because it’s easy to repeat the same loop shape.
Draw a leaf outline and then trace it again just inside, leaving a narrow clean gap between the two lines. Add a center vein, but instead of branching, draw one continuous loop vein that curves from the base to the tip and returns toward the edge. Reinforce the outer line slightly darker for contrast. Finish with a light 2B shadow along the bottom border only.
Keep the inner outline lighter than the outer outline so the leaf has a crisp boundary.
Don’t add extra veins. The loop vein is the whole idea.
11. Leaf with Folded-Ridges Shading
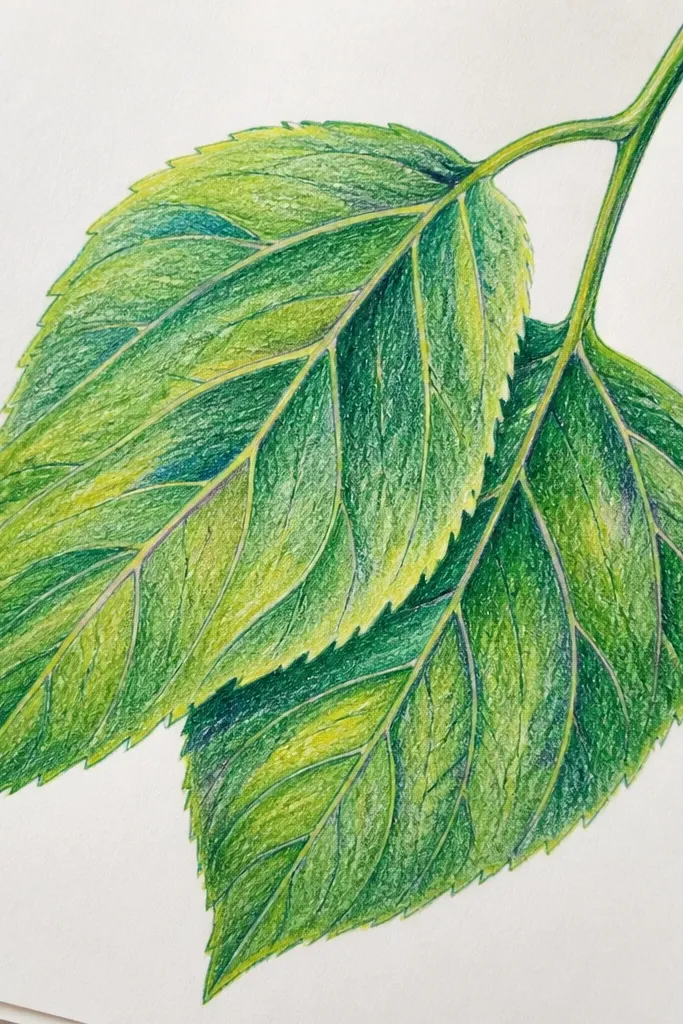
Folded-ridges shading gives your leaf a sculpted look, even with minimal linework. It’s a strong choice for a year-round sunflower drawing because it adds form to leaves around the sunflower head, making the petals stand out. You’ll draw ridge lines that follow the leaf curve, then shade between them. The style is bold in photos, and it still reads as a leaf rather than a decorative shape.
Sketch a leaf outline with a clear midrib and 4 side veins per side. Draw 5 to 7 ridge lines across the leaf that follow the midrib direction, slightly arcing toward the edge. Shade between ridges with 2B using short, even strokes, leaving ridge lines lighter. Finally, darken the midrib and the lower edge so the ridges look like they fold upward.
Good to knowUse a ruler only to check symmetry, then freehand the ridges — rigid ridges can look artificial.
Common mistakeDon’t shade all ridges equally. Leave some ridges almost white for the folded effect.
12. Leaf Turnaround View with Hidden Veins
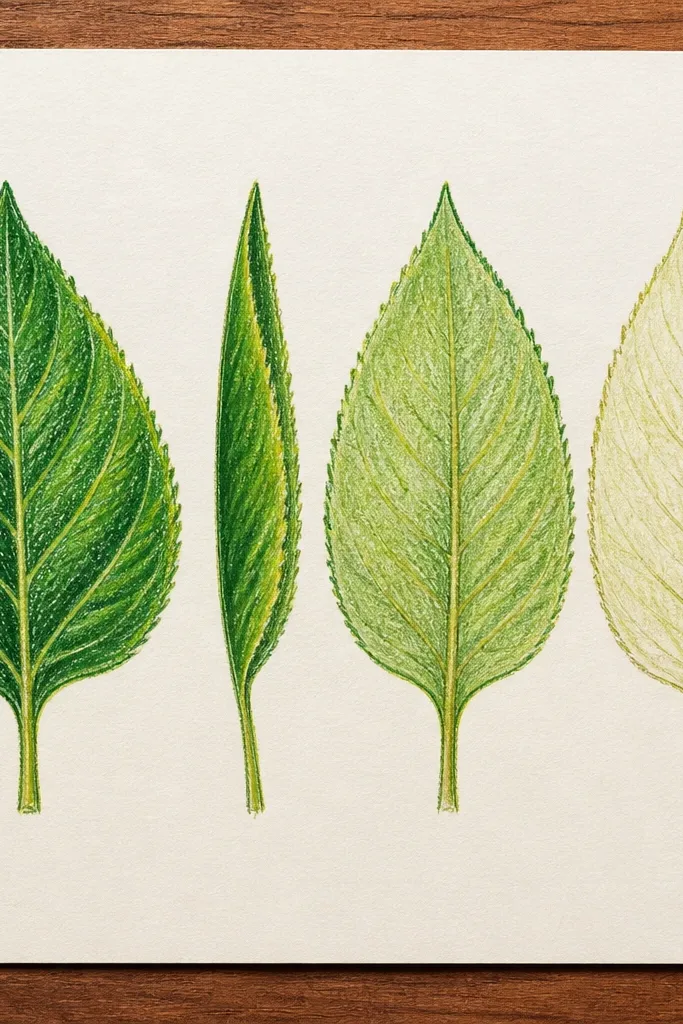
This is the leaf idea that makes your sunflower drawings look more dimensional. You draw a leaf in side view with a strong curve, then fade the veins as they move away. That fade is what sells the “turnaround” look. For year-round sunflower drawing, it helps because you can place one angled leaf behind the sunflower head and it won’t look flat or pasted.
Draw a curved leaf outline like a comma shape, with one edge thicker. Add a center vein and a few side veins, but only make the front 60 percent dark and crisp. For the back 40 percent, sketch veins lightly and then erase them slightly with a kneaded eraser so they fade. Shade under the front edge with 2B, keeping the back half mostly light.
Good to knowFade veins with eraser work, not with smudging. Smudging turns into gray haze.
Common mistakeDon’t keep all veins equally dark — that kills the side-view illusion.
13. Sunflower Leaf with V-Shaped Notches and Midrib Groove
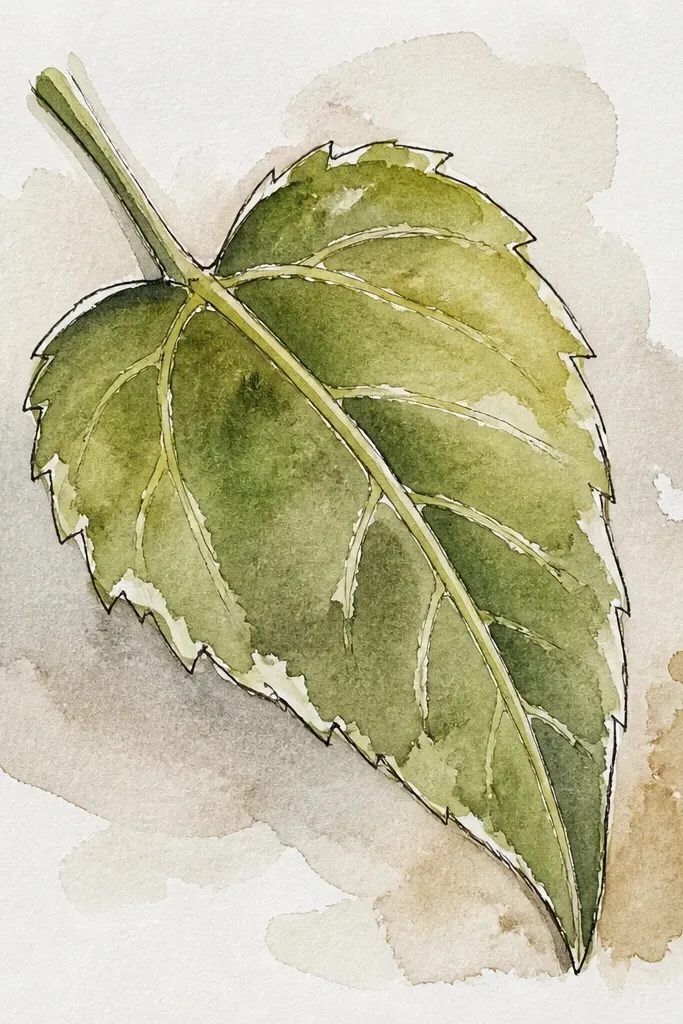
Notched edges make leaves look real fast, and the midrib groove adds a “pressed” look. This style is a great fit for year-round sunflower drawing because it gives your leaves a consistent, decorative texture you can repeat along a frame. The V-notches create a pattern that reads well even if you’re sketching quickly. It also works on thicker DIY paper because the outline stays bold.
Draw an oval leaf outline and add small V-shaped notches along the outer edge, spacing them about 1/4 inch apart. Mark a midrib line down the center and slightly shade it like a groove using a single darker stroke. Add 4 side veins per side that reach the notch area but stop short of the very tips. Shade the lower half with light 2B in broad strokes, then clean the leaf edge with an eraser for crispness.
Good to knowUse a sharper pencil for the V-notches so the corners stay clean.
Common mistakeDon’t make the notches too deep. Deep notches start looking like scissors cuts.
14. Leaf Border Strip for DIY Sunflower Posters
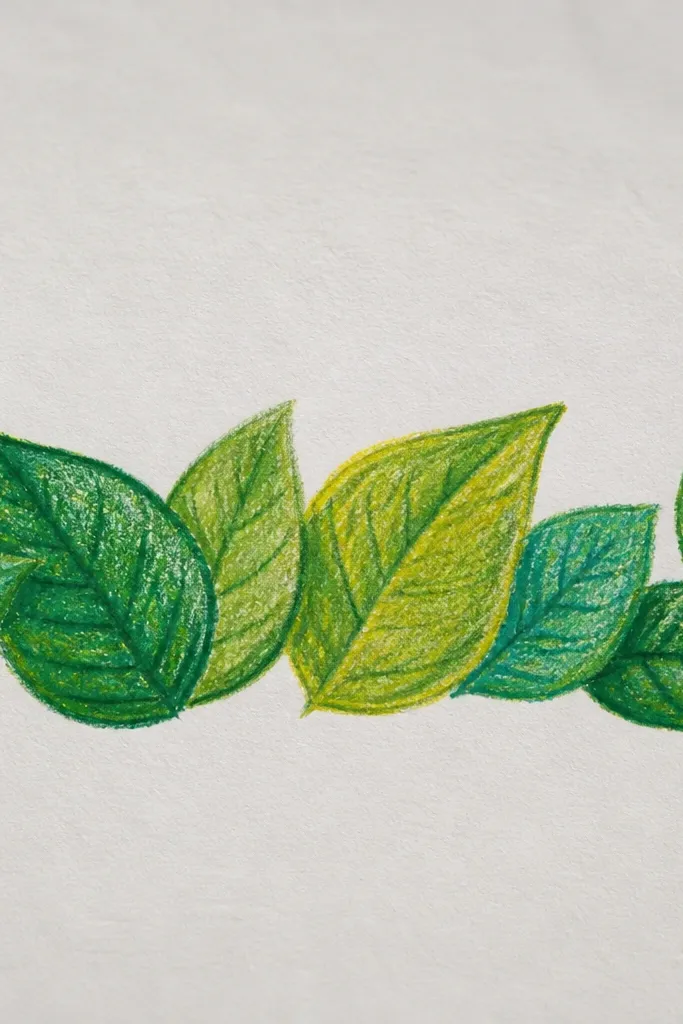
A leaf border strip is how you turn a simple year-round sunflower drawing into something that looks like real wall art. Instead of one leaf, you create a repeating strip that frames your sunflower head or text. Consistency is the aesthetic — the leaves have the same vein style and spacing, but each one is rotated slightly so it looks organic. This idea is perfect for upcycling because you can draw the strip once, then reuse it across multiple scraps and print sizes.
Pick one leaf shape from this list (spear or oval works best) and draw 10 to 14 leaves along a long rectangle. Keep the leaf size consistent, then vary rotation by 10 to 20 degrees every other leaf. Use the same vein pattern for every leaf so the strip looks intentional. Finally, shade only alternating leaves on the underside edge so the strip has rhythm without looking messy.
Lightly draw a baseline first, then keep every leaf’s base touching it. That’s what makes the strip look designed.
Don’t randomize leaf sizes — the border stops looking like a border.
15. Leaf Veins in Ribbon Curves
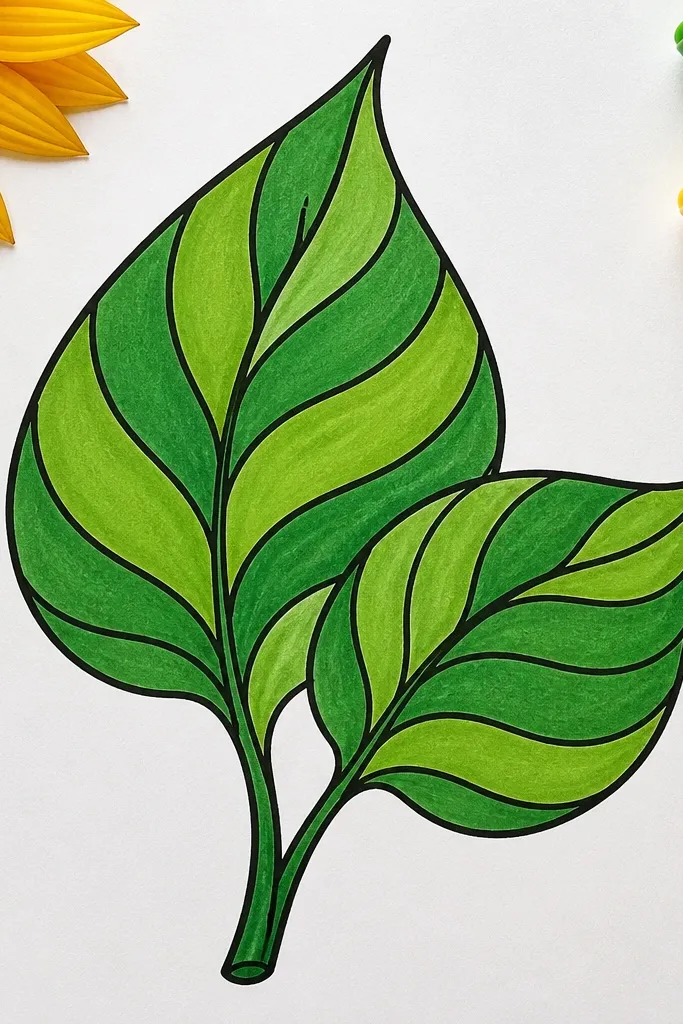
Ribbon-curve veins give a smooth, decorative flow that looks great on lighter paper and in clean DIY prints. Instead of branching veins that stop quickly, the veins in this style curve in longer arcs, like thin ribbons. It makes your leaf feel airy and gives your sunflower drawing a sense of motion. This is the leaf idea I’d pick when you want your year-round sunflower drawing to look cohesive with fine line petals.
Sketch a leaf outline and draw a midrib line. Then draw 6 to 9 ribbon veins: each one starts near the midrib and arcs toward the edge, staying parallel-ish to the others. Keep the ribbon veins thin by using light pressure and fewer passes. Shade with a soft gradient along the bottom half only, then tap the pencil tip lightly along a few ribbon veins to make them pop without darkening everything.
Good to knowUse fewer ribbon veins than you think. 6-9 curves look intentional; 15 looks busy.
Common mistakeDon’t shade under every ribbon vein — that makes the leaf look heavy and gray.



