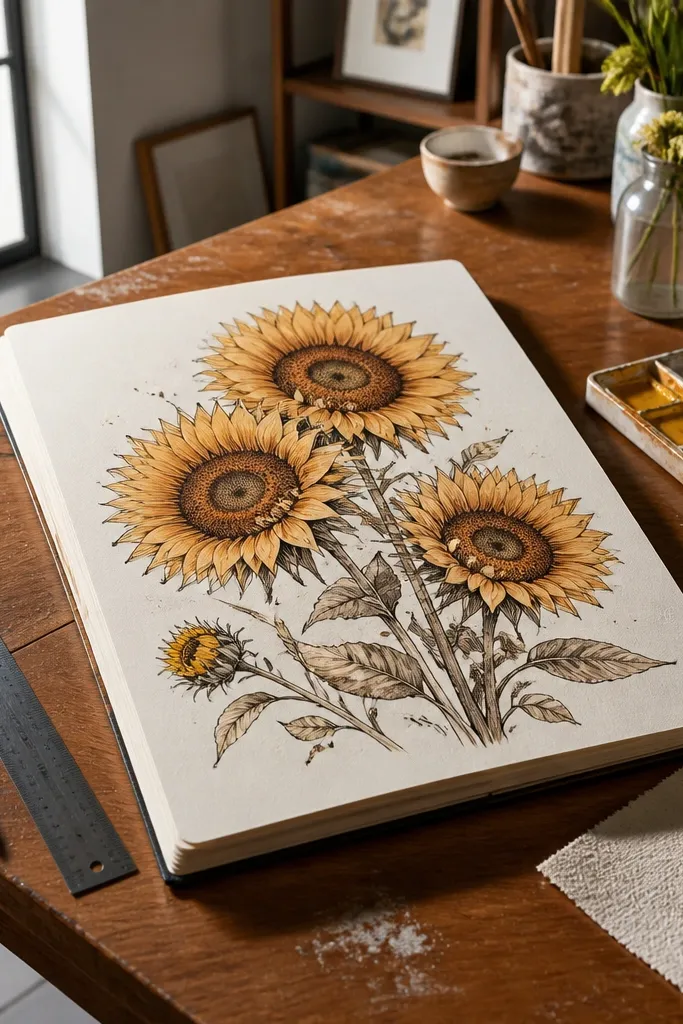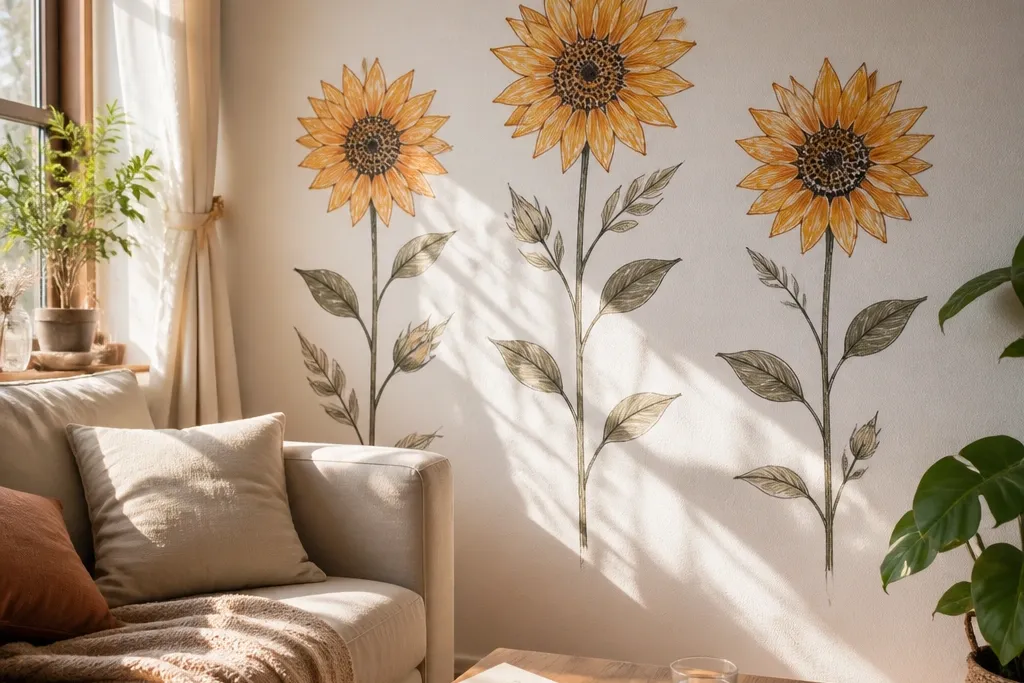

1. Pencil Bouquet with Burnt Sienna Center
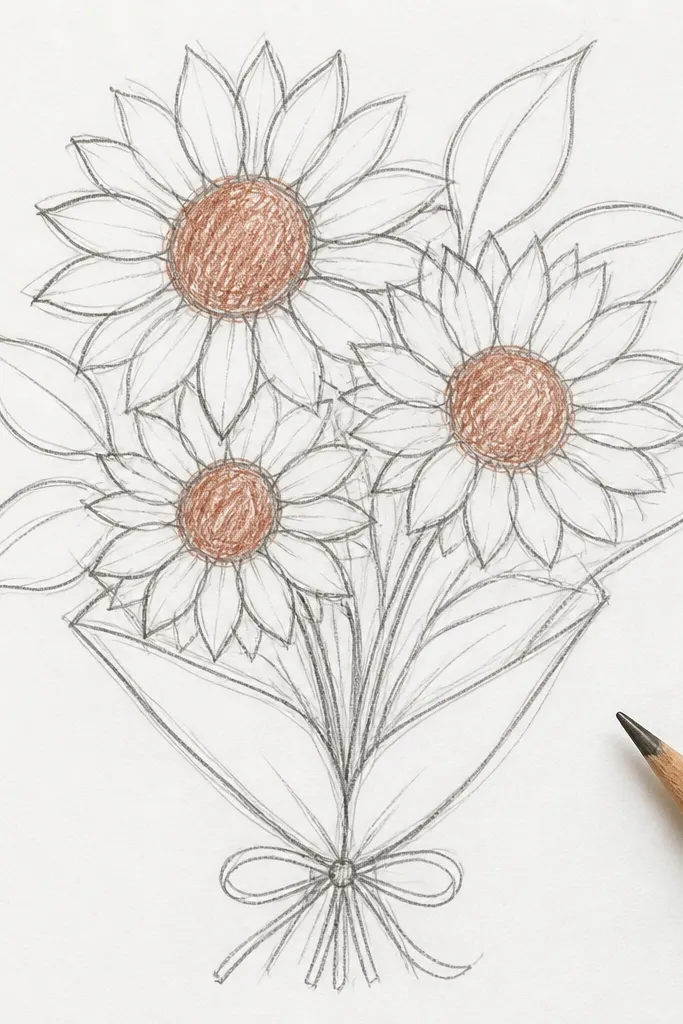
This one looks expensive because the shading is controlled. You draw in pencil first, then tint only the center with a warm brown-red like burnt sienna so the petals stay pale and airy. The bouquet reads as soft and romantic, which is perfect for a simple frame or a neutral wall. It also photographs nicely because pencil value transitions catch light without harsh edges. Plan for about 45-70 minutes if you’re aiming for clean petal overlap and a tidy background wash.
Start by sketching 1 hero sunflower head and 2 smaller ones, keeping the stems grouped so they feel like one bouquet. Draw the centers as a spiral of tiny ovals, then shade a darker ring around the spiral with a darker graphite tone. Add petals in overlapping arcs, leaving small gaps for highlights. Next, use a light burnt sienna colored pencil to tint only the seeds area and a few petal bases. Finish with a very light gray wash behind the flowers using watered graphite or a soft pencil smudge; let it dry flat.
Blend petal shading with a stump only after the outlines are locked in — pencil smudges erase the crisp petal rhythm.
Don’t shade the whole petals evenly; leave highlights so the flower has roundness.
2. Marker Sunflower Cluster on Kraft Paper
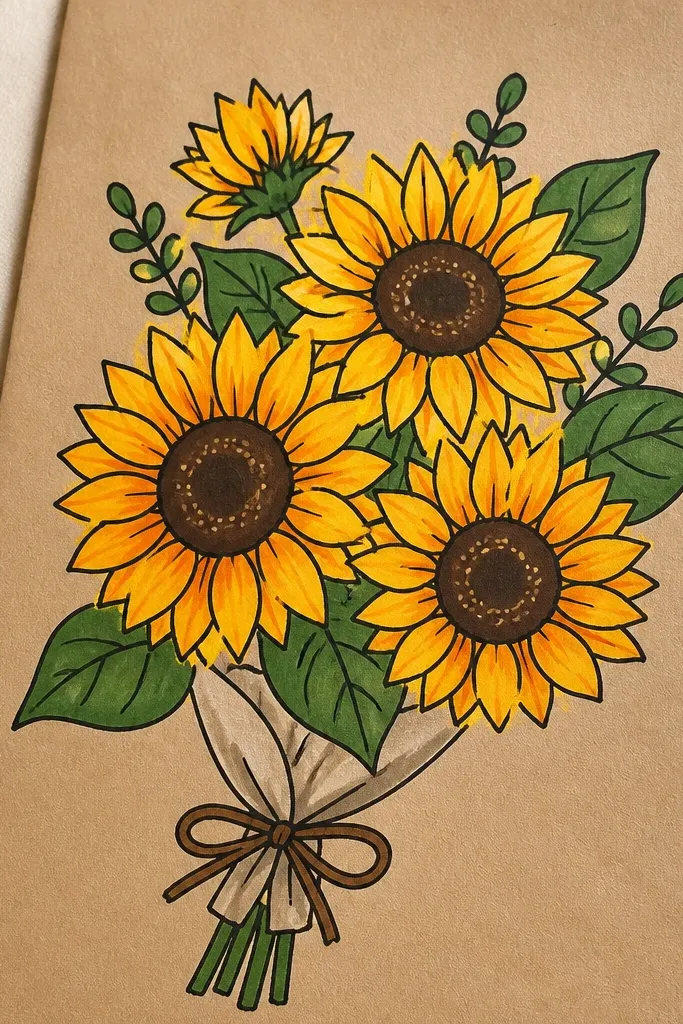
Kraft paper makes yellow look richer instantly. This drawing style uses thick outlines and a limited palette so the bouquet looks graphic, not messy. The dark seed dots sit on the warm paper so the center pops without extra heavy shading. It’s also the easiest way to get a photogenic result fast because the contrast is built in. If you want a budget sunflower drawing that looks like decor, this is the route.
Tape your kraft paper down and sketch the bouquet lightly with a pencil. Draw the hero center first using a dark brown or black marker, then add seed dots in a tight spiral. Color petals with a bright yellow marker, leaving the kraft paper showing through at the petal base for depth. Add a thin tan or burnt umber line under each petal to separate layers. Finish with a simple green stem cluster and a few leaf shapes, then darken the outer petal edges for a crisp look.
Use quick, light passes for yellow and reserve darker yellow only for petal bases so it doesn’t look flat.
Don’t overdraw the stems; keep them as a few thick strokes grouped together.
3. Paint Pen Watercolor Wash Background
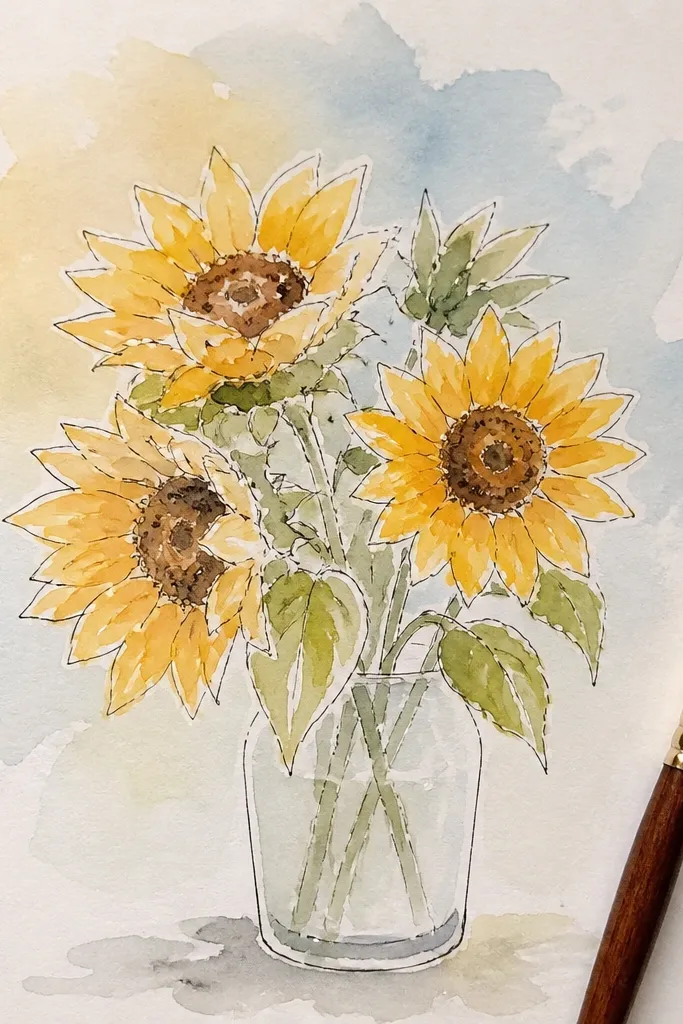
This style is all about separation: crisp petals in paint pen, then a soft background wash that makes the flowers float. You get the clean “illustration” look without needing fancy brushes. The bouquet feels airy because the wash fades behind petals instead of competing with them. It’s great for people who want a pretty drawing but don’t like complicated shading. Give yourself about 60 minutes for the wash to dry between layers.
Sketch the bouquet with a light pencil, then outline the centers and petal shapes with a paint pen. Fill petals with yellow paint pen, but stop short of the very top edge so highlights stay light. Mix a loose watercolor wash in pale blue-gray or muted lavender, then paint behind the flowers only — avoid going over petals. While the wash is slightly damp, flick a few tiny specks to suggest pollen. After everything dries, add darker seed ring lines and a few green leaves to anchor the composition.
Do the background first if your paint pen bleeds; otherwise, outline petals, then tape around them for cleaner edges.
Don’t paint the wash over the whole page — keep it behind the bouquet only.
4. Sunflower Bouquet in a Mason Jar Outline
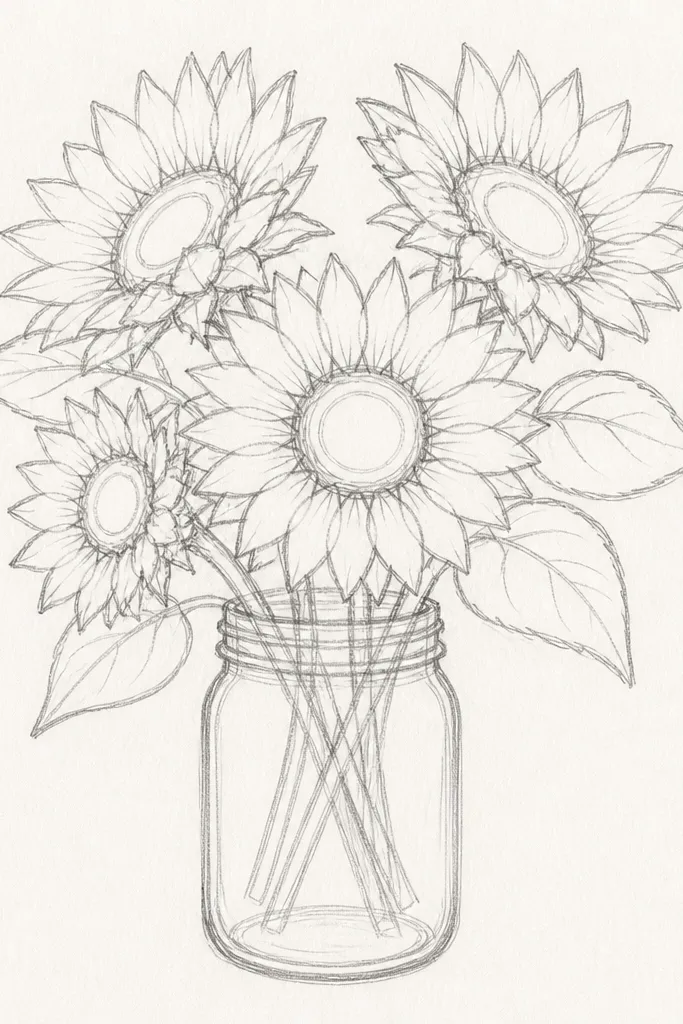
Draw a jar shape first: an oval opening, straight sides, and a slightly curved base. Sketch three sunflower heads peeking above the jar rim, with stems that connect into one clump inside the jar. Outline the centers with dark brown, then fill seeds with short curved marks that follow the spiral. Color petals with a medium yellow, then add a lighter inner petal tone near the center. Finish by adding a few leaf shapes at the jar rim and a thin shadow line under the jar.
A jar frame makes the bouquet look like a product photo, even if your drawing is small. The jar outline gives you a clear boundary, so the flowers don’t sprawl. Linework is the star here: clean outlines, simple fills, and a center spiral that’s darker than the petals. It’s a strong option for repurposing thrift frames because the jar shape reads well from a distance. The look is clean, modern, and easy to repeat for multiple pieces.
Common mistakeDon’t add too many flowers — three heads is enough for a jar to feel intentional.
Good to knowKeep the jar lines thicker than the leaf lines; it makes the bouquet hierarchy obvious.
5. Sunflower Heads Stacked like a Wedding Bouquet
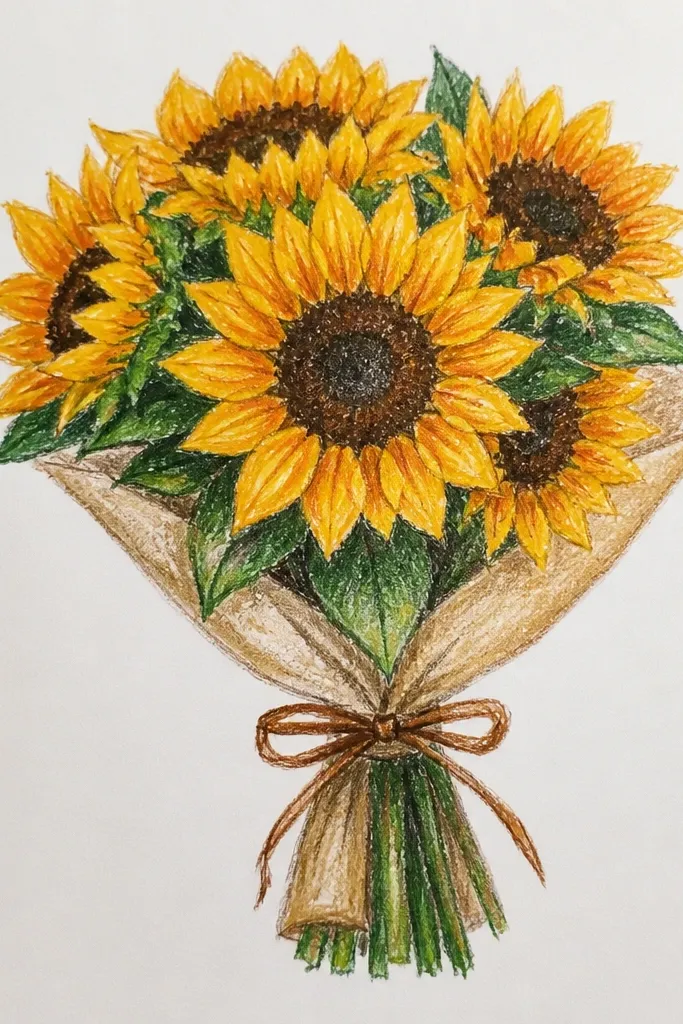
This idea looks stunning because it uses stacking and overlap instead of lots of separate flowers. You draw one tall head, one slightly lower, and one off to the side, so the bouquet has depth. The centers are dark and slightly larger than you think, which makes the flowers look full. It’s a great choice for anyone who struggles with petal spacing; the overlap hides uneven petal counts. Expect about 50-80 minutes depending on how neat you go with petal arcs.
Sketch a diagonal arrangement: hero head at top center, second head lower left, third head lower right. Draw each center as a spiral, then shade a darker ring around it. Add petals as overlapping arcs that partly cover the centers behind them. Group stems into one thick bundle beneath the lowest head, then add 2-3 leaf shapes that sit between heads. Finish with a light gray or warm beige background so the overlapping petals read clearly.
When petals overlap, darken the petal edge that sits on top — it creates instant depth.
Don’t space petals evenly around the whole flower; vary the arc length so it looks natural.
6. Sunflower Bouquet with Cut-Paper Look Using Colored Pencils
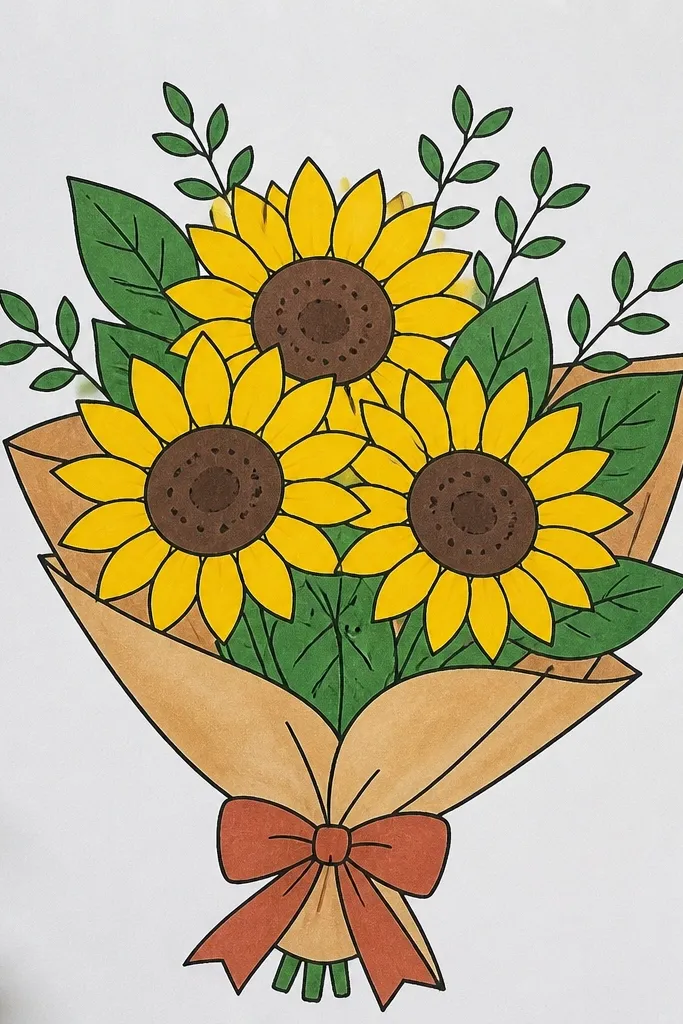
You get that layered, craft aesthetic without actual paper collage. The trick is using colored pencils to create sharp value blocks, then outlining each petal group with a darker pencil tone. The bouquet looks dimensional because the petal layers are separated by value changes, not just linework. This is a smart budget sunflower drawing option for scrap paper surfaces because you can keep edges rough and still make it look intentional. It also works well for a bright, cheerful wall piece.
Choose a textured paper or heavier cardstock so colored pencil sits well. Sketch the bouquet lightly, then block in petals with two values: base yellow and slightly darker yellow at the base. Outline each petal cluster with a warm brown pencil, not black, so it stays soft. Shade the center spiral with a mix of dark brown and a tiny bit of red-brown. Add a few green leaf blocks with a mid-tone green and a darker underside, then erase faint pencil lines once color is set.
Use a kneaded eraser to lift highlights inside petals — it keeps the “cut” illusion crisp.
Don’t blend everything smooth; the look relies on visible value boundaries.
7. Monoline Sunflowers with One Yellow Wash
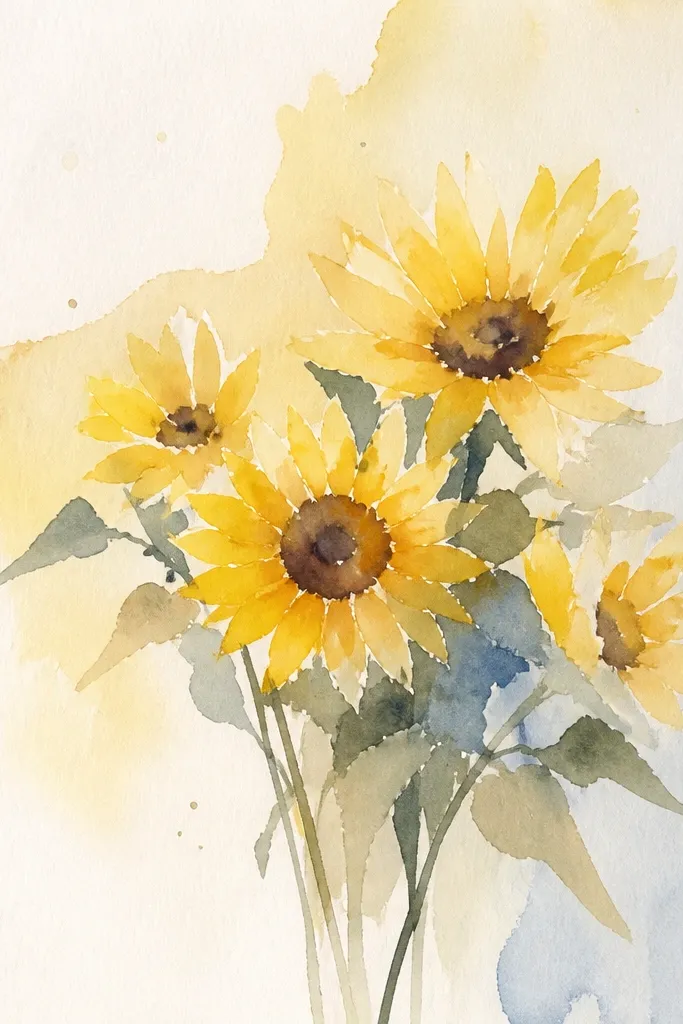
This is the cleanest option if you want modern and airy. Monoline ink keeps the bouquet elegant, and the single yellow wash adds color without turning into a coloring-book page. The center stays dark and detailed, which gives it that “real drawing” feel. It’s also very budget-friendly because you only need black ink and one yellow. Great for small frames and minimalist shelves.
Sketch the bouquet with pencil, then trace the outlines with a black fineliner. Draw centers with a dense spiral of tiny dots, using the same ink. Leave petals mostly unfilled, then apply a light yellow watercolor wash only to the top half of each petal. Let the wash feather naturally — don’t overwork it. Add a few green stems with a diluted green paint or a light marker touch, keeping everything thin and consistent.
Practice one sunflower first to set your petal arc size; consistency is what makes monoline look professional.
Don’t use a heavy wash on every petal; the minimal look breaks fast.
8. Big Center Focus with Tiny Supporting Blooms
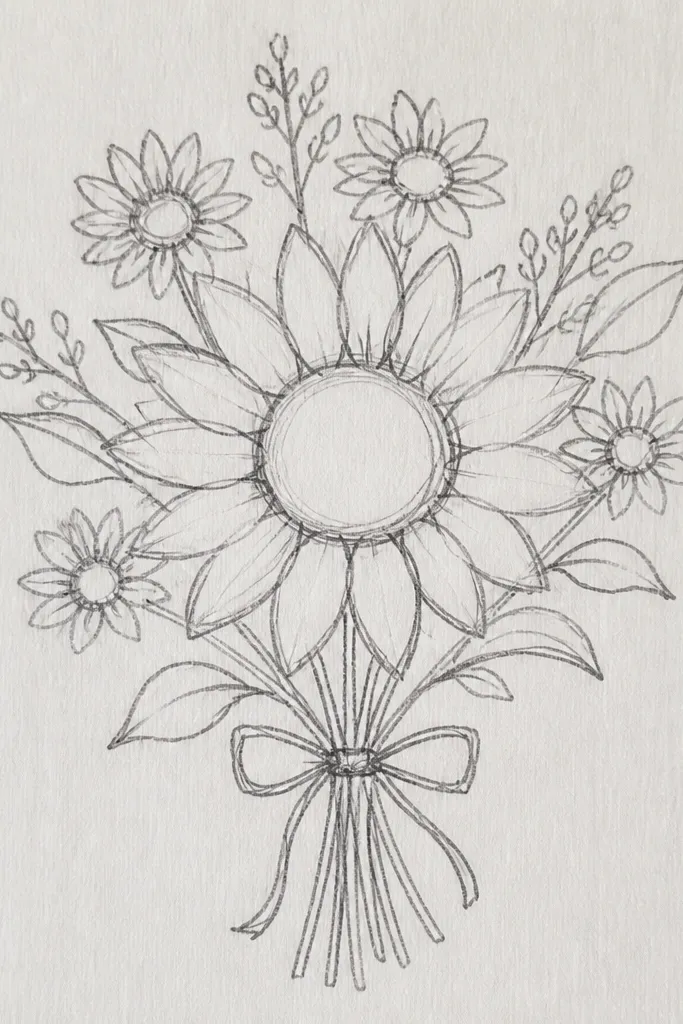
This composition fixes the “my bouquet looks flat” problem by putting the detail where the eye lands. Make the hero sunflower center huge — bigger than the surrounding blooms — and keep the other heads simplified. The centers become the focal point through contrast and seed texture, while petals stay simpler so nothing gets crowded. It’s photogenic because the viewer sees detail immediately. This is a great budget sunflower drawing idea when you’re short on time but want it to look intentional.
Draw a large circle for the hero center, then add a spiral of seed marks that get denser toward the center. Create two smaller sunflower heads around it, each with fewer petals and a simpler seed spiral. Color petals with yellow, then add a darker yellow at the petal base and a few shaded arcs near the center. Add stems that point back toward the hero so the bouquet feels pulled together. Finish with a background wash in cream or pale warm gray so the hero center doesn’t blur.
Keep supporting blooms at least 30% smaller than the hero head; scale is the whole trick here.
Don’t match detail level across all flowers or the image turns busy.
9. Sunflower Bouquet with Faux Embroidery Stitch Borders
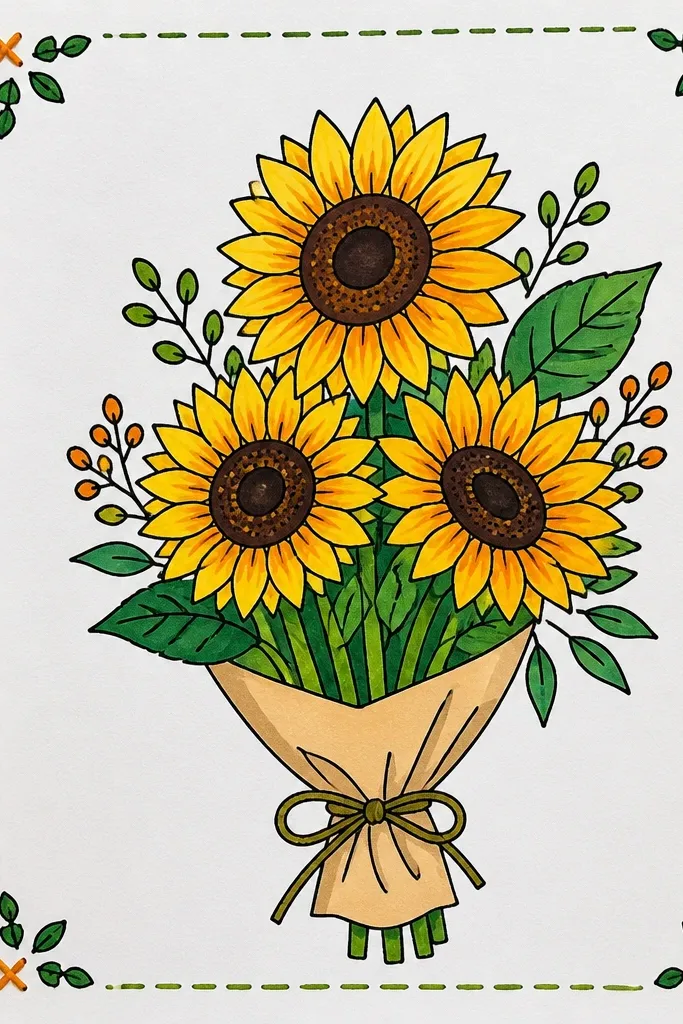
This one looks handmade because you add a stitched border frame that makes the bouquet feel like textile art. The flowers stay simple, but the border adds charm and structure. Use it when you want a budget sunflower drawing to feel gift-worthy without actual fabric. The stitch effect also hides small paper flaws and gives you an intentional edge. It’s a strong choice for turning plain paper into something that looks finished.
Sketch the bouquet in pencil with one hero head and 2 smaller ones. Draw in the center spiral and petal arcs, then color lightly with yellow and a warm brown for depth. Leave a margin around the flowers, then add a stitched border: draw small parallel stitch lines, then connect them with tiny cross strokes. Use a brown or dark olive pen so it looks like embroidery thread. Finish by coloring a few leaves and adding a subtle shadow under the stems.
Make the stitch spacing consistent — 3 to 4 mm between stitches looks like real thread in photos.
Don’t put the border too close to petals; keep 1 cm of breathing room.
10. Sunflower Bouquet on Recycled Book Page with Outline Ink
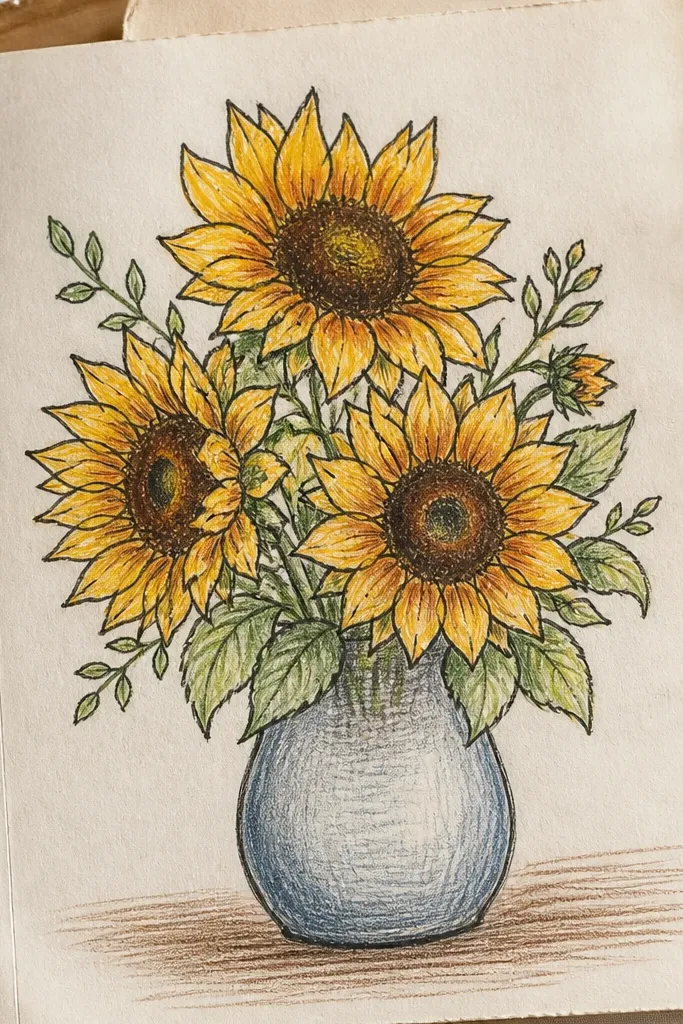
Book page texture gives instant vintage interest, and outline ink keeps the sunflower readable. You don’t need heavy color because the printed text background adds visual texture for free. This style is perfect for upcycling: you get a unique background without buying new paper. The bouquet looks artsy and slightly antique, but still clean because the centers and petal edges are crisp. It’s also a great option if you want multiple pieces using different thrift pages.
Pick a book page with dense text so the background doesn’t look empty. Lightly sketch the bouquet placement, then outline petals and centers with black or dark brown ink. Color petals with light yellow and leave the page visible in the petal bases. Add a darker yellow near the center and shade the seed ring with warm brown. If the ink bleeds through, add a thin layer of matte gel medium over the page first, then draw once it dries.
Use small highlights — a tiny uncolored crescent on each petal reads as light even on busy backgrounds.
Don’t fully color every petal; let the text show through for the vintage look.
11. Watercolor-Style Sunflowers with Dry Brush Leaves
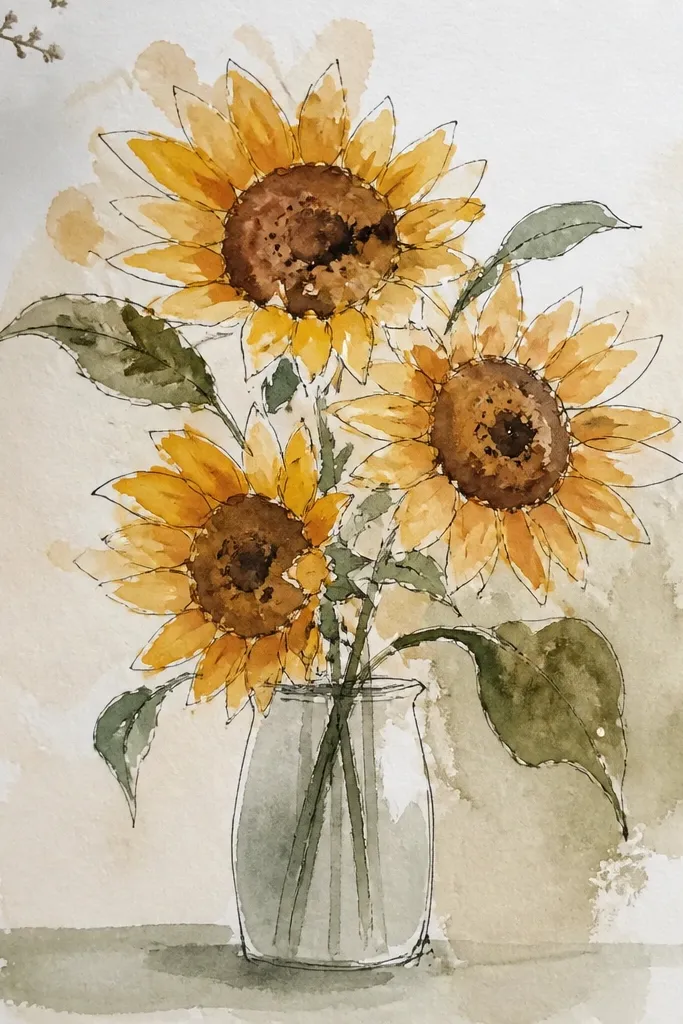
Use watercolor paper if you can, or thick mixed-media paper if you can’t. Sketch the bouquet lightly, then paint centers first using a dark brown wash and a darker seed ring. For petals, paint diluted yellow in overlapping shapes, then add a deeper yellow wash only where petals overlap. For leaves, load a flat brush with green paint, wipe most off on a paper towel, then drag lightly to create dry texture. Outline the seed spiral details with a fine brush pen once everything is dry.
Loose petals look airy, but the center has to stay defined or the whole bouquet looks vague. This idea pairs soft, watercolor-style petal washes with a sharply drawn seed spiral and ring. Leaves get a dry brush texture so they look like real foliage without extra detail. It’s one of the most photogenic styles because it has texture contrast: smooth petals, gritty leaves. You’ll spend about 60-90 minutes if you let layers dry between steps.
Common mistakeDon’t paint the seed spiral while the center wash is still wet.
Good to knowDry brush leaves look best when you paint them after petal layers — you get cleaner edges around petals.
12. Sunflower Bouquet with Yellow-to-Orange Gradient Petals
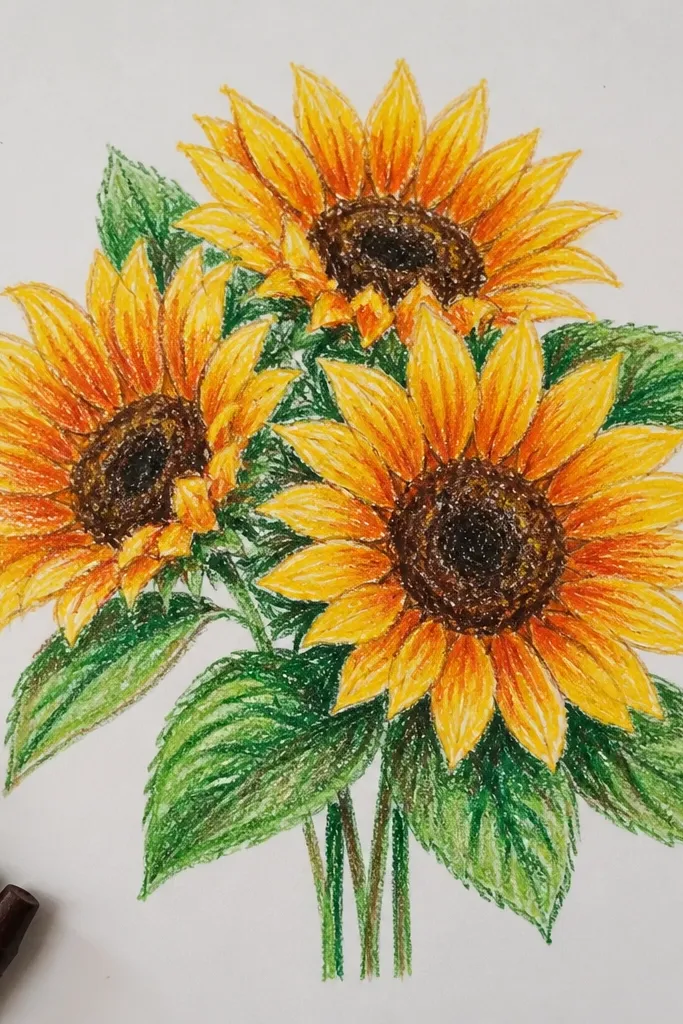
Sketch the bouquet and draw the hero center first as a spiral of dark seed marks. Fill the center ring with a darker brown and add a few lighter highlights around the spiral. For petals, start with bright yellow at the outer tip, then add orange only near the petal base. Use a blending tool like a damp brush or colored pencil burnish to soften the transition. Finish with a green stem cluster and a few leaf shapes, then add a thin shadow under each flower head using diluted brown.
Gradient petals make the bouquet look dimensional even if your drawing skills are still building. The petals fade from bright yellow at the tips to orange at the base, so the flower naturally looks spherical. Keep the center darker and more textured, and the petals do the rest. This style is also super photogenic because the color shift shows up clearly under indoor light. It’s a good middle ground between minimal line art and full watercolor.
Common mistakeDon’t overblend the center into the petals; keep a clear boundary at the base.
Good to knowLimit the gradient to the bottom third of each petal so it doesn’t turn into one flat orange blob.
13. Sunflower Bouquet with Doodle Background Confetti
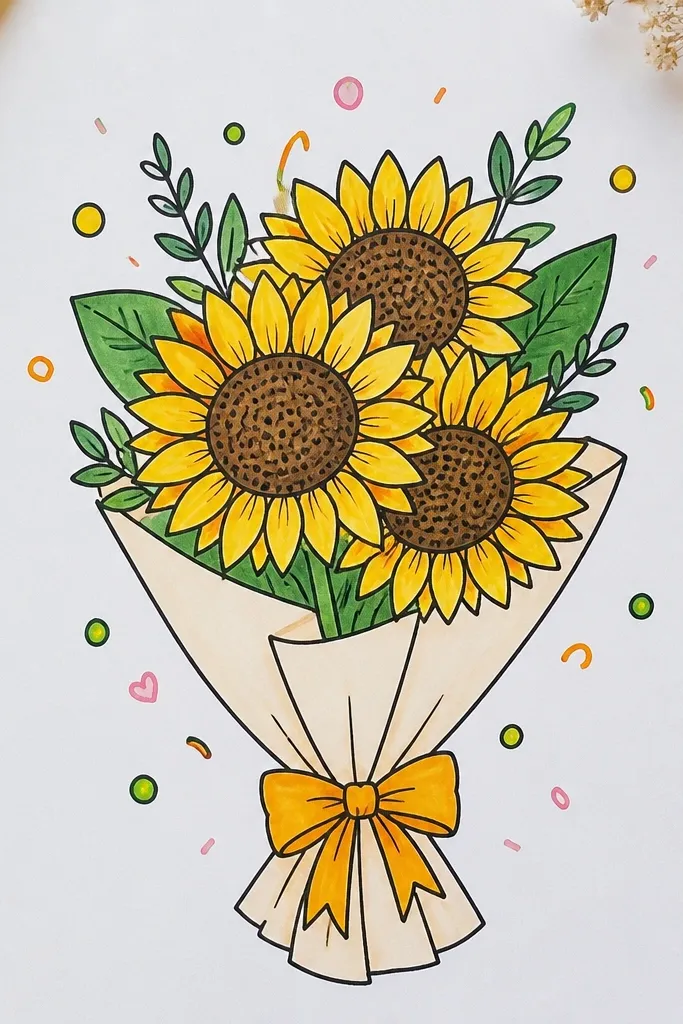
A simple sunflower drawing looks instantly more playful when the background has controlled doodles. You keep the bouquet crisp and let the background do the fun work. Think tiny dots, short commas, and light swirls in pale yellow, green, and warm gray. This gives you a filled-in look without turning the flowers into a busy mess. It’s great for gifts and for wall art that needs personality. Photographs well because the doodles frame the bouquet and guide the eye.
Sketch the bouquet first and keep the petals well overlapped so the flowers look full. Draw centers with dark seed spirals, then color petals with yellow and a deeper tone at the base. Leave the background mostly blank, then add doodle confetti around the flowers only — start at the edges and work inward. Use a fine pen for consistent dot sizes and a light green for leaf-like doodles. Add a few tiny swirls near stems, and keep them spaced so the bouquet stays the focal point.
Use two pen weights: a thicker outline for flowers and a thinner pen for doodles.
Don’t doodle inside the flower petals; keep doodles outside the bouquet shapes.
14. Sunflower Bouquet with Acrylic Speckle Center Texture
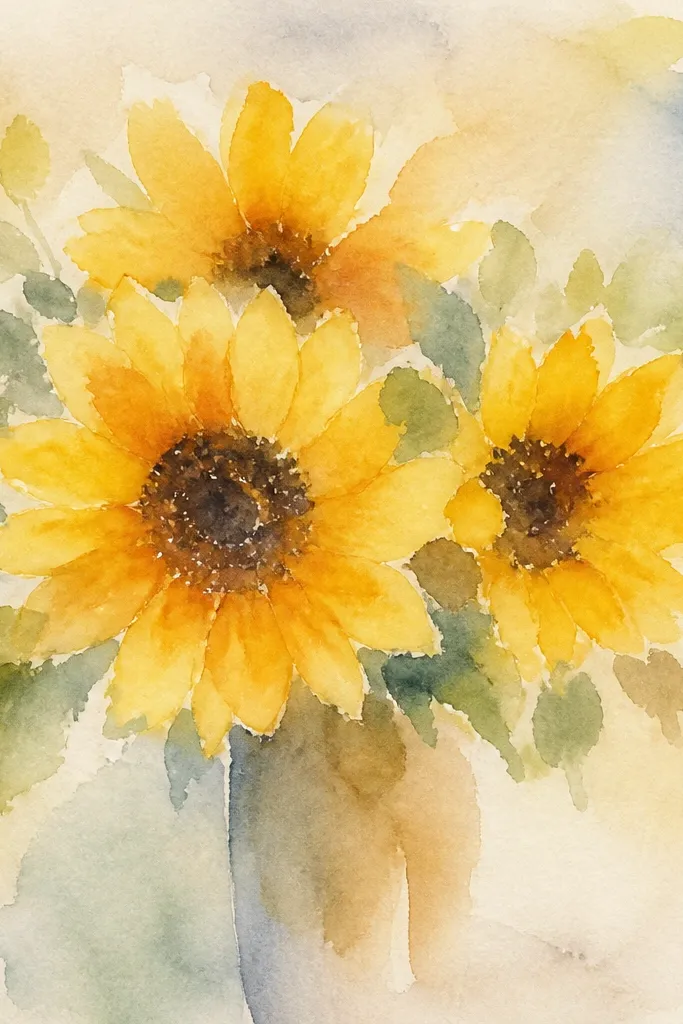
Sketch the bouquet and draw petal arcs with a pencil guide. Paint the centers with a flat dark brown base, then load a toothbrush with slightly diluted black-brown acrylic and flick small speckles into the center. Add a darker ring around the edge of the center to frame it. Paint petals in yellow acrylic, then deepen petal bases with orange-yellow and a tiny bit of brown. Finish by painting green stems and a few leaves, then let the whole piece dry flat for at least a few hours before framing.
This is the center-texture hack that makes drawings look real. Instead of only drawing seeds, you build the center with tiny speckles so it catches light and reads as grain. The petals can be simple — the center does the heavy lifting. It’s a strong choice for a budget sunflower drawing because you can get a detailed look with basic tools like an old toothbrush and a small brush. It also dries fast, so you can layer quickly.
Common mistakeDon’t skip the darker ring; it’s what keeps the center from looking like one muddy circle.
Good to knowMask around the petals with paper so speckles don’t land where you don’t want them.
15. Rag Paper Sunflower Bouquet with Torn-Edge Petals
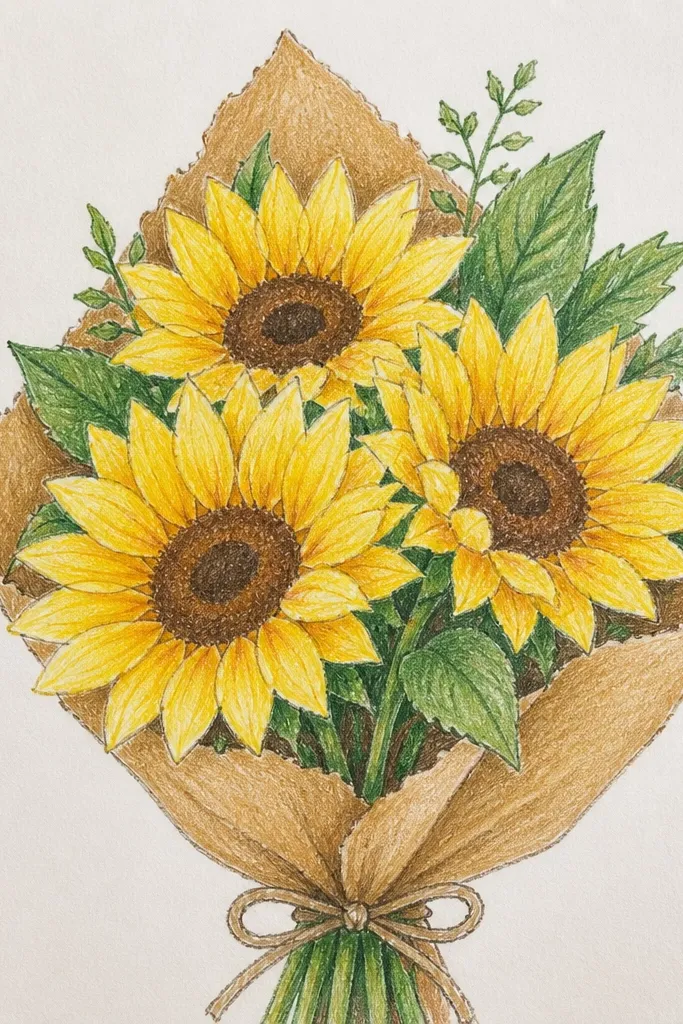
Start with rag paper or watercolor paper sized about 8x10 inches. Lightly sketch a bouquet shape in pencil: one large sunflower at the top right, one medium at left, and 3 smaller heads tucked behind, all sharing a common stem bend. For each sunflower, draw the petal outlines first, then tear small petal-shaped pieces of scrap paper to use as a guide for your petal silhouettes; trace around the torn shape lightly, then shade with a 2B pencil using short strokes that follow the tear direction. Darken the centers with a tight spiral of 2B, then add tiny “seed” dots with a 0.3 or 0.5 gel pen so the center looks dense without needing paint. Finish by adding leaf veins with a blunt colored pencil (olive or deep green) and soften the background with a light graphite wash so the torn edges stay the star.
This one is for the budget sunflower drawing goal when you want something that looks expensive without using fancy paper or expensive paint. Torn-edge petals create a soft, natural edge that pencil and marker drawings struggle to fake, and it photographs beautifully because the texture catches light. You’re building a bouquet look with a simple center-first layout, then layering petals like you’re making paper cutouts — except the petals are drawn and shaded, not glued. It’s a great fit for a cozy wall print, a handmade gift card, or a sketchbook page that needs instant “wow” from texture alone. Skill level is beginner-friendly, and it takes about 45-60 minutes once you get your petal sizes consistent.
Common mistakeDon’t press hard on the first petal outlines — if you indent the paper, the torn-edge look turns muddy fast.
Good to knowTear your petal guide pieces slightly smaller than you want the final petals, then trace and widen by 1-2 mm with pencil so the edges don’t look cramped. Use a kneaded eraser to lift graphite along the petal edges for a clean highlight band.