
1. Half Sunflower With a Vertical Crop Line
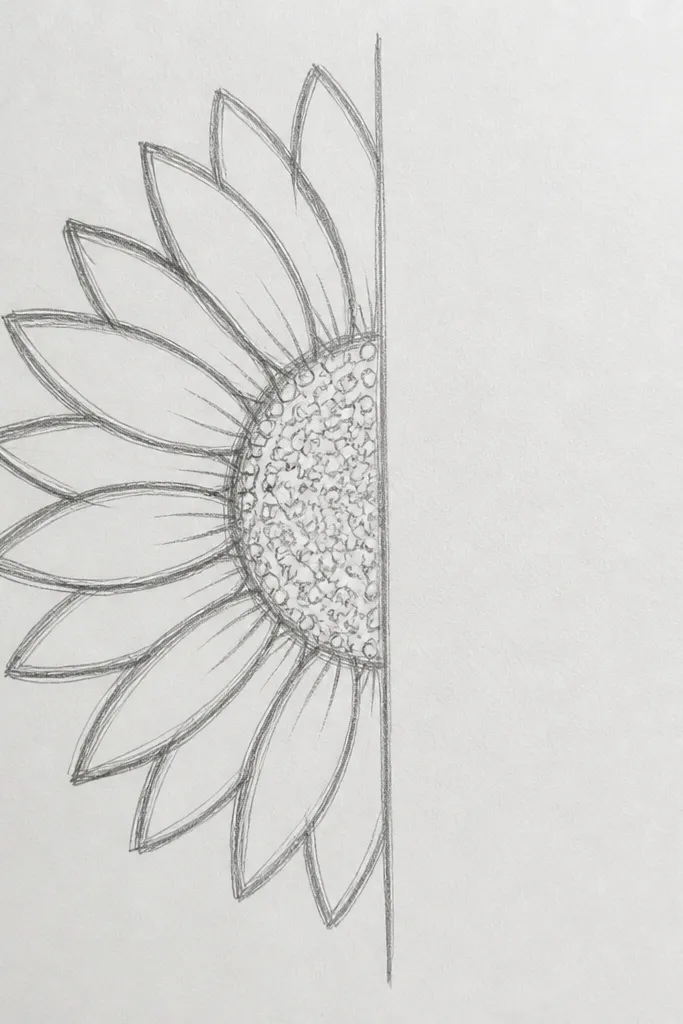
This is the most reliable small-space sunflower drawing layout because it looks designed, not accidental. The sunflower head sits large and the crop line creates a graphic edge that frames your space. Draw the petals with a consistent petal rhythm, then commit to dense hatching in the seed area so the center looks heavy even when the flower is cut. Keep the stem simple and let it angle slightly toward the bottom corner, which gives the whole piece motion without clutter. It’s a great pick for narrow hallways and tight frames where you don’t want extra elements fighting for attention.
Good to knowUse a kneaded eraser to lift highlights on the seed area so it looks dimensional, not flat.
Step 1: Sketch a grid on your paper and place the sunflower center on a vertical line at about 70% of the page width. Step 2: Block in the outer sunflower head circle, then erase the half you want to cut so the crop is a crisp straight edge. Step 3: Draw petals only on the visible side, then shade the seed region with tight crosshatching using a 2B pencil. Finally, ink the outer head and the main petal veins, then erase the grid lines after the ink dries.
Common mistakeDon’t add extra leaves — the vertical crop line is doing the heavy visual lifting.
2. Sunflower Head Splitting a Wavy Window Frame
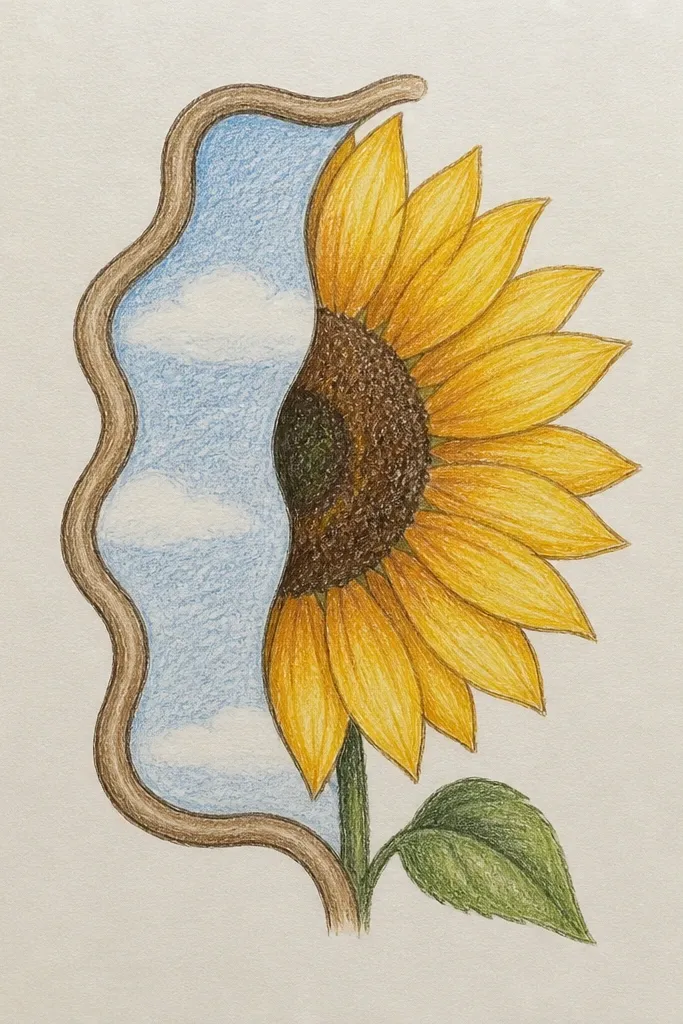
This idea looks like a little scene even in a small drawing because the wavy window shape adds structure. The half sunflower rises from behind the “window,” so your eye reads depth instantly. Keep the background window outline thick and clean, then draw the sunflower head with slightly irregular petal edges for a handmade feel. The seed area gets the most texture so it anchors the design. It works beautifully for upcycled frames with an arched opening or for hanging above a cabinet where you want a focal point that feels architectural.
Good to knowInk the arch with a thicker pen (like 0.8) and keep petal lines thinner (like 0.5) for contrast.
Step 1: Draw a wavy arch across the middle of the paper, leaving enough space above for the sunflower head. Step 2: Place the sunflower head so the cut edge aligns with the arch opening, then draw only the visible petals. Step 3: Ink the arch line first, then add petals and shade the center with 6-8 directional hatching strokes. Finally, add a light wash of diluted yellow only inside a few petal bases for glow.
Common mistakeDon’t color the entire background — keep it mostly blank so the window shape stays crisp.
3. Half Sunflower Corner Bouquet
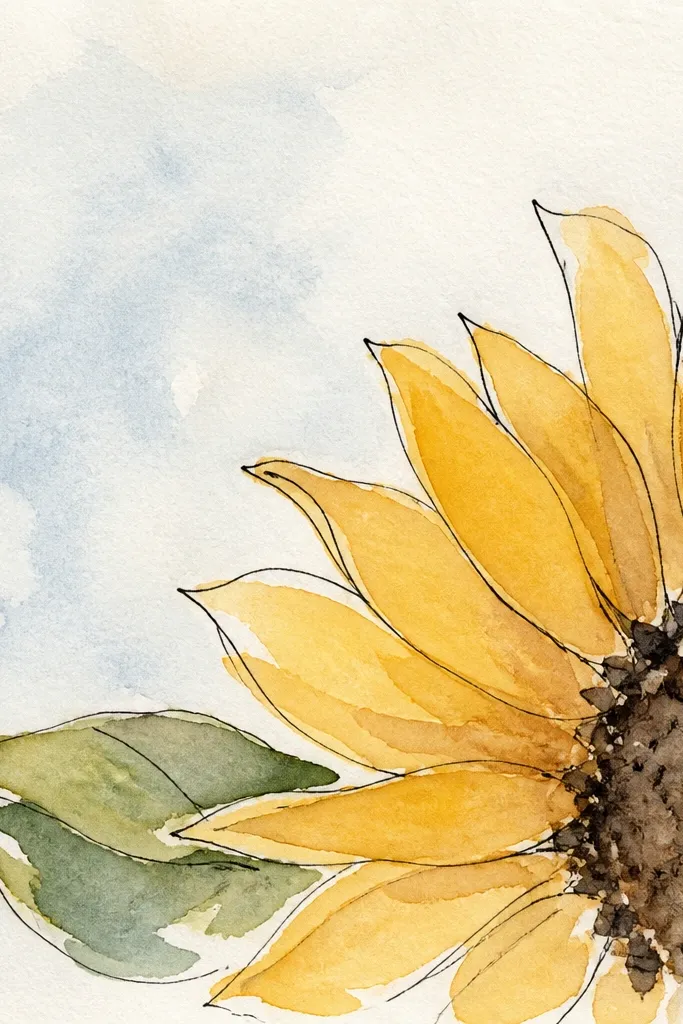
Corner compositions make small-space sunflower drawing feel bigger because the petals spill into empty space. This layout has the sunflower head cut diagonally from the top corner, with a stem that runs down the page like a ribbon. Add two tiny buds or closed blossoms near the stem to make it look intentional, not like a single flower stuck there. Keep the buds smaller than the sunflower head by at least 10:1 ratio so the main flower stays dominant. It’s ideal for tiny frames, gallery ledges, and side walls where you want a clean diagonal flow.
Good to knowUse a ruler for the stem only — freehanding everything makes the corner look sloppy.
Step 1: Mark the corner placement — place the crop so the sunflower head touches both the top and side edges, leaving about 1 inch of blank margin. Step 2: Draw a diagonal stem line from the visible base of the sunflower down toward the lower third, then add two small bud circles along the stem. Step 3: Outline petals on the visible side, then shade the seed center with short, curved strokes. Finish by darkening the outer petal rim and adding one thin highlight line on the stem.
Common mistakeDon’t place buds too close to the seed area or the composition stops reading as a half sunflower.
4. Half Sunflower Over a Textured Kraft Paper Background
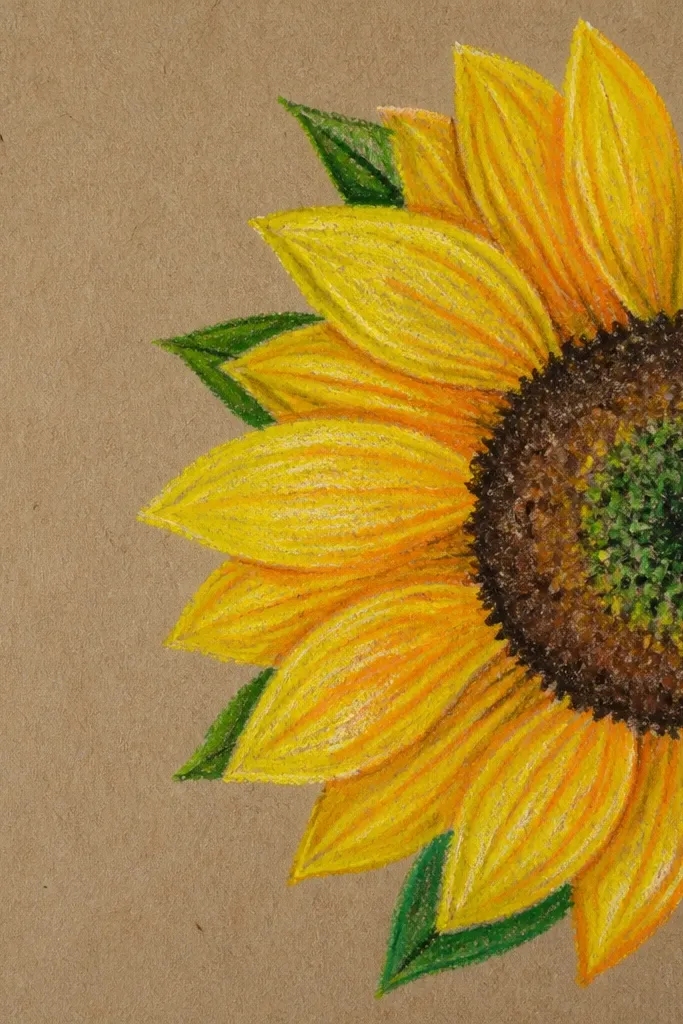
If you want warm, photogenic results without heavy coloring, draw on kraft paper and let the texture do the work. The half sunflower head pops because kraft has natural depth, so your seed shading looks richer instantly. Keep your linework crisp and let the paper color fill the background, then use only a few accents of muted yellow if you want color. This is one of the best small-space sunflower drawing ideas for rustic interiors because the paper grain reads like “real art” even in a small frame. It also hides minor pencil mistakes better than smooth white paper.
Good to knowTest your wash on scrap kraft first; water can spread faster on rough paper.
Step 1: Use kraft paper (or a kraft sketchbook page) and lightly sketch the half sunflower head using a grid. Step 2: Shade the seed area with dense crosshatching using a 2B pencil, then gently blend with a finger or blending stump. Step 3: Ink the outer head and petal outlines, leaving some petal gaps uncolored so the kraft shows through. Finally, add a very light wash of diluted yellow only on 3-5 petals, then set it aside to dry flat.
Common mistakeDon’t over-saturate the wash — soaking the kraft makes the drawing muddy.
5. Half Sunflower With a Polka Dot Seed Mandala
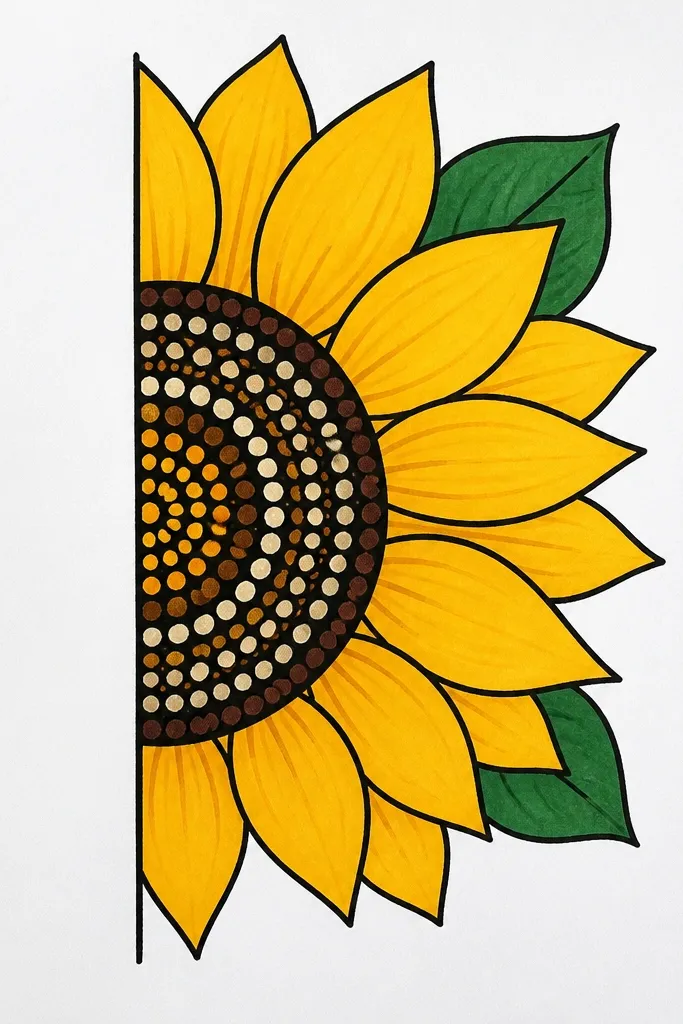
A dotted seed center looks clean and modern, and it photographs well because dots create crisp texture. This half sunflower drawing is all about the seed mandala — concentric dotted rings that feel geometric while the petals stay organic. Use thick outlines for the sunflower head and medium outlines for petals, then keep the stem thin. If you’re working in a small frame, the dot texture reads as detail without needing a lot of extra elements. It’s a strong choice for minimalist walls and for pairing with a simple black frame.
Step 1: Draw the half sunflower head and then lightly sketch 6-8 concentric circles in the seed area. Step 2: Fill each ring with evenly spaced dots using a fineliner or a small dot tool, keeping dot size consistent. Step 3: Outline petals on the visible side, then shade only the petal base with a light pencil tone. Finish by darkening the head rim and adding a few tiny dot clusters around the seed edge for depth.
If dots look uneven, slow down and rotate the paper slightly instead of forcing your wrist.
Don’t draw every petal with the same thickness — variation makes it look hand-done, not stamped.
6. Half Sunflower + Lemon Yellow Watercolor Splash
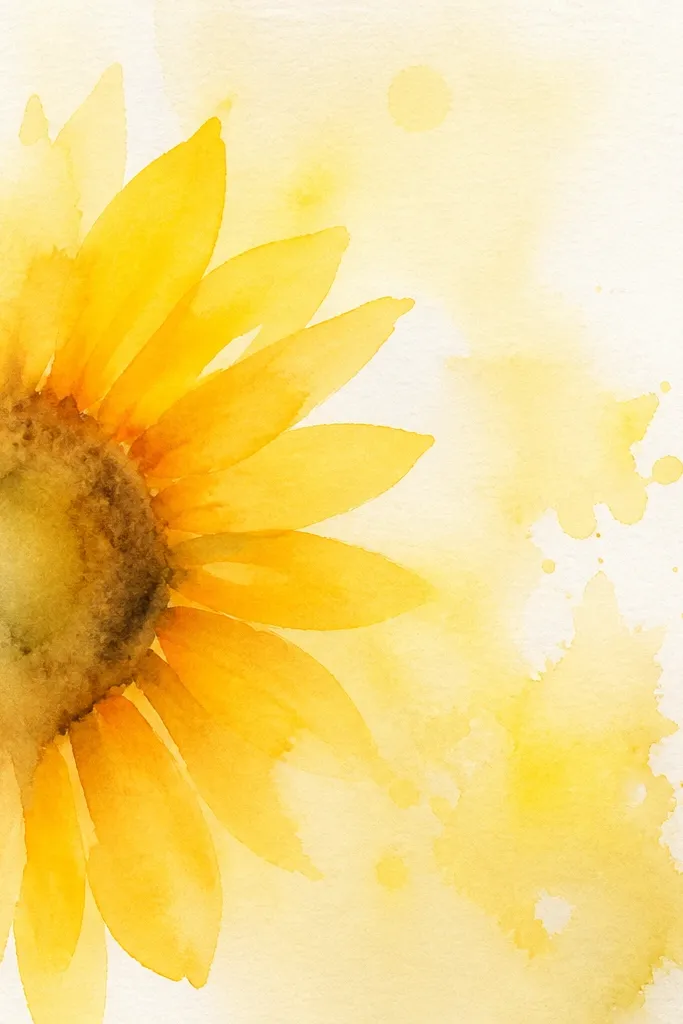
This is the cleanest way to add color without turning your small-space sunflower drawing into a messy painting. The watercolor splash stays behind the sunflower head, so the petals remain the main focus. Use lemon yellow and let some white paper show through for a bright, airy look. Keep the seed center textured with pencil or ink so the color background doesn’t flatten the sunflower. This layout works great for small frames on a desk wall or laundry room where you want cheerful energy without busy details.
Step 1: Draw the half sunflower head in pencil and ink the outer rim and main petal lines. Step 2: Mask the sunflower with scrap paper or a thin strip of masking tape, then paint a loose lemon splash behind the visible petals. Step 3: Once dry, shade the seed center with crosshatching and add a thin burnt orange ring at the seed edge. Finally, remove masking carefully and let the ink fully dry before handling.
Dilute your watercolor a lot; thin paint spreads more beautifully and looks intentional behind the petals.
Don’t paint over the ink lines — watercolor will bleed and blur your crisp silhouette.
7. Half Sunflower With a Chalkboard-Style Frame
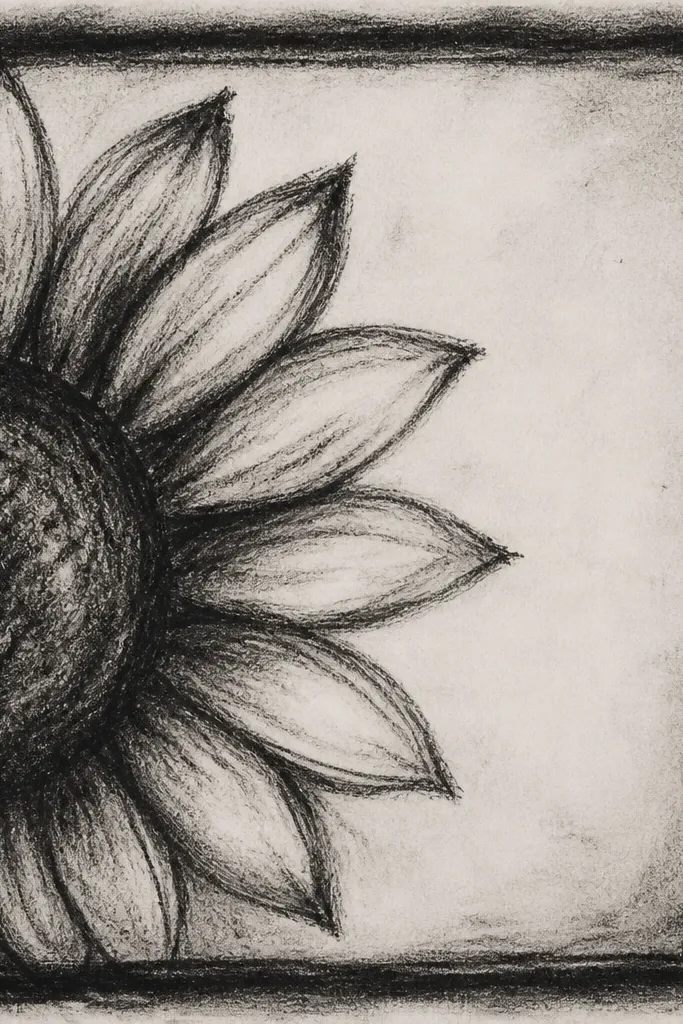
Chalkboard frames make small-space sunflower drawing feel like decor, not a sketch. This idea adds a rough rectangle border around the half sunflower head, then mimics chalk texture with dry brush and uneven line weight. The sunflower stays clean and centered, while the border gives you a place to stop looking when the frame is small. It’s especially photogenic when you use matte black paper or a dark gray sheet. Keep the sunflower ink slightly imperfect so it matches the chalk vibe.
Step 1: Transfer or sketch the half sunflower head on dark paper, leaving a margin for the frame border. Step 2: Draw a rectangle border around it, then use a white pencil or chalk marker to make the border lines look slightly broken. Step 3: Shade the seed center with light gray pencil crosshatching, and outline petals with a thin white or light gray line. Finish by adding a few chalky smudges near the seed area for a soft center glow.
Use a matte black sketchbook page instead of drawing on glossy paper; chalk-like texture looks better.
Don’t use glossy markers — they reflect and ruin the chalkboard look in photos.
8. Half Sunflower With a Diagonal Grid Background
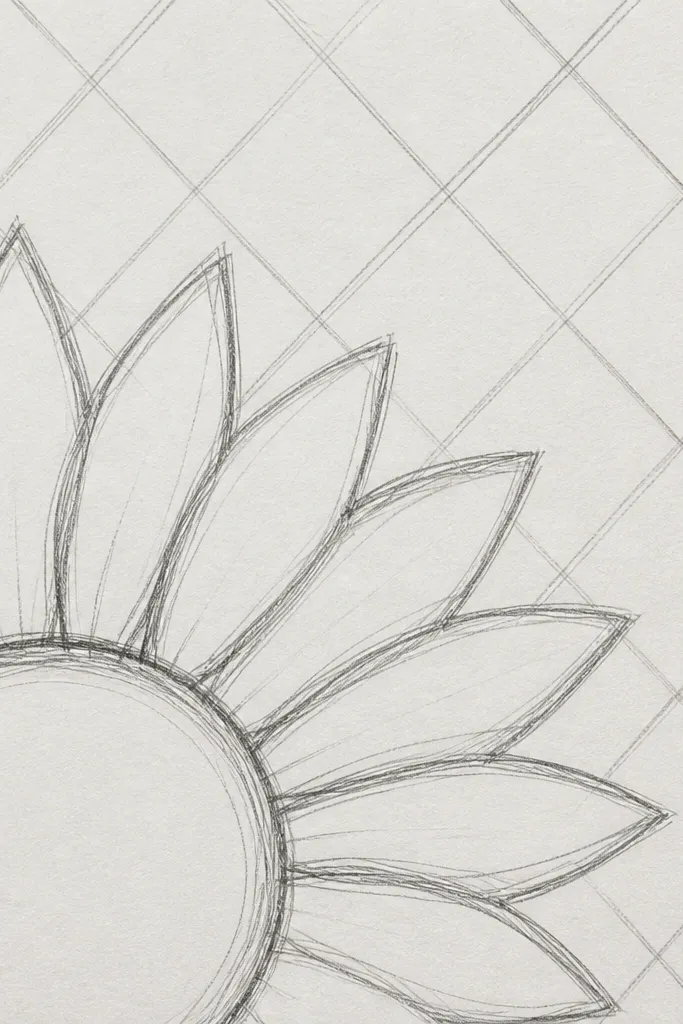
A diagonal grid gives your half sunflower drawing a sense of motion and modern structure. The grid also helps you keep the crop and petal angles aligned, which matters in small frames. Draw the sunflower head large, then let the grid fade behind it so the flower stays dominant. Keep the grid lines light and the sunflower lines dark. This design looks sharp in black-and-white and still works if you add a small yellow wash to a few petals.
Step 1: Lightly draw a diagonal grid across the whole page using a ruler, with lines about 1/4 inch apart for an 8x10. Step 2: Sketch the half sunflower head over the grid, then ink only the sunflower outlines and petals. Step 3: Shade the seed center with crosshatching, and erase grid lines that overlap the darkest petal areas. Finally, add a tiny highlight line on the stem and keep the background grid faint.
Use a kneaded eraser to lift grid lines instead of pressing harder with darker pencil.
Don’t darken the grid — if the background gets too strong, the sunflower loses its focus.
9. Half Sunflower + Hanging Seed Beads
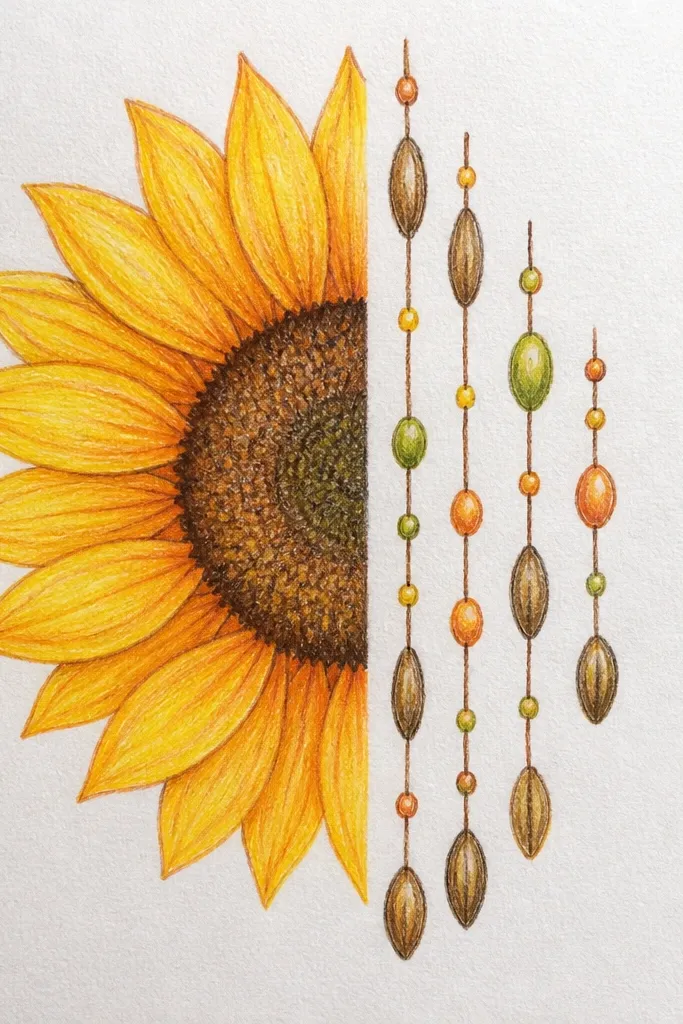
This idea makes a small-space sunflower drawing feel dimensional by adding “hanging” seed beads below the crop. The sunflower head stays half-visible, while a few seed shapes drop into the blank space like they’re falling out. It looks playful and artful, especially if you draw the beads in a neat, repeating pattern. Keep the number low — three to five beads — so the design stays clean. It’s great for kids' rooms, craft studios, and any space where you want a little whimsy.
Step 1: Draw the half sunflower head and seed center, keeping the crop edge crisp. Step 2: Add 3-5 seed bead shapes under the seed area, spacing them evenly along a slight curve. Step 3: Shade each bead with a small highlight wedge, then outline beads with a thin fineliner. Finish by adding a few tiny seed dots around the seed center to connect the “falling” beads to the flower.
Make the bead highlights by leaving tiny uncolored gaps in pencil before you ink.
Don’t add too many beads — the design gets busy fast in small frames.
10. Half Sunflower With a Bold Black Rim
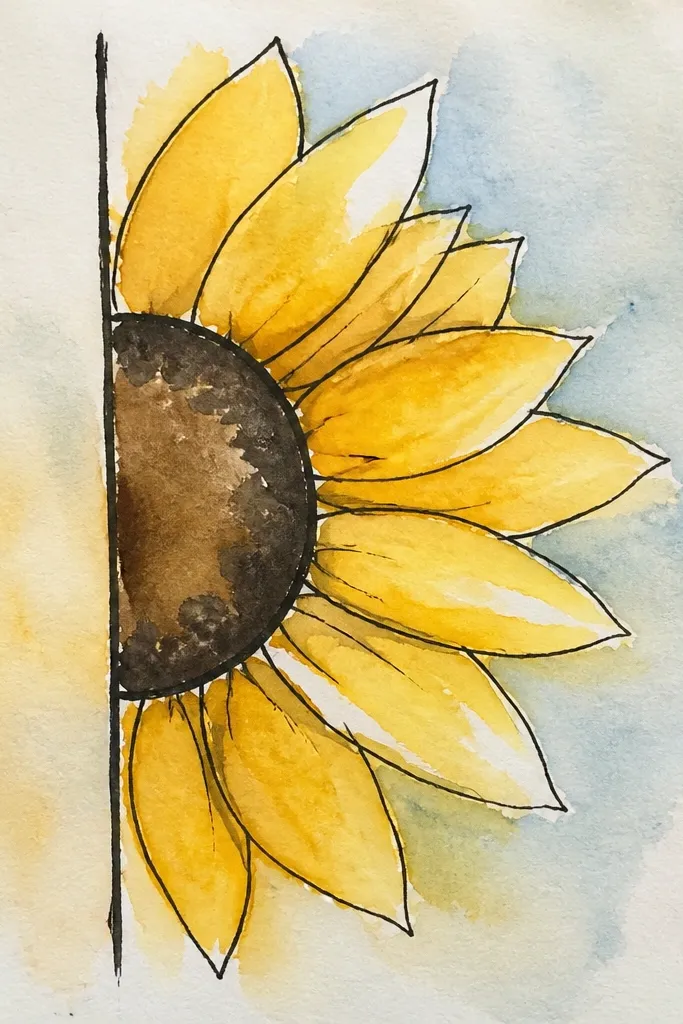
If your goal is maximum photogenic contrast, this one wins. A thick black rim around the sunflower head makes the half sunflower look like a graphic poster, even when it’s small. Keep interior details minimal: a few petal veins, a textured seed center, and a simple stem. This is a great pick for clean, modern rooms because it reads well from across the room. The best part is speed — you can finish without overworking petals.
Good to knowUse a white gel pen to add 5-8 tiny highlight dots on the seed texture for extra pop.
Step 1: Sketch the half sunflower head and stem in pencil, then ink the outer rim with a 1.0 or 1.2 pen. Step 2: Add petal outlines only where they define shape, then texture the seed center with quick crosshatching. Step 3: Color the petals lightly with colored pencil or marker in a thin layer so the black rim stays dominant. Finally, add a darker burnt orange ring at the edge of the seeds.
Common mistakeDon’t outline every petal with the thick rim — it turns into a blob.
11. Half Sunflower + Soft Sage Leaf Silhouette
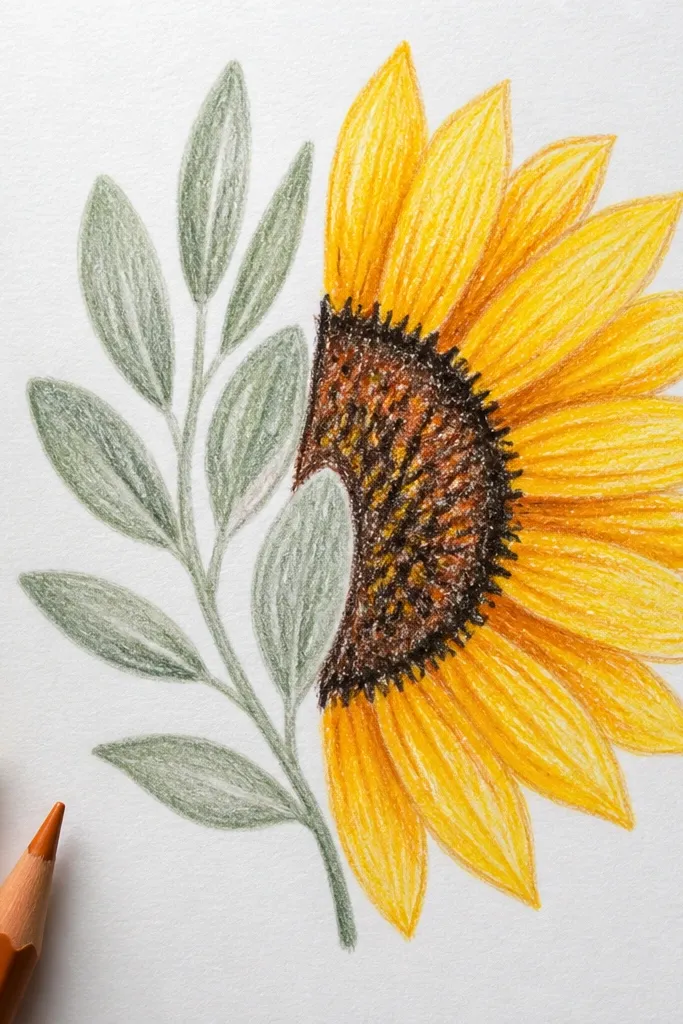
This layout uses one calm shape behind the sunflower to make the whole drawing feel styled. A sage leaf silhouette sits behind the half sunflower head, partially hidden by petals, so it adds depth without clutter. Keep the leaf edges soft and slightly imperfect, then draw the sunflower in crisp lines. Color the sunflower with warm gold and leave the leaf muted so it supports rather than competes. It’s ideal for neutral bedrooms and for frames that have a light wood stain.
Good to knowPress lightly on the sage so the paper texture still shows through.
Step 1: Sketch the half sunflower head and stem, then place a leaf silhouette behind the head so it peeks out on the non-cropped side. Step 2: Use pencil to block the leaf shape, then fill it with sage colored pencil or watercolor. Step 3: Ink only the sunflower outlines and seed area texture, leaving the leaf uninked for a softer look. Finish by adding a thin green wash at the base of the stem where it meets the head.
Common mistakeDon’t add extra leaves — one silhouette is enough for depth in a small frame.
12. Half Sunflower With a Sunrise Gradient Background
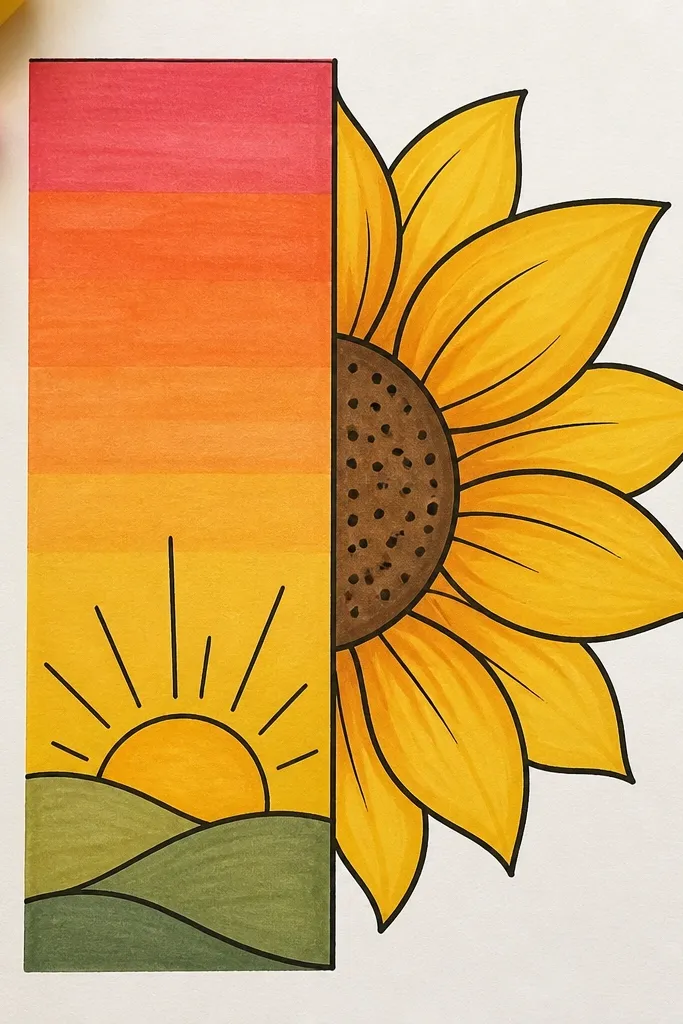
A sunrise gradient behind the half sunflower gives you a full scene without adding objects. You get color atmosphere while the sunflower stays the anchor. Use a simple three-tone gradient: pale peach near the bottom, warm yellow mid, and light sky blue at the top. The half crop makes the sunflower feel like it’s “emerging,” which looks great in photos and gives the piece a finished vibe. It fits well in living rooms and entryways where you want warm light energy.
Step 1: Draw the half sunflower head in pencil and ink the outlines and seed texture. Step 2: Paint a gradient behind it using watercolor — peach at the bottom, yellow in the middle, and a thin blue fade at the top. Step 3: Keep paint lighter around the sunflower edges so they stay crisp, then add a tiny orange ring at the seed edge once the background dries. Finally, erase pencil lines carefully after all paint is dry.
Use a damp brush edge to blend colors; hard lines look less like sunrise and more like stripes.
Don’t let the gradient hit the sunflower ink — keep a clean border around the head.
13. Half Sunflower in a Circle Sticker Frame
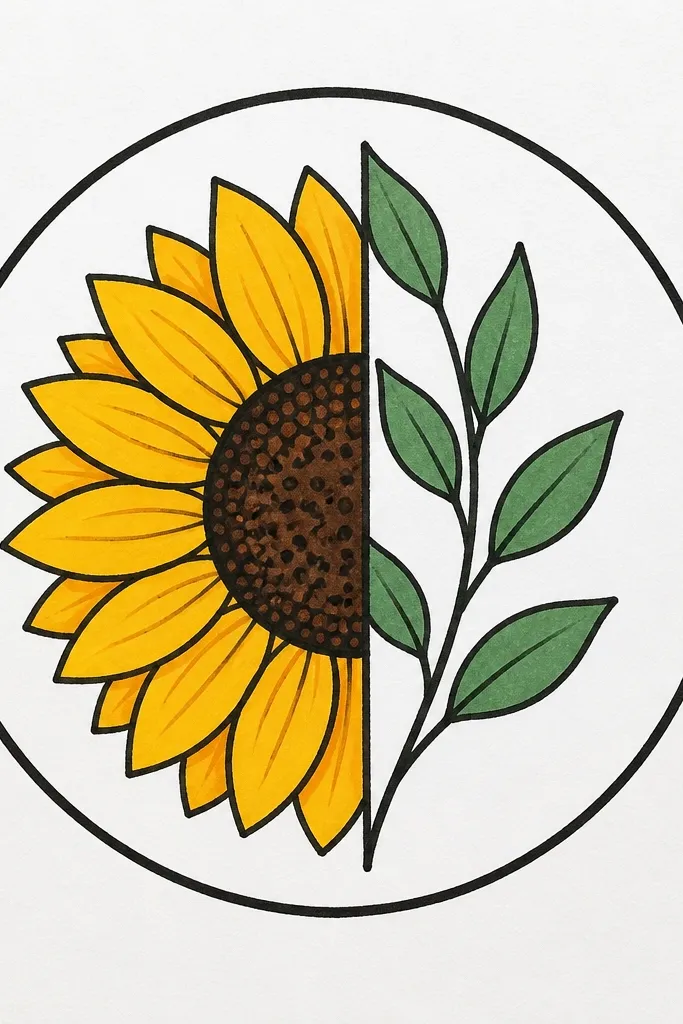
This idea turns a half sunflower drawing into something that looks like a sticker or label, which is perfect for small spaces. The thick circle border holds the composition and makes the sunflower feel intentional even when it’s cropped. Use a dotted seed texture or tiny curved strokes so the center looks crisp. Keep petals clean and slightly simplified — sticker-style drawings look best when they’re bold. It’s a great choice for shelves, kitchen walls, and anywhere you want a graphic pop.
Good to knowMake the circle border slightly uneven by varying pressure — it reads handmade instead of printed.
Step 1: Draw a circle that fits your frame area, then place the half sunflower head so it breaks through the circle boundary on one side. Step 2: Ink the circle border first, then ink sunflower outlines and petal shapes. Step 3: Create a dotted seed center with small repeating marks, then add a thin burnt orange ring near the seed edge. Finish by coloring petals with light gold pencil and keeping the background white.
Common mistakeDon’t over-detail every petal; the circle border already adds structure.
14. Half Sunflower With a Hanging Ribbon Banner
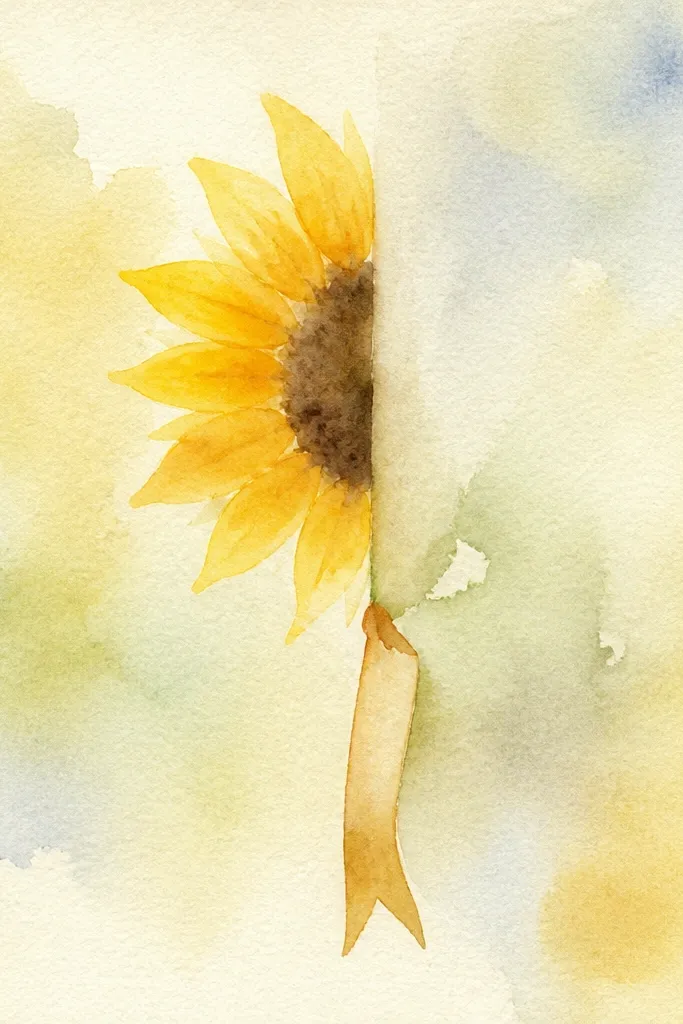
A ribbon banner adds a vertical anchor, which helps when your half sunflower is cropped and you need the composition to feel balanced. Draw a small banner strip below the visible base of the sunflower, then curl its ends slightly. You can leave the banner blank for a clean look or add a tiny phrase in a simple handwritten style. The sunflower stays the main focus, while the banner gives your drawing something to “finish” in the lower half of the frame. This works well for entryway decor and for gifting.
Good to knowUse a fine brush for the banner shadow so it stays gentle and doesn’t muddy the ink.
Step 1: Sketch the half sunflower head and stem, then place the banner so it hangs from the stem base. Step 2: Draw the banner rectangle and add soft folds with light pencil lines, then ink around its outer edges. Step 3: Shade the seed center with crosshatching and ink the sunflower rim and petal veins. Finish by coloring petals lightly and adding a subtle shadow under the banner folds using diluted brown pencil.
Common mistakeDon’t write text if your letters aren’t consistent — the banner should still look good blank.
15. Half Sunflower With a Botanical Label Callout
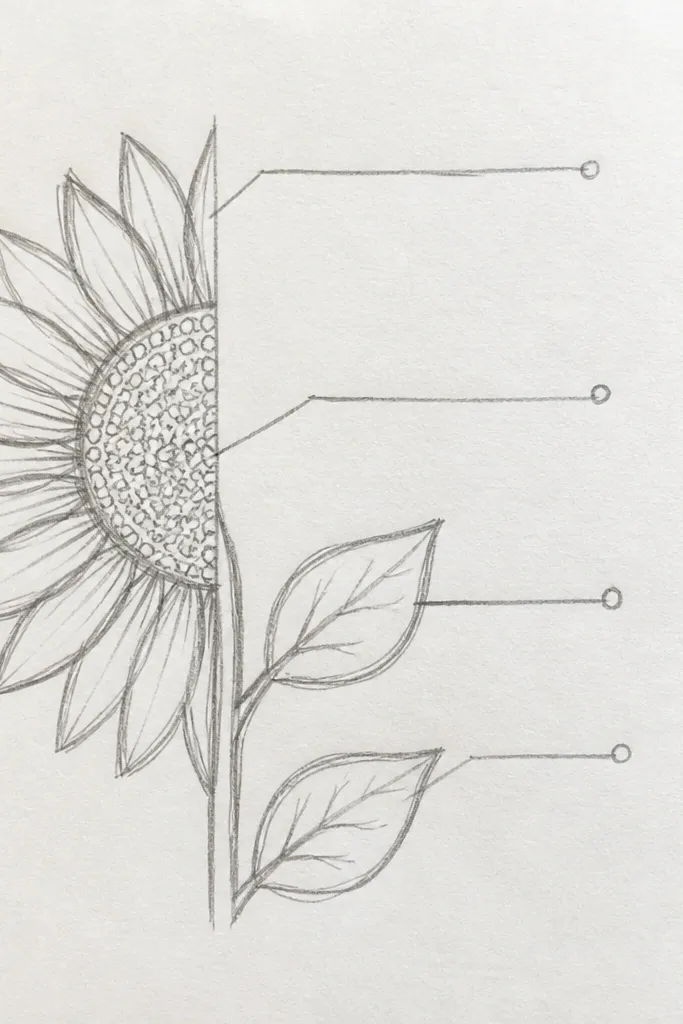
Botanical label callouts make small-space sunflower drawing feel curated without adding a ton of drawing work. The label box gives you a clean rectangle area that balances the half crop, and the arrow points the eye to the seed texture where you want attention. Keep the label minimal: one box, one arrow, and a simple tiny number or word. Use thin lines for the label and thicker lines for the sunflower outlines. This is a strong choice for office walls and craft rooms because it looks like a studied specimen.
Good to knowUse a ruler for the label box, but draw the arrow freehand for a natural hand-drawn feel.
Step 1: Draw the half sunflower head and stem, leaving space on one side for a label box. Step 2: Sketch a small label rectangle and a single arrow line that points to the seed center. Step 3: Ink sunflower outlines and seed texture, then ink the label box lines and arrow. Finally, add light color to petals and keep the label mostly uncolored so it stays crisp.
Common mistakeDon’t overcrowd the label with multiple lines — one arrow and one box is enough.
16. Half Sunflower Rising From a Drawer-Lip Shape
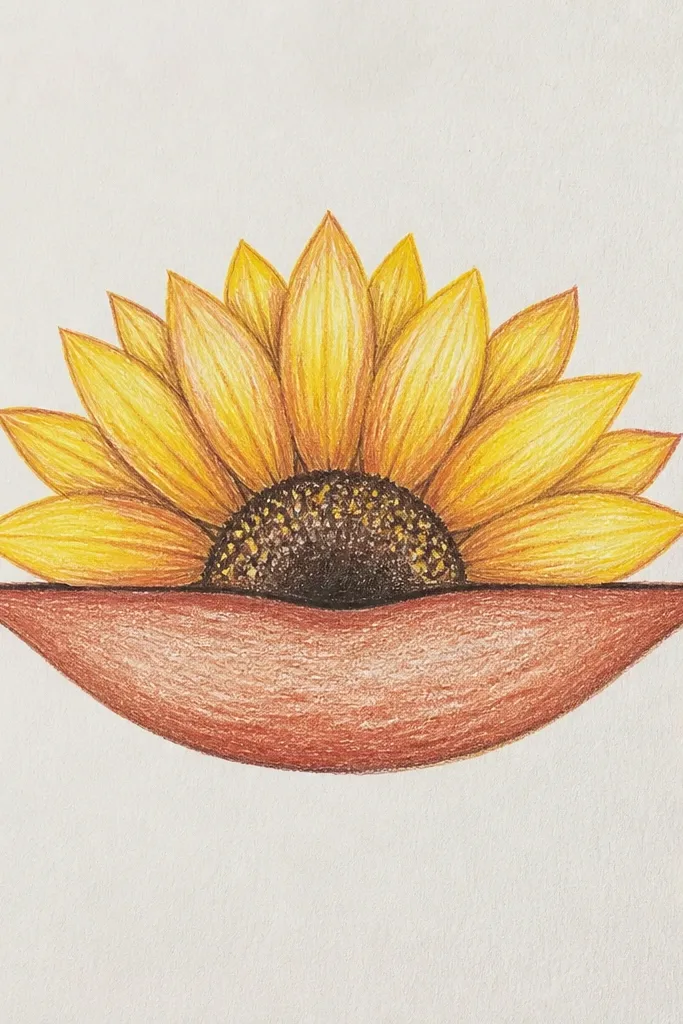
This layout looks like the sunflower is popping out of something, which is a smart trick for small spaces. The “drawer lip” is a simple horizontal shape that gives your drawing a base, so the half sunflower doesn’t float awkwardly. Keep the drawer lip line thick and straight, then let petals overlap the lip edge slightly. The seed center gets heavy texture so it feels full and satisfying. It’s especially photogenic in frames placed above dressers or shelves.
Good to knowAdd a tiny highlight line on the lip edge to make it read like wood or painted trim.
Step 1: Draw a thick horizontal lip across the lower third of the page, with a slightly darker line underneath for depth. Step 2: Sketch the half sunflower head so it rises from behind that lip, cropping on one side. Step 3: Ink the drawer lip first, then ink sunflower outlines and petals, and add dense crosshatching in the seed area. Finish with a light gold wash on petals while keeping the lip shape solid and dark.
Common mistakeDon’t curve the lip line — a wavy lip makes the composition look accidental.
17. Half Sunflower With a Split-Color Petal Style
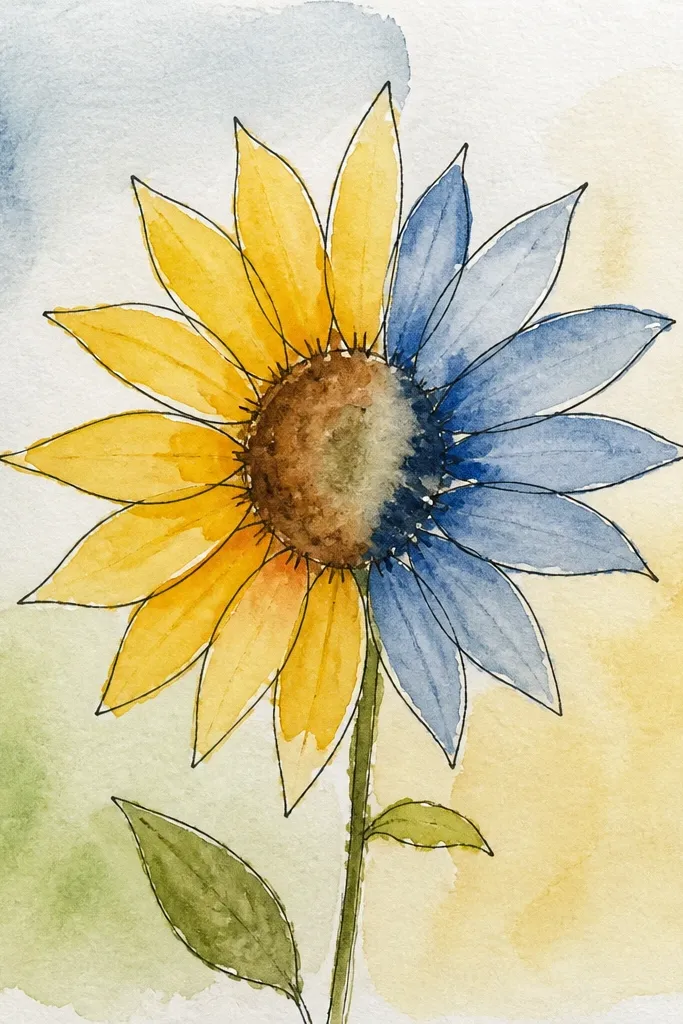
Split-color petals make this small-space sunflower drawing look more complex without adding extra objects. You draw standard petals, then color half of each petal segment with warm yellow and the other half with burnt orange, leaving a thin pencil gap to show petal texture. The result is a sunflower that looks like design work, not a basic sketch. Keep the seed center textured and darker so it anchors the color. This idea is ideal for frames that sit against neutral walls where you want a strong color statement.
Good to knowUse a light hand for the yellow base first, then build burnt orange on top — it prevents muddy mixing.
Step 1: Sketch the half sunflower head and outline petals in pencil, then ink only the outer petal edges and main veins. Step 2: Color each visible petal by splitting it — one side in yellow, the other in burnt orange, using colored pencils for control. Step 3: Add a dark seed center with crosshatching and a thin ring of darker brown at the seed edge. Finally, clean up by erasing stray pencil marks so the petal color stays crisp.
Common mistakeDon’t shade seeds with the same colors as petals — the center needs to look darker and heavier.
18. Half Sunflower on a Striped Washi Tape Border
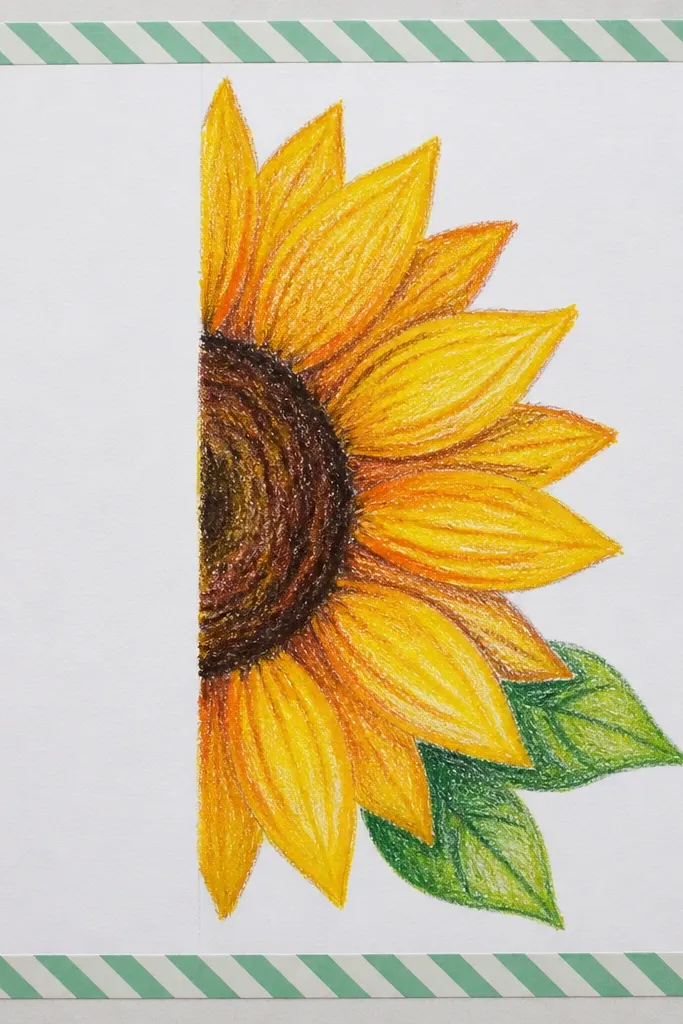
Washi tape style borders look handmade and trendy, and they fit perfectly with the small-space sunflower drawing goal because they frame the art without needing a large canvas. The border gives you a clean boundary and adds color control — you can pick two stripe colors that match your sunflower palette. Keep the tape border simple: alternating thin stripes, small gaps, and one slightly thicker tape strip as a focal anchor. The sunflower stays half-visible and large so the tape doesn’t steal attention. This works in small frames and also for taped art on corkboards.
Good to knowMake the tape border slightly thicker on the left or bottom so it balances the half crop.
Step 1: Draw the half sunflower head large on the page, then leave margins for the tape border. Step 2: Sketch 2-3 horizontal and vertical tape strips around the edges, with tiny gaps between them to mimic tape separation. Step 3: Color the tape stripes with muted green and warm cream, then add ink to the sunflower outlines. Finally, shade the seed center with dense pencil and add a light gold wash to petals.
Common mistakeDon’t use more than two stripe colors or the border competes with the sunflower.
19. Half Sunflower With a Feathered Seed Shadow
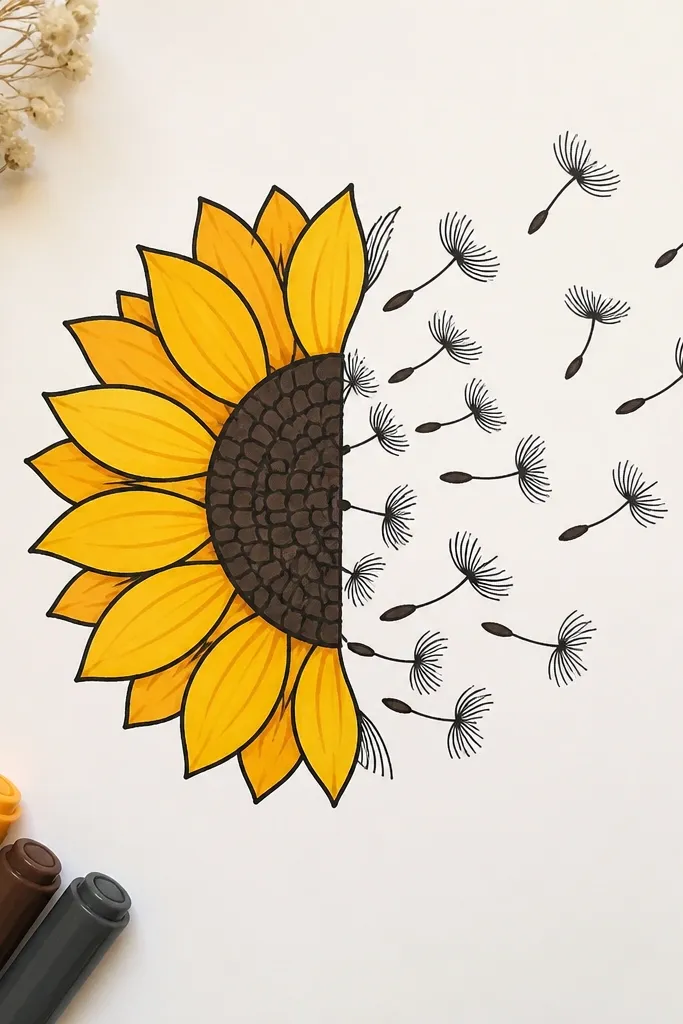
This is a “soft texture” half sunflower drawing that still looks finished. Instead of heavy crosshatching across the whole seed center, you feather shading outward so the center looks like it’s glowing from within. Pair that with clean petal outlines and a simple stem and you get a calm but high-quality look. It’s great for smaller frames where you want elegance without filling every inch with marks. Choose this if you like subtlety more than graphic boldness.
Good to knowUse a tissue to blend, then go back with a pencil to re-darken the center — blending can lighten too much.
Step 1: Sketch the half sunflower head and ink the outer rim and petal outlines with a fine pen. Step 2: For the seed center, start with darker pencil in the middle, then feather outward using a blending stump or tissue in short strokes. Step 3: Add a few seed detail marks around the edges of the center so it still reads as seeds. Finally, color petals lightly and leave the background blank.
Common mistakeDon’t over-blend the seed edge; you still need a defined silhouette.
20. Half Sunflower With a Hanging Pot Silhouette
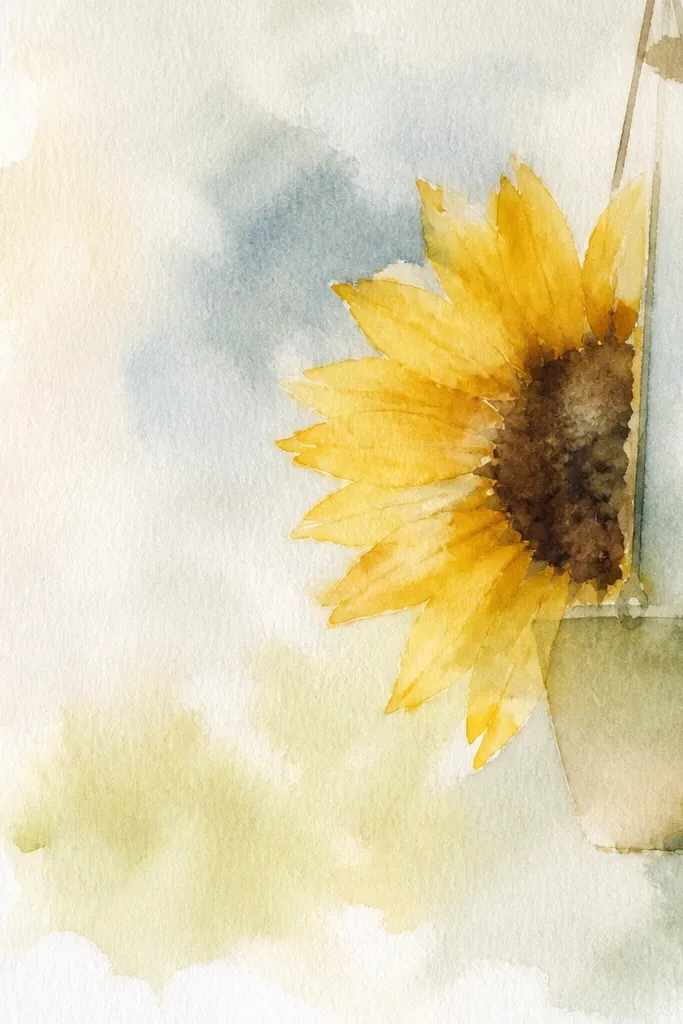
This idea adds a simple container shape so the half sunflower feels like it belongs in a room, not floating on paper. A hanging pot silhouette is graphic and easy to draw in small sizes because you can keep it minimal: one pot outline, two string lines, and a few leaf hints. The sunflower head stays large and cropped, while the pot anchors the bottom. It’s one of the best small-space sunflower drawing ideas for kitchen windows and plant-themed decor. Keep lines clean and avoid extra flowers so the sunflower stays the hero.
Step 1: Sketch the half sunflower head and stem, then draw two short string lines from the top area down toward the pot. Step 2: Draw a simple pot silhouette under the stem base with a curved top and slightly wider bottom, then ink it. Step 3: Ink sunflower petals and add seed texture with crosshatching, but keep petal detail simpler than the seed center. Finally, add a light green tint to a couple of petal bases or leave petals uncolored for a crisp black-and-white look.
Make the pot outline slightly thicker than the stem so it reads clearly at small sizes.
Don’t draw a full pot interior — the silhouette is what keeps this clean.