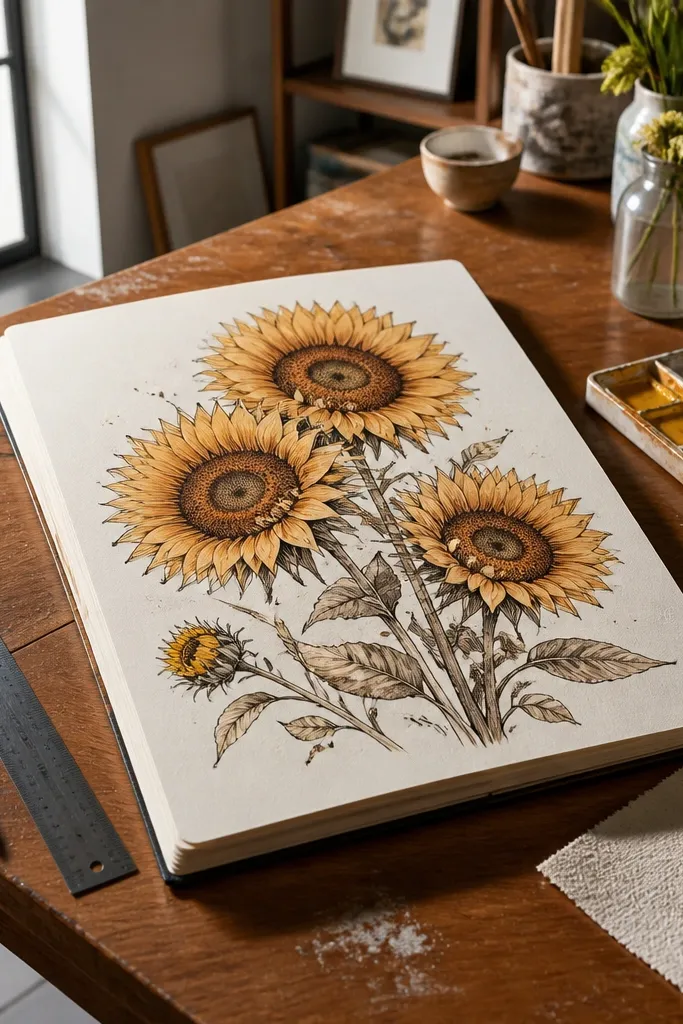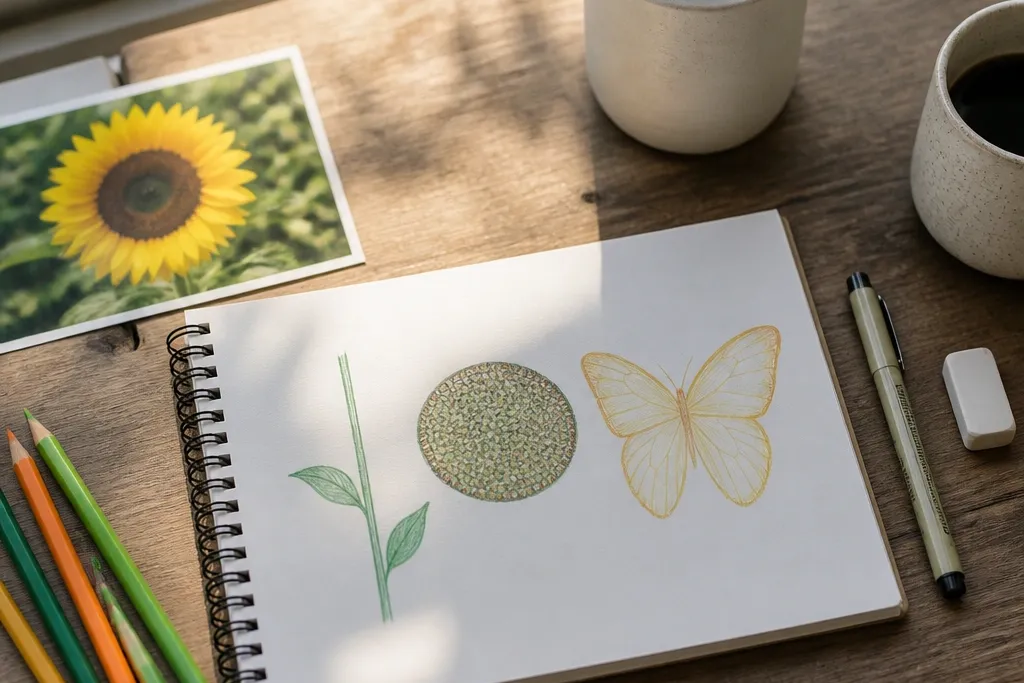
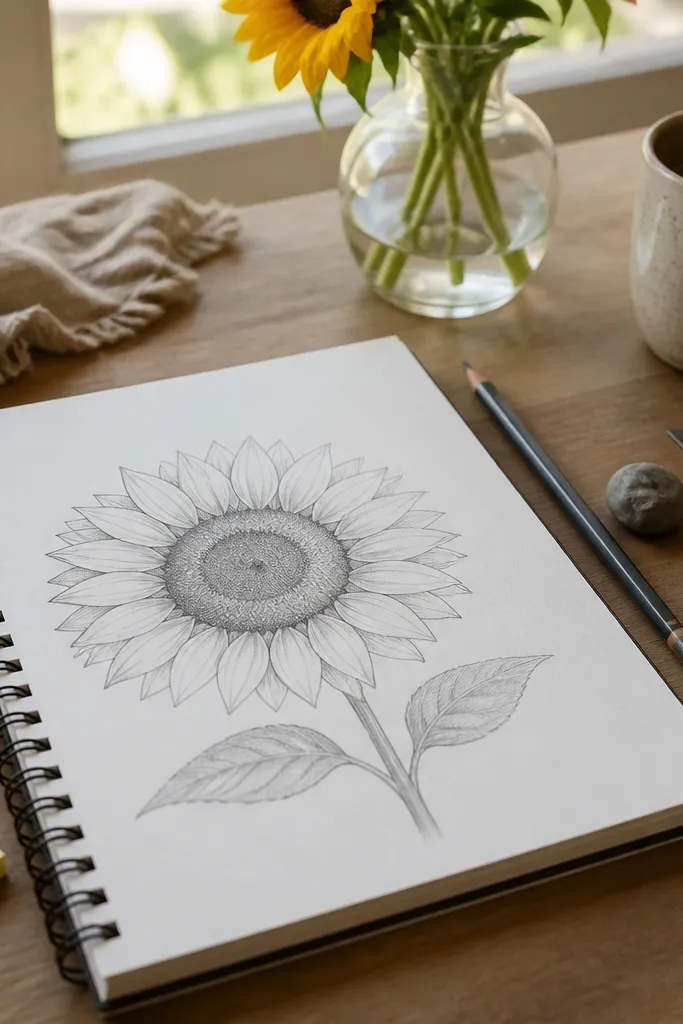
1. Seed-Head Spiral Sunflower With Butterflies in the Petal Shadow
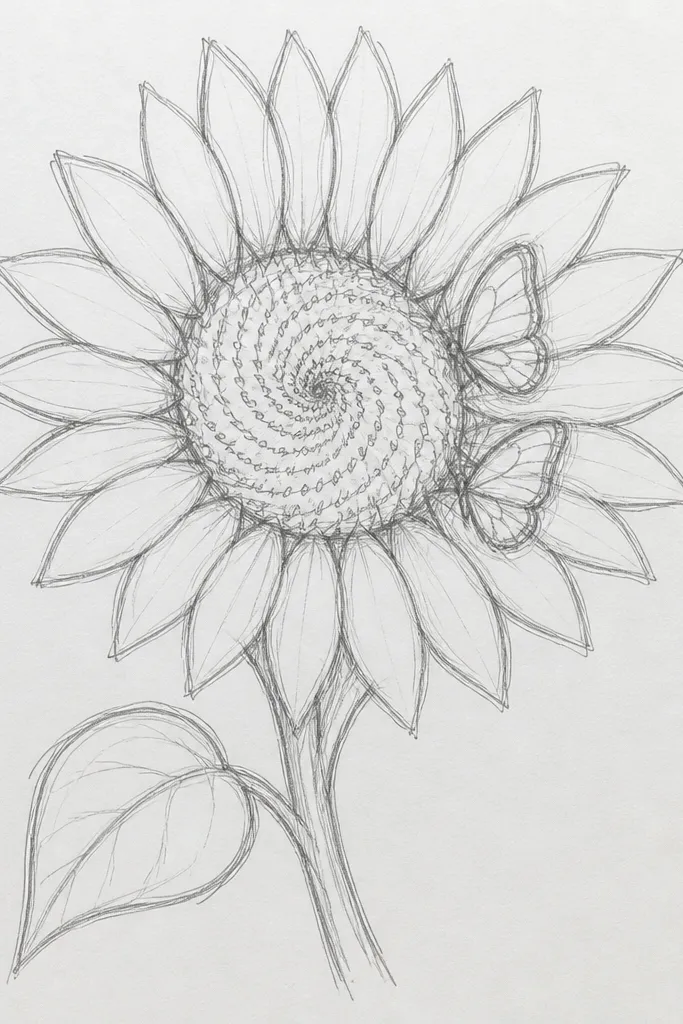
This one looks clean because the sunflower seed head is a single, readable spiral pattern instead of loose shading. The butterfly placement is the trick: it sits behind a few petals so only the outer wing edges need crisp detail. That instantly reduces wing mess while still giving a “stunning sketch” look. Use warm yellow petals with darker gold at the base of each petal so the butterfly pops against the lighter background.
Step 1: Draw a slightly squashed oval for the seed head, then add a tight spiral starting at the center and widening outward with 2B pencil. Step 2: Sketch petals as teardrops around the seed head, keeping the petal bases darker (golden-orange) and the tips lighter (yellow). Step 3: Draw the butterfly body as a simple vertical capsule, add a center guide line, then outline the wings where they overlap the top petals. Finally, darken the butterfly outline and add a few short antenna lines.
If your spiral turns messy, keep spiral spacing even by using light pencil strokes and going back with 2B only after the shape is correct.
Don’t shade the seed head with random hatching — it kills the spiral clarity.
2. Single-Line Butterfly Landing on a Golden Seed Ring
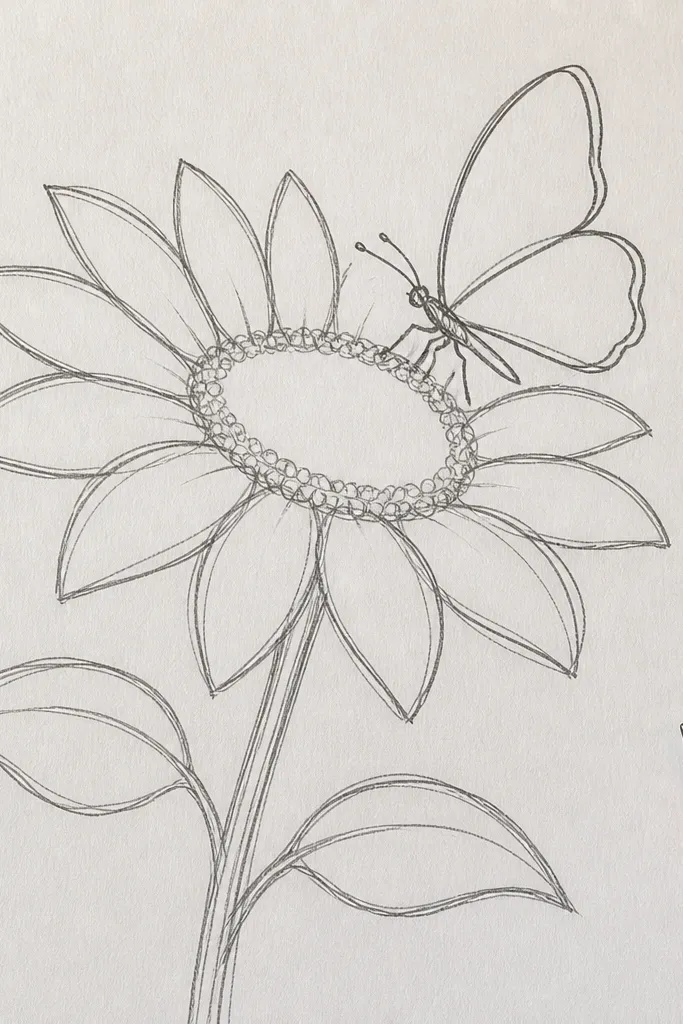
Step 1: Draw a sunflower seed head as two circles — a larger outer circle and a slightly smaller inner circle — then erase the inner construction line lightly. Step 2: Fill the space between circles with short, curved seed marks that follow the ring edge. Step 3: Sketch the butterfly landing pose with one continuous contour line, using a center guideline for the wings so they match. Step 4: Add a few petal tips around the top and keep the rest minimal.
This design is aesthetic because it uses line economy. A single-line style butterfly gives a modern, airy feel, while the sunflower seed head stays structured as a ring. The contrast is what makes it photogenic: thin, dark lines for the butterfly and a dense seed texture only inside the ring. It’s also great for beginners because you’re not doing wing shading — just clean contours.
Common mistakeDon’t thicken every line — keep the butterfly line thin and only darken the seed marks.
Good to knowUse a ruler for the seed ring circles lightly, then commit the seed texture after you erase construction marks.
3. Butterfly Wing Veins Overlapping Sunflower Petals
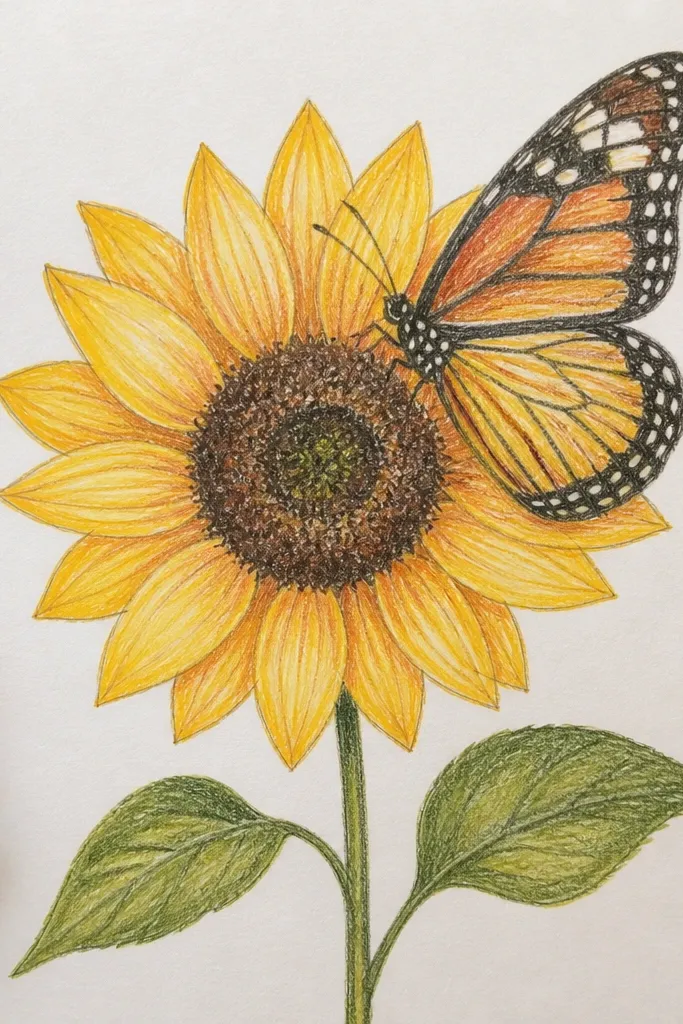
Step 1: Draw the sunflower with a neat seed head circle and 16-20 petals around it, each petal slightly curved downward. Step 2: Color petals with a mid yellow, then add a darker gold wedge at the base of each petal. Step 3: Place the butterfly so one wing crosses the top petals; sketch a simple body and wing outlines first. Step 4: Add vein lines as 5-7 light curved strokes per wing, then darken the outer wing edge.
This is visually striking because the butterfly wings get texture from veins, not heavy shading. You’ll draw a sunflower that reads fast (petals and one seed head), then add wing vein lines that look detailed without being complicated. The overlap makes it look intentional: the veins sit “on top” of petals, so the composition feels layered. It’s beginner-friendly because you can control the vein spacing and stop once it looks balanced.
Common mistakeDon’t draw vein lines all the way to the outer edge — stop before the border so it looks natural.
Good to knowStart wing veins from the wing’s center point and keep them evenly spaced — that’s what makes the detail look polished.
4. Watercolor Wash Sunflower With Ink Butterfly Outline
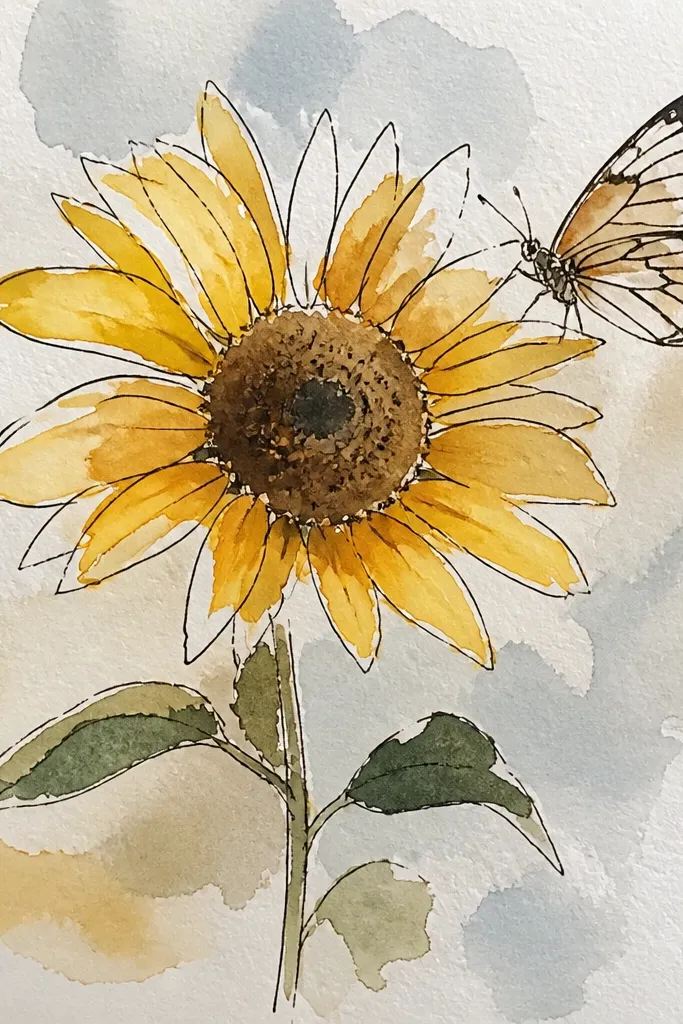
This one looks like a finished art card because it mixes soft color with crisp ink. The sunflower petals get a watercolor-style wash (light to medium yellow), while the butterfly is inked with dark, confident outlines. You get contrast without complicated shading. Beginners like it because the watercolor texture hides small drawing mistakes — the ink keeps the butterfly readable.
Step 1: Lightly pencil the sunflower seed head and petals, then wet the petal areas with clean water using a small brush. Step 2: Drop in diluted yellow wash, then deepen a few petal bases with a tiny touch of orange-gold. Step 3: Let it dry slightly, then ink the butterfly wings with a pen (or brush pen) using a simple symmetric outline. Step 4: Fill the seed head with a dot pattern using a 2B or ink pen once the wash is set.
Do two light ink passes on the butterfly outline instead of one heavy pass — it prevents wobble.
Don’t ink before the watercolor is dry — you’ll get fuzzy wing edges.
5. Sunflower Corner Frame With Butterfly in the Negative Space
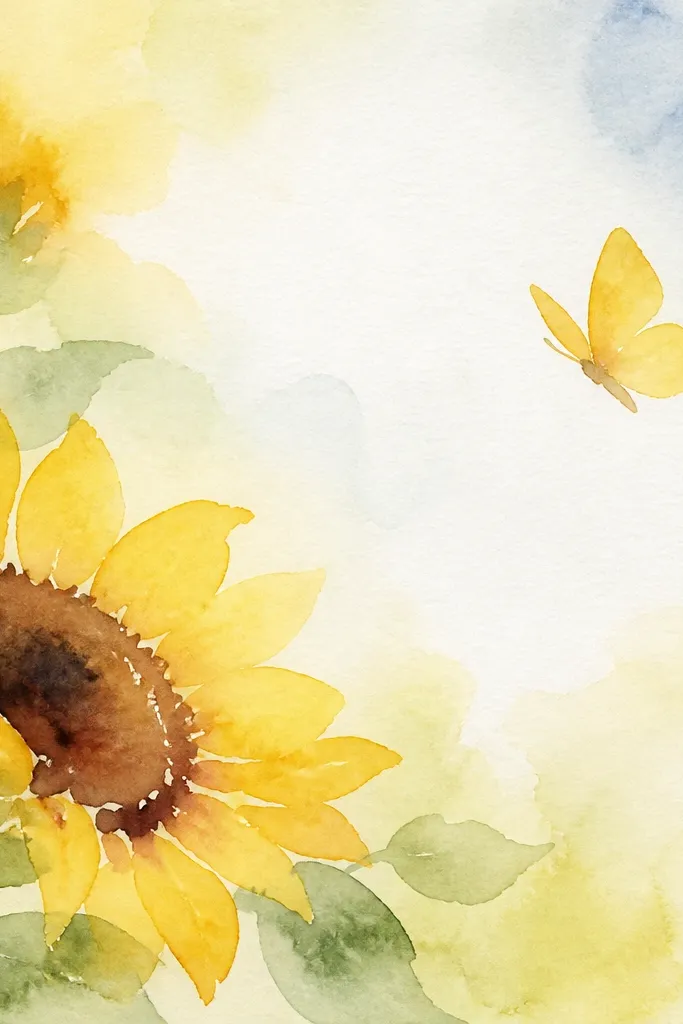
Step 1: Draw a sunflower seed head in the upper corner area, then extend petals outward like a fan. Step 2: Add two leaves that curve into the blank center, keeping their veins light. Step 3: Sketch the butterfly in the open middle and use a center guideline to keep wings even. Step 4: Add only 6-8 seed texture marks (dots or short commas) so the corner stays airy, then darken the butterfly outline.
This composition looks high-end because it uses negative space like a design element. The sunflower sits in the corner with leaves and petals forming a frame, and the butterfly is drawn to “float” in the blank middle. That spacing keeps the page from feeling crowded. It’s beginner-friendly because you can simplify the butterfly details and still get a clean look thanks to the open background.
Common mistakeDon’t fill the blank space with extra doodles — the frame effect is what makes it look clean.
Good to knowPlan your butterfly size first: keep it about the same height as your seed head so it looks balanced.
6. Mandala-Seed Sunflower With Tiny Butterfly in the Center
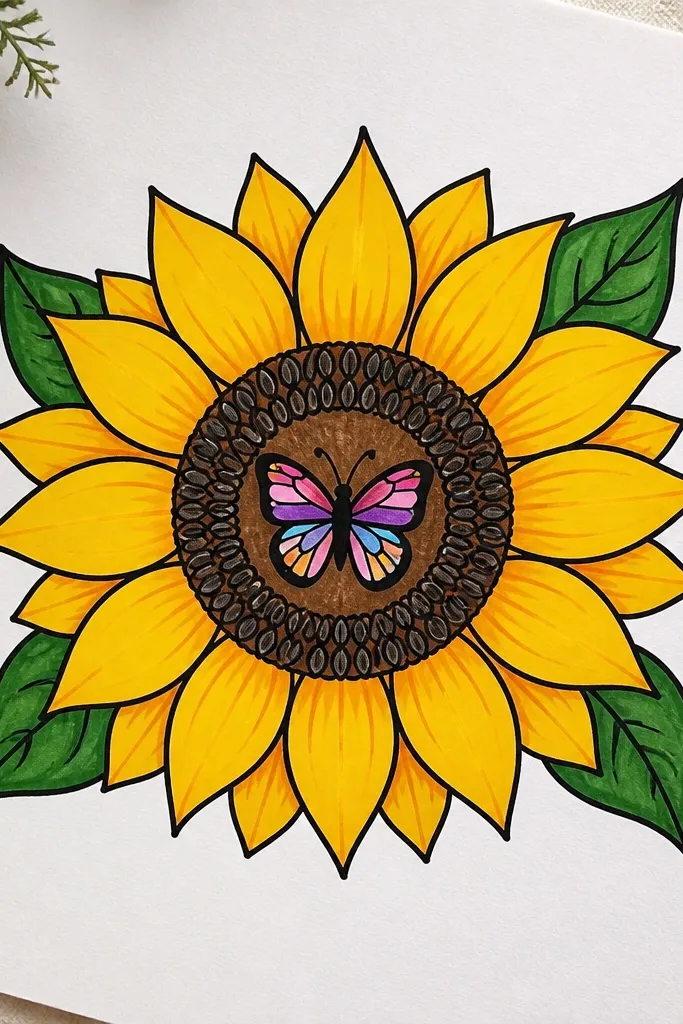
Step 1: Draw the sunflower seed head as a circle and map 8 wedge sections with light pencil lines. Step 2: Fill each wedge with repeatable shapes — dots, short arcs, and tiny comma marks — keeping spacing consistent. Step 3: Draw petals as 12-14 teardrops around the seed head, then color with yellow and a gold base. Step 4: Add a small butterfly centered over the seed head, using a short body and two wing outlines with 3-4 vein strokes.
This is photogenic because the seed head becomes a pattern, not a texture. The petals are simple, but the mandala-style seed adds that “wow” detail. The butterfly is tiny and centered so it doesn’t fight the seed pattern. Beginners can still pull this off because the butterfly can be minimal: small wings, light vein lines, and a crisp body.
Common mistakeDon’t over-detail the petals — keep them simpler so the seed mandala stays the focal point.
Good to knowUse a mechanical pencil for the seed mandala lines so you can keep them thin and crisp.
7. Sunflower Stem Curl With Butterfly Crossing the Veins
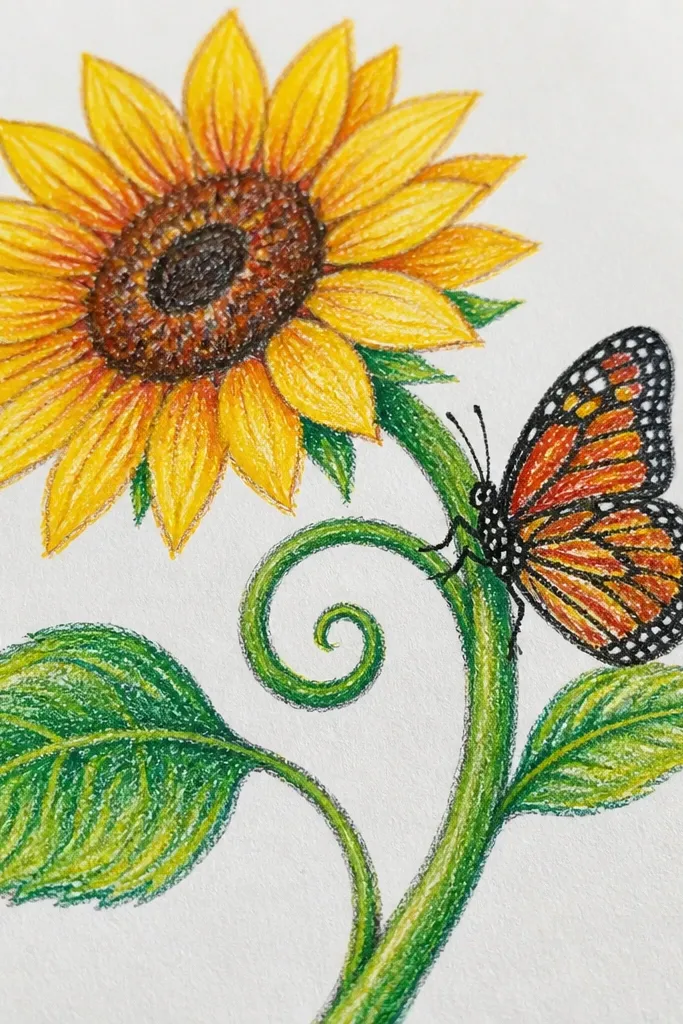
Step 1: Draw a curving stem that arcs upward, then sketch two leaves with a clear center vein line and 6-8 side vein strokes. Step 2: Place the sunflower head at the top of the stem and draw petals around the seed head. Step 3: Add the butterfly so it crosses one leaf, sketching the wing outlines with a center guideline. Step 4: Darken the leaf outline where the butterfly crosses, then add a few seed dots on the sunflower head.
This drawing is striking because the motion is in the stem and leaf curls. When the stem arcs and the butterfly crosses those lines, the whole page feels dynamic even if the sunflower is basic. You’ll get a clean aesthetic by keeping the leaf veins consistent and adding only light shading under the butterfly wings. It’s beginner-friendly because you can practice one skill — drawing curving stems — and everything else supports it.
Common mistakeDon’t shade the leaf veins heavily; ink them lightly and let the line do the work.
Good to knowKeep your leaf veins evenly angled from the center vein — that’s what stops it from looking messy.
8. Butterfly Symmetry Study With Half-Sunflower Petals
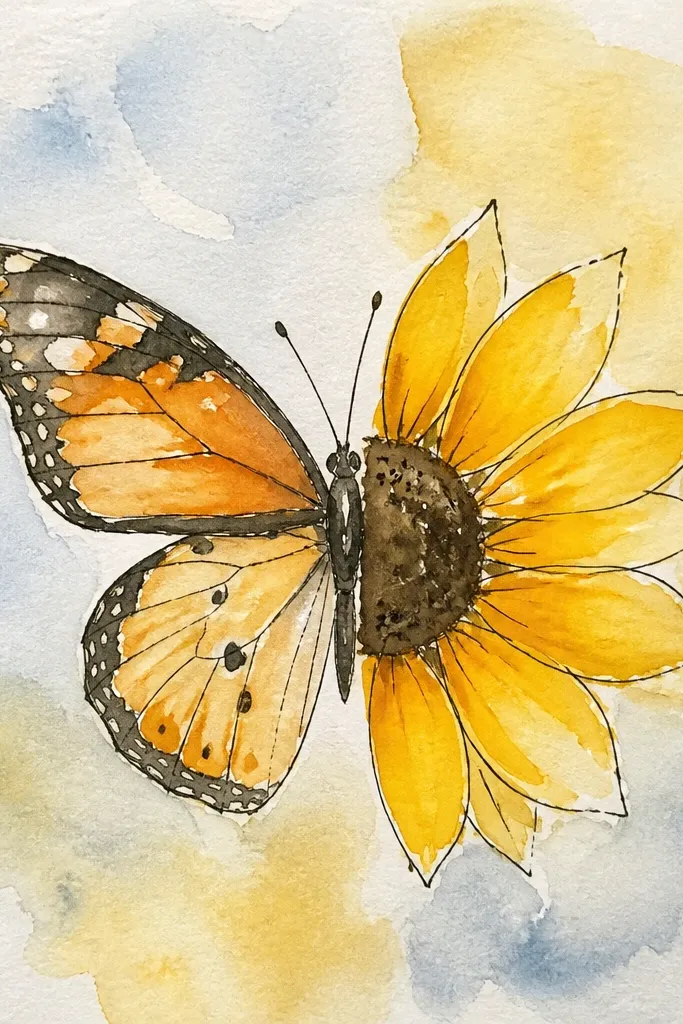
Step 1: Lightly draw a vertical center line for the butterfly. Step 2: Sketch two matching wings around that line, then draw a simple body capsule and antennae. Step 3: Add a half sunflower seed head behind the butterfly, showing only one side of petals (8-10 petals) so you don’t need full circular perfection. Step 4: Color petals yellow with a darker base and add seed texture with dots.
If symmetry is your weak spot, this is the safest option. You draw the butterfly as the main symmetrical subject, and the sunflower petals are intentionally partial — only a half ring behind it. That keeps the sunflower from forcing perfect spacing all around the page. The result looks intentional because the composition is designed: butterfly symmetry + sunflower “peek.”
Common mistakeDon’t try to make both wings equally detailed and the sunflower equally complete — pick one detailed focal point.
Good to knowFlip your paper upside down for 10 seconds and check wing balance — you’ll catch uneven wing sizes fast.
9. Pencil-Only Sunflower With Butterfly in Crosshatch Contrast
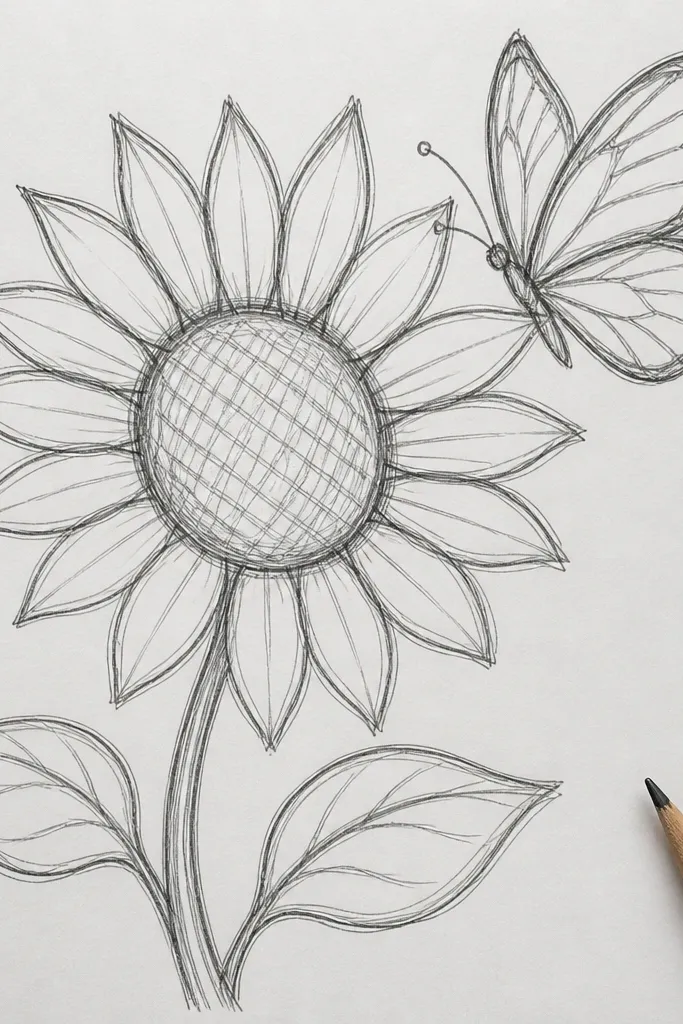
Step 1: Draw sunflower seed head and 18-22 petals with light pencil outlines only. Step 2: Fill the seed head with tiny comma marks and keep it darker than the petals. Step 3: Sketch butterfly wings and shade them with crosshatch: first direction at 45 degrees, second direction at -45 degrees, staying inside the wing outline. Step 4: Blend lightly around petal bases to create depth, then darken the butterfly outline with 2B.
This is a great choice if you want a clean sketch look without color. The sunflower petals are light pencil shapes, and the butterfly gets crosshatch shading that makes it look dramatic on camera. The contrast between soft petals and dark wings is why it reads as “stunning” instead of flat. Beginners can do it because crosshatching is repeatable: short strokes in one direction, then a second direction.
Common mistakeDon’t crosshatch the sunflower petals — keep hatch only on the butterfly for contrast.
Good to knowUse a scrap paper to test your 2B pressure so the hatch marks don’t turn into a solid black blob.
10. Sunflower Petals as Pattern Tiles With Butterfly Border
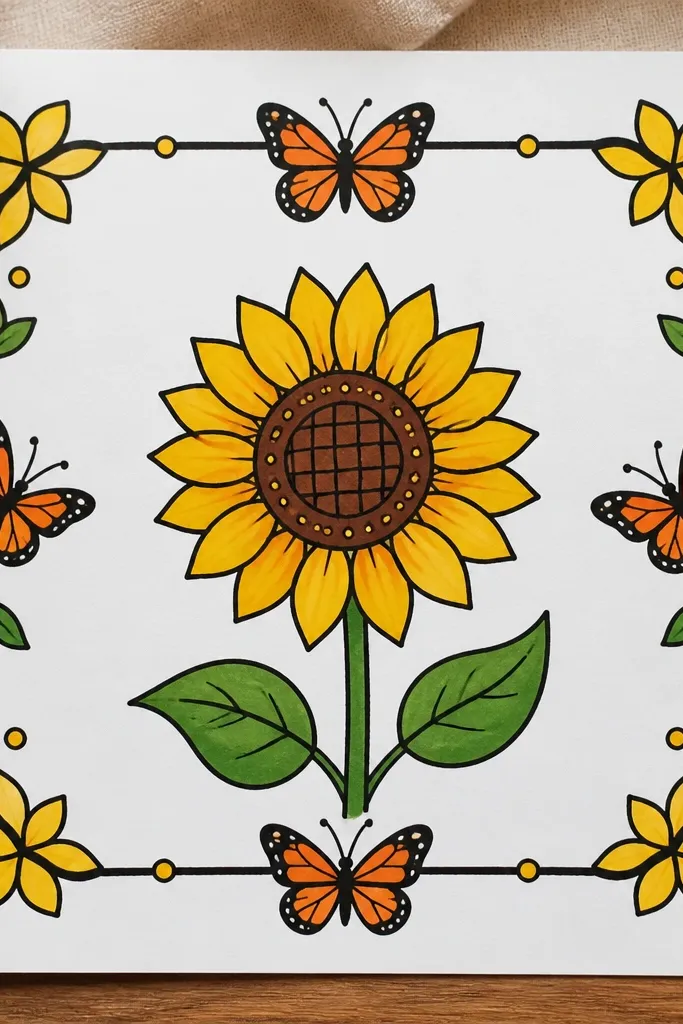
Step 1: Draw the seed head circle and map 12-16 petals around it. Step 2: Assign one pattern per petal: dot at the center, stripe near the base, or a curved line running down the petal. Step 3: Color petals lightly (yellow) and deepen the base with gold. Step 4: Add a butterfly along the outer petal edge and keep its wings mostly outline with 3-4 small vein lines.
This looks like a print because the petals follow a pattern system. Instead of plain petals, each petal gets one simple design — tiny dots, short stripes, or curved lines — so the whole sunflower becomes decorative. The butterfly sits along the edge like a border element, with clean outlines and minimal internal detail. Beginners like it because you repeat the same pattern choices across petals.
Common mistakeDon’t vary every petal — too many patterns makes it look chaotic.
Good to knowPick only two patterns for the whole sunflower if you’re new — it keeps the design cohesive.
11. Three-Quarter Sunflower With Butterfly in the Foreground
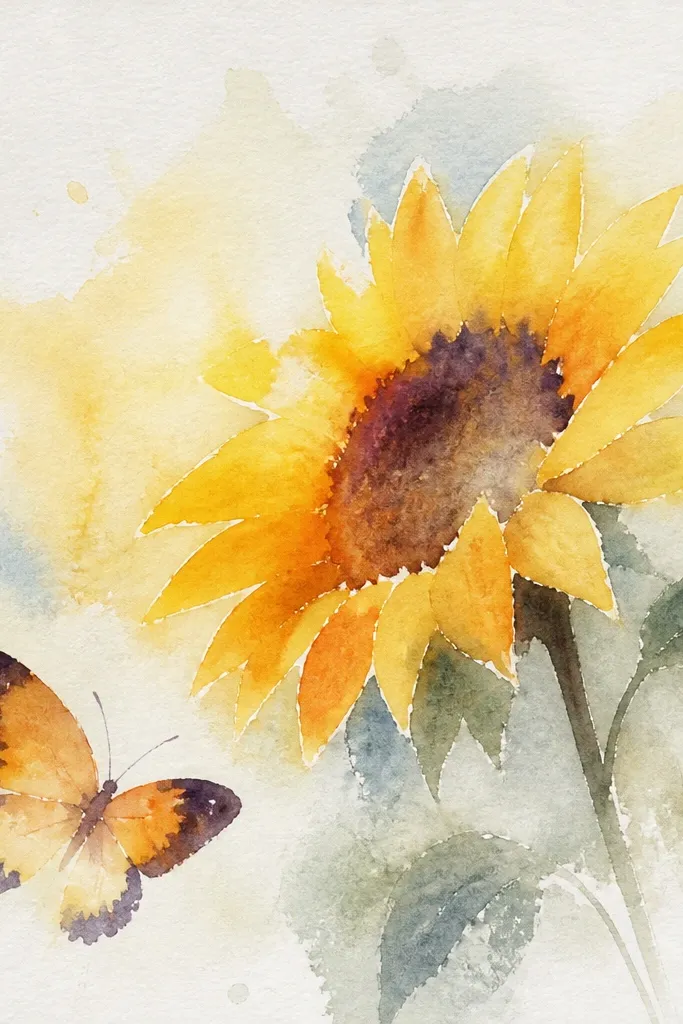
Step 1: Draw an oval seed head and place petals so they wrap around the oval, heavier on the near side. Step 2: Color petals with yellow and add gold at the petal bases, leaving the far edge slightly lighter. Step 3: Sketch the butterfly larger than the seed head, using a center guideline and slightly thicker outline. Step 4: Add a few seed dots on the visible seed head area only.
This one looks dimensional because the sunflower head is shown slightly turned, not perfectly front-on. The butterfly is drawn larger in the foreground, so it feels like it’s flying toward you. For beginners, the angle helps because you can simplify the far-side petals and focus on the near-side shapes. The photogenic part is scale contrast: big butterfly, clear sunflower head.
Common mistakeDon’t draw the far side as if it’s fully facing you.
Good to knowKeep the far-side petals fewer in number — 10-12 instead of 18-20 — and it will look intentional.
12. Sunflower Border With Butterflies in a Row
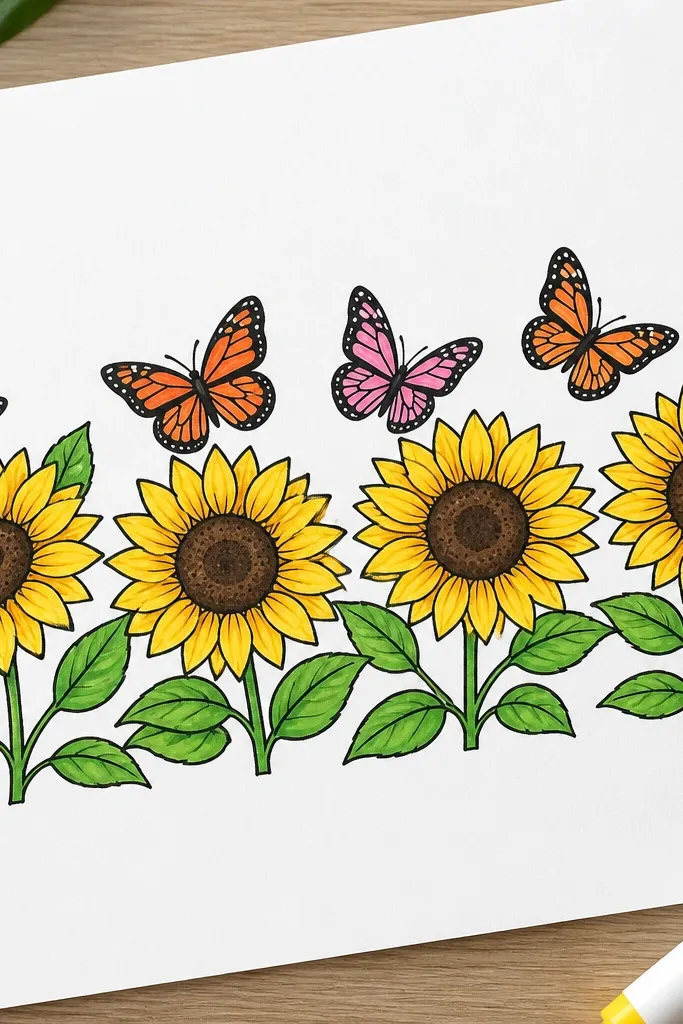
Step 1: Draw a thin sunflower-and-leaf border around one side of the page, using 6-8 petals and 2-3 leaves per section. Step 2: Place three butterflies along the border, each with the same size wings and a consistent body shape. Step 3: Color petals yellow and leaves green, then add seed texture only on the seed head shapes in the border. Step 4: Outline butterflies dark so they stay readable even with light color.
A row of small butterflies makes the page look decorative like stationery. The sunflower is simplified into a border: petals and leaves only at the edges, while the center stays mostly clean. That makes it beginner-friendly because you’re not cramming detail into one focal point. It’s also very photogenic because the repeating butterflies create a rhythm.
Common mistakeDon’t give each butterfly completely different wing shapes — repetition is the look.
Good to knowKeep butterfly spacing equal — mark three positions lightly first.
13. Butterfly Drinking Nectar From the Seed Head
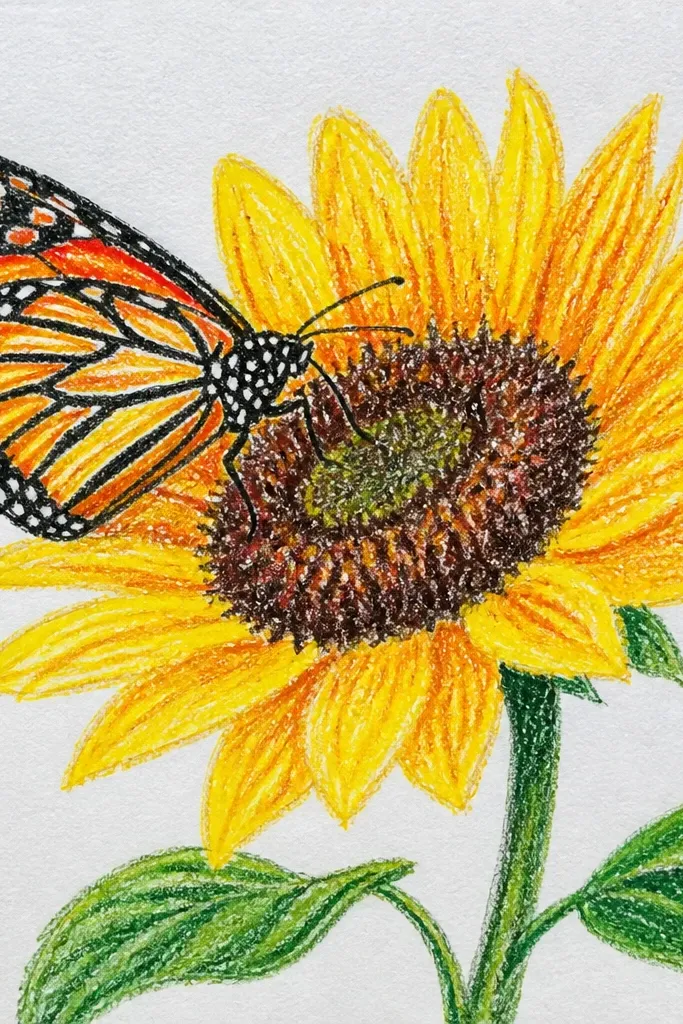
Step 1: Draw the sunflower seed head as a circle and fill it with dots or short commas. Step 2: Add petals around it, keeping them teardrop-shaped and consistent in size. Step 3: Sketch the butterfly so its mouth area points toward the seed head; use a center guide for wing symmetry. Step 4: Draw a thin “nectar” line from the seed area to the butterfly mouth and then darken the butterfly outline.
This idea looks charming because it adds a tiny story: the butterfly touches the sunflower seed head. You do it with a small line connection and a clear wing pose, not with extra characters. The sunflower stays crisp, with a defined seed head and clean petals, while the butterfly gets a little more detail where it meets the seed. Beginners can nail it because the pose is simple and the connection line guides the viewer.
Common mistakeDon’t add a long thick stem — it turns the scene into a plant drawing.
Good to knowMake the nectar line thinner than your butterfly outline so it looks delicate, not heavy.
14. Ink Outline Sunflower With Color-Blocked Petals and Soft Wing Wash
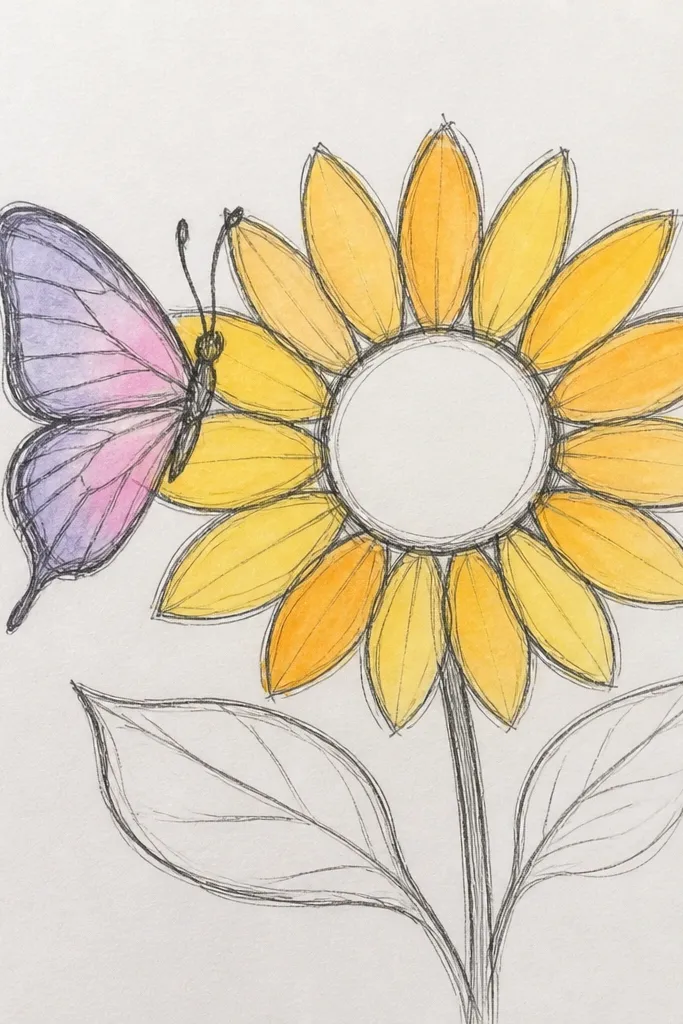
Step 1: Pencil the seed head and 16-20 petals, then ink the outlines with a fine pen. Step 2: Color petals in flat shapes: yellow for most, gold-orange at the inner base. Step 3: Draw the butterfly with pencil, ink its outline, then add a light watercolor or colored pencil wash on the wings. Step 4: Add seed dots after the color dries so the seed stays crisp.
This one is clean and modern because the sunflower petals are color-blocked, but the butterfly wings stay softer. You’ll outline everything in ink first, then fill petals with flat yellow and gold bands. The butterfly gets a light wash so it doesn’t steal focus from the sunflower. It’s beginner-friendly because you’re not blending petals — you’re filling shapes.
Common mistakeDon’t overwork the butterfly wash — one light pass is enough.
Good to knowOutline first, color second. It keeps your edges sharp when the paper gets textured.
15. Sunflower Seed Head as a Patterned Clock Face With Wing Arcs
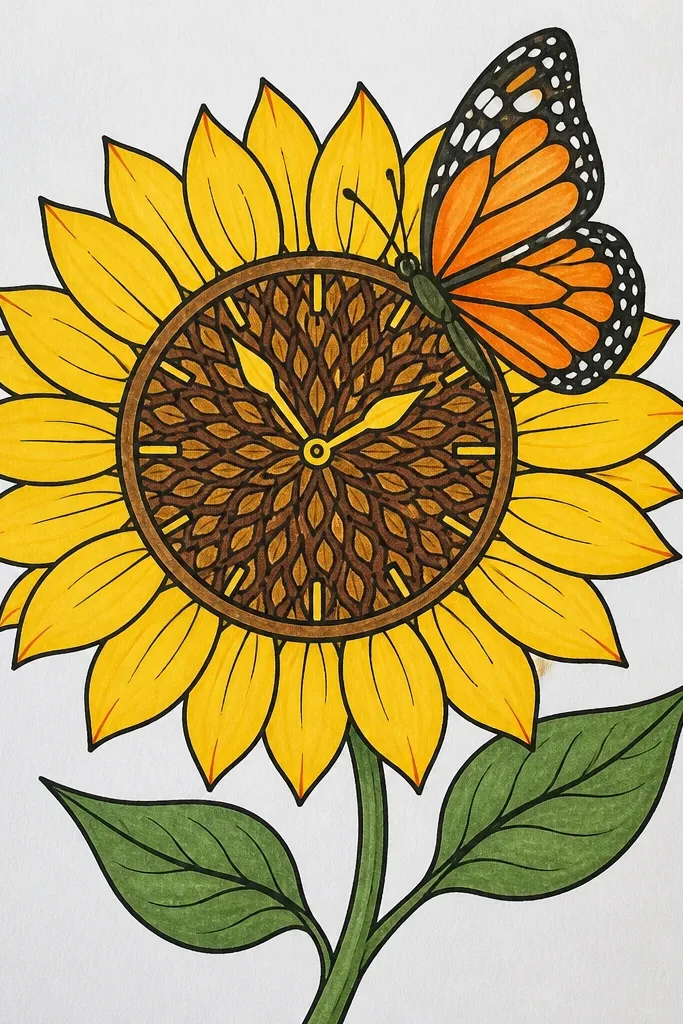
Clock-face seed marks make the drawing look designed, not accidental. The butterfly wings echo the circular theme with gentle arc lines, so the whole page feels unified. It’s photogenic because circular patterns catch the eye fast, and the butterfly arcs help the composition read instantly. Beginners can do it without perfect realism — the pattern does the heavy lifting.
Step 1: Draw the seed head circle and add clock-like tick marks around it, then place 6 larger curved arcs inside. Step 2: Fill between arcs with dots and short comma marks to create texture. Step 3: Sketch the butterfly above the seed head and draw wing arcs that match the circle curvature. Step 4: Color petals with yellow and deepen the base with gold, then darken the butterfly outline.
Use a light guide for the tick marks so they’re evenly spaced — evenness is the look.
Avoid random arc lengths inside the seed head; keep them consistent.
16. Tiny Butterfly Cluster Around a Single Sunflower
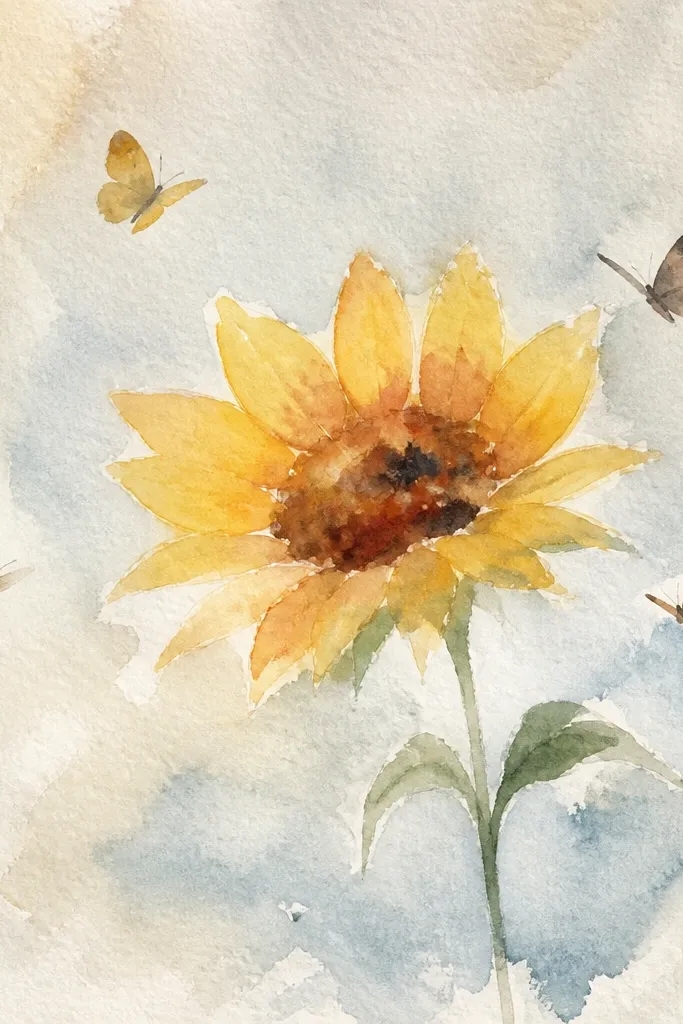
This looks stunning because it creates movement with multiple small butterflies instead of one complicated wing. The sunflower is the anchor: one clear seed head and a ring of petals. Around it, you place 3-5 tiny butterflies with simplified wings so your page stays clean. It’s beginner-friendly because each butterfly is small enough that you don’t need full detail everywhere.
Step 1: Draw one sunflower seed head and 18-22 petals, keeping petals evenly sized. Step 2: Add three main butterflies first: one at the top, two on the sides. Step 3: Add two more mini butterflies between them, using a simple outline and only 3 vein strokes per wing. Step 4: Color petals yellow and gold, then add seed dots. Finish by darkening only the butterfly outer wing edges.
Keep all butterflies the same wing style (same shape and vein count) so the cluster looks cohesive.
Don’t add too many butterflies. Three to five is enough for a crowded-but-clean look.
17. Sunflower Stem and Leaves With Butterfly Wings Framing the Seed Head
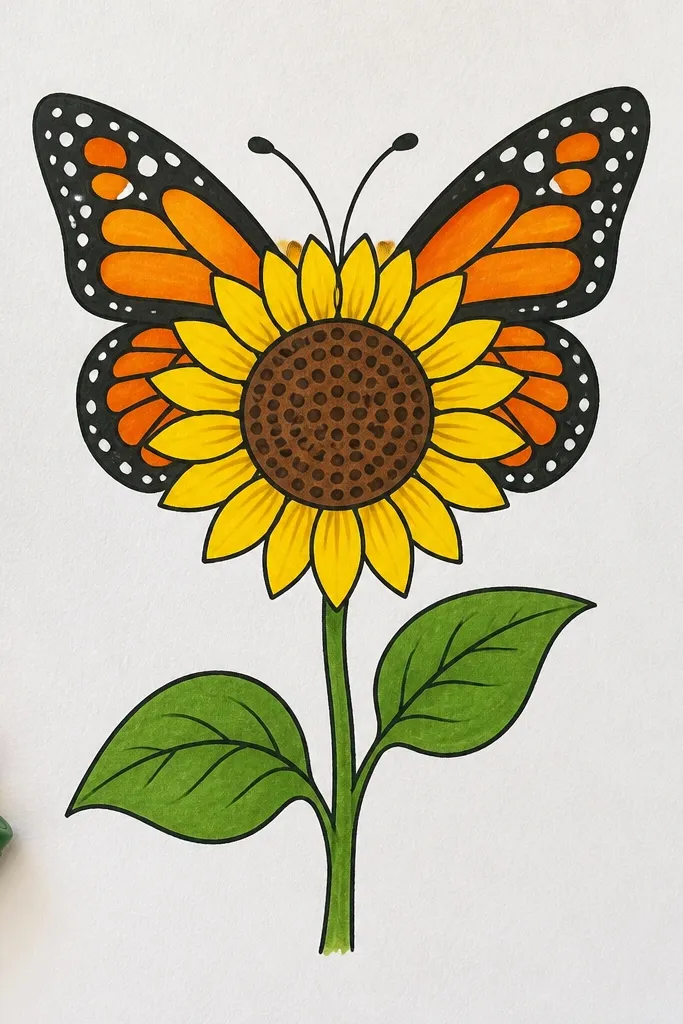
Step 1: Draw the sunflower seed head centered, then sketch a stem with two leaves on the lower sides. Step 2: Place the butterfly so its wings frame the seed head, keeping a center guideline to match wing size. Step 3: Draw petals only where they appear between the wings, about 10-12 petals. Step 4: Shade seed texture with dots and add gold at petal bases.
Framing is the whole aesthetic here. The butterfly wings sit left and right like parentheses, and the sunflower seed head is centered behind them. That composition looks intentional even when you keep the sunflower petals simple. Beginners get a clear target: wing placement first, then petals that peek between the wings. The result photographs like a poster sketch.
Common mistakeDon’t crowd the center. The seed head needs breathing space between wings.
Good to knowKeep the butterfly wings slightly larger than the seed head so the frame effect reads immediately in photos.
18. Sunflower in a Tea Cup With Butterfly on the Rim
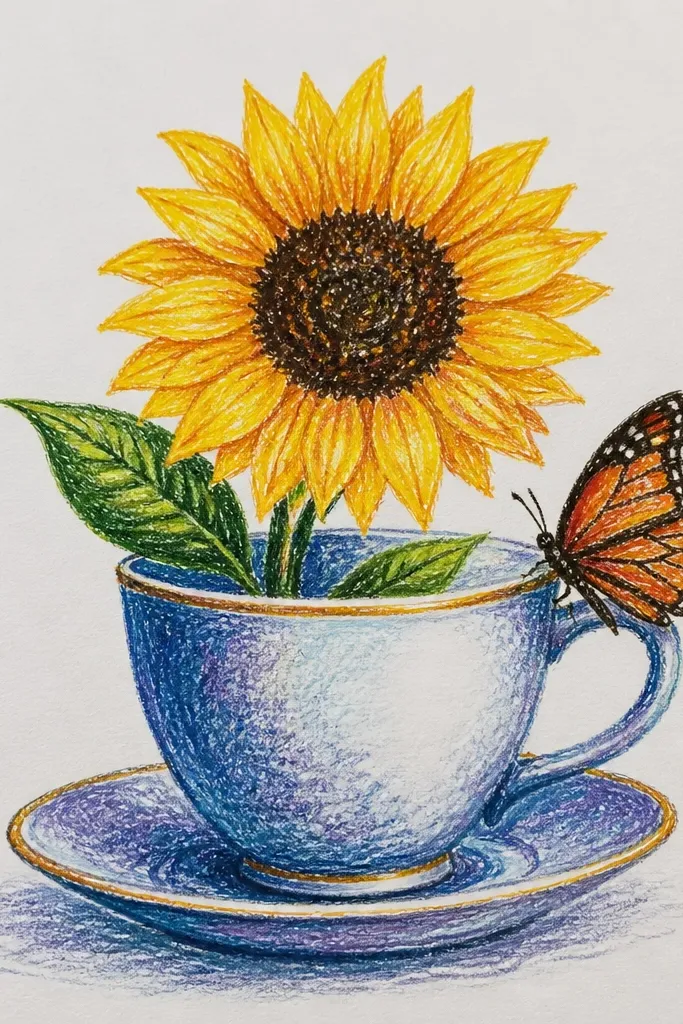
This idea looks cute and photogenic because it adds a simple prop without turning into a full still life. The sunflower sits inside a tea cup shape, and the butterfly perches on the rim where it’s easy to draw. Beginners like the rim because it gives you a clear place to anchor the butterfly pose. Keep the cup lines clean and your sunflower petals bold, and the whole page looks like a crafted card.
Step 1: Draw a simple tea cup outline with a curved rim and a slightly wider bottom, then place the sunflower seed head inside the cup. Step 2: Add petals around the seed head, keeping them visible above the cup rim. Step 3: Sketch the butterfly perched on the rim, using a center guideline so wings match. Step 4: Color petals yellow and gold, cup in a light neutral, and seed head with dots.
Make the cup rim line darker than the cup body line — it reads better on camera.
Don’t add extra objects like spoons or flowers. The sunflower and butterfly should own the page.
19. Sunflower Petal Fan With Butterfly Using a Single Feather-Like Line
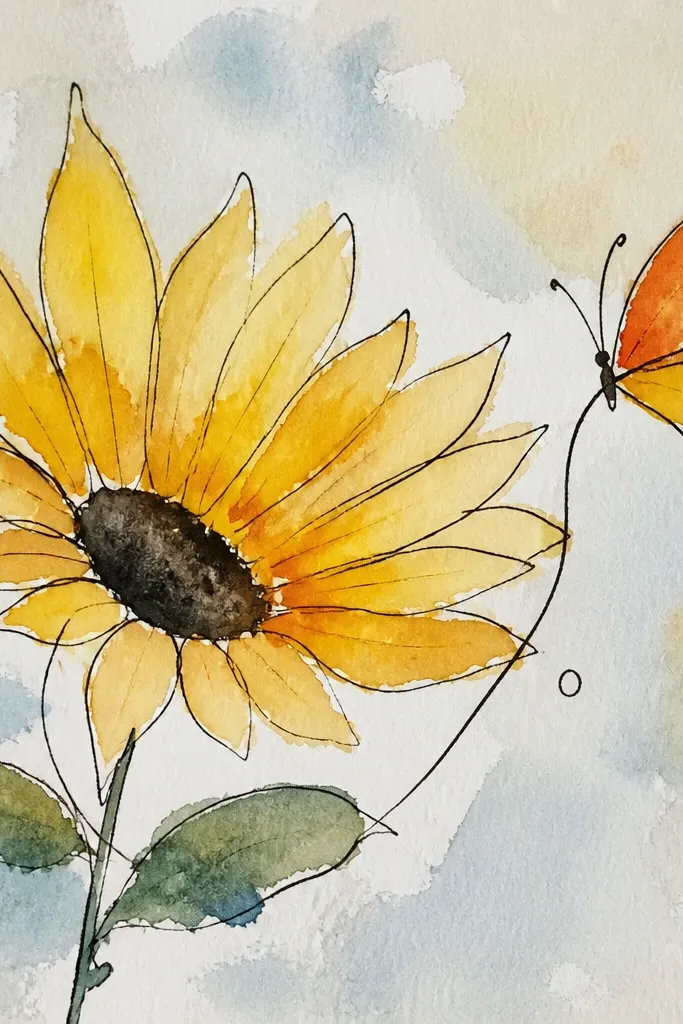
This is minimal but still striking because the butterfly wings are defined by one clean “feather line” plus a few short border strokes. The sunflower is a petal fan, so you get a strong shape with less drawing pressure. The contrast between a structured sunflower fan and a light butterfly outline makes the page feel airy and intentional. It’s beginner-friendly because you avoid wing shading entirely.
Step 1: Draw the seed head circle and then fan 14-18 petals in a single sweep, like they’re opening toward the top. Step 2: Add seed dots in the center and keep the rest simple. Step 3: Sketch the butterfly with one long wing line for each wing, then add a short outer border and a small body capsule. Step 4: Color petals yellow with gold at bases, then darken the butterfly border lines.
If your feather lines wobble, draw them lightly first, then retrace once with a steadier pressure.
Don’t add lots of tiny wing details. The minimalist outline is the look.
20. Sunflower Leaves in Watercolor Splatter With Ink Butterfly
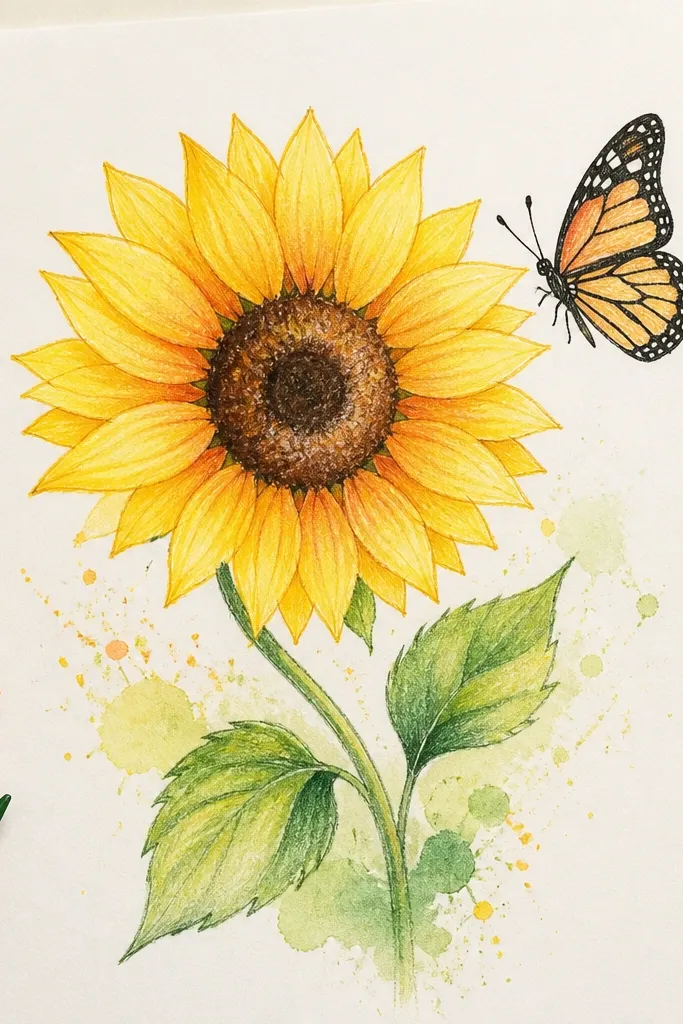
Step 1: Pencil the sunflower head and petals lightly, then ink the sunflower outline and butterfly outline. Step 2: Color petals yellow and gold, leaving the leaf areas lighter. Step 3: For watercolor splatter, load a small brush with diluted green, flick lightly near the leaves (keep it away from the seed head). Step 4: Add seed texture with dots after the splatter settles.
Splatter makes the sketch look alive, but you keep it controlled by limiting splatter to leaf areas. The sunflower petals stay cleaner with simple shapes, and the butterfly is inked so it stays crisp against the texture. This is photogenic because the splatter adds a soft “grain” that reads well in photos. Beginners can do it because you only need to practice one technique: splatter around leaves, not across the whole page.
Common mistakeDon’t splatter over the seed head. It blurs the focal texture.
Good to knowCover the butterfly area with scrap paper while splattering so you don’t get specks on the wings.