
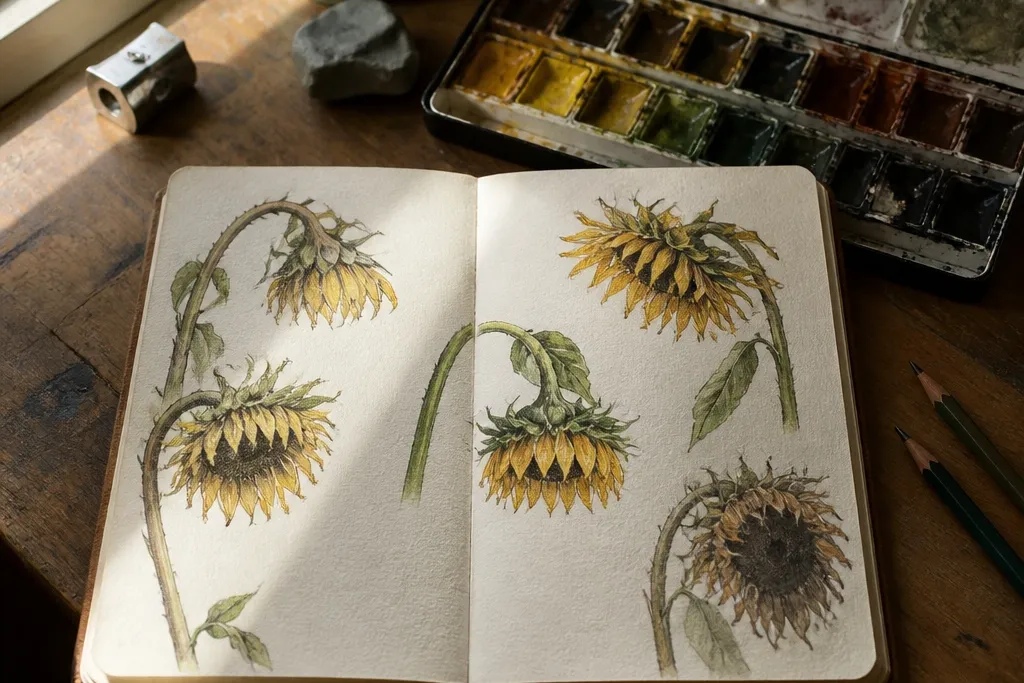
1. Brown-Edge Wilt with Burnt Sienna Petal Tears
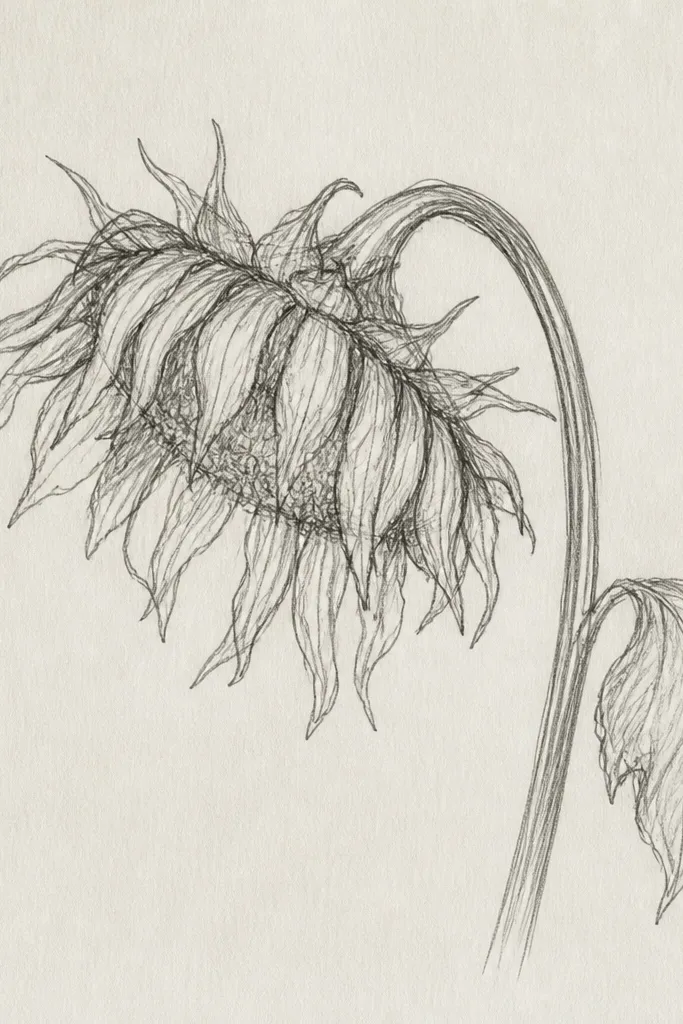
1) Sketch one head tilted 20-25 degrees downward, then draw 2-3 petal rows that overlap tighter near the center. 2) Color petals with a pale yellow base, then darken only the outer 1/3 of each petal using burnt sienna and a light brown pencil. 3) For tears, outline tiny jagged breaks along the rim and blend them inward with a dry brush or soft pencil. Finally, shade the underside under each overlap with a warm gray so the folds show.
This is the wilted sunflower drawing that reads instantly because the damage is visible at the edges. Start with a sunflower head tilted slightly down so the petals look like they’re losing grip. Add burnt sienna to the petal rims and let it feather inward a few millimeters, like heat singed the outer layer. The seed head stays darker and textured so the whole thing doesn’t turn into a yellow blob. It looks great on cream paper and photographs well because the edge burns create crisp contrast.
Common mistakeDon’t brown the whole petal — keep the damage concentrated on the rim.
Good to knowUse a kneaded eraser to lift tiny highlights from the petal centers after you color, so the wilt looks glossy instead of dull.
2. Overwatered Sunflower Head Droop with Soft Lavender Shadows
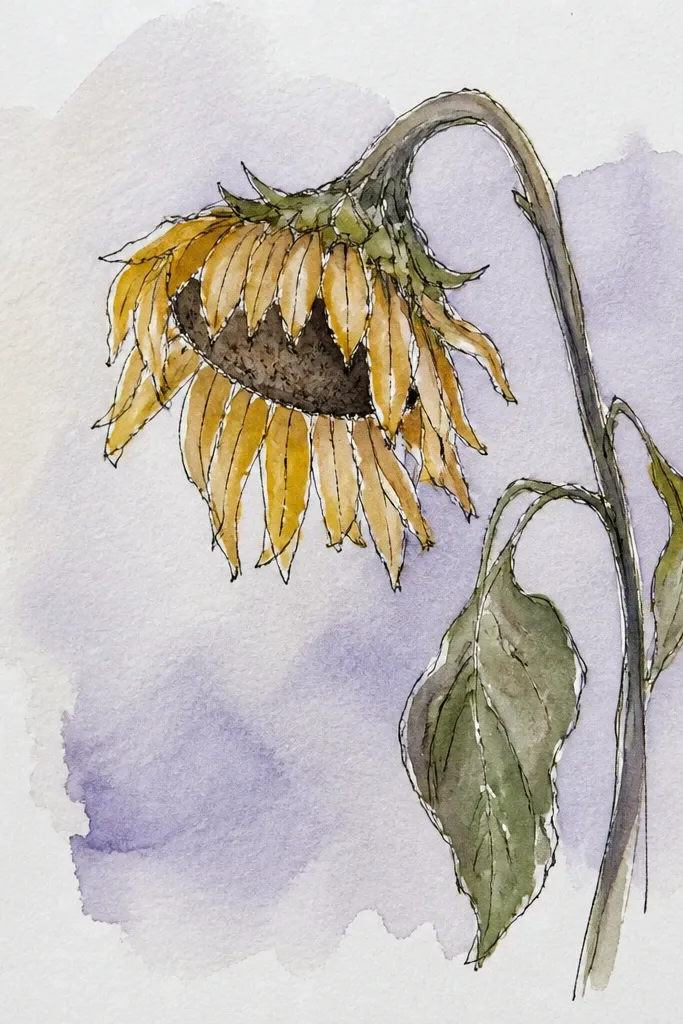
1) Draw a sunflower with a stronger droop angle, about 30 degrees, and make the petal rows sag lower near the center. 2) Lay a very light yellow wash or pencil base, then add lavender-gray under each petal overlap where the petal folds. 3) Build the seed head with tiny ovals and short spiral marks, then deepen the center with a darker brown wash. Let it dry fully before adding any extra seed texture so you don’t smear the folds.
If your wilted drawings look too warm and flat, this one adds cool shadow to make the droop feel heavy. The petals are pale and slightly translucent, with lavender-gray shadows under the folded sections. The seed head looks damp and darker, with tight speckles instead of hard outlines. This idea is photogenic because the lavender shadows create separation between petals even when the colors are light. It works especially well for watercolor or watercolor pencil on textured paper.
Common mistakeAvoid using black for shadows; it kills the translucent look.
Good to knowPaint shadows first, then add petal highlights last — highlights are what sell the “overwatered” softness.
3. Wind Tossed Wilt with Petals Blown to One Side
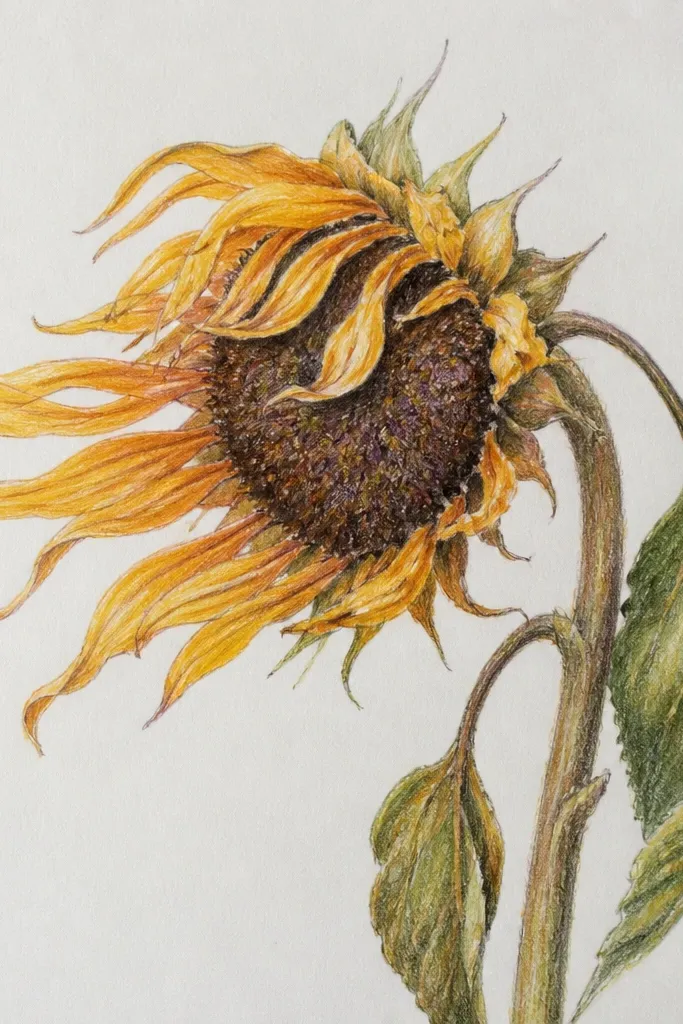
1) Sketch the head tilt and rotate it so the seed spiral points slightly toward the “wind” direction. 2) Draw petals as tapered shapes that all arc the same way, with the far edge lifted and the near edge drooping. 3) Color with a warm yellow base, then shade only the underside on the windward side using a darker golden ochre. Finish by adding a few stray petal curls at the edges to show motion.
This design looks dramatic because every petal droops in the same direction, like wind pushed the whole head. The trick is directional shading: the underside shadows gather on one side of each petal, not evenly around it. The seed head should also tilt and slightly rotate so the spiral texture lines up with the motion. Use a few petals that overlap more than others to create a sense of airflow. It’s one of the easiest themed sunflower drawing ideas to make look “intentional” in a photo.
Common mistakeDon’t shade petals symmetrically — that reads like a normal sunflower, not wind-tossed.
Good to knowUse a ruler to lightly mark the wind direction line on your paper, then keep all petal arcs aligned to it.
4. Frost Nipped Wilt with Cracked Ice Highlights
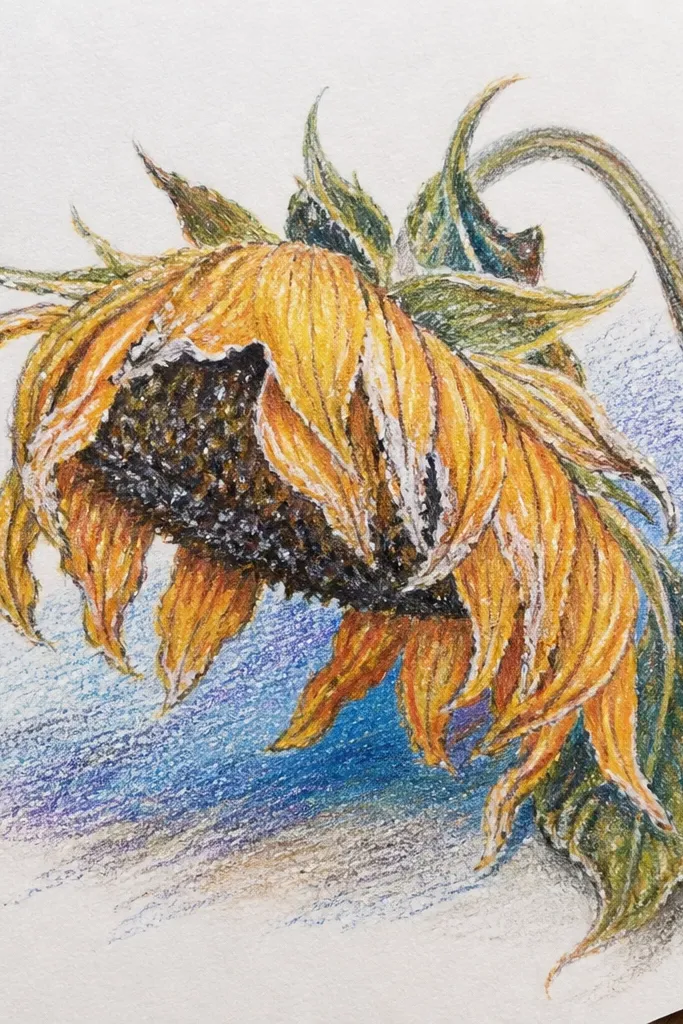
Frost makes wilt look crisp instead of sad. Keep the petals very pale, then add cool gray undertones where they fold. The signature look is cracked “ice” lines across a few petals — thin, branching lines that look like paper frost patterns. The seed head stays mostly dark but with tiny icy highlights on the bumps. This gives you that photogenic sparkle without needing metallic paint. It’s a great themed sunflower drawing idea for winter crafts and calm, airy backgrounds.
1) Draw a drooping head with petals bent inward and slightly brittle, about 25-30 degrees down. 2) Color petals with a pale yellow base, then add cool gray along the fold creases and under overlaps. 3) With a light gel pen or white pencil, draw hairline cracks on 3-5 petals and connect them with faint branching strokes. Add seed texture with short marks, then dot tiny white highlights on the top of the seed pattern.
If your white pen looks too thick, thin it by pressing lightly and doing two passes instead of one heavy stroke.
Don’t add cracks to every petal — the eye needs breathing room.
5. Seed-First Wilt with a Massive Textured Head
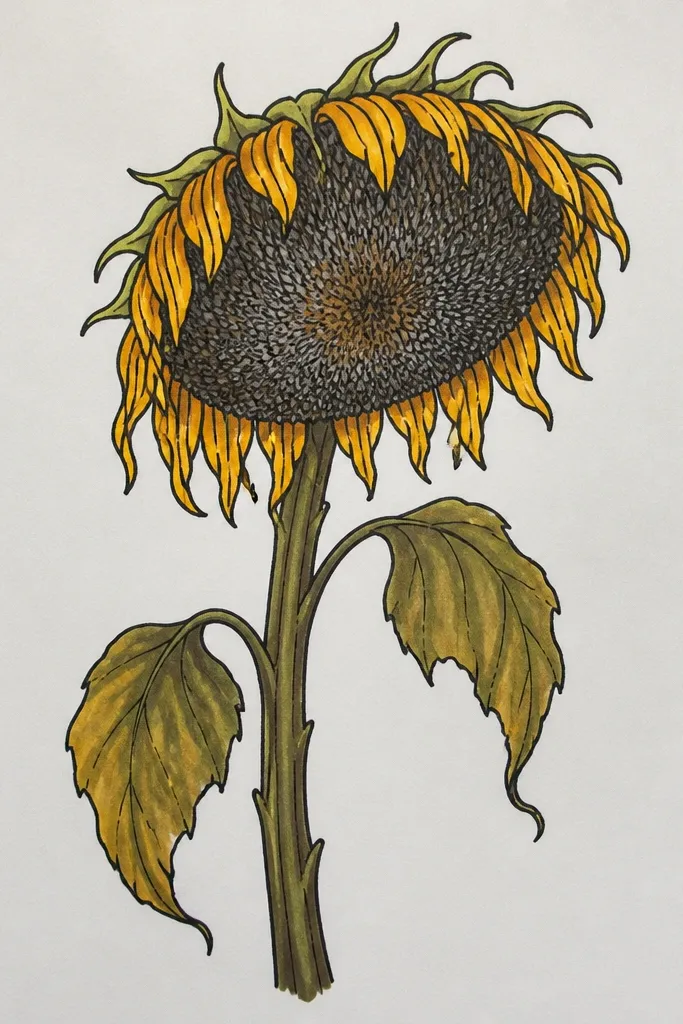
1) Sketch the seed head large — about 60% of the flower’s overall width — and tilt it down 20 degrees. 2) Add only 2-3 rows of petals, each smaller than normal, with their tips curling inward. 3) Texture the seed head with tiny ovals radiating from the center, then deepen the outer ring with a darker pencil. Finish by shading petal undersides with a soft brown-gray so the seed head stays dominant.
This one flips the usual focus. Instead of drawing petals first, you make the seed head the star — oversized and packed with texture — while the petals look like they’re just hanging on. The contrast is stronger, so the wilt reads clearly even if your petals are simpler. Draw the seed head with tight spiral and dot patterns, then let the petals be fewer, thinner, and slightly curled. It’s also a smart repurpose choice because a heavy seed texture scans clean for prints or stickers.
Common mistakeDon’t over-detail the petals; the seed head is the texture payoff.
Good to knowUse a fine pencil (2H to H) for the seed texture lines so the pattern stays crisp in photos.
6. Petal Curl Study with Three Fold Directions
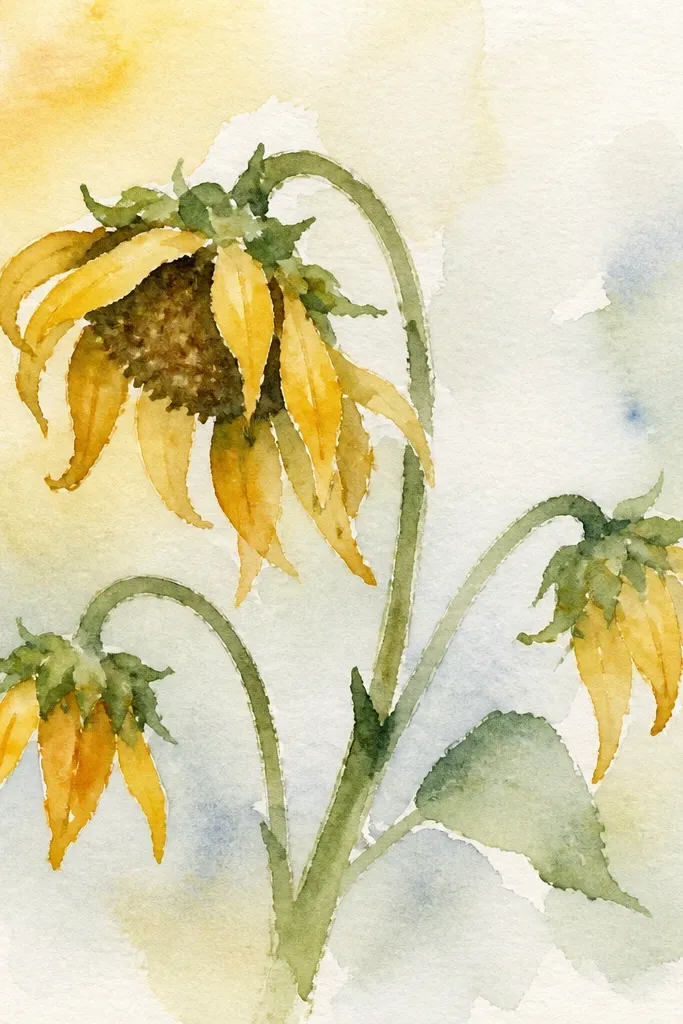
1) Sketch a drooping head and divide the petals into three zones around it, labeling them lightly in pencil (you’ll erase later). 2) For the hook petals, curl the tip inward and shade the underside edge. 3) For taco petals, draw a curved center fold and shade the inner concave area. 4) For ribbon petals, add a twist line along the petal length and shade one side of that twist. Then texture the seed head with a tight spiral so the whole drawing stays grounded.
If you want control and consistency, this themed sunflower drawing is a technical study in how petals curl. You draw three petal types in one sunflower: one folds like a hook, one folds like a taco (concave), and one folds like a ribbon (twist). The droop looks believable because each fold direction changes where the shadow sits. This is the best option for anyone who’s struggling with petal shapes because you can reuse the three fold templates later. It photographs well because the folds create obvious highlights and shadow edges.
Common mistakeDon’t mix fold styles randomly across the petals — keep them grouped.
Good to knowWhen shading, follow the fold line. If your shadow ignores the fold, the curl looks wrong.
7. Paper-Bag Wilt with Sepia Wash and Torn Petal Edges
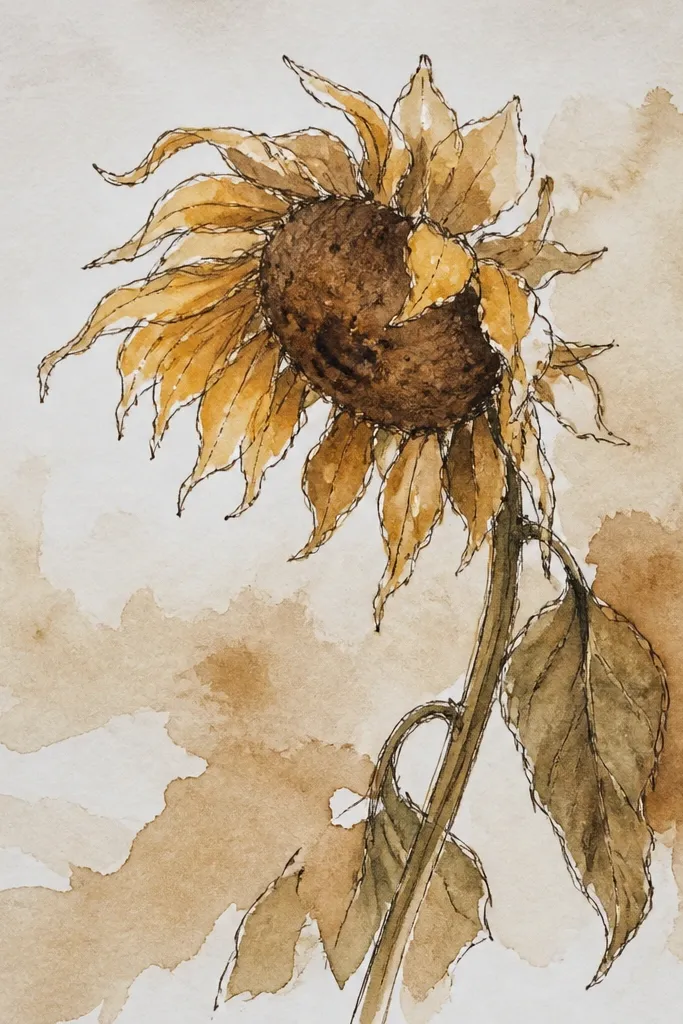
This one looks like a vintage botanical print that’s been through a cupboard. Use sepia and a slightly uneven wash so the petals feel aged. Then add torn edges — irregular, tiny breaks along the petal rim — like the flower dried and cracked. The seed head gets darker and a bit smudgier, which helps the drawing look “old paper” instead of newly colored. It’s gorgeous for DIY repurpose because it pairs well with kraft paper, book pages, and collage backgrounds.
1) Draw the sunflower with a gentle droop of 15-20 degrees and keep petals fewer and more irregular. 2) Apply sepia watercolor or sepia pencil wash across petals, leaving lighter streaks for dryness. 3) Add torn edges by sketching jagged rim segments and then erasing lightly to create gaps. 4) Texture the seed head with uneven dots and a darker sepia wash at the center.
Spritz a tiny bit of water on the sepia wash before it dries to create natural tide lines instead of flat color.
Avoid smooth, even color fills — the aged look comes from uneven edges.
8. Black Ink Wilt with Watercolor Bleed Background
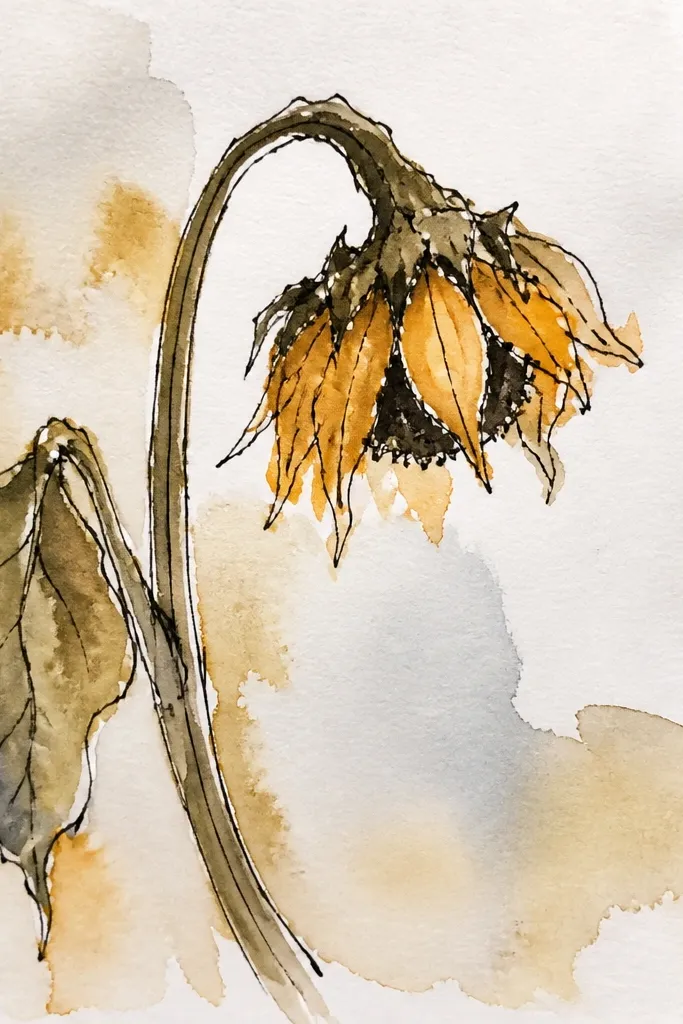
1) Sketch the wilted head at 25 degrees downward, then ink petals with confident outlines and slight taper at the ends. 2) Add seed head texture in ink — small ovals and dots. 3) Wet the paper behind the flower and drop in diluted ochre or brown watercolor so it bleeds outward, staying mostly in the background. 4) Color the petals lightly with yellow wash, leaving white paper for highlights.
This is the cleanest way to get a bold, aesthetic themed sunflower drawing without over-coloring. You draw petals and seed head in black ink, then let watercolor bleed into the background behind the droop. The petals stay crisp because ink holds their shape, while the watercolor blur makes the wilt feel atmospheric. Use a limited palette: one yellow for petals and one diluted brown or ochre for shadows. Great for making a wall print or a simple transfer onto fabric.
Common mistakeDon’t ink the entire petal area with thick fills; keep ink as edges and texture.
Good to knowLet ink dry completely before watercolor — otherwise the lines bloom and lose detail.
9. Sunflower Under Glass with Droop Reflections
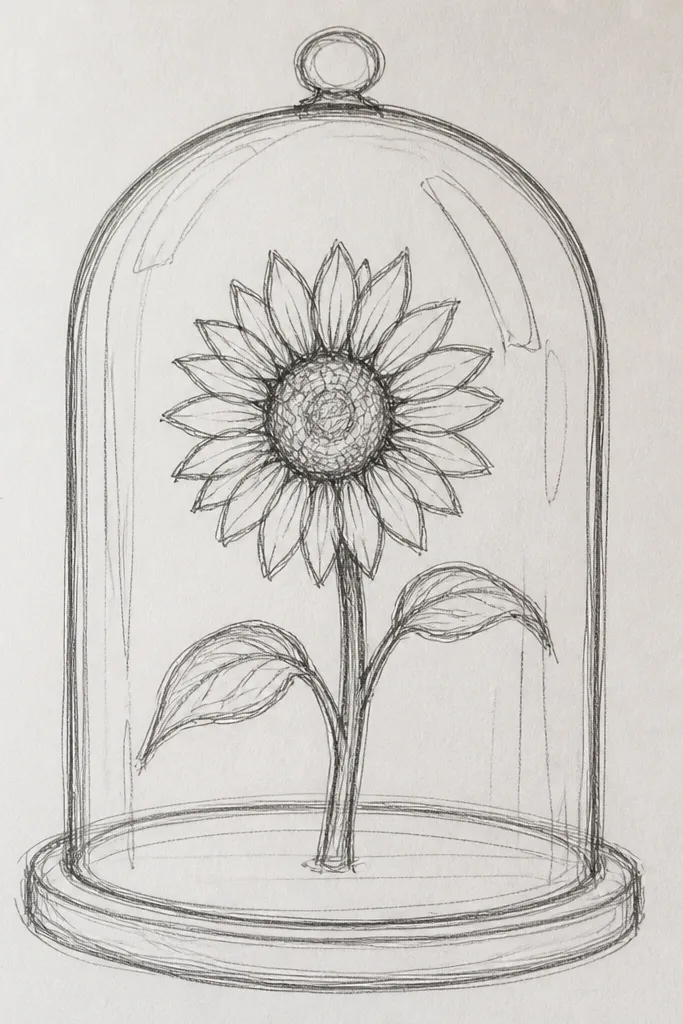
1) Sketch a drooping sunflower and keep petals slightly flattened so reflections have a surface to sit on. 2) Color petals with pale yellow, then add a midtone along the fold shadows. 3) With a white gel pen, draw thin curved highlight bands on each petal’s upper edge and a few tiny seed highlights. 4) Shade around the flower with a very light gray wash to suggest a glass window, then outline the flower softly with a darker pencil.
This idea turns wilt into something glossy and fancy. Draw the sunflower drooping, then add reflection bands that follow the petal curves. The reflection highlights look like smooth glass because they’re thin, curved white shapes placed consistently on the top edges of petals. The seed head gets a few bright specular dots. It looks premium in photos and is perfect if you want a themed sunflower drawing that feels more “art print” than “sketch.”
Common mistakeDon’t add reflections on the underside shadows — reflections go on the lit side.
Good to knowKeep highlight bands the same thickness across the drawing; variation makes it look accidental.
10. Wilted Sunflower in a Drooping Frame Border
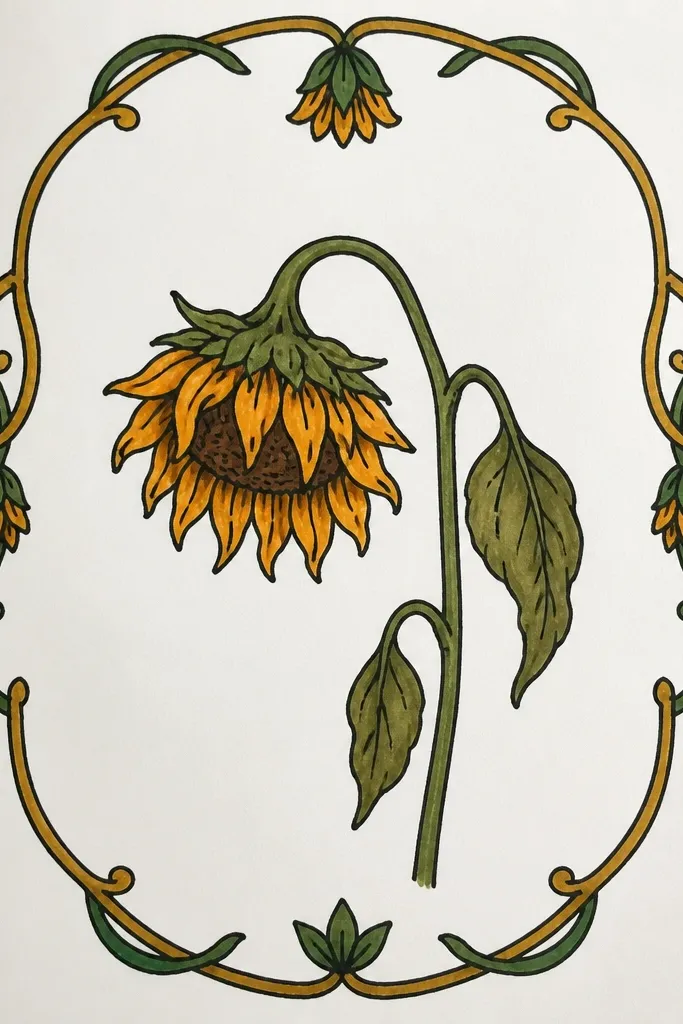
1) Draw a rectangular frame around your flower, leaving 1-1.5 cm of margin. 2) Place the sunflower slightly above center and droop it 20 degrees downward. 3) Add corner droop accents: short petal strips or vine curls that end near the inner frame line. 4) Ink the border and accents, then draw the seed head texture and shade petal folds with a warm gray.
This is a themed sunflower drawing idea that looks complete even when it’s just one flower. You add a border frame where the corners droop — tiny vines or petal strips that hang down from each corner, matching the sunflower’s tilt. The border makes the wilt feel intentional and gives you clean negative space for photos. Use a simple frame line first, then build droop accents in pencil and ink so the whole piece reads as a finished label or mini poster. It also transfers well because the border gives you alignment points.
Common mistakeDon’t put the sunflower dead center; the droop looks better when it sits a touch high.
Good to knowUse a single pencil weight for the frame and accents, then make the seed head slightly darker so it stays the focal point.
11. Sunflower Wilt with Burn Marks Like a Candle Spill
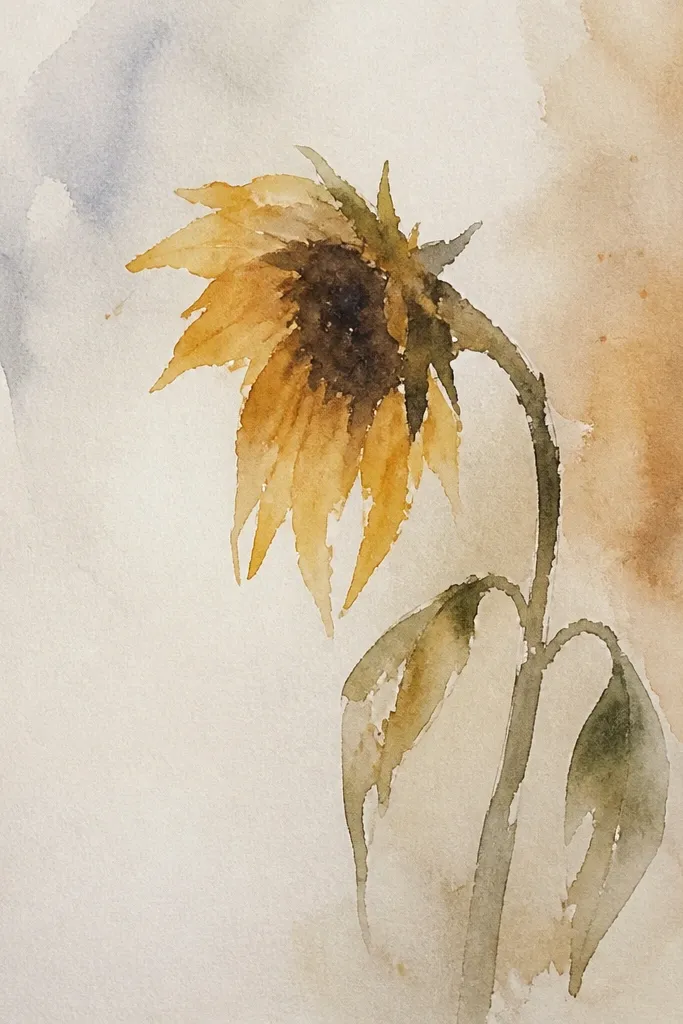
1) Sketch the drooping sunflower and draw petals with gentle overlap so there are fold lines to shade. 2) Color petals pale yellow, then add burnt umber spots where the petal would scorch — mostly near the tips and edges. 3) Feather each spot with a clean blending stump or lightly smudged pencil so the edges look singed. 4) Texture the seed head with ovals and add a few tiny darker specks for soot-like contrast.
This one adds story through texture without needing realistic botanical detail. Candle or burn marks create irregular dark spots and feathered edges, which makes petals look damaged and dried. Keep the base petals yellow, then add small burnt umber smudges on select petals, plus a few darker specks near the petal folds. The seed head stays crisp and darker so the marks don’t muddy the center. It’s dramatic and looks great on off-white paper with a single dark pencil or ink line.
Common mistakeAvoid covering every petal with burns; the wilt needs breathing space.
Good to knowUse a reference of burn patterns: small clusters, not uniform circles. Random clusters look real.
12. Wilted Sunflower with Seed Head Spiral Fade
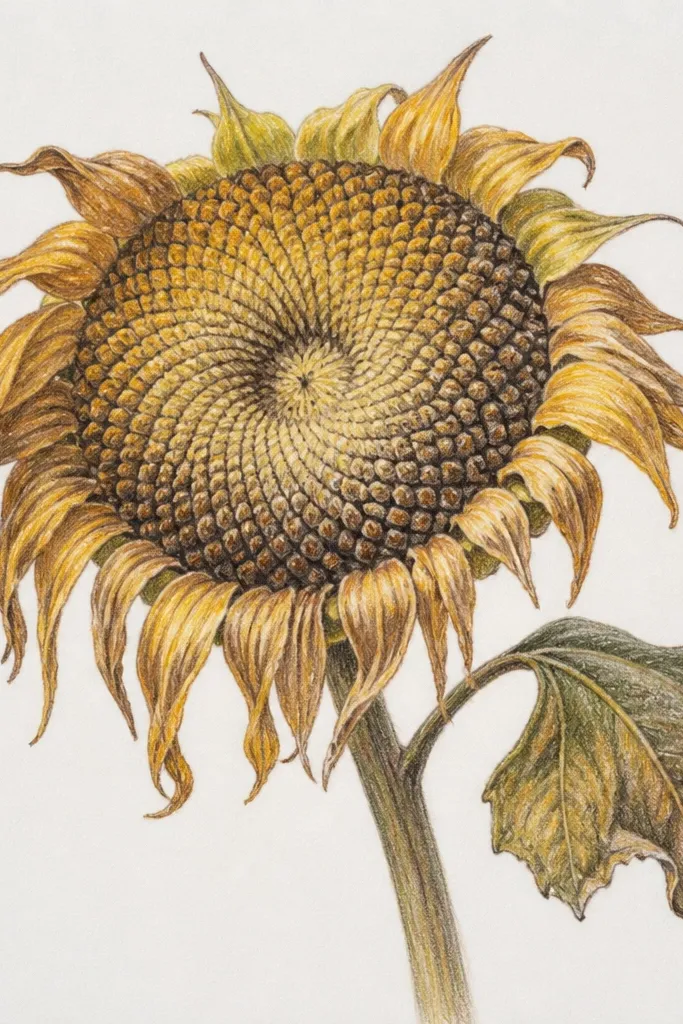
1) Draw a drooping sunflower with the seed head tilted down and slightly larger than normal. 2) Start the seed head texture with dark brown spiral marks at the center. 3) As you move outward, reduce pressure on your pencil or dilute your paint so the spiral fades to a lighter brown. 4) Shade petal folds with a midtone gray-brown so the petals sit forward against the lighter outer seed area.
This drawing uses a fade to show decay. Instead of a uniformly dark seed head, you draw the spiral crisp near the center and gradually lighten it toward the outer ring. That lighter outer ring makes the whole flower look like it’s drying out from the middle. Petals can be a muted yellow with slightly darker fold creases, but keep them simpler than the seed spiral. It’s photogenic because the center texture draws the eye, then the fade tells your brain “wilt.”
Common mistakeDon’t make the whole seed head the same darkness; the fade is the wilt cue.
Good to knowPractice the gradient on scrap paper first — you want a smooth fade, not a sudden jump.
13. Gouache Wilt with Chunky Petal Edges
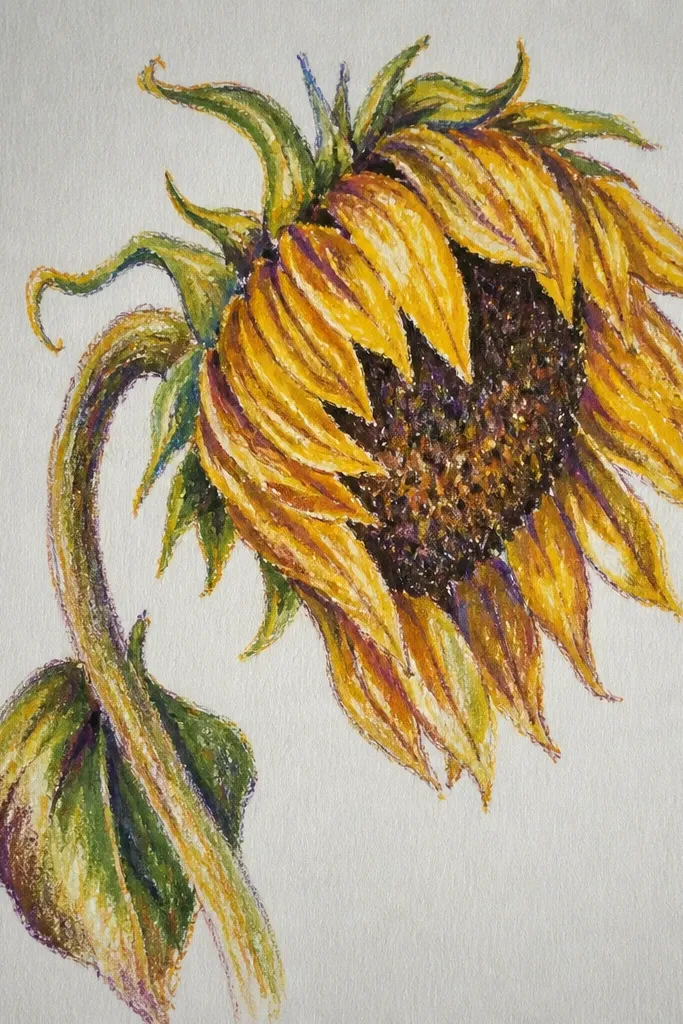
Gouache gives you a thick, dry look that makes wilt feel physical. Paint petals with a warm yellow base, then add a slightly darker ochre along fold ridges using less water so the edge stays chunky. The seed head gets built in layers — dots and short marks — so it looks like dried seeds instead of a flat circle. This idea is great if you want a themed sunflower drawing that looks textured in close-up photos. It also holds up well if you later scan or photograph under different lighting.
1) Sketch the drooping sunflower lightly, then tape your paper down so it doesn’t warp. 2) Mix gouache: pale yellow plus a touch of ochre for midtone folds. 3) Paint petals in two passes: base first, then add fold shadows with a darker mix using a small brush and thicker paint. 4) Build the seed head with layered dots and short strokes, then let it dry before adding the darkest center.
Let gouache dry between petal layers. Wet layers blur and make wilt look muddy.
Avoid over-watering gouache; thin paint turns into watercolor and loses the chunky edge.
14. Ink Wash Wilt with Drip-Tip Petals
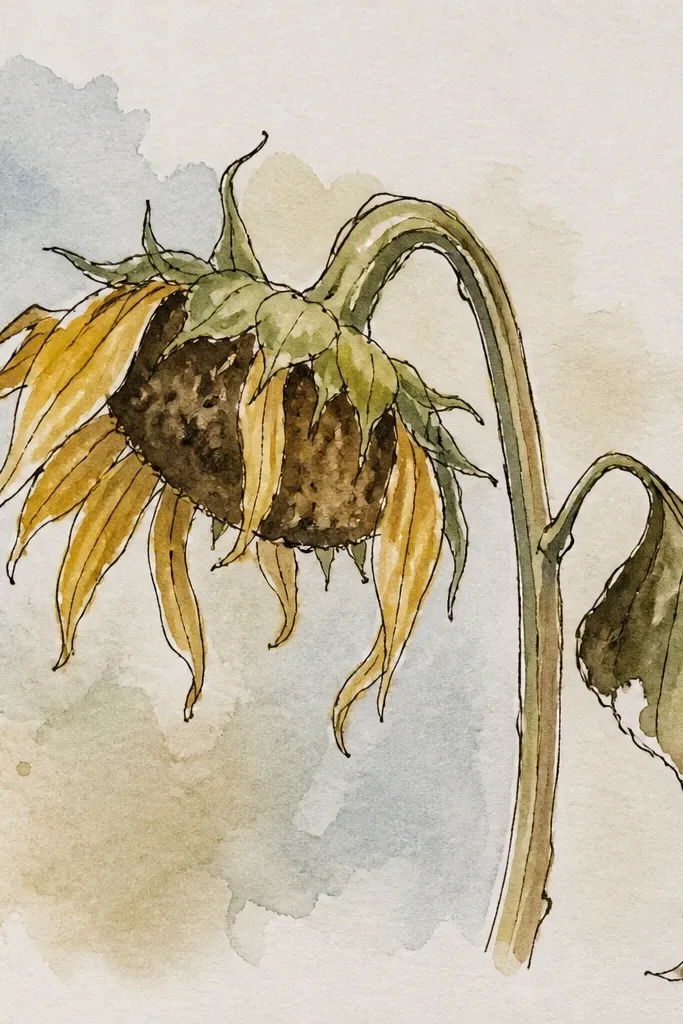
Drip tips turn wilt into a visual hook. You draw normal drooping petals, then let a few petal tips end with controlled ink drips — like the flower is melting or collapsing. The key is control: only the tips, and only on 3-5 petals. The seed head stays detailed and dark so the drips don’t take over. This makes the themed sunflower drawing feel modern and graphic, and it looks great as a single focal piece on plain paper.
1) Sketch a sunflower drooping about 25 degrees and ink the outlines with a fine liner. 2) For drip tips, mix ink with a little water, then touch it at the last millimeter of a few petal tips so it forms a short downward streak. 3) Add seed head texture with dense ovals and a darker center. 4) Shade petal folds with a light ink wash so the drips sit on top of a readable form.
Use blotting paper to control drip length. Touch, lift, and stop — don’t let it run freely.
Don’t drip ink on the seed head; it makes the center look smeared.
15. Coffee-Rub Wilt with Stencil Veins and Torn Paper Ash
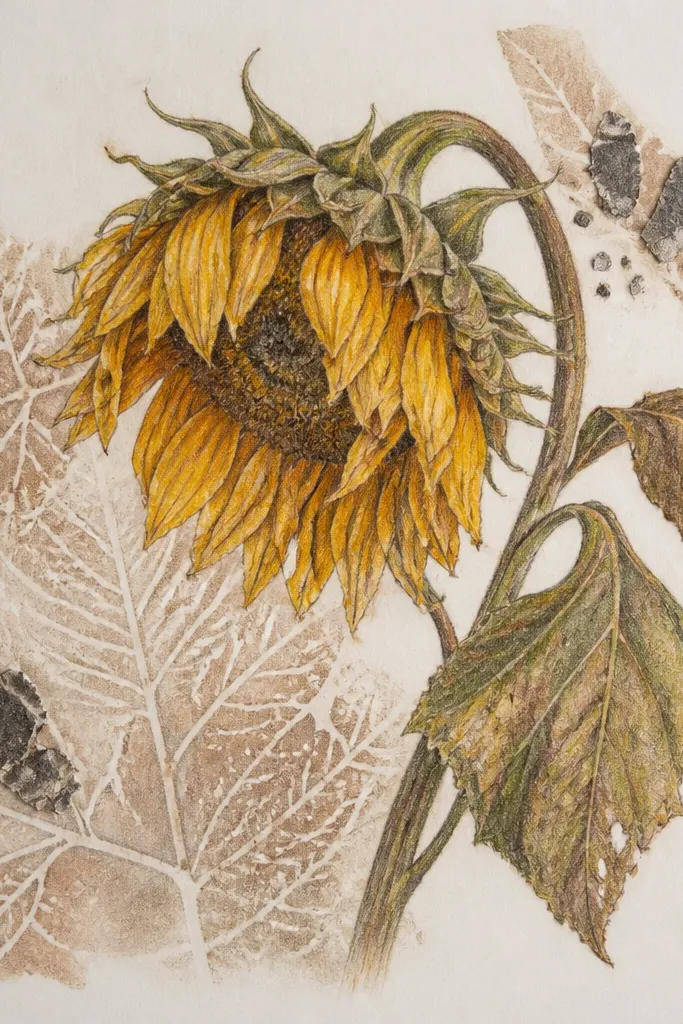
This is a themed sunflower drawing that looks sun-bleached and exhausted, not just “drawn.” The coffee rub gives you a natural gradient that feels like old paper and dried petals, while the stencil veins keep the sunflower reading even when it’s drooping. Torn paper ash at the bottom sells the wilt by adding a messy, weighty edge where the head collapses. It’s a fast project because you’re not trying to render every petal perfectly — you’re building texture first, then letting the stain do the work. It suits beginners who want a dramatic result in about 60-90 minutes, and it looks great framed for a DIY wall set or a sketchbook page that needs mood.
1) Tear your paper first: cut a 6x9 inch sheet, then tear a strip about 1.5 inches tall along the bottom edge so it looks like ash. Place it on a clipboard or hard board, and lightly sketch one drooping sunflower head with a seed center that sits lower on one side. 2) Make the coffee stain: brew strong coffee, then mix 1 tablespoon instant coffee with 1 tablespoon warm water for extra pigment. Dip a foam brush and paint a thin wash over the petals, concentrating on the outer edges so they look scorched and tired. 3) Add stencil veins: tape a sunflower leaf-vein stencil (or a DIY cutout from cardstock) over the petals and rub dry coffee grounds with a makeup sponge through the openings, then peel the stencil while the paper is still slightly damp. Finish by crumpling a tiny piece of tissue, rubbing it along the torn ash strip, and sealing the whole drawing with a light spray of fixative from 12 inches away.
Use a makeup sponge for the rub — it breaks up the stain so you get petal mottling instead of a flat brown smear. Let the coffee dry fully before sealing, or you’ll lock in uneven tide marks.
Don’t flood the paper — heavy coffee makes petals bleed into the seed center and kills the wilt shape.



