
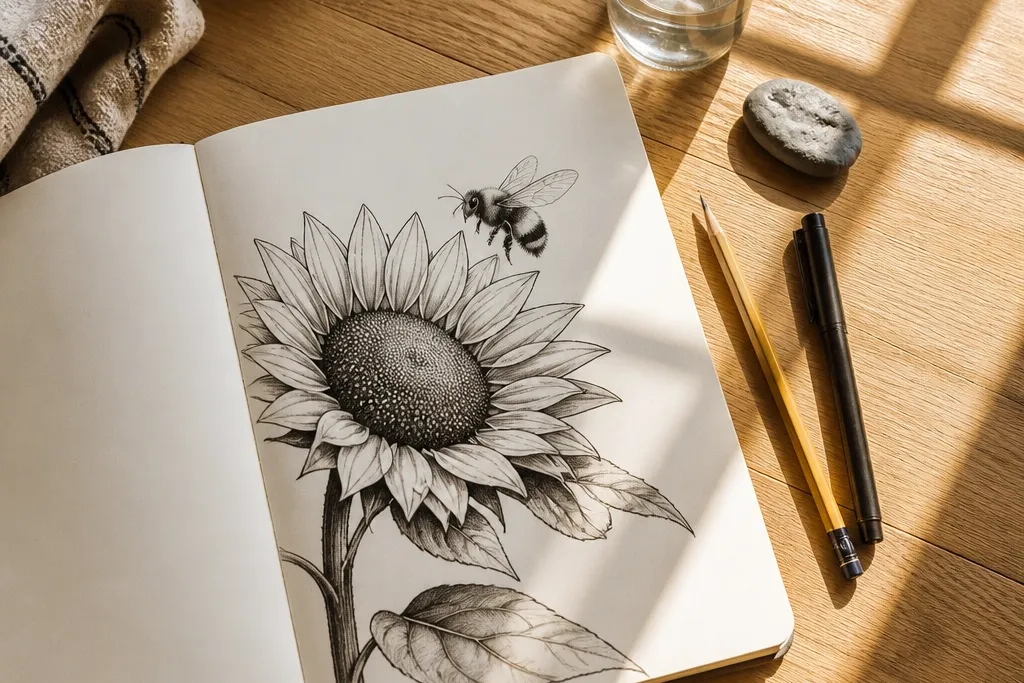
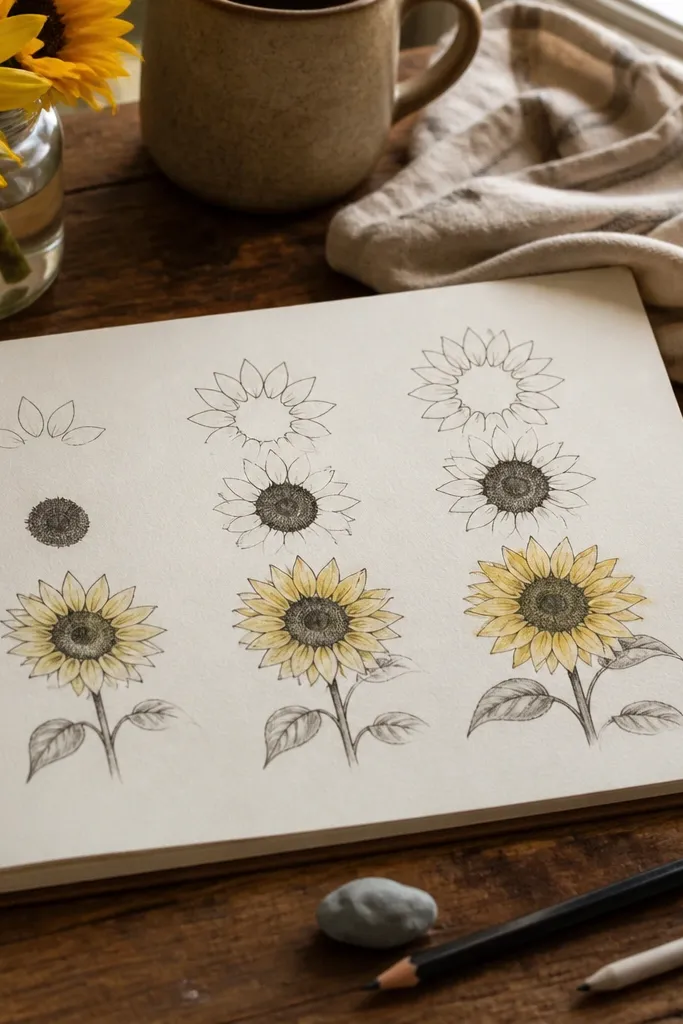
1. Tiny Bee Hovering Over a Sunflower Center
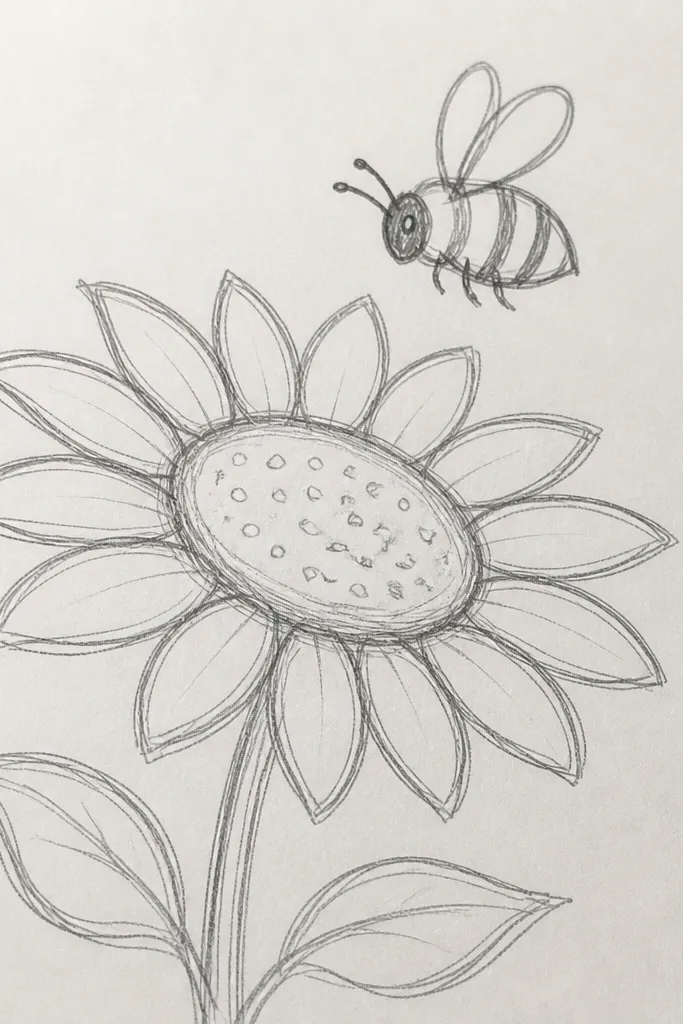
This one is cute because the bee reads first. Put the sunflower seed head slightly low on the page, then draw a tight ring of short petals around it so the whole flower looks compact. Add the bee above the seed head with two thin wings and three body stripes — keep the stripes evenly spaced so it looks crisp. Finish with a dark brown seed center and a little dot cluster for seed texture. The composition is clean and photo-friendly because the bee and flower sit in the same visual zone.
Good to knowUse a ruler lightly for the seed circle so the flower center stays perfectly round in photos.
Start by drawing a circle about 2.5 inches wide for the seed head. Around it, sketch 12 short teardrop petals, each pointing outward and staying the same length. Draw the bee with a small oval head, a bigger oval body, two wing arcs, and three stripes; place it so its feet hover over the seed circle. Color petals yellow with a light orange edge, then darken the seed head with brown and tiny dots.
Common mistakeDon’t add extra stripes or tiny limbs — two wing lines and three stripes are enough.
2. Sunflower Bouquet with Three Bees in a Row
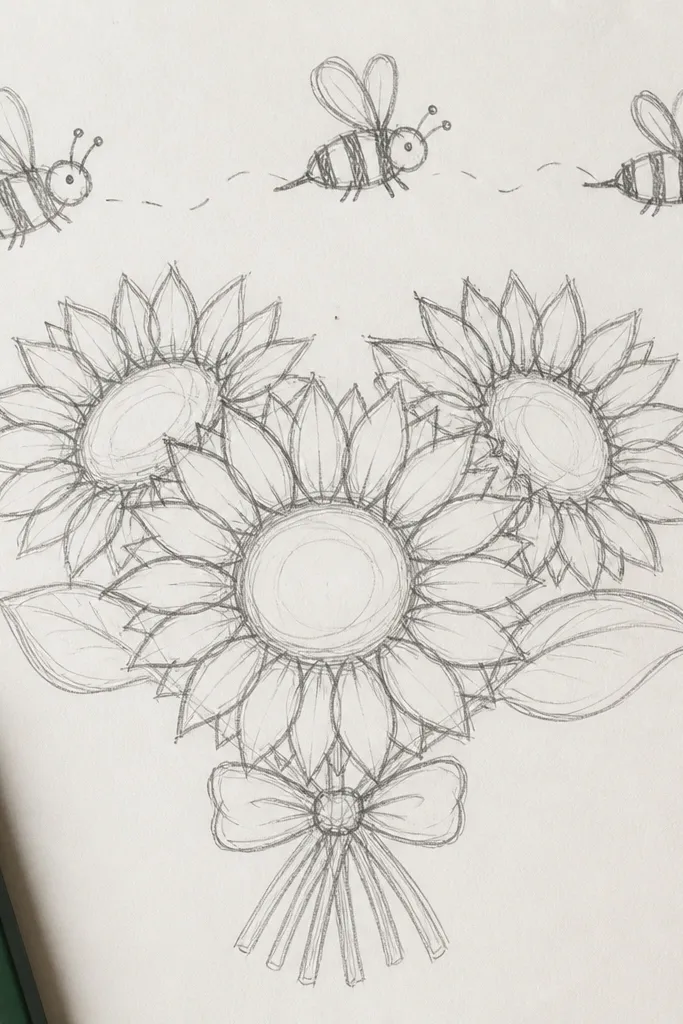
This works when you want a “card-ready” page. Draw three smaller sunflowers arranged like a bouquet, then place three bees in a neat line so the eye moves left to right. Keep petals consistent in size across all three flowers; that’s what makes it look designed instead of random. Color the stems green with a simple darker line down the middle for dimension. The bees should match too — same stripe thickness, same wing shape, just scaled slightly so they feel like they’re hovering at different heights.
Good to knowIf your bees look different, trace your first bee lightly and reuse the shape for the next two.
Sketch three seed circles in a triangle layout and connect each with a curved stem line. Add 10-14 petals per sunflower, keeping the petals slightly tilted so the bouquet feels alive. Draw three bees near the top petals, aligned horizontally, each with an oval body and three stripes. Color petals yellow-orange, seed heads brown, and stems green; add a few leaf veins with a darker green pencil.
Common mistakeDon’t overcrowd the background; leave white space so the bees stay the focal point.
3. Half-and-Half Sunflower with a Smiling Bee
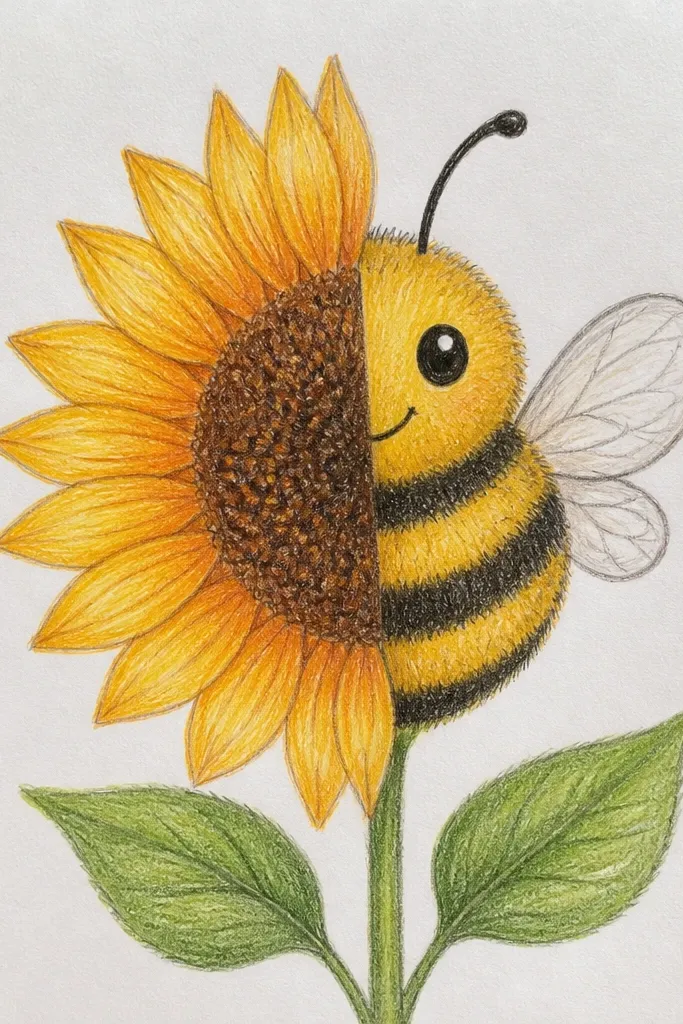
This design is playful because the sunflower is split into two clear sections. Draw half the petals in full yellow and half in lighter yellow with faint orange — it creates a graphic look without shading complicatedly. Put a bee on the boundary line, with a tiny smile and two dot eyes so it looks friendly. The contrast between the two halves makes the flower pop even with quick coloring. It’s also great for using up scraps of yellow/orange markers.
Good to knowA fine black gel pen makes the bee’s face look sharp even if you color fast.
Draw one big seed circle and mark a vertical guideline through it. Add petals only on both sides, but keep the right-side petals lighter by skipping heavy color fill. Draw a bee sitting on the guideline with a small smile arc and two dot eyes, plus three stripes across the body. Color the seed head with brown and add a few lighter dots for shine.
Common mistakeDon’t use the same pressure for every petal color — that flattens the half-and-half effect.
4. Sunflower in a Mason Jar with One Bee Peeking
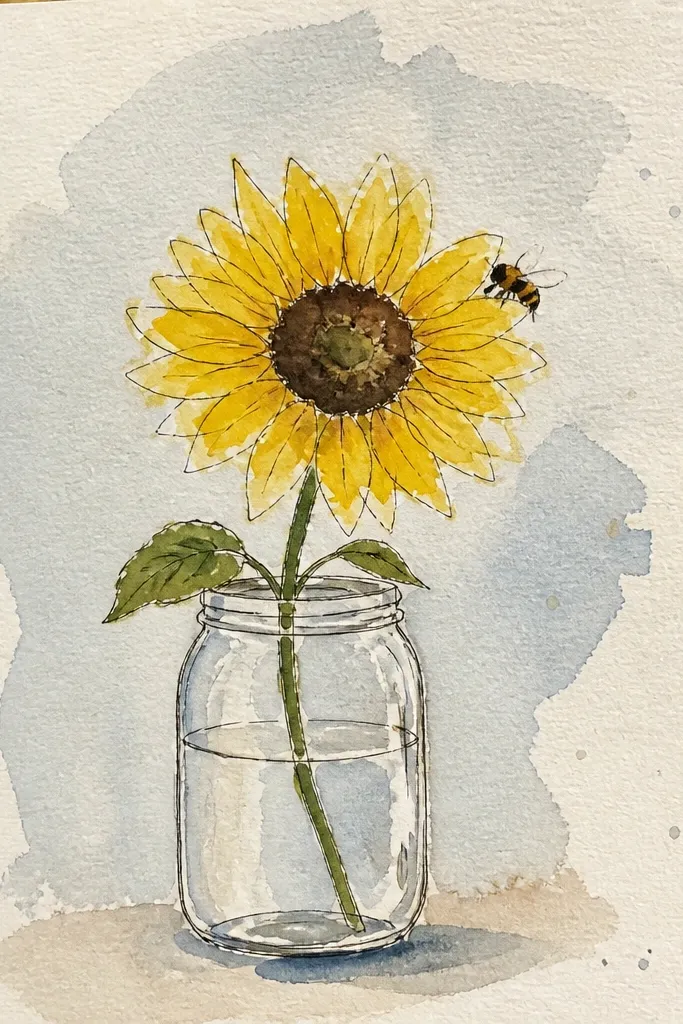
Jar drawings photograph well because the outline gives you a built-in frame. Draw a simple mason jar shape with a lid line and a few vertical jar lines, then place one sunflower inside. Put the bee peeking over the jar rim so it feels like it’s “visiting” the flower. Keep the bee small and focused: three stripes, two wing curves, and one tiny antenna line. The jar lines and the sunflower petals create strong shapes that hold up even with quick coloring.
Sketch the jar first: a rounded rectangle with a slightly narrower top and a lid line. Draw the sunflower stem and seed head inside the jar, then add petals around the seed circle. Place the bee above the rim so only the body and wings show, with feet touching the rim line. Color the jar with light gray or tan, petals yellow, and seed head brown; add a faint shadow under the seed head.
Use one thin black outline for the jar and a slightly thicker one for the bee so the bee pops in photos.
Don’t make the jar lines too dark; if the jar competes, the sunflower loses.
5. Bee Landing on a Sunflower Petal Tip
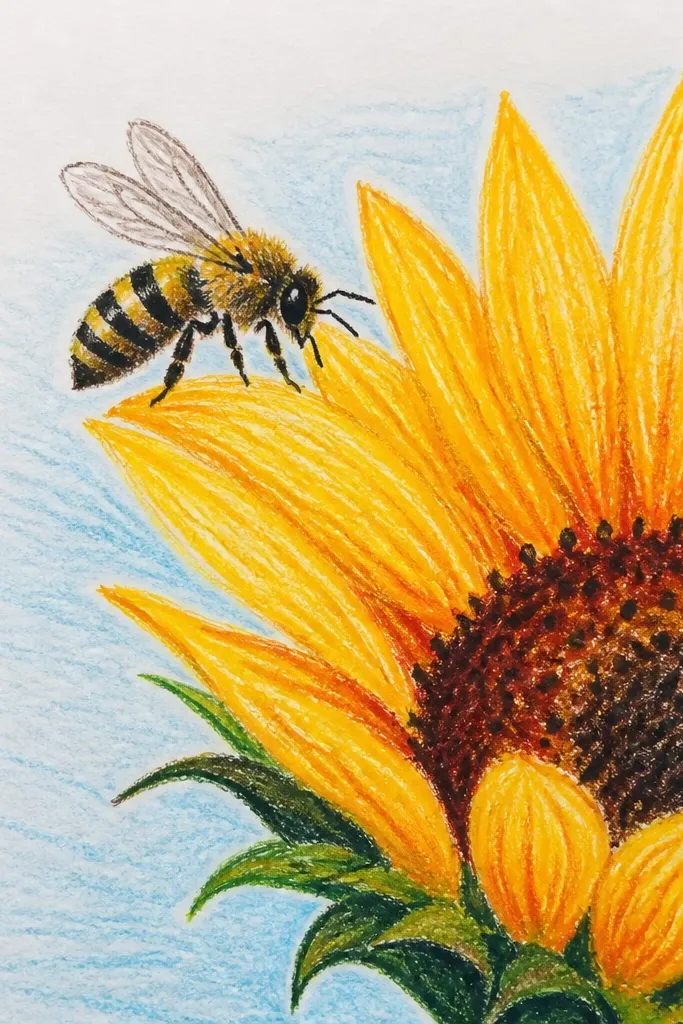
This one feels dynamic because the bee looks like it’s landing. Draw a mostly simple sunflower with fewer petals, then make one petal larger in the foreground. Position the bee on the foreground petal tip and add tiny wing lines that angle upward. The foreground petal gives you depth without complex perspective. Color the bee with bold black and soft yellow, then add a dark brown seed head with small dot seeds so the center looks alive.
Good to knowMake the bee’s feet touch the petal edge with two short lines — it instantly reads as landing.
Draw one large foreground petal first, slightly tilted, then add a seed circle behind it. Add 10-12 smaller petals around the seed head, keeping them shorter than the foreground petal. Draw the bee perched on the petal tip with an oval body, three stripes, and two wings angled up. Color the petal in yellow with a warm orange edge, then fill the seed head with brown dots.
Common mistakeDon’t place the bee on the side of the seed head; landing looks best on a petal edge.
6. Sunflower Side Profile with a Buzzing Bee
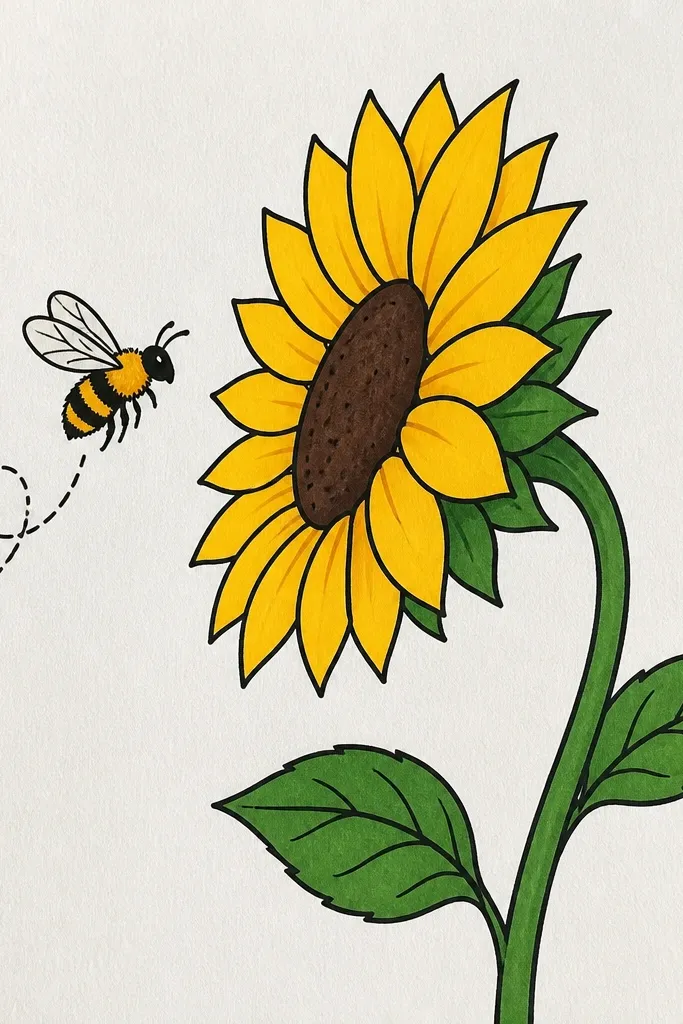
Side profile sunflower drawings look interesting fast because the shape is simpler than a full front view. Draw the seed head as an oval instead of a circle, and wrap petals around it in a slightly curved arc. Put the bee beside the sunflower with a small “buzz” motion line behind it. The motion line is the secret — it adds energy without extra detail. Keep petals yellow and add a few darker orange strokes on the outer edges for dimension.
Good to knowOne motion line is enough. Too many lines makes it look messy instead of buzzing.
Sketch an oval seed head and draw a curved row of petals around the top half. Make 8-10 petals, each shaped like a teardrop but slightly bent to follow the oval. Draw the bee next to the sunflower with an oval body, three stripes, and two wing arcs; add one short motion line behind. Color the seed head brown and the petals yellow-orange, then add a few tiny seed dots on the oval.
Common mistakeDon’t draw petals all the way around the oval — keep it partial for that side-profile look.
7. Sunflower with a Bow Ribbon and a Bee Under It
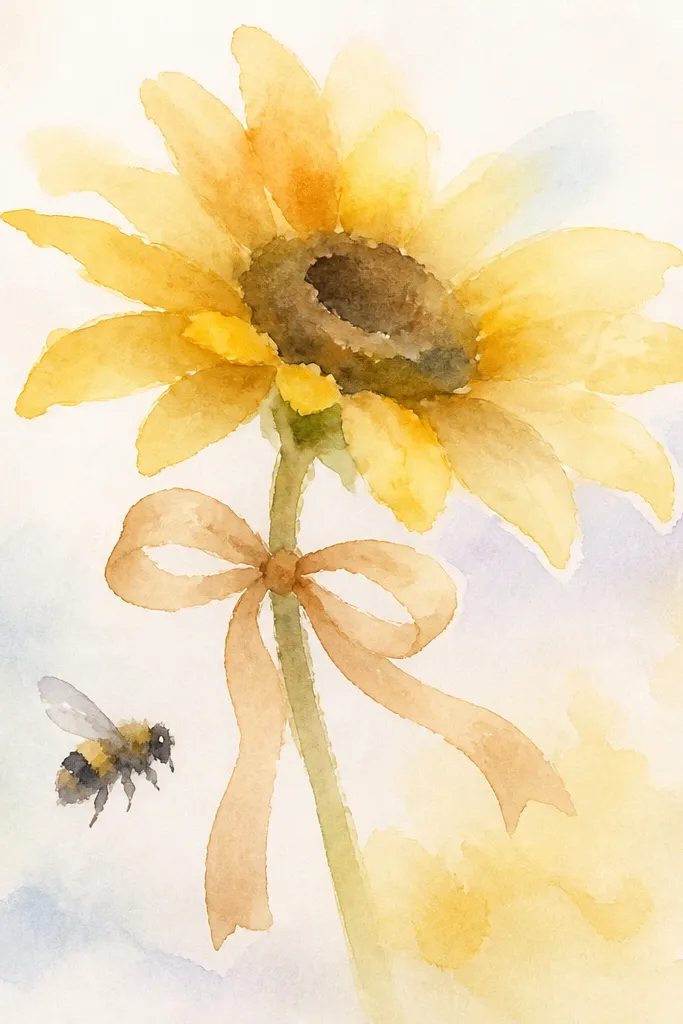
Ribbon details make drawings feel gift-like, and gift-like looks get shared. Draw a sunflower with a strong seed head, then add a simple bow ribbon across the top. Place the bee under the bow so it looks like it’s hiding or peeking out. Keep the bow lines clean and symmetrical; that’s where the aesthetic comes from. Use bright yellow petals and a brown seed head, then color the ribbon in soft pink or muted red for contrast.
Good to knowUse the same line thickness for bow loops so the symmetry looks intentional.
Draw the seed circle and petals first, keeping petals evenly spaced. Add a bow above the sunflower with two loops and two tails, centered. Draw a small bee under the bow with three stripes and two wing arcs. Color petals yellow, seed head brown, ribbon pink, and add a tiny highlight dot on the bee’s wing.
Common mistakeDon’t overload the bow with extra folds; two loops and two tails look best in quick drawings.
8. Minimal Sunflower Outline with Color-Blocked Bee
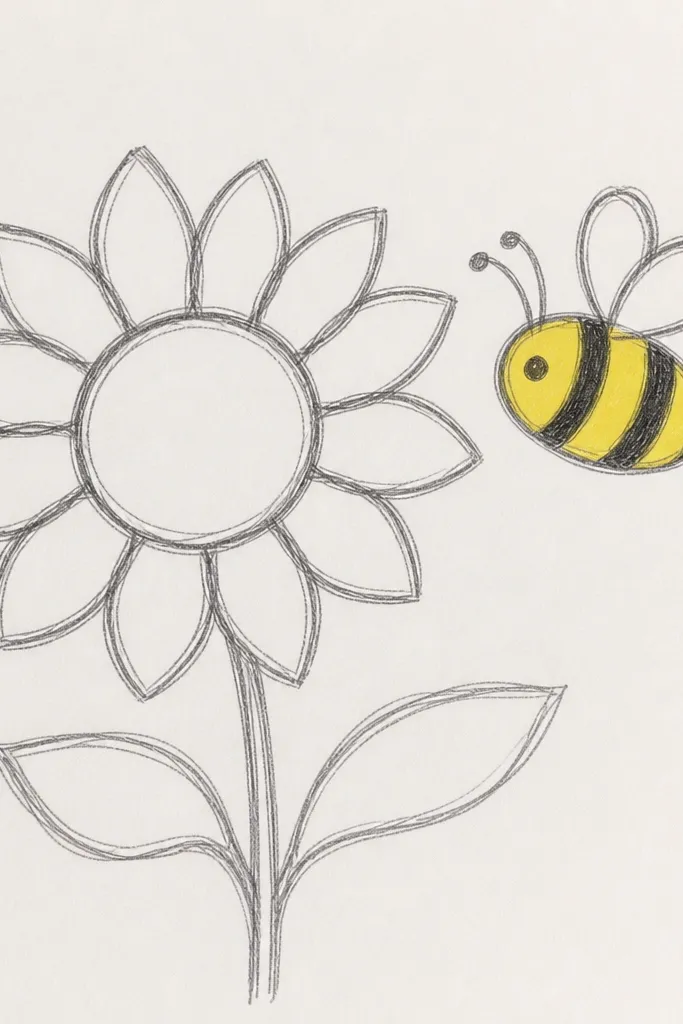
This is the cleanest option if your coloring usually goes outside the lines. Keep the sunflower as a simple outline with light seed dots, then color-block the bee using two shades of yellow plus black stripes. The contrast makes the bee look designed even with minimal petals. Use a darker yellow for the top half of the bee body and a lighter yellow for the bottom half. The minimal sunflower keeps the page airy and photogenic.
Good to knowColor-blocking looks best with marker or crayon that fills smoothly without patchiness.
Draw a sunflower outline: one seed circle and 12-15 teardrop petals with light lines. Add a few seed dots inside the circle. Draw the bee and fill the body in two yellow sections with a straight dividing line. Add black stripes with a gel pen and color the wings with a light gray or leave them white.
Common mistakeDon’t shade the bee with lots of gradients; color blocks read better for quick drawings.
9. Sunflower Frame Border with Bees in the Corners
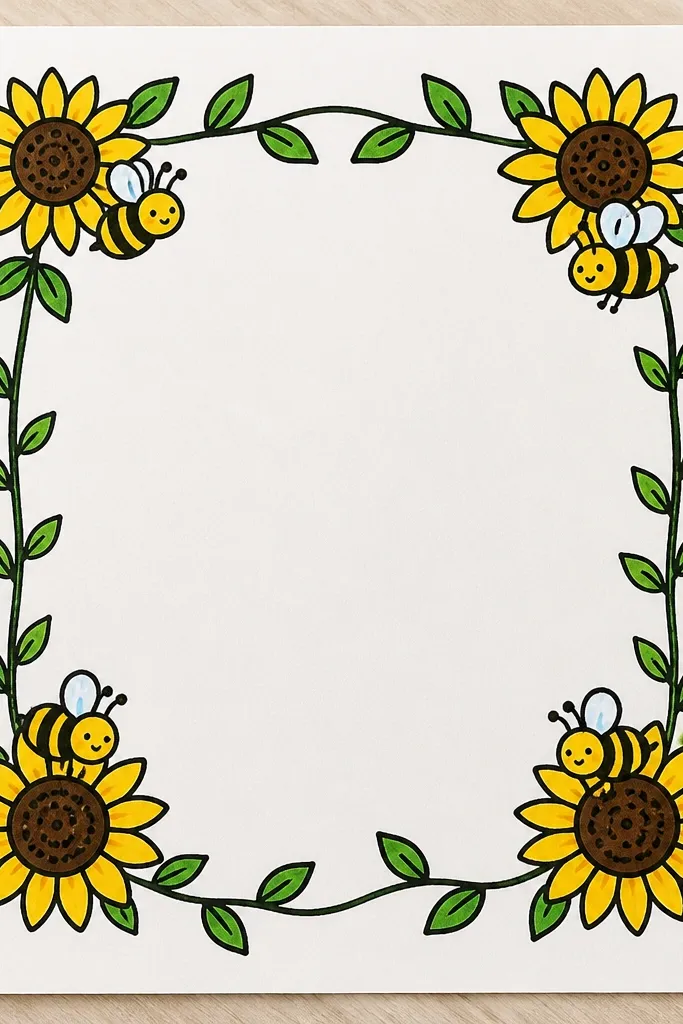
A border makes even a simple drawing look finished. Create a thin sunflower frame around the page edges using small seed circles and tiny petals. Then place one bee in each corner so the composition stays balanced. This is great for notebook covers, mini printables, or any page that needs a decorative frame. Keep the bees small but consistent — same stripe thickness and wing shape. Use a limited palette so the border doesn’t turn into visual noise.
Good to knowUse a pencil sketch for the border first. Clean edges matter more than perfect petal shapes.
Lightly mark a border area about 0.5 inches from the page edge. Draw small seed circles at the corners and add 6-8 tiny petals around each, repeating the same size. Place a bee in each corner with an oval body and three stripes; keep wings simple. Color petals yellow, seed dots brown, and bees black/yellow; leave the center area mostly blank for a clean look.
Common mistakeDon’t make the border too thick; a narrow frame keeps the center readable.
10. Sunflower and Bee Sticker Look with Bubble Outlines
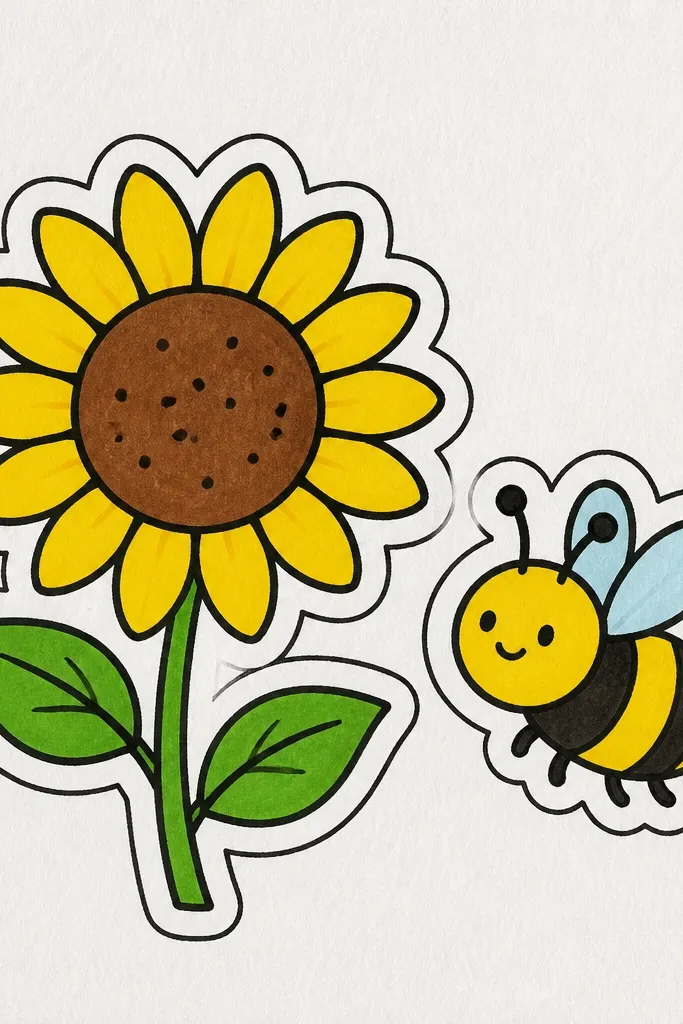
Sticker-style drawings look cute because the bubble outline makes the artwork look like a cut-out. Draw a sunflower and bee in the center, then wrap everything in a thick rounded border. Add a few small highlight dots and keep the linework bold so it pops in photos. This design is perfect if you want something you can later cut out and use on journals or gift tags. Keep shading minimal — the thick outline does the heavy lifting.
Draw the sunflower and bee first with clean outlines. Then trace around them with a rounded bubble line, keeping even spacing all the way around. Add a small “shine” dot on the seed head and two tiny dots on the bee’s wings. Color petals yellow-orange, seed head brown, and bee with black stripes over yellow.
Leave a small white gap between the bubble outline and the original drawing lines for a crisp sticker effect.
Don’t use too many colors. Two yellows plus brown and black keeps it sticker-clean.
11. Sunflower with Polka-Dot Background and One Friendly Bee
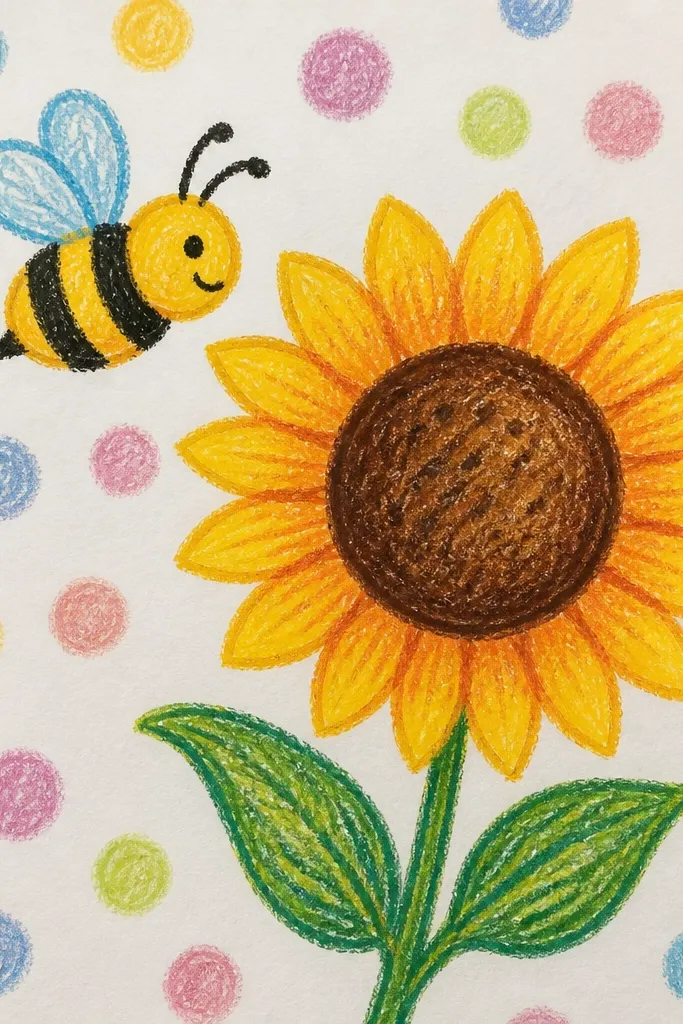
A polka-dot background makes the sunflower-and-bee combo look playful without extra drawing work. Draw the sunflower centered and add a friendly bee with dot eyes and a small smile. Then fill the background with evenly spaced dots in light yellow, pale orange, or soft green. The dots frame the subject and make the page look finished even if your shading is simple. Keep dots small and consistent so they don’t overwhelm the petals.
Sketch the seed circle and around it draw 12-14 petals. Add the bee near the top-right petal with two dot eyes, a tiny smile, three stripes, and simple wing arcs. Use a fine pen to add polka dots across the background, leaving clear space around the sunflower and bee. Color petals yellow with a light orange edge and seed head brown; keep dots lighter than the sunflower so they stay behind.
Dot size matters: aim for dots about the size of a pencil eraser tip for a neat pattern.
Don’t color the polka dots dark. Dark dots fight the sunflower.
12. Sunflower Wreath with a Bee in the Middle
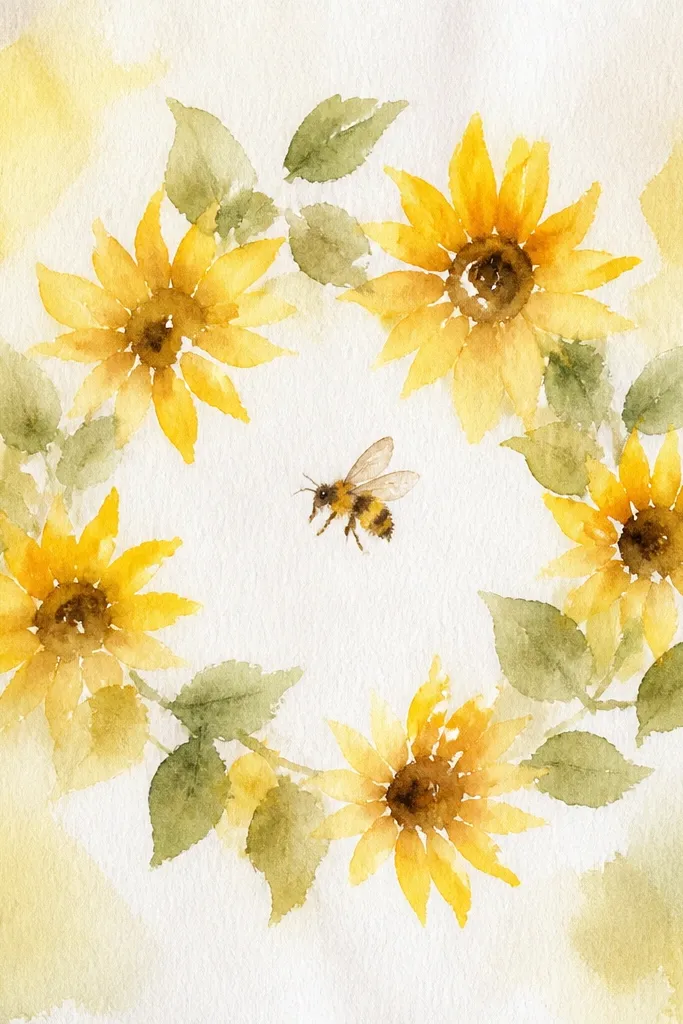
Wreath drawings look balanced fast because the ring structure is already designed. Draw a circular wreath of mini sunflowers around the page, then put a single bee in the center. The center bee becomes the focal point while the wreath keeps everything cohesive. Keep petals small and repeatable — teardrops in a consistent ring. Color each sunflower the same way so the wreath looks uniform and photogenic.
Good to knowUse a compass or a printable circle guide so the wreath ring looks perfectly even.
Draw a large circle lightly as your wreath boundary. Inside that circle, place 8-12 small seed circles evenly spaced, then add 8-10 petals around each seed circle. Draw a single bee in the center with an oval body and three stripes, plus wings that curve upward. Color petals yellow, centers brown, and the bee black/yellow; add a few tiny seed dots to each center.
Common mistakeDon’t vary petal length too much across the wreath or it will look uneven.
13. Sunflower on a Swing with a Bee Holding On
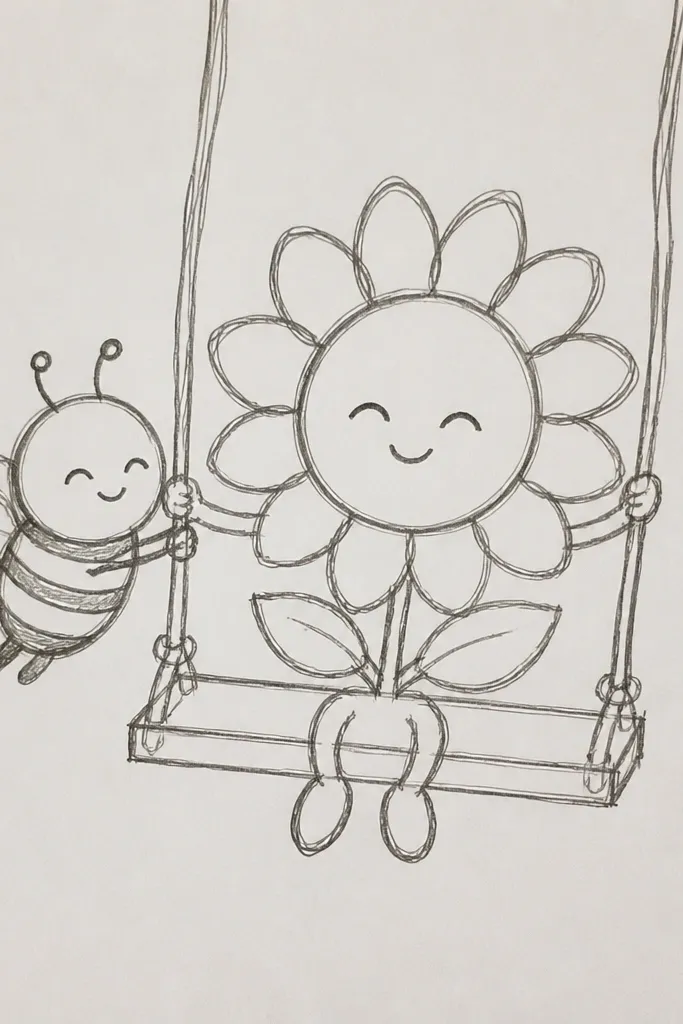
This one looks charming because it adds a simple story. Draw two curved lines like a swing, hang the sunflower head from them, and place the bee under the flower as if it’s holding on. Keep the swing lines thin and smooth so the drawing stays clean. The bee’s wings can be drawn slightly upward for a lively feel. It’s quick because you’re not drawing complex background — just three elements: swing, flower, bee.
Draw two angled swing supports and connect them with a top arc. Hang a sunflower seed circle from the arc with a short stem line, then add 10-12 petals around the seed head. Draw the bee underneath with three stripes and two wings, and place it so its body touches the sunflower stem line. Color petals yellow-orange, seed head brown, bee black/yellow, and add a small shadow where the flower meets the stem.
Add one small “rope” knot near the top. It makes the swing look intentional.
Don’t make the swing lines thick. Thick lines steal attention from the sunflower and bee.
14. Sunflower Corner Doodle with a Bee and Leaf Accent
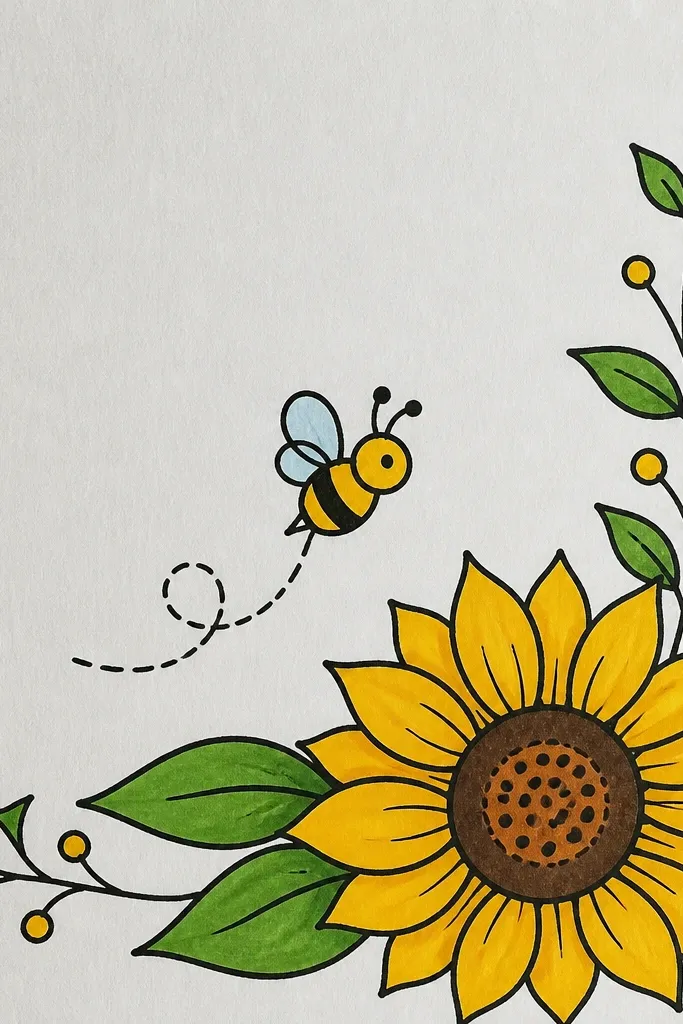
Corner doodles look great on planners and sticky notes because they don’t need a full composition. Place the sunflower in the top corner, shrink the petals, and add one leaf to balance the space. Then tuck the bee between the petals and the leaf so it looks like it’s exploring. Use bold outlines and simple coloring for a crisp, photogenic look. This is also the quickest option if you’re making a set of drawings.
Sketch a smaller seed circle in the top corner and add 9-11 petals around it. Draw one leaf shape on the lower side of the sunflower and add a simple vein line. Place the bee near the petal edge with three stripes and two small wing arcs. Color petals yellow with orange tips, seed head brown, leaf green, and bee black/yellow.
Keep corner drawings tight: leave at least 0.25 inches of blank space from the page edges so the photo doesn’t crop awkwardly.
Don’t add multiple leaves. One leaf keeps the composition clean.
15. Sunflower with a Heart Seed Center and Tiny Bee
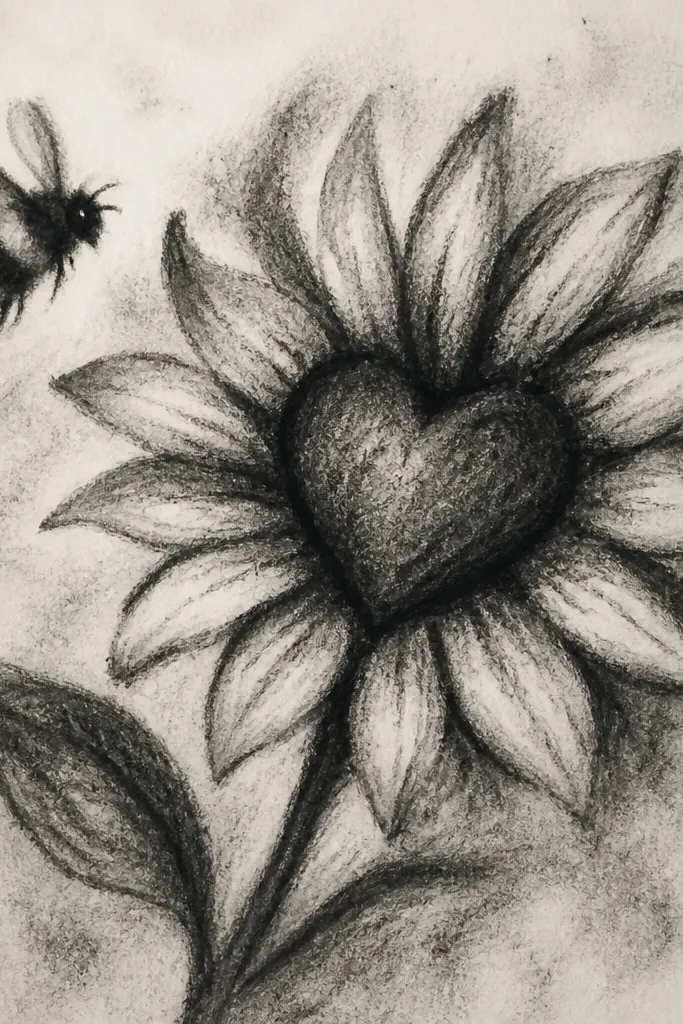
A heart seed center makes the whole thing read as love-notes cute without needing extra characters. Use a sunflower with normal petals, but shape the center like a heart instead of a circle. Place a tiny bee above the heart center, small enough that it feels like it’s attracted to the “sweet” detail. Keep the bee simple: three stripes, two wings, and one dot eye. The heart center gives you a clear focal point that looks adorable in close photos.
Good to knowOutline the heart seed center in dark brown first, then fill — it keeps the heart shape crisp.
Draw a heart shape where the seed center would be, using smooth curves and a pointed bottom. Add petals around it like a sunflower, keeping them evenly spaced and similar length. Draw a tiny bee above the top of the heart with an oval body and three stripes, plus two wing arcs. Color petals yellow-orange and fill the heart seed with brown, then add small dot seeds inside the heart.
Common mistakeDon’t try to add too many seed dots. A few clusters look better than a dense mess.
16. Black-and-White Sunflower with Yellow Bee Accent
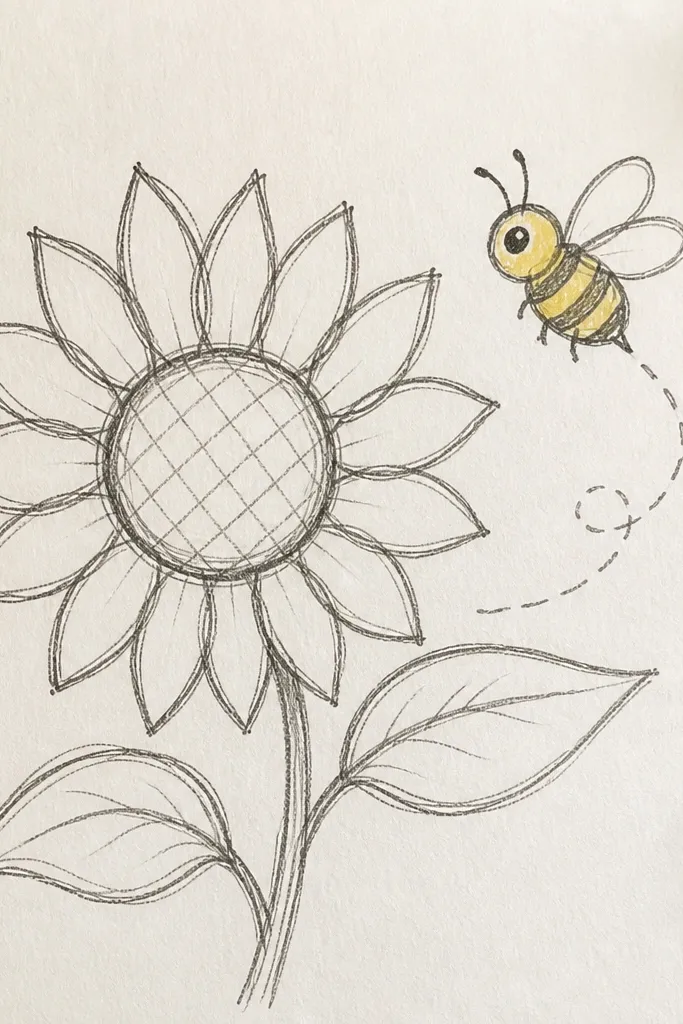
This is a high-contrast option that looks graphic even with minimal coloring. Draw the sunflower in black ink or fine pen with seed dots and clean petal outlines, then color only the bee in bright yellow. The yellow bee becomes the only color in the piece, so it stands out immediately. Add tiny wing highlights with white gel pen if you have it, or leave wings uncolored. It’s a great choice when you want an aesthetic that looks crisp in photos and doesn’t require blending.
Good to knowUse a white gel pen to add two tiny highlights on the bee wings — it makes the bee look glossy.
Draw the sunflower with black pen: seed circle, 14-16 petals, and a dense ring of seed dots. Draw the bee in the same style with three stripes and two wing arcs. Color the bee body bright yellow and keep stripes black. Leave the sunflower uncolored except for the black ink seed texture; add a few extra seed dots for depth.
Common mistakeDon’t color the bee too orangey. Keep it clearly yellow for the accent effect.
17. Sunflower with a Polaroid Frame and One Bee
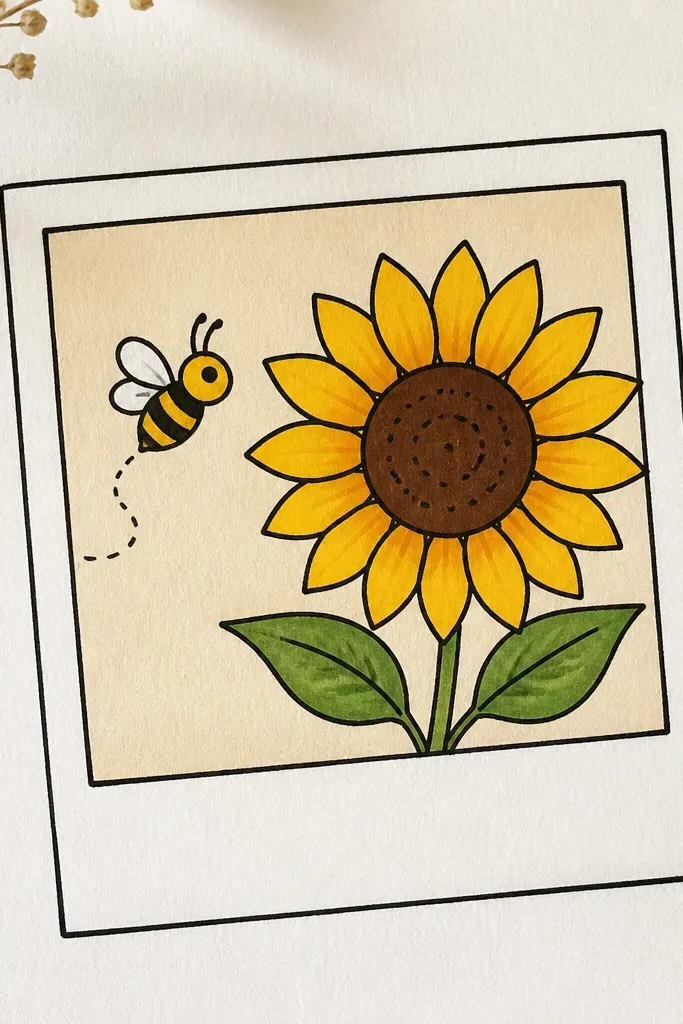
Polaroid frames make drawings look like a finished print. Draw a polaroid rectangle with a slightly rounded photo window, then place a sunflower inside. Add one bee near the top edge of the photo window so it feels like it’s part of the “scene.” This is perfect for creating a set where every drawing looks cohesive on a feed. Keep the sunflower bold and centered, and use the frame for structure instead of background complexity.
Sketch a polaroid border first: a rounded rectangle photo area and a slightly thicker outer frame. Draw the sunflower seed circle inside the photo window and add 12-14 petals. Place one bee near the upper part of the sunflower, with wings drawn as two curved lines. Color petals yellow-orange, seed head brown, bee black/yellow, then shade the polaroid border lightly in gray or tan.
Add a small caption line area at the bottom of the polaroid border — it makes the frame look real.
Don’t place the sunflower too close to the polaroid edges or it looks cramped in photos.
18. Sunflower with Layered Paper-Cut Look (Drawn Layers)
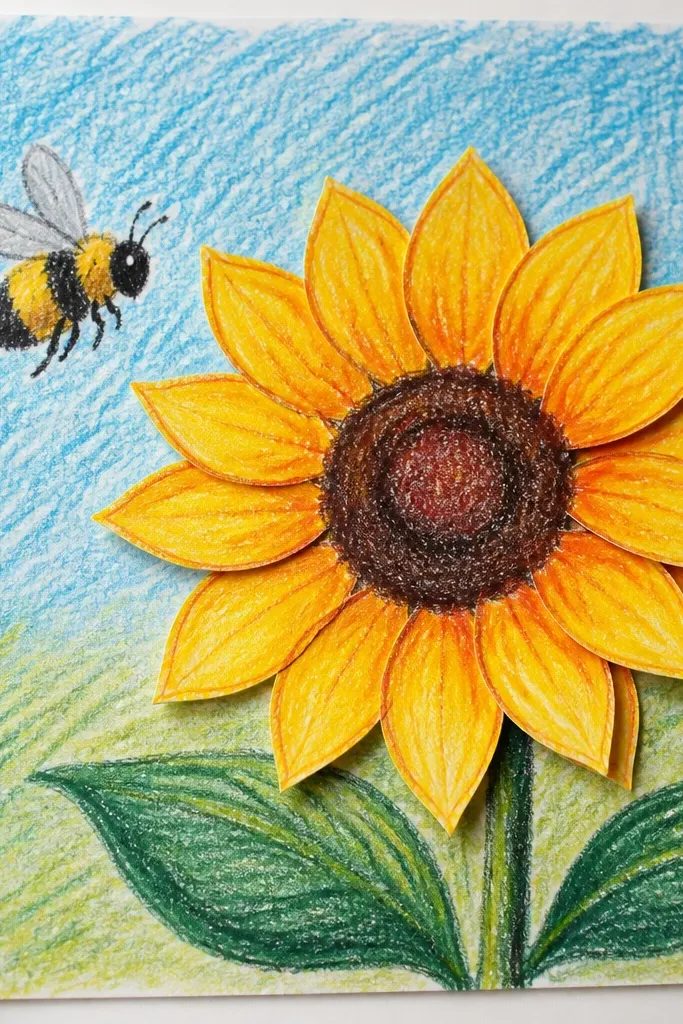
The paper-cut look is aesthetic because it creates visible layers on the page. You draw it by using stepped outlines: one set of petals slightly behind another set. Keep the seed head layered too with a darker outer ring and lighter inner dots. Then place a bee on the top layer so it looks like it’s sitting in front. This design feels more “crafted” than a flat drawing, but it’s still quick because you’re repeating the same petal shapes twice.
Good to knowUse two yellows with clear difference (one pale, one warm) so the layer edges show up in photos.
Draw the bottom layer sunflower first: seed circle and 12 petals, then outline lightly in a slightly lighter color. Draw a second layer on top by repeating the petals, but shift them a little to one side so you see a stepped edge. Add a bee sitting on the top layer near the seed head with three stripes and wings. Color bottom petals yellow, top petals slightly darker orange-yellow, seed head brown with lighter dot seeds.
Common mistakeDon’t blur the layer outline. The step edge is the whole trick.
19. Sunflower with a Simple Sky Background and Bee in Front
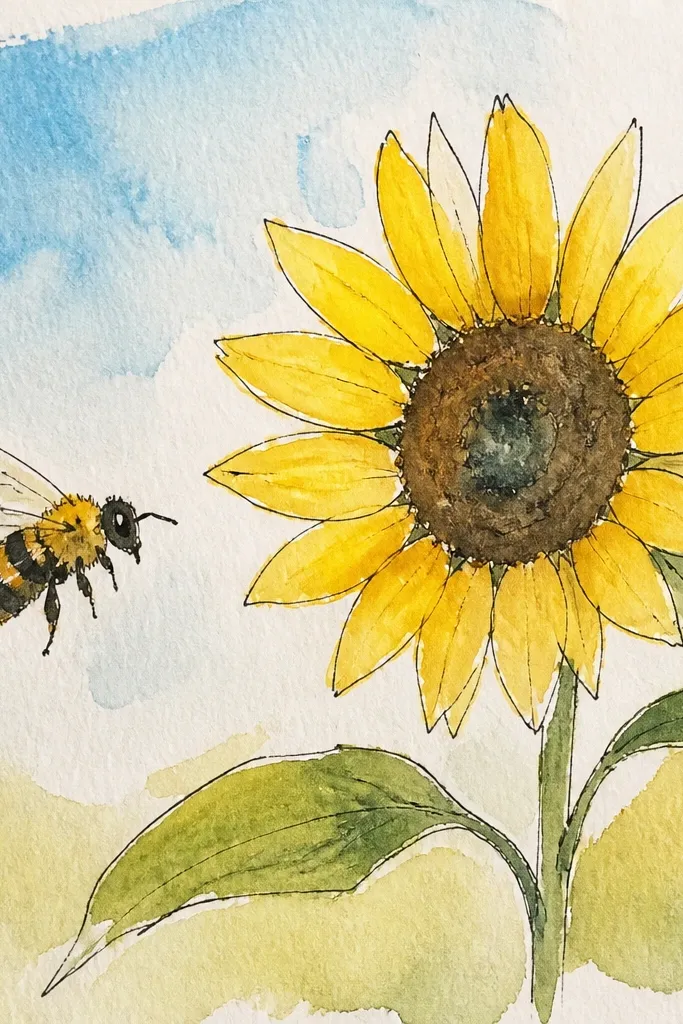
A tiny sky background makes the sunflower feel like it’s outdoors without turning the page into a full landscape. Use a light blue wash for the top background, then draw the sunflower in the lower area with crisp outlines. Put the bee hovering between the sunflower and the sky so it creates depth. Keep the bee linework dark and clean, then color it with black and yellow so it stays readable against the wash. This is one of the best options if your drawings look too flat in photos.
Good to knowLet the blue wash dry fully before outlining the bee so the ink doesn’t feather.
Lightly wash a pale blue background at the top of the page and leave the bottom mostly white. Draw the sunflower seed circle in the lower half and add 12-14 petals with dark outlines. Place the bee above the petals, with wings angled so it overlaps the white petal area and touches the blue area visually. Color petals yellow-orange, seed head brown, and bee with black stripes over yellow.
Common mistakeDon’t darken the sky. A light wash keeps the sunflower and bee as the main subject.
20. Sunflower Pattern Tile with Bees at the Edges
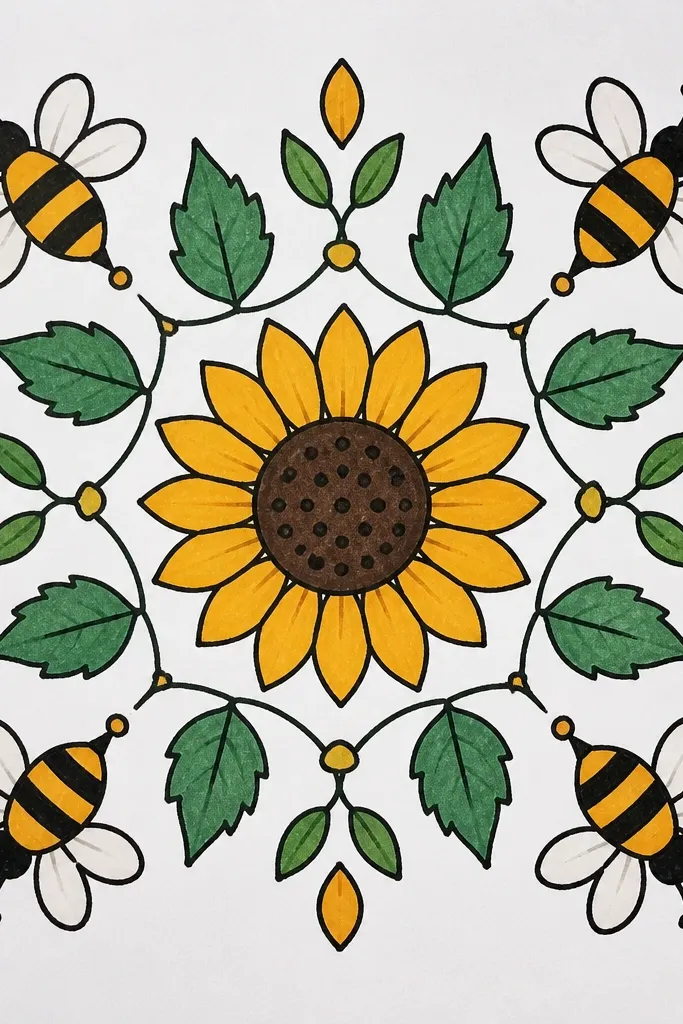
Pattern tiles look great because they’re graphic and repeatable. Draw one sunflower, then repeat the idea across the page with consistent spacing, and place partial bees at the edges so it looks like the pattern continues. This gives you a cohesive look for scrapbooking, sticker sheets, or a digital print later. Keep petals consistent and avoid tiny random variations — the repetition is what makes it aesthetic. Use two yellows and one brown for the sunflowers, then black/yellow for bees so everything stays readable.
Good to knowUse a grid lightly with pencil so you can keep the pattern spacing even without overthinking.
Choose a page layout: draw a grid with squares about 2.5 inches each. In the first square, draw a sunflower seed circle and 10-12 petals, then color it. Repeat the sunflower in neighboring squares using the same petal count and spacing. Add bees at the edges of squares so only half of each bee shows, keeping wings simple and stripes aligned.
Common mistakeDon’t add detailed backgrounds inside the squares. The pattern needs clean shapes.



