
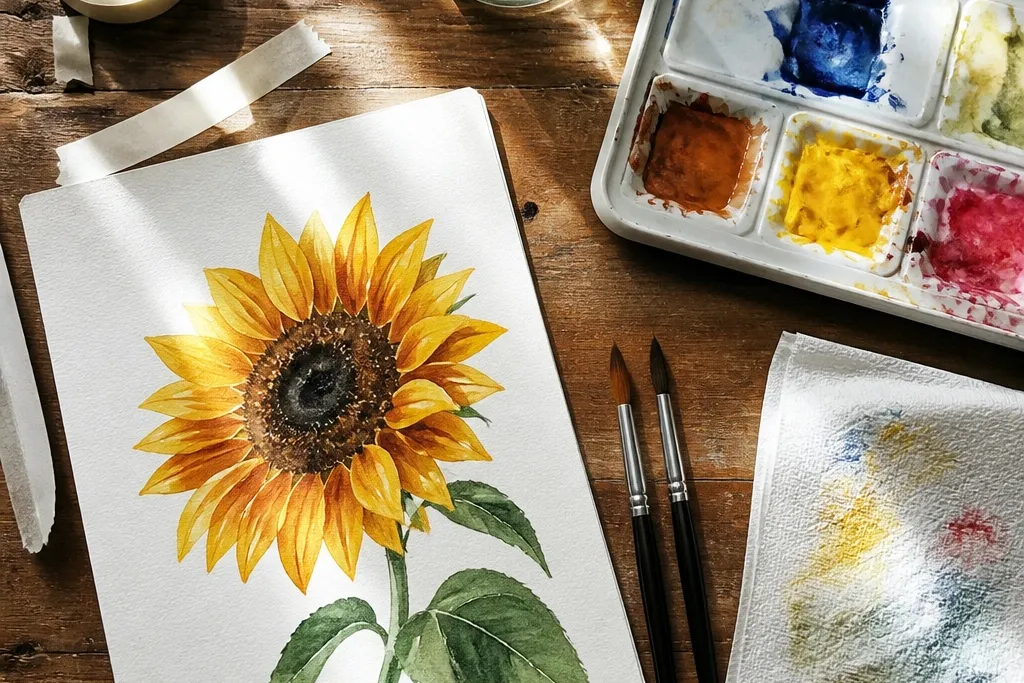
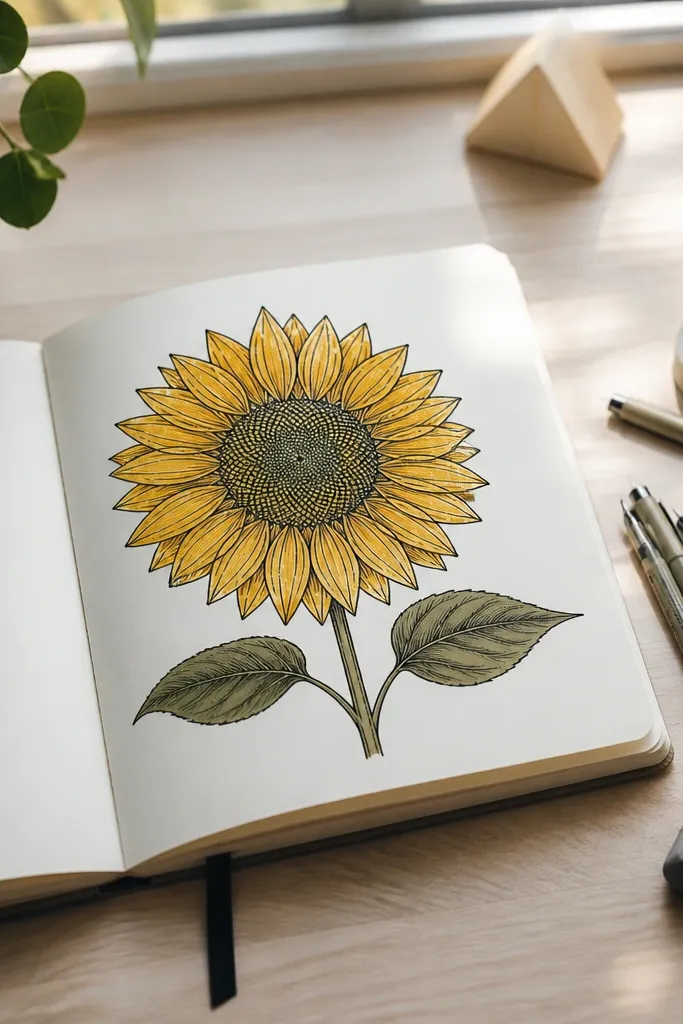
1. Ink-outline sunflower with watercolor petals (clean graphic edges)
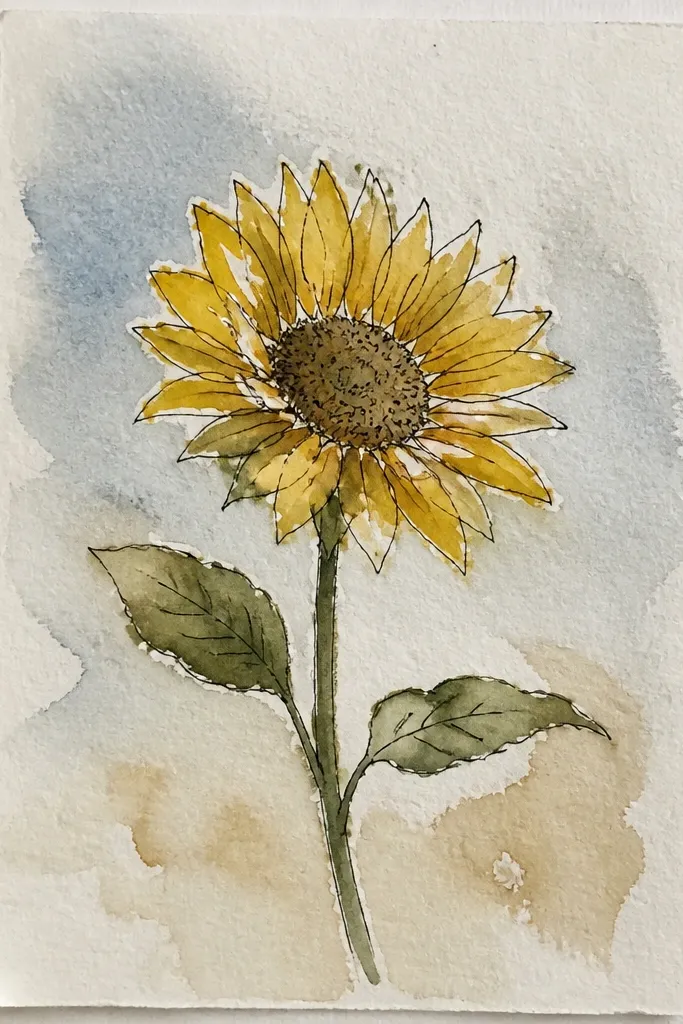
Start with a crisp ink drawing, then paint the petals in loose watercolor washes. This style reads modern because the ink creates a design boundary even when the paint is soft. Keep the petals mostly light with a thin mid-tone, then drop a deeper orange only where petals overlap. The center stays bold and legible, which is what makes it look good in photos and frames.
First, sketch one sunflower with a simple spiral center and petal shapes that leave small gaps for paper showing through. Trace the lines with a waterproof black pen or fine liner, then let it dry fully. Next, wet one petal at a time and paint a light yellow wash, adding burnt sienna only at the base and overlap points. Finally, paint the center with a darker mix and add tiny dot marks, then erase any pencil lines once everything is dry.
Good to knowUse a hair dryer on low for ink to prevent bleeding into the wash.
Common mistakeDon’t flood the petals right up to the ink line — leave a thin dry border for the clean edge.
2. Negative-space sunflower petals on off-white paper
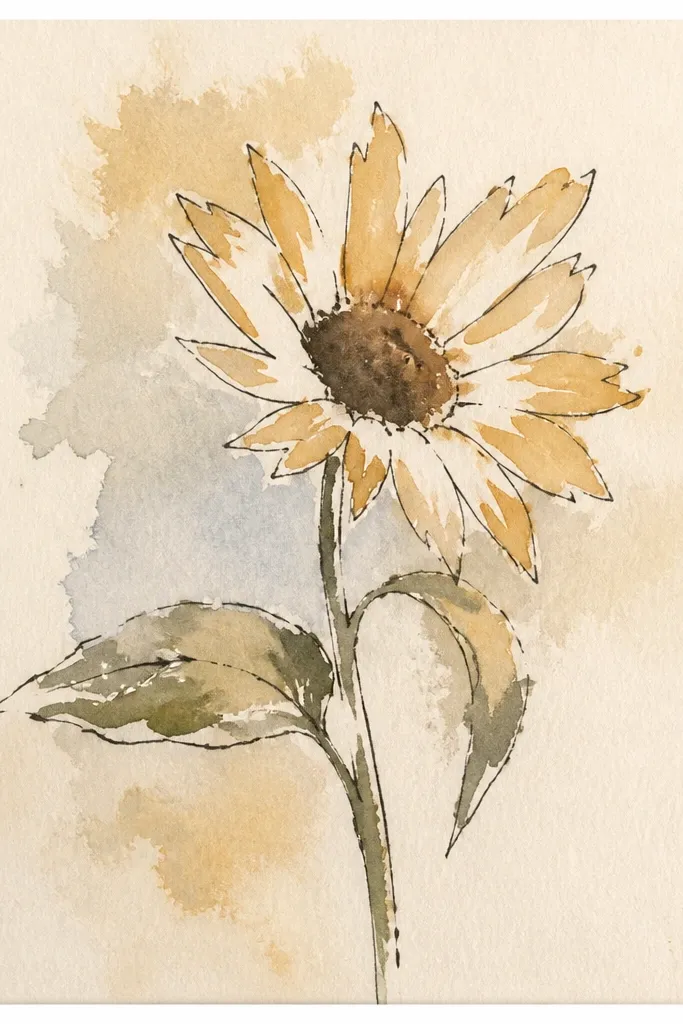
This is the most “modern drawing” look because it relies on subtraction. You paint shadows and hints of petals, then let the blank paper do the work for the bright petal areas. The result is airy and graphic, and it photographs beautifully because the contrast comes from empty space. Keep the background minimal so the viewer’s eye lands on the center and the petal rhythm.
First, draw only the center spiral and a ring of petal outlines using very light pencil. Then mix two washes: a pale yellow for highlights and a warm orange-brown for shadows. Paint the shadow side of each petal, leaving the highlight side blank. Finish by deepening the center with small, spaced marks and a slightly darker ring around the spiral.
Good to knowLightly erase your pencil before painting so you don’t see gray lines through pale washes.
Common mistakeDon’t outline every petal heavily — modern negative space needs air, not bold outlines.
3. Two-tone petals with a burnt sienna shadow map
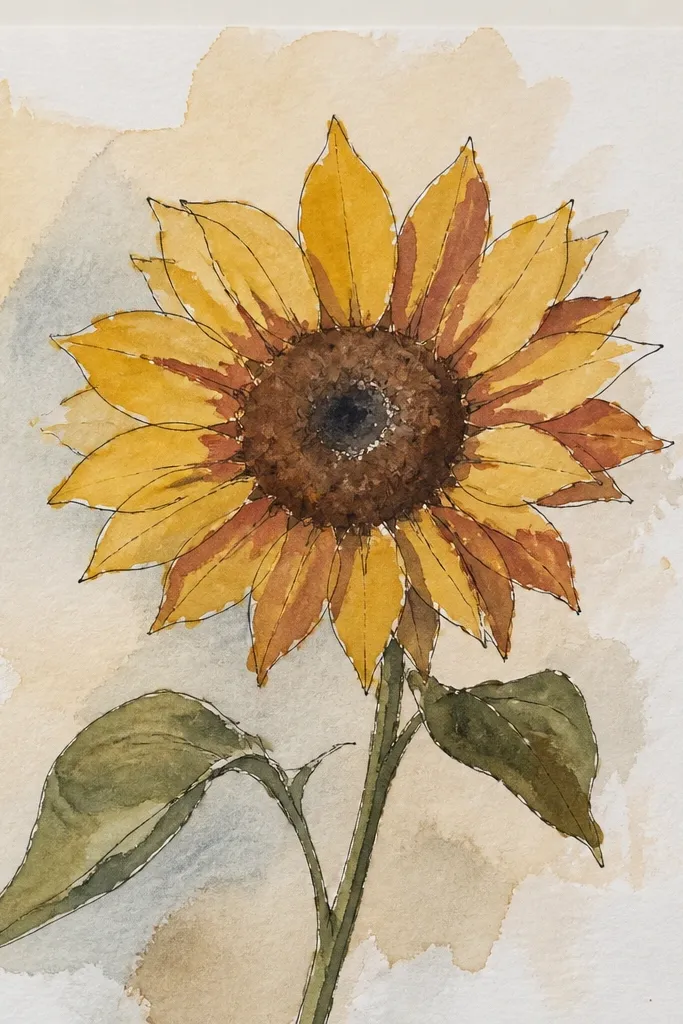
If your sunflowers look flat, this fixes it with a simple shadow plan. You use just two main colors: a soft yellow for the base and burnt sienna (or burnt umber) for shadows. The shadow map gives your petals shape without turning them multicolored and muddy. It also makes the piece look more like an illustration than a blended painting.
First, sketch petals as a set of overlapping arcs and mark where each petal overlaps the next. Mix a thin yellow wash and paint the whole sunflower lightly, leaving the center slightly cleaner for later. Then paint burnt sienna only on the overlap edges and petal bases, keeping brushstrokes directional like the petal flow. Finally, build the center with a dry-brush technique using darker orange-brown and a few black-brown dots.
Good to knowKeep the burnt sienna wash watery — thick paint kills the delicate watercolor look.
Common mistakeDon’t add extra colors to “fix” weak petals — the two-tone plan is the style.
4. Geometric background blocks behind the sunflower
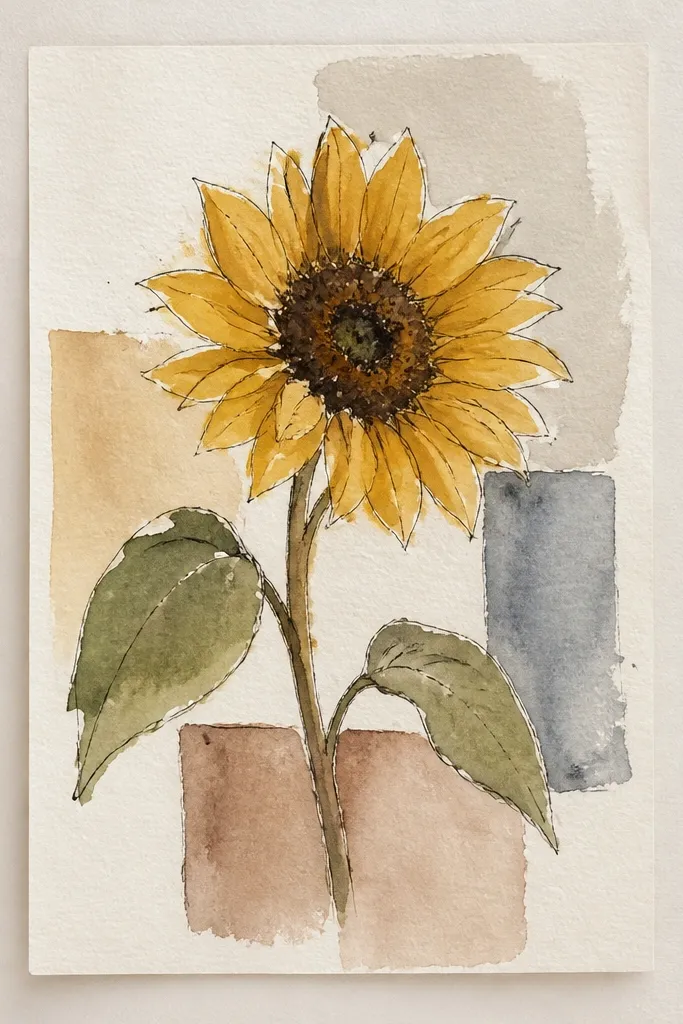
Modern sunflower drawing looks instantly updated when it sits on a designed background. Paint simple geometric blocks behind the sunflower in muted tones so the petals stay the star. The sunflower gets a clean contrast boost, and your piece looks intentional even if the petals are looser. Keep the blocks semi-opaque with watercolor so the paper texture still shows through.
First, tape off a few background shapes with low-tack painter’s tape, leaving the sunflower area untaped. Paint flat washes of pale blue, peach, and a light gray-green, letting each block dry before the next. Then remove tape and paint the sunflower petals over the plain area, keeping the petals lighter than the background. Finish with a dark center and a few controlled shadow strokes on the petals.
Good to knowLightly mist the paper before taping if your paper curls — it reduces tape-edge lifting.
Common mistakeDon’t put bright neon blocks behind the sunflower — it steals focus from the petals.
5. Sunflower trio in one vertical column (repeating shapes)
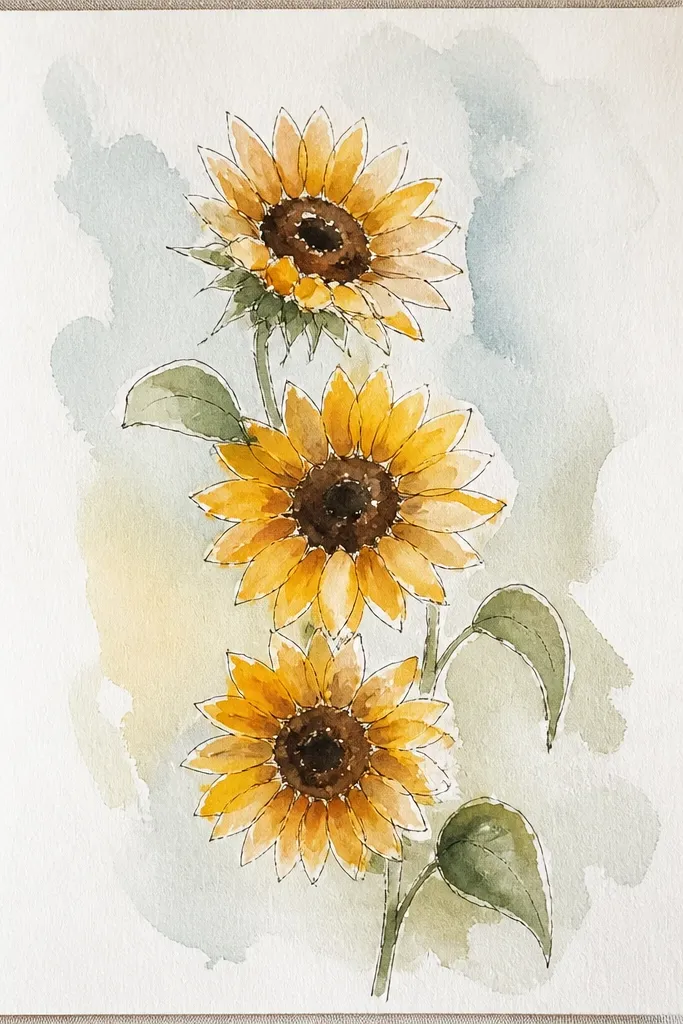
A single sunflower can look like a study. A trio looks like a modern print because it repeats shapes in a controlled layout. Keep the three flowers slightly different in size and tilt, but match the style of petals and center marks so the set looks designed. This is great for making a set of cards or a small framed piece.
First, plan a vertical column and sketch three centers with the same spiral size ratio. Paint the top flower first so you don’t smudge the lower ones. Use wet-on-dry for petals so each flower has crisp edges, then add a shadow layer with burnt sienna only at overlaps. Finish each center with consistent dot spacing and a darker ring so the three flowers read as one series.
Good to knowUse the same brush tip angle for every center dot so spacing looks uniform.
Common mistakeDon’t rotate the petals wildly between flowers — repetition is the modern look.
6. Sunflower with watercolor splatter accents (controlled mess)
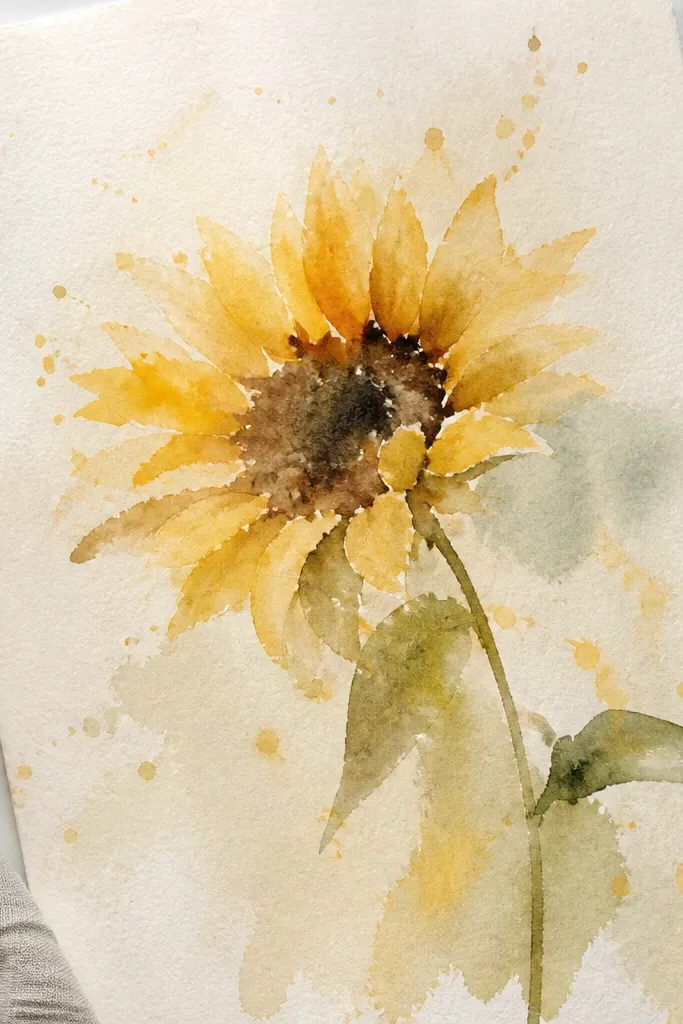
Splatter can look sloppy, but controlled splatter looks like contemporary art. Put the splatters behind and around the sunflower, not across the petals, so the drawing stays clean. Use fewer splatter sizes and keep color limited to warm tones. The center still anchors the piece while the splatter adds energy.
First, paint the sunflower petals and center with clean values, then let it dry completely. Load a toothbrush or stiff brush with diluted burnt sienna and flick from a distance so the drops land mostly in the background. Add one more splatter pass with a darker orange-brown for depth, then blot any stray drops near the petals with a damp clean tissue. Finally, add a few tiny dot highlights in the center to keep it sharp.
Good to knowPractice flicking on scrap paper — you want small dots, not big paint blobs.
Common mistakeDon’t splatter while the sunflower is wet — it turns petals into a speckled blur.
7. Half-sunflower crop with dramatic center detail
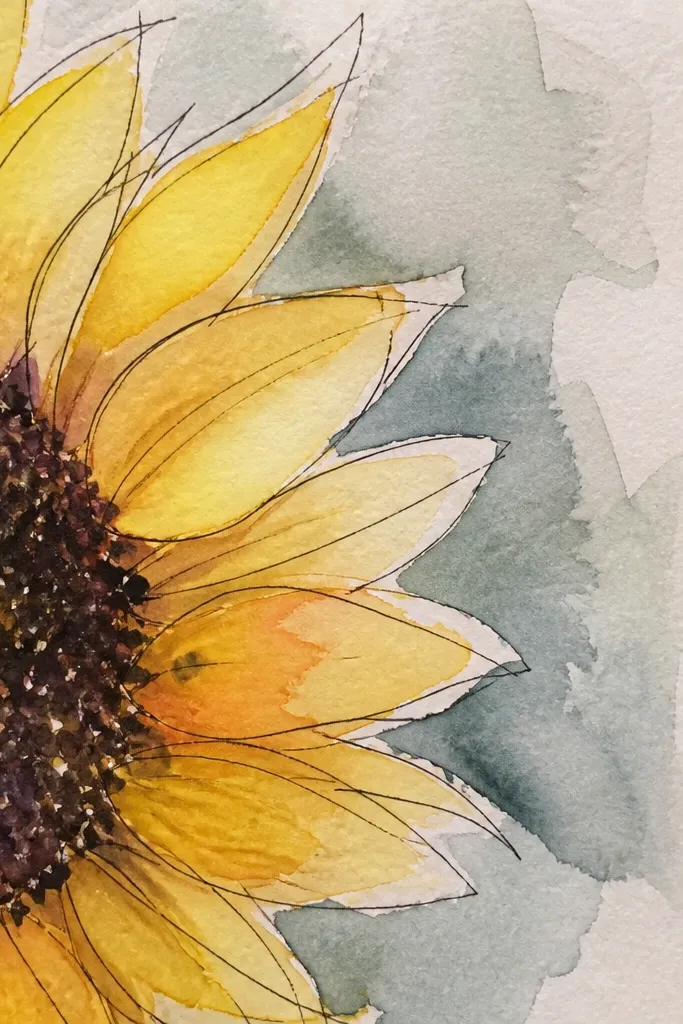
Cropping is a cheat code for modern sunflower drawing. When you cut the sunflower off at the edge, the viewer reads it like a poster detail, not a whole botanical sketch. Make the center big and textured, with a clear spiral and dot pattern. Keep the petals on the visible side in a light wash so the center remains the focal point.
First, sketch a sunflower center near one side of the page and crop petal outlines so only half the flower is shown. Paint a light yellow wash for visible petals, leaving gaps for highlights. Then build the center in stages: a warm base, a darker spiral ring, and dot marks that follow the spiral flow. Add one shadow band under the visible petals so the crop feels grounded.
Use masking tape to block off the off-page area so you don’t accidentally paint the hidden petals.
Don’t make the crop random — place the spiral center so the visible petals curve naturally.
8. Sunflower in a circle frame with watercolor wash border
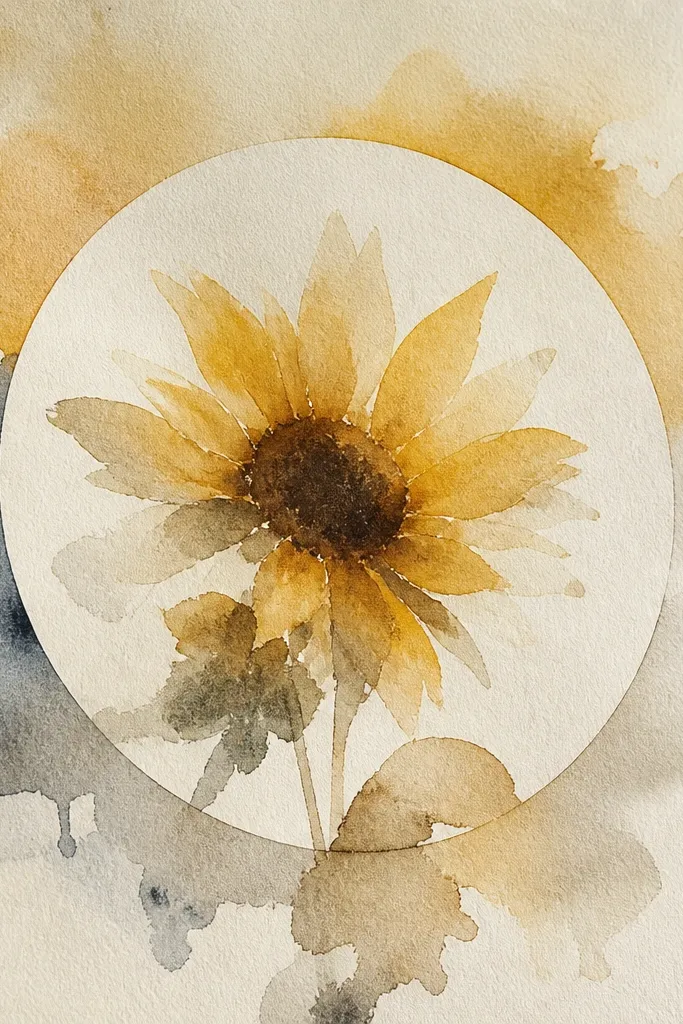
A circle frame makes the sunflower look like modern stationery or a print. The trick is a soft border wash that doesn’t compete with petals, plus a center that’s darker and more textured. This style is forgiving because the shape guide hides uneven edges. It also looks great on small paper because the circle gives a clean composition.
First, draw a light circle guideline and sketch the sunflower inside it, keeping petals from touching the edge. Wet the area outside the sunflower but inside the circle and paint a thin border wash in diluted yellow-green or gray-blue. After it dries, paint petals with pale yellow and burnt sienna shadows. Finish the center with a dark ring and dot pattern, then add a few tiny leaf hints near the bottom.
Good to knowKeep the border wash thin — thick washes make the circle look like a stain.
Common mistakeDon’t outline the entire circle in dark ink — it makes it look like a template instead of art.
9. Sunflower leaves as minimal linework with watery green washes
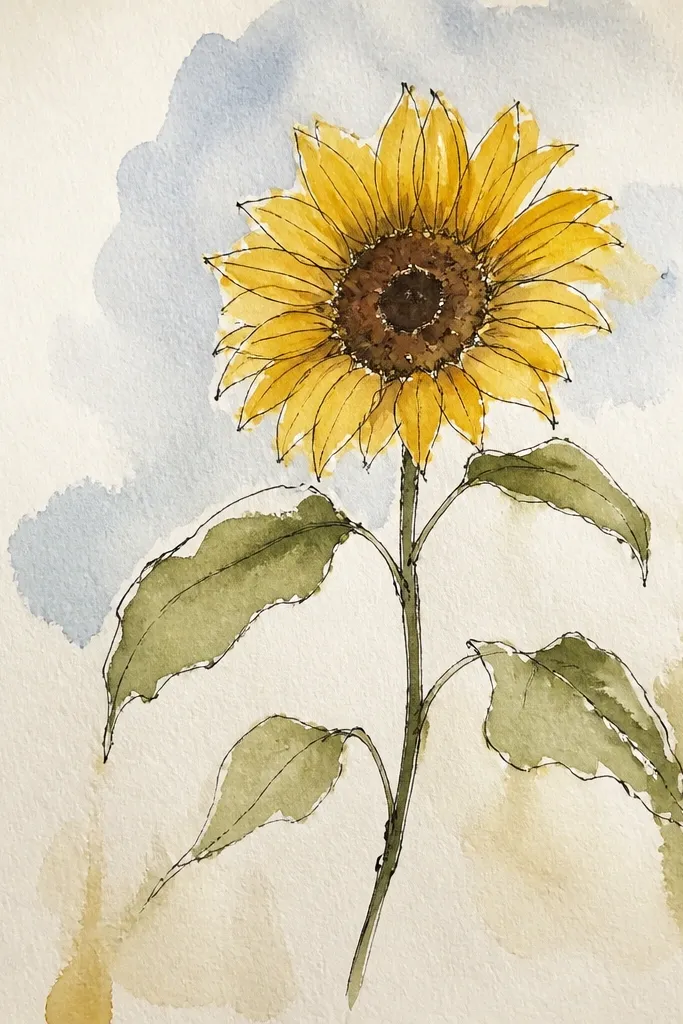
Modern doesn’t mean only petals. Minimal leaf linework around the sunflower adds structure and makes the whole piece look styled. Keep leaves simple: a few veins, a couple of stems, and watery green washes that don’t cover everything. The sunflower stays the hero while the leaves give a balanced frame for the composition.
First, paint the sunflower petals and center as your main layer. Then add leaves using a fine liner for veins and a diluted green wash for the leaf body. Paint leaves in two values: light green wash first, then a darker green only along one edge for shape. Finish by connecting one leaf stem into a small shadow under the sunflower petals.
Good to knowUse diluted sap green plus a touch of burnt sienna for shadows so green stays warm, not neon.
Common mistakeDon’t paint heavy green behind the sunflower — it turns the piece into a dark block.
10. Wet-on-wet petal glow with a crisp dry center
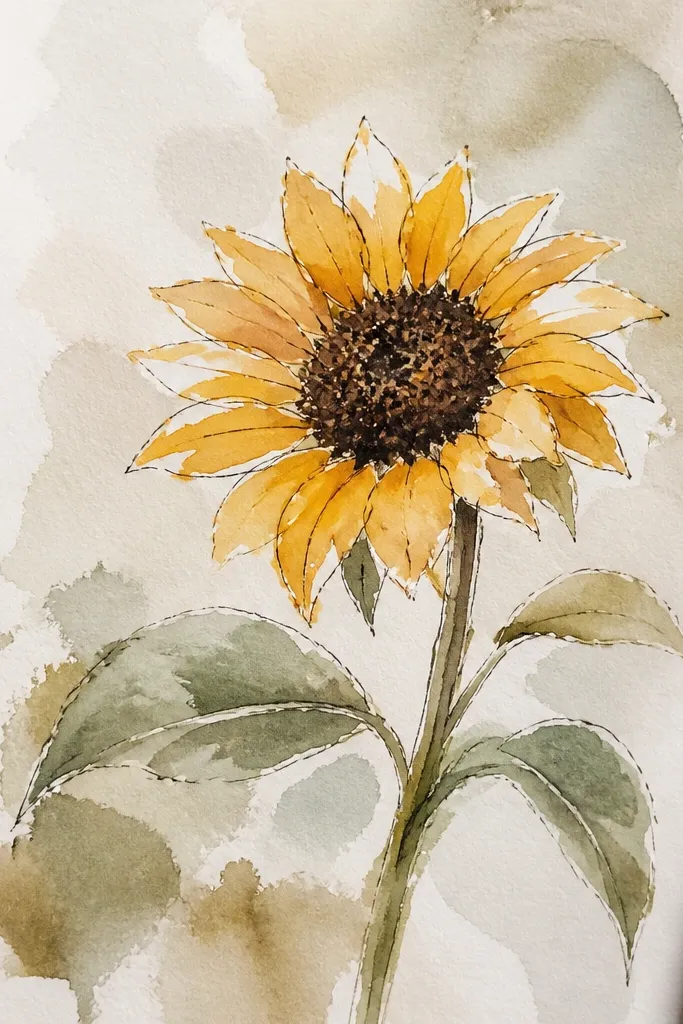
This style mixes two watercolor behaviors on purpose: soft petals and a sharper center. Paint petals wet-on-wet so the pigment blooms into a gentle glow. Then switch to wet-on-dry for the center so the spiral stays crisp and readable. The contrast between bloom and precision is what makes it feel modern.
First, wet a single petal area lightly with clean water using a bigger round brush. Drop in pale yellow and let it spread, then add a tiny touch of orange at the base. Repeat for several petals, working in small sections so blooms don’t run together. For the center, wait until petals are dry, then paint the spiral ring and dot marks with a darker mix on dry paper.
Keep a paper towel nearby and blot edges that start to bleed too far.
Don’t paint the center while petals are still wet — the spiral turns gray and fuzzy.
11. Monochrome sunflower with sepia shadows and one warm highlight
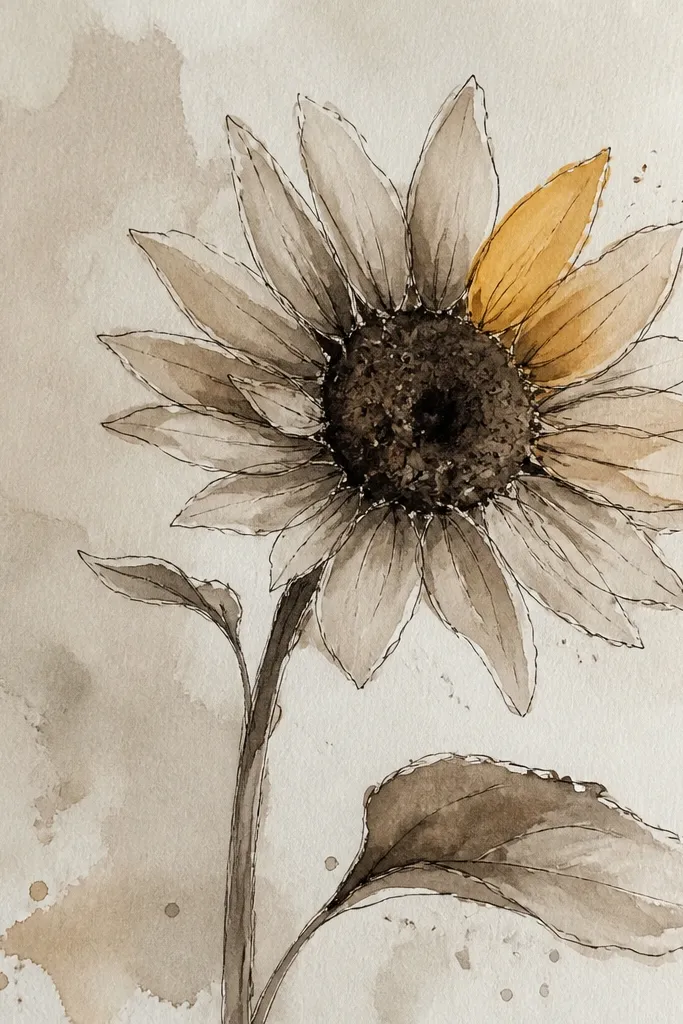
Monochrome looks modern fast because it removes visual noise. Use sepia tones for petals and shadows, then add one warm highlight in the center so it still feels alive. This approach also hides watercolor mistakes because everything shares the same color family. The sunflower becomes a clean illustration with a controlled mood.
First, sketch petals and center with light pencil, then mix sepia with water for a light base wash. Paint petals in sepia, keeping the highlight side lighter by leaving paper showing. Add deeper sepia to overlap edges and petal bases. For the center, paint the spiral in sepia-brown, then add one small warm dot or ring using a tiny amount of burnt orange or cadmium hue.
Use a very diluted sepia for the first layer so the paper texture stays visible.
Don’t add multiple warm colors — one highlight is the point.
12. Sunflower with watercolor gradient petals (radial wash from center)
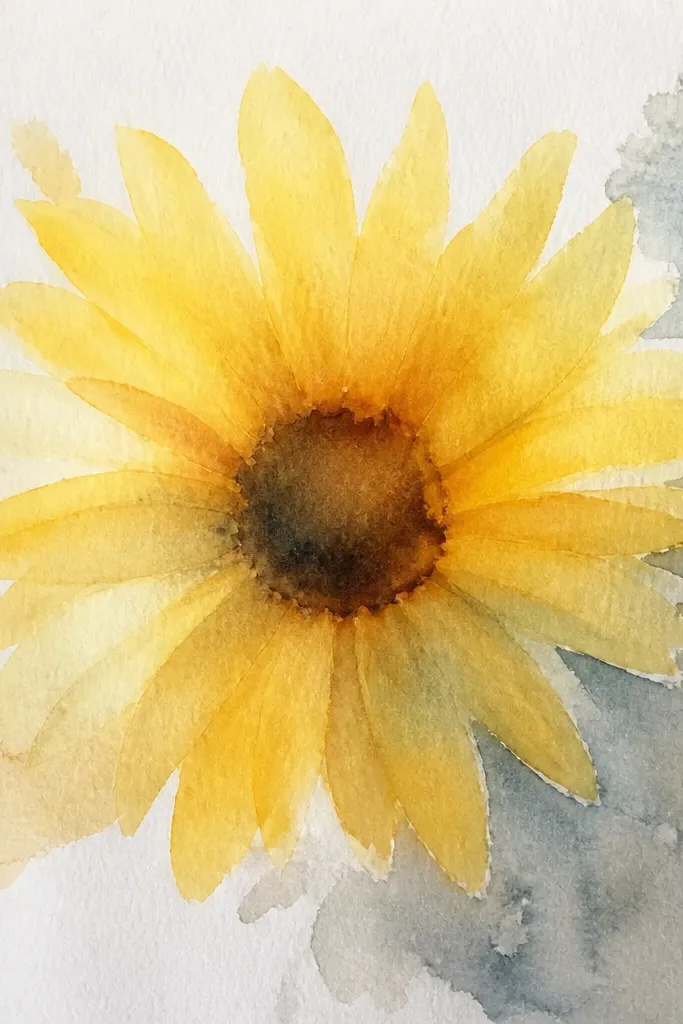
Radial gradients make petals look dimensional without heavy linework. You’re basically painting a value fade that starts darker near the center and lightens toward the tips. This is modern because it looks like a designed color field rather than a botanical copy. Keep the gradient smooth on each petal, not streaky, and the whole flower reads polished.
First, paint the center dark and let it dry enough to handle. Then lightly wet each petal area, and load your brush with yellow at the petal base only. Pull the pigment outward toward the tip with clean water so the edges fade. Repeat around the flower, then add a thin shadow line at the overlap points using diluted sepia or burnt sienna.
Rinse your brush between petals so gradients don’t get muddy.
Don’t overwork the gradient — multiple passes create streaks.
13. Sunflower on textured handmade paper with dry-brush center
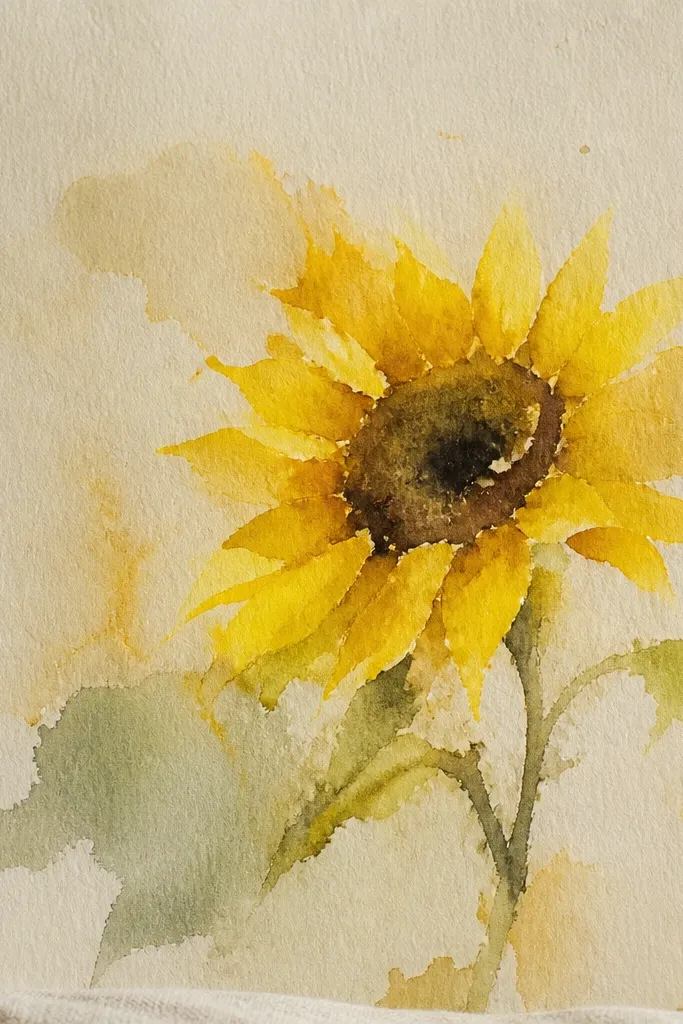
Texture can make watercolor look more artistic, but you have to place it in the right area. Let the paper texture show in the petals with lighter washes, then use dry-brush for the center so it looks like seeds and stays photogenic. This combo gives a modern, slightly rustic illustration without looking messy. It’s a great option if you already have textured paper scraps.
First, choose rough watercolor paper or handmade paper and test one petal wash so you know how it absorbs. Paint petals in very light yellow wash, keeping strokes gentle and leaving gaps. Once dry, load a nearly dry round brush with burnt sienna and dab it over the center spiral to create seed texture. Add a darker ring around the spiral with a thin mix, then let the piece fully dry before framing.
Good to knowIf your paper drinks too much paint, add one extra water layer to petals before you add shadows.
Common mistakeDon’t try to do fine seed dots on very rough paper — dry-brush gives better control.
14. Sunflower watercolor wash on a torn paper edge card
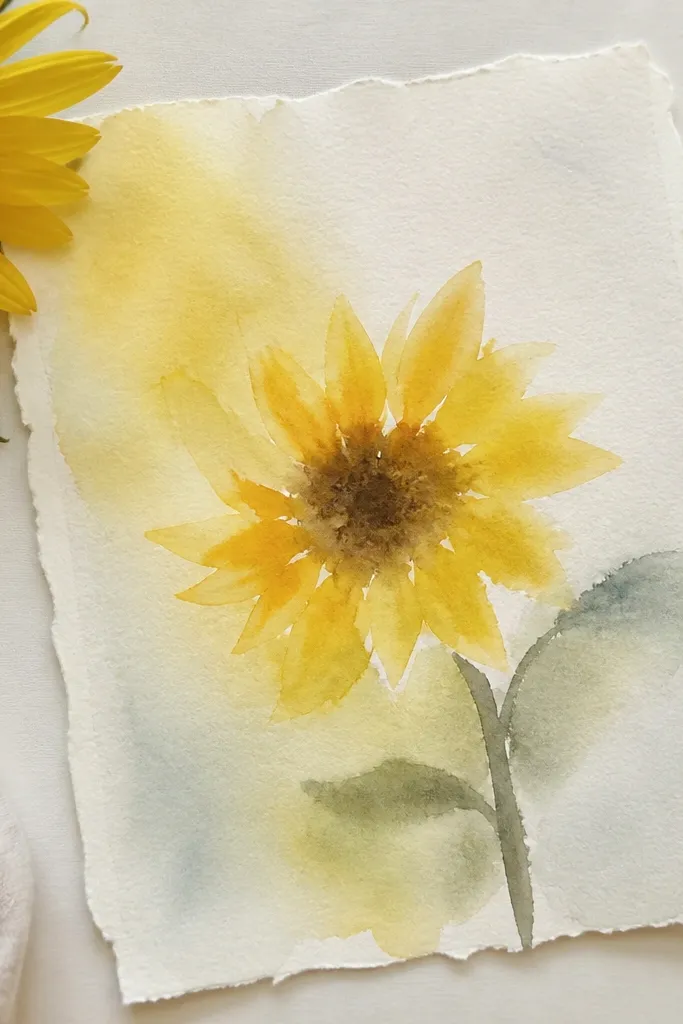
Torn paper edges make the composition look handmade and modern at the same time. Paint the sunflower in a controlled palette, then let the torn edge act like a border. The contrast between clean watercolor and rough paper fibers looks designed in photos. This is a strong pick if you’re making gifts or small wall pieces and want the texture to do some of the work.
First, tear a rectangle from watercolor paper so the edge looks uneven but tidy, then trim the top and bottom for a clean card size. Paint the sunflower with light yellow petals and burnt sienna shadows, keeping the wash away from the torn edge by about 1 cm. Let it dry fully, then add the center texture with dot marks or dry-brush. Finish by painting a thin shadow under the sunflower to separate it from the paper edge.
Good to knowTear first, then paint — if you paint and tear later, you risk cracking the wash.
Common mistakeDon’t use dark background washes near the torn edge — fibers grab pigment and get muddy.
15. Modern sunflower in watercolor window with masking tape grid
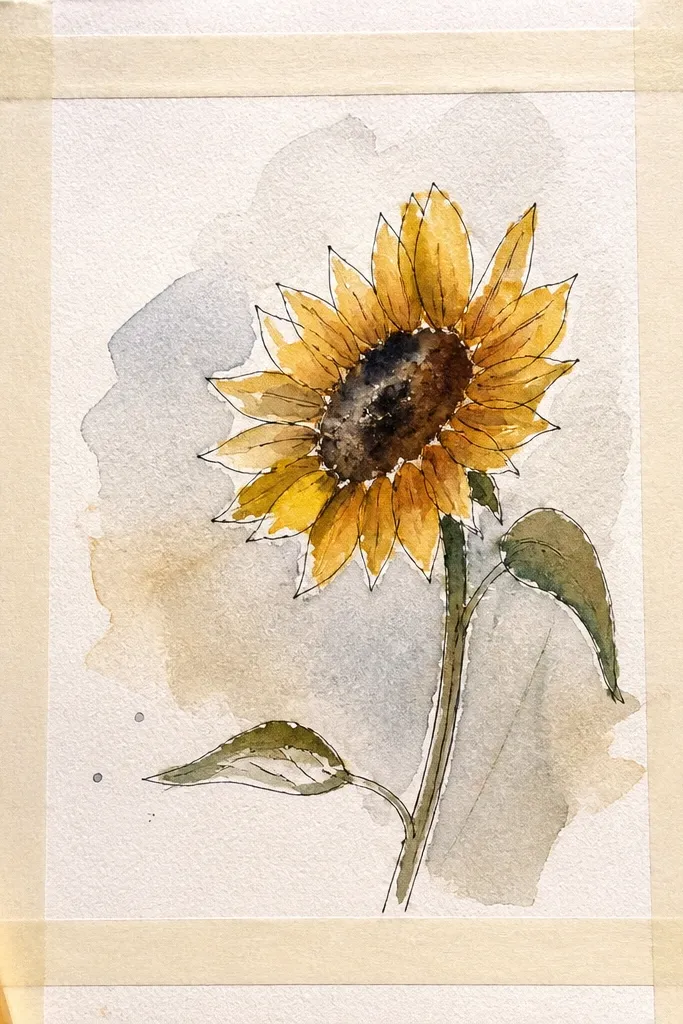
This one gives you sharp, modern geometry around a soft watercolor sunflower. The tape grid frames the petals so the edges look crisp even if your watercolor blooms. It fixes the usual problem where loose washes bleed into the background and make the drawing feel messy. You get a clean “window” look that photographs really well on off-white paper. It takes about 45-60 minutes, and it’s beginner-friendly as long as you can control water and wait for paint to dry.
Cut a piece of watercolor paper to 5x7 inches, then lightly pencil a sunflower that fills about 70% of the page width. Tape a grid around it using 1/8 inch painter’s tape: make a simple 3x3 grid with one open center window (leave the sunflower area untaped inside the frame). Paint the background first with a watery wash in pale sage or very light ultramarine, then let it dry completely. Paint the sunflower petals next using thinned yellow and a touch of burnt sienna at the base, leaving tiny white gaps for highlight. Peel the tape only after the paper is fully dry, then finish the center with a denser mix of burnt sienna and a little black for speckled texture using a small round brush.
Good to knowUse painter’s tape that’s labeled low-tack, and press it down with a bone folder so paint can’t creep under the edge.
Common mistakeDon’t pull the tape while the wash is still damp or you’ll lift paper fibers and blur the grid lines.



