
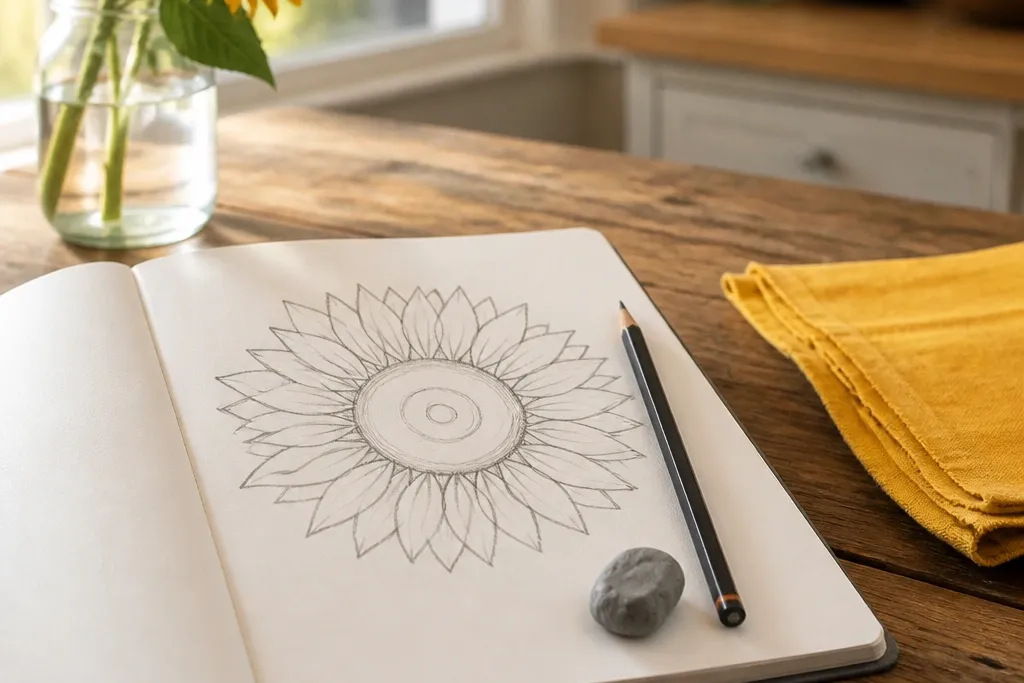
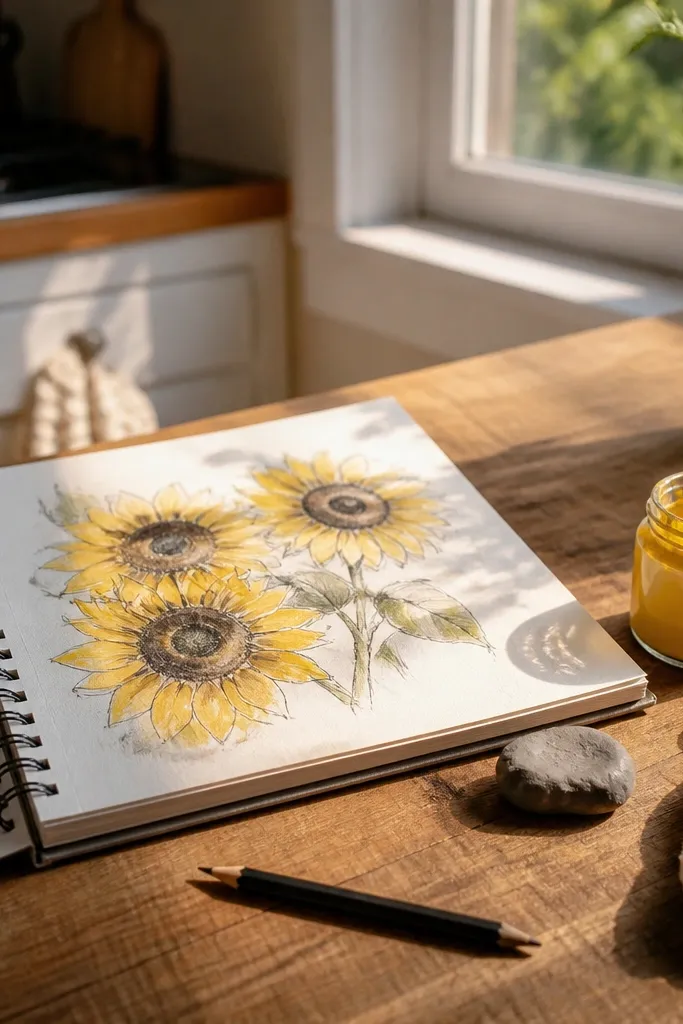
1. Single-Flower Spiral Center Outline
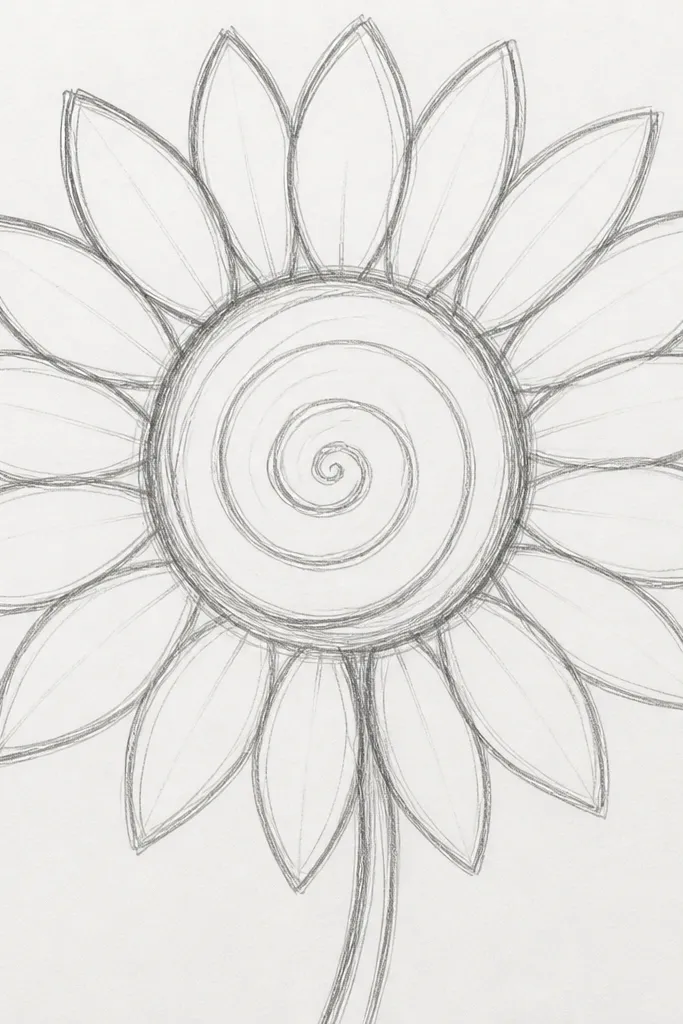
This is the sunflower drawing that looks “done” even when you do nothing else. The center spiral is bold and readable, and the petals are simple arcs that repeat around the circle. Because the lines are consistent and the silhouette is clear, it holds up on kraft paper, printer paper, or a scrap of old packaging. It works great for quick labels, wall art prints, and minimalist cards where you want charm without clutter. Skill level is beginner-friendly - if you can draw circles, you can finish this in one sitting.
Good to knowUse a ruler for the circle only, not for petals — freehand arcs look more organic.
Step 1: Draw a circle for the center, then add a tight spiral starting near the center and widening outward. Step 2: Place 12 to 16 petals as rounded arcs around the center, keeping each petal the same height and thickness. Step 3: Outline the outer petals with a fineliner or a darker pencil pass, then lightly erase construction lines. Finally, add one short stem line under the flower so it reads as a complete subject.
Common mistakeDon’t add lots of tiny hatch marks in the center; the spiral alone does the job.
2. Petal-Only Sunflower Halo (No Center Detailing)
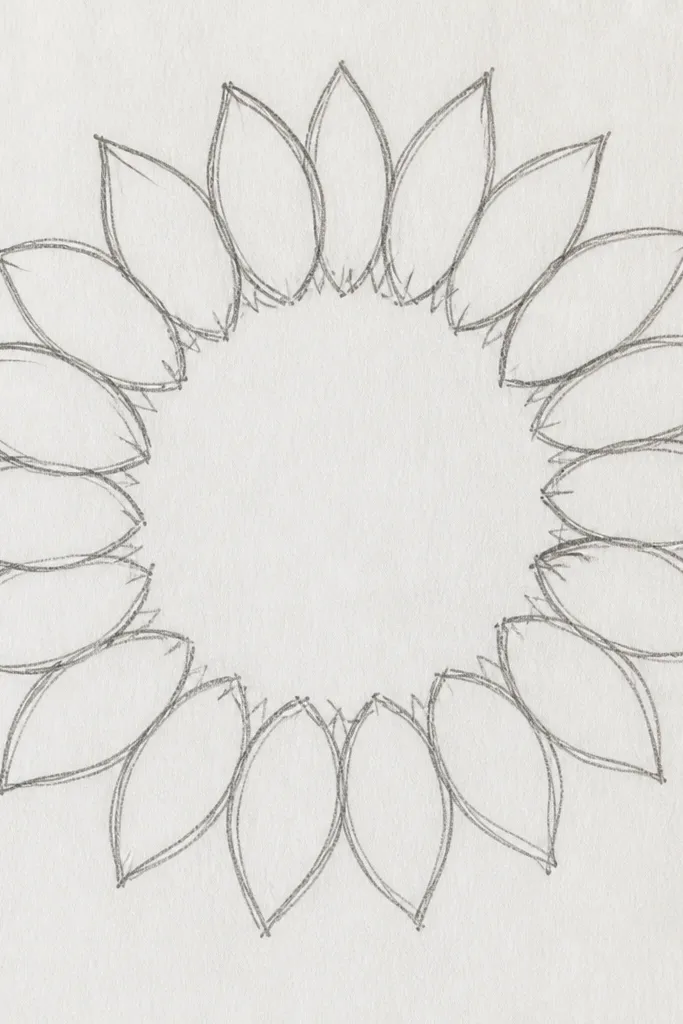
This design is for days when you want the sunflower shape but don’t want to commit to a detailed center. The “halo” of petals creates the sunflower identity, while a plain center circle keeps the drawing low-effort. It’s photogenic because the petal ring forms a strong edge you can see from a distance. Great for backgrounds, wrapping paper accents, or repeated patterns on scrap fabric. It’s also one of the easiest to scale up for larger art without losing clarity.
Step 1: Draw a medium circle in the middle for the center, leaving it mostly blank. Step 2: Around it, draw 20 to 24 petals as teardrop-leaning ovals with pointed ends, all facing outward. Step 3: Connect the base of each petal slightly to the center circle so the halo looks continuous. Finally, add one leaf outline off to the side using a single curved blade shape with one center line.
Keep petal tips the same length — that’s what makes the halo look intentional.
Avoid uneven petal gaps; if spacing varies, the ring looks accidental.
3. Two-Tone Outline with Thick Center Ring
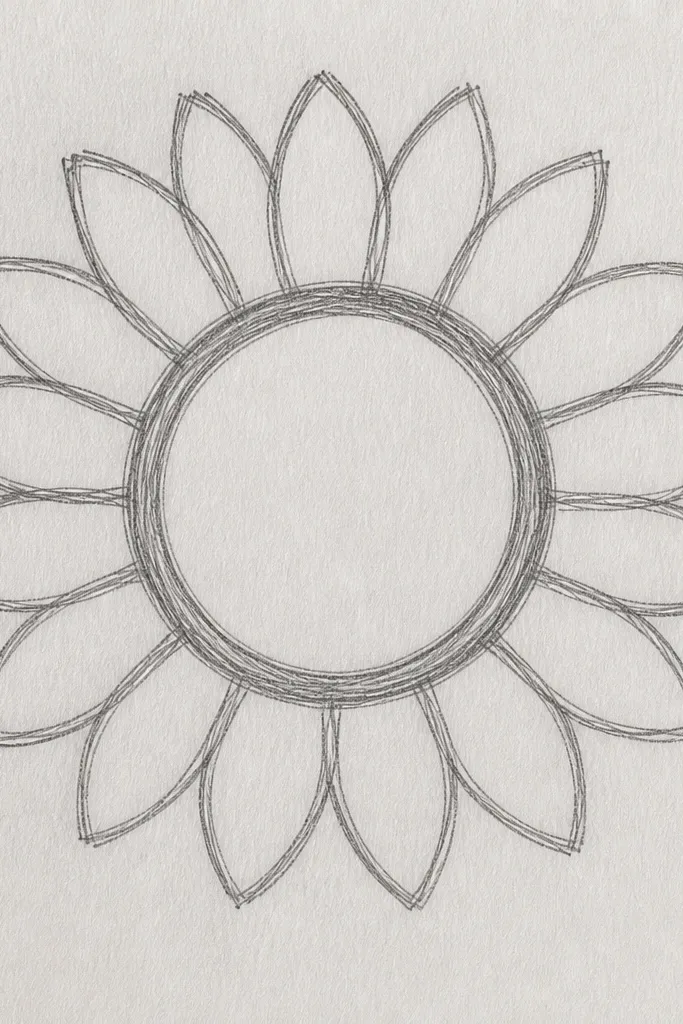
This one looks more “designed” because it uses two line weights. The center ring is heavier, while petals stay lighter, so your eye knows where to land immediately. Even without shading, the thick ring gives the sunflower dimension and depth. It’s perfect if you want a clean black-and-white look for posters, bookmarks, or sticker designs. Beginner-friendly, because the only extra work is changing pen pressure or switching tools.
Good to knowIf your marker bleeds, use a gel pen for the thick ring and a pencil for the petals.
Step 1: Sketch petals lightly in pencil first — 14 to 18 arcs are enough. Step 2: Trace only the center area with a thicker marker or by pressing harder with a 2B pencil to form a ring around the spiral. Step 3: Add a small spiral inside the ring using a fineliner. Finally, go back over the petal outer edges once, keeping them uniform in thickness.
Common mistakeDon’t outline the whole flower thick — keep the weight on the center only.
4. Sunflower in a Circle Frame
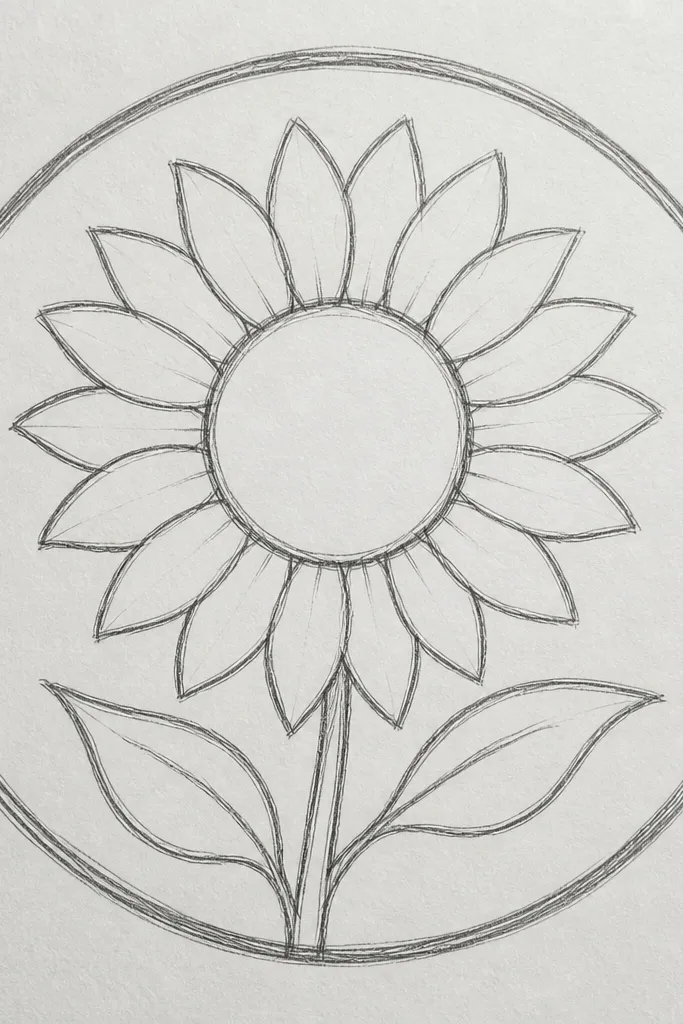
Framing changes everything for outline drawings. When the sunflower sits inside a clean circle border, it looks like a finished logo or label even if the petals are simple. This design is low maintenance because the frame hides minor asymmetry and makes the composition feel balanced. It’s great for upcycled jar labels, bookplates, and printable art where you want that badge-like look. You can keep it monochrome or color the frame lightly later.
Good to knowMake the frame line thinner than the flower outline for a crisp look.
Step 1: Draw two concentric circles — one for the frame, one for the center area. Step 2: Place petals between the center circle and the outer frame as arcs that stop at the inner edge of the frame. Step 3: Add a small spiral in the center, then outline the outermost petal tips. Finally, erase any pencil circles that are covered by the petals so only the frame line remains visible.
Common mistakeDon’t let petals touch the outer frame line — leave a small gap so it reads as a border.
5. Side-Profile Sunflower (3/4 View)
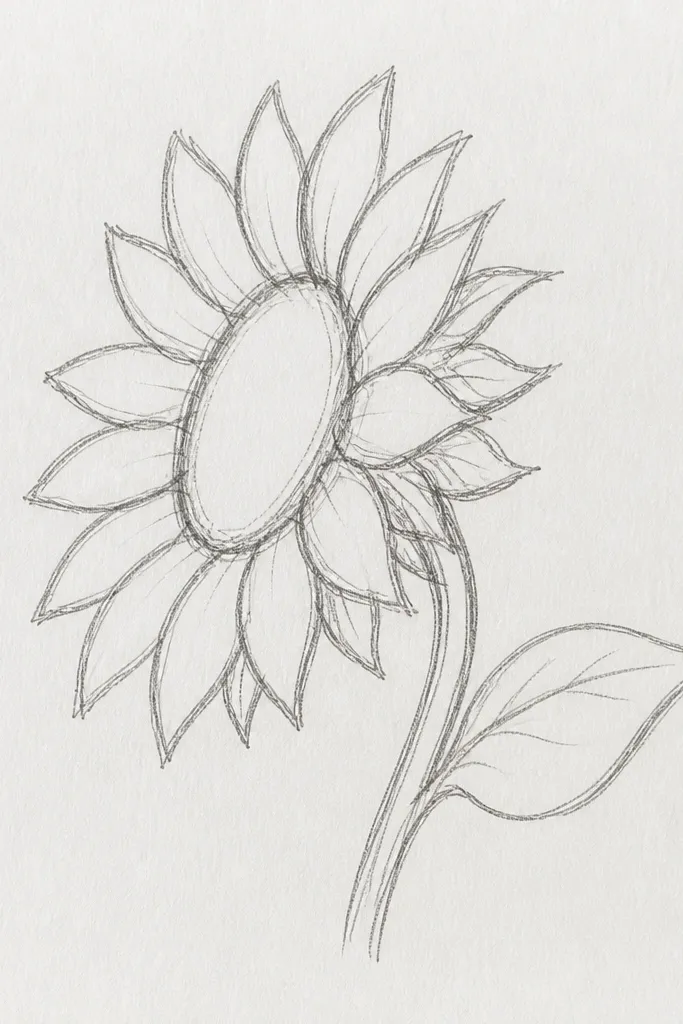
A 3/4 view sunflower looks more interesting than a flat front outline and still stays low maintenance. The petals curve around an off-center center circle, so you get a feeling of angle without shading. This is a smart choice for cards and single-piece wall art because the silhouette has movement. It’s also forgiving — you can vary petal heights and still read as sunflower. Skill level is easy, because you’re basically drawing the same pieces as a front view, just rotated and cropped.
Good to knowCrop the petal set — leaving “missing” petals is what makes it feel like a view, not a mistake.
Step 1: Draw an oval for the center instead of a perfect circle, then add a spiral that follows the oval shape. Step 2: Add petals as repeating arcs, but only draw the petals that would be visible in a 3/4 view (about half the full set). Step 3: Use a stem line that tilts and curves slightly to reinforce the angle. Finally, thicken the visible petal outer edges with a fineliner.
Common mistakeDon’t draw a full front spiral with a skewed oval; match the spiral to the view.
6. Sunflower with Minimal Center Grain Dots
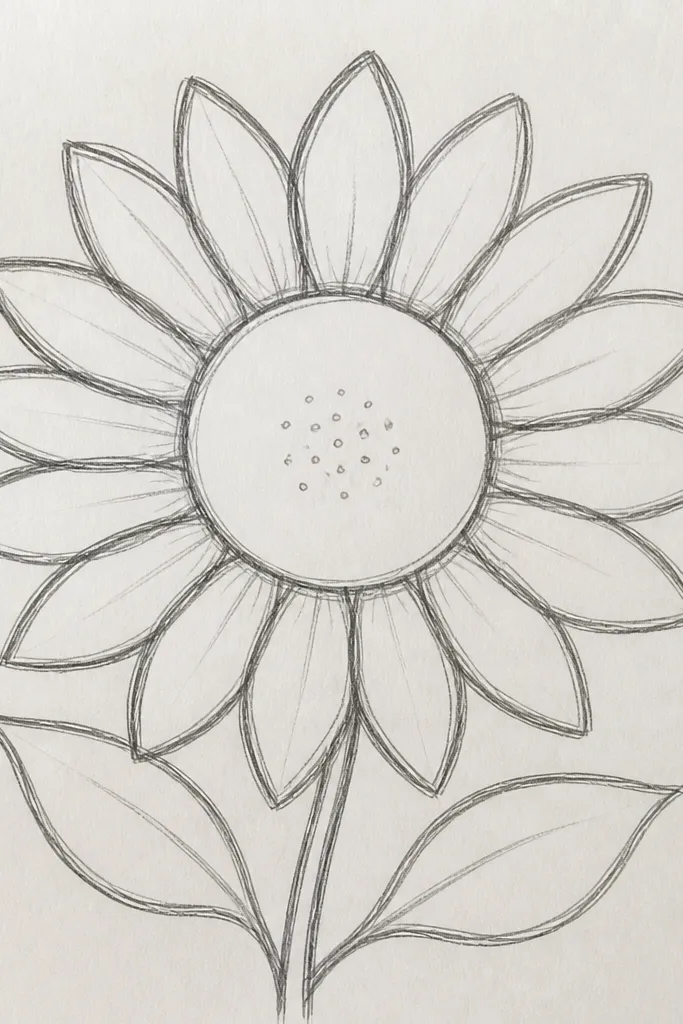
This design gives you a sunflower center texture without doing heavy crosshatching. You keep the spiral as the main structure, then add a small cluster of grain dots to suggest seeds. The result is more visually dense while still staying low maintenance. It looks great on brown paper, black cardstock, or any surface where you want the center to pop. It’s also ideal for quick gift tags because you can finish the whole drawing fast and still get that “seeded” look.
Step 1: Draw the center circle and spiral in pencil or fineliner. Step 2: Add 25 to 40 tiny dots in a tight band around the spiral — keep them consistent in size. Step 3: Draw 16 to 20 petals as simple rounded arcs around the center. Finally, outline the petals and erase the center sketch marks if needed.
Use the tip of a gel pen for dots — it makes them uniform and reduces blob risk.
Avoid random large dots; keep dot size small so it reads as seed texture.
7. Sunflower Stem Curl and One Leaf Linework
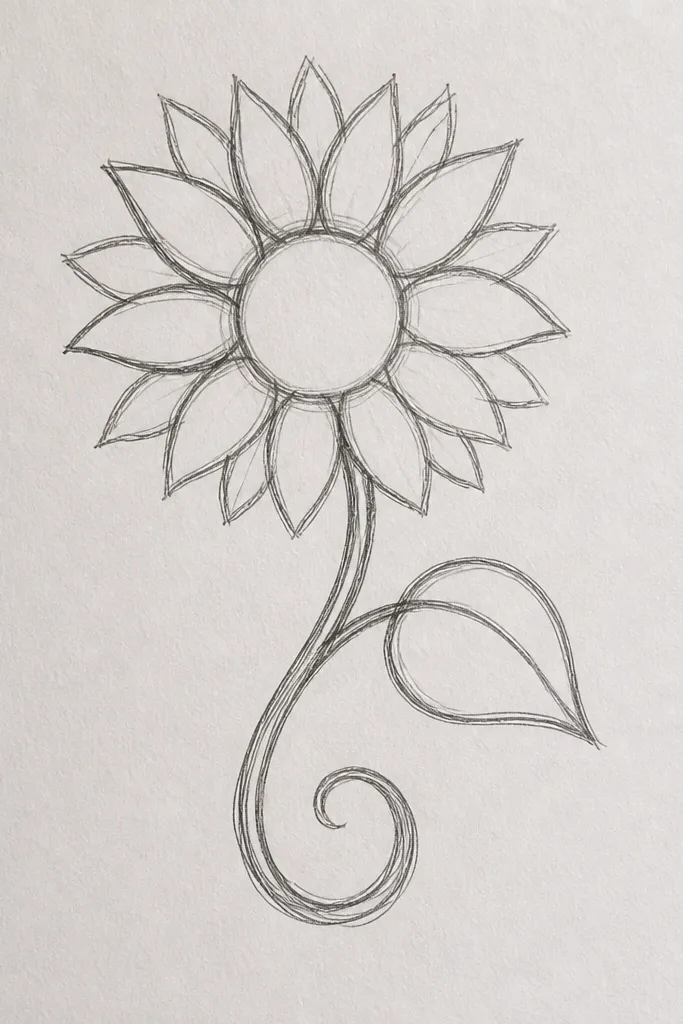
Adding one stem curl and one leaf gives your outline sunflower a finished composition. The flower stays simple, but the linework around it adds flow and makes the drawing look intentional in photos. This is the best option for wall decals, tote tag art, or small frames because it fills the page nicely without turning into a busy scene. You don’t need shading — the stem curve and leaf vein provide the “detail.”
Good to knowMake the leaf vein slightly lighter than the petal outline so the flower stays the focus.
Step 1: Draw a front-facing sunflower with 14 to 18 petals as arcs and a spiral center. Step 2: Draw a stem line from the bottom of the center, curling it into an S shape. Step 3: Add one leaf on one side using an almond outline, then draw a single center vein with 3 to 4 short side lines. Finally, darken the outer outlines with a fineliner.
Common mistakeDon’t add multiple leaves — two or three leaves can make outline work look crowded fast.
8. Sunflower with Wavy Petal Outer Edge
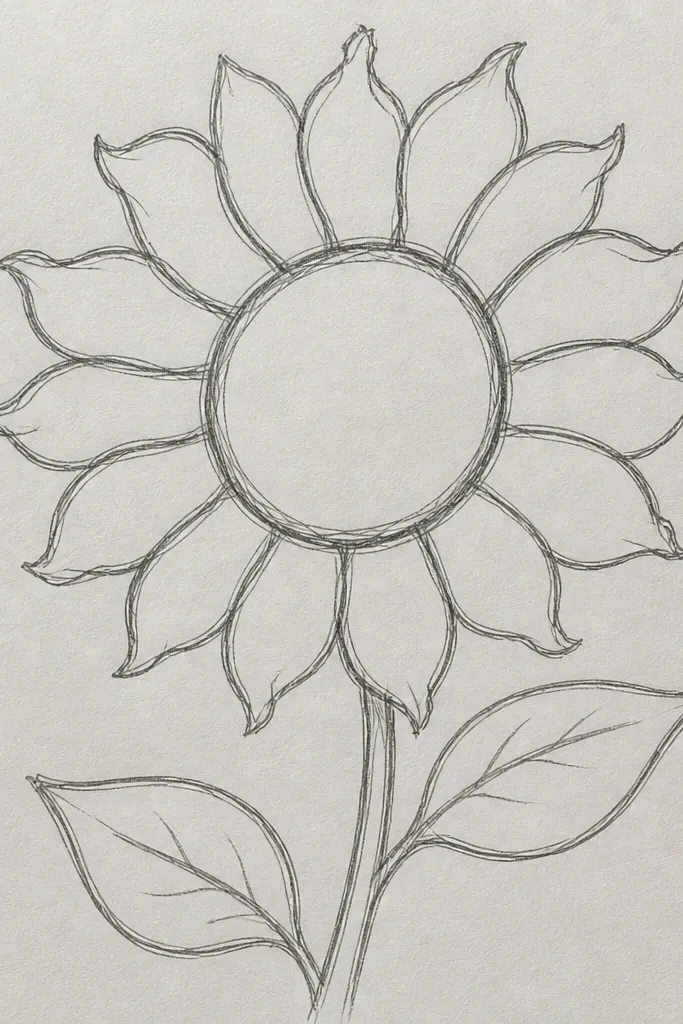
Wavy petal edges look decorative without adding shading time. Instead of drawing perfect smooth arcs, you add tiny wave bumps along each petal outline so the sunflower feels airy and hand-drawn. The spiral center keeps it recognizable, while the wavy edge makes it photogenic. This is great for scrapbooking pages and greeting cards where you want texture in line art. It’s still low maintenance because you repeat the same wavy rule for every petal.
Good to knowPractice one wavy petal on scrap paper first — then copy the same wave rhythm across all petals.
Step 1: Draw the center circle and spiral first so you have a target. Step 2: For each petal, draw an arc outline, then add a subtle zigzag along the outer edge only — keep the inner edge smooth. Step 3: Repeat for 16 to 22 petals, keeping their width consistent. Finally, go over the center spiral and outer petal tips with a darker line.
Common mistakeAvoid wiggling the inner petal edge; it makes the whole flower look messy.
9. Sunflower Outline on Kraft Paper with White Gel Accents
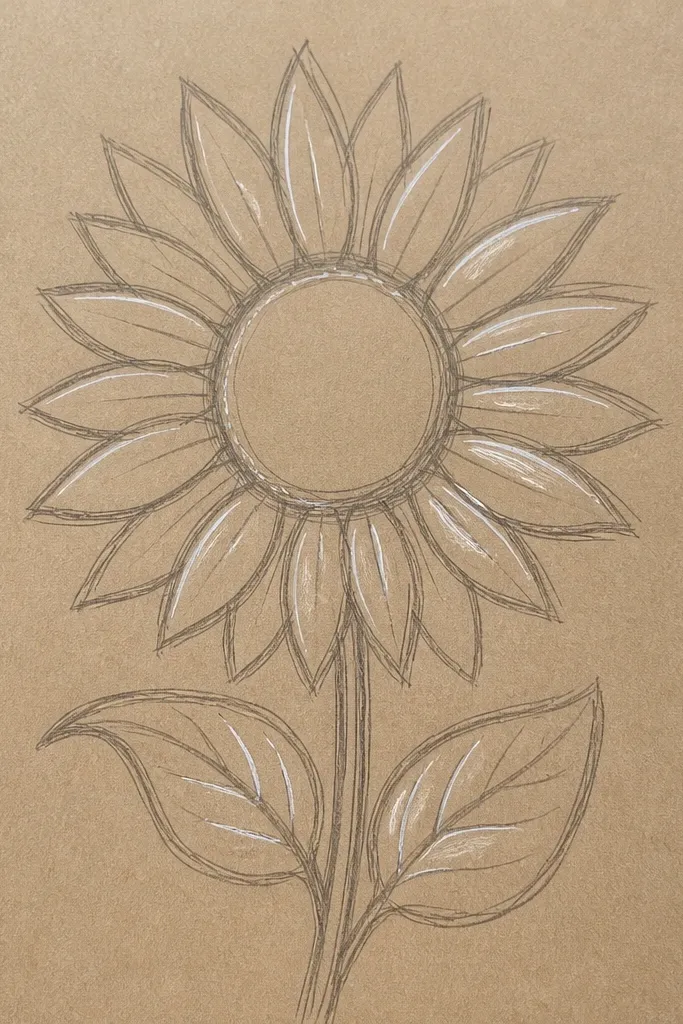
If you want the drawing to look bright in photos, kraft paper plus white gel accents is an easy win. The outline stays simple and dark, while the white highlights add contrast that looks “finished” without color fills. This works for wall art, tags, and upcycled packaging because kraft paper already has a warm texture. You do one outline pass, then add small white accents where light would hit. The result is striking and still low maintenance.
Step 1: Draw the sunflower outline in pencil, then trace with a black gel pen or archival marker. Step 2: Add the spiral center and keep it bold. Step 3: Use a white gel pen to draw 3 to 5 short highlight strokes on each petal — place them near the outer edge. Finally, add 10 to 20 small white dots inside the seed area to mimic glare.
Let the black ink dry fully before using white gel pen so you don’t smear.
Don’t flood the page with white; a few strokes per petal looks cleaner than heavy scribbles.
10. Sunflower Outline with One-Line Stippling Center
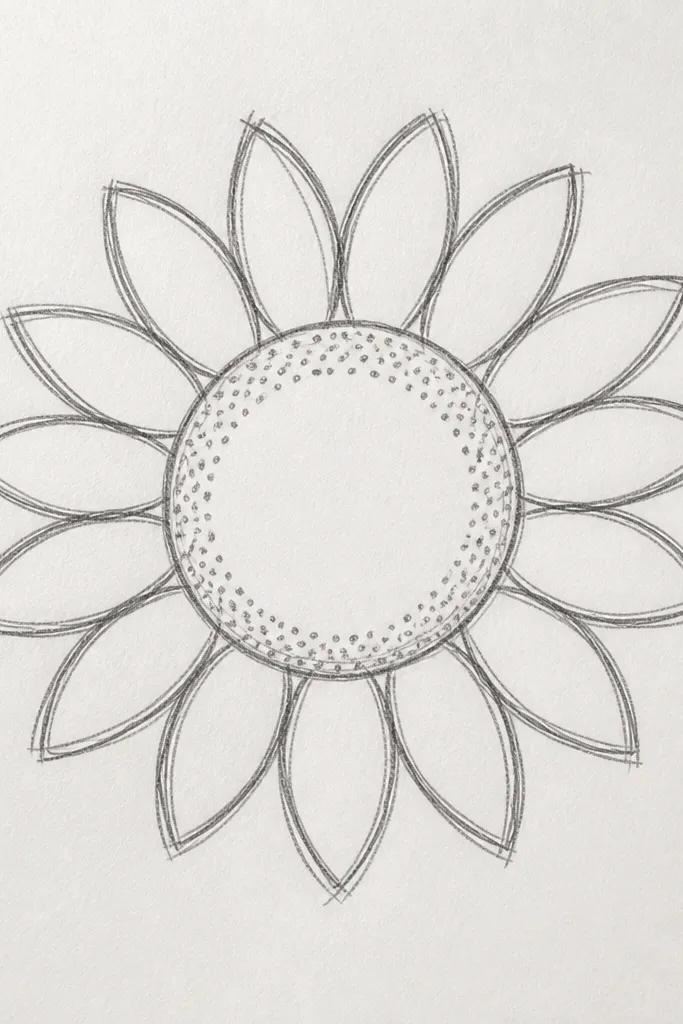
Stippling looks more detailed than it is. You’re not shading — you’re building the center with short dots that create a textured seed field. The sunflower still stays low maintenance because you limit stippling to the center and keep petals as simple arcs. This style photographs beautifully on white paper and also works on colored cardstock if your outline is dark. It’s a good choice when you want a little depth without time-consuming blending.
Step 1: Draw the center circle and outline spiral lightly. Step 2: Add stippling by placing tight clusters of dots along the spiral path, working outward from the center. Step 3: Draw 15 to 19 petals as arcs with smooth edges. Finally, trace over the petal outlines and darken the spiral so the stippling doesn’t blur the structure.
Keep dot spacing tight in the center and more spaced at the edge — that reads as depth.
Avoid stippling the petals; it turns a clean outline into a time sink.
11. Sunflower in a Square Frame with Corner Leaves
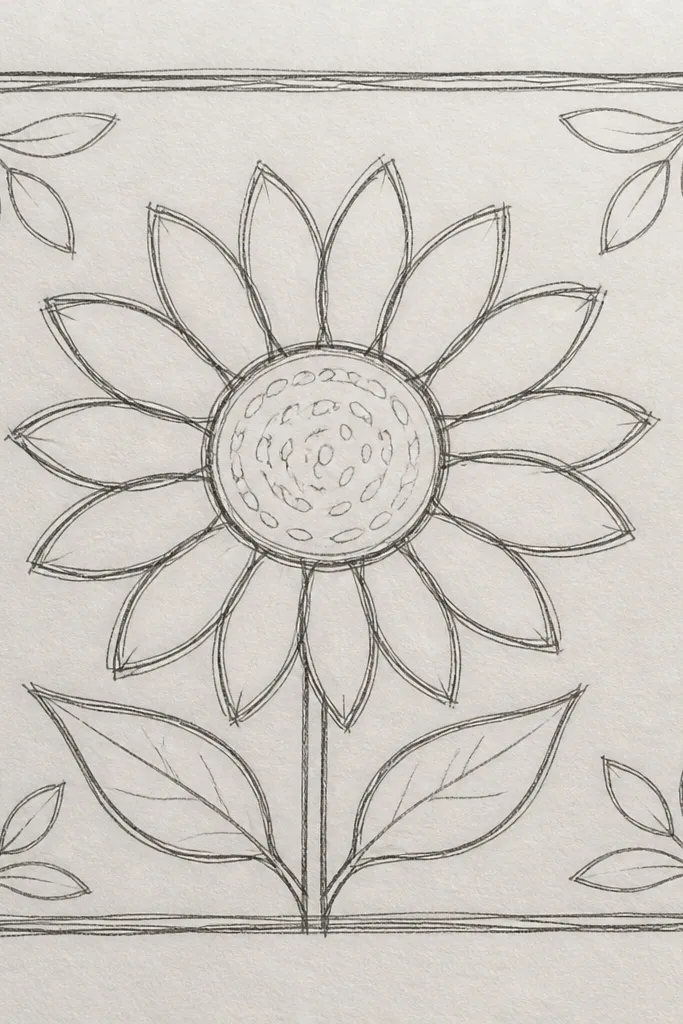
A square frame makes the sunflower feel like design art, not just a doodle. Corner leaves add balance and help fill blank space while keeping the drawing minimal. This is perfect for upcycled book page art, label sheets, and small prints because the frame gives structure and hides minor alignment issues. The sunflower itself stays outline-only, so it’s still low maintenance. You’ll spend most of your time on clean borders, not shading.
Good to knowMake the frame line lighter in weight so the sunflower stands out in photos.
Step 1: Draw a square border around your page area, leaving a margin of 1 cm on each side. Step 2: Place a front-facing sunflower in the center with 14 to 18 petals and a spiral center. Step 3: Add two small leaves in opposite corners, each with one center vein and a simple outline. Finally, thicken the sunflower outline slightly more than the frame line.
Common mistakeDon’t make the corner leaves too big; if they compete with the flower, the layout looks off.
12. Sunflower Outline with Seed Lines Radiating
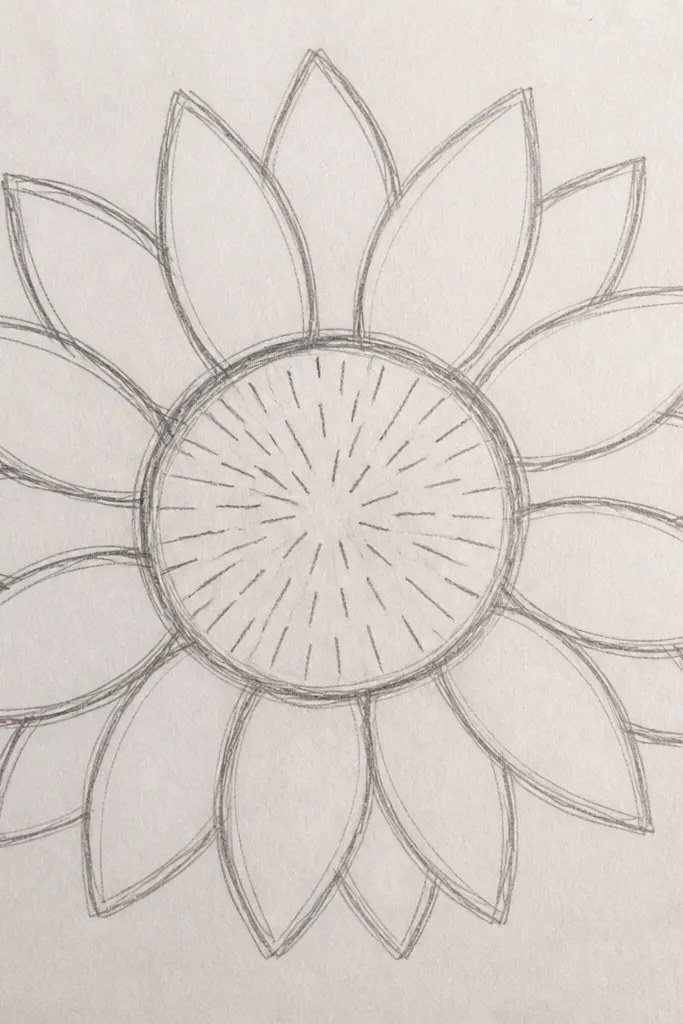
Radiating seed lines add a crisp, graphic look. You keep the center spiral, then add short lines that move outward like tiny spokes. This creates a “mat” texture without shading and gives the center a strong focal point. It’s photogenic because the line motion pulls attention toward the middle. Great for black-and-white wall art and minimalist stickers where you want the center to feel detailed but controlled.
Good to knowUse light pressure for the radiating lines, then go back once to darken only the spiral backbone.
Step 1: Draw the center circle and spiral. Step 2: Add 30 to 45 short radiating lines that follow the spiral direction, keeping them the same length. Step 3: Draw petals as rounded arcs around the center, about 16 to 20 petals. Finally, outline the outer petal tips and erase pencil marks under the ink.
Common mistakeDon’t make radiating lines longer than the spiral radius; the center will look like a sun burst, not a sunflower.
13. Sunflower Outline with Chunky Petal Tips
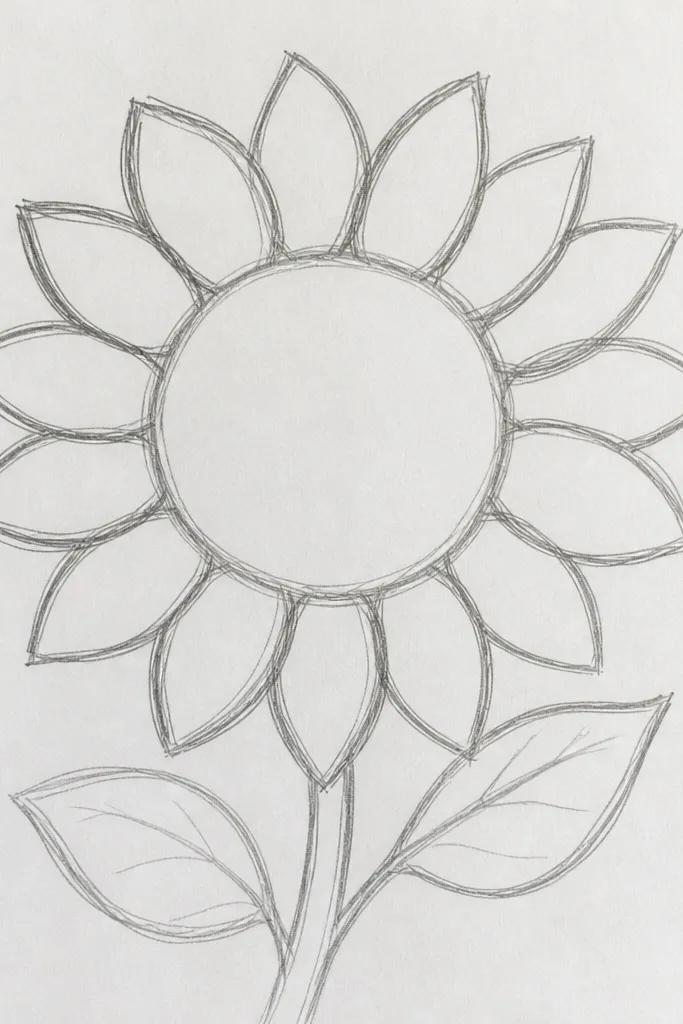
Chunky petal tips make the drawing look modern and graphic. You draw regular petal arcs, then slightly thicken the outermost tip so each petal ends with a clean, bold shape. The center stays simple with a spiral, so you don’t add extra detail workload. This is a strong choice for greeting cards and printable designs because it reads well at small sizes. It also looks good on markers because the thick tips stay crisp.
Good to knowPick one thickness for the petal caps and stick to it — consistency makes it look designed, not rushed.
Step 1: Sketch a center circle and spiral. Step 2: Draw 16 to 22 petals as arcs, then add a small thickened cap at each outer tip by retracing just the top edge. Step 3: Trace the whole petal outline with a fineliner or marker, keeping the thick caps consistent. Finally, add one short stem line and a small leaf using a simple almond outline.
Common mistakeAvoid thickening the entire petal — only the tips should be chunky.
14. Mini Sunflower Cluster (Three Blooms)
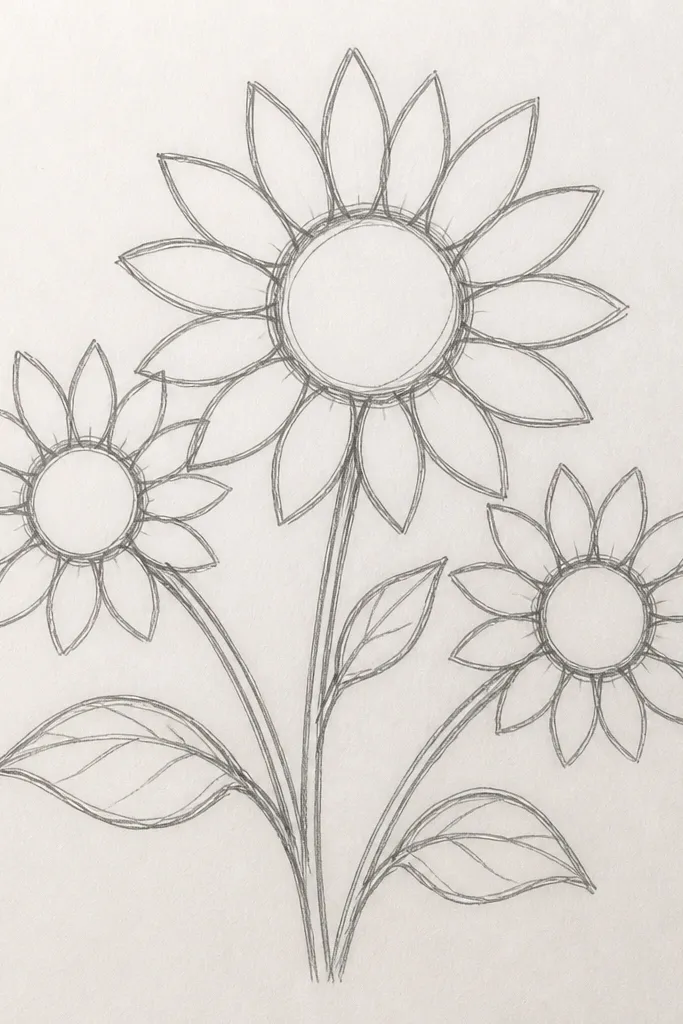
A cluster of three mini sunflowers looks cute and fills a page fast. It’s low maintenance because each bloom uses the same simple outline recipe, just smaller. The shared stems reduce drawing time and make the composition cohesive. This style is great for gift wrap, sticker sheets, and planner pages where you want repeatable cuteness. Keep the petals simple arcs and the center a spiral so the cluster reads as sunflowers immediately.
Step 1: Draw three small circles for centers, spaced like a triangle. Step 2: Add petals around each center as 10 to 14 arcs, then draw a spiral in each center. Step 3: Connect the flowers with two shared stems that curve slightly. Finally, add one leaf near the bottom center bloom to balance the weight.
Make the middle flower slightly larger so the cluster has a clear focal point.
Don’t add different petal counts per flower — the cluster will look inconsistent.
15. Sunflower Outline with Single Ribbon Banner
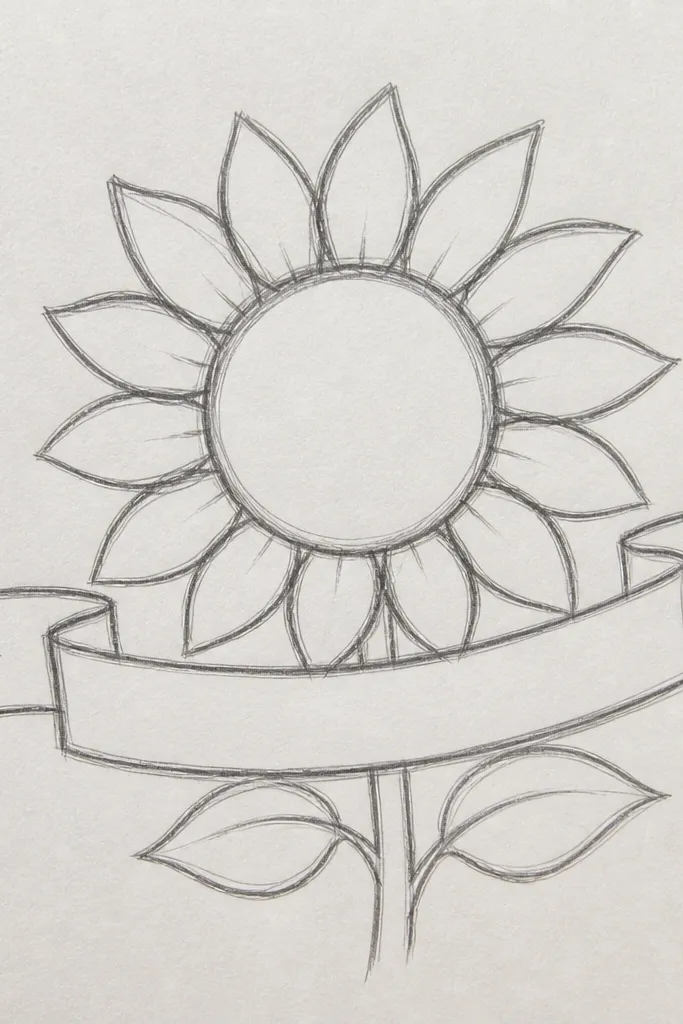
This one is for when you want the drawing to work as a label or card front. The sunflower stays outline-only, and the ribbon banner gives you a natural place to add a short word later. Even without text, the banner makes the composition look finished. It’s photogenic because the banner creates a clean horizontal shape under the flower. Use it for upcycled tags and handmade cards where you want a sweet, readable design.
Step 1: Draw the sunflower with 14 to 18 petals and a spiral center. Step 2: Under the flower, draw a curved ribbon banner shape with two pointed ends and a center fold line. Step 3: Add one small leaf on one side of the stem so the stem doesn’t look like it’s floating. Finally, outline everything with a fineliner and erase pencil lines.
Keep the banner ends symmetrical — that’s what makes it look neat in photos.
Avoid writing-size lettering details in the banner; keep it blank until you’re done drawing.
16. Sunflower Outline with Doodle Background Dots
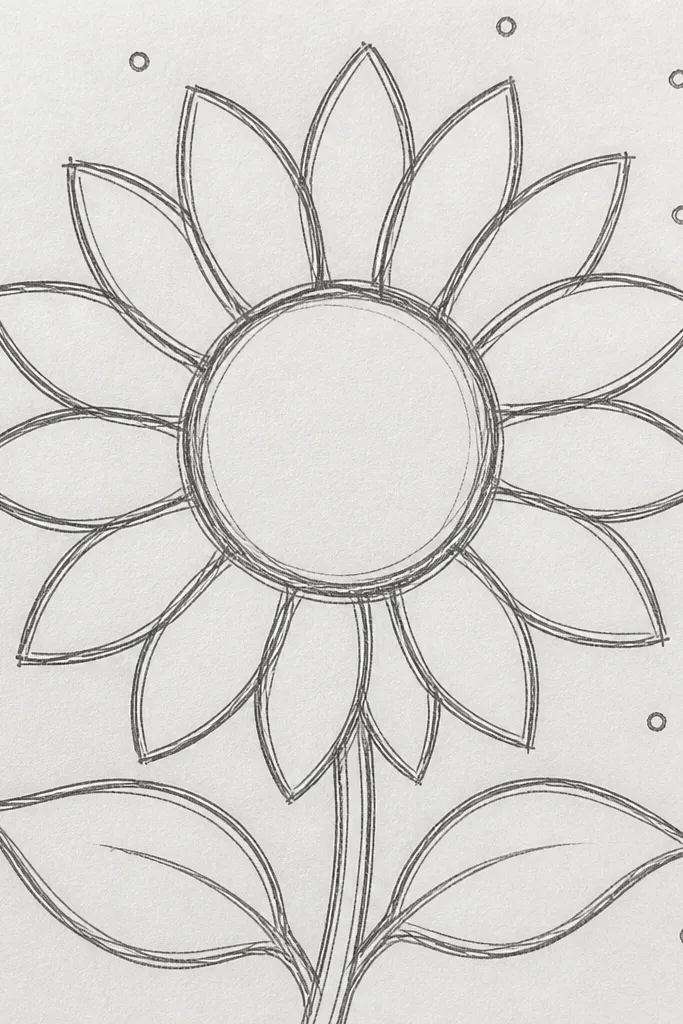
A simple sunflower outline looks more lively when you add a controlled doodle background. Use small dots and a few short spark lines around the flower, not behind the petals. This keeps the sunflower clear while adding a handmade vibe that still feels clean. It’s low maintenance because you’re adding quick marks, and it’s photogenic because the negative space makes the sunflower pop. Great for scrapbook pages and printable art you want to feel playful.
Good to knowKeep doodle dots smaller than your petal line thickness so the flower stays dominant.
Step 1: Draw the sunflower outline with a bold spiral center and 16 to 20 petal arcs. Step 2: Add scattered dots around the flower — aim for 40 to 70 dots total, keeping them away from the petal edges. Step 3: Add 8 to 14 tiny spark lines (short, straight dashes) between the dots. Finally, outline the sunflower and let the doodles stay slightly lighter than the main lines.
Common mistakeDon’t cover the entire page with dots; leave breathing space around the sunflower.
17. Sunflower Outline with Leaf Vein Pattern Only
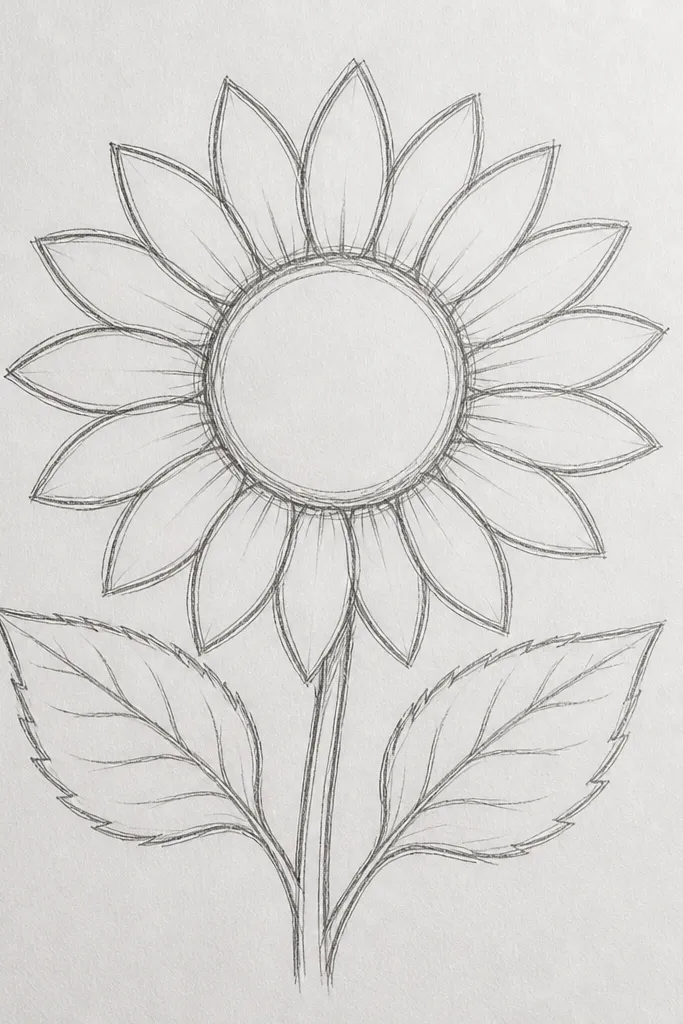
This style adds detail where it matters: on the leaf. The sunflower petals stay simple arcs, but the leaf gets a clean vein pattern that looks intentional and decorative. It’s low maintenance because you’re repeating one vein structure rather than shading the entire flower. Photographically, the leaf detail balances the round sunflower center and makes the drawing feel more dimensional. Works well for bookmarks, corner decorations on cards, and minimalist wall art.
Good to knowStart the leaf veins from the center vein at the same angle; it keeps the leaf looking tidy.
Step 1: Draw the sunflower front-facing with 14 to 18 petals and a spiral center. Step 2: Add one leaf on the side using an almond outline and draw a main center vein line. Step 3: Add 5 to 7 short veins branching off the center line, each curving slightly toward the leaf edge. Finally, trace the sunflower outline darker and keep the leaf veins slightly lighter.
Common mistakeAvoid random vein lengths — uneven veins make the leaf look messy.
18. Sunflower Outline with Petal Stems Inside the Ring
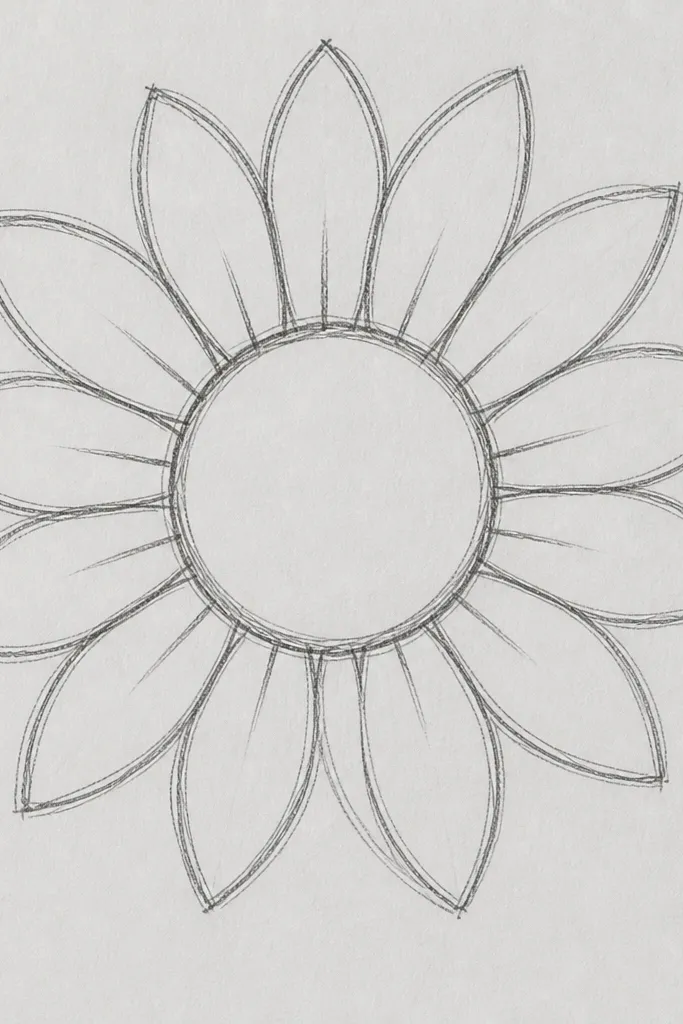
This design adds a graphic “seed-to-petal” structure without turning into a full illustration. You draw the usual petals around the outside, then add short inner lines that start near the center and angle toward each petal base. It looks more complex than it is, and it photographs well because the inner lines create texture. It’s low maintenance because you repeat the same short stroke pattern. Ideal for posters, sticker sheets, and modern monochrome designs.
Good to knowUse the same angle for all inner strokes — pick about 30 to 45 degrees and stick to it.
Step 1: Draw the center circle and spiral lightly. Step 2: Draw petals as arcs around the outside, then add a short angled line inside for each petal base, starting from just outside the spiral. Step 3: Keep the inner lines short and uniform so they look like a structured pattern. Finally, outline the outer petals and thicken the spiral lines.
Common mistakeDon’t let inner lines cross each other; they should look like separate spokes.
19. Sunflower Outline with Small Buds on the Stem
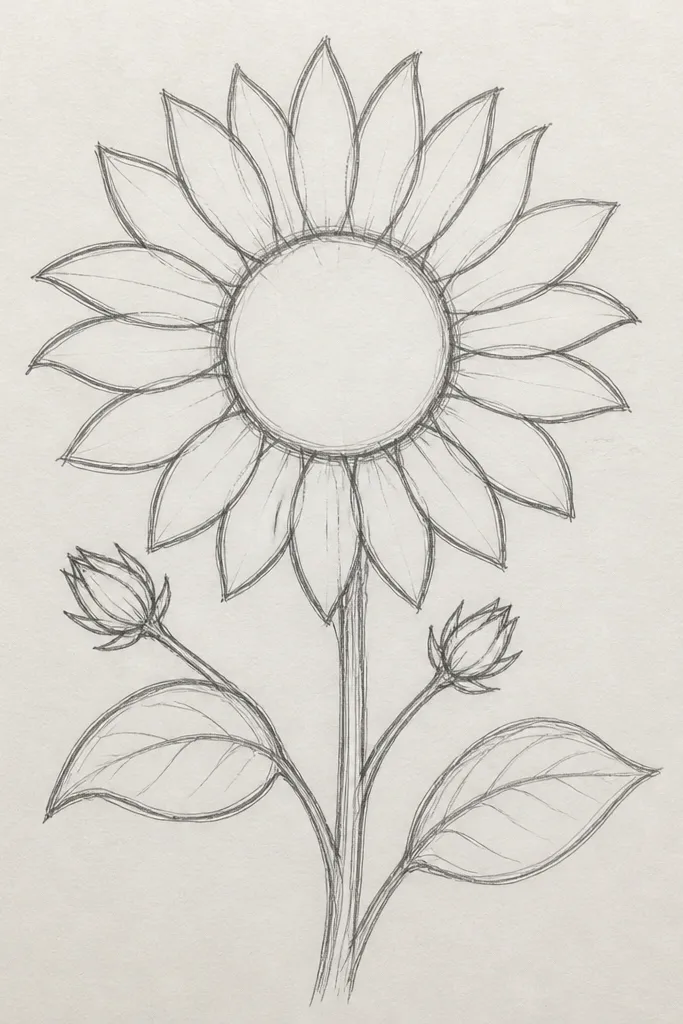
Buds make the sunflower drawing feel like a bouquet piece, not a single isolated flower. You keep the main sunflower low maintenance, then add two small bud shapes that are basically circles or ovals with short outlines. The extra elements add visual interest without shading. This is great for greeting cards and small gift tags because it fills vertical space nicely. It’s also easy to keep consistent — just repeat the bud shape twice.
Step 1: Draw the main sunflower first with 14 to 18 petals and a spiral center. Step 2: Draw a vertical stem line and add two small bud ovals along it, each with a short cap line at the top. Step 3: Add one leaf near the base using an almond outline and a single center vein. Finally, darken the sunflower outline and erase stray construction lines.
Make the buds smaller than you think — tiny buds keep the drawing cute, not cluttered.
Don’t add extra leaves; one leaf plus two buds is the sweet spot for clean line art.
20. Sunflower Outline in a Bookmark Shape
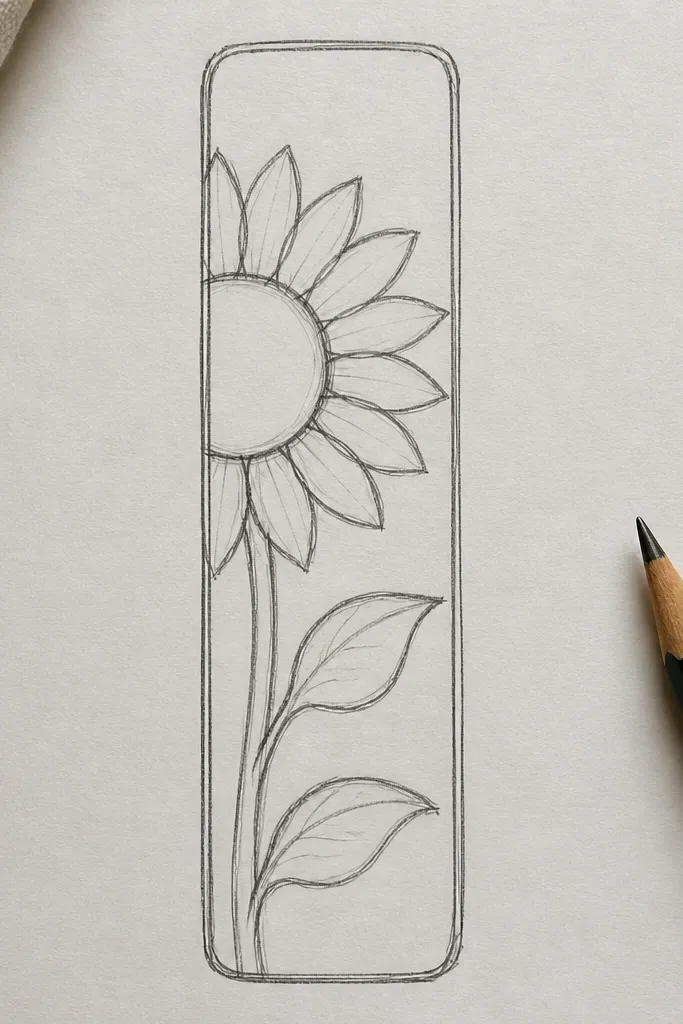
This is a low-maintenance design format, not just a drawing. A bookmark shape gives you a ready-to-use layout, and the sunflower centered in the middle makes it instantly recognizable. It’s photogenic because the vertical silhouette frames the flower and makes the spiral feel prominent. Great for upcycling — you can cut the bookmark from scrap cardstock with a clean border line. You’ll spend your time on one sunflower, not on layout decisions.
Good to knowUse a single border line thickness so the bookmark looks print-ready in photos.
Step 1: Draw a tall rectangle with a rounded top notch like a classic bookmark, then add a 1 cm border line inside. Step 2: Place the sunflower in the center of the inner box with 14 to 18 petals and a spiral center. Step 3: Add a small stem line that stops before the bottom border. Finally, trace the sunflower outline and keep the bookmark border as a single thin line.
Common mistakeAvoid busy doodles on the bookmark edges; keep the sunflower as the main focus.



