
1. Hot-Tea Sunflower on a Mason Jar
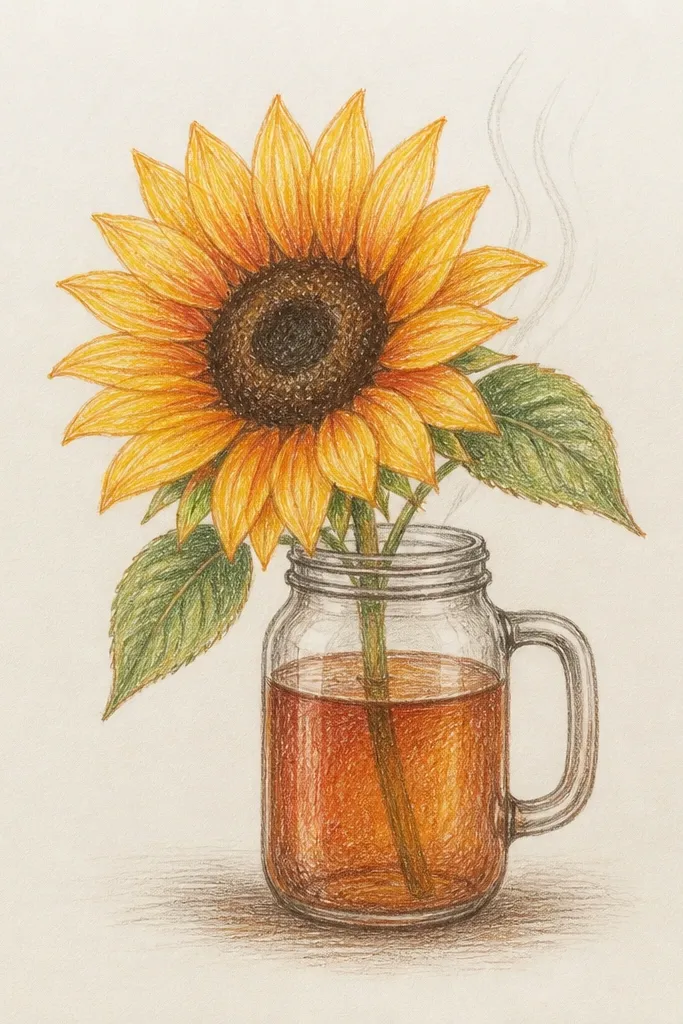
This idea makes a cozy sunflower drawing feel like a moment, not just a picture. The mason jar gives you straight glass highlights, and the steaming cup gives you soft shapes that love pencil blending. Draw the petals with colour pencil first so the yellow shifts from pale sunshine to honey amber. Then use marker only under the jar rim and around the cup steam to deepen the shadows. Finish by adding a few pencil highlights on the jar glass so it looks clean and warm.
Step 1: Sketch the jar and a single sunflower lightly, then block the petals with pale yellow pencil and the center with light tan. Step 2: Shade petals with layered pencil — start with light yellow, then add amber on the lower half of each petal, and blend with a light circular motion. Step 3: Add marker shadows under the jar lip, inside the jar where the sunflower stems overlap, and beneath the steam curls; keep marker away from the brightest petal tips. Step 4: Go back with pencil to sharpen the petal edges and add tiny highlight strokes on the jar.
Use a scrap paper shield to protect the brightest petal tips while you work marker shadows.
Don’t marker the whole petal — you’ll lose the soft gradient that makes it cozy.
2. Sunflower Wreath with Soft Pencil Petals + Marker Edge Shadows
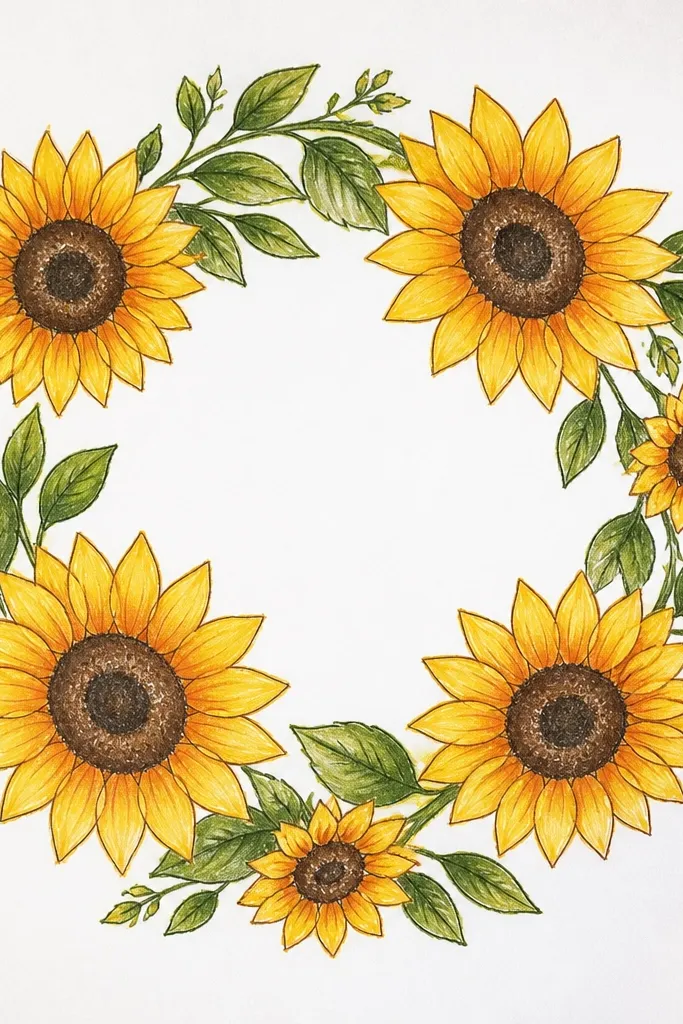
Step 1: Draw a light circle guide and place 7-10 sunflower heads around it, simplifying each head into a petal cluster. Step 2: Colour pencil the petals in layers: pale yellow base, amber midtone, then a slightly deeper orange at the petal base near the wreath ring. Step 3: Use marker to outline only the deepest overlap areas — where one head covers another and along the wreath outer edge. Step 4: Add pencil texture in the centers with short, curved seed marks, then lightly erase any stray pencil lines.
A wreath is forgiving because the repetition hides small drawing mistakes. It also gives you lots of edges to define, which is where marker shines. Build the petal look with colour pencil so each petal has a warm fade, then add marker only along the outside edge and between overlapping petals. That creates separation without making everything look heavy. The result reads cozy because the petals stay airy while the shadows keep the wreath from looking flat.
Common mistakeAvoid darkening every overlap — choose only the overlaps that create depth.
Good to knowKeep marker lines thin by using the brush tip edge, not the flat face.
3. Sunflower Centre Close-Up with Seed Texture Contrast
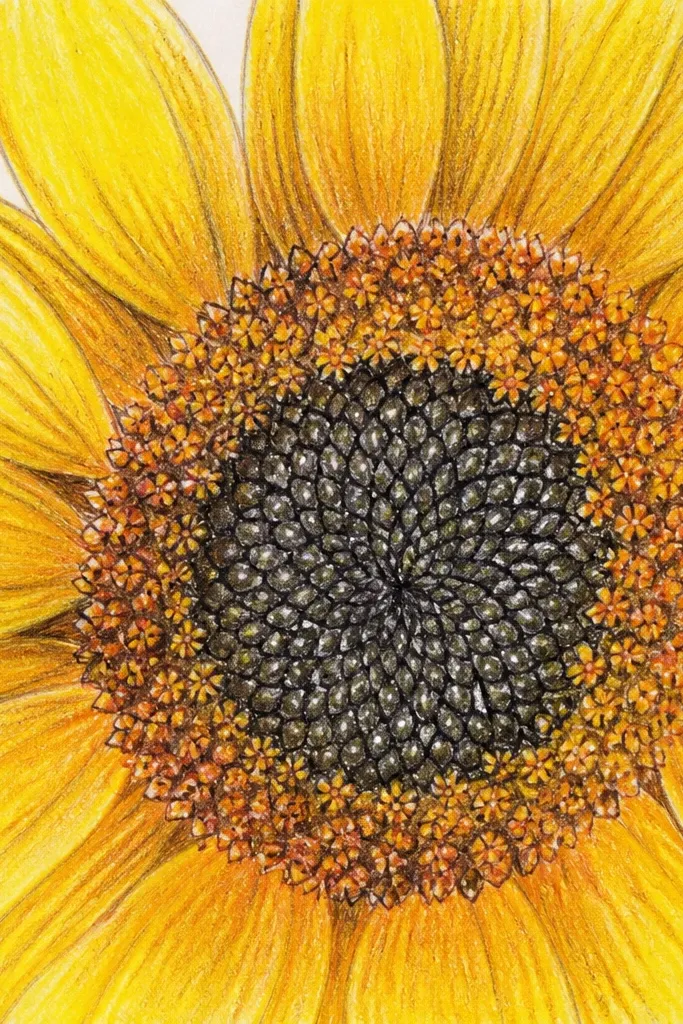
This is the fastest way to make a cozy sunflower drawing feel real because the center texture carries the charm. Pencils let you draw individual seed-like marks with warm browns and light tans. Marker gives you controlled dark points so the center has dimension instead of looking like a flat brown disc. If you want the drawing to feel cozy rather than harsh, keep marker for the darkest seed rows only. That keeps the middle warm and the shadows crisp.
Step 1: Sketch a circle and lightly map seed rows with a few curved guide lines. Step 2: Shade the center base with tan and a warm brown pencil, then draw seed marks in short, curved strokes. Step 3: Add marker to the deepest shadow side and to a few seed clusters near the edges of the circle. Step 4: Finish by layering pencil on top of marker in the midtone areas so the seeds look textured, not inked.
Use a kneaded eraser to lift tiny highlights where seeds catch light.
Don’t flood marker over the whole center — it kills texture.
4. Window-Sill Sunflower with Curtain Shadows
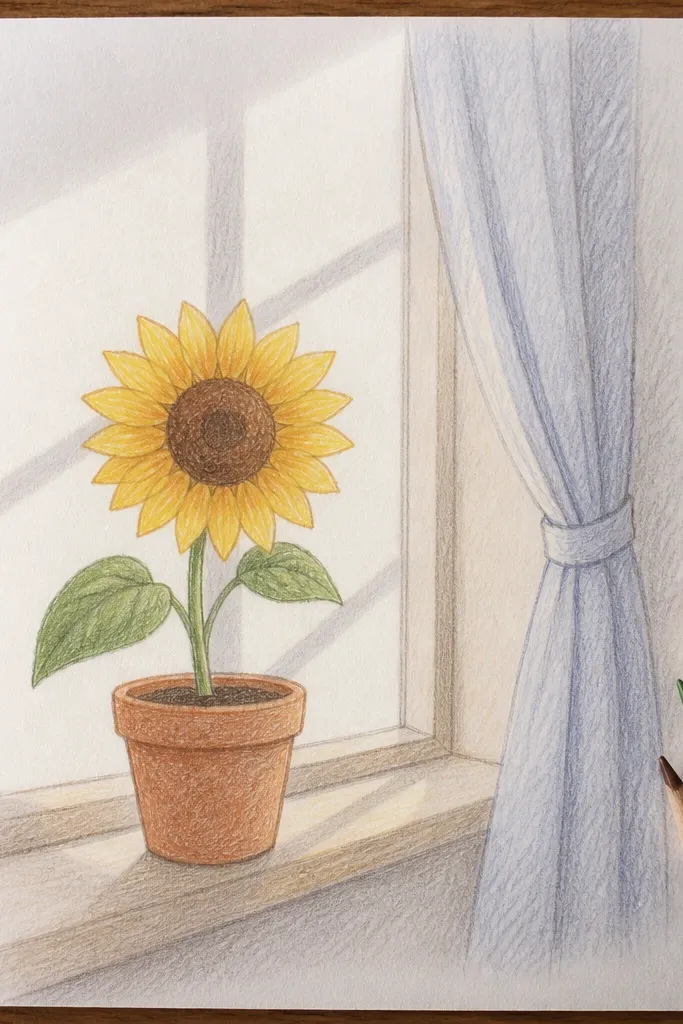
Curtains are a cozy cheat code. They give you repeatable curves and stripes that look great with pencil gradients and marker shadow bars. Draw petals with pencil so each one fades smoothly toward the edges. Use marker for the curtain shadow shapes across the table and the shadow under the sunflower head. Because curtain shadows are controlled shapes, marker won’t feel messy if you keep it to 2-3 shadow zones. The result looks like late afternoon light, the cozy kind.
Step 1: Draw the window frame and lightly sketch curtain folds as flowing lines behind the sunflower. Step 2: Colour pencil the sunflower petals with pale yellow to amber fades; keep the top edges lighter. Step 3: Use marker to fill only the curtain shadow bands on the table and under the flower head; avoid the brightest petal zones. Step 4: Add pencil highlights along the curtain fold edges and on the sunflower petals where light hits.
Mark your shadow shapes in pencil first, then go over with marker so you don’t overshoot.
Don’t outline every curtain fold with marker — it turns into a cartoon.
5. Sunflower and Bee on Kraft Paper
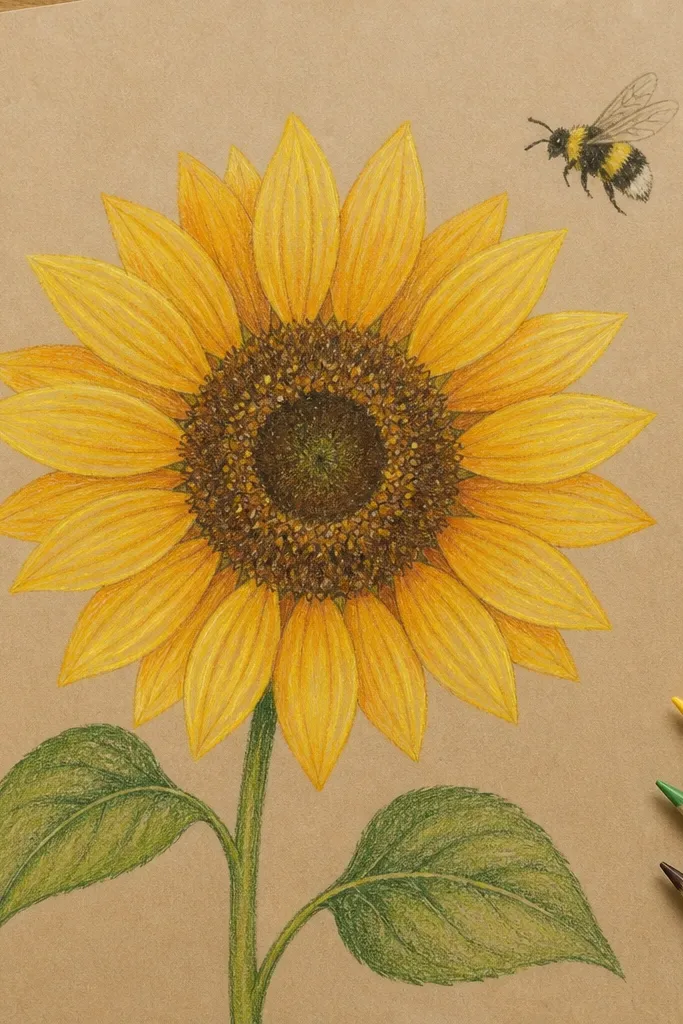
Step 1: Sketch the sunflower and bee lightly, then block petal areas with a light yellow pencil. Step 2: Layer amber and a touch of orange at petal bases, blending by stroking along petal length. Step 3: Add marker for bee stripes and the darkest shadow under the petals; keep it limited to the bee and one shadow area. Step 4: Use pencil to draw bee wings with light tan and a few fine lines, then add tiny highlight dots on petals.
Kraft paper instantly makes the drawing feel warm because the background has an earthy glow. That changes how you use yellow: you need less white and more midtone layering. Use pencils for petals so the yellow stays creamy over the brown paper. Then use marker for bee stripes and the sunflower shadow under petals. Keep marker dark and selective; let the kraft paper do the cozy work as your “light” tone.
Common mistakeAvoid heavy marker on kraft paper — it can look harsh and spread.
Good to knowUse a white gel pen or very light pencil for petal highlights only at the tips.
6. Sunflower Bouquet in a Loose Watercolor-Style Pencil Wash
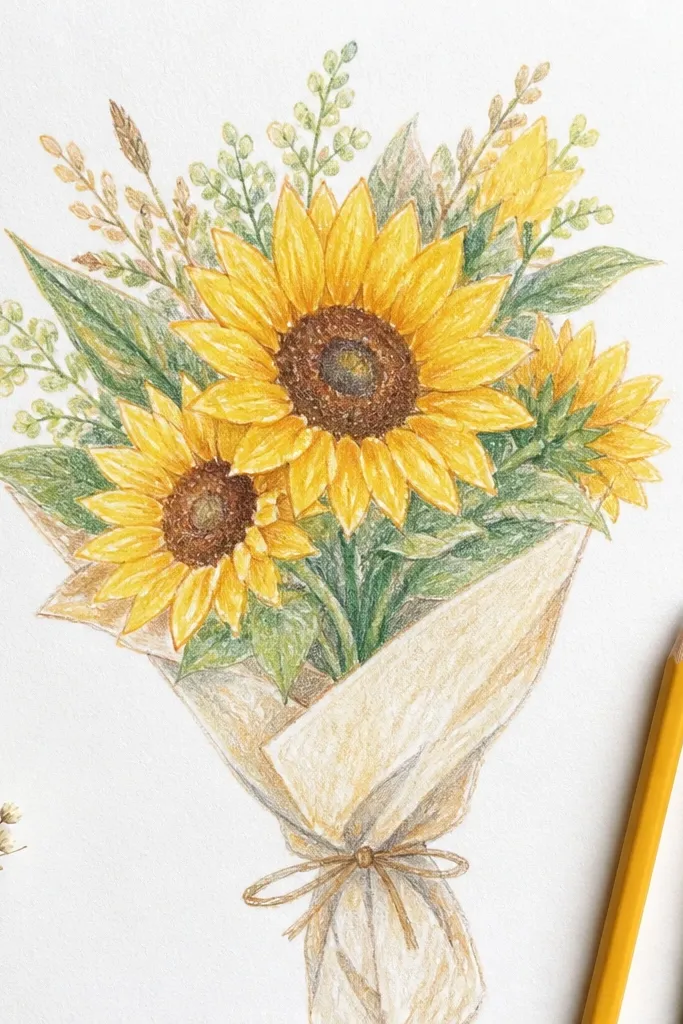
Step 1: Lightly sketch 3-5 sunflower heads and stems, then lay a pale yellow wash using pencil with light pressure. Step 2: Add amber and warm orange in thin layers, blending with a tissue or blending stump in small circles. Step 3: Use marker to add 2-3 shadow clusters — under the overlapping petals and along stem bends. Step 4: Re-add pencil highlights on petal tips and brighten the center with tan and warm brown pencil.
This look is cozy because it feels airy and handmade. The trick is to treat pencil like watercolor by layering thin colour and blending with patience. Use pencils for the whole bouquet base, then use marker only for a few deep shadows behind petals. That gives you shape without killing the soft vibe. It’s also a great option if you want a marker look but hate bleeding — you’re limiting marker to controlled areas.
Common mistakeDon’t press hard early — you’ll burnish the paper and lose blending.
Good to knowBlend after each petal layer, not after everything — it keeps gradients clean.
7. Sunflower in a Paper Bag with Coffee Stain Effects
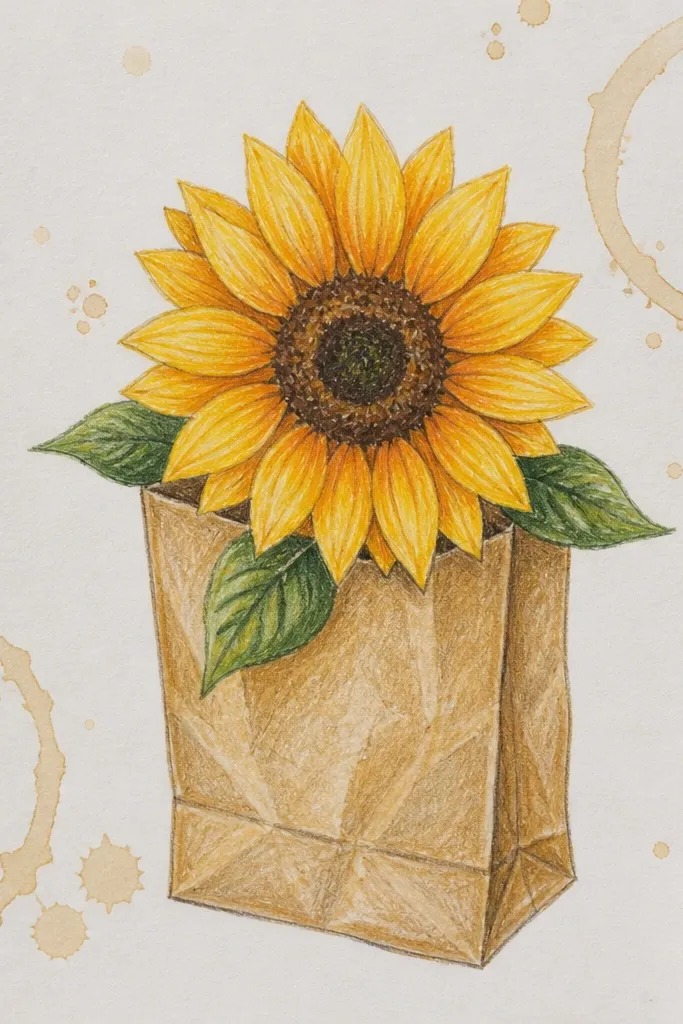
Paper bags make the cozy theme look intentional. You get a natural warm tone, and the coffee-stain texture adds character fast. Pencil does the petal work smoothly on the bag-like background, then marker creates a few sharp shadows so the flower doesn’t float. Keep the coffee-stain effect subtle: it’s there for atmosphere, not to steal attention from the sunflower. This is a great choice for small drawings because you can pack detail in the center.
Step 1: Sketch a bag outline and a sunflower head on the front, then lightly shade the bag with soft tan pencil. Step 2: Add coffee-stain texture using darker brown pencil in irregular blotches, then soften with a tissue. Step 3: Colour petals with pale yellow to amber fades using pencil layering. Step 4: Use marker only for shadows under petals and a few folds in the bag, then finish with pencil seed texture in the center.
Keep coffee stains to the bag edges so the center stays the focus.
Don’t add marker on the stains — it makes the whole bag look dirty.
8. Sunflower Bookmark with Bold Marker Stem and Pencil Petals
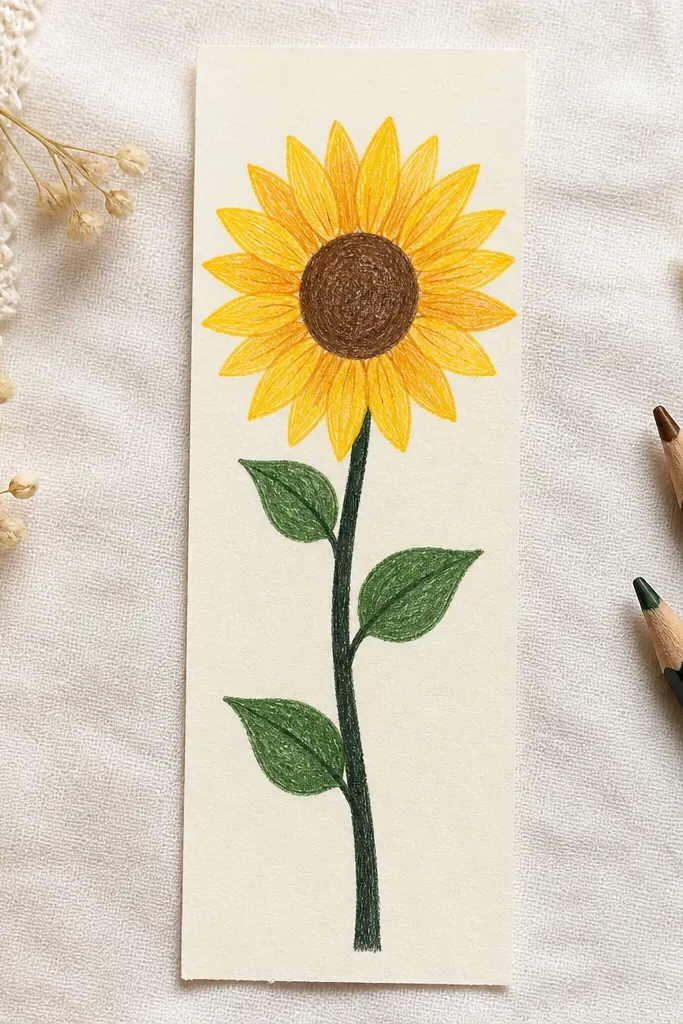
Step 1: Draw a rectangle bookmark shape, then sketch one sunflower head near the top and a simple stem down the center. Step 2: Pencil the petals with pale yellow base, then amber near the petal bases and a warm orange touch in the deepest petal overlaps. Step 3: Use marker for the stem, a few leaf shadows, and the darkest underside shadow under the sunflower head. Step 4: Add seed texture in the center with pencil, then add a thin pencil highlight line to define petal edges.
A bookmark is a practical cozy sunflower drawing because it forces clean shapes and a clear focal point. Use marker for the stem and the darkest shadow under the head so the bookmark reads well even at a glance. Use pencils for petals so the yellow stays warm and layered. This combo also helps with durability: marker lines help define edges, while pencil softens the look. Great for gifting or using as a mini practice piece without committing to a full page.
Common mistakeAvoid colouring the entire stem with marker — it can bleed and look streaky.
Good to knowRound the corners lightly with a pencil guide before colouring so the edges feel friendly.
9. Sunflower on a Crochet Blanket Pattern Background
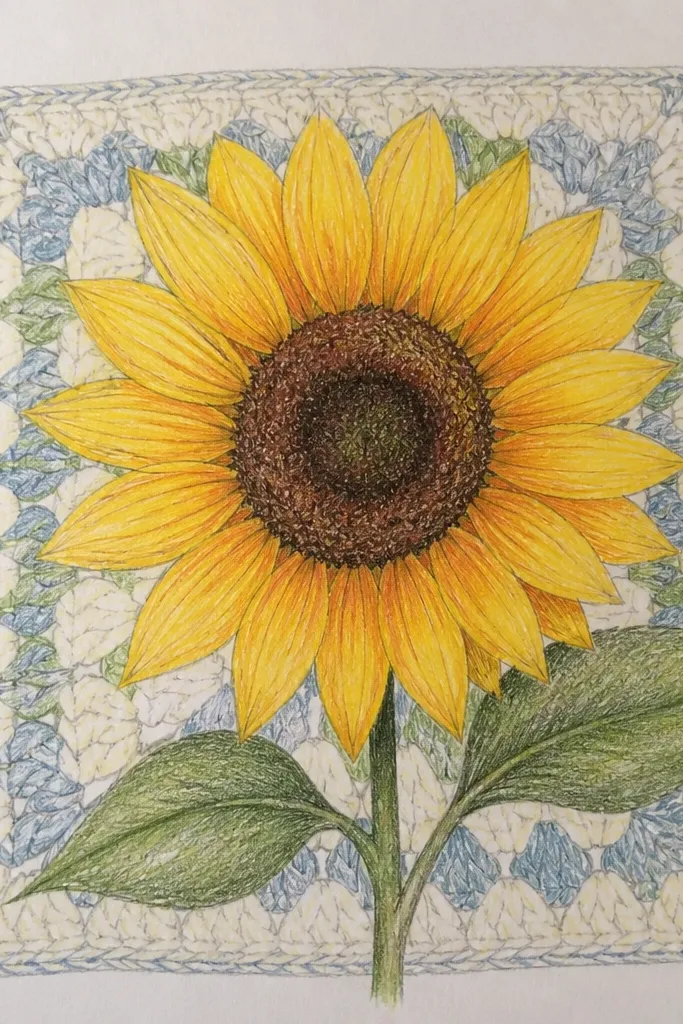
Pattern backgrounds can make a cozy drawing feel tactile. Instead of shading the whole background, draw a simple crochet-like grid with light pencil lines, then let the sunflower sit on top. Pencils handle the blanket texture in soft grays and warm tans so it stays subtle. Marker is for shadow shapes under petals and in the center so the sunflower stands out. The contrast between gentle pattern and crisp shadow is what makes it feel cozy, not busy.
Step 1: Lightly draw a repeating stitch pattern across the page with pencil, keeping it faint. Step 2: Sketch the sunflower and block petals with pale yellow pencil on top of the pattern. Step 3: Layer amber and orange on petals, then use marker only under petal overlaps and on the center shadow side. Step 4: Add pencil stitch shading in the background after you mark shadows, so it doesn’t get covered by ink.
Keep background lines under 20% darkness so the sunflower stays readable.
Don’t darken the crochet pattern after adding marker shadows — it turns into one heavy mass.
10. Sunflower and Rolling Hills in One-Color Pencil Sky + Marker Ground
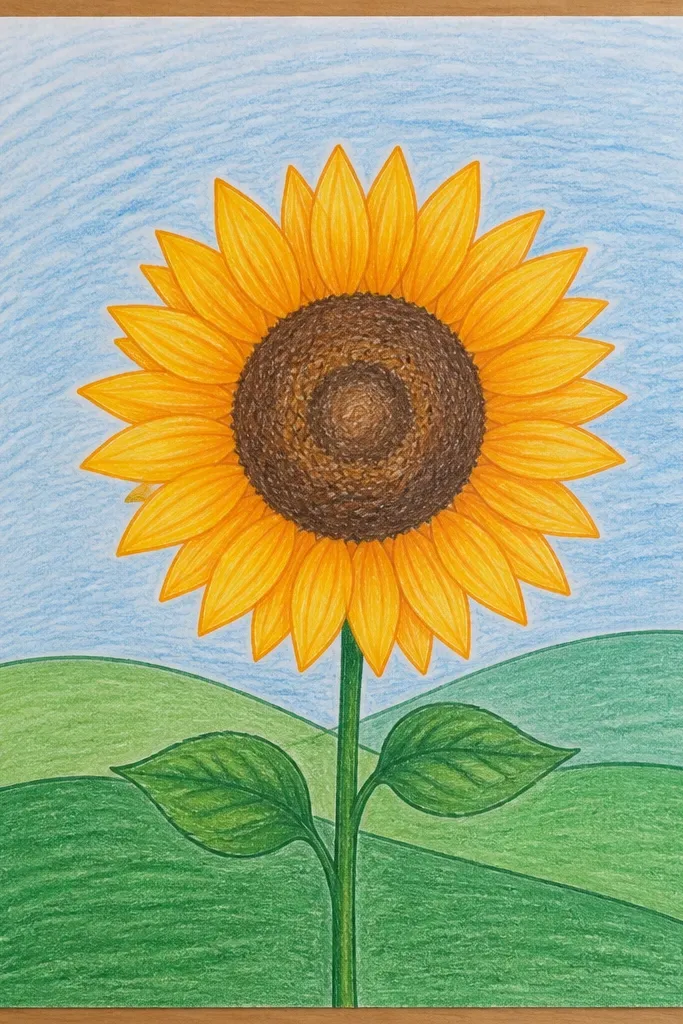
Step 1: Sketch hills with a simple curve line, then lightly outline the sunflower in the foreground. Step 2: Colour pencil the sky and hills in layers — use pale yellow-green for the sky and tan for distant hills. Step 3: Use marker for the darkest ground shape under the sunflower and a shadow line under the stem. Step 4: Finish by shading petals with pencil fades and adding center texture with warm browns.
This idea balances calm and contrast. Keep the sky and petals in pencil for smooth gradients, then use marker for the ground and under-shadows to anchor the sunflower. For a cozy look, choose warm sky tones like pale yellow-green for a sunrise feel, not cool blues. Marker ground gives you clean separation between the sunflower and the background. The result is cozy because the contrast is intentional: warm light up top, grounded shadow below.
Common mistakeAvoid marker behind the petals — it will flatten the sunflower edge.
Good to knowUse a light hand on the sky so marker ground looks richer by comparison.
11. Sunflower in a Tiny Teacup with Leafy Side Shadows
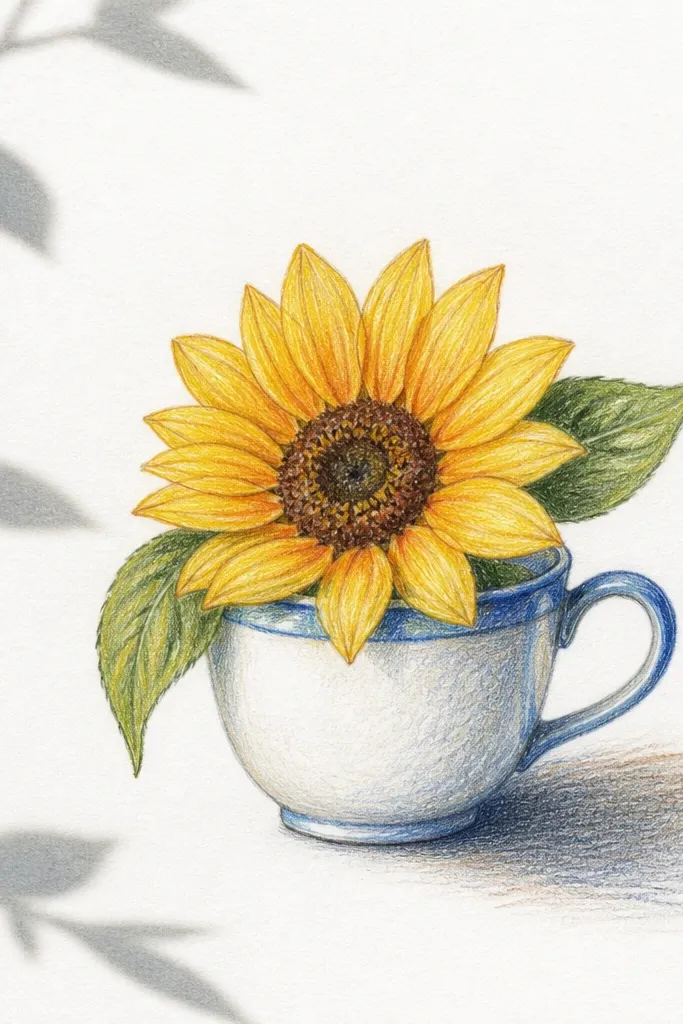
Step 1: Draw the teacup rim and handle lightly, then sketch the sunflower head and two leaves. Step 2: Pencil the petals with pale yellow base and amber at the lower edges; pencil the leaves with a light green base and darker vein shading. Step 3: Use marker to shade inside the cup where light doesn’t hit and under the leaves where they overlap the cup. Step 4: Add pencil highlights on the cup rim and sharpen petal tips for a crisp, cozy outline.
A teacup is small but expressive, and it gives you an easy “cozy container” theme. The cup walls let you draw narrow highlights and soft shadow bands. Use pencils for petals and leaves so you can blend greens gently, then use marker for the cup’s underside shadow and the leaf overlap shadows. This keeps the cup from looking flat and makes the sunflower feel like it’s sitting in warm light. It’s also a great drawing for beginners because the cup shapes are simple.
Common mistakeDon’t marker the leaf veins — marker makes them look too thick.
Good to knowLeave a thin pencil highlight line on the cup — it reads as glass even without white paint.
12. Sunflower Corner Doodle with Marker Border Frame
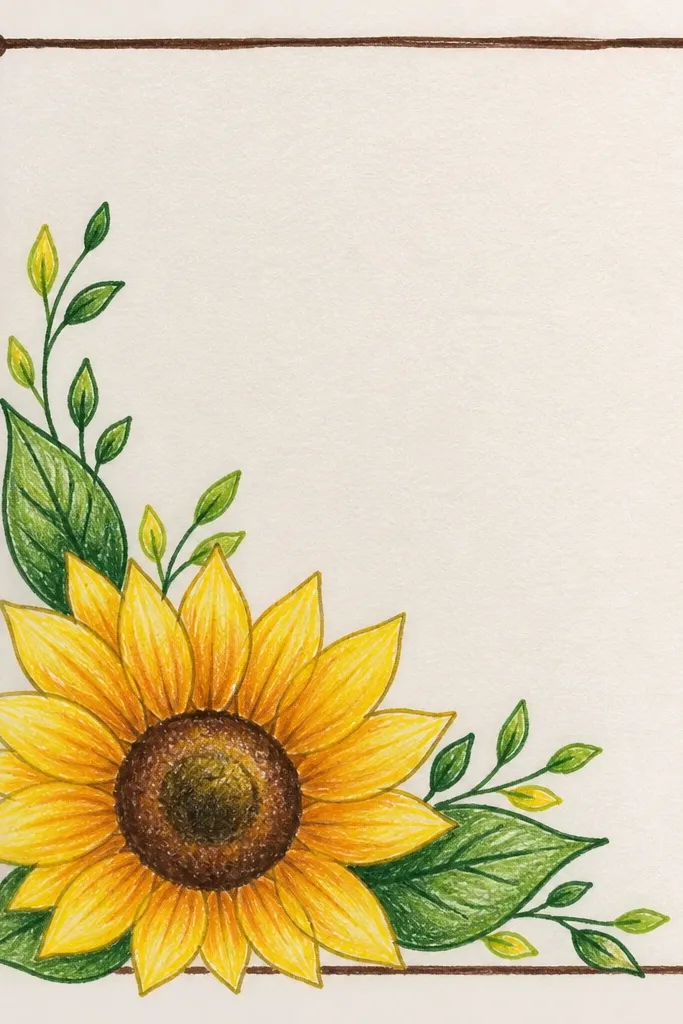
If you want cozy without a full page commitment, a corner doodle is the move. The marker border frame adds structure and makes the sunflower feel like it belongs on a card or journal page. Use pencil for the sunflower petals so the yellow stays soft and layered. Use marker only for the border and the darkest shadow under the center head. This keeps the doodle from looking “ink heavy” and keeps it warm.
Step 1: Draw a light border rectangle in the corner and sketch a small sunflower head inside it. Step 2: Pencil petals with pale yellow and amber layering, then add seed texture with warm brown pencil. Step 3: Use marker to draw the border and add a small shadow patch under the sunflower head and around the center edge. Step 4: Re-touch petal edges with pencil so the doodle stays crisp after marker.
Keep the marker shadow patch small — it should sit like a grounding stamp under the head.
Avoid colouring the border with thick marker — it can overpower the sunflower.
13. Sunflower with Linen Tablecloth Lines
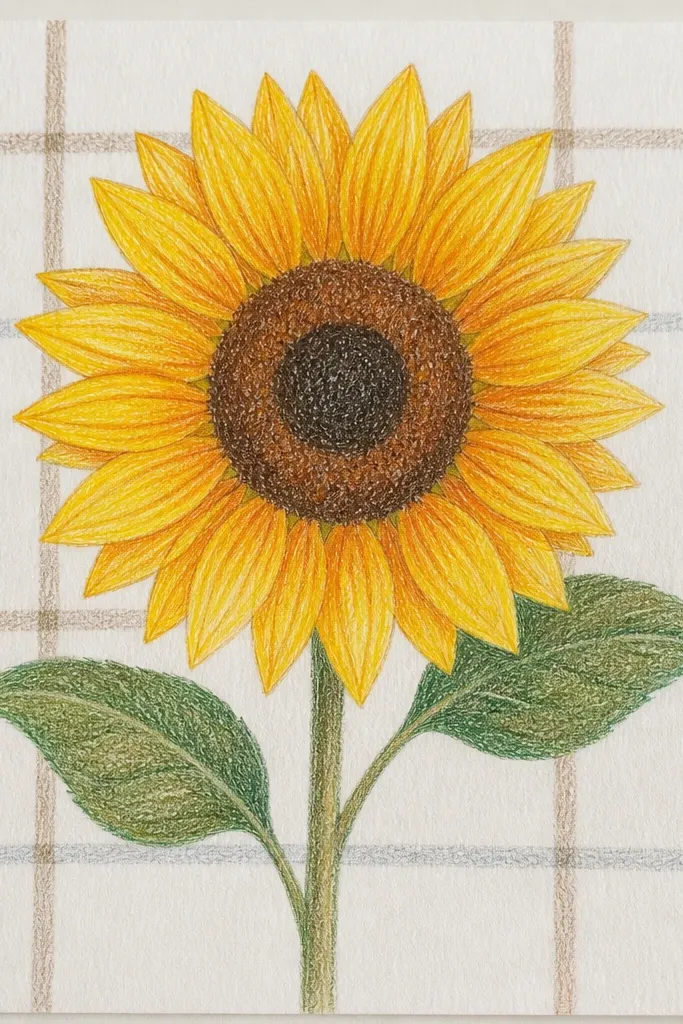
Linen fold lines make a drawing look cozy because they create soft, believable texture. The sunflower stays the hero, but the tablecloth gives it a home. Use pencil for the linen lines and for petals so everything blends softly. Marker is for the darkest shadows under the sunflower head and in the folds where fabric overlaps. This gives you depth without turning the tablecloth into a dark scribble.
Step 1: Sketch a tablecloth rectangle and draw light fold lines across it with pencil, keeping them thin. Step 2: Pencil in petals with pale yellow base and amber shading near the bottom edges. Step 3: Use marker for shadow bands in the fold intersections and under the sunflower head. Step 4: Add pencil seed texture and tiny petal highlights to keep the flower warm and dimensional.
Blend linen lines lightly with a tissue so they look like fabric, not pen strokes.
Don’t fill the tablecloth with marker — it erases the linen effect.
14. Sunflower with Orange Envelope Lettering Background
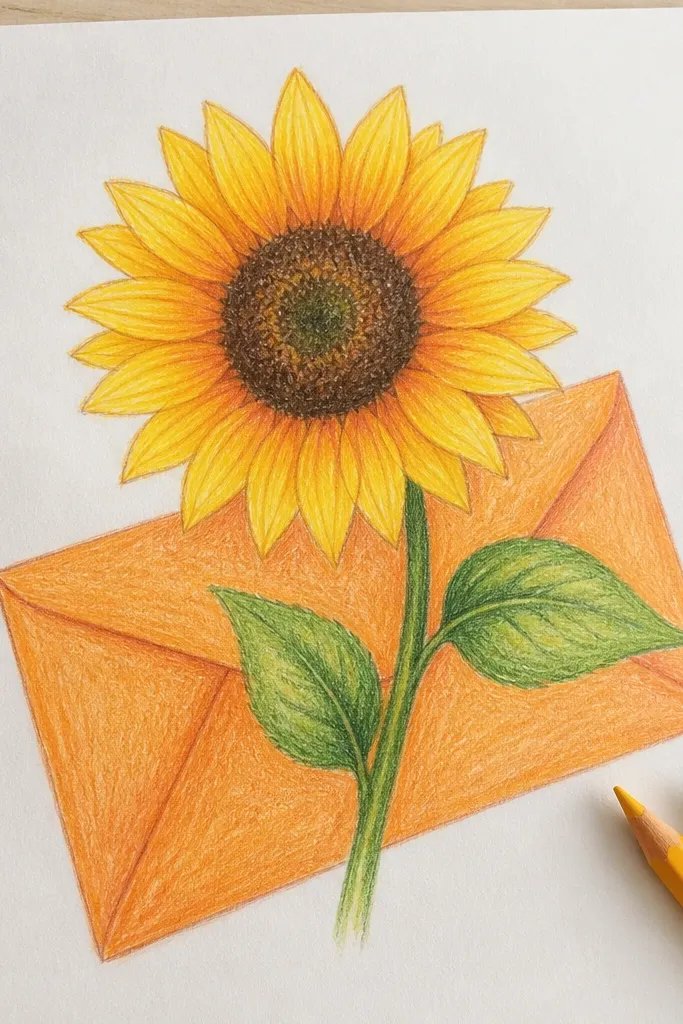
Step 1: Sketch an envelope rectangle and add a faint flap line and a few diagonal crease lines. Step 2: Colour pencil the background with warm orange in light layers, leaving the brightest areas lighter. Step 3: Pencil the sunflower petals and center texture on top, then use marker for shadows under the sunflower head and for the darkest crease lines. Step 4: Add pencil highlight strokes on petals and a thin pencil outline around the flower for separation.
This one turns a cozy sunflower drawing into something usable — like a card front. The envelope-style lines give you structure, and the orange tones create warm contrast with yellow petals. Pencil handles the sunflower petals and center so the yellow stays creamy. Marker is for shadowing under the sunflower and for a few deeper envelope fold lines. Keep the lettering lines faint so they don’t compete with the sunflower. It feels cozy because it has purpose and warmth in the background.
Common mistakeAvoid dark lettering marks behind the petals — it draws the eye away.
Good to knowUse pencil to keep the background lines airy; marker should stay for shadows only.
15. Sunflower on a Ceramic Plate with Speckle Texture
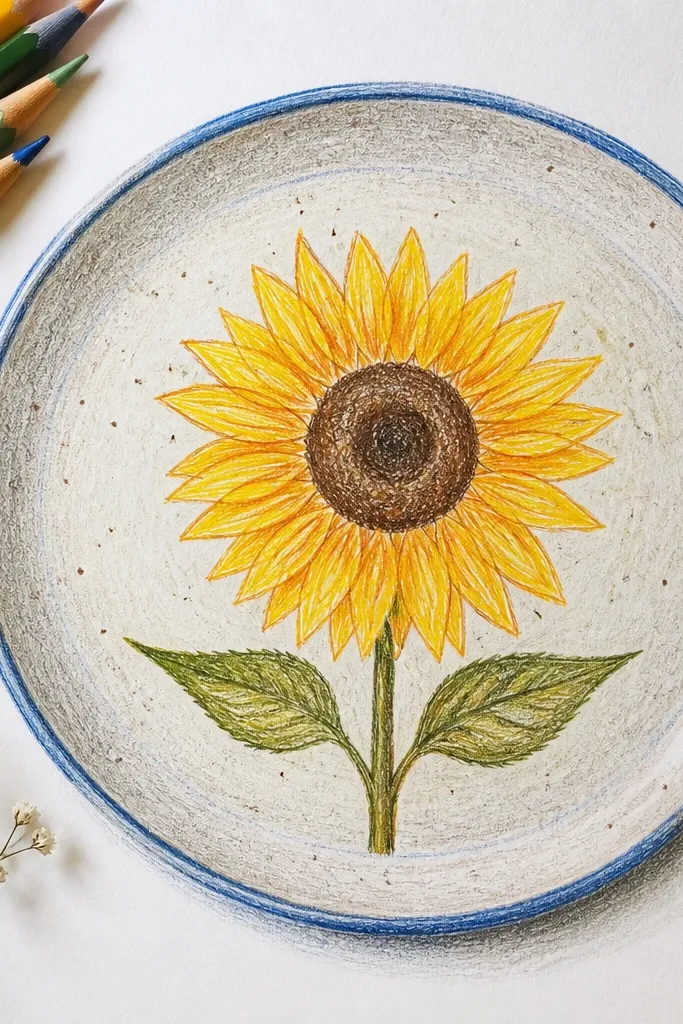
Ceramic speckles make your cozy sunflower drawing feel handmade and slightly imperfect, in a good way. The plate rim gives you a chance for smooth pencil shading and a clean shadow edge. Use pencils for the plate and petals so you can blend the highlights softly. Marker goes into the plate shadow under the sunflower and into a few speckle clusters near the rim for depth. Done right, the speckles look like glaze, not like random dots.
Step 1: Draw a plate circle and rim, then sketch the sunflower centered on it. Step 2: Pencil shade the plate with light gray-tan and warm beige, leaving a highlight arc. Step 3: Add speckles with pencil — small dots in brown and gray-tan, then lightly blend around them. Step 4: Use marker for the darkest plate shadow where the sunflower sits and for a few rim shadows; finish with pencil seed texture and petal highlights.
Keep speckles smaller near the highlight arc so the plate looks round.
Don’t overdo speckles with marker — they turn into blotches.
16. Sunflower and Rolling Yarn Ball with Soft Shadows
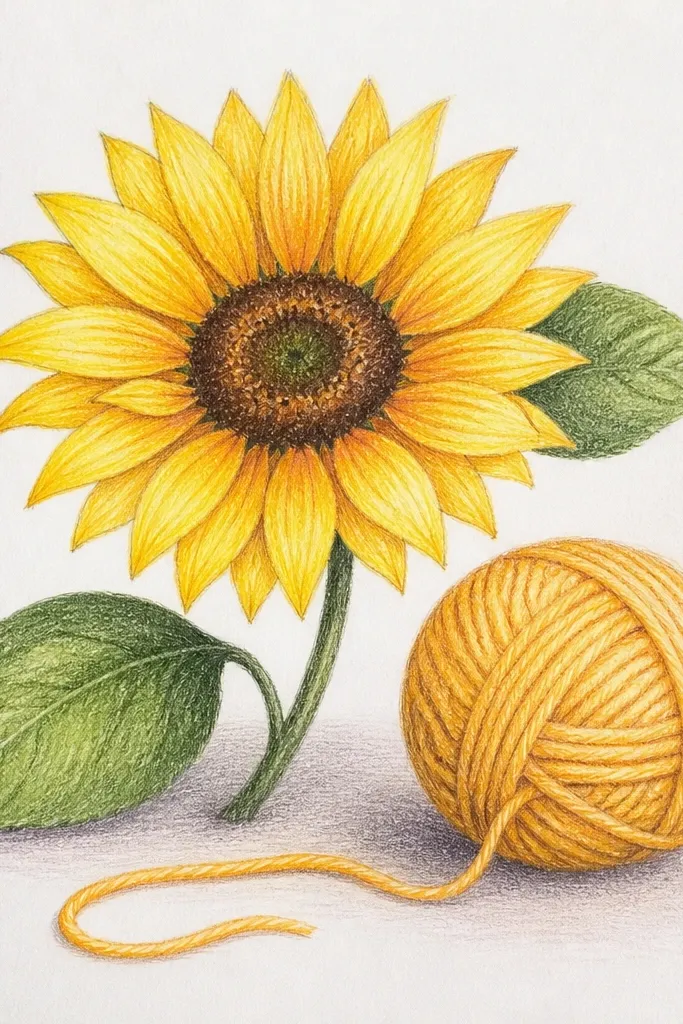
Yarn adds instant cozy because it’s a familiar craft object. Use pencils for the yarn texture and the sunflower petals so everything blends gently. Marker is best reserved for the strongest shadow under the yarn ball and the underside of the sunflower petals. That contrast makes the scene feel grounded and warm. If you want your drawing to look tidy, keep the yarn lines curved and repeatable, then let the sunflower add the organic petal variety.
Step 1: Sketch the yarn ball as layered ovals and draw the sunflower head next to it. Step 2: Pencil the yarn with light tan base, then add darker brown and blend to show roundness. Step 3: Pencil the sunflower petals with pale yellow to amber layers; shade the center with tan and warm brown. Step 4: Use marker for the shadow under the yarn ball and a small shadow under the sunflower head, then add pencil highlights on both objects.
Use a single direction for yarn shading lines — it sells the round form.
Avoid marker on yarn texture lines — it makes them look harsh.
17. Sunflower in a Glass Vase with Two-Value Background
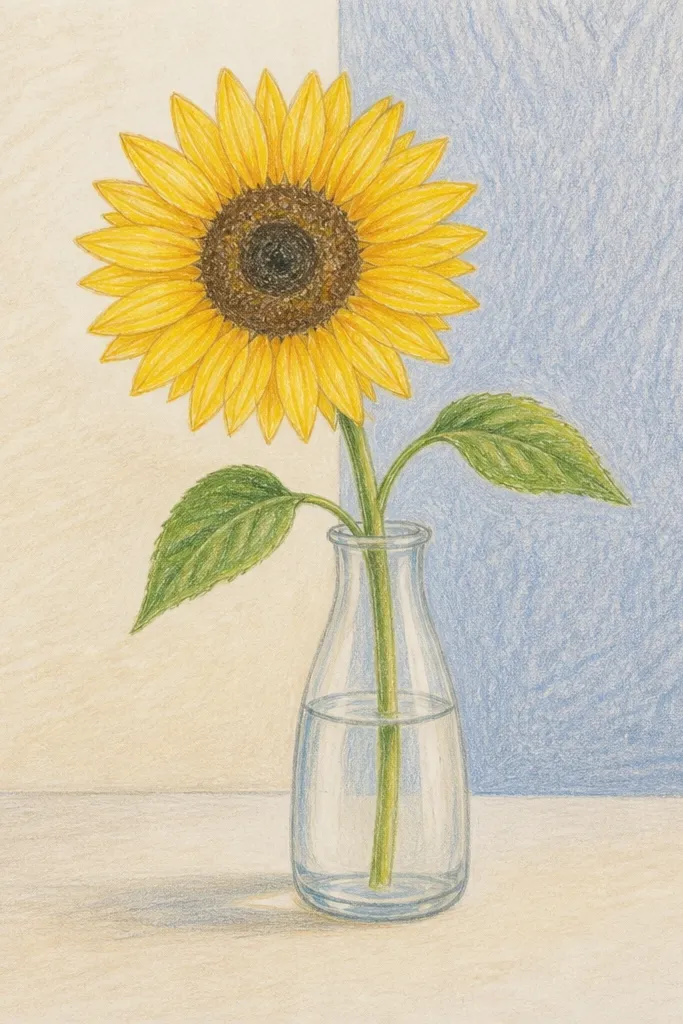
Step 1: Sketch the vase outline and a sunflower head, then lightly map highlight areas on the glass. Step 2: Pencil petals with pale yellow base and amber shading, then draw the center with seed texture marks. Step 3: Use marker for the background shadow zones behind the vase and a dark shadow under the vase base. Step 4: Go back with pencil to sharpen petal edges and add thin reflection lines on the glass.
A glass vase is a good test of whether your pencil-vs-marker plan is working. You want the vase highlights to stay light and the shadows to be crisp. Use pencils for petals and vase reflections, then marker for two background shadow zones behind the vase. That gives depth without clutter. The cozy effect comes from warm yellow petals against a calmer, controlled background. It also looks polished even with minimal detail.
Common mistakeDon’t marker the vase highlight areas — ink dulls the glass look.
Good to knowLeave the brightest reflection strip on the vase completely uncolored — it reads as glass instantly.
18. Sunflower and Cinnamon Stick Still Life with Warm Brown Shadows
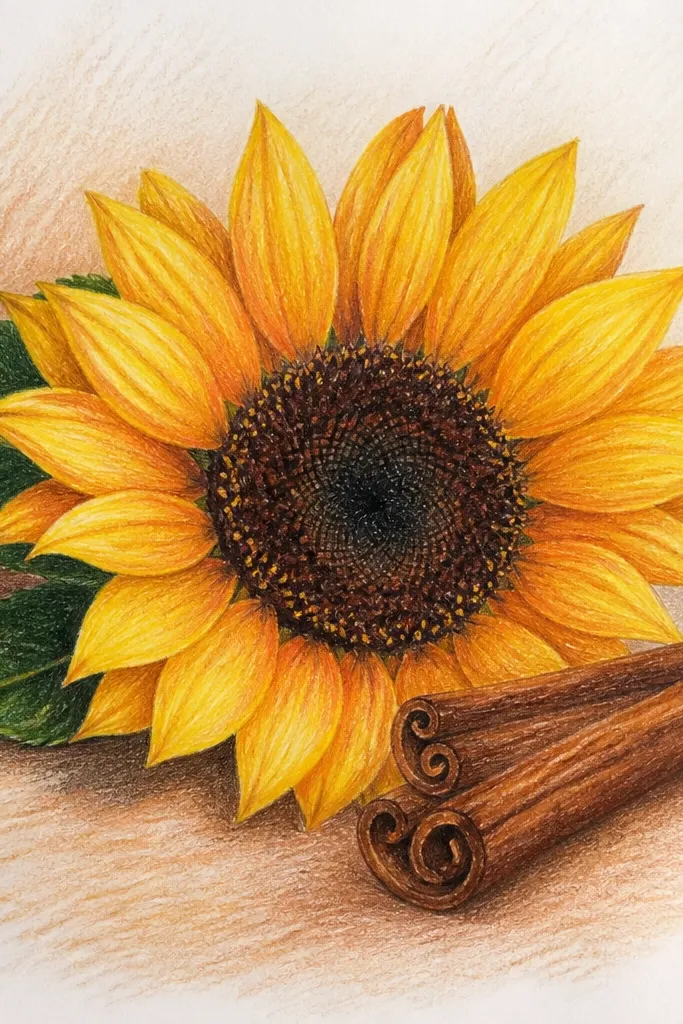
Step 1: Sketch the sunflower and a few cinnamon sticks, then lightly block the background with warm beige pencil. Step 2: Pencil the petals with pale yellow to amber fades, and add orange near the petal base. Step 3: Use marker for cinnamon stick shadow sides and for the strongest shadow under the sunflower and sticks. Step 4: Add pencil texture lines on cinnamon sticks and seed marks in the sunflower center, then re-highlight petal tips.
This is a cozy still life that pairs naturally with warm browns. Pencil makes the sunflower petals soft and buttery, while marker gives you the bold cinnamon shadows that make the objects sit on the page. Choose a warm shadow palette: brown-orange for petals' under-sides and deep warm brown for the cinnamon. Keep marker for shadows and outline — use pencil for texture. The drawing feels cozy because the warm tones are consistent across sunflower and spices.
Common mistakeAvoid using cool gray shadows — they make the still life feel colder.
Good to knowUse the same warm brown pencil for both cinnamon and center shadows so the scene feels unified.
19. Sunflower with Sweater Sleeve Background and Soft Knit Texture
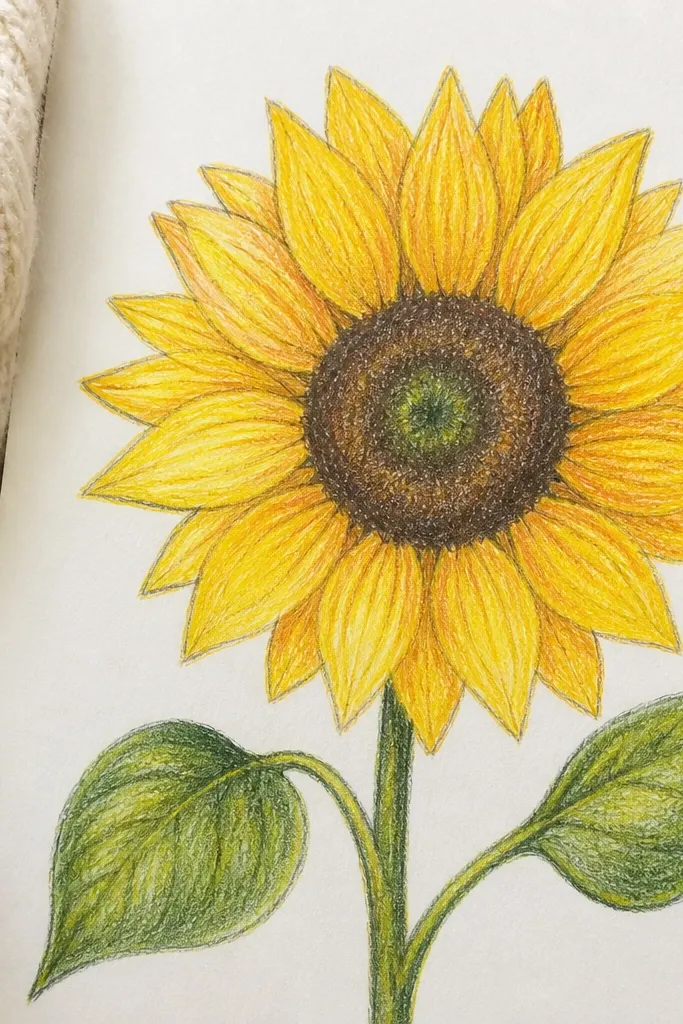
Step 1: Sketch a sweater sleeve shape behind the sunflower and draw a simple knit pattern with light pencil lines. Step 2: Colour pencil the petals in layered pale yellow to amber, then shade the underside of petals darker with warm orange. Step 3: Use marker only in the deepest knit shadow pockets and under the sunflower head. Step 4: Add pencil highlight strokes on petals and lightly blend knit lines so they look like yarn, not ink.
Knits and cables look cozy because they have rhythm. Use pencil for the knit texture lines and for the sunflower petals so everything feels soft and warm. Marker is for the knit shadow pockets and a few deep shadows under petals so the flower pops. The key is keeping knit texture light — it should frame the sunflower, not compete. This idea is great if you like cosy, homey backgrounds and want your drawing to feel like fabric.
Common mistakeDon’t outline every knit ridge — it makes the sweater look stiff.
Good to knowDraw knit cables with pencil first, then add marker shadow only between cable ridges.



