
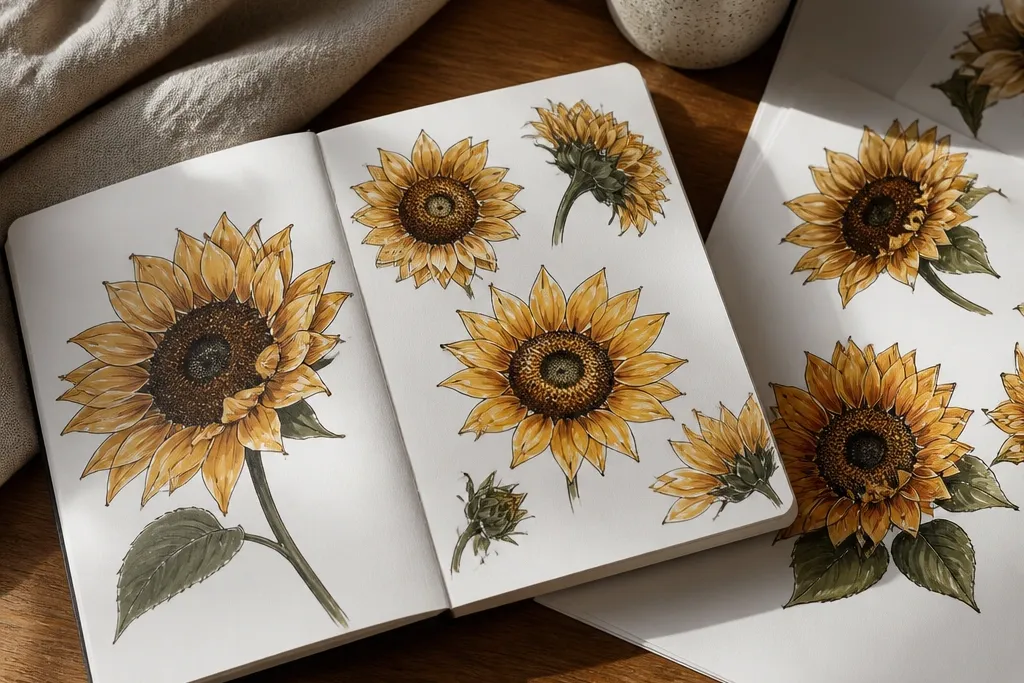
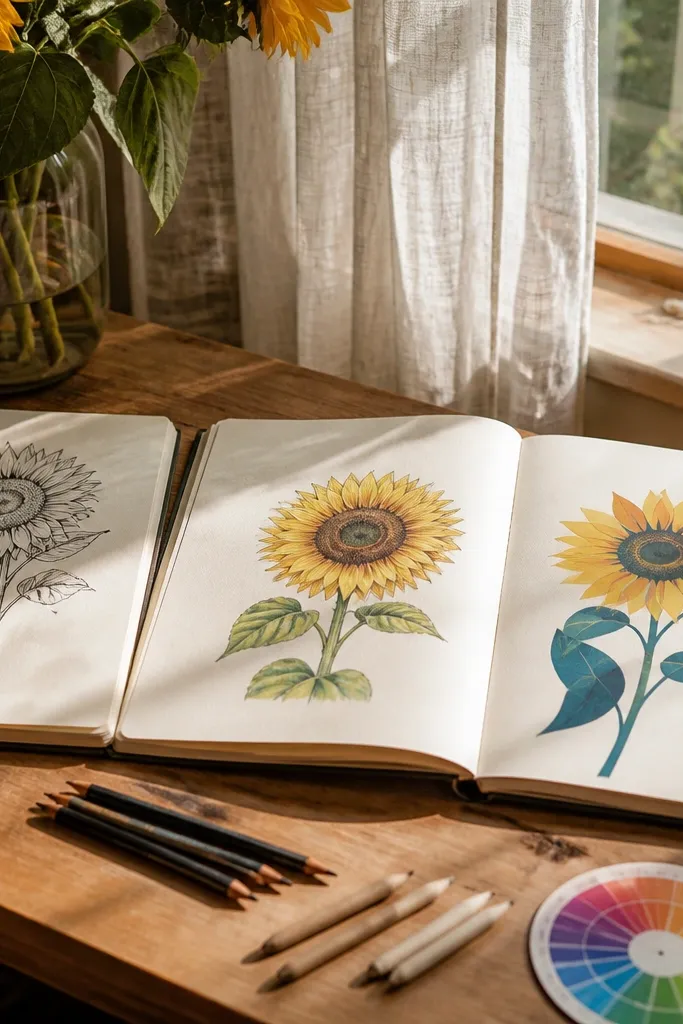
1. Sunflower with Spiral Seed Center and Dot Highlights
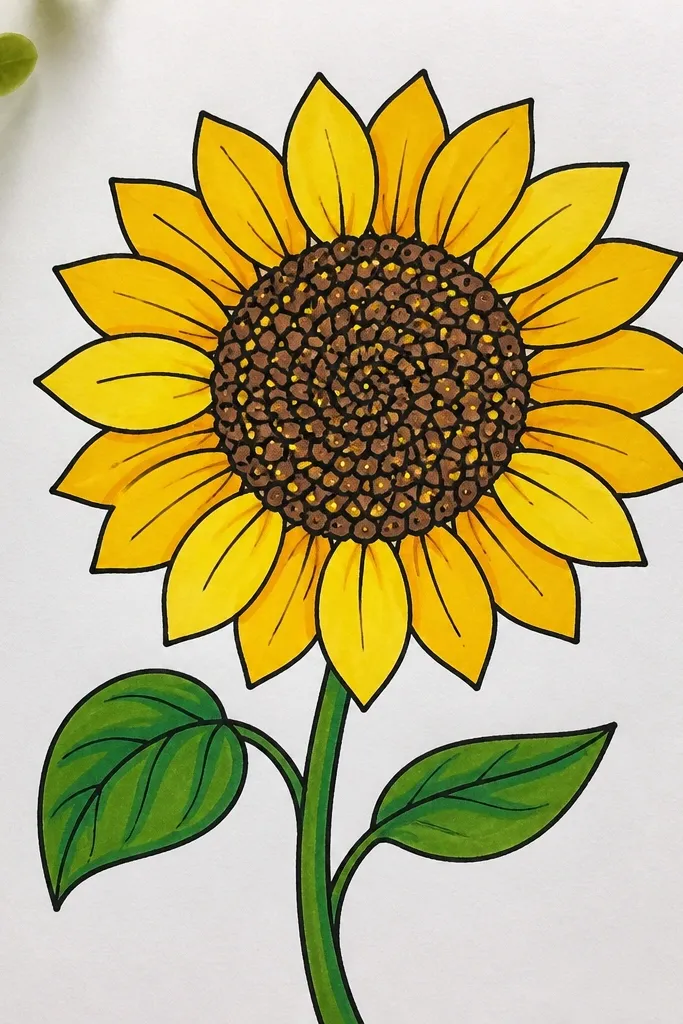
This one looks bold because the center is doing the heavy lifting. A tight spiral of seed marks creates instant texture, and the tiny dot highlights on petals make the flower glow. The petals stay graphic, not painterly, so it’s easy to replicate and still looks “designed.” It’s great for wall art, cards, and marker journal pages because it reads clearly even from a distance.
Start by drawing a circle for the center, then lightly sketch a spiral that wraps inward. Fill the spiral with short seed lines in brown-black, keeping the marks smaller near the spiral core. Add a ring of petals around the center using teardrop shapes — keep spacing consistent. Color petals with light yellow first, then add warm dark along one side of each petal; finish with 5-10 tiny white dots where the light would hit.
Use a white gel pen for the dot highlights after the marker dries so the dots stay clean.
Don’t shade the petals from both sides — it kills the 3D look fast.
2. Two-Tone Petal Ombre Sunflower with Crisp Edge Lines
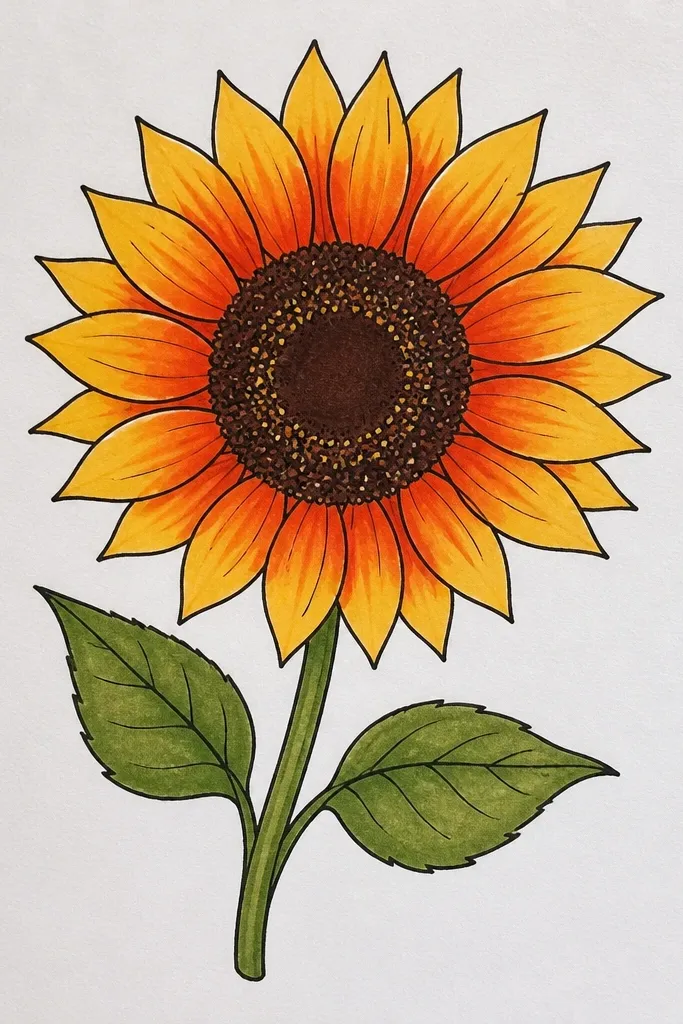
This idea is clean and modern. The ombre runs from petal base to tip, and crisp outlines keep it from looking messy. It’s the fastest way to get a “finished” look because the shading is predictable and repeatable across every petal. Pair it with a simple background wash and the flower looks like it belongs on a tote bag or planner cover.
Outline the sunflower with a bold marker line, then block in the center with small seed marks. For each petal, color the base with mid yellow and blend into light yellow toward the tip. Add a shadow band by going over the inner edge of petals with warm dark, leaving the outer edge lighter. Finish by tracing the outermost petal edges with a thin warm brown line so the flower pops.
If your marker streaks during blending, do it in short passes instead of one long stroke.
Don’t over-blend — ombre should look smooth, not muddy.
3. Sunflower in a Stitched Circle Frame
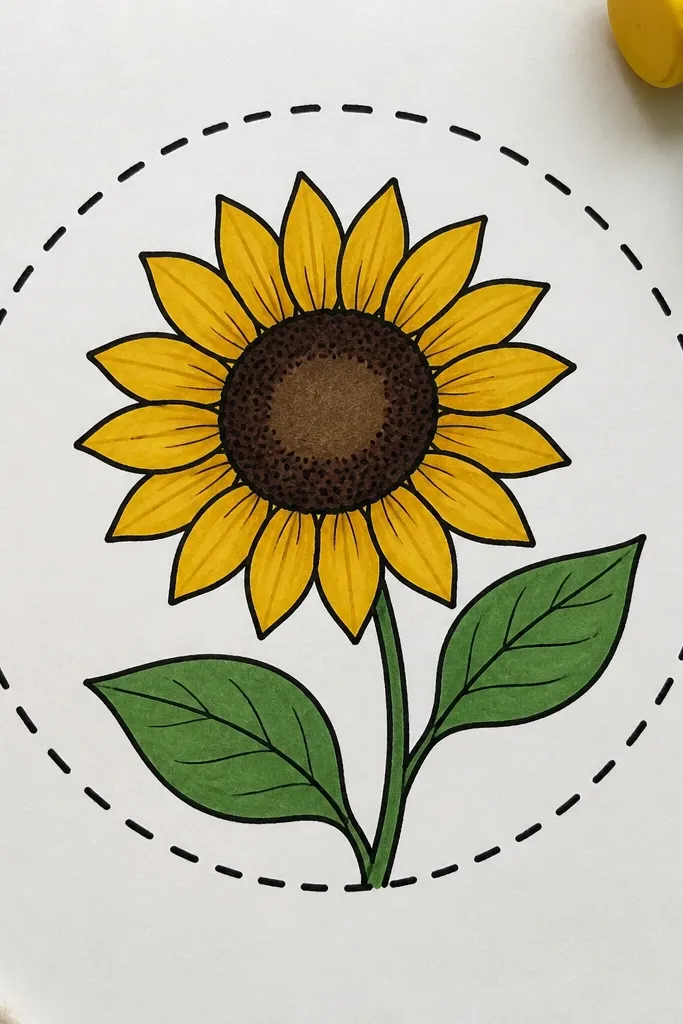
The stitched frame makes this feel handmade without extra tools. The sunflower stays bold in the center while the stitched ring adds texture and structure around it. This is a great repurpose idea for upcycling: the finished piece looks good on scrap fabric, cardboard, or the front of a notebook cover. It also photographs well because the frame creates a strong border.
Draw a big circle for the frame, then draw a smaller circle inside it for the sunflower center. Add a petal ring in three sizes, keeping the outer petals close to the inner frame. Color petals with light yellow and shadow the inner side with warm dark. Add the stitched effect by drawing short curved marks along the frame edge, then draw a second row of tiny straight lines offset like stitching.
Use a fine liner for the stitch marks so the frame stays sharp in photos.
Don’t make the stitched ring too close to petals or the lines will fight for attention.
4. Sunflower Leaves as Negative-Space Blades
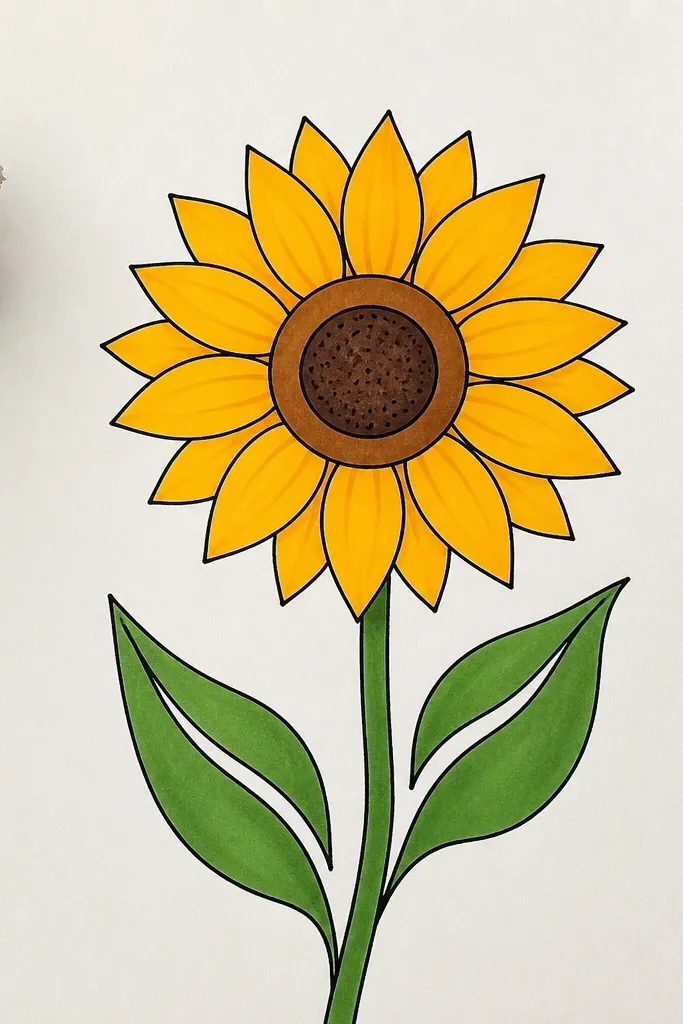
This is the graphic one. Instead of fully coloring leaves, you carve leaf shapes out with marker coverage, so the white paper becomes part of the design. The petals look even brighter because the surrounding shapes create contrast. It’s a great choice if you want something aesthetic but don’t want to color large areas for hours.
Sketch the sunflower with a bold center and petal ring, then place two or three leaf shapes behind the petals. Color the sunflower petals normally, but leave the leaf areas uncolored where you want the negative space. Add a thin outline to the leaf silhouette so it reads clearly even with white space. Shade behind the leaves with a light green wash or light gray so the leaf cutouts feel intentional.
Block the negative shapes first with a pencil so you don’t accidentally fill them with marker later.
Don’t outline every little vein — the leaf silhouette is what matters.
5. Sunflower Side Profile with Flowing Petal Arcs
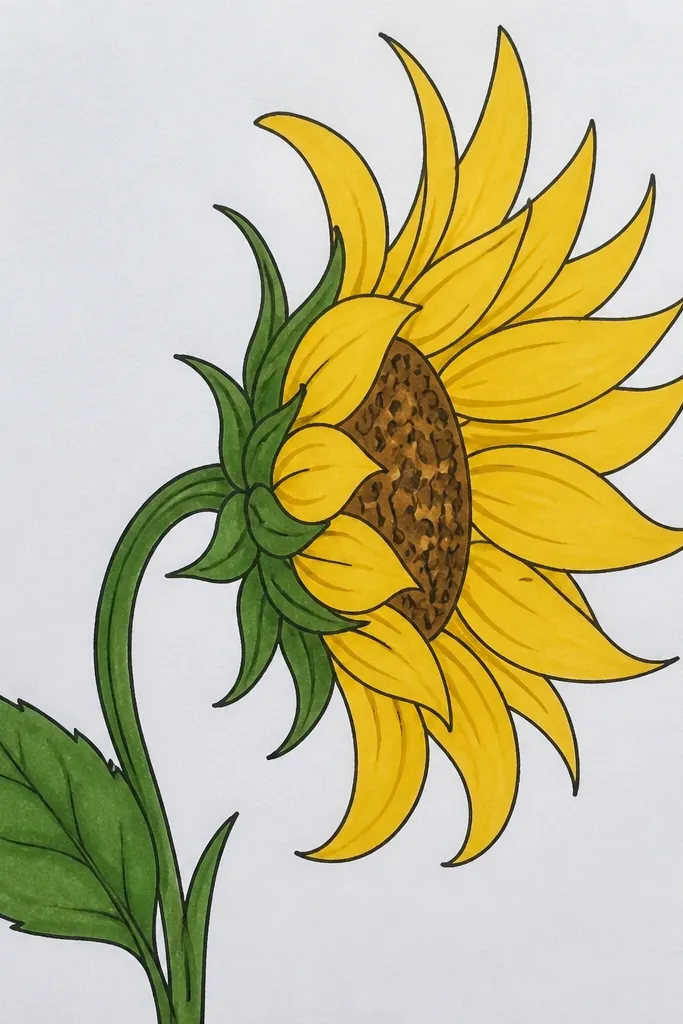
This one looks dynamic because the flower isn’t perfectly front-facing. A side profile makes the center slightly oval and the petals arc like they’re leaning toward you. It’s a strong option for markers because it reduces the need for exact symmetry while still looking polished. Use it for bookmarks, scrap art, or a quick panel for upcycled packaging.
Draw an oval center at a slight angle. Add seeds as short curved dashes that follow the oval curve. Build petals in arcs that wrap around the center — inner petals closer and shorter, outer petals longer and more curved. Shade petals with a single shadow side and blend from light to mid across each petal. Add a simple background blob in deep green or warm gray to make the leaning shape stand out.
Keep shadow direction consistent across the entire flower so the angle feels real.
Don’t try to make it both front-facing and side-facing — choose one perspective.
6. Sunflower with Watercolor-Style Marker Splatter (Controlled)
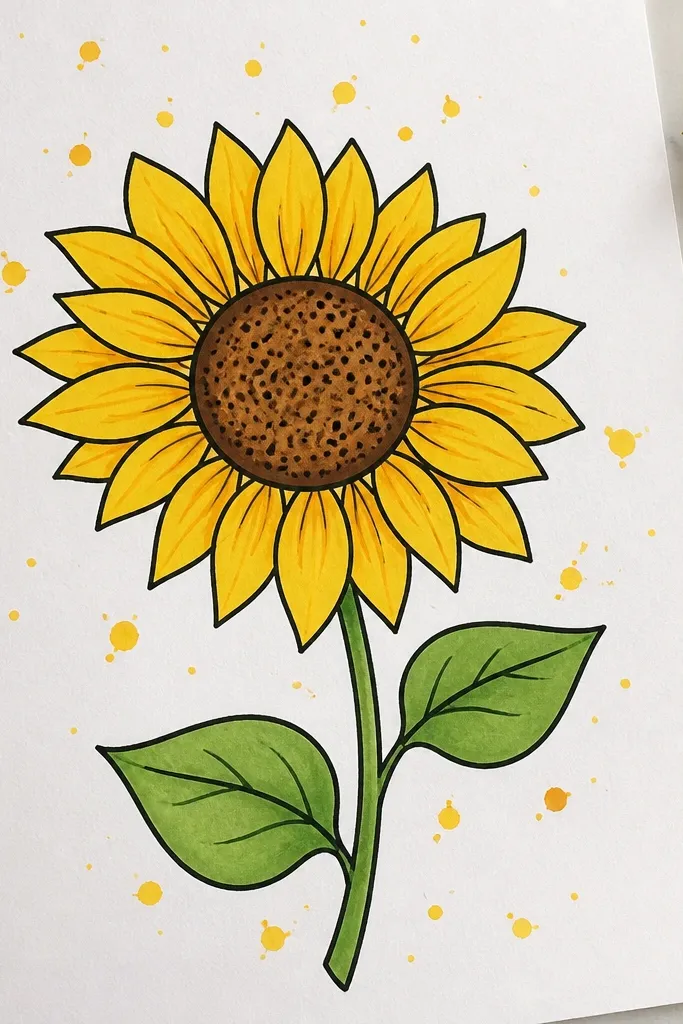
Splatter adds energy, and the sunflower gives it a clear subject. This version looks artsy without turning into a random mess because the splatter is controlled and stays mostly around the petals and leaves. It’s perfect if you want a bold, photogenic marker piece for a craft fair table or a repurposed gift tag. The trick is to keep the center clean and let the chaos happen in the background.
Draw and color the sunflower first, keeping the center texture crisp and the petals shaded neatly. Then load a brush or a second marker tip with diluted yellow or warm brown by lightly touching it to water and picking up the pigment. Flick small droplets around the flower, leaving a clear margin near the center so the texture stays readable. Add a few larger splats on one side for balance.
Practice the flick on scrap paper so you don’t blast the page with huge drops.
Don’t splatter over the seed center — it blurs the detail that makes it look real.
7. Sunflower Mandala Hybrid with Petal-Seed Texture Rings
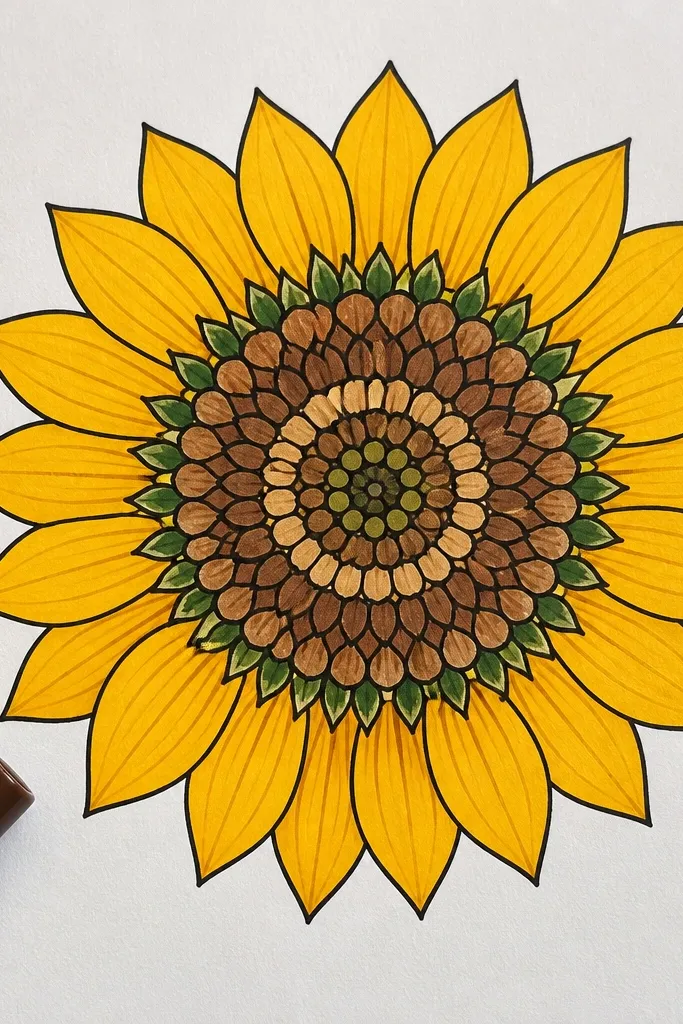
This is for when you want “wow” detail without switching to paint. The mandala rings turn the sunflower into a design object, and marker texture stays legible in photos. You get a bold aesthetic because the center and rings create layered rhythm. It’s also a great skill-builder: you’ll learn how to repeat small marks consistently.
Draw the center circle, then fill it with seed marks that get denser toward the middle. Add three petal rings, but instead of plain petals, texture each petal with short hatch lines on the shadow side. Build two more outer rings around the petals using small dots and tiny curved dashes. Color the petals light yellow with warm dark hatching; keep the rings mostly uncolored or lightly tinted so the shapes stay crisp.
Use a fineliner for the dots and dashes, then color around them so the linework stays sharp.
Don’t color every ring the same intensity or the design loses hierarchy.
8. Sunflower with Geometric Background Blocks
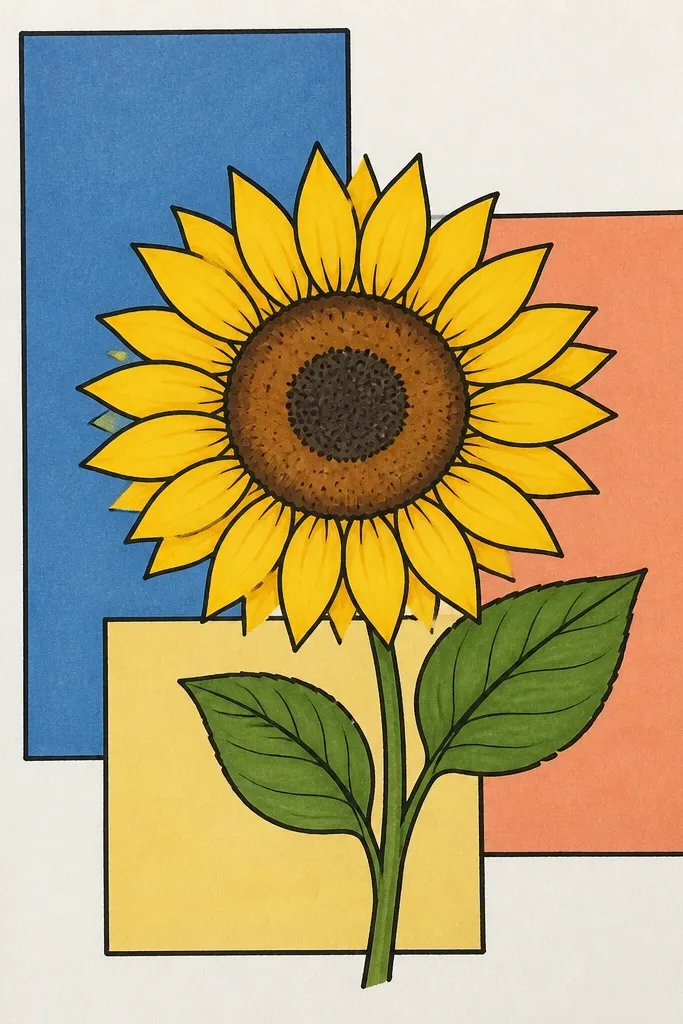
Geometric blocks frame the sunflower and make it look graphic instantly. The petals can stay simple, and the background does the styling. This works especially well for marker because flat color shapes are easier to control than gradients across the whole page. It’s a strong pick if you want your sunflower drawing to look “designed” even with limited coloring time.
Draw the sunflower big in the center, then outline the petals and seed center. Color petals with light yellow plus warm dark on one side, but keep the shading clean and minimal. For the background, draw 4-6 angular blocks around the flower — leave a small gap so the flower edge stays crisp. Fill each block with one flat color using light green, warm gray, or muted blue, and add a thin dark outline around the blocks.
Keep block edges straight with a ruler for a sharper, more photo-friendly look.
Don’t let background colors touch the petal outlines or you’ll lose the silhouette.
9. Sunflower with Patterned Petal Tips and One Bright Accent
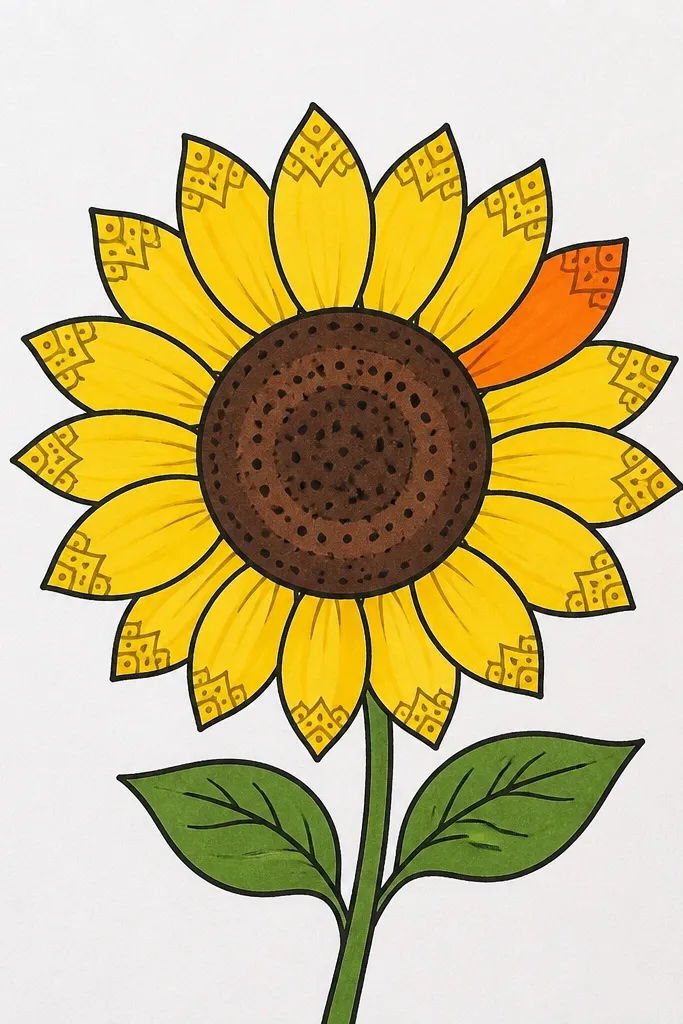
Patterned tips make the flower feel intentional and modern. You keep most petals classic yellow, then add a small repeating detail at the outer third. One bright accent color (like coral or turquoise) pulls the whole piece forward without making it look busy. This is ideal for small canvases, stickers, and upcycled labels where you want impact in a tight space.
Sketch the sunflower with a circular center and 1-2 rings of petals. Color the whole petals light to mid yellow, then add warm dark shadow on the inner edge. In the outer third of each petal, add a repeating pattern: zigzags, tiny dots, or short leaf-vein lines. Choose one accent color and use it only for the pattern tips and maybe 3-5 dots in the background.
Good to knowPick an accent color that contrasts with yellow — coral and turquoise both read well.
Common mistakeDon’t add multiple accent colors — one is enough to keep it bold.
10. Sunflower on Kraft Paper with Warm Brown Seed Texture
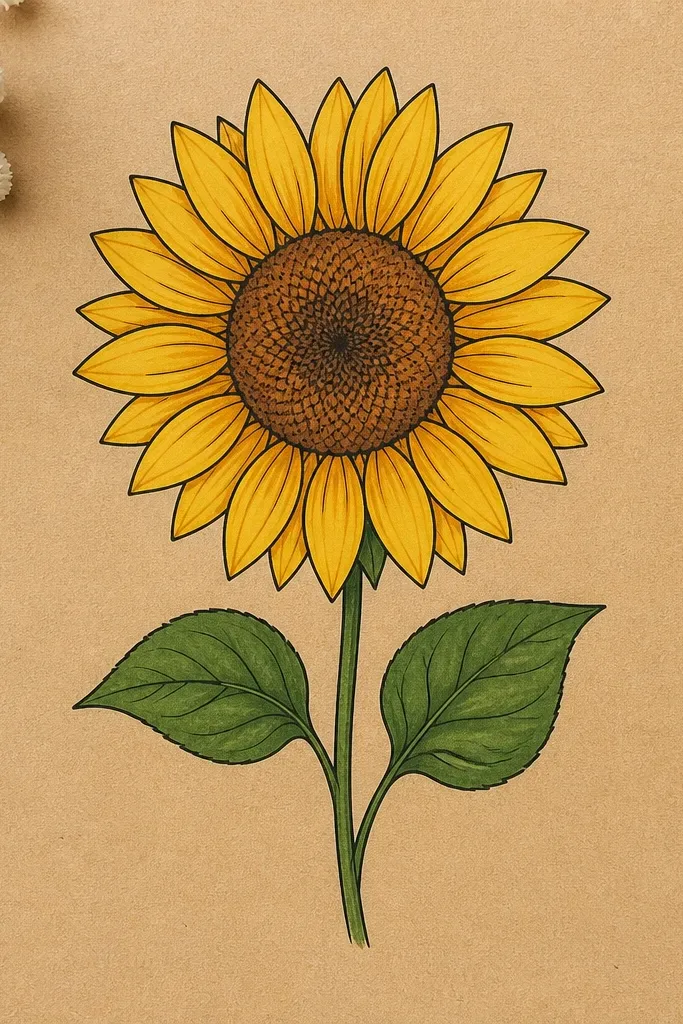
Kraft paper makes the sunflower look warmer and more “crafted” instantly. The brown seed texture pops because the paper already has a golden tone. You don’t need heavy background work; the paper color supports the whole palette. This is perfect for upcycling: it looks great on thrift-store cards, cardboard scraps, and handmade gift tags.
Use a dark brown or black-brown pencil/marker to outline the center and petals. Draw seed marks in warm brown and increase density toward the center. Color petals with light and mid yellow, then add warm dark shadow along one side. Let the kraft paper show through between petals and around the flower to keep it airy. Add a few deep green leaf accents if you want extra contrast.
Good to knowUse a white gel pen sparingly for petal highlights — kraft paper makes them pop hard.
Common mistakeDon’t cover the whole page with marker — kraft paper should breathe.
11. Sunflower with Colored Pencil Texture Over Marker Base
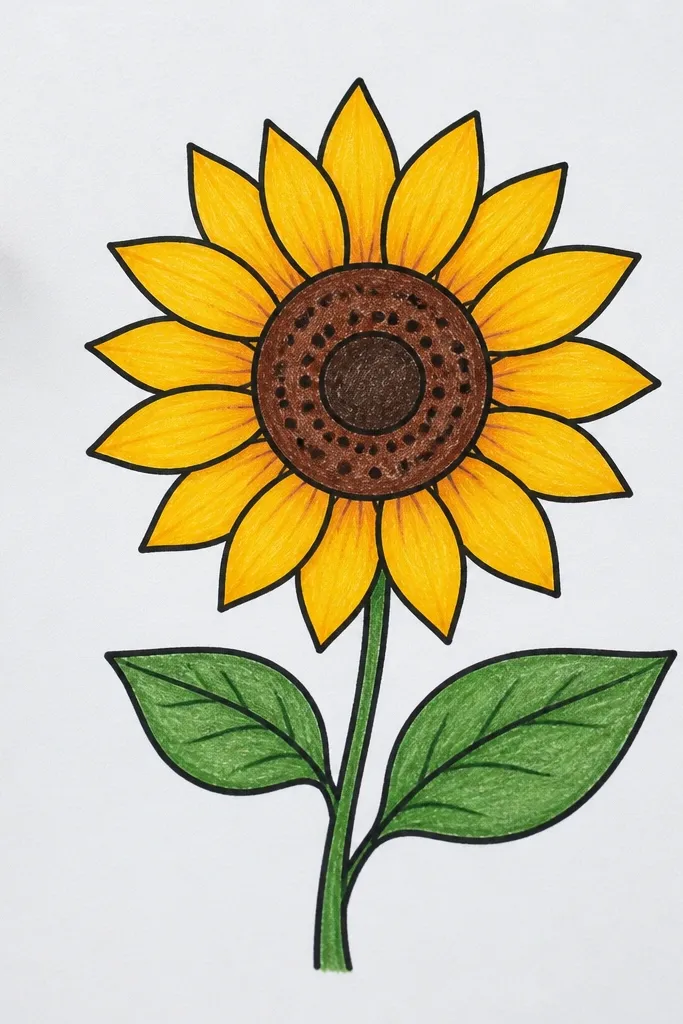
Marker gives you smooth color, but colored pencil gives you the crisp texture that makes petals feel real. This hybrid look is photogenic because the pencil adds micro-contrast along edges and seed lines. It also fixes a common problem: marker shading can look “soft” and flat, while pencil brings back definition. Great for anyone who wants a more illustration-style sunflower without painting.
Start with a marker base: color petals light yellow, then add warm dark along the inner edge. Keep the center seed area darker with brown-black marker. Let it dry fully. Then use colored pencil to sharpen petal edges with light strokes and add seed texture with tiny directional marks; blend slightly by layering the pencil over the marker.
Good to knowUse a light hand on pencil over wet marker — you want tooth, not smearing.
Common mistakeDon’t press hard right away or you’ll gouge the paper and get grainy patches.
12. Sunflower with Drop Shadow Cut-Out Effect
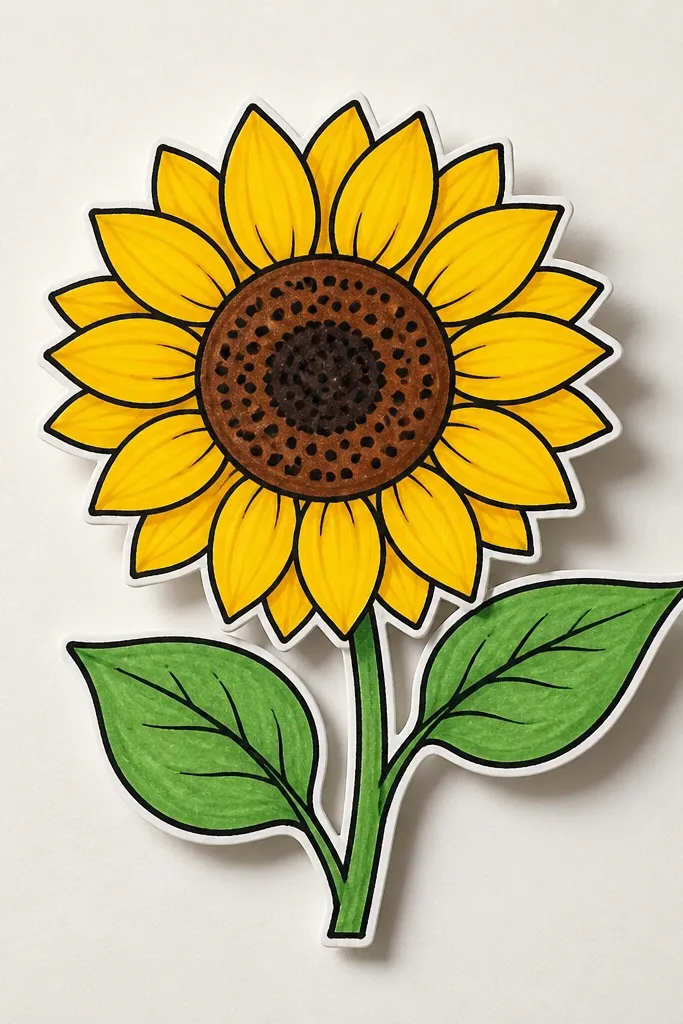
This is the one that looks like it’s standing off the page. The trick is a simple offset shadow that follows the flower shape, then a crisp inner outline so the sunflower edge stays sharp. It’s perfect for upcycled packaging fronts and label art because it reads instantly. You also get a bold look without filling the whole background.
Draw the sunflower with a clear outline in black or dark brown. Trace the entire flower shape again slightly offset (down and right works well). Fill the offset outline with warm gray or deep brown marker and leave the original flower unfilled in that shadow area. Then color the sunflower normally with light yellow plus warm dark shadows on one side of petals. Add a thin outline on top of the petals to sharpen the edge against the shadow.
Keep the shadow offset consistent across the whole flower so it looks intentional, not accidental.
Don’t make the shadow too thick or it will look like a sticker blob.
13. Sunflower with Inked Linework Only Center Detail
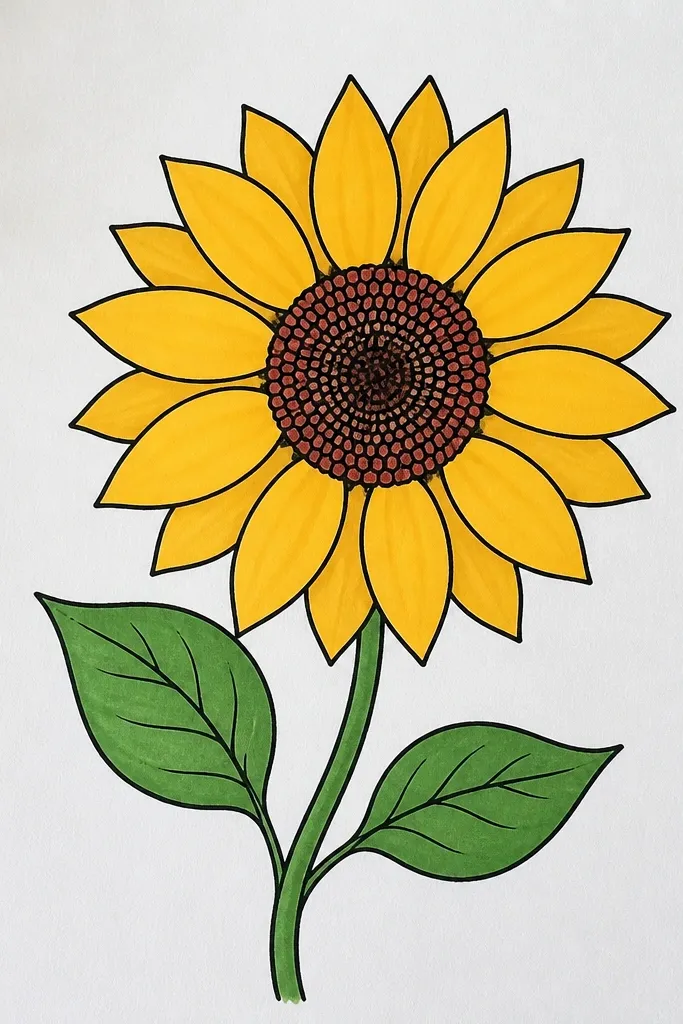
If you want a bold marker drawing that still looks airy, do this. The petals are mostly color blocks, while the center gets dense ink linework. That contrast keeps the piece interesting without over-coloring every area. It’s also a smart pick for beginners because the center detail is the only “hard” part, and it’s repetitive.
Outline the petals with a dark liner and keep petals as simple shapes. Fill petals with light yellow and add warm dark only as a narrow shadow strip. For the center, use brown-black marks: draw seed lines and short dots until the center looks textured. Add two or three small leaf shapes in muted green with minimal coloring. Leave the background white for maximum graphic punch.
Good to knowUse heavier line weight for the outer petals and lighter lines near the center to guide the eye.
Common mistakeDon’t outline the background — keep it blank so the sunflower stays the focus.
14. Sunflower Border Repeat Pattern on One Page
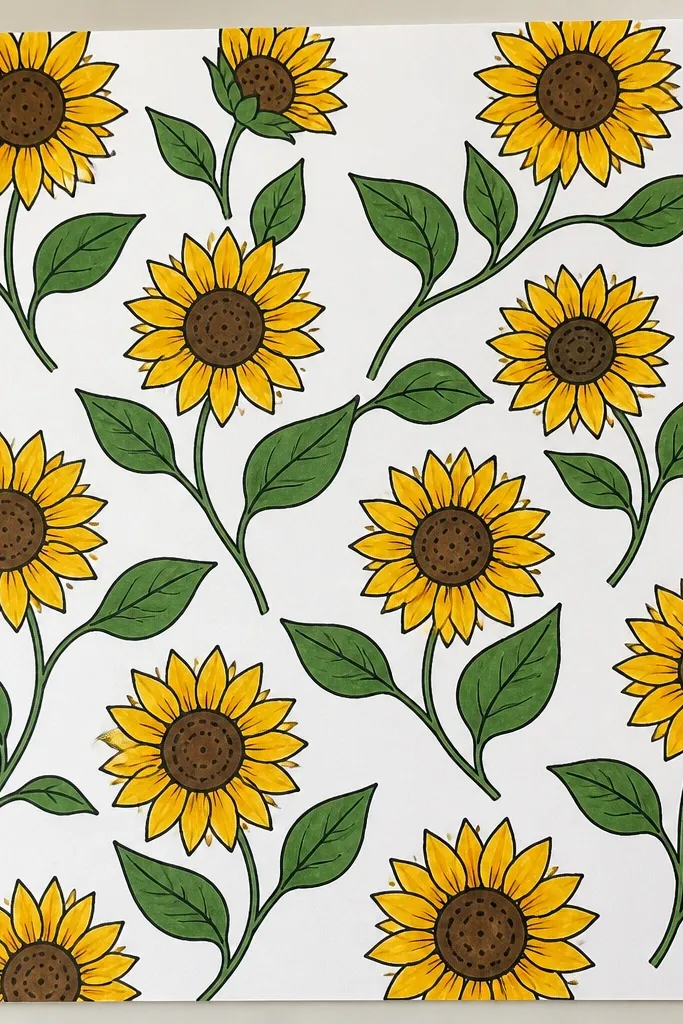
This is how you get a big aesthetic impact from small drawings. Repeating sunflowers along the edges makes the whole page feel designed, and it’s perfect for marker practice because you’re not reinventing the wheel each time. Keep each sunflower slightly different in petal length or center density so the repeat looks handmade. This works for notebook covers, scrapbooks, and upcycled paper wraps.
Pick a page size and draw a simple border rectangle with a pencil. Sketch three sunflower sizes: small, medium, and one larger focal. Use the same center method for all of them, but vary petal count by a few. Color with light yellow and warm dark shadows, then add tiny green leaf accents between flowers. Finish by tracing border lines with a dark marker so the repeat looks intentional.
Good to knowCreate a “petal template” by drawing one perfect petal shape once, then reuse it for each sunflower.
Common mistakeDon’t make every sunflower identical or the pattern looks printed instead of hand-done.
15. Sunflower with Stacked Transparency Layers (Outline Then Fill)
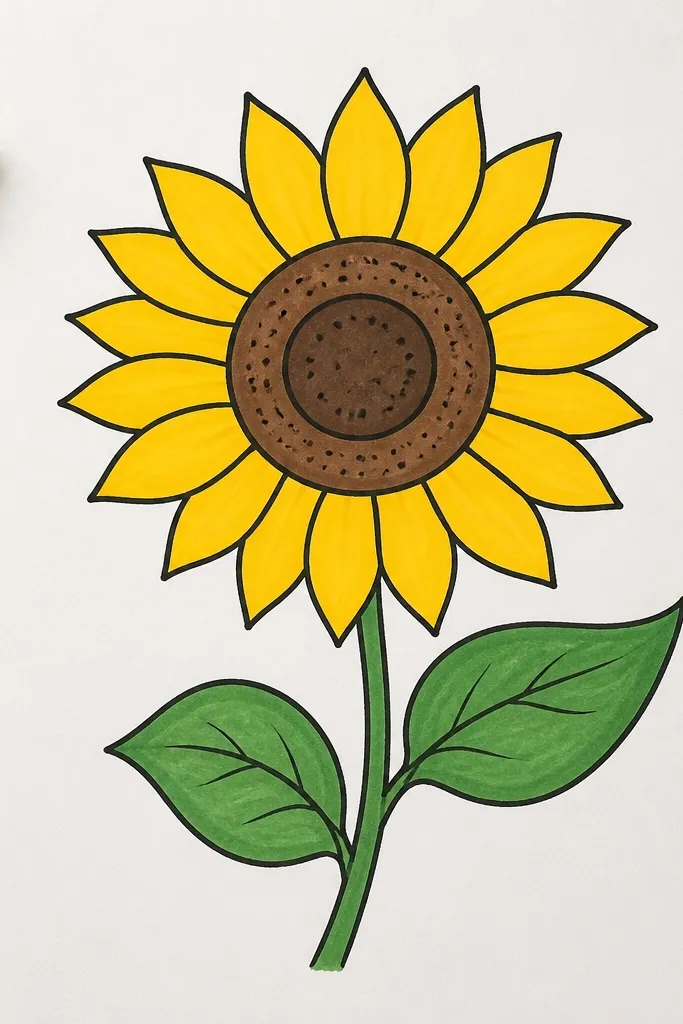
This layered method gives a lifted, airy look that still feels bold. You outline petals, fill them lightly, then layer darker shadows in a second pass. It works because the first layer creates a warm base, and the later layers add depth without covering everything. Great for aesthetic marker art where you want softness but still clean edges for photos.
Outline the sunflower and petals with a dark pen, then fill petals lightly with mid yellow using light marker pressure. After that dries, go back and add warm dark only on the inner edge of each petal, keeping the outer half lighter. Add a second outline pass around the petals with a lighter brown so the edges look dimensional. Build the center with brown-black seed marks and a few bright highlight dots. Keep the background minimal, with a light green haze behind the flower.
Let layers dry between passes. If you rush, the marker will turn patchy.
Don’t flood the petal with dark in one go — layering beats heavy pressure.



