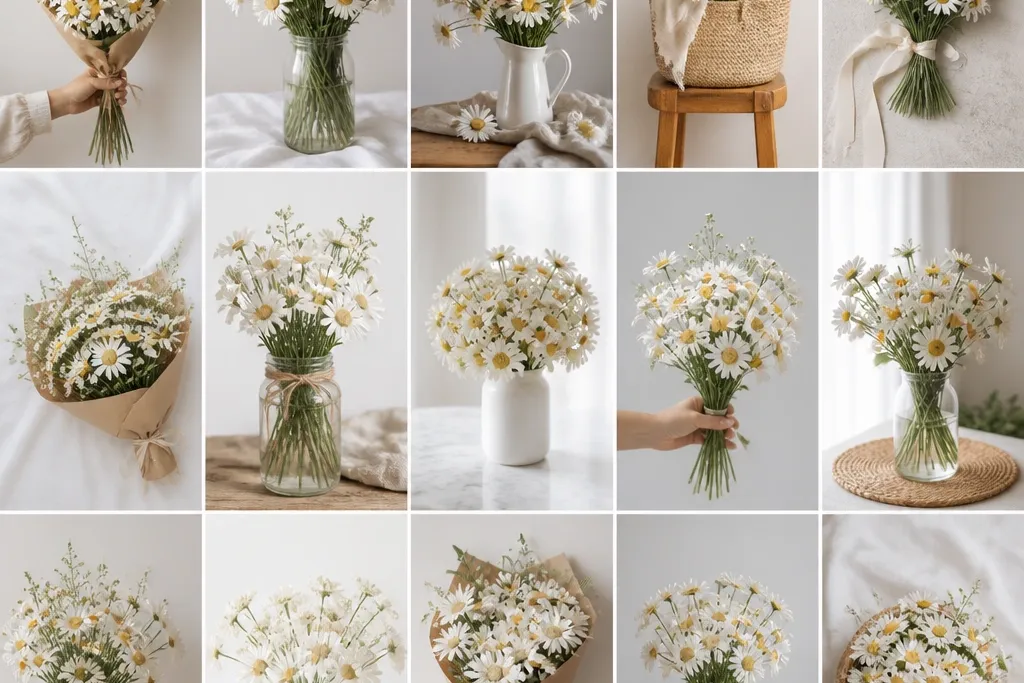
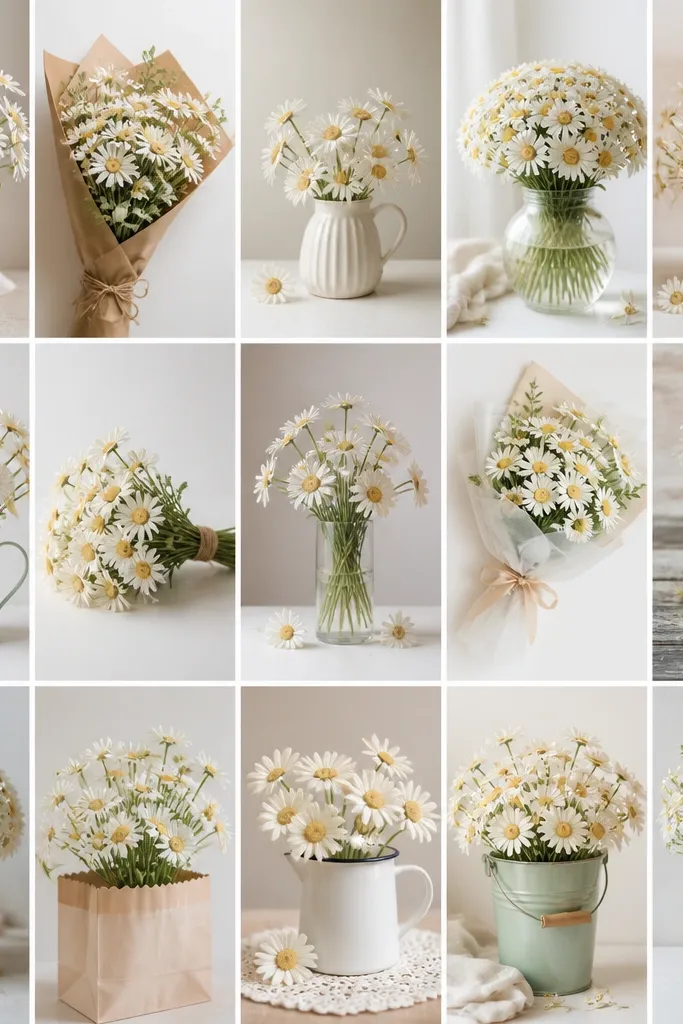
1. Upward Daisy Bouquet With 5-Finger Petal Fan
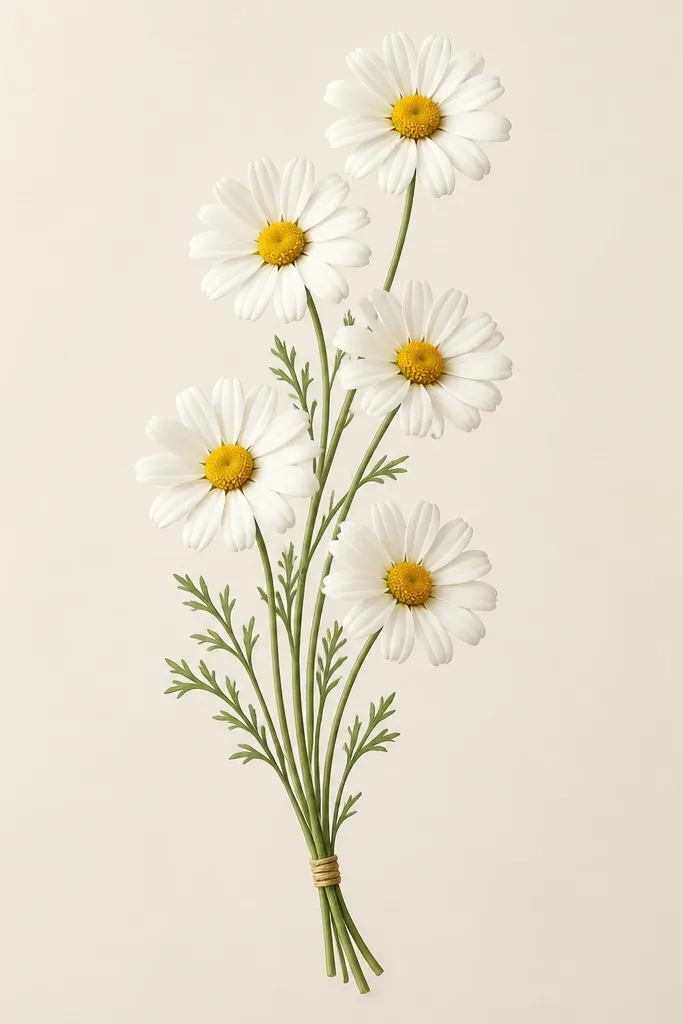
This one is my go-to when you want a clear bouquet shape fast. The upward arc makes the drawing feel taller and more "card friendly," even if your page space is small. I keep the petals mostly uniform and only change the petal tilt slightly from daisy to daisy, so the bouquet looks intentional instead of random. It flatters simple sketch styles - clean line art with minimal shading - and it works for pale, medium, and deep skin tones equally when you color the background behind it.
Start by drawing one daisy center near the lower third of your page. Then add petals around it using the same curve for every petal, like you're tracing a shallow bowl. Repeat for four more daisies, spacing them so the top ones sit closer together and slightly higher. Finally, draw a thin stem bundle from each daisy back to a shared wrap line at the bottom, and thicken the outer bouquet outline with a fineliner.
Good to knowColor the centers with warm yellow and leave tiny uncolored specks - it looks like pollen without extra work.
Common mistakeDon't pack all five daisies at the same height; the arc is what makes it look like a bouquet instead of a row.
2. Flat Spiral Daisy Bouquet With Center-Loop Depth
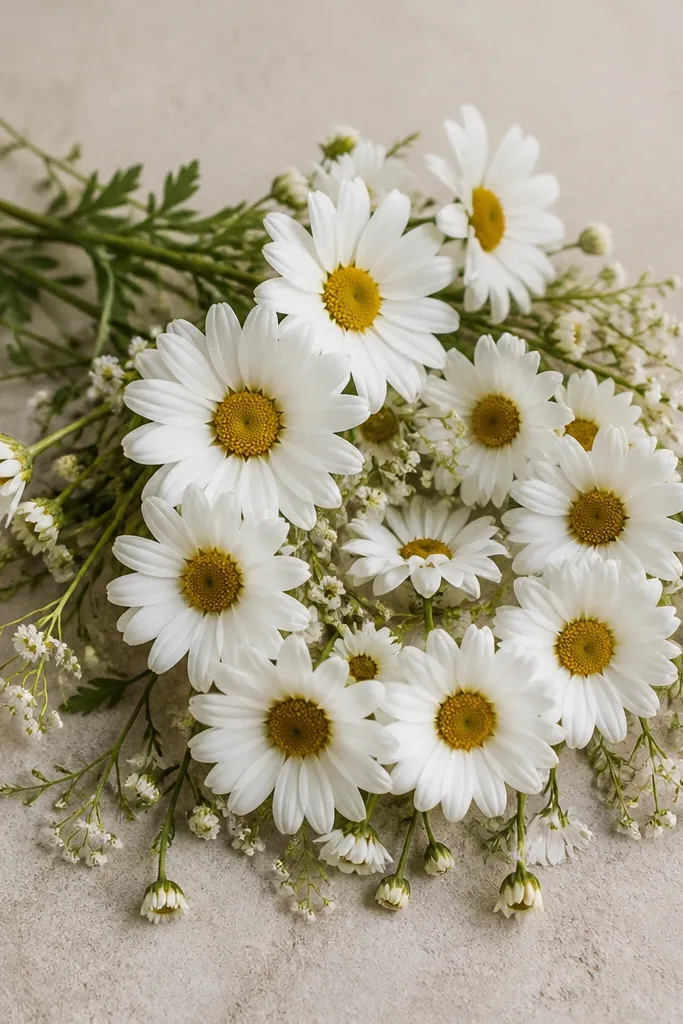
A flat spiral is the easiest way to make daisies look gift-like. Because the flowers wrap around in a curl, your viewer's eye naturally follows the drawing without you adding fancy backgrounds. The center-loop depth trick - where one center sits partially behind another - gives you layering even if you only use line art. It looks great on light paper, and it's especially flattering if your drawing hand is steadier with rounded shapes than with long stems.
Begin with a small circle guide in the center of the page where your spiral will start. Draw three daisies around it, then add two more that overlap the first set by drawing their petals in front and their stems behind. Keep the spiral moving outward until you have five to seven daisies total, leaving a small negative gap near the center. End by drawing a flat ribbon band under the spiral and a few short leaf marks tucked behind the outer daisies.
Good to knowAdd one soft gray shadow line under the front-most petals to create depth without heavy coloring.
Common mistakeAvoid drawing every daisy at the same scale; the spiral needs one or two slightly smaller flowers to feel layered.
3. Wreath-Edge Daisy Border for Holiday Cards
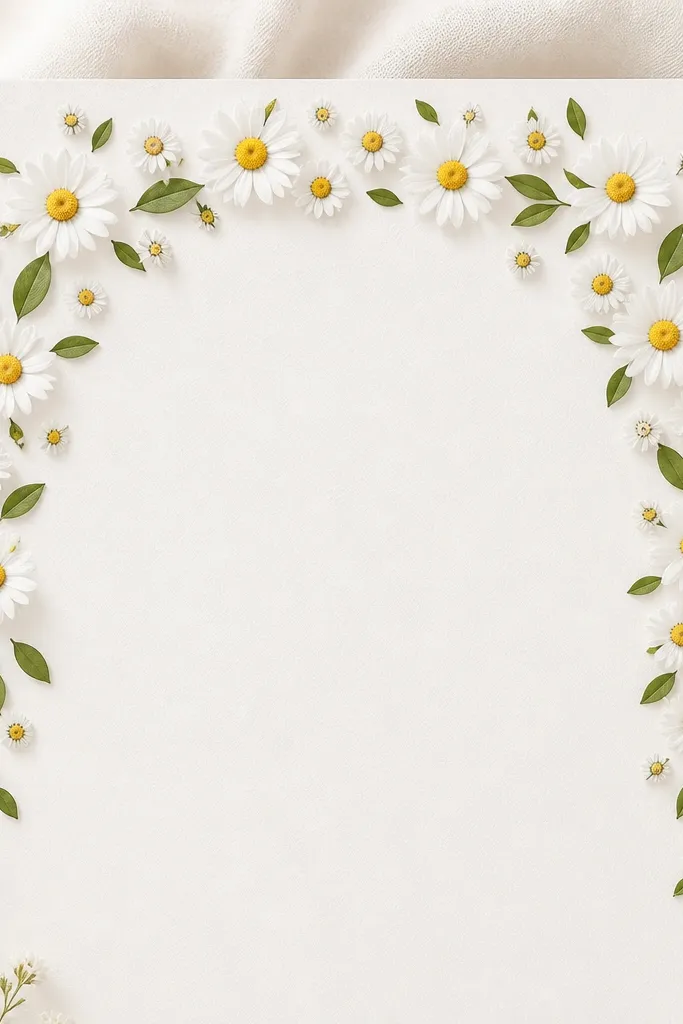
This is the bouquet drawing I use when the card design needs to leave room for text or a date. The border placement keeps it from feeling cluttered, and the wreath shape makes it read like seasonal decor even with only daisies. I keep each daisy smaller near the corners and slightly larger along the top arc so the border feels balanced. It works on any skin tone because the drawing is mostly line art and color accents, and it looks clean on both white and warm cream paper.
Trace a faint rectangle or card outline so you know where the border ends. Draw a curved line along the outer edge, then place six small daisies evenly along the top arc. Add daisies down the sides, but keep the bottom center lighter so you still have space for writing. Finish by connecting a few daisies with short leaf strokes and adding a tiny bow knot at one side.
Good to knowUse a ruler lightly for the outer border line, then erase it - it keeps the wreath crisp.
Common mistakeDon't fill the bottom edge evenly; the blank center is what makes the card look designed.
4. Daisy Bouquet in a Mason Jar Frame
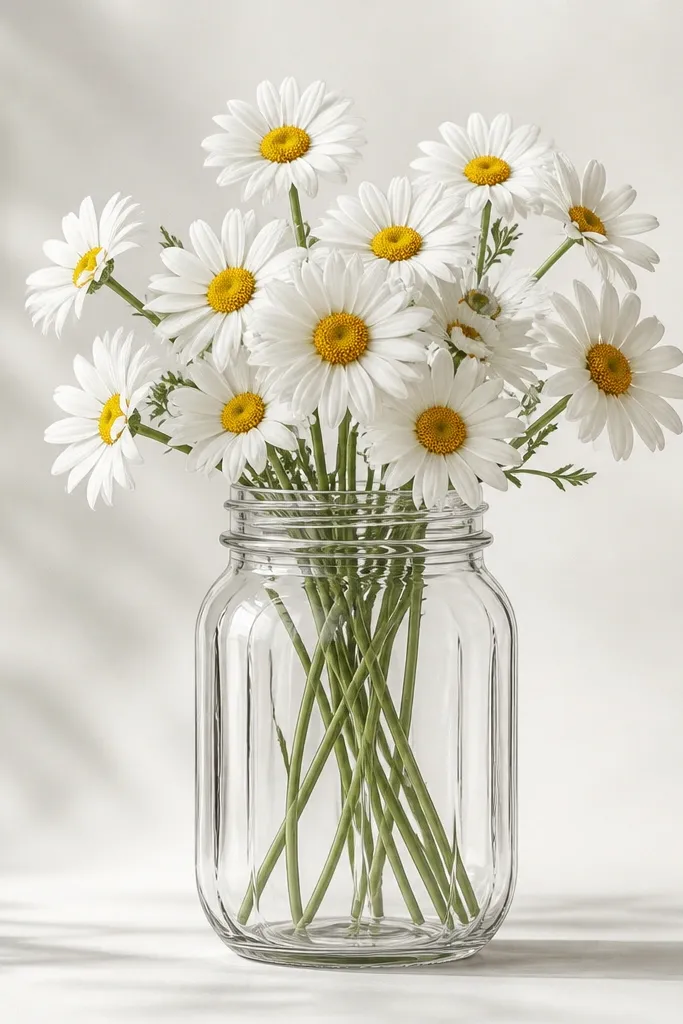
Drawing daisies inside a jar makes the whole bouquet feel contained and tidy. I like it for seasonal & holiday because it reads as a practical, cozy gift - like store-bought flowers but hand-drawn. The jar shape gives you natural boundaries, so even if your petals vary a little, the composition still looks polished. It flatters beginners because the jar lines are straight and provide structure, and it looks good in grayscale too.
Start by drawing an oval mouth for the jar, then sketch the jar body as a slightly wider rectangle with rounded corners. Add two vertical glass lines and a thin rim line at the top. Place three daisies inside the jar, with stems curving upward, and draw two more daisies peeking over the rim. Shade just under the front petals with a light gray pencil or marker so the flowers separate from the jar.
Good to knowIf you use marker, let the jar outline dry before coloring the centers so you don't get bleeding around the yellow.
Common mistakeDon't draw stems straight up; a slight bend makes the bouquet look real.
5. Tiny Daisy Bouquet With Big Negative Space

This is for when you want a drawing that looks modern and airy. The big negative space makes the daisies feel intentional, not unfinished. I keep the bouquet tiny and let only one flower be fully front-facing; the others are slightly angled so they don't compete. This style is great for cards and labels because it reads clearly even when scaled down. It flatters anyone who struggles with filling space - you're giving the composition breathing room.
Place one daisy center first, then draw petals around it, keeping them small and evenly spaced. Add one daisy behind it by drawing only the outer petals and a partially visible center. Place a third daisy to the side with its petals angled and the center slightly hidden under the first flower. Add two thin stems that connect to a single leaf stroke, and stop there - no extra buds.
Good to knowUse a finer pen for the petals and a slightly thicker one for the center outline so it stays readable at small sizes.
Common mistakeDon't add background dots to "fill space" - keep it clean or it looks messy.
6. Basket-Handle Daisy Bouquet With Ribbon Loops
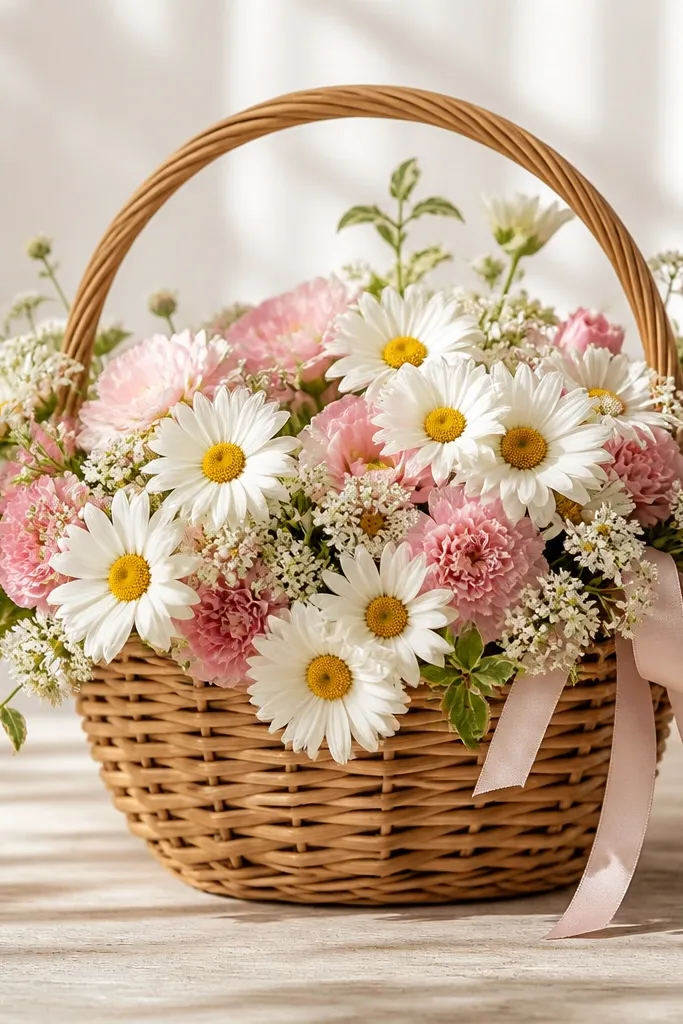
A basket handle instantly makes the bouquet feel like a seasonal gift. The ribbon loops give you a place to add color without touching the daisies too much. I draw the basket with a few woven lines only, then focus detail on the daisy petals so the whole piece doesn't turn into a texture mess. This looks good for holiday because it reads as "wrapped and ready," not just a flower sketch. It also flatters people who like drawing shapes - the basket handle is a fun curve.
Sketch a shallow basket shape with two rounded sides and a woven pattern of 6-8 quick lines. Draw a curved handle across the top, then place five daisies so their centers sit just above the basket rim. Add one ribbon loop on the left and one on the right, each with a slight twist line down the middle. Finish by adding a couple of short leaf strokes tucked behind the outer daisies.
Good to knowColor the ribbon a soft muted red or dusty rose, and keep the basket outline darker than the ribbon.
Common mistakeDon't overdraw the basket weaving; too many lines makes it look like a coloring book panel.
7. Single Daisy Bouquet Tie-Up With Three Buds
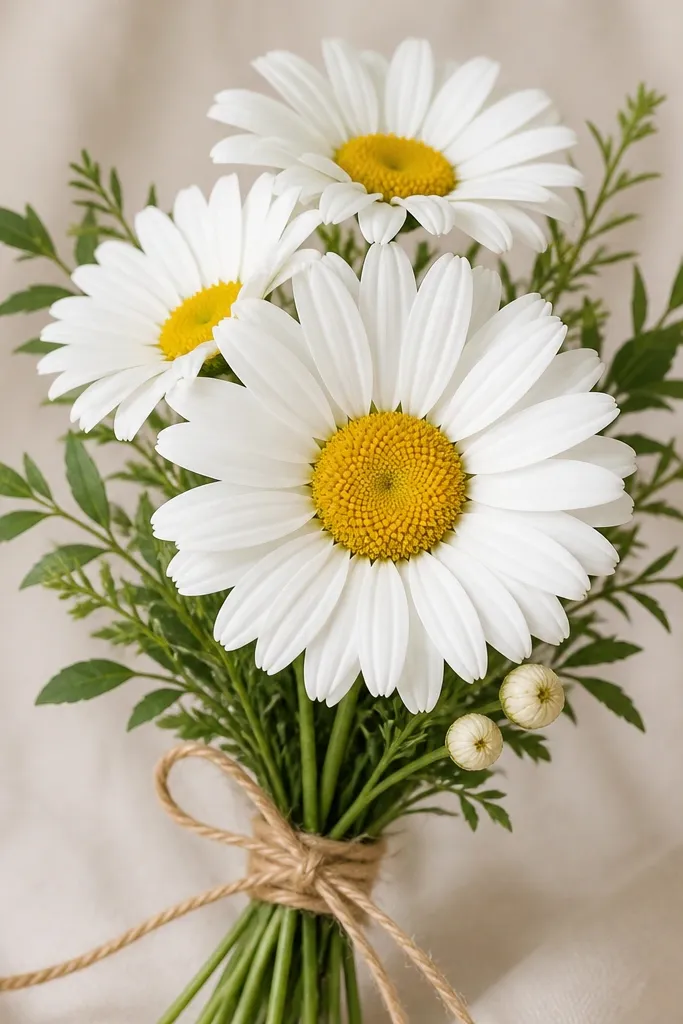
This is the "centerpiece" bouquet. One big front daisy gives you instant focal point, and the three tiny buds make it feel like a real stem arrangement. I like the tie-up at the bottom because it hides stem clutter and makes the composition look finished. It's also beginner-friendly because you're drawing fewer full daisies and more simple circles for buds. It works well for both white paper and colored paper because the petals are mostly line art.
Start with the large front daisy center, then draw eight petals around it with slightly uneven spacing. Add two smaller daisies behind by drawing only half their petals and a partially hidden center. Draw three tiny bud circles along the stems, then add a tight twine tie at the bottom with 5-7 short wrap lines. Finish by drawing two leaves that angle outward from the tie point.
Good to knowUse a gel pen for the centers so the yellow looks dense and not watery.
Common mistakeDon't tie the twine too high; the tie should sit below the flower bases.
8. Daisy Bouquet With Watercolor Wash Background Only
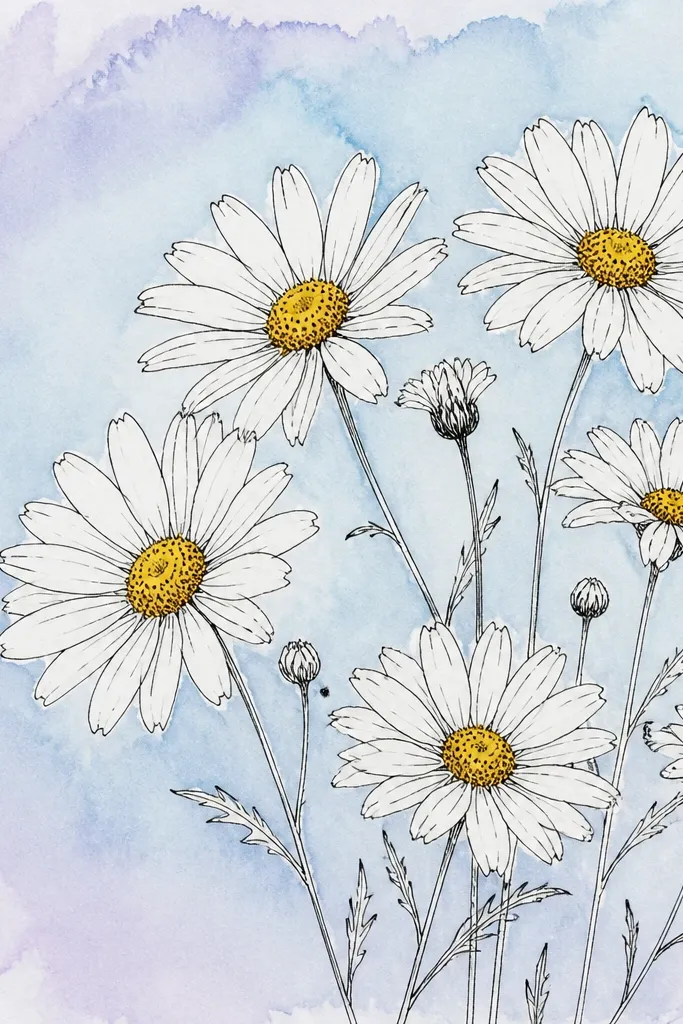
Keeping the daisies mostly line-based and coloring only the background makes the drawing feel airy and polished. The watercolor wash adds mood without turning your petals into mushy shapes. I use this when I want the bouquet to look like a finished illustration rather than a sketch. The contrast between crisp ink lines and soft background washes is what sells it, and it's forgiving if your coloring isn't perfect yet. It looks great with neutral skin tones too because the color focus is on the flowers and the wash, not on anything human.
Draw your bouquet first in pencil, then ink it with a fineliner. Paint only the background using a light wash, leaving the daisies unpainted so the petals stay bright white. Wet the paper lightly, then dab in a pale blue around the top and a faint lavender near the edges. Once the wash dries, color the centers with warm yellow and add a thin gray shadow under the front petals.
Good to knowMask the daisies with dry tissue paper while you paint the wash if you're prone to splatter.
Common mistakeDon't flood the paper; heavy water makes the ink lines feather.
9. Daisy Bouquet in a Teacup With Steam Swirls
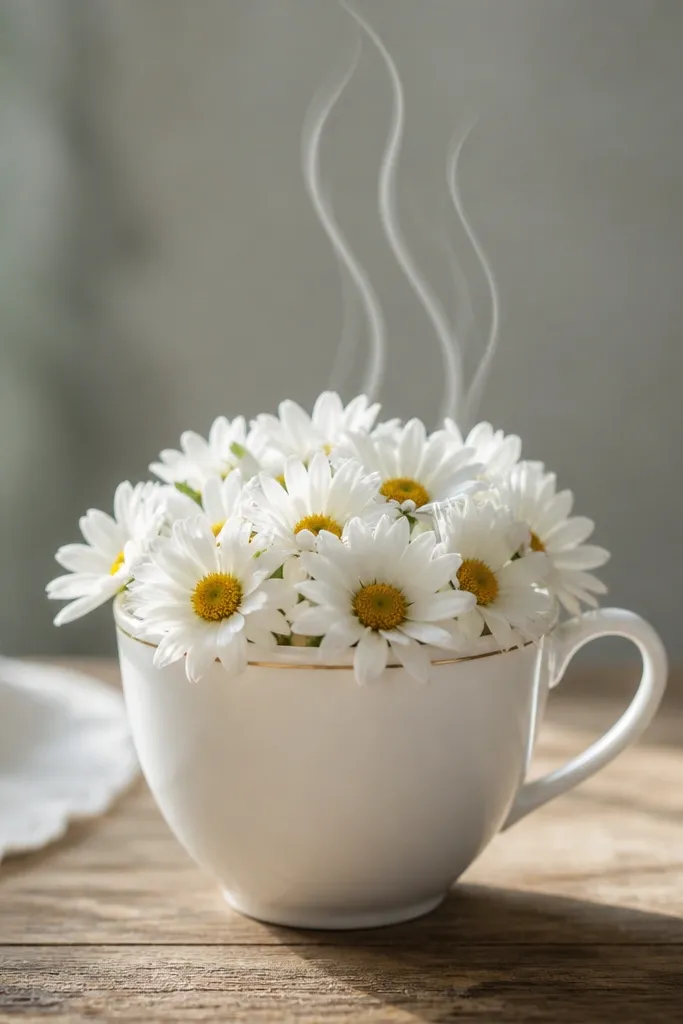
Teacup bouquets feel extra cozy, and steam swirls give you a way to add movement without extra flowers. I cluster the daisies tight at the rim and let steam lines create the upward motion. The result looks like a seasonal cozy vignette, even with just daisies. It flatters anyone who likes drawing household objects because the cup structure makes the layout easy. If you color, keep steam lines lighter than the daisies so they don't steal attention.
Draw the teacup first: an oval opening, a curved body, and a handle on the right. Add a thin rim line and two short vertical lines on the cup side for depth. Place four daisies so their centers sit near the rim; draw stems that disappear behind the cup opening. Add three steam swirls that rise above the cup, then thicken the outer contour of the cup and keep steam lines thin.
Good to knowColor the cup with a pale cream tone and add a tiny gray highlight on the rim.
Common mistakeDon't make the steam too dark; it makes the bouquet look heavy.
10. Daisy Bouquet With Lace-Doily Frame
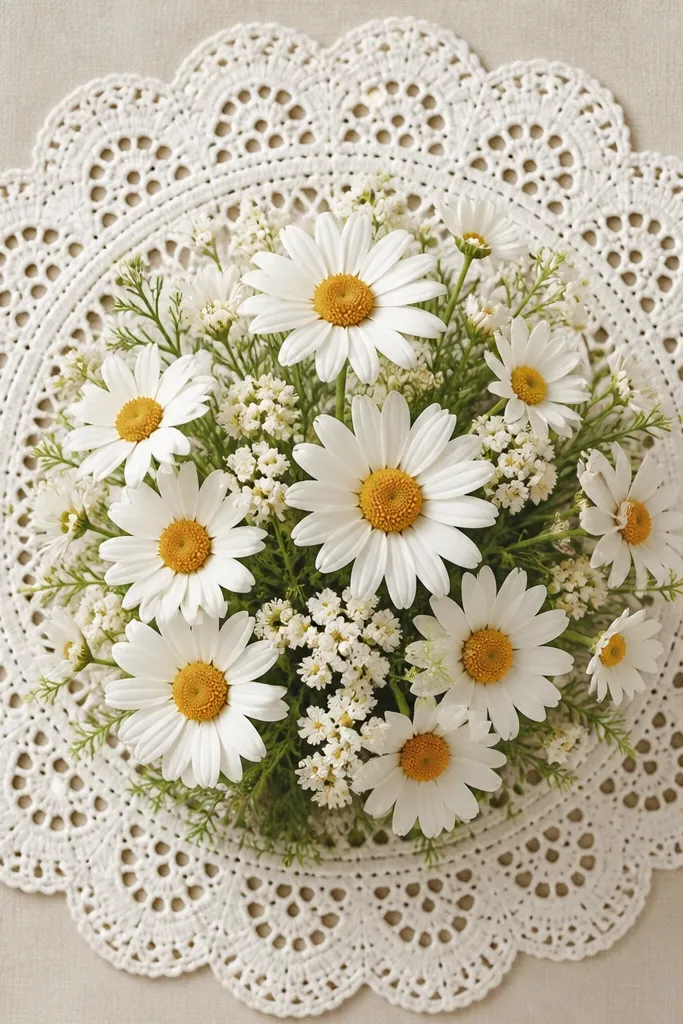
This is the "instant vintage" look that still stays easy. The doily frame creates a decorative border, so you don't need a complicated background. I keep the doily pattern simple: scallops plus a few hole-like dots, then I focus detail on the daisies. It looks great when you want a holiday card that feels handmade and intentional. It also flatters small sketches because the frame gives structure and the daisies stay the focal point.
Draw a circle as your doily boundary and add an outer scalloped edge. Add small dot cutouts around the ring, leaving gaps so it doesn't turn into a solid blob. Place five daisies in the center, with two facing slightly upward and three tilted so the bouquet fills the middle. Finish by drawing a couple of tiny leaves tucked behind the outer daisies, then ink the doily edges darker than the inner petals.
Good to knowUse a white gel pen on top of the doily dots if you color the background lightly.
Common mistakeDon't overdo the doily pattern inside the bouquet area; it competes with the flowers.
11. Daisy Bouquet With Crisscross Stem Bundle
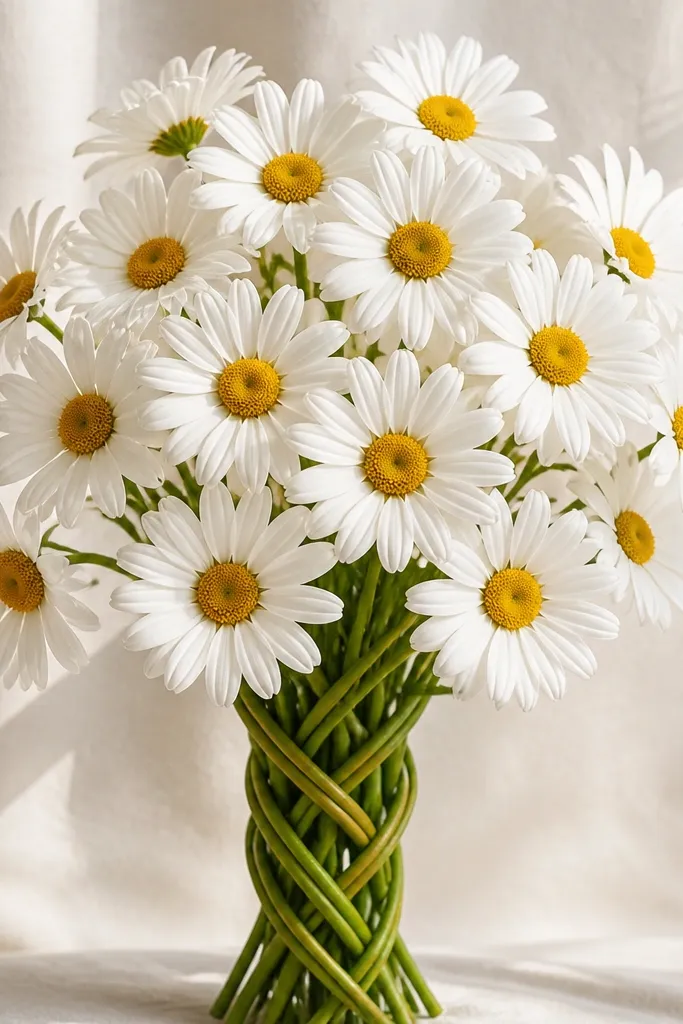
Crisscross stems add texture without extra petals. I like this when I want the bouquet to look more dimensional in line art alone. The overlapping stems create implied depth, so you don't need heavy shading. It also helps your composition look fuller even if you draw only six daisies. This style looks good on medium paper because the lines have enough contrast, and it works for both monochrome and lightly colored versions.
Start by drawing two to three daisy centers spaced across the page, then add petals around each with the same curve. Draw long stems that cross behind the daisies, but stop the stem lines at the back edges of each flower so they don't clutter the front. Add a fourth and fifth daisy between the stem crossings so the overlaps hide any awkward intersections. Finish by bundling the stems together at the bottom with a short wrap line and one leaf.
Good to knowWhen stems cross, vary line thickness slightly - one line thin, one line thicker - so the braid reads clearly.
Common mistakeDon't let stem lines run through the centers; keep them behind the petals.
12. Daisy Bouquet With Snowy Speckle Effect
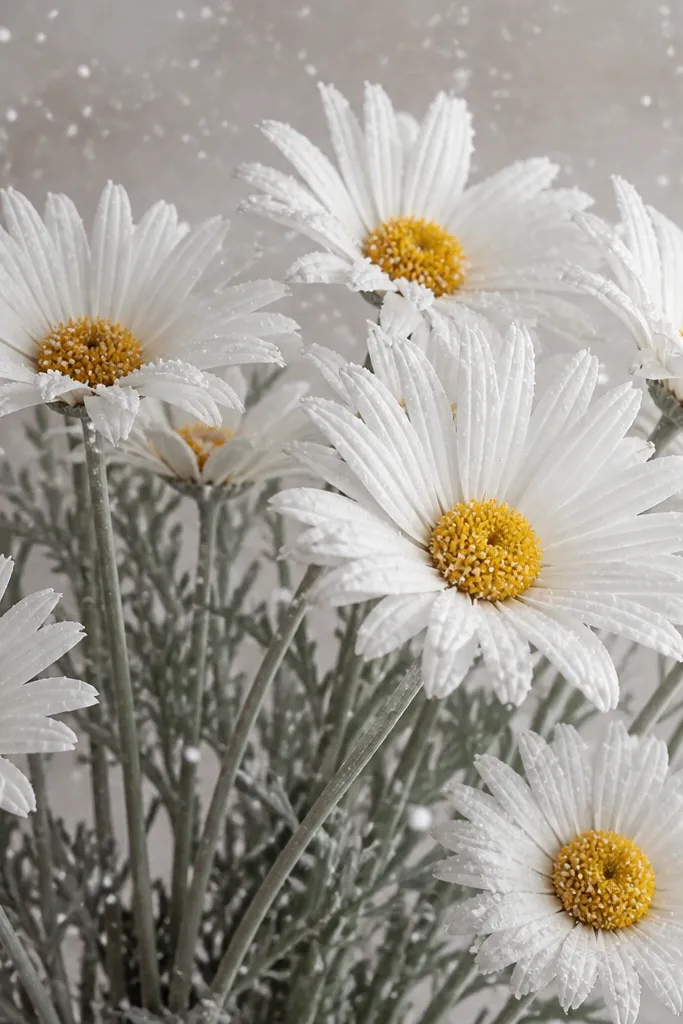
Speckles make daisies feel seasonal without drawing snowflakes everywhere. I treat the speckle as a light texture layer, not a full background, so the flowers stay crisp. This works best when your bouquet is already clean and simple - you don't want a busy line drawing underneath the speckles. It's perfect for winter holiday cards and it looks good in both pencil and ink styles. If you color, use gray-green stems so the speckles blend naturally.
Draw your bouquet with standard petals and centers, then ink it. Color the centers first, then lightly add green-gray to stems. Dip a toothbrush in white paint or white gel pen ink thinned with a tiny bit of water, then flick small specks across the background and a few petals. Keep the densest speckles near the outer edges of the bouquet so it frames the flowers.
Good to knowTest the flick on scrap paper first - you want tiny dots, not big blobs.
Common mistakeDon't spray too close; big splatters make it look accidental.
13. Daisy Bouquet With Ribbon Banner Across the Bottom
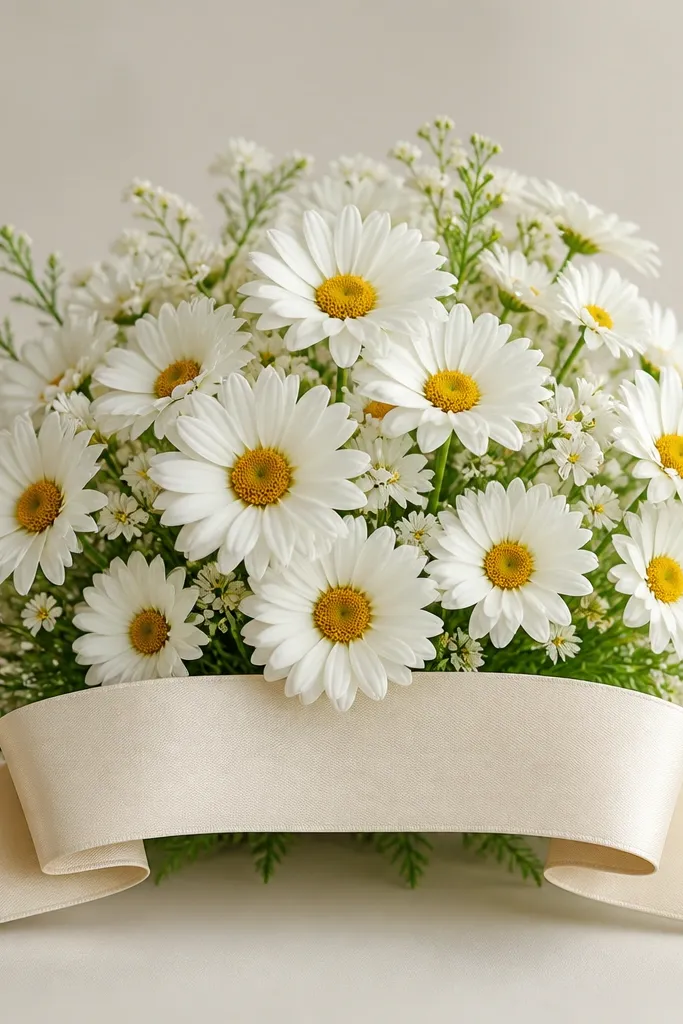
A banner ribbon gives you a built-in place for a message, even if you plan to leave it blank. The mound shape of the daisies keeps everything centered, and the ribbon anchors the bouquet so it doesn't float. I draw the ribbon with one crease line and a shadow line underneath, which makes it look like fabric without coloring it heavily. This one looks great for holiday and seasonal cards because the ribbon reads as "gift." It's also flattering for shorter people's handwriting spaces because you can leave the ribbon tails wide and clean.
Start with a mound of four to six daisies in a triangular arrangement, leaving a gap in the center bottom for the ribbon. Draw the ribbon as a curved rectangle across the bottom edge of your bouquet, then split it into two tails at the ends. Add one fold crease line down the center of the ribbon and a thin shadow line on the top edge of the tails. Finish by drawing stems that disappear behind the ribbon so it looks like the flowers are tied together.
Good to knowColor the ribbon in a muted green or dusty red, and keep the shadow gray, not black.
Common mistakeDon't outline the ribbon with the same thickness as the daisies; it should feel slightly less bold.
14. Daisy Bouquet in a Tight Circle Frame Like a Sticker
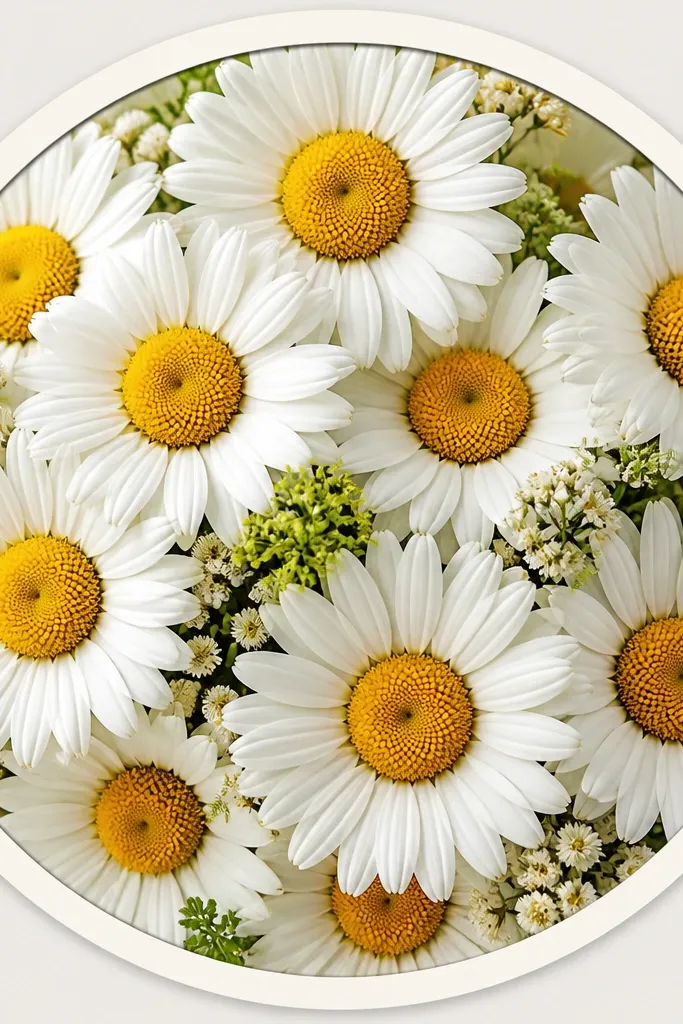
Sticker-style circles are my favorite when you want the drawing to look finished fast. The thick outer ring makes the bouquet pop instantly when you scan or photo it, and the tight packing keeps the whole thing looking intentional. I use this for holiday because it works like a label: you can print it, cut it out, and stick it on envelopes. It's also forgiving for your petal shapes because the circle frame hides small spacing issues. It flatters people who like clean, bold outlines and minimal background work.
Draw a circle and make the outer ring thick with a fineliner or marker. Place six daisies inside the circle, rotating each one slightly so petals don't line up perfectly. Keep stems short and mostly hidden behind the front daisies; you can even omit stems entirely for a more "sticker" look. Add a few small leaf strokes around the edges to fill gaps between flowers, then lightly shade the centers with brown dots.
Good to knowLeave a tiny white highlight in each center - it keeps the yellow from looking flat.
Common mistakeDon't leave the circle too empty; the tight packing is what makes it look like a sticker.
15. Daisy Bouquet With Single Large Daisy and Side Buds
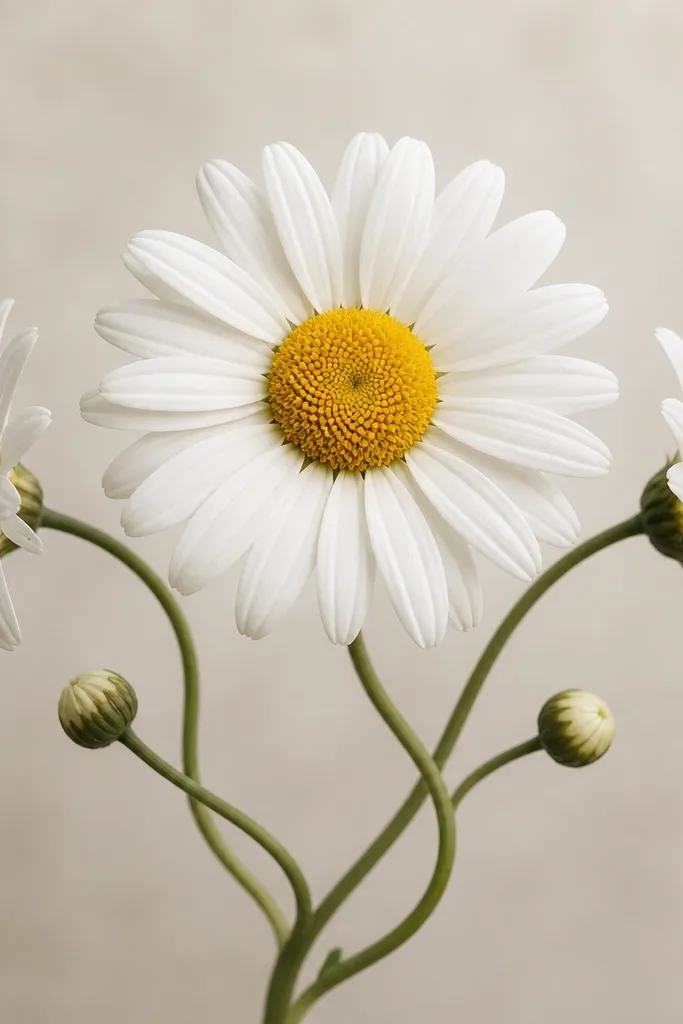
This is the composition I use when I want it to feel dramatic but still simple. One large flower gives you a clear focal point, and the side buds fill the space where stems would otherwise look empty. The S-shaped stems add motion, which makes the bouquet look like it's turning toward the viewer. It flatters anyone who draws better with one big shape than with many similar ones. If you color, keep the buds lighter than the main daisy so the hierarchy stays clear.
Place the large daisy center in the middle and draw petals around it with slightly pointed tips. Add two smaller daisies to the sides, but angle them so only part of each center shows. Draw three bud circles along the stems where the S-shape curves, then connect everything with two twisting stems. Add one leaf behind the large daisy so the stems look grounded, then thicken the outer silhouette lines.
Good to knowUse a darker green for the leaf behind and a lighter green for the front stems - it makes the layering pop.
Common mistakeDon't make the side daisies the same size as the main one; the drama disappears.