1. Floating frame with under-shelf warm LEDs and pastel phalaenopsis
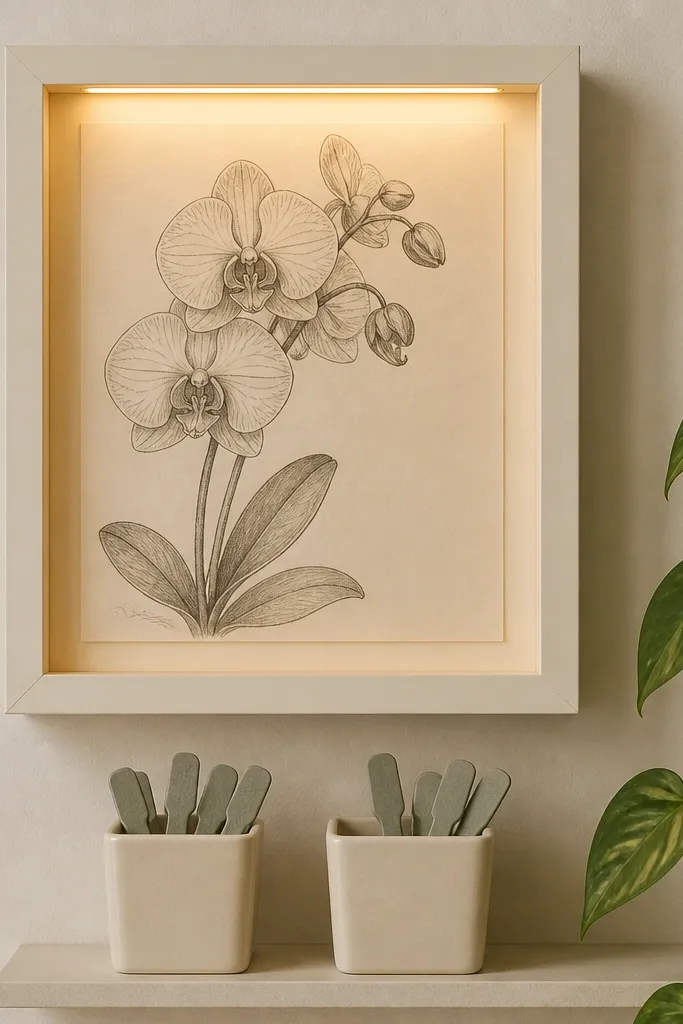
This setup makes the orchid drawing look like it’s “lit from within” instead of taped to a wall. I use a matte off-white background because it takes the warm LED glow without turning shiny. Draw your phalaenopsis petals in pale lilac, then add a tiny darker purple center line so the flower still reads at a distance. The storage bins stay cream and low-contrast so the light and petals lead the eye. It flatters small spaces because the frame feels light, and the bins don’t add visual weight.
Start by mounting a shadow-box frame so the inside lip sits 1-2 inches above your shelf. Paint or draw the orchid on matte paper, then tape it to a backing board with a 1/8-inch border so it doesn’t touch the light glow. Install a 2700K LED strip under the frame lip, then angle it so the light washes across the paper, not straight outward. Add two small bins below in cream or light wood, and use grey labels on white tape for a calm, consistent look.
Use a dimmer or a plug-in LED controller so you can drop brightness for evening photos.
Don’t use glossy photo paper for the drawing — the LED reflections make it look like a print stuck on glass.
2. Wall grid orchid drawing with plant label drawer lights
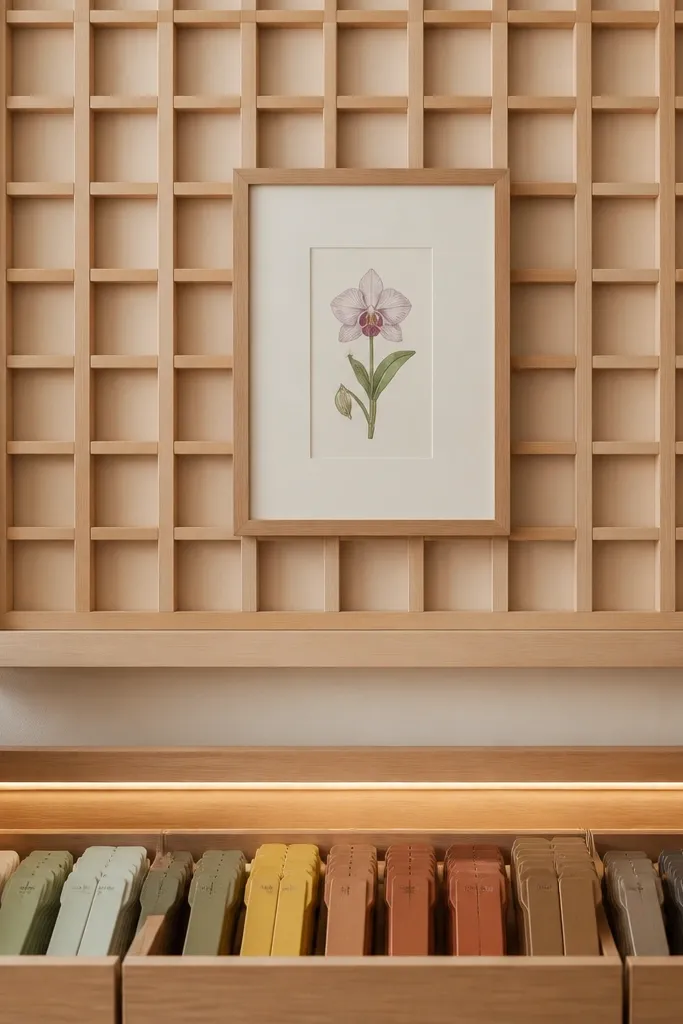
This is the “organized but pretty” option when you keep tags, ties, and spare potting labels within arm’s reach. The orchid drawing sits on a matte board between the grid rails, so it doesn’t compete with the utilitarian storage. I draw the orchid in soft peach-lilac gradients and keep the leaves a muted sage so the whole piece stays gentle. The drawer lights are hidden inside, which makes the labels look like they’re part of the design. It works especially well for people who like practical storage that still looks styled.
Build a simple grid backing using light wood strips spaced about 4 inches apart, then screw it to the wall. Mount a 8x10 matte board in the center with small spacers so it sits flush but not stuck directly to the grid. Add a shallow drawer unit below and run a warm LED strip inside the drawer cavity, securing it with heat-safe tape. Draw or print plant tags in consistent fonts and colors, then place them in the drawer so the top row shows first.
Keep tag paper sizes consistent so the drawer looks uniform in photos.
Avoid bright 5000K bulbs — they turn sage leaves yellow and make your pastel orchid look chalky.
3. Hanging ribbon orchid sketch with lighted clip rail storage
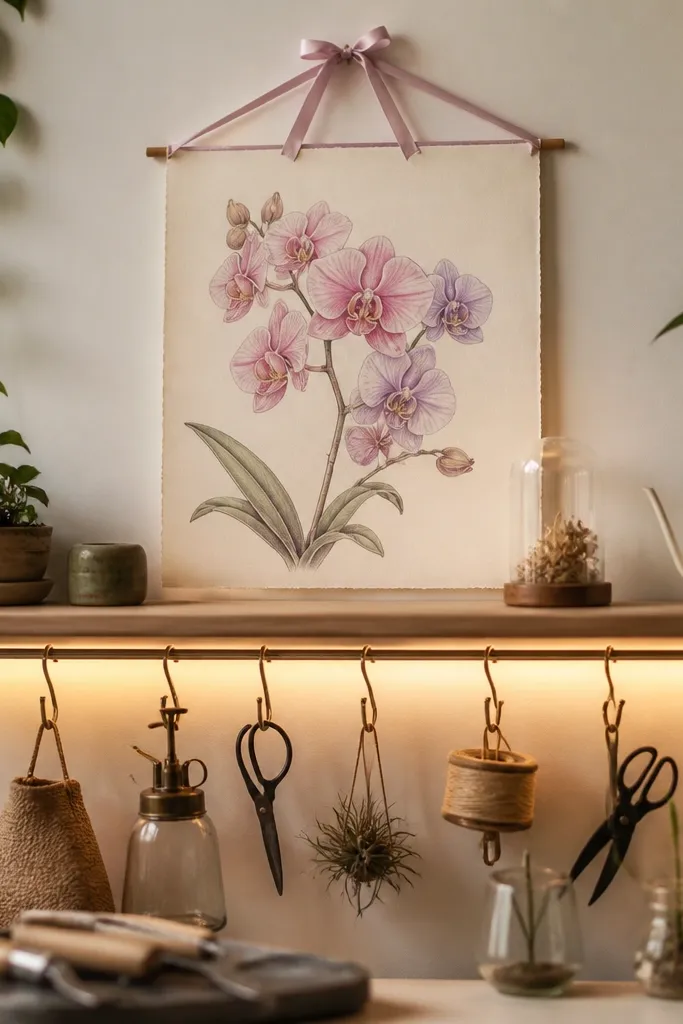
Start by drawing your orchid on heavyweight paper and sealing it with a matte fixative so pastel doesn’t smear. Mount a narrow shelf and attach two small hooks above it, then hang the drawing using a 1-inch satin ribbon loop on each side. Install a clip rail under the shelf lip, leaving about 1/2 inch clearance between rail and the LED strip. Run a 2700K LED strip under the rail, then clip your ties, mini pruning shears, and spare plant labels so they don’t block the light.
This one looks airy and sweet because the drawing feels like it’s floating, not pinned flat. I sketch the orchid with thin pencil lines first, then glaze pastel paint over top so the petals have a see-through softness. The clip rail storage keeps things vertical, which matches the hanging ribbon motion. Warm light under the rail makes the ribbon fibers look slightly golden and keeps the drawing from looking washed. It’s flattering in narrow entryways where you need storage without a bulky cabinet.
Common mistakeDon’t crowd the clips — if everything blocks the LED glow, the drawing loses its “lifted” look.
Good to knowUse satin ribbon in dusty rose or pale lilac so it matches the orchid palette under warm light.
4. Open shelving orchid mural drawing with backlit plant compartments
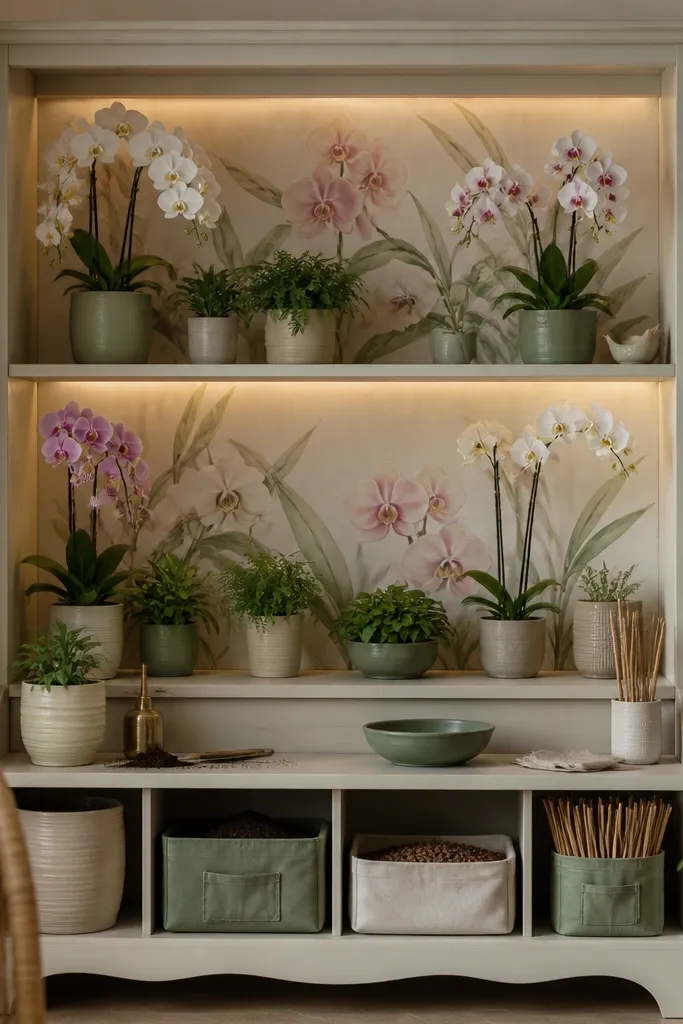
Measure the shelf back panel and paint a mural orchid about 2/3 the height of the unit using watered-down acrylics. Seal with matte medium so the backlight doesn’t create glare spots. Install warm LED strips behind each shelf level, secured with cable clips so they don’t sag. Place pots and supplies in muted bins that fit each compartment width, leaving a clear “window” in front of the mural so the light hits the painted petals.
This is the “full corner” look when you want your orchid drawings to feel like part of the room, not a single frame. I paint a large orchid on the back panel in pastel washes, then outline the center details with a thin dark purple pen so it still reads. The plant compartments behind the shelf look clean because the warm backlight separates the drawing from the clutter. Storage stays hidden in the compartments, so the front reads like art. If your home has lots of neutral walls, this setup makes the whole area feel curated without being fussy.
Common mistakeAvoid mixing too many container colors — the warm light makes mismatched plastics look cheap fast.
Good to knowKeep one accent color consistent across bins — I use sage lids and cream bodies for a calm rhythm.
5. Orchid drawing on pegboard with lighted seed tray pockets
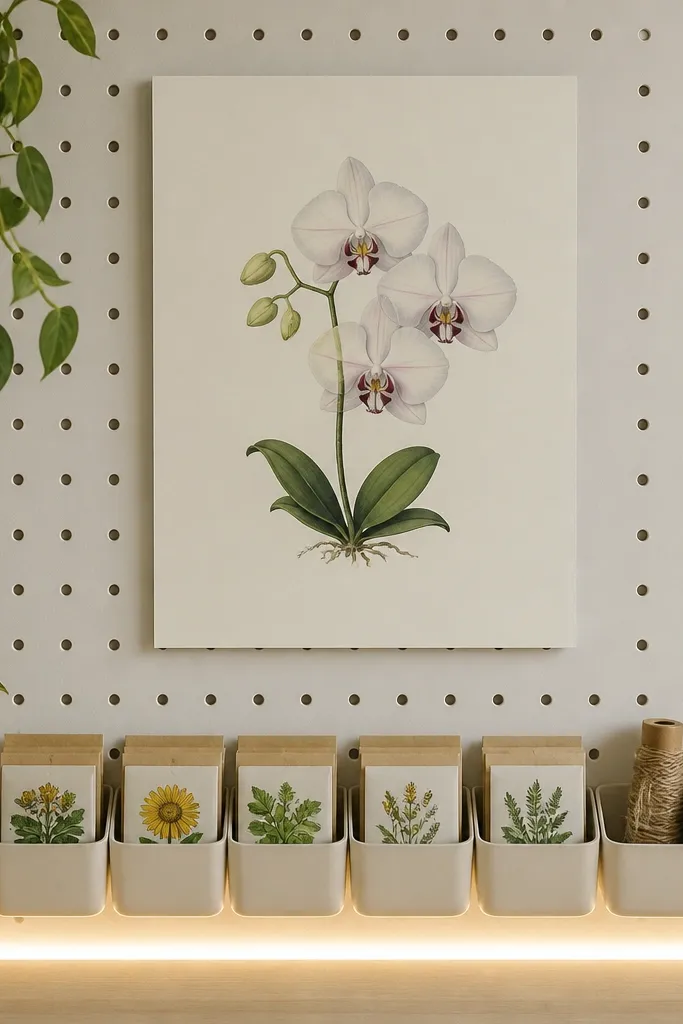
Cut a matte board to fit the pegboard opening and mount it with standoffs so it has a tiny air gap. Draw the orchid with soft pastel markers, then add a darker purple only on the orchid lip and a few veins. Attach small wire pockets or shallow trays under the pegboard rails, spacing them so labels line up. Run a 2700K LED strip along the bottom edge of the pegboard frame and aim it upward to wash the pockets and drawing edges.
Pegboard gets a bad rap because people think it looks industrial. With a pastel orchid drawing and warm, low light, it turns into a soft plant station. I draw orchids in pale lavender and add a peach highlight near the lip so the petals look dimensional. The lighted seed tray pockets give you storage that’s visible but not messy. This works well if you keep lots of small supplies and hate digging through drawers.
Common mistakeDon’t mount the LED too close to glossy labels — hot spots make the paper look shiny and uneven.
Good to knowUse painter’s tape to mark pocket positions before drilling so everything lines up in one grid.
6. Desk-style orchid drawing with under-drawer storage lights
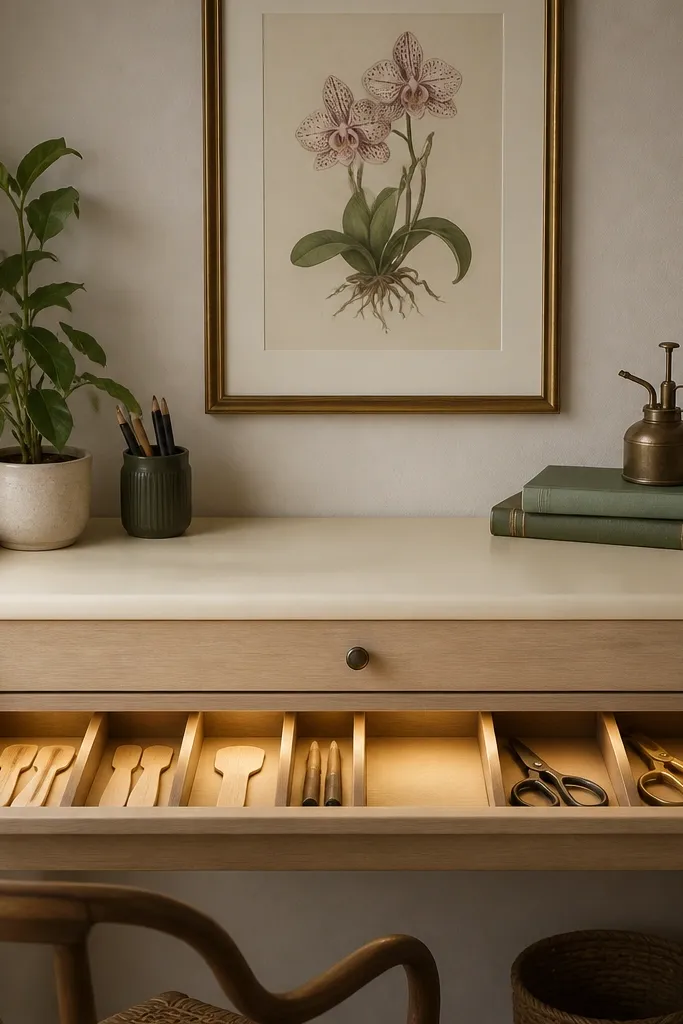
Choose a frame that sits 2-3 inches above the desk drawer front. Draw your orchid on matte paper, then mount it with a thin off-white mat so the colors don’t bleed into the frame. Install a warm LED strip under the drawer lip using clips, keeping the strip 1 inch back from the drawer edge so it doesn’t glare. Add a drawer organizer with cream dividers and label each compartment with small grey tags.
This setup is perfect if you do plant chores at a work surface and want the orchid drawing to act like a visual “calm zone.” I like a simple framed orchid sketch in soft blues and lilacs because the desk already has textures. Under-drawer lighting is great because it lights what you need without lighting the whole room. The light makes your drawer contents easier to find, and the pastel drawing keeps the mood gentle. It flatters anyone who works with both plants and paper — you get function and calm in one spot.
Common mistakeAvoid placing the LED strip where it will shine directly into your eyes when the drawer opens.
Good to knowPut the brightest drawer items in the center compartment so the warm light hits them evenly.
7. Tall cabinet orchid drawing panel with backlit shelf labels
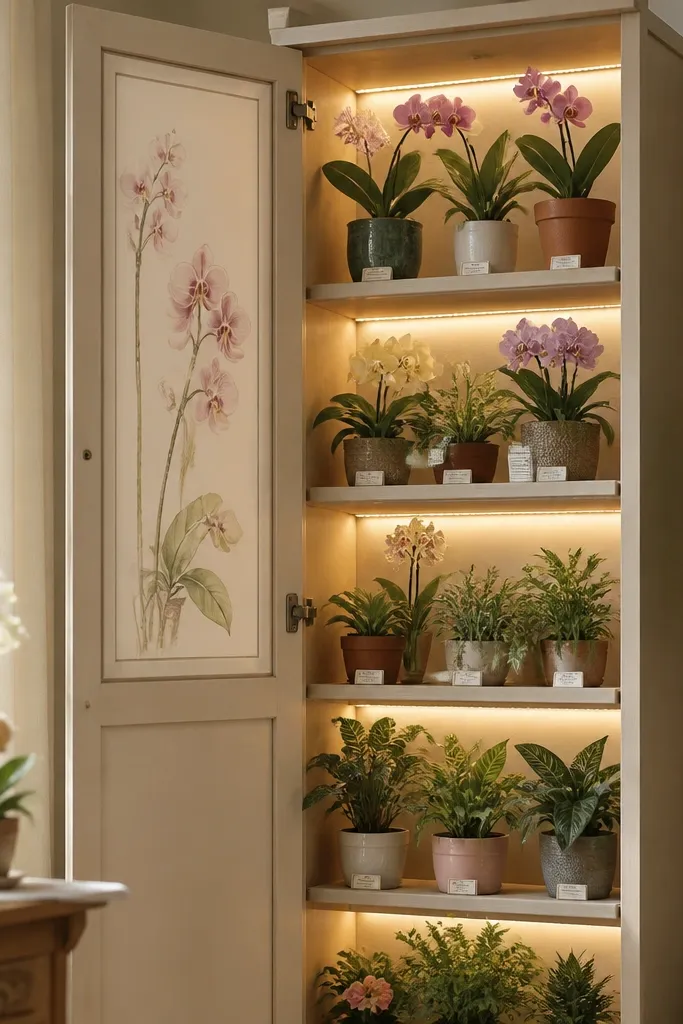
When you have multiple orchids, the “door panel” approach keeps the drawing visible without taking wall space. I paint one larger orchid on the inside of the top door, using pale pinks, lavender, and a soft grey-green leaf. The backlit shelves help you find plants without turning the whole cabinet into a bright aquarium. Shelf labels glow gently, so you can spot which pot is which. This works best for narrow spaces where you want storage vertical and the drawing stays part of the cabinet design.
Paint or draw a single orchid on a matte panel sized to your cabinet door, leaving a 1/2-inch border around the edges. Seal it with matte medium and mount it using thin magnets or removable adhesive strips. Install warm LED strips along the cabinet back wall at each shelf level, secured with cable ties. Add shelf labels at the front lip using small cards in muted grey ink, then place pots so the label is visible in the warm light.
Use a consistent label height so all tags sit at the same line across shelves.
Don’t use white LED — the cabinet interior will look cold and your pastel drawing will lose its softness.
8. Terrarium-style orchid drawing with lighted plant supply tray
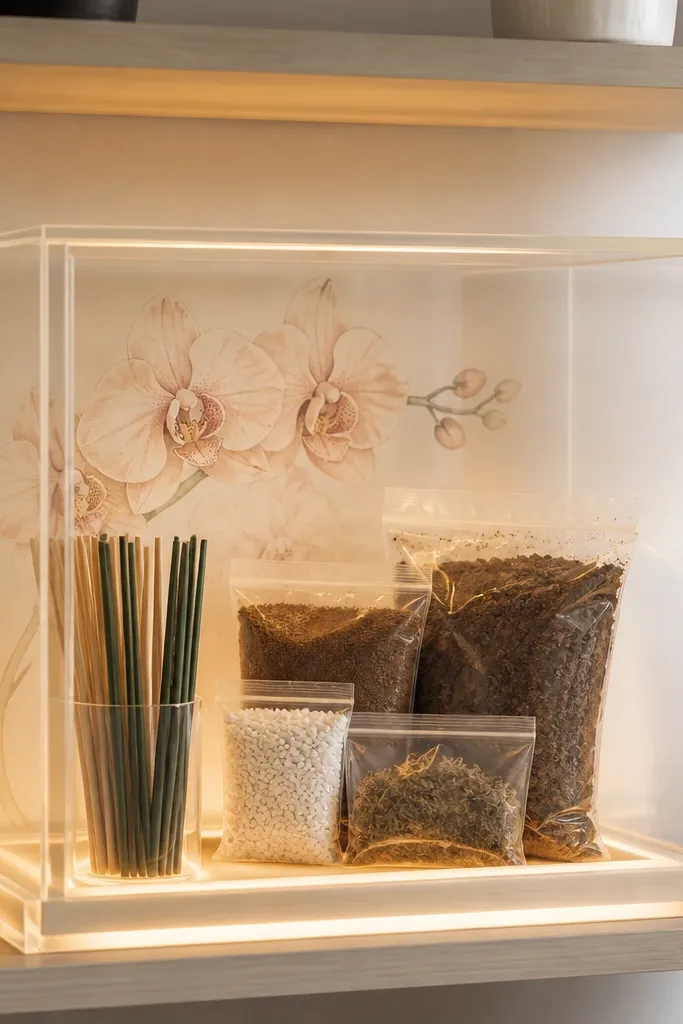
This one looks like a tiny terrarium display even though it’s a paper drawing. I draw the orchid with soft gradient washes and a few crisp line details to anchor the flower. The acrylic box makes the light feel contained, so the pastel stays flattering and doesn’t scatter across the room. The lighted supply tray keeps your tools in one place without hiding the storage. It’s great for bathrooms or hallways where you want a compact, clean-looking plant station.
Place a pastel orchid drawing on a matte card and mount it to the back of a clear acrylic box using double-sided foam tape. Build a small tray from wood or acrylic scraps and line it with cream paper so it doesn’t reflect too much. Install a warm LED strip around the tray base or under the tray lip, then test brightness with the box closed. Put soil packets, stakes, and ties in the tray compartments so the orchid drawing remains unobstructed.
Wipe the acrylic with a microfiber cloth before lighting — smudges show up instantly under warm LEDs.
Avoid putting glossy stickers directly under the LED — they create rainbow glare through acrylic.
9. Orchid drawing on arched shelf with mirrored light strip and storage
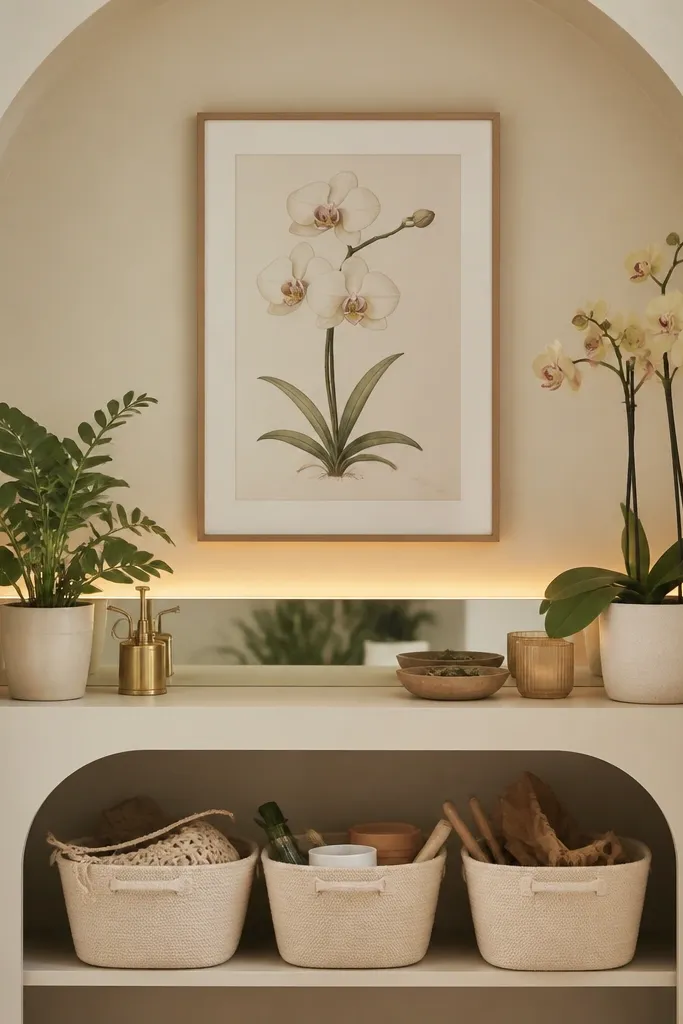
Mirrors can go wrong fast, but used small and controlled they make pastel drawings look brighter without harsh glare. I put a narrow mirrored strip behind the light so the glow spreads softly across the orchid petals. The orchid drawing itself stays matte so the mirror doesn’t reflect the paper texture. Storage baskets in cream keep the mirror from turning the whole corner into a disco. This is my pick for rooms with low natural light where you still want the pastels to read clearly.
Hang an arched shelf and mount your orchid drawing in a narrow frame with a matte finish. Cut a small mirror strip and place it behind the light source area under the frame, keeping it hidden from direct view. Install a 2700K LED strip along the mirror’s edge and secure with heat-safe clips. Use two cream baskets on the shelf with matching label tags, and keep baskets narrower than the frame width so the orchid stays centered.
Angle the light so it hits the orchid drawing first, then lets the mirror fill the shadows on the baskets.
Don’t use a full-size mirror — it makes storage look messy and reflections multiply every label.
10. Orchid pastel drawing with cabinet door light strip and hidden pot stash
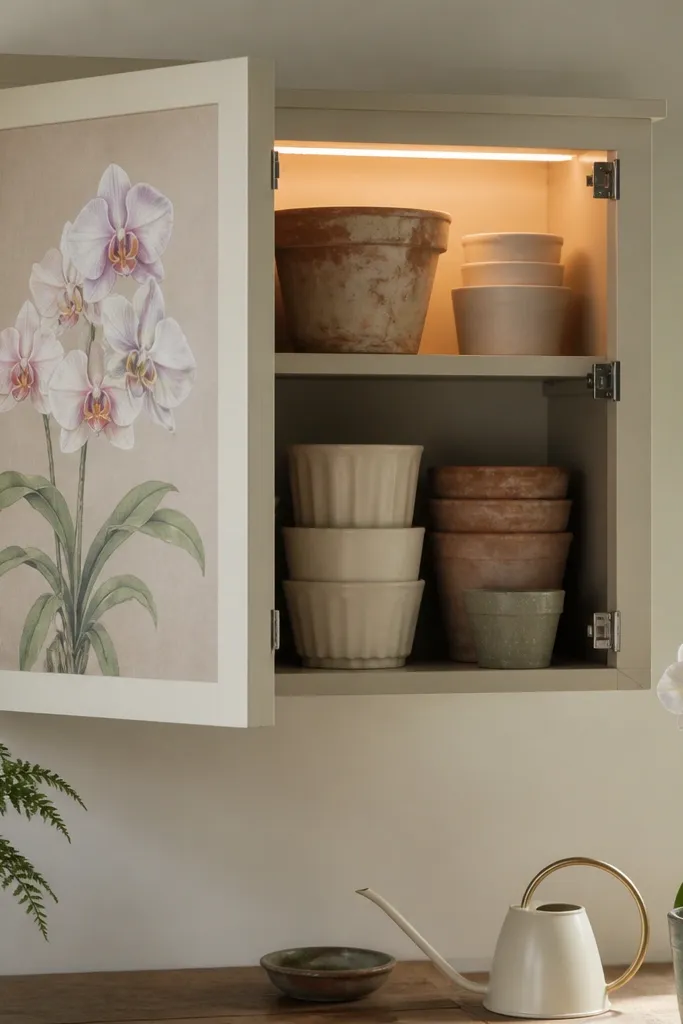
Paint the orchid on a door panel using matte acrylic and a cream border, then seal it with matte medium. Install a warm LED strip inside the cabinet on the upper interior edge so it shines down. Add a simple interior rack or stack shelf so pots sit in one plane and don’t topple. Close the cabinet and check for glare on the door drawing, then adjust LED direction so it lights the interior only.
This is the “clean wall, organized inside” method. You get a soft orchid drawing visible when the cabinet is closed, and you get warm light when you open it to grab pots. I paint the orchid in pale mauve and cream with a tiny darker violet at the center lip so it reads even against the cabinet’s wood grain. The interior lighting makes your pot stash look intentional instead of random. It flatters small apartments because it reduces clutter on open shelves.
Common mistakeAvoid placing the LED strip low inside — it makes pots look shadowed and makes the door drawing look darker.
Good to knowUse a magnetic door switch or a simple motion sensor so the light turns on when you open the cabinet.
11. Orchid drawing on watercolor paper with lighted cork storage strip
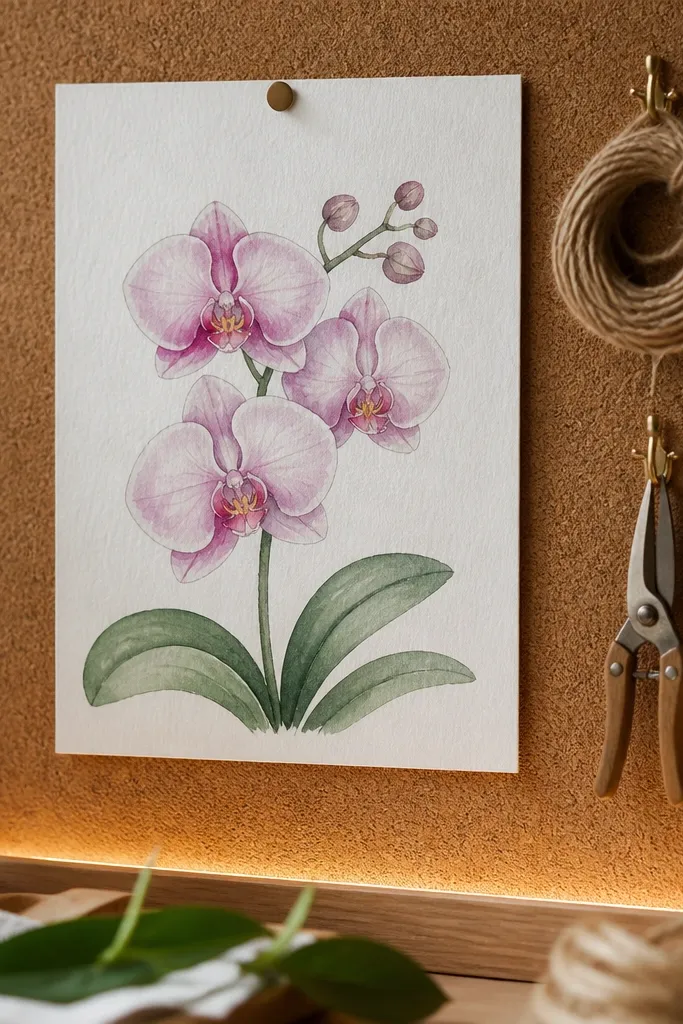
Draw the orchid on watercolor paper using soft pastel pencils and watered-down acrylic washes, then let it dry fully. Seal lightly with matte spray from 10-12 inches away to prevent streaks. Mount the watercolor paper on cork with pushpins in a clean border pattern. Install a warm LED strip along the bottom of the cork board frame, then attach small hooks above it for twine and mini tools. Hang items so they sit at two heights max, keeping the top third clear for the orchid.
Watercolor paper has a texture that makes pastel orchid petals look softer, like actual pigment on skin. I love this look when you want something handmade and tactile, even in a bright room. The cork board gives you natural storage hooks without buying a whole organizer system. The warm LED strip under the cork makes the paper grain visible and adds depth to pale lilacs. It’s flattering for anyone who likes cozy craft vibes instead of sleek modern furniture.
Common mistakeSkip heavy glitter or metallic paint — warm light makes it look spotty and cheap on watercolor texture.
Good to knowUse one hook color (brass or black) so the storage looks like part of the art board.
12. Orchid drawing with floating ledge and mini lighted pot label stand
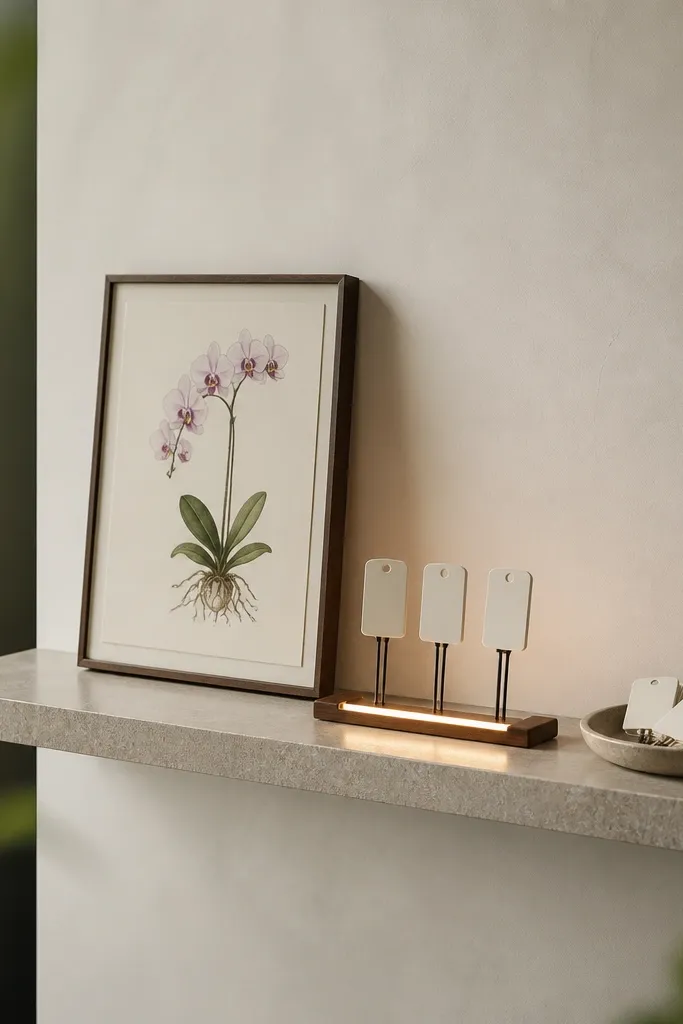
This is the smallest build that still looks intentional. The orchid drawing is the main visual, and the label stand is the helper that makes plant care faster. I draw orchids in a narrow vertical composition so they fit the ledge without crowding. The warm LED-lit label stand gives you a gentle glow under the labels, which looks pretty in photos and makes labels readable in dim light. It flatters people who have one or two orchids but lots of little supplies.
Mount a thin floating ledge and place a small framed orchid drawing centered above it. Draw your orchid tall and simple, with a strong center lip detail so it reads at a glance. Build a tiny label stand from wood or acrylic and place it at the ledge edge, leaving 1/2 inch gap for the LED strip. Add a 2700K LED strip under the label stand base and test visibility from where you stand. Add a small tray behind the stand for spare labels and plant ties.
Write labels in grey ink on off-white card stock for the softest look next to pastel petals.
Avoid neon label tape — the LED glow will make it look like a sign from a shop.
13. Orchid drawing on sliding panel with LED strip track storage
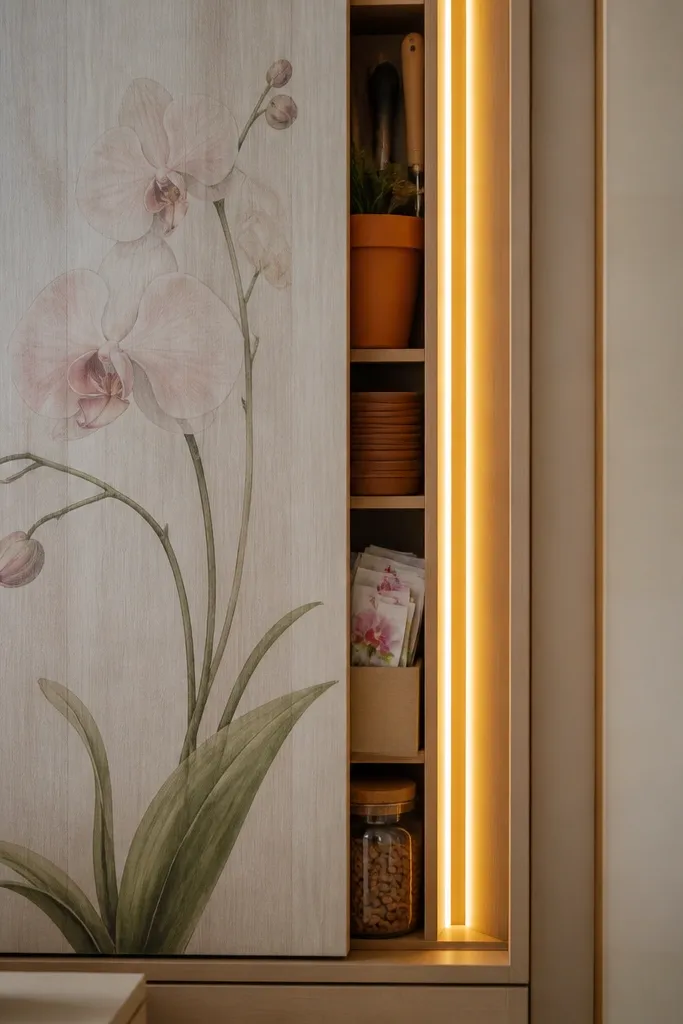
Install a simple track for a sliding panel about 1 inch above your storage channel. Draw the orchid on matte paper and mount it to a thin panel with a cream border. Route a 2700K LED strip along the inside track edge so it lights the channel when the panel slides open. Add a narrow bin system inside the channel with one bin per supply type. Test the slide with the lights on so you see where shadows fall across the orchid.
Sliding panels are underrated for plant areas because they hide clutter while keeping the look styled. I use a pastel orchid drawing on the panel so it stays visible when the storage is closed. The LED strip track gives you controlled light into a narrow storage channel, which is perfect for small supplies like stakes and twist ties. The orchid reads as a “wall feature,” while the channel keeps the practical stuff out of sight. This works best for hallways and laundry rooms where you want storage but don’t want open shelves.
Common mistakeDon’t mount the LED strip where it will be visible through gaps — it creates harsh hot spots.
Good to knowAdd a small stop block to keep the panel from drifting, so the light hits the label area consistently.
14. Orchid pastel drawing on a tissue-paper backdrop with lighted plant tray
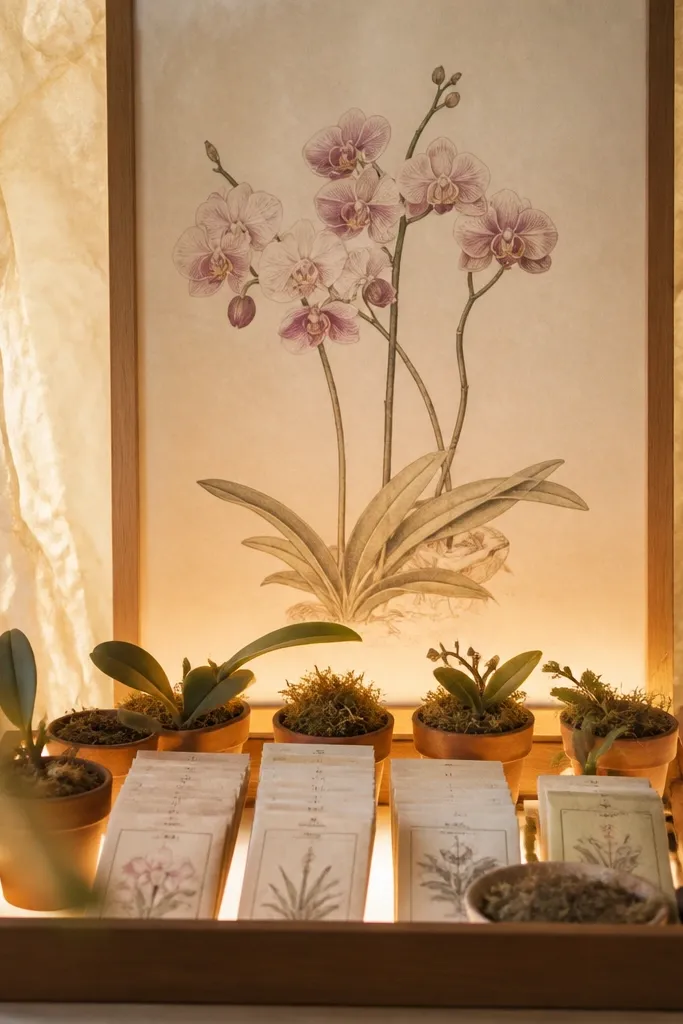
Cut tissue paper to the size of your backing board and layer two sheets for even glow. Mount the orchid drawing on top using matte tape so it doesn’t warp, then place the whole piece behind a shallow tray. Install a 2700K LED strip under the tray lip, secured so the light spreads evenly across the tissue. Arrange mini pots, soil packets, and plant stakes in rows, keeping the front edge clear for the orchid to read.
Tissue paper behind a pastel drawing creates a foggy softness that makes lavender orchids look like they’re floating. I do this when I want the room to feel calm and I’m working with pale purples and creamy whites. The warm under-tray light turns the tissue translucent without making it look yellow or dirty. Storage stays neat because the tray edge frames the supplies. This one flatters people who like a gentle, romantic aesthetic rather than crisp lines.
Common mistakeAvoid thick glitter glue on the tissue — it catches light and looks messy fast.
Good to knowUse two layers of tissue instead of one — single-layer tissue shows uneven bright patches under LEDs.
15. Orchid drawing on matte acrylic sheet with hidden LED edge lighting
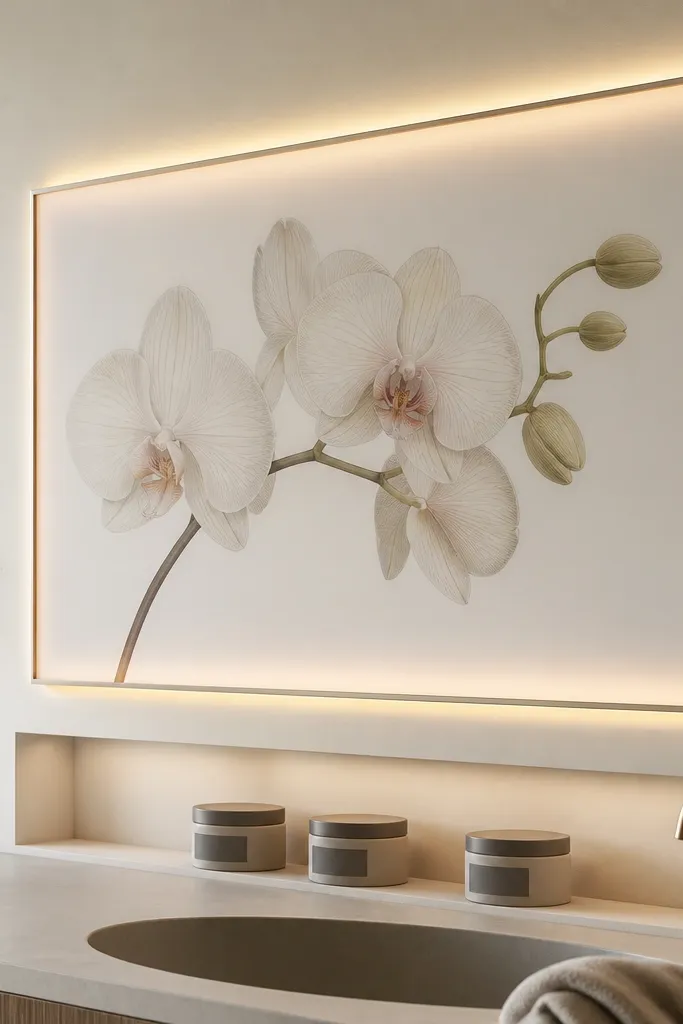
Print or hand-draw your orchid on paper, then transfer it to matte acrylic or place it behind a matte acrylic sheet inside the frame. Use a frame spacer so the acrylic sits 1/4 inch away from the drawing backing. Hide a warm LED strip along the inner frame edge so the light wraps around the acrylic without pointing at your eyes. Add a shelf below with two cream containers and grey label strips, aligning labels to the same side of each container.
Edge lighting makes the orchid look crisp without harsh reflections because the acrylic is matte. I like this when your drawing has fine details like vein lines and tiny lip markings. The warm light from the edge makes the pastel purples feel clean and dimensional. Storage below stays simple and consistent, so the whole area reads like a designed display. This setup flatters people who prefer cleaner lines and less visible paper texture.
Common mistakeAvoid shiny acrylic — it throws reflections that ruin pastel softness in photos.
Good to knowKeep your orchid center darker than you think — matte acrylic can make pale centers look too light under warm edge lighting.
16. Orchid drawing with hanging pocket organizer and LED strip under rail
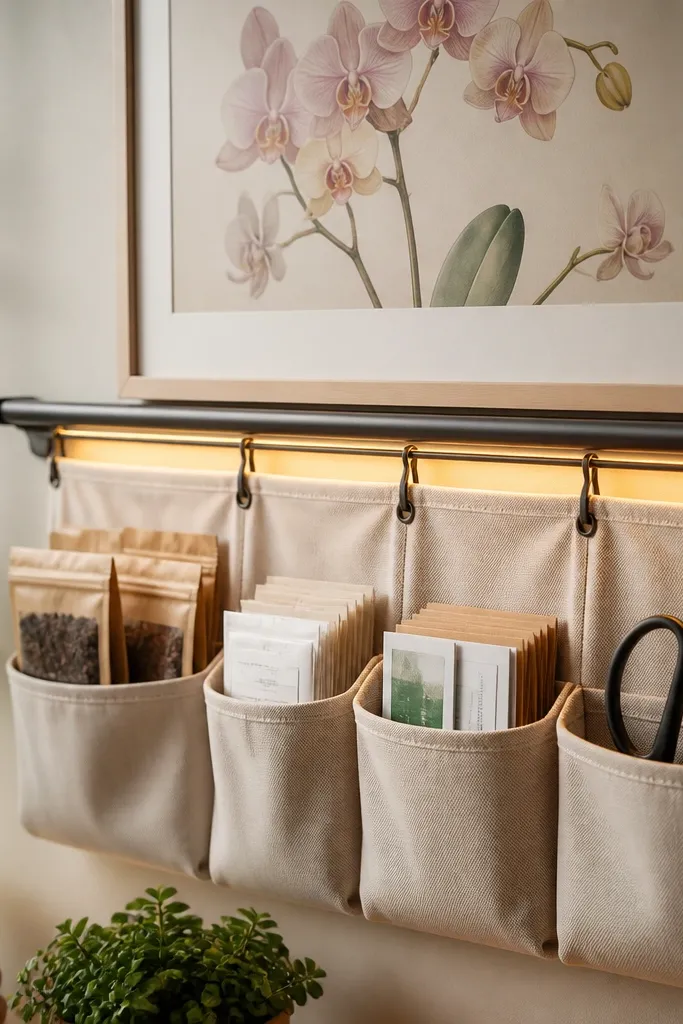
Mount a sturdy rail to the wall at about chest height, leaving 6-8 inches clearance above the pocket organizer. Draw your orchid on matte paper and hang it from two clips on the rail ends so it stays centered. Install a 2700K LED strip under the rail, facing downward to light the pockets evenly. Fill pockets with supplies: soil packets in one pocket, scissors in another, and labels in a pocket that shows a consistent row of card tops. Adjust pocket spacing so the orchid drawing never overlaps the brightest pocket area.
Hanging pockets are the easiest way to add storage without building furniture. I pair them with an orchid drawing because the pockets keep supplies visible, and the drawing keeps the whole thing from looking like a craft caddy. I draw orchids with soft pinks and lilac shadows, then keep the background clean white so the pockets stand out in a calm way. The rail light under the organizer makes pockets easier to use at night and looks pretty in the corner. It flatters smaller plants setups where you want quick access to supplies.
Common mistakeDon’t mix multiple pocket colors — it makes the lighting look uneven and the corner feels busy.
Good to knowUse pockets in the same fabric color as your orchid palette — I like cream canvas for this.
17. Orchid pastel drawing on a slatted divider with backlit storage
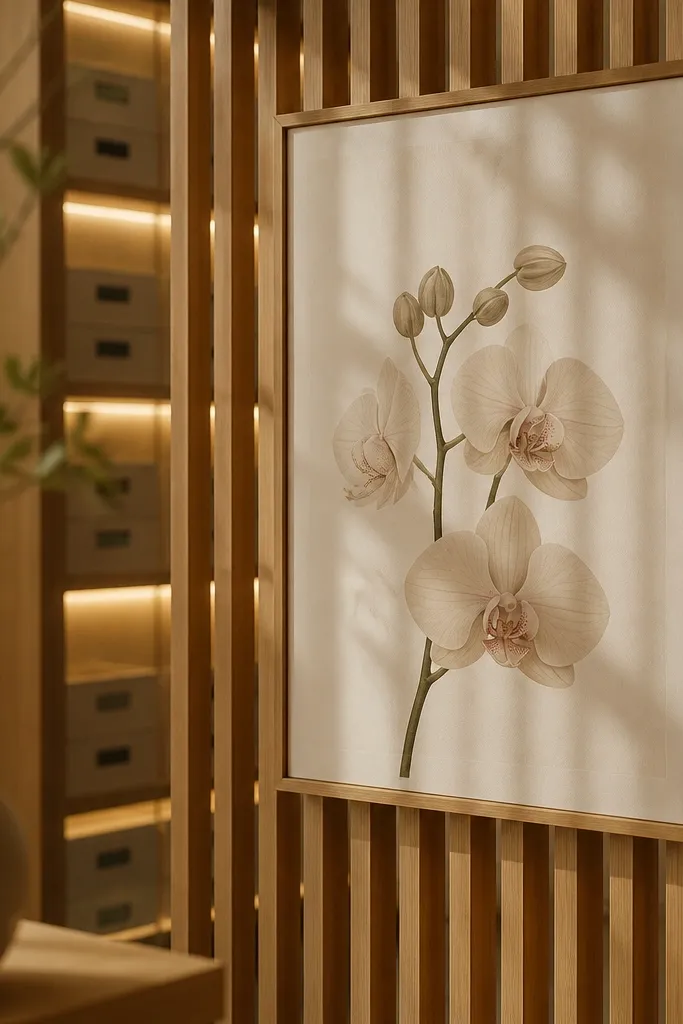
Build a slatted divider with slats spaced about 1.25 inches apart and mount it a few inches away from the storage drawers behind. Place a framed orchid drawing centered on the front side, using matte paper and a thin cream frame. Install warm LED strips behind the slats so they light the drawers, not the front frame directly. Paint or label drawers with muted cream fronts and grey text, then slide supplies in so drawer edges stay visible through gaps.
Slats add texture, and when the light comes from behind, the orchid drawing gains a soft shadow play. I draw orchids with slightly more contrast than other ideas because slats create moving shadow patterns. Pastel purples still work, but I deepen the orchid lip and add a few darker leaf veins. The storage drawers behind the slats feel hidden because the light spreads through gaps. This setup flatters rooms with neutral walls and helps you separate a plant zone from the rest of the space.
Common mistakeAvoid very bright LEDs behind slats — the slat gaps make hot spots that overpower pastel art.
Good to knowUse matte finishes on both the drawing and drawer fronts — slats plus glare makes shiny surfaces look messy.
18. Orchid drawing with plant storage lights in a bookcase niche
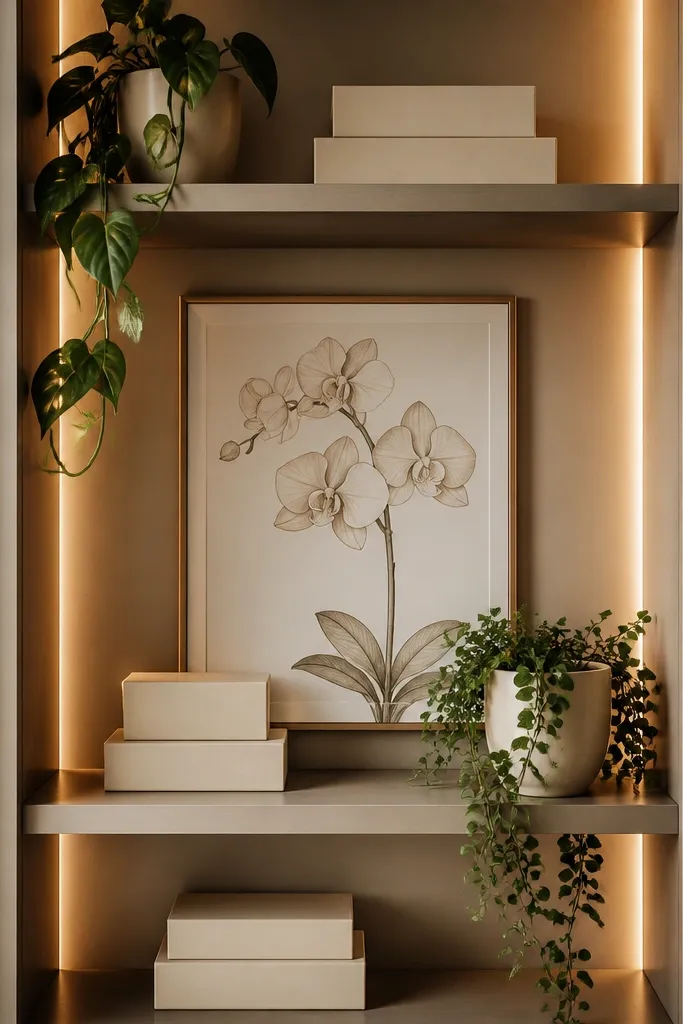
Measure your niche and choose a frame size that leaves 1 inch clearance on each side. Mount the orchid drawing on the back wall using standoffs so it doesn’t press flat against the surface. Install 2700K LED strips along the side edges of the niche, then aim them inward toward the drawing and shelf corners. Add storage boxes in off-white and light wood tones, then place pots so the plant silhouettes don’t cover the orchid center. Keep one shelf for tools and one for labels to prevent clutter from spreading.
Bookcase niches are easy because you already have depth, and depth helps light behave. I place the orchid drawing on the back wall, then light the niche with side LEDs so the light wraps around the drawing edges and makes the pastel petals look dimensional. The storage boxes match the drawing’s off-white background so the whole niche looks like one set. Trailing plants look best when you keep pot colors consistent — I use pale terracotta or cream with a matte finish. This setup flatters living rooms because it looks like decor first and storage second.
Common mistakeAvoid placing a bright white box directly under the drawing — it reflects light and makes purples look grey.
Good to knowUse matte pots and matte storage lids so warm light doesn’t create glare rings.
19. Orchid drawing on a ceramic tile board with LED strip grout glow
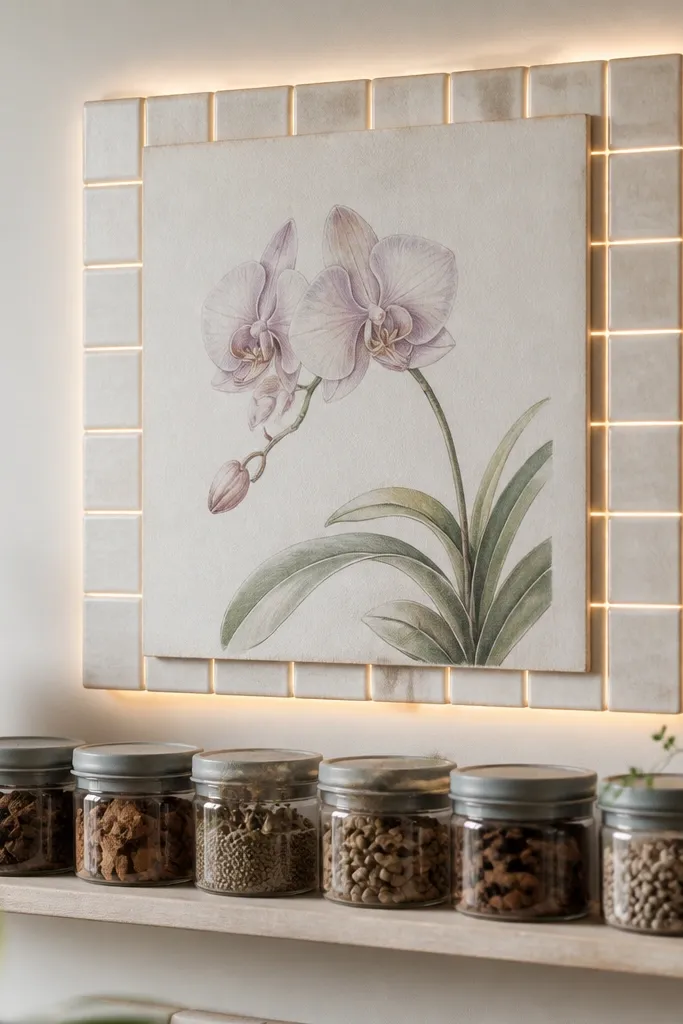
Mount your tile board on a wall or shelf back, then attach the orchid drawing on matte backing using a thin layer of removable adhesive. Draw a simple orchid with soft shading in pale mauve, then add a darker violet only at the orchid lip and veins. Place a warm LED strip along the lower edge of the tile board in a hidden channel so it lights the grout, not your face. Add a narrow shelf below with three to four jars in cream and grey, then label them with small grey text stickers.
Ceramic tile makes pastels feel more grounded, like the orchid belongs in a garden room. I draw orchids in pale mauve and cream, then keep outlines thin so the tile texture doesn’t fight the lines. The LED strip along the edge makes grout lines glow softly, which adds depth without blasting the drawing. Storage looks clean because the jars have matching grey lids and stay in a tight row. This is a good choice for kitchens and bathrooms where humidity exists and you want materials that wipe clean.
Common mistakeAvoid using oily markers on tile-mounted displays — they can smear with condensation over time.
Good to knowSeal your drawing with matte varnish if it sits in a humid room.
20. Orchid pastel drawing with lighted shadow box and vertical pot stack
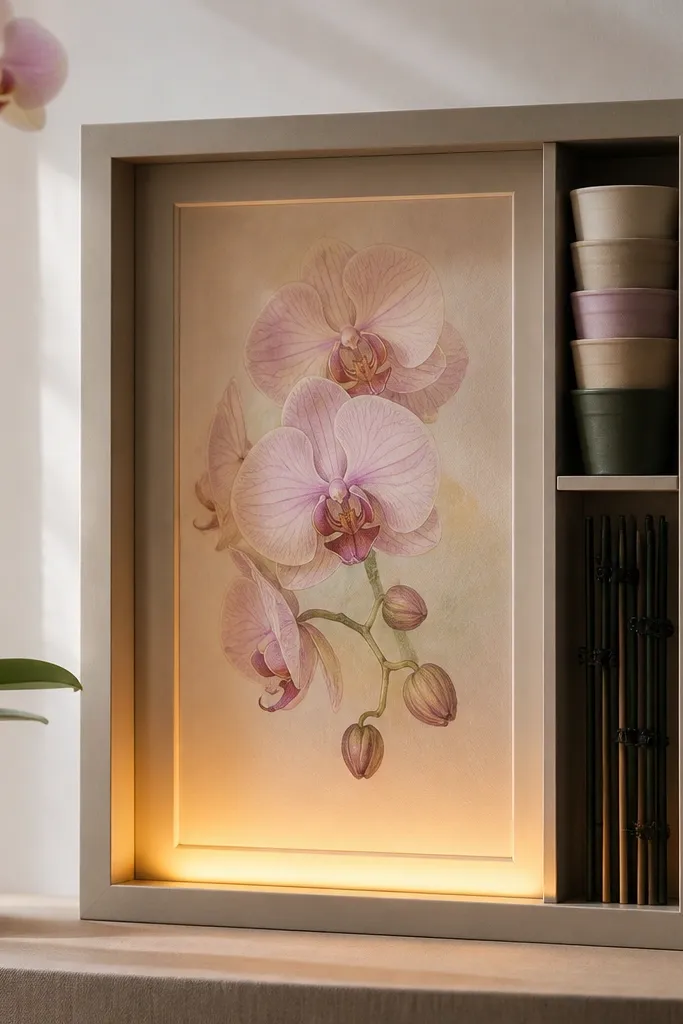
Choose a shadow box with at least 3 inches of depth. Mount your orchid drawing on matte paper and leave a 1/4-inch border so it doesn’t touch the light. Install a warm LED strip along the bottom interior, secured so the light comes upward, then test for glare on the glass front. Build a vertical insert using slim wood dividers so pots and stakes sit in one column. Arrange the items so the orchid center stays unobstructed from the front view.
Deep shadow boxes make storage look like part of the art because everything is framed by the same edges. I use a pastel orchid drawing on matte paper and place the light at the bottom interior so it lifts shadows upward. The vertical pot stack keeps items from spreading outward, which keeps the composition tidy. This setup looks great when you want to display one orchid and also keep stakes, labels, and small pots ready. It flatters compact corners and makes your orchid area feel “designed” even when you’re using storage.
Common mistakeSkip tall, uneven stacks — the light will exaggerate gaps and make the box look cluttered.
Good to knowUse slim pots and stakes with the same height range so the vertical stack looks intentional.