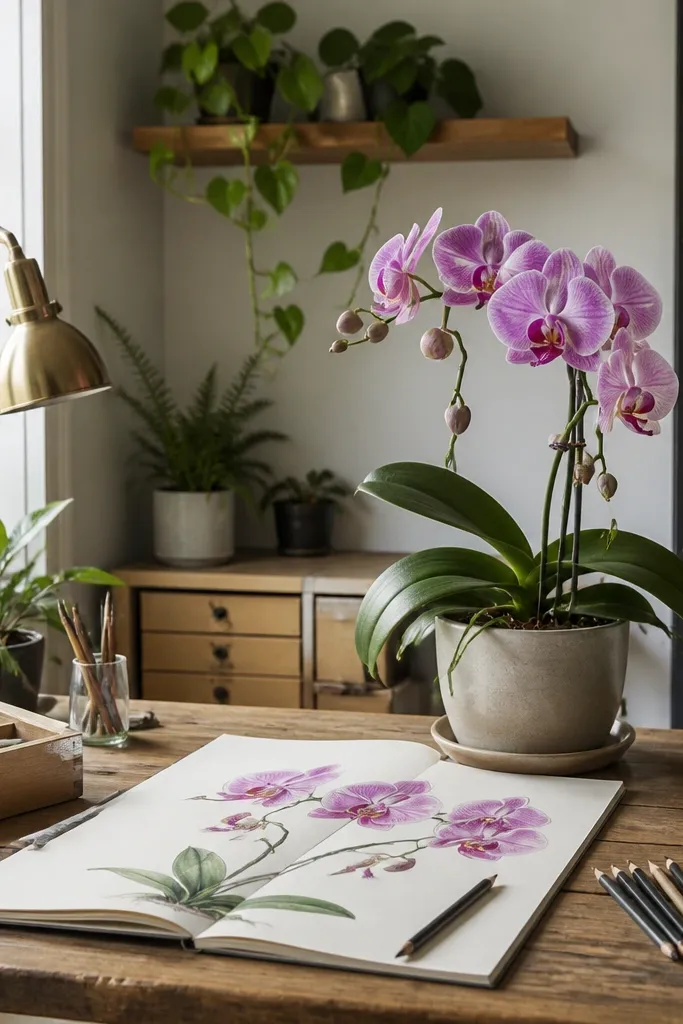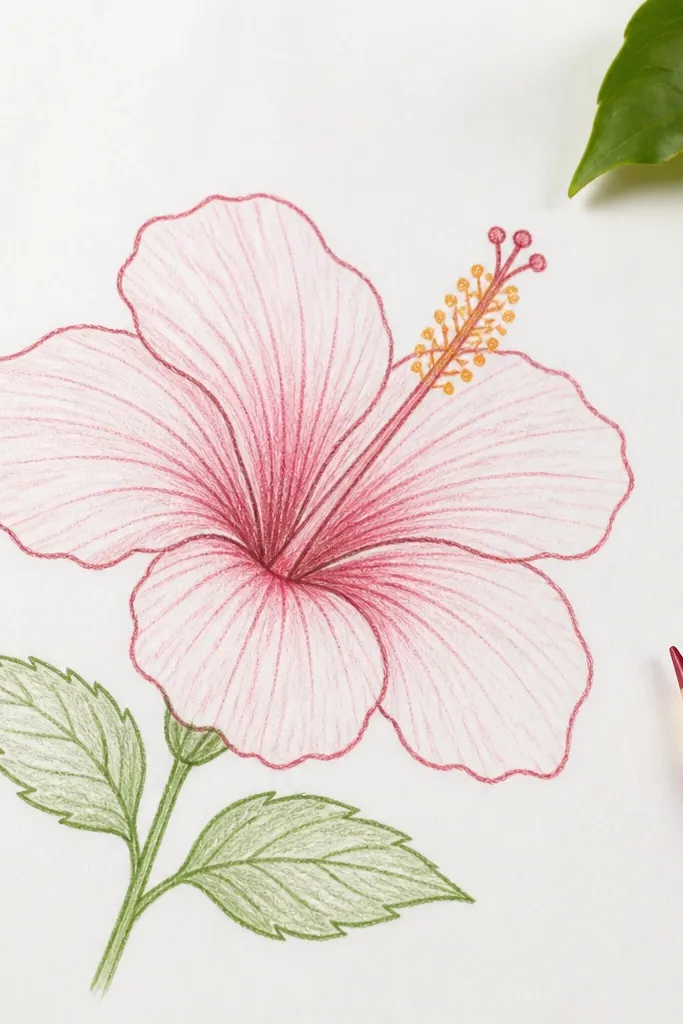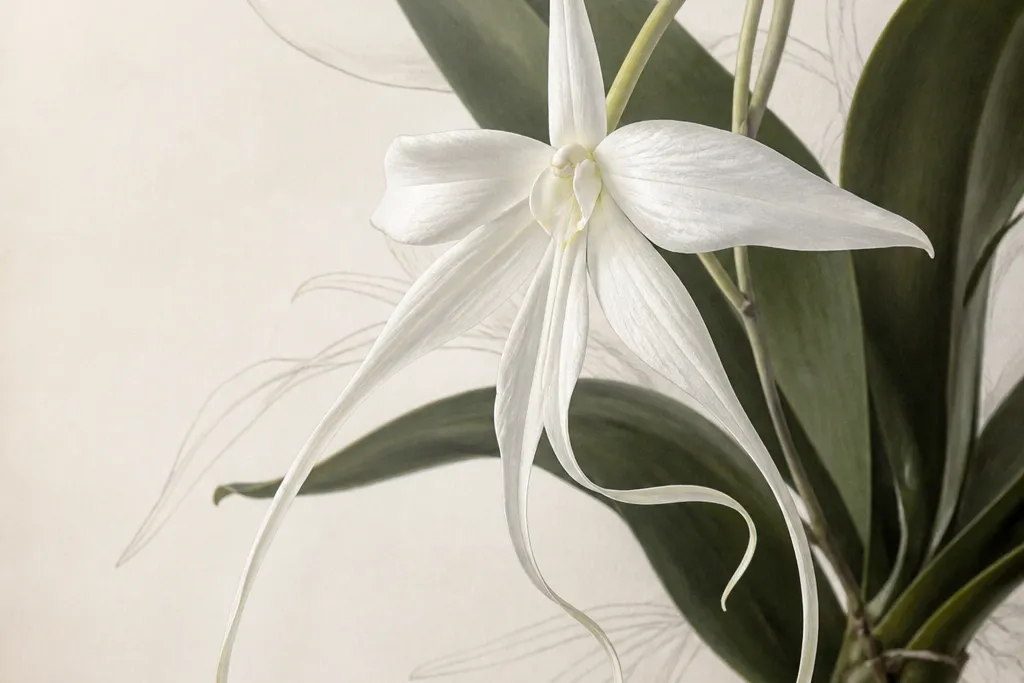
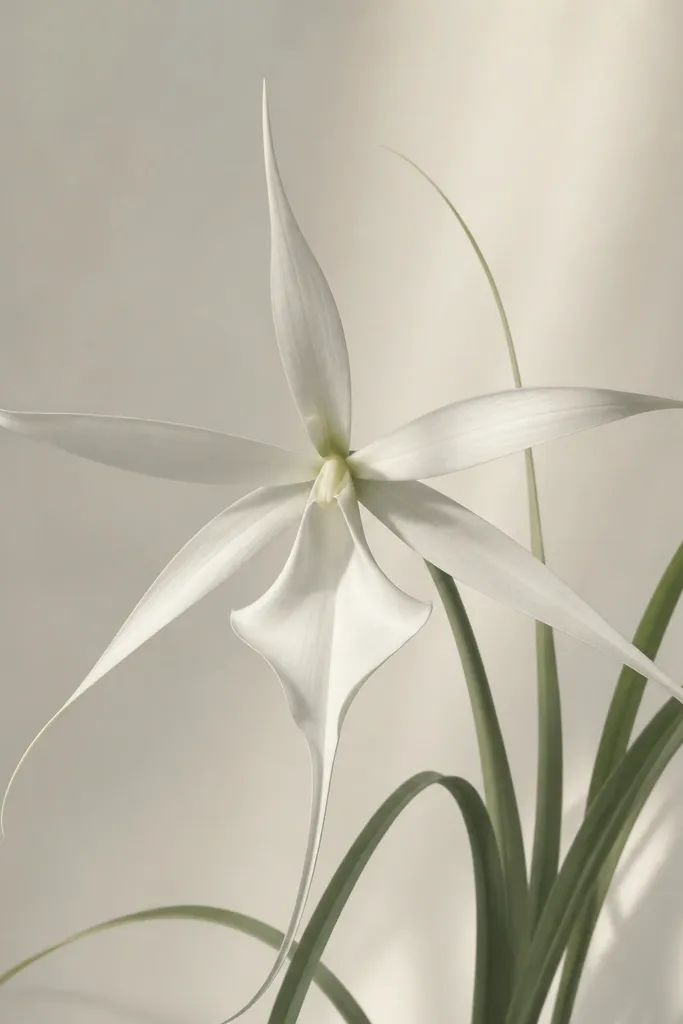
1. Foggy Orchid on Torn Ledger Paper
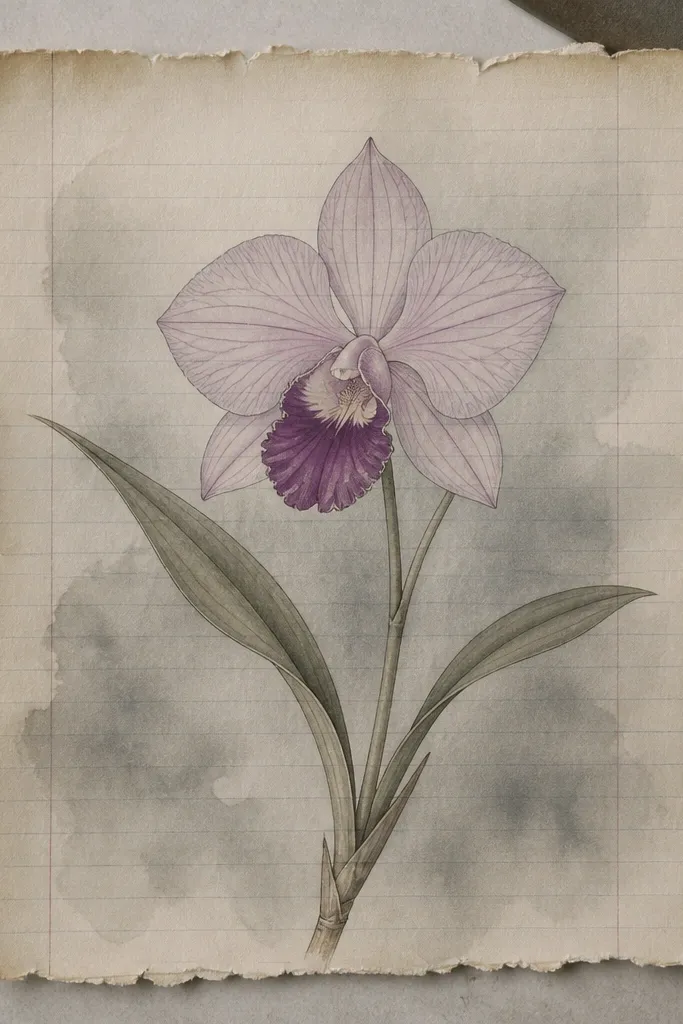
Start with a torn ledger-style page because the faint lines give your ghost background texture without extra work. Draw the orchid in orchid pink and dusty lavender, then deepen the lip with plum so the flower reads clearly even after you haze it. The fog wash should be gray with a tiny bit of pink — it makes the petals look like they’re glowing from under the paper. This looks best when the orchid is slightly off-center, especially if you like a calm, haunting vibe rather than a spooky one. It also flatters small spaces because the background stays light and doesn’t fight your subject.
Tear a piece of 200 gsm paper so the edges look irregular, then lightly crayon-rub the torn edge with a gray pastel so it blends. Sketch your orchid stem and three main petals using a 2B pencil, then ink the outline lightly with fineliner. Watercolor the petals with diluted orchid pink, and paint the lip with diluted plum, leaving the petal centers unpainted for highlight. After the orchid dries, brush a wide, watery gray wash behind it, working from the edges inward so the center stays clearer. Finally, add tiny white gel pen dots where the petal veins would catch light.
Hold your paper at a slight angle while you wash the fog — the pooling makes natural cloud edges that look intentional.
Don’t flood the whole page with gray; keep the strongest haze behind the petals only.
2. Monochrome Orchid with Ghost Ink Halo
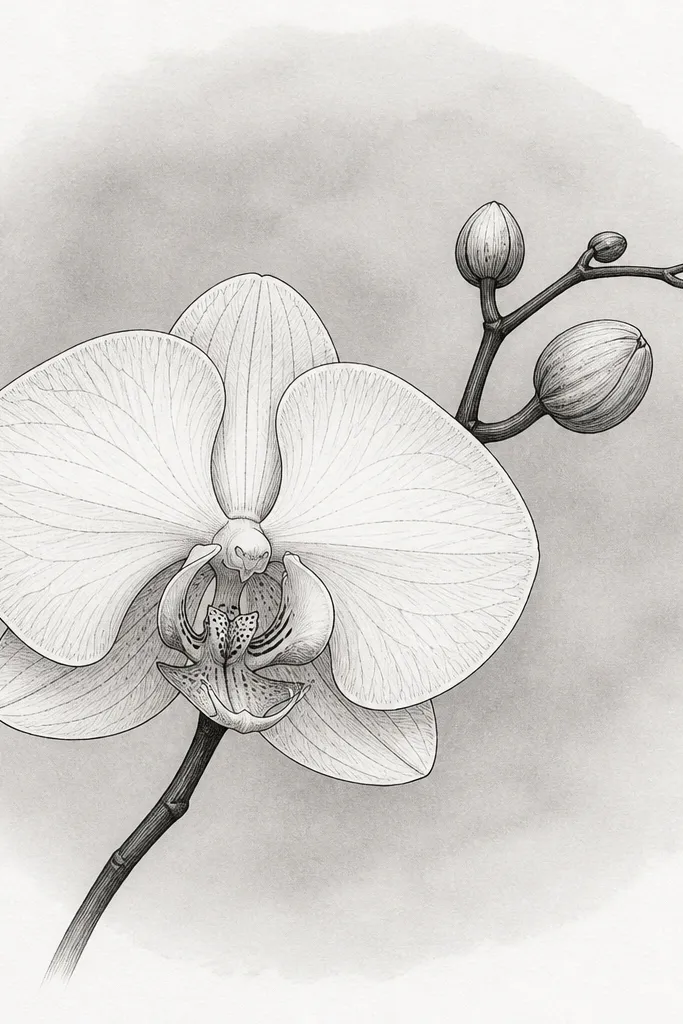
Draw the orchid outline with fineliner, keeping the veins thin and the lip slightly darker. Mix diluted gray ink with water until it looks like wet smoke, then paint a halo behind the orchid using a round brush. Start the halo at about 1 cm away from the outer petals so you don’t muddy the orchid edges. Let it soak for 20-30 seconds, then add one more lighter pass at the far edge of the halo for a fade. Finish by tapping white gel pen on the petal lip and the top edges of the side petals.
This version is for when you want the aesthetic ghost look without color clutter. Use monochrome ink so the eye focuses on the petal shape and the orchid lip. The halo effect makes the flower feel like it’s floating in air, because the edges fade into a controlled gradient. It’s flattering in a narrow format too — the halo guides the viewer’s gaze straight to the center. I like this one for fast pieces because the palette is simple and the result is dramatic.
Common mistakeAvoid thick black outlines on the background; keep the background gradient only.
Good to knowIf your halo looks harsh, soften it with a barely damp brush dragged outward from the halo edge.
3. Vellum-Style Orchid through White Wash
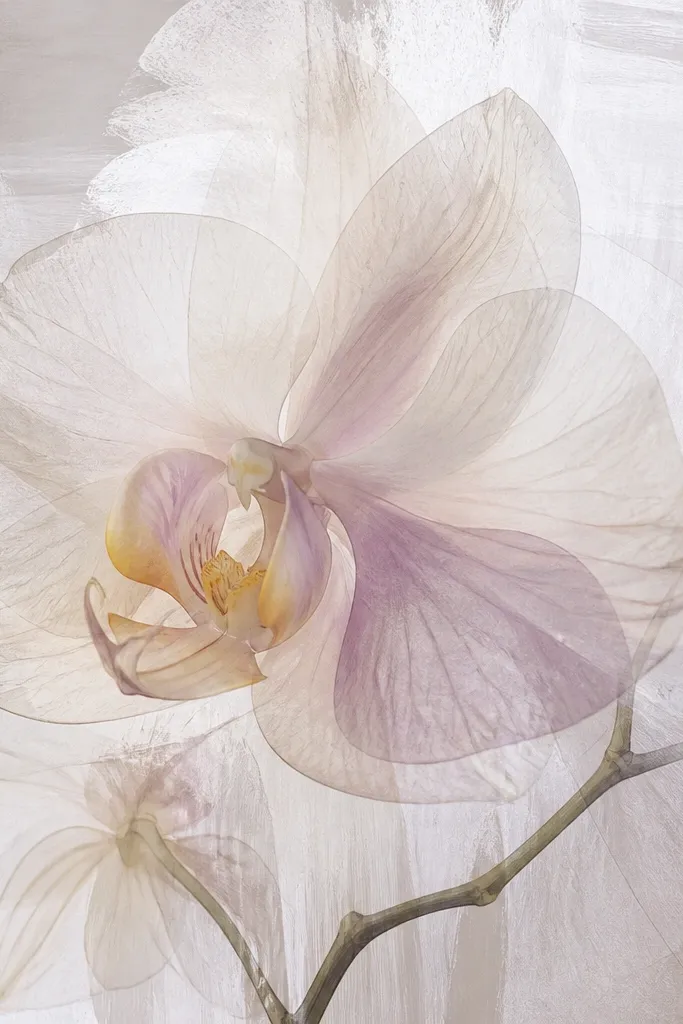
Sketch the orchid petals with pencil, then ink only the petal outline and vein lines. Watercolor the petals with diluted orchid pink, leaving the centers lighter. While the paint is still slightly damp, brush white gouache behind and between petals in thin horizontal streaks. Let it dry fully, then go back with a second ultra-light pink wash to unify the translucency. Add a tiny mauve touch to the lip and a final white gel pen highlight on the highest petal curves.
This idea mimics how vellum makes flowers look ghostly — you see the structure but the color feels muted and airy. Use a pale orchid pink wash plus lots of white gouache so the petals appear semi-transparent. The lip can be a restrained mauve, never jet dark, so it stays dreamy instead of graphic. This works well for fair skin tones in portraits-on-paper projects too, because the palette is gentle and doesn’t overwhelm. It also looks classy for small frames since the haze is light and clean.
Common mistakeDon’t use pure white all over the petals; keep it behind and between them.
Good to knowUse gouache sparingly at first — you can build opacity, but you can’t pull it back once it dries chalky.
4. Crescent Moon Orchid Ghost in the Corner

Cut a paper crescent moon stencil from thin cardstock and hold it behind your sketch area. Draw the orchid first in pencil, then ink lightly, making the stem curve toward the moon. Paint the orchid petals with diluted lavender and a small rosy center on the lip. Remove the stencil carefully, then brush a gray-pink wash where the moon was, fading outward. Add white gel pen star specks and a thin crescent highlight line at the top edge of the moon shape.
Placing the orchid near a corner makes it feel like a secret bloom appearing from darkness. The crescent moon gives you a built-in ghost silhouette, and the haze makes the moon look atmospheric instead of flat. Keep the orchid petals light — lavender with a soft rosy center — so the moon’s gray-pink wash doesn’t overpower it. This looks flattering for wall art because the negative space does half the work. It also hides uneven shading because the moon haze covers your brush transitions.
Common mistakeDon’t paint the moon too dark; the ghost vibe dies when the background becomes heavy black.
Good to knowTrace the stencil lightly with pencil before painting so you know where the fade should stop.
5. Doily-Edge Orchid Ghost Frame
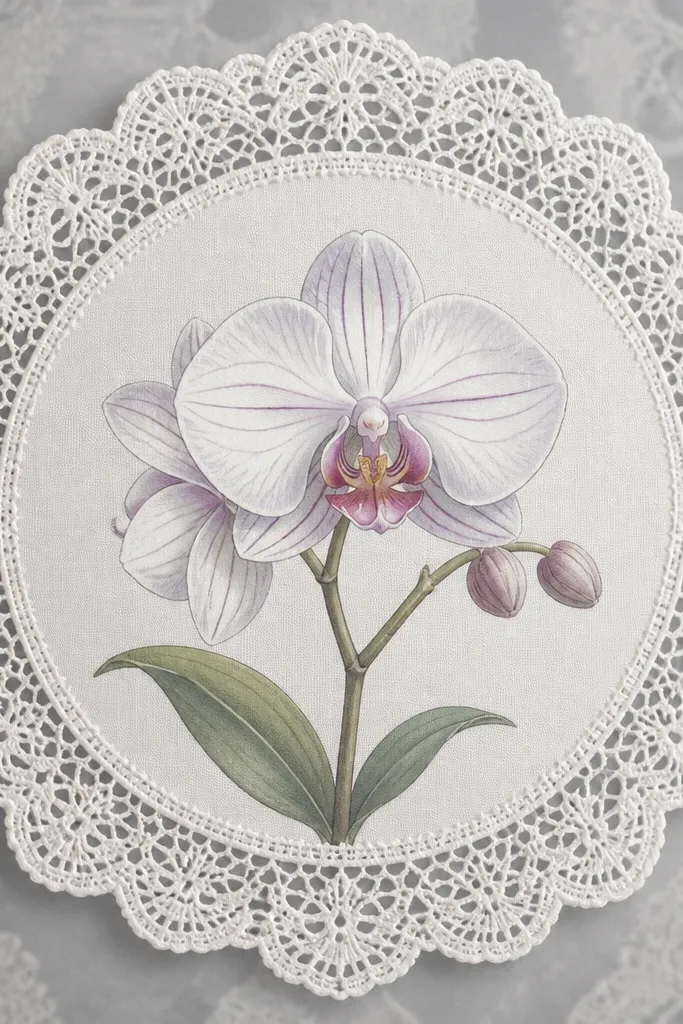
Place a paper doily (or print one) under your mixed media paper and secure it with tape at the corners. Lightly sketch the orchid in the center, keeping the stems short and elegant. Ink the orchid outline and veins, then watercolor petals in diluted lavender and pink. Dab a gray watercolor wash over the area around the orchid, using a dry brush so it catches on the doily texture. Lift the doily to reveal the crisp lace edge, then add white gel pen highlights on the petal lip and the top vein line.
A doily edge creates instant texture that looks haunted without needing complicated shading. The lace pattern gives fine, ghostly marks around the orchid, so you don’t need to draw extra ghosts or bats. Use a pale lavender orchid with a slightly deeper orchid-pink lip so the center still pops against the lace. This works especially well if your hand gets shaky with long stem lines — the frame pulls attention back to the bloom. It also looks pretty on desk-size art because the doily edge fills the border cleanly.
Common mistakeDon’t let the wash reach into the orchid petals; keep the flower area cleaner.
Good to knowUse a flat brush for the wash; it spreads less than a round brush and respects the doily pattern.
6. Ghost Orchid on Black Tea Stain Wash
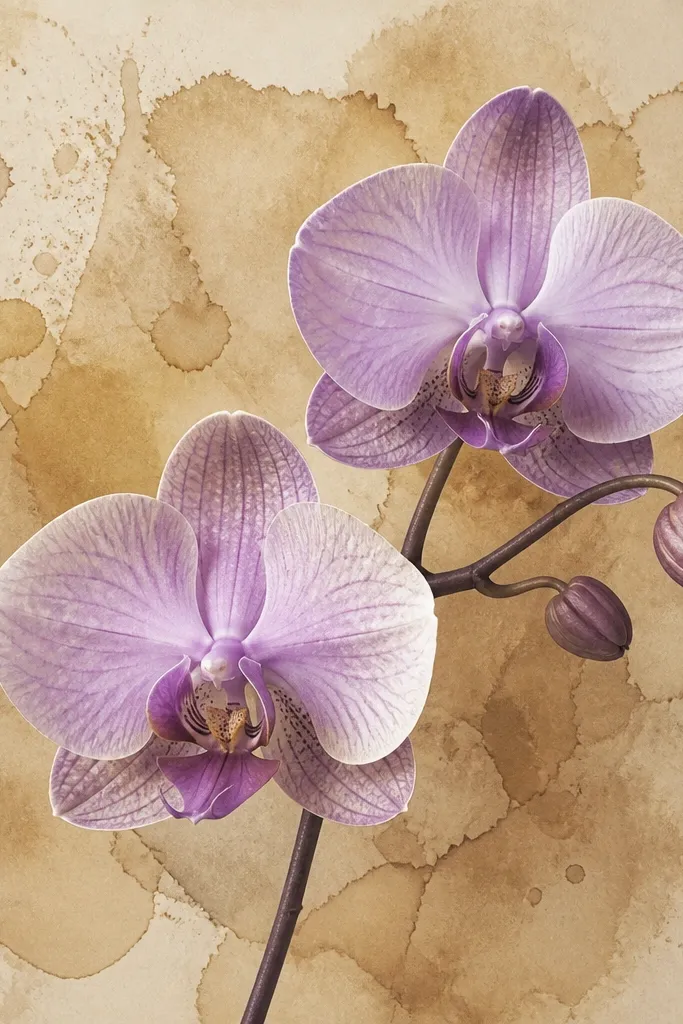
Tea stain backgrounds look like aged fog, which makes the orchid feel supernatural without cartooning it. Use diluted lavender and dusty pink for the petals, then keep the lip mauve so it blends with the sepia. The contrast between warm brown stains and cool purple petals creates that “a ghost left this here” feeling. I like this one for vintage-looking rooms because it matches wood tones and cream walls. It also forgives mistakes since the background is already textured.
Brew black tea strong and let it cool. Brush it onto 200-250 gsm paper and tilt the page so you get natural tide marks, then let it dry completely. Sketch the orchid in pencil, then ink with a dark gray fineliner so it doesn’t look too stark on the brown. Watercolor petals with diluted lavender and add a mauve lip with a small darker dot at the center. Once dry, add white gel pen highlights and a few extra tiny vein lines so the orchid stays crisp against the stain.
Spritz a little plain water on the tea while it’s still wet to create lighter cloud patches behind the petals.
Don’t paint lavender too heavy — thick pigment sits on tea stains and looks dull.
7. Watercolor Orchid with Wet-on-Wet Mist Edges
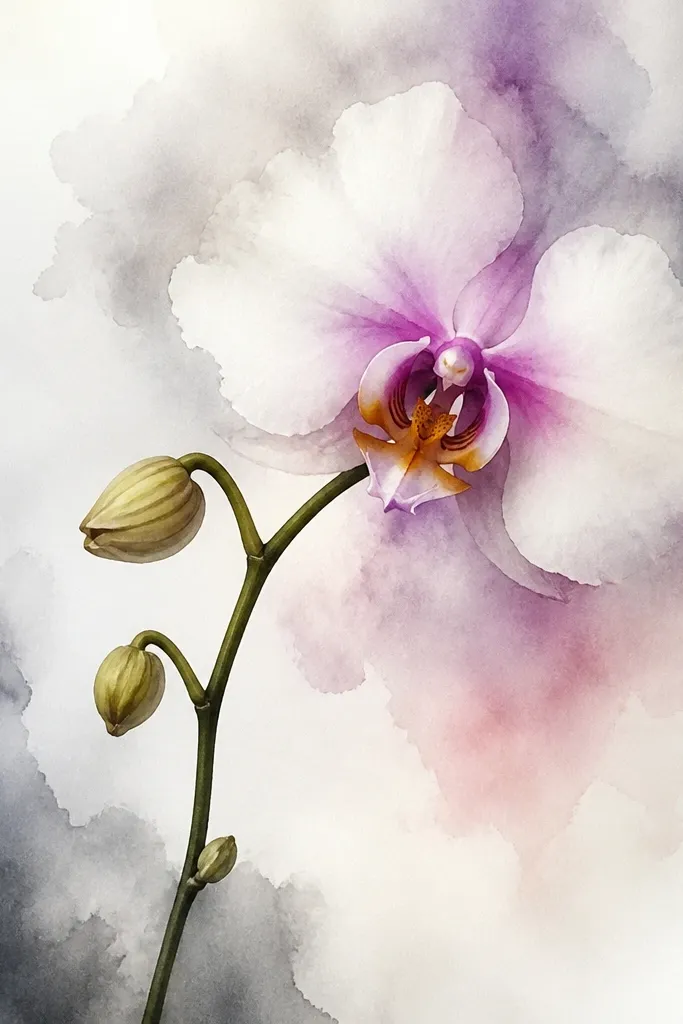
This one leans hard into the ghost illusion by letting paint bleed on purpose. The orchid stays defined in the center, while the outer edges soften into gray mist. I use wet-on-wet for the background only, because if you let it happen everywhere your orchid loses its anatomy. This looks best for medium-size pieces because you can see the gradients clearly. It also flatters people who like softer, less graphic art.
Wet the paper lightly behind where the petals will go using clean water, keeping the orchid area slightly drier. Paint the orchid petals first with diluted lavender and rosy centers, then pause before adding too much detail. Mix a gray watercolor (gray + a tiny touch of pink) and drop it into the wet background area so it blooms outward. While it’s still damp, pull a few thin strokes of gray toward the outer petal edges to create misty transitions. After everything dries, add crisp vein lines with a fine brush and ink, then finish with white gel pen highlights on the lip.
Use a bigger brush for the mist drop, but a smaller brush for veins; that contrast is what makes it look intentional.
Don’t overwork the watercolor while it’s wet or the whole background turns muddy.
8. Pencil Orchid Skeleton with Eraser Ghost Bloom
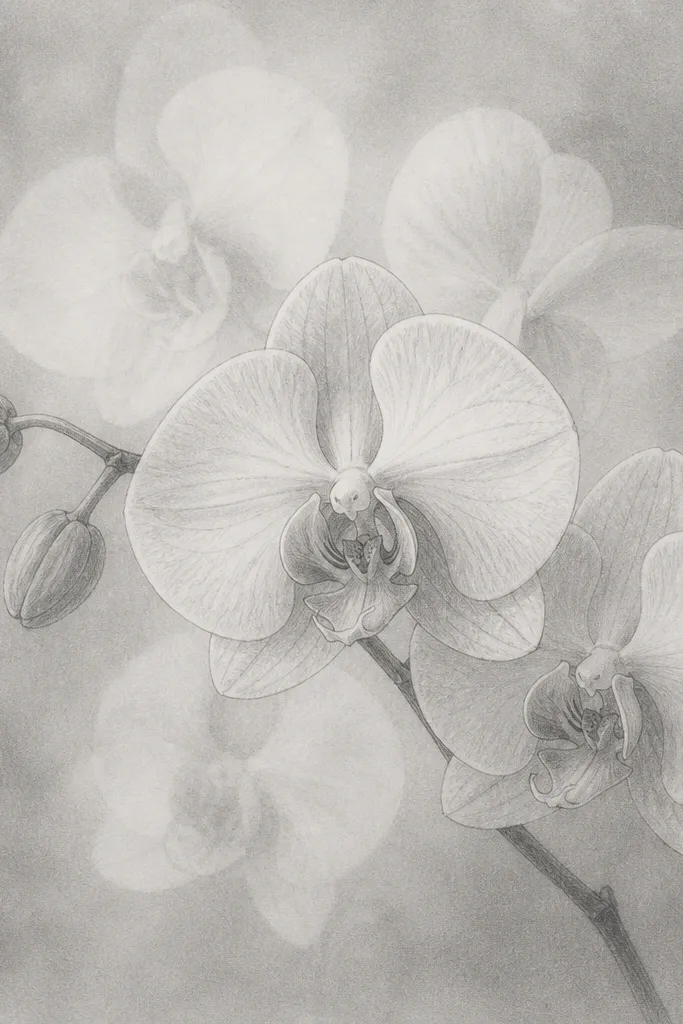
Graphite plus erasing gives you the ghost effect without painting. You build a soft graphite haze behind the orchid, then lift highlights with a kneaded eraser so it looks like light is trapped under smoke. Use a light hand for the orchid structure so the eraser can create glow around the petal edges. This looks great if your style is more sketchy and you hate tight, clean lines. It also photographs well because the lifted highlights catch light better than white paint.
Sketch the orchid with a sharp pencil, keeping the veins light so you can see through them. Smudge graphite behind the orchid using a blending stump, focusing on the area between petals. Press a kneaded eraser onto the background to lift pale “ghost blooms” in an irregular pattern that suggests fog pockets. Re-darken only the petal outlines and lip center with a 2B pencil after erasing. Finish with a white gel pen on the petal lip edge and a few vein tips.
Use a tissue to smudge graphite first, then erase — tissue smudging keeps the haze softer than blending stump alone.
Avoid erasing over inked lines; it can smear and ruin the crisp lip shape.
9. Orchid Ghost Still Life with Small Apothecary Jar
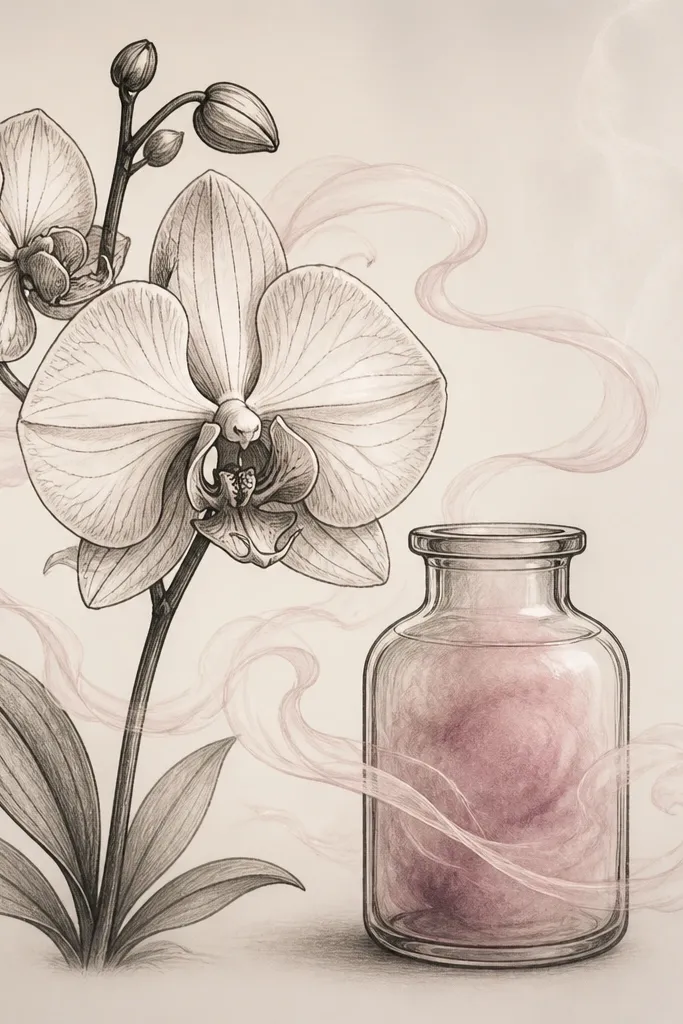
Draw a simple jar shape with straight sides and a rounded lip next to your orchid, leaving 1-2 cm between them. Ink the orchid outline and jar lines with a dark gray pen so it stays readable. Paint the orchid petals with diluted lavender, then add a small rosy center to the lip. For the jar, brush a gray wash inside the jar and drag a lighter gray streak upward to suggest condensation. Add mist swirls around the jar by flicking a damp brush lightly with gray paint, then end with white gel pen highlights on the jar rim and petal lip.
If you want the aesthetic ghost vibe to feel grounded, add an apothecary jar. The jar gives you a place for the haze to live, so it looks like smoke trapped in glass instead of random smudging. Draw the orchid in pale lavender and orchid pink, then make the jar “fog” with gray wash and lighter streaks. This flatters curvy stem compositions because the jar outline balances the movement. It also makes your art feel intentional even if your orchid is slightly smaller than you planned.
Common mistakeDon’t fill the jar solid black; it makes the ghost look like a blob.
Good to knowMake the jar fog lighter near the top — condensation fades upward and looks more believable.
10. Black Wash Orchid with White Vein Lace
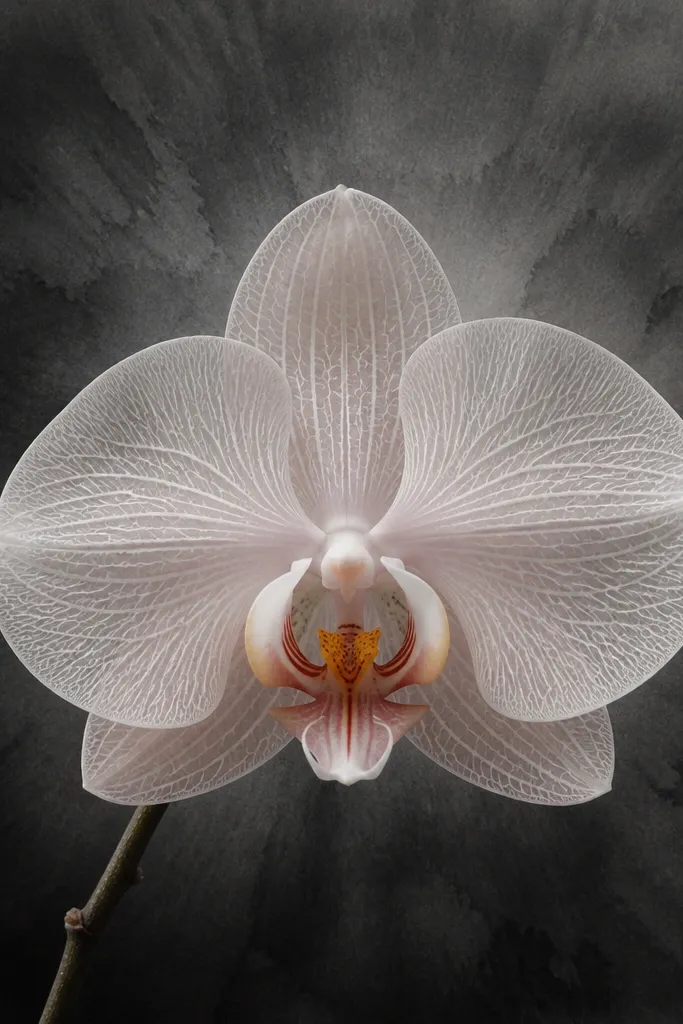
This is the dramatic option: a dark background with a pale orchid and white vein detailing. The white veins act like “ghost lace,” making the orchid look luminous even on blackened paper. Use soft charcoal or diluted black watercolor for the background, then keep the orchid petals in light lavender and dusty pink. This style flatters bold compositions because the contrast is strong and hides shaky stems. I like it for night-time vibes and small gallery frames.
Tone your paper with diluted charcoal wash, concentrated behind the orchid and fading outward. Sketch the orchid in pencil, then ink with light gray so it doesn’t disappear on the dark background. Paint petals with diluted pale lavender, leaving the brightest petal areas nearly unpainted. While the paint is slightly damp, draw white vein lines using a gel pen or opaque white watercolor, following the petal curve. Add one darker mauve dab at the lip center to keep the anatomy readable.
If your white veins look streaky, go over them once after the first pass dries — crisp lines look ghosty, not messy.
Avoid painting the whole orchid background-dark; keep the orchid lighter so it reads as the subject.
11. Cut-Paper Orchid Ghost Silhouette
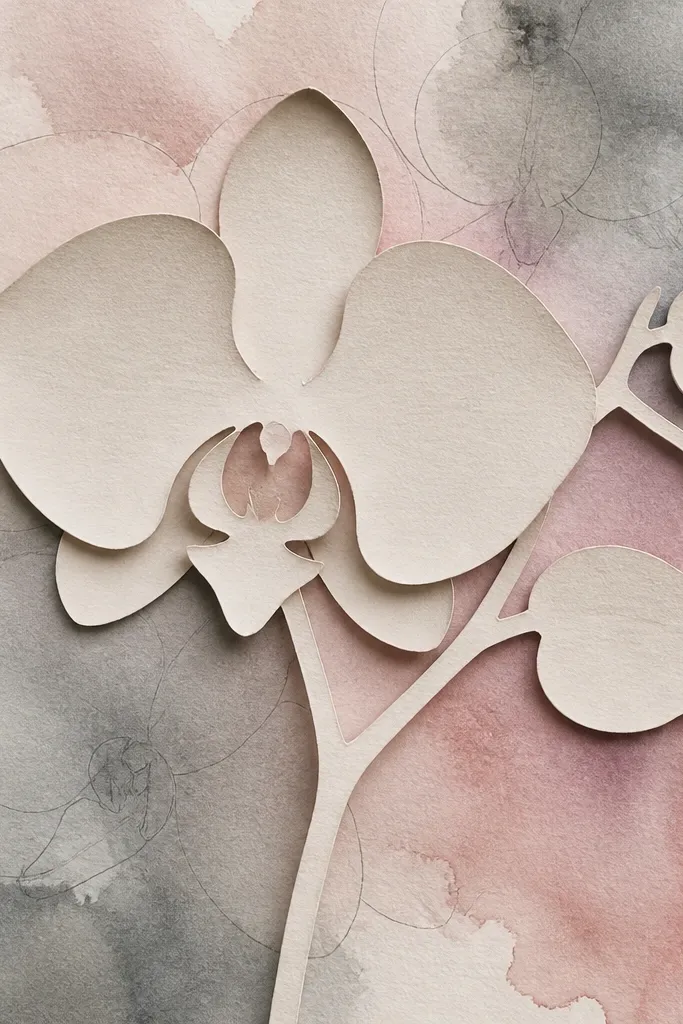
Draw your orchid on thin paper, then cut it out with sharp scissors, keeping the petal edges slightly uneven for a natural look. Place the cutout on top of a watercolor wash background painted in gray-pink and let it dry. Lightly trace the orchid beneath on the background with pencil, then add a few fineliner vein marks that line up with the cut petals. Glue the cutout down with a thin adhesive strip at the stem only, so the petals lift slightly. Finish by adding white gel pen highlights to the cut petals and a faint shadow line under the stem.
Cut paper gives you a true “ghost layer” because the orchid can float above the watercolor haze. Use thin white paper or translucent vellum-like paper for the orchid cutout, then ink just a few key veins so it feels airy. The gray-pink wash underneath should be light so the cut edges glow. This is great for people who hate drawing perfect petal symmetry — you can refine the cut shape once and reuse the idea. It also looks good for gifts because it has texture you can feel.
Common mistakeDon’t glue the whole cutout flat or the piece stops looking like it’s floating.
Good to knowUse only stem adhesive; lifting the petals makes the ghost effect obvious in photos.
12. Orchid Ghost on Script Paper with Soft Erase Clouds
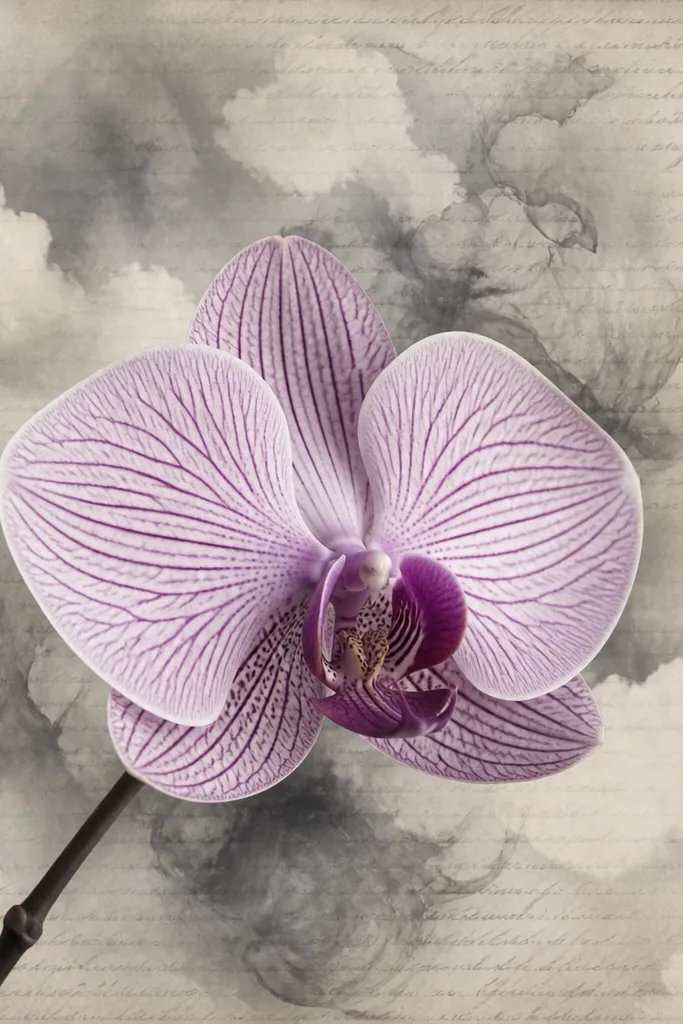
Print or use vintage-style script paper and tape it to a backing sheet for stability. Lightly sketch your orchid and ink the outline so it stays crisp over the text. Use a kneaded eraser to lift small cloud shapes behind the petals, focusing on the areas between petal tips. Add a gray-pink watercolor haze around those erased clouds with a damp round brush, keeping the orchid itself dry. Finish with white gel pen highlights on the lip and a few top vein lines so the orchid looks lit.
Script paper creates a subtle haunted atmosphere because your brain reads it as a message, even when it’s unreadable. The ghost trick here is erasing — you remove parts of the text to create fog pockets behind the orchid. Keep the orchid in pale lavender and mauve so it doesn’t fight the text. This looks flattering in portrait orientation because the script lines lead your eye toward the bloom. It also makes your art feel older without needing real antique materials.
Common mistakeDon’t erase too much — a few ghost clouds read better than a blank page.
Good to knowErase in irregular clusters, not circles — fog looks more natural when it breaks into uneven patches.
13. Orchid Ghost with Resin-Look Gloss Highlights (No Resin)
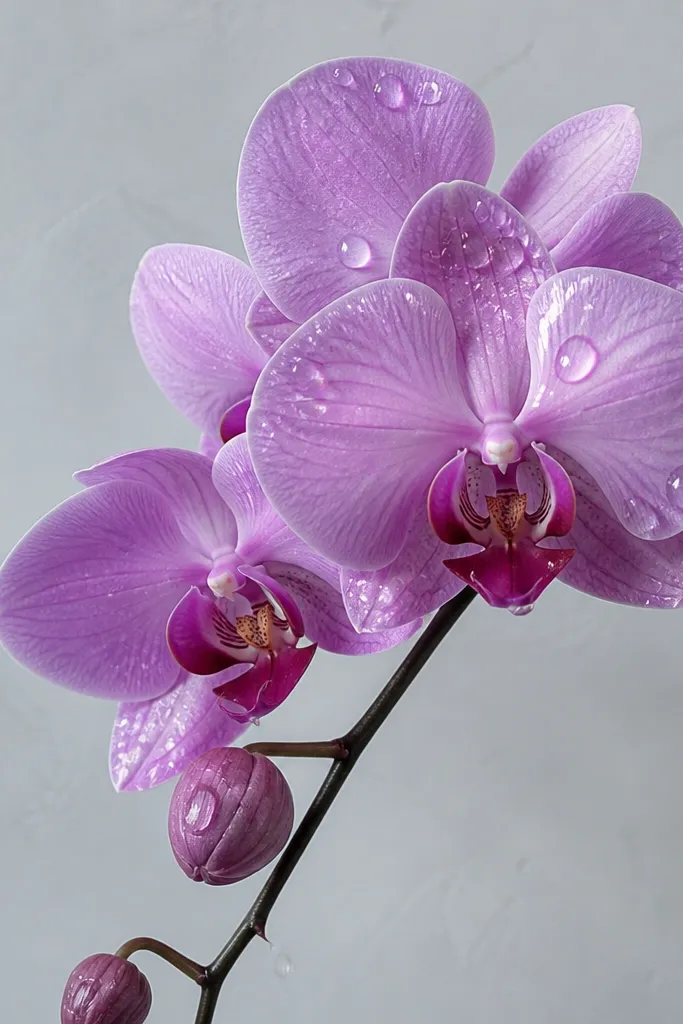
Paint your orchid petals in diluted lavender and pink, then ink the outline and veins with a fine pen. Brush a pale gray wash behind the orchid, keeping it lighter than the petals. Let the watercolor dry fully, then apply thick gel medium only on the petal lip and a few vein crossing points using a toothpick or small brush. Sprinkle a tiny bit of matte powder-free glitter only on one side if you want a subtle sparkle, then leave it alone to dry. Once dry, add a thin outline of white gel pen around the brightest petal curve for extra glow.
You can get a resin-look sheen without resin by using thick gel medium on the petal lip and vein intersections. That glossy pop makes the orchid feel like it’s suspended in mist. Keep your background soft gray so the shine reads clearly, not muddy. This is flattering for anyone who likes a cleaner, more polished aesthetic ghost look rather than messy smears. It also holds up well in photos because glare points create depth.
Common mistakeAvoid putting gel medium over wet watercolor; it can lift and smear your petal color.
Good to knowDo glossy highlights in small spots — big glossy areas look wet, not ghostly.
14. Ink Orchid Ghost with Sumi Splash Background
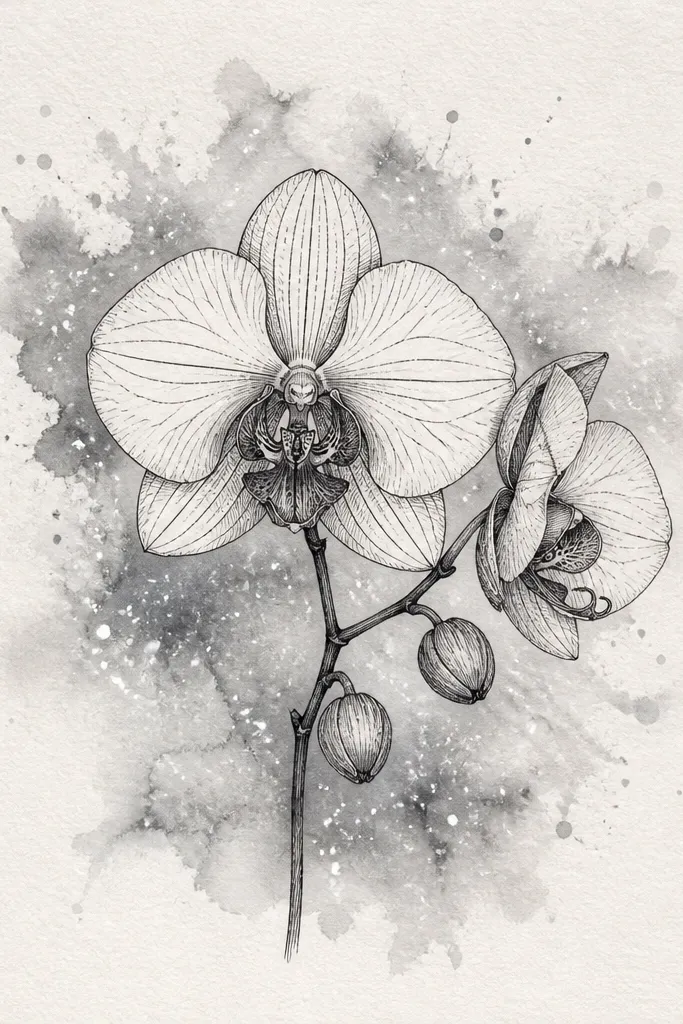
Sketch and ink the orchid with fineliner, keeping the stem and lip lines clean and darker than the veins. Use diluted gray ink and load a small brush with it. Flick the brush from above and behind the orchid area, aiming for a wide scatter that doesn’t land on the petals. After the splatter dries, lightly brush a damp water layer behind the densest area to soften it into haze. Add white gel pen dots along the petal veins and a couple on the lip for a ghost sparkle.
Sumi splash background gives you motion without drawing extra elements. The orchid stays crisp, while the background feels like mist kicked up by something unseen. Use diluted gray ink for splashes so it looks like smoke, not paint drips. This works for medium to large drawings because you need space for the splatter to fade. It’s also forgiving — if you splash too much, you can lighten it with a gentle brush pass.
Common mistakeDon’t let splashes hit the orchid outline; cover with scrap paper while you flick.
Good to knowPractice one flick on scrap paper first — you want misty specks, not blobs.
15. Pastel Orchid Ghost with Chalk Dust Fade
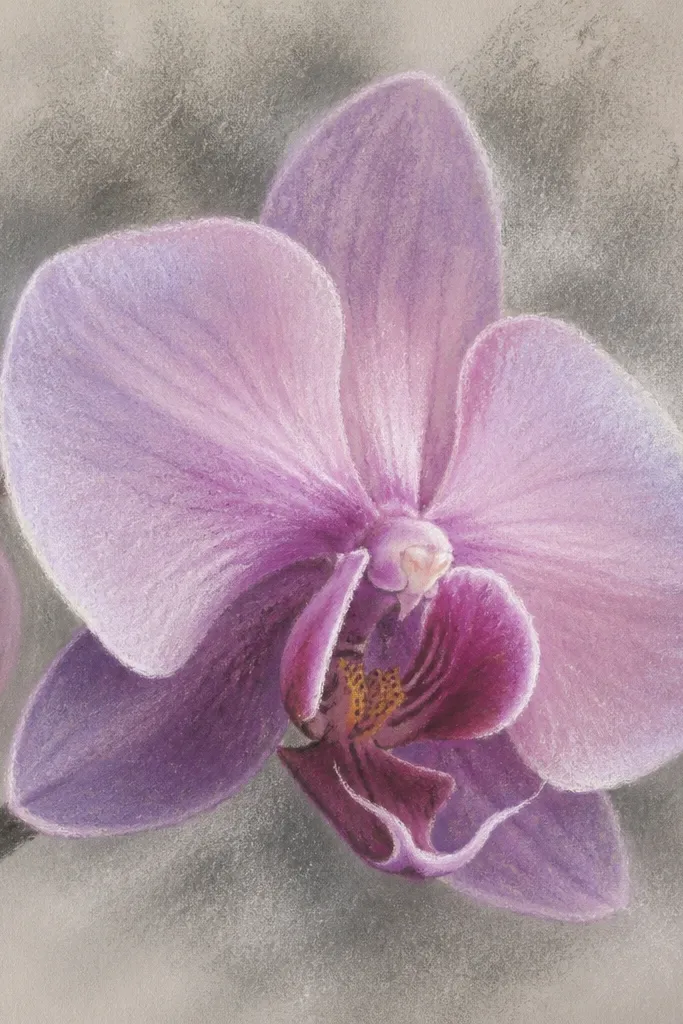
Sketch the orchid lightly, then color petals with soft pastel sticks in lavender and dusty pink, using a blending stump for smooth transitions. Tap gray chalk behind the petals with a dry cotton swab, building slowly until you see fog. Keep the orchid edges cleaner than the background by masking the outer petal tips with a strip of paper while you dust. Fix the pastel lightly with a workable fixative from a distance if you have one, or leave it if you plan to frame behind glass. Add white gel pen highlights on the lip and veins once the chalk dust settles.
Chalk dust is the easiest way to get a ghostly fade without watercolor bleeding. Use soft pastels for the petals and gray chalk for the mist behind them. The look is gentle and velvety — you get that “soft focus” vibe that reads mysterious. This flatters people who want a calming aesthetic ghost piece for a bedroom wall. It also hides small mistakes because chalk blends naturally.
Common mistakeAvoid heavy chalk on the petal centers; it turns the orchid flat.
Good to knowDust gray chalk upward from the stem — it makes the haze feel like it rises like breath.
16. Orchid Ghost with Photo Negative Style Edges
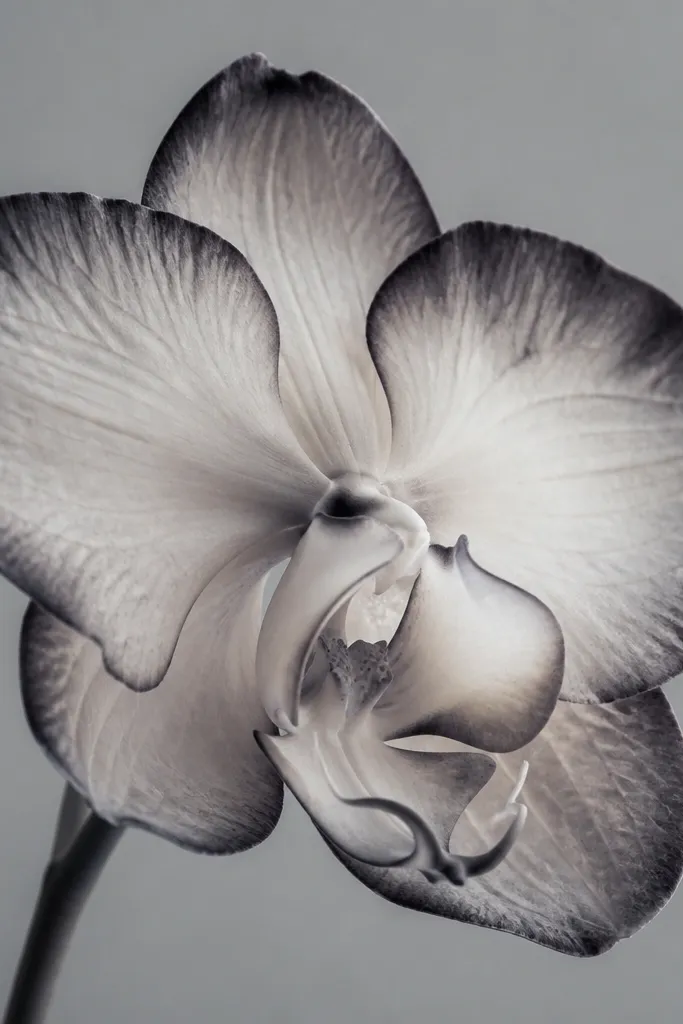
This idea gives you a spooky clean look by using an edge inversion effect. You keep the petal centers light, then darken just the outer edge and crease lines so the orchid looks cut from light. The ghost background stays gray so the negative edges pop without looking neon. This flatters tight compositions because the edge lines guide the eye like a silhouette. I use this when I want the aesthetic ghost to feel modern, not vintage.
Draw the orchid outline and veins in light gray pencil first. Ink the outer petal edges lightly, then go back with a darker gray pen only along the outermost curves and the petal crease line. Watercolor the petal centers with very diluted lavender so they stay pale. Paint a soft gray wash behind the orchid, leaving space around the edges so the silhouette effect shows. Finish by adding white gel pen highlights only on the petal lip and two top vein tips.
Use a pencil for crease lines before inking — it keeps your “negative edge” symmetrical.
Don’t darken the entire petal; the negative edge effect needs restraint.
17. Orchid Ghost with Threaded Stitch Border
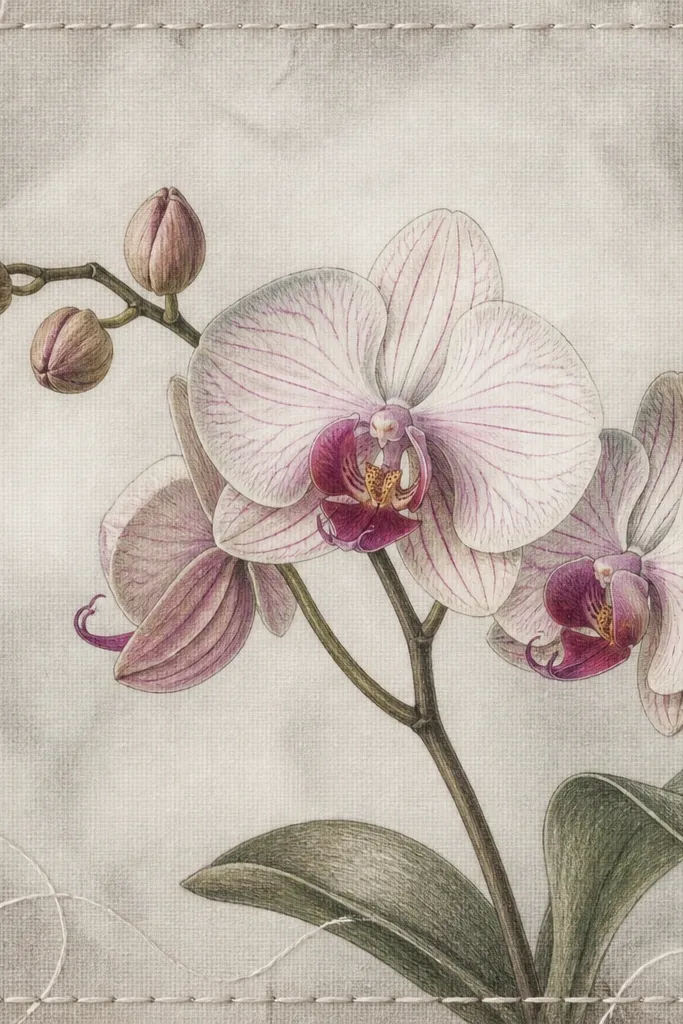
Stitch borders make the piece feel handmade and slightly haunted, like a secret note wrapped inside fabric. The orchid stays the same, but the border changes the whole vibe because it adds a tactile frame. Use a narrow gray haze behind the orchid so the border remains visible. This one flatters smaller paper sizes because the stitched edge fills the frame and creates balance. If you want an aesthetic ghost piece that looks intentional on a shelf, this is the easiest way to get there.
Sketch and ink the orchid first, then watercolor petals in lavender and a soft mauve lip. Add a light gray wash behind the orchid, keeping it thin and mostly behind the stems. Mark small evenly spaced dots around the paper border about 1 cm from the edge. Use white thread and a needle to loop a simple running stitch through the dots, or simulate it with white gel pen lines if you don’t want to punch holes. Add a final touch of white gel pen on the petal lip to connect the shine from the thread border to the orchid.
If you stitch, use dull white or off-white thread so it looks like aged fabric, not craft-store bright.
Avoid a border that’s too wide; keep it tight so the orchid stays dominant.
18. Orchid Ghost with Pressed Flower Vein Texture
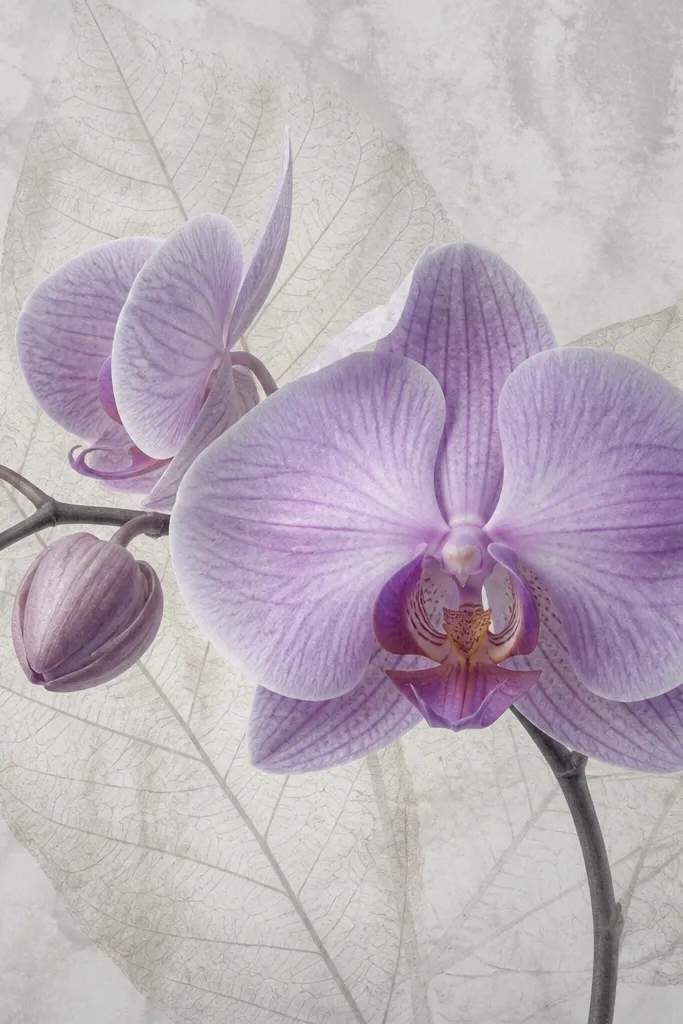
Press a thin, veiny plant piece flat ahead of time, then place it under your paper. Tape the plant in place and lightly pencil sketch the orchid where you want it. Watercolor the background first with a very light gray wash, then remove the plant to reveal the faint imprint. Ink the orchid outline and veins, then paint petals in diluted lavender with a mauve lip. Add white gel pen highlights on the petal veins and a few tiny dots near the stem to connect the imprint texture to the orchid glow.
Pressed textures look ghostly because they add natural vein patterns that feel like “imprints from the past.” I’ve used dried baby’s breath and thin herb leaves for this, then drew an orchid over the texture. Keep the orchid color soft so it matches the delicate pressed lines. This flatters airy orchid shapes because the background veins suggest movement without clutter. It also makes your drawing look more tactile even if you’re working on plain paper.
Common mistakeDon’t press thick flowers; bulky shapes create muddy blotches that ruin the ghost haze.
Good to knowPress the plant longer than you think — 3-5 days makes the imprint cleaner and lighter.
19. Orchid Ghost with Window Frame Negative Space
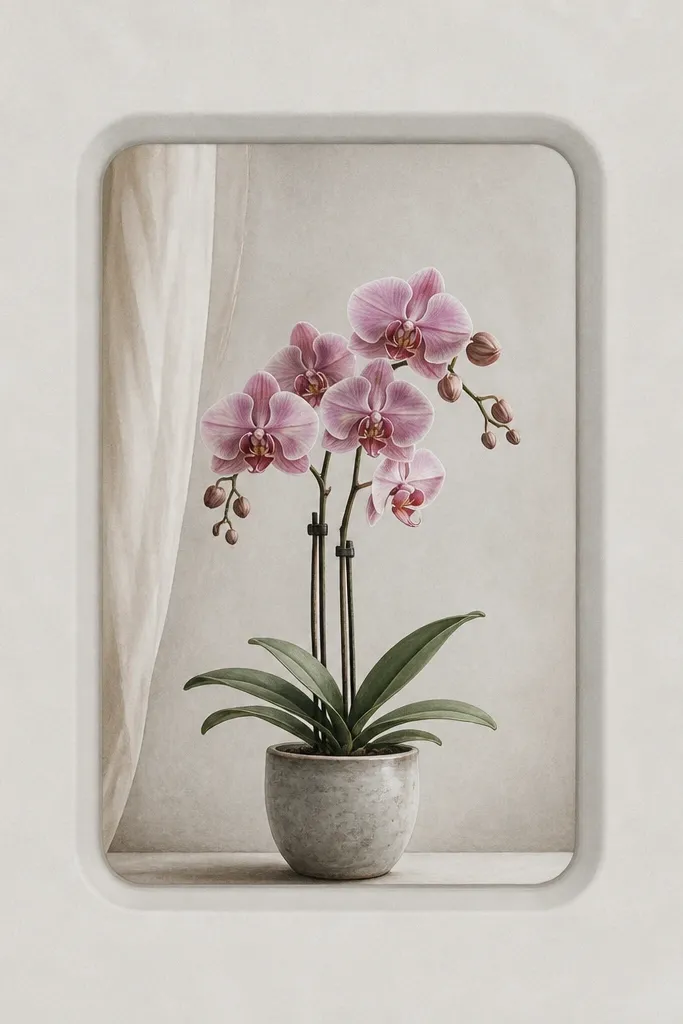
Draw a simple rectangle frame in pencil with a 1.5 cm margin from all edges. Shade only the inside window area with a light gray-pink watercolor haze, keeping it thin and uneven like fog. Sketch the orchid in the center of the window and ink the outline, then watercolor petals in lavender and a soft rosy lip. Add crisp white gel pen highlights on the lip and the top petal edges. Keep the outside of the frame blank or with a barely-there gray wash so the “looking through glass” effect stays clear.
Negative space is your friend for the ghost aesthetic. A window frame makes the orchid feel like it’s seen through mist, not pasted onto a full page. Keep the background inside the window a light gray-pink haze and leave the outside mostly clean. This flatters anyone who wants a neat final piece for a gallery wall because the frame structure is doing the organizing. It also makes your orchid look more intentional even when your petals aren’t perfectly matched.
Common mistakeDon’t fill the whole page with haze; the outside blank space is what sells the window illusion.
Good to knowUse a ruler for the frame, then let the orchid lines be imperfect — that contrast looks human and ghostly.