
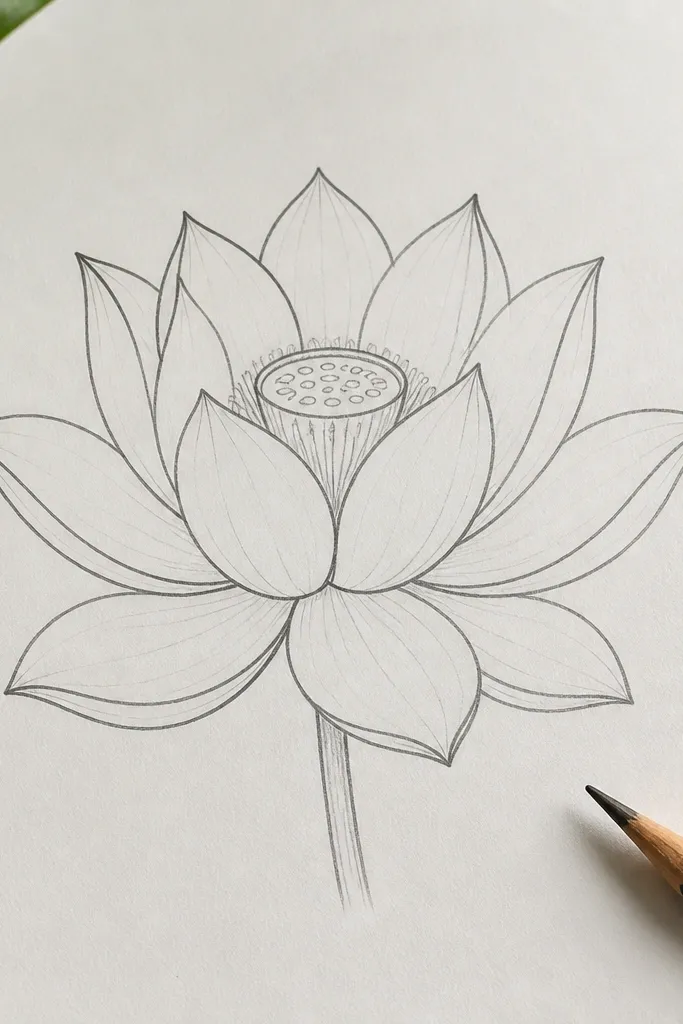
1. Classic 8-Petal Outline with Seed Pod
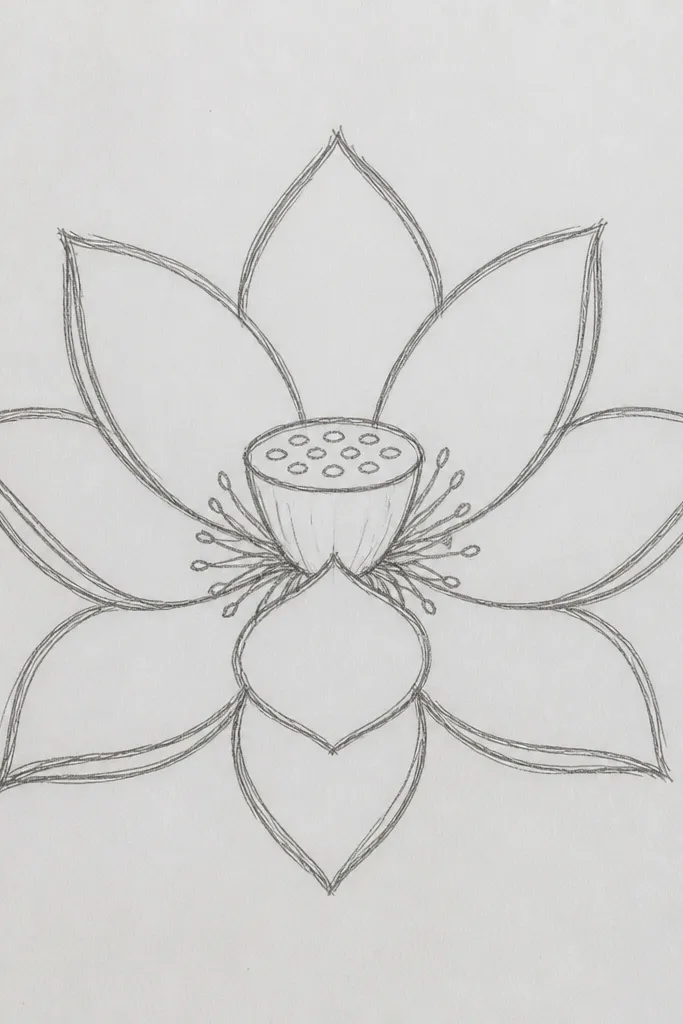
This version is the one I reach for when I want a lotus that looks neat on a bookmark or a small wall sticker. The eight outer petals give you symmetry without turning into a busy drawing. I use a small seed pod circle and draw petals that flare outward like shallow bowls, so the flower reads clearly even if it’s only 3 inches wide. It flatters simple layouts because it doesn’t crowd the page.
Step 1: Draw a tiny circle for the seed pod (about 0.4 inches wide on a 4x6 page), then add two short guide lines crossing through it. Step 2: Sketch eight petal arcs around the pod, each arc starting near the seed circle and curving outward to a similar height. Space them so each petal tip hits an invisible ring, then lightly erase the guides. Step 3: Go over the outer petal edges with a 0.5 fine liner and keep the inner pod lines lighter so the center stays the focus.
If your petals look uneven, count eight and check spacing by drawing a quick dot at each petal tip before you ink.
Don’t add inner petal lines — it makes the outline look like a scribble when it’s still new.
2. Minimal 6-Petal Lotus for Tiny Prints
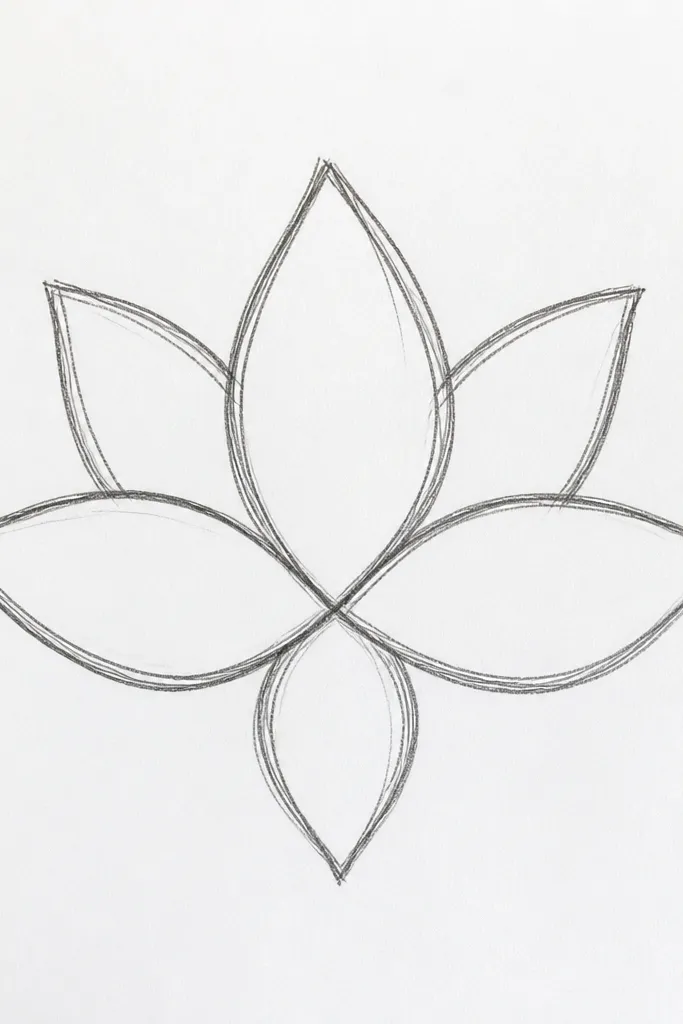
This is the lotus outline I use for packaging labels and tiny plant tags because it stays readable at small sizes. Six petals means fewer curves, so your outline stays crisp even if your hand shakes a bit. I like the look because it feels modern and graphic, not ornate. It suits clean, single-color prints — black ink on white paper looks sharp.
Step 1: Draw a seed pod circle smaller than you think (aim for 0.25 inches if the whole flower is about 2.5 inches wide). Step 2: Place six petals evenly around it, each petal shaped like a teardrop with the point turned slightly upward. Keep the petal bases close to the seed pod so the flower doesn’t look stretched. Step 3: Ink the petal outlines and add two short seed pod lines to show depth, then erase pencil guides once the ink dries.
Use a thicker pen for the outer petal edges and leave the seed pod lines thin for a natural depth effect.
Skip extra inner petals — at this size they turn into blobs after printing.
3. Layered 10-Petal Lotus with Inner Rim
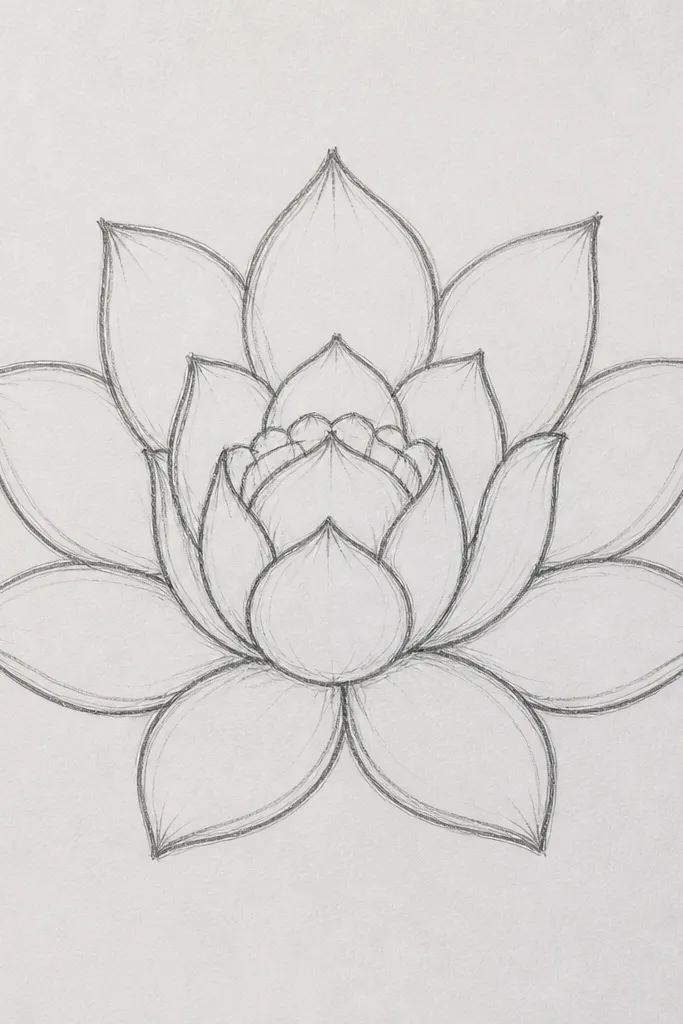
This outline looks “finished” without going heavy on detail, which is why I use it for greeting cards and framed prints. The inner rim adds depth so the lotus doesn’t look like a flat flower icon. It’s flattering for bigger spaces because the two layers create a gentle halo. You get a clear center, so even if someone draws it with a marker later, the structure holds.
Step 1: Draw the seed pod circle and then sketch a wider circle guideline around it at about half the final flower width. Step 2: Draw five larger outer petals first, then repeat the same set mirrored to make ten petals total. Step 3: Inside the outer ring, add five smaller inner petals that sit between the outer petals, like they’re peeking out from behind. Finally, ink outer edges slightly heavier than the inner rim so the layering reads clearly.
Lightly shade none — keep it line-only. If you want depth later, do it with line weight, not gray fills.
Don’t let the inner petals touch the seed pod circle — leave a tiny gap so the center stays defined.
4. Tall Lotus with Pointed Tips
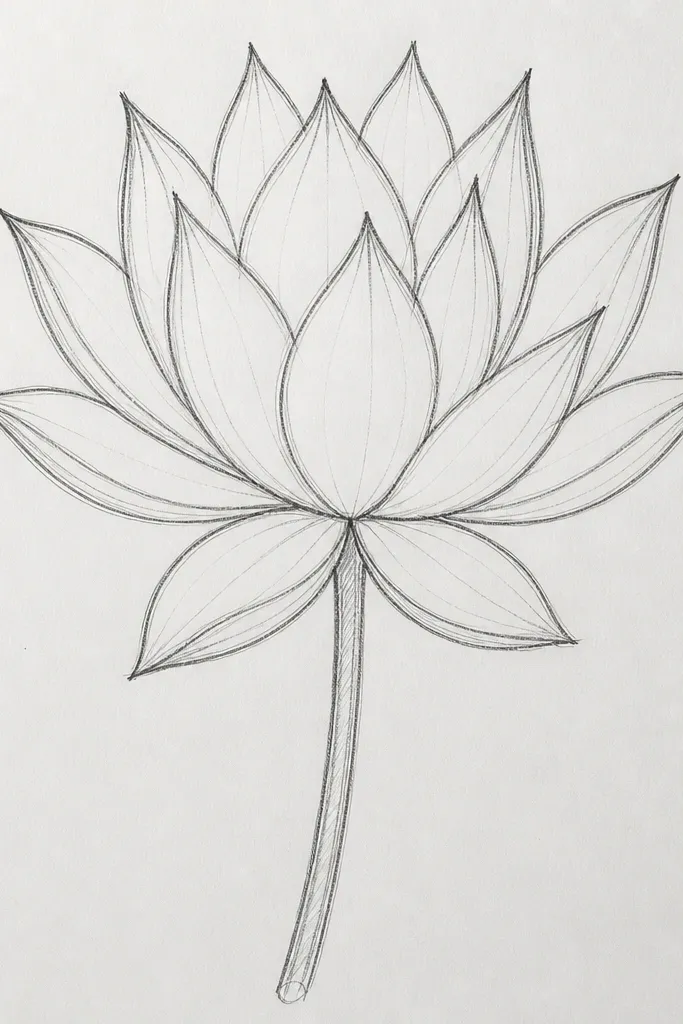
I like this one when the drawing needs height, like on a vertical canvas, planner divider, or a tall stencil. Pointed tips make the lotus feel upward and calm, not squat. It also looks good on darker paper because the lines don’t blur into a round shape. If your hand tends to draw petals too round, this forces a more elegant silhouette.
Step 1: Draw an oval seed pod (slightly taller than wide) and place a vertical center line through it. Step 2: Sketch eight petals that rise to a higher top point than the bottom width — each petal should look like a narrow leaf with a pointed tip. Step 3: Add a second, smaller layer of four inner petals, tucked between the outer petals. Ink with a steady hand, pressing harder at the petal outer edges for a clean thick-thin outline.
Measure the height of one petal tip from your center line and keep it the same for every petal.
Don’t widen the base too much — if the bottom gets fat, the tall look turns into a lopsided dome.
5. Open Lotus with Curled Petal Edges
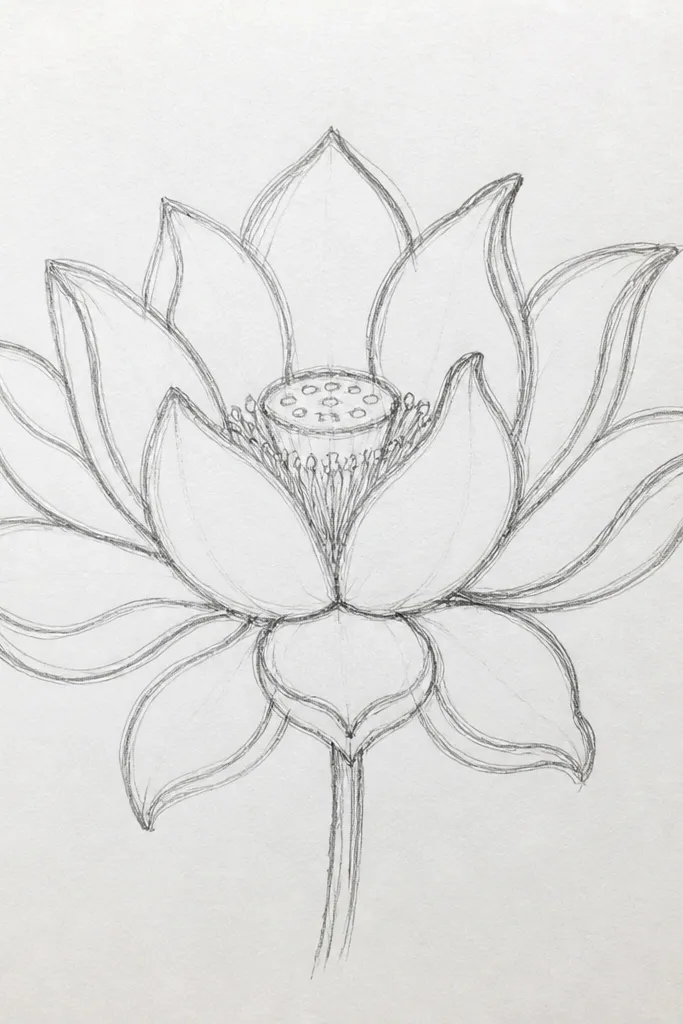
This outline is for when you want movement. Curled edges make the lotus feel like it’s opening, which looks great on invitations and scrapbook pages. I use it when I’m drawing on a card with a lot of negative space, because the curls give detail without adding lots of extra lines. It also pairs well with thin calligraphy because the petals don’t fight the text.
Good to knowUse a 0.3 liner for the curl marks so they look delicate, not chunky.
Step 1: Draw the seed pod circle, then add six outer petals with a wider bowl shape. Step 2: At each petal tip, draw a tiny inward curl line so the tip looks lifted. Step 3: Add three inner petals that are shorter and sit between the outer petals. Ink the outer petal rims first, then add the curl marks, keeping them lighter so they look like surface detail.
Common mistakeAvoid heavy curl lines on every petal — it makes the flower look like it’s scribbled over.
6. Symmetry-Grid Lotus Outline
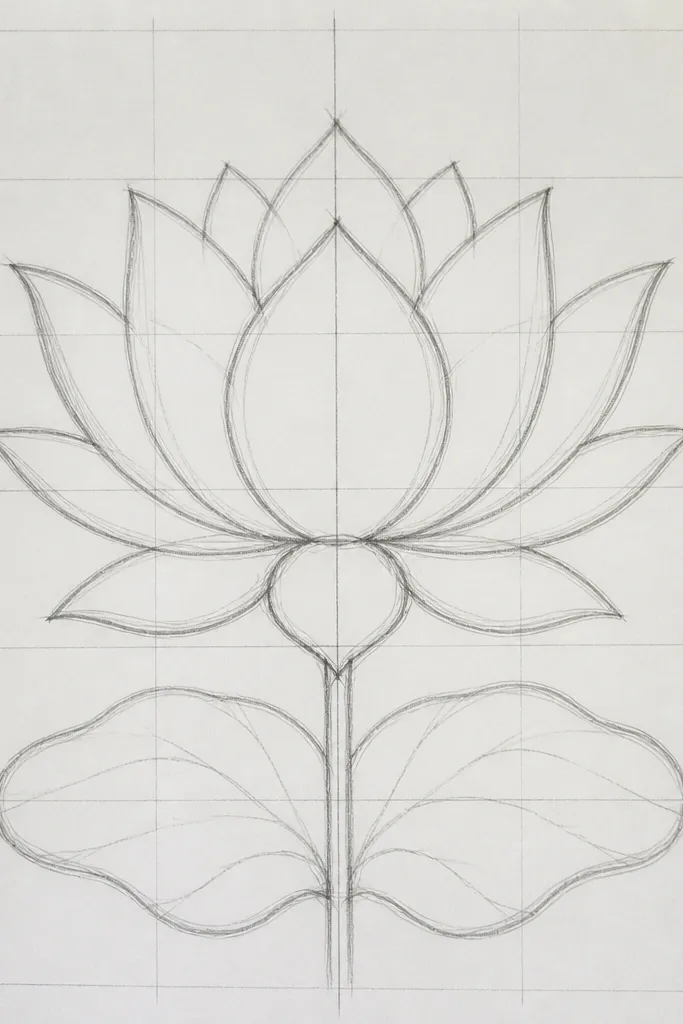
This is the lotus I do when I need it to come out perfectly centered, like for vinyl sticker decals. The grid keeps the petals equal and prevents the classic “one side looks bigger” problem. It’s very forgiving because you can adjust petal placement before you ink. The result looks crisp and professional because the spacing is controlled.
Step 1: Lightly draw a circle for the outer petal ring, then draw vertical and horizontal cross lines through the center. Step 2: Divide the circle into eight wedges by adding diagonal guide lines — keep them light. Step 3: In each wedge, draw one petal arc that touches the outer ring and starts at the seed pod circle. Step 4: Ink only the petal outlines and the seed pod, then erase every guide line after the ink is dry.
If you want it extra clean, ink from the center outward — it keeps the lines from drifting.
Don’t ink the guides. Faint pencil guides are fine; inked guides make it look messy.
7. Lotus Outline with Side Bowed Petals
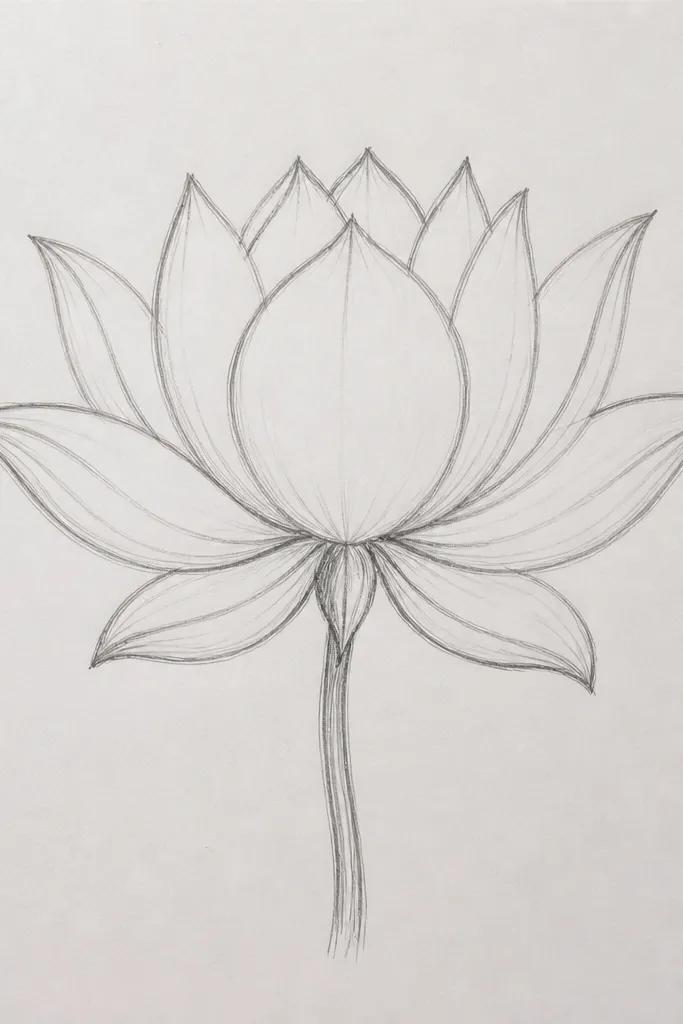
This one looks great for layouts where the lotus tilts slightly, like a corner decoration on a page. The bowed side petals add character without losing the lotus identity. I use it for bookmarks because the slight angle makes the design feel hand-drawn and not like a stamp. It also hides small asymmetry in your sketch — the variation is intentional.
Good to knowUse an oval guide. Trying to force a perfect circle makes the bow look accidental instead of designed.
Step 1: Draw the seed pod circle and a soft oval outer guide shape instead of a perfect circle. Step 2: Make six petals total: two top petals, two middle side petals that bow outward, and two bottom petals. Step 3: Draw the side petals with a wider curve so their tips extend farther than the top and bottom tips. Ink the outlines, then add two short inner lines in the seed pod to keep the center from looking flat.
Common mistakeDon’t over-bow one side. Keep the left and right bow symmetrical.
8. Thick-Outer-Line Lotus Outline
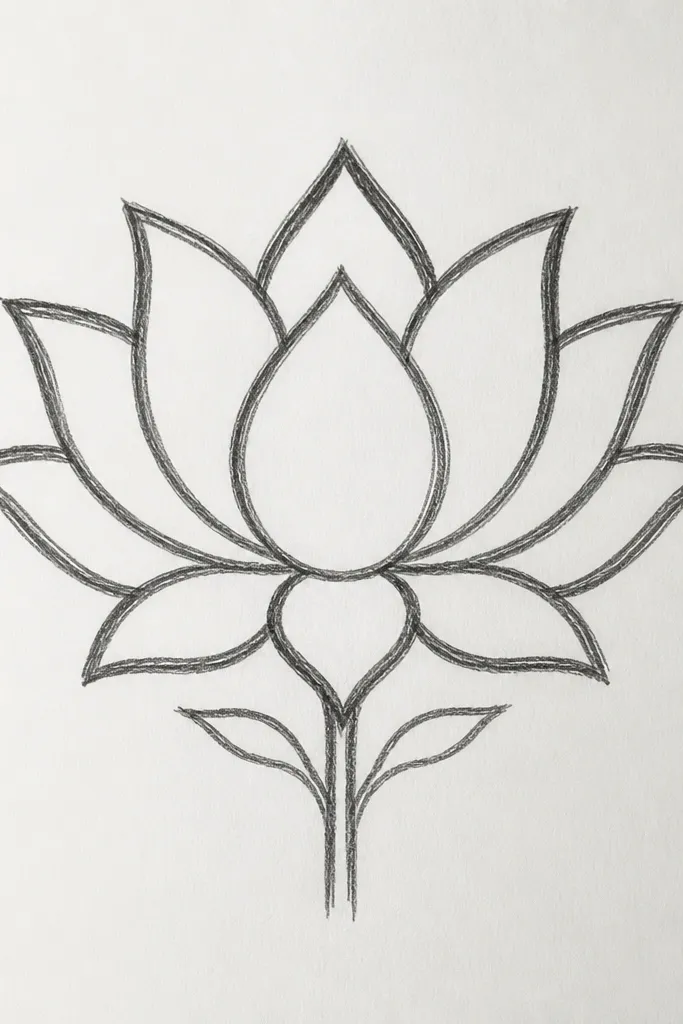
This is my go-to when the outline will be used as a stencil or transferred to fabric. Thick outer lines give you something solid to trace, and thinner inner lines keep the design from looking like a blob. It’s flattering for people who want “clean and modern” rather than super delicate. If you’re drawing on textured paper, thicker outer strokes are what keep the shape readable.
Good to knowLet the pen do the work: slow down on the outer edges so the line stays even and thick.
Step 1: Sketch a standard lotus outline lightly in pencil — eight outer petals and a small seed pod. Step 2: Ink the outer petal edges with a 0.8 or 0.7 pen, staying consistent around the circumference. Step 3: Switch to a 0.3 liner for the seed pod outline and any inner petal hints. Step 4: Add one short inner stroke per petal near the base to suggest depth without clutter.
Common mistakeAvoid making every line the same thickness. That flattens the lotus and kills the depth.
9. Lotus Mandala Outline with 12 Petals
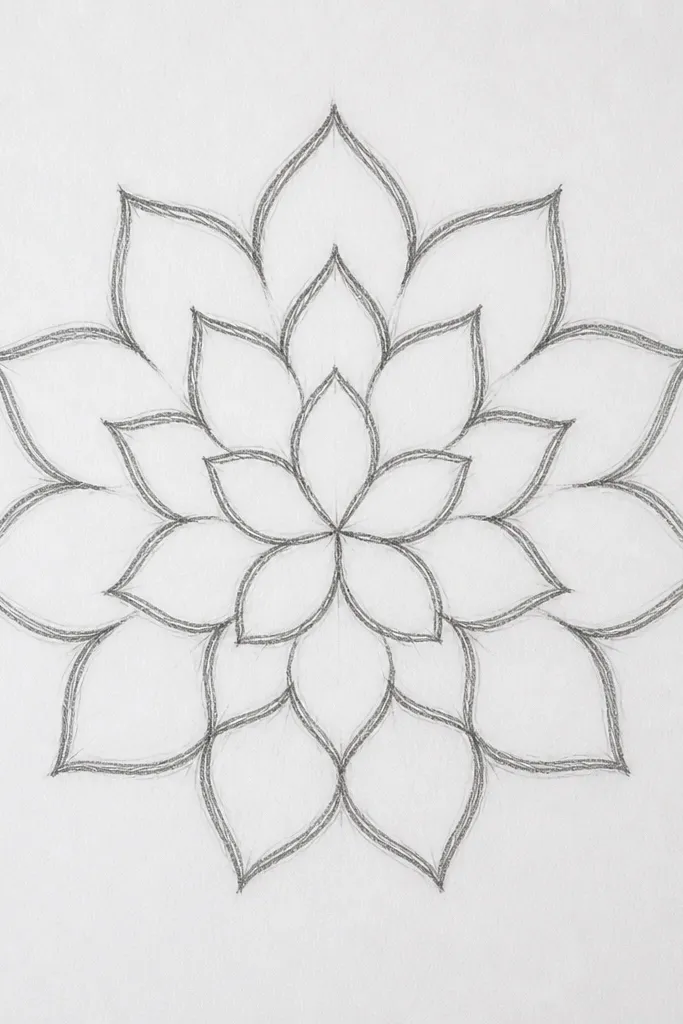
This version reads as “decor” even without color. The extra petals and small radiating lines make it feel like a pattern, which is perfect for wall art, tote bag printing, or a coloring page. I like it because it can handle bold outlines and still look elegant. It’s also great if you’re making a sticker sheet and want one design that fills a larger space.
Good to knowKeep the radiating lines short. If they reach too far, the center turns messy.
Step 1: Draw the seed pod circle and then a larger ring guideline for the outer tips. Step 2: Create twelve outer petals by drawing six first, then mirroring for the other six. Step 3: Add six inner petals tucked between the outer ones, smaller and shorter. Step 4: Finish with a few radiating seed lines — I use four lines at 90-degree spacing, stopping before they hit the inner petals.
Common mistakeDon’t add too many tiny dots. A few strokes look intentional; lots of dots look like noise.
10. Lotus Outline in a Circle Frame
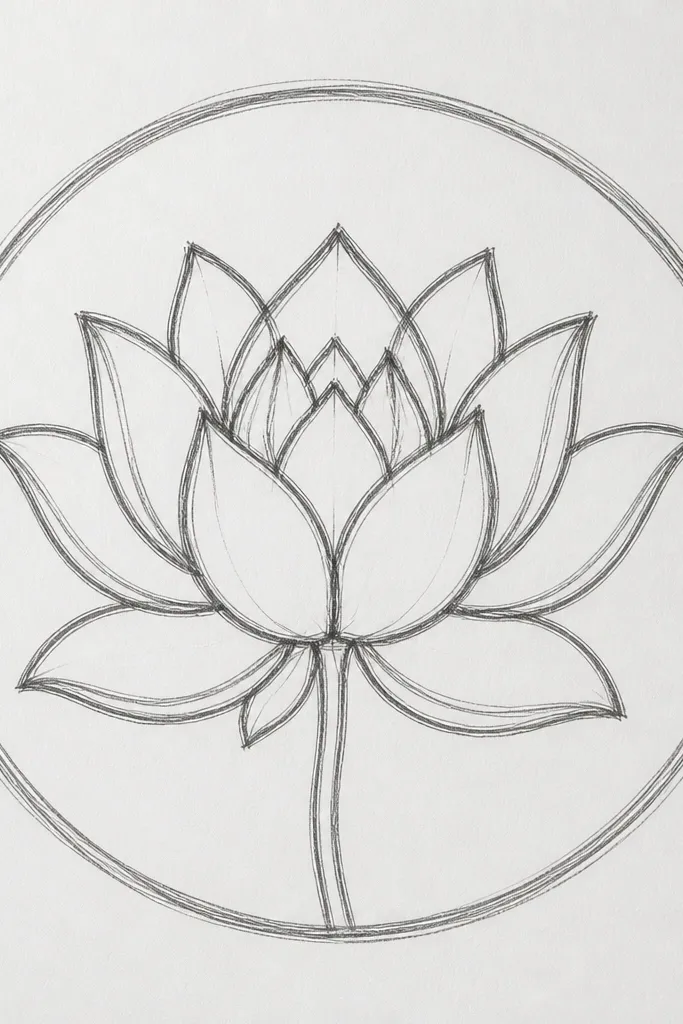
This layout is made for labels and printable art because the circle frame gives the eye a boundary. When the lotus is centered inside a clean ring, it looks more finished even if the petals are simple. I like using this for candle labels and jar tags because it reads well from across a room. It also makes the drawing harder to “mess up” because you always know where the flower should sit.
Step 1: Draw a light circle for the frame, then draw a smaller circle inside it for the lotus’s outer petal tips. Step 2: Sketch eight petals so their tips touch the inner circle and their bases start at the seed pod. Step 3: Outline the seed pod and add two inner petal arcs. Step 4: Ink the lotus first, then ink the frame circle last so the border looks crisp and uninterrupted.
Ink the frame last. If you ink it first and your hand rubs the paper, the lotus edges look smudged.
Avoid touching the petals to the outer frame. A tiny gap makes it look designed, not accidental.
11. Lotus Outline as a One-Line Continuous Sketch
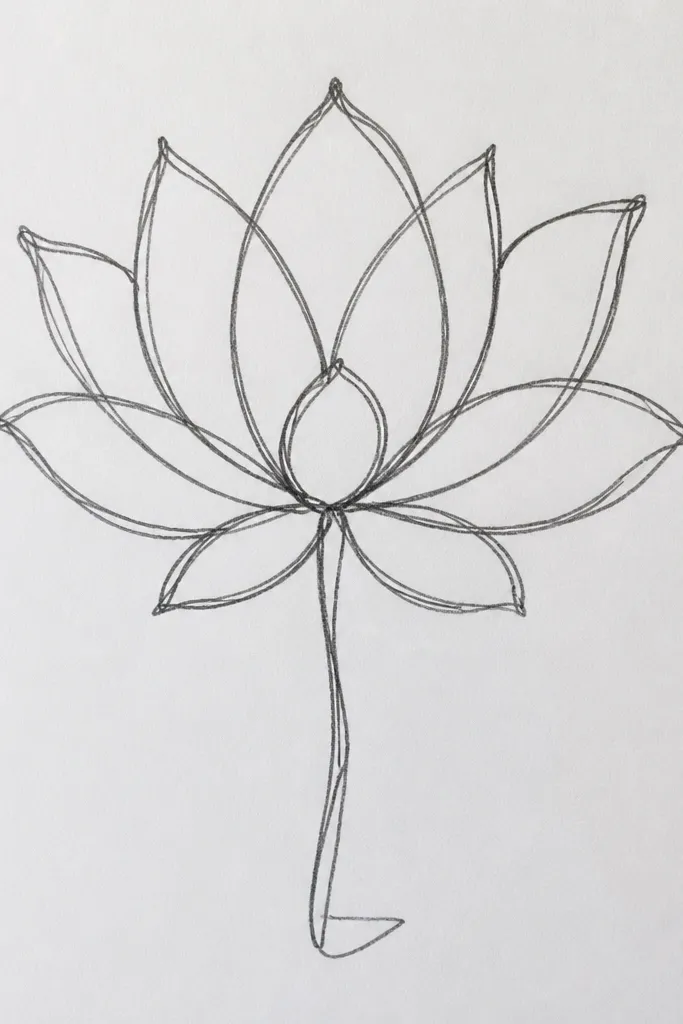
This one is for when you want a trendy, hand-drawn look that still reads clearly. A single-line approach makes the lotus feel organic and quick, and it’s perfect for quick decor like fridge magnets or minimal wall decals. I use it when I’m drawing directly onto a planner page and don’t want to erase. The outline still holds because the petal arcs are drawn in repeatable swoops.
Good to knowPractice on scrap once — the first pass is always messy until your hand finds the rhythm.
Step 1: Start at the seed pod center and draw one petal arc outward, then sweep into the next petal without lifting your pen. Step 2: Keep the same petal height each time, counting eight petals as you go. Step 3: Finish the last petal by looping back near the seed pod so the center looks complete. Step 4: If you need it cleaner, trace over the outermost lines with a fine liner while leaving the center slightly lighter.
Common mistakeDon’t cross lines randomly. Crossings make it look like a doodle, not a lotus.
12. Lotus Outline with Water Droplet Seed Details
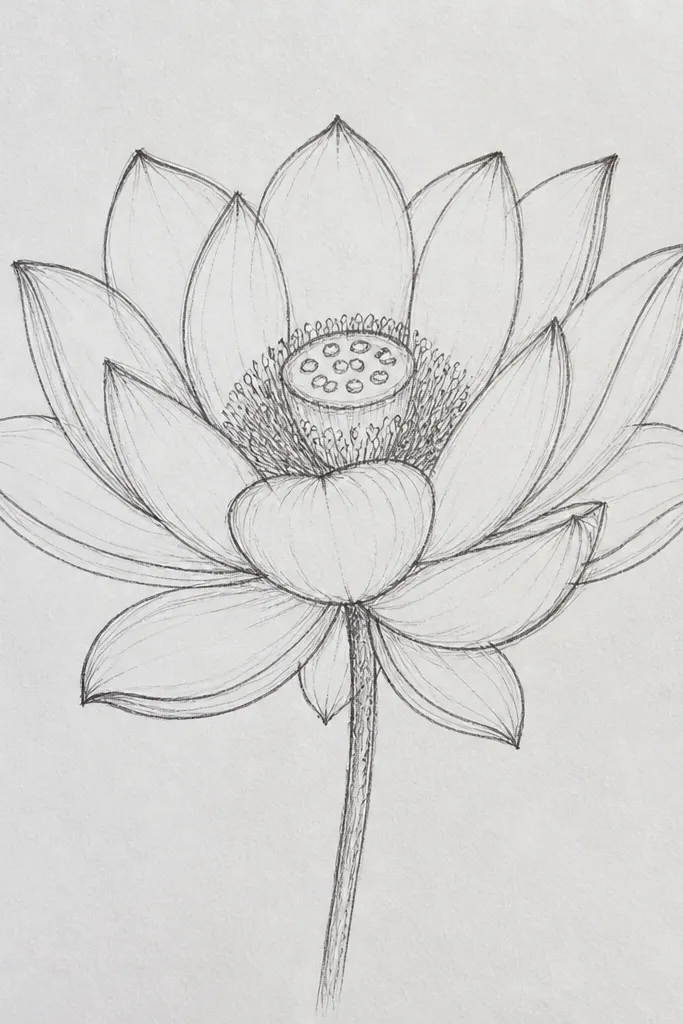
This adds a little texture without turning the flower into a complicated mandala. The droplet seed details make the center look alive, which is great for spa-themed prints and bathroom decor. It also flatters watercolor backgrounds because the outline stays crisp and the center provides visual interest. I like pairing this with soft blues and pale greens, but the drawing itself still looks nice in black.
Step 1: Draw the seed pod circle and then add six small droplet shapes around the center, like petals inside the pod. Step 2: Draw six outer petals around the seed pod, keeping their tips rounded rather than sharp. Step 3: Add a thin inner rim line that follows the curve of the outer petals but stays inside. Step 4: Ink the outer petals and the droplet seed shapes, then erase pencil marks once the ink sets.
Keep the droplet shapes tiny. Big droplets overpower the center and make the pod look like a cluster of berries.
Don’t add droplet details to every petal. Keep the texture only in the seed pod.
13. Lotus Outline with Vein Lines on Each Petal
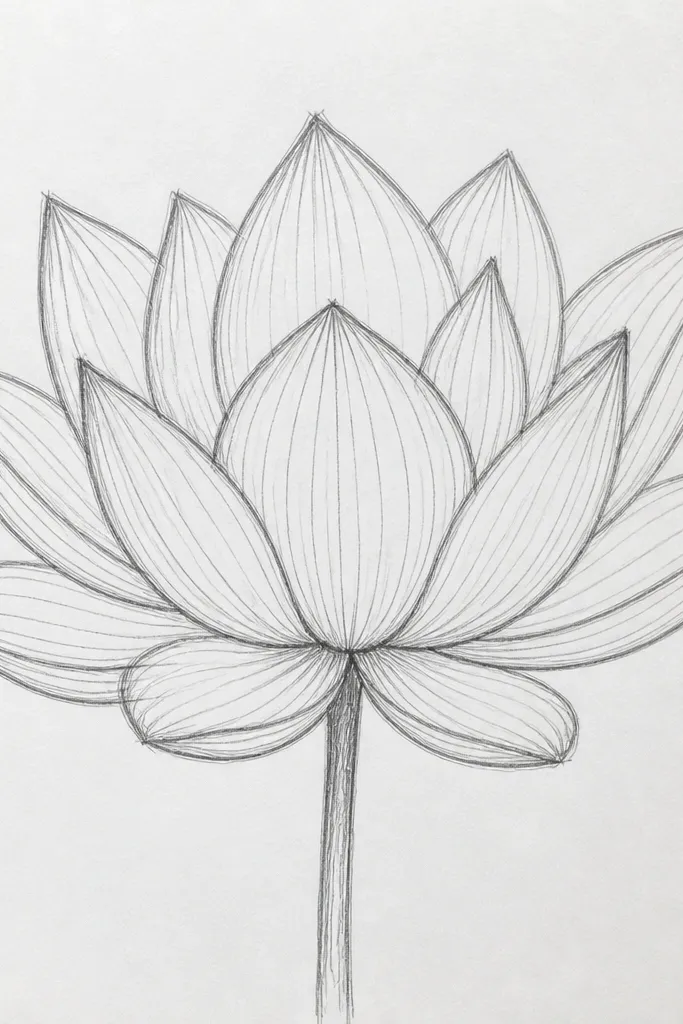
Vein lines make the lotus feel botanical instead of purely decorative. I use this when the outline will be colored in pencil, marker, or watercolor because the veins guide where shading should go. It’s also great for teaching kids or beginners because each petal gets a repeatable rule. The flower looks more detailed but still stays readable because the vein lines are consistent.
Good to knowUse a lighter touch for the veins so they don’t compete with the petal outline.
Step 1: Lightly sketch eight outer petals and a small seed pod circle. Step 2: For each petal, draw a single center vein line from near the seed pod to about halfway up the petal. Step 3: Add two short side curves near the base on each petal, keeping them subtle. Step 4: Ink the petals first, then ink the veins with a thinner liner so they don’t look heavy.
Common mistakeAvoid drawing veins all the way to the tip. It makes the tips look overworked and messy.
14. Lotus Outline for Stencil Cutting (Big Spaces)
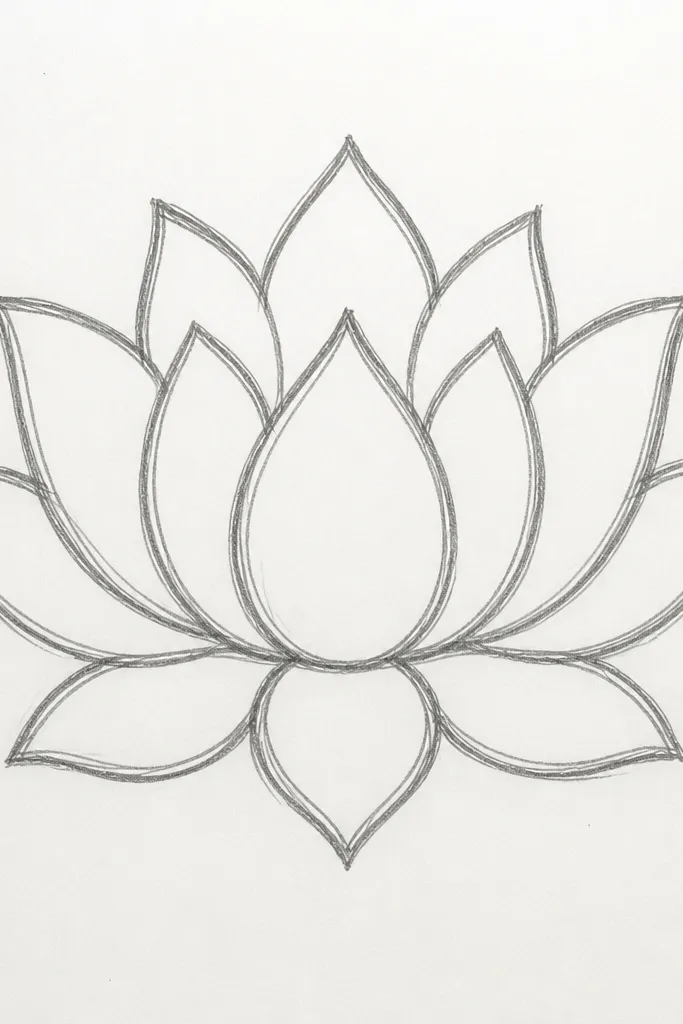
This outline is built for cutting, not just looking. Big spaces between petals prevent paper tearing and keep the stencil bridges from snapping. I use it for reusable stencils on walls and fabric because the lines are simple enough to survive multiple uses. The seed pod stays minimal so you don’t end up with tiny scraps that fall out. It works for most body sizes of projects too — small frames, large banners, and everything between.
Step 1: Draw six large outer petals with rounded ends, leaving a clear gap between each petal. Step 2: Keep the seed pod as a single circle with one small inner oval, no extra droplet bits. Step 3: Add a second layer of three inner petals, but make them wide so they don’t become thin cut bridges. Step 4: Trace over everything with a thick black marker so your stencil cut lines are obvious.
If a gap is smaller than a pencil eraser edge, widen it. Stencils fail at tiny gaps.
Don’t add thin inner lines. They cut into fragile bits and ruin the stencil.
15. Lotus Outline With Zigzag Petal Tips (Rangoli-Style)
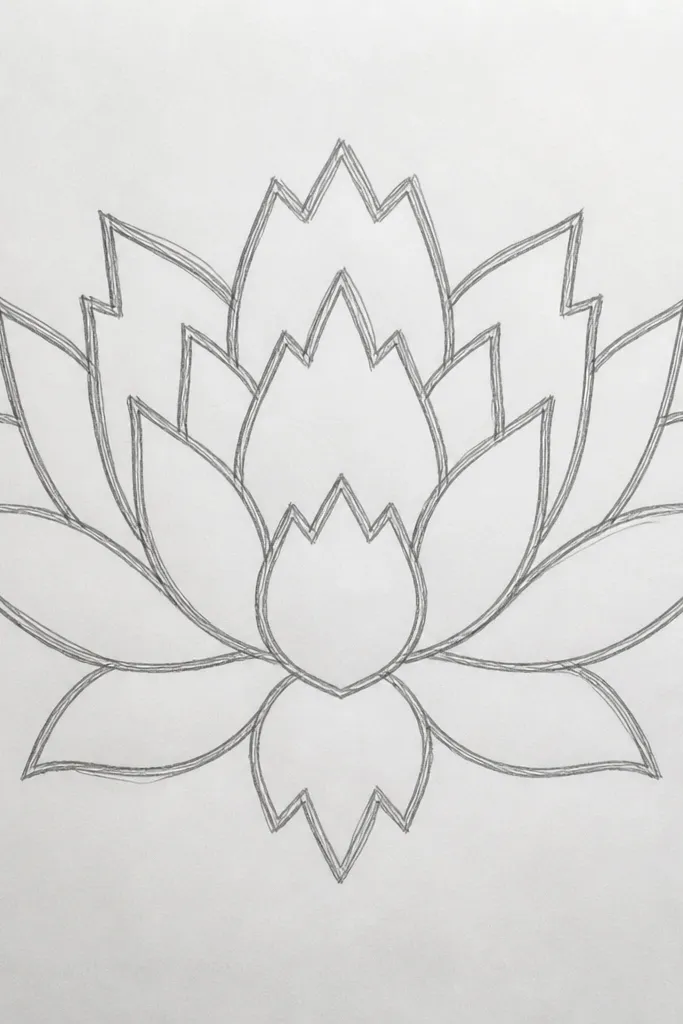
This lotus outline looks crisp even when you draw it fast, because the zigzag petal tips create a clear silhouette. I used this one for greeting cards and tote bag stencils and it held up well after printing. The zigzag edge also hides shaky hand lines better than smooth curves, so beginners get a result that still looks intentional. It works great for thick markers and for pen-and-ink because the angles stay sharp. If you want a lotus that looks geometric but still floral, this is the version I reach for.
Start by drawing a small circle for the seed pod center, then add a simple teardrop shape for one petal. Mirror it around the center by drawing 8 petals total, evenly spaced like clock hours. Instead of rounding the petal tip, break the top edge into 3 small angles: go up, then down a little, then back up to a point. Repeat that zigzag tip treatment on every petal so the flower reads as one pattern, not a mix of styles. Finish by adding a thin inner ring around the seed pod, and connect each petal base to the inner ring with a short curved line so the petals look anchored.
Use a 0.8 mm or 1.0 mm fineliner for the zigzag edges so the angles don’t blur when you scan or print.
Don’t make the zigzag look random — keep the same number of angles on every petal so the lotus stays symmetrical.



