
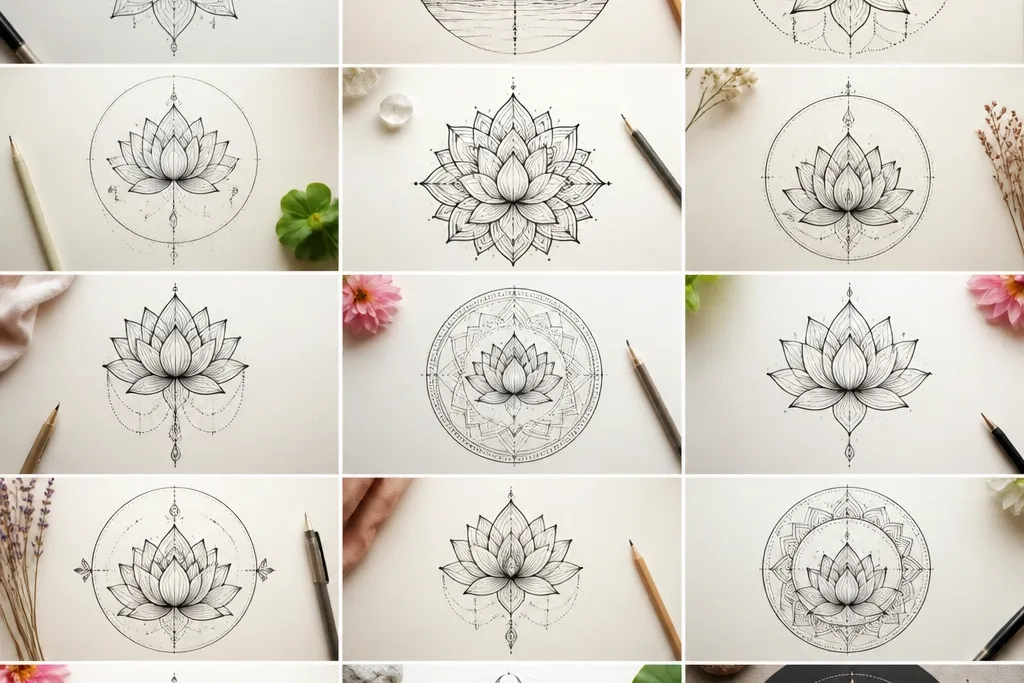
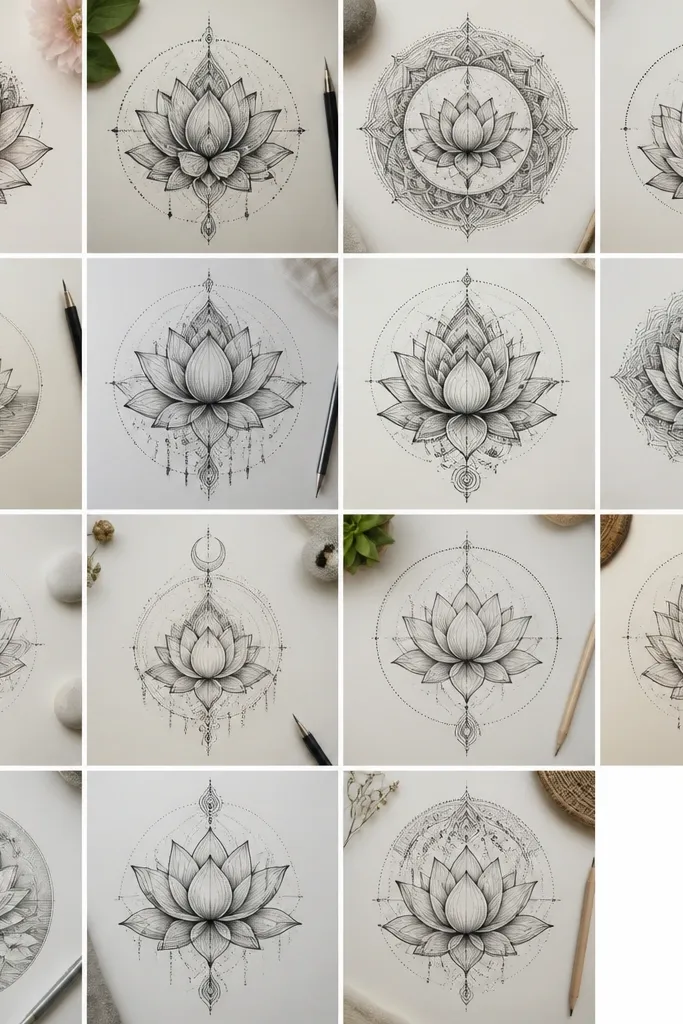
1. Six-Petal Center Lotus with Double Ring Dots
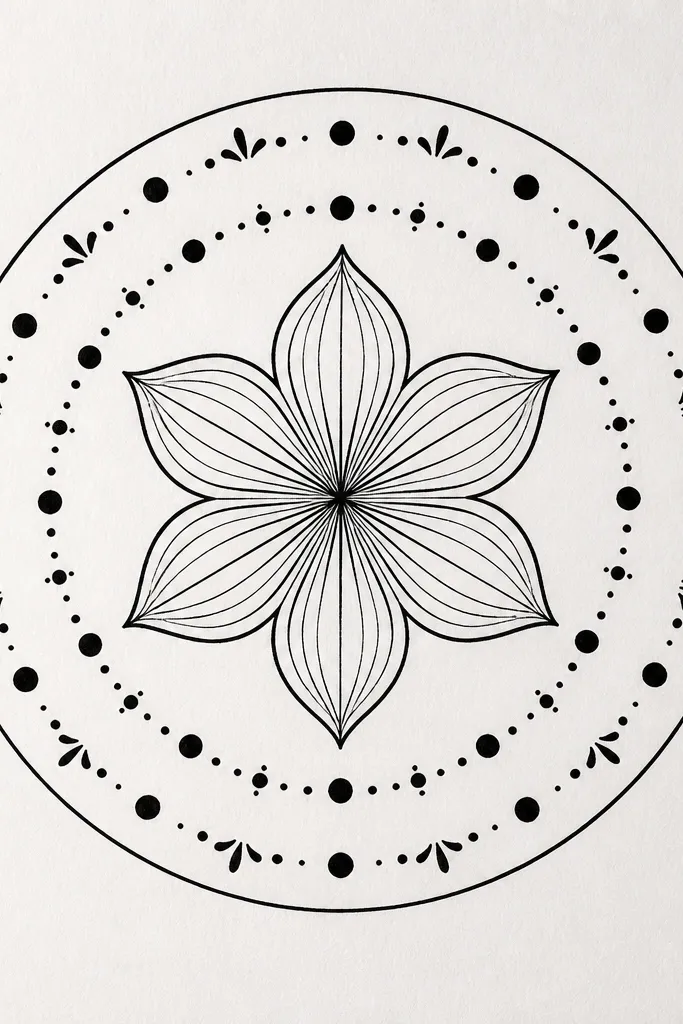
This one is the fastest “pretty” mandala because the center is simple and the rest is repetition you can control. The six-petal lotus gives you a strong focal point, and the double dot rings make the design look finished even if you skip heavy shading. Use it for journals and tags because the dot rhythm reads cleanly at small sizes. I like it on warm skin tones in photos because the black ink frames the page, then any soft color you add to the petals looks intentional. It also flatters beginners because the structure is obvious: center lotus first, rings second.
Good to knowWhen you dot, rest your wrist on the page and move from your elbow — it keeps dot spacing even.
Start by drawing a light pencil circle about 8 cm wide, then add a crosshair and mark 6 equal points around the circle. Ink a single lotus petal between each pair of points, with the petal tips ending slightly short of the boundary circle. Next, add a second inner ring of small dots right outside the lotus petals, then repeat the dots again as an outer ring. Finish by tracing the outer boundary with a thicker fineliner (0.8 mm) and adding 6 short leaf strokes between dot groups.
Common mistakeAvoid drawing petals too wide at the base; they should taper so the lotus feels airy.
2. Lotus Mandala with Teardrop Petals and a Thick Outer Halo
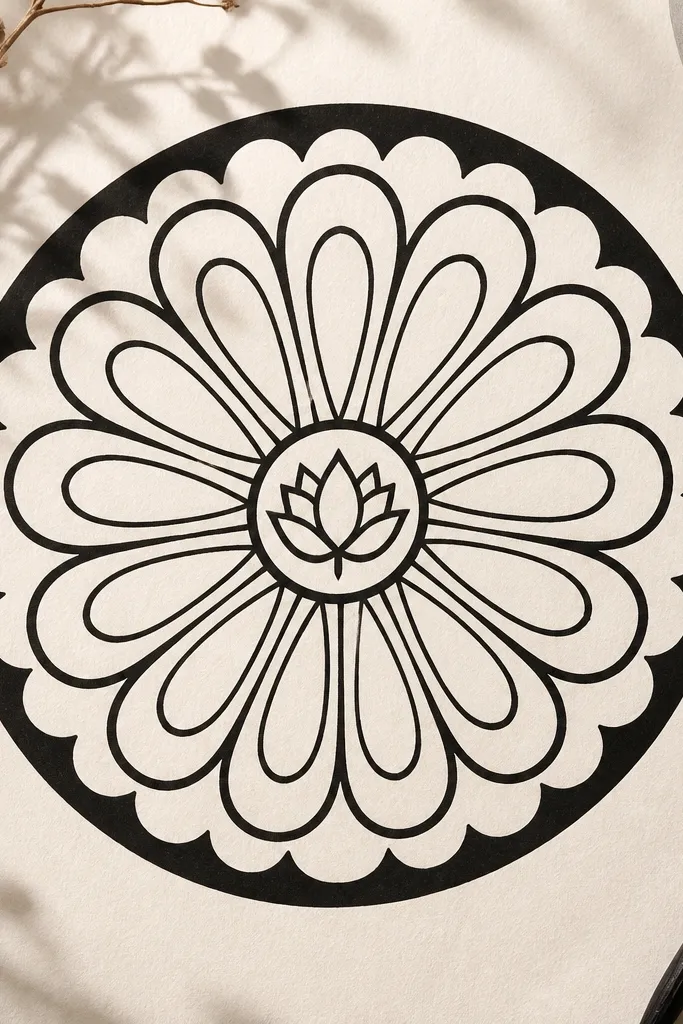
This style looks striking because the petals are teardrops instead of rounded ovals, so the eye tracks outward like a compass. The thick outer halo makes the whole piece look intentional and framed, even on plain printer paper. I’ve used it as wall décor and it still reads from across a room because the line weight does the heavy lifting. It flatters cool-toned color palettes too; teal or lavender gel pen on the petal centers pops against the black. It’s also great for people who get anxious about tiny details because most of the work is clean outlines and one simple inner curve per petal.
Good to knowIf your halo looks shaky, draw it lightly in pencil first, then ink slowly in one continuous motion.
Begin with a pencil circle and mark 8 divisions for the main teardrop petals. Ink one teardrop per division, keeping the point centered on each division line so the tips line up. Add a single curved inner line down each petal from base to tip, then repeat the same spacing for all petals. Finally, draw a thick outer halo circle, and cut gentle scallops into it by adding small arcs at 8 points around the edge.
Common mistakeDon’t overfill the petals with lots of micro-lines; the halo already gives it weight.
3. Layered Lotus with Feathered Petal Shadows
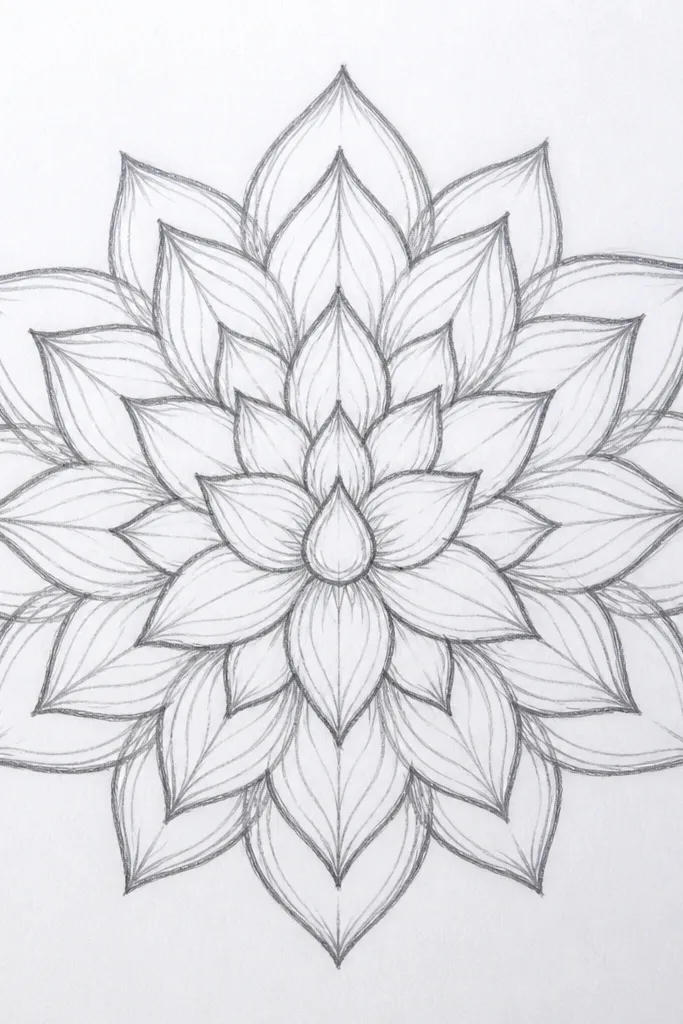
This one looks “painterly” because the shading is built from feather strokes, not filled blobs. I like it for wall art and for larger journal pages because the shadows show texture and depth when viewed close. It flatters medium to deep skin tones in photos because the warm color overlays you add later (like coral-red or burnt orange) look like soft watercolor instead of marker. It also makes your drawing look more dimensional without needing perfect realism. If you’ve struggled with coloring inside linework, this pattern still looks good in black ink alone.
Good to knowDo the shadows after you complete the full outline; it keeps the petals crisp while you shade.
Start with a center lotus of 6 petals, then add a second ring of 12 smaller petals between them. Ink the petals with a 0.3 mm pen, then switch to a 0.5 mm for shadow strokes. For each petal, draw 6 to 9 short angled feather strokes that start thicker near the base and get lighter toward the tip — keep them consistent across the whole ring. Finish with a thin vine ring: add small curves between petals, connecting them like a loose wreath.
Common mistakeDon’t shade every petal equally hard; vary the density so the center feels deeper.
4. Lotus Mandala with Geometric Star Frame
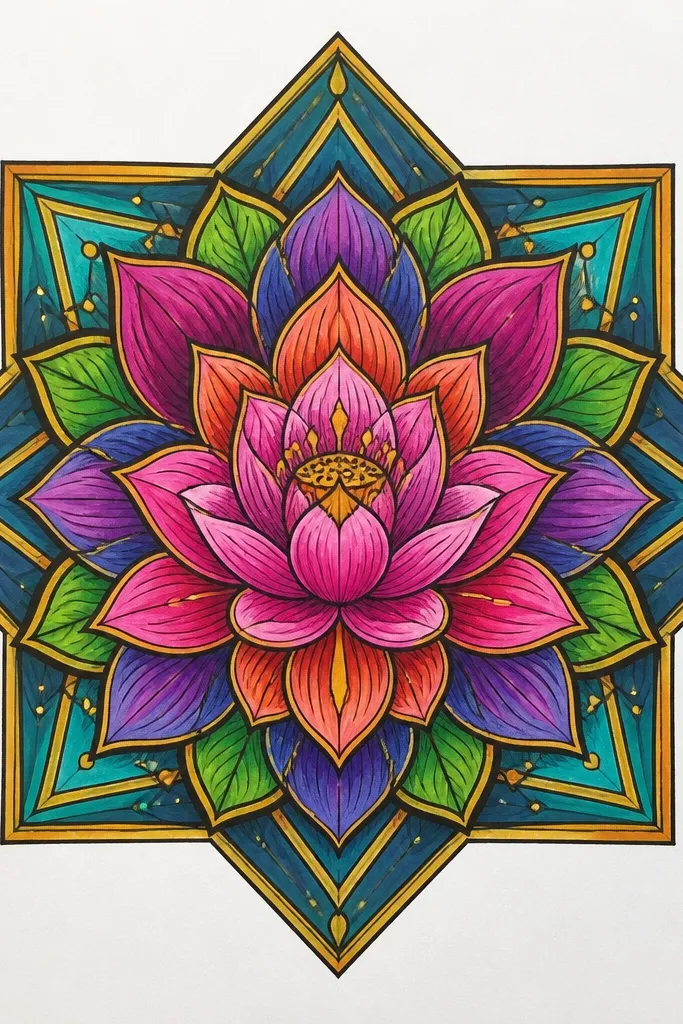
This pattern is for when you want the mandala to look graphic, not just floral. The star frame gives you a clean structure that makes the center lotus feel centered and strong. I used it on a 5x7 cardstock for a wedding thank-you note and it looked crisp even without color. It flatters anyone who likes minimal design because the geometric shapes keep the lines tidy. Also, it’s forgiving: if a petal is slightly uneven, the star grid still makes the overall composition feel intentional.
Draw a circle, then inside it draw a 6-point star using straight lines from the center outward. Place the lotus petals so each petal base sits near a star point, and keep the petal outer tips just inside the circle. Add small diamonds in the spaces between star points by drawing a rotated square outline and tracing it lightly. Finally, draw a thin outer circle and connect the diamonds to the lotus ring with 1 or 2 short lines, not more.
Use a ruler for the star lines, then switch back to freehand for the lotus petals so it doesn’t look like a stencil.
Avoid thick outlines everywhere; keep only the outer circle and star frame heavier.
5. Double Lotus Stack with a Moon Crescent Center
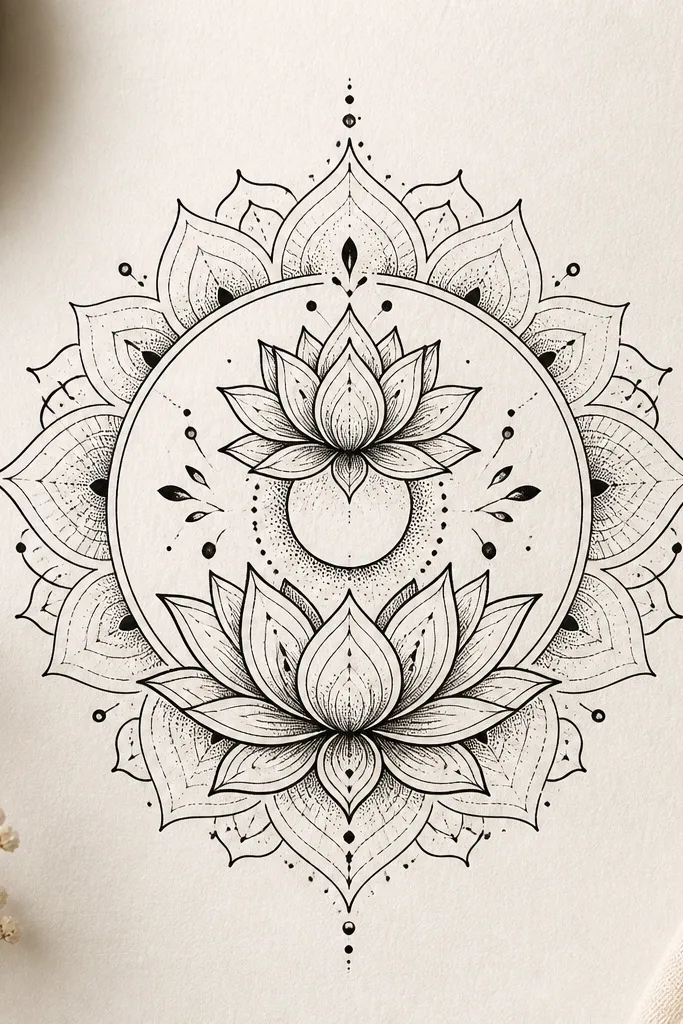
This design looks special because the center is negative space, not filled detail. The moon crescent makes the mandala feel calm and a little mystical without adding tiny clutter. I’ve used it for nighttime-themed cards and it reads beautifully when you add a single color wash behind the negative space. It flatters cool color schemes like navy, slate gray, and muted teal. The negative space also forgives mistakes because your eye is drawn to the clean crescent shape.
Good to knowErase pencil lines before you ink the negative-space crescent so you don’t get dusty graphite edges.
Start with a center circle, then draw a small lotus bloom in the middle with 6 petals. Inside the center, lightly sketch a crescent shape that leaves space where you won’t ink (keep it about 1/4 of the center circle width). Add a second lotus ring below it with 6 larger petals, aligned so the gaps between top petals match the bottom petals. Finish by dotting 12 small dots around the outer edge and adding 6 curved leaf arcs between dot groups.
Common mistakeDon’t outline the crescent shape with heavy ink; keep it clean and thin so the negative space stays crisp.
6. Lotus Mandala with Concentric Petal Waves
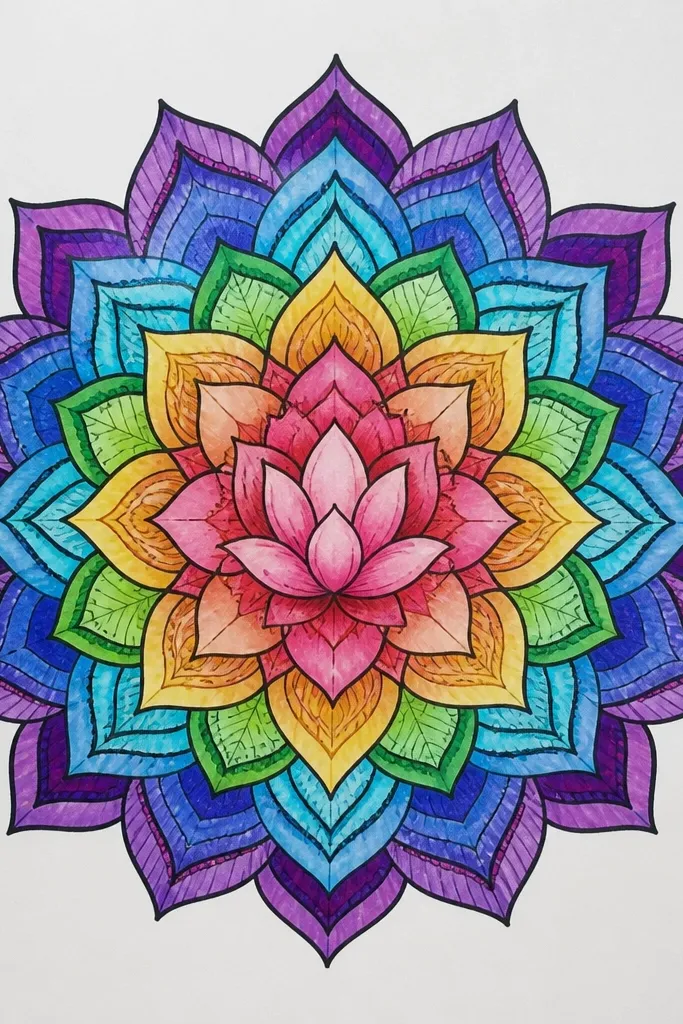
This one looks like movement. The concentric petal waves give you a rhythm that makes the mandala feel alive, even though the drawing is just repeated shapes. I like it for larger prints because the wave rings create a soft optical vibration when you color them (I used pale mint and peach gel pen on a sample). It flatters warm palettes and also works in grayscale because the alternating thickness gives contrast. It’s a great option when you want something more interesting than dots but less fussy than feather shading.
Draw a center circle and sketch 6 guide lines. Ink a small lotus bud with 6 petals, then add ring one by drawing 12 outward-pointing petal tips around the first ring. For ring two, draw 12 petals but flip their direction so the tips point slightly inward, creating the wave effect. Alternate line weight by using 0.5 mm for every other petal outline, then finish with a thin outer circle and a tiny spiral in the exact center for extra charm.
Mark the ring sizes in pencil first (like 1 cm increments) so the waves stay evenly spaced.
Avoid changing petal size each ring; keep the same petal width for a clean ripple.
7. Mini Lotus Mandala for Gift Tags with Side Border
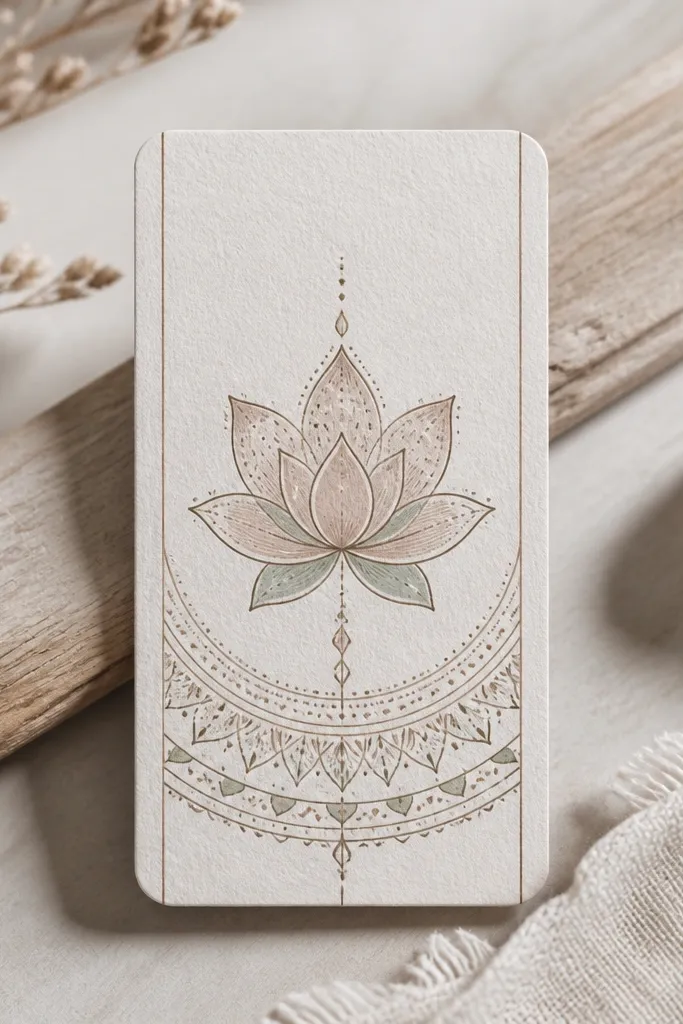
This is the version I reach for when I’m making gift tags and want the design to fit without cramming. The lotus is compact, and the border trick makes the tag look designed instead of squeezed. I’ve done this on 2x3 inch kraft tags with a white gel pen highlight and it pops nicely against brown paper. It flatters rustic aesthetics and also looks clean for modern monochrome. If you’re new to mandalas, the tag shape gives you an obvious stopping point, so you don’t overwork it.
Good to knowUse a 0.3 mm pen for the petals and a 0.8 mm pen only for the border lines so the tag stays readable.
Start by drawing a rectangle border with a 0.5 cm margin. Place the lotus center about 1/3 up from the bottom, then draw a small circle for the lotus base. Ink 6 petals around the circle, each with a short inner line. Instead of a full outer ring, draw two semicircle arcs on the left and right that connect to a thin top line, then add 8 tiny dots between the arcs.
Common mistakeDon’t try to fit a full outer circle on a tag; it crowds the edges.
8. Lotus Mandala with Ribbon Petals and Center Swirls
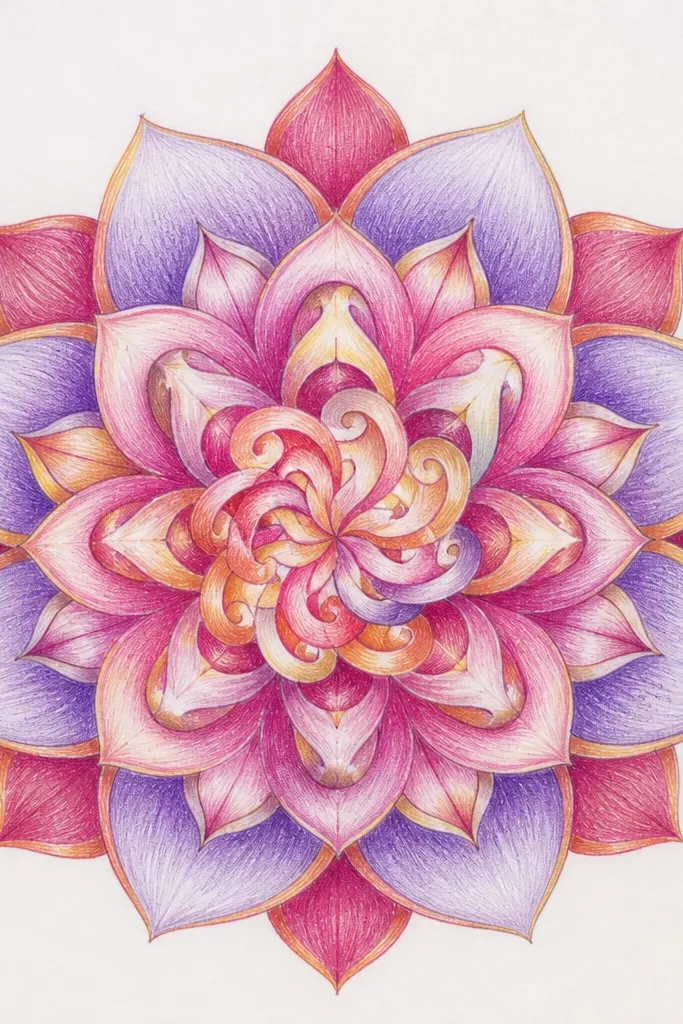
Ribbon petals make the lotus feel like fabric, which is why this one looks good in both ink-only and colored versions. The center swirl pulls your eye in and keeps the composition from feeling flat. I’ve used it on envelope seals and it looks fancy without needing a lot of shading. It flatters people who like motion and soft curves, and it pairs well with warm colors like terracotta and pale gold gel ink. Even if your petals aren’t perfectly identical, the twisted ribbon lines hide small inconsistencies.
Good to knowKeep the twist direction consistent around the mandala so it looks deliberate, not accidental.
Begin with a 6-petal lotus center. For each petal, draw an outer outline and then add a twisted inner line that bends slightly left or right, like a ribbon fold. Add a second ring of 12 ribbon petals, smaller than the first, with shorter twisted inner lines. In the center, draw a tight spiral swirl that touches the base of the first petals, then add 6 tiny star dots at the outermost ring just inside the boundary circle.
Common mistakeDon’t make the ribbon twists too extreme; subtle bends look more polished.
9. Lotus Mandala with Triangular Petal Tips and Micro Diamonds
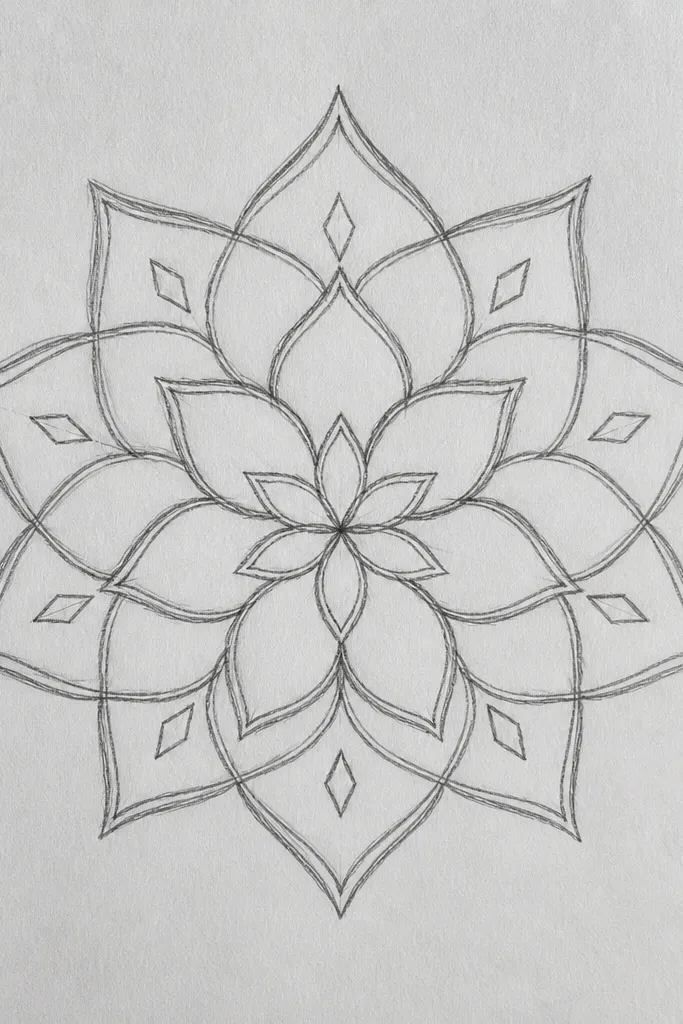
Pointed petal tips make the whole mandala feel sharp and clean, like a geometric tattoo pattern. The micro diamonds fill gaps without turning into clutter, and they keep the drawing from looking “empty” in the spaces. I like it for black ink prints because it looks crisp on matte paper and doesn’t smear. It also works great if you plan to color only the petals — the diamonds stay black and act like scaffolding. This one flatters anyone who prefers structured patterns over soft, rounded ones.
Good to knowUse the tip of the pen for the diamond corners; don’t press hard or the lines will look fuzzy.
Draw a circle and mark 6 divisions for the center lotus. Ink 6 petals with triangular tips, keeping each tip pointing directly at a division mark. Add a thin inner ring around the base of the petals, then create a second ring with 12 smaller pointed petals between the first ring spaces. Fill the gaps between second-ring petals with micro diamonds: draw tiny rotated squares and outline them lightly, then trace the outer edges with a slightly thicker pen.
Common mistakeAvoid filling the diamonds too heavily; outline them and let the white paper do the work.
10. Lotus Mandala with Watercolor Wash Planes Inside Petals
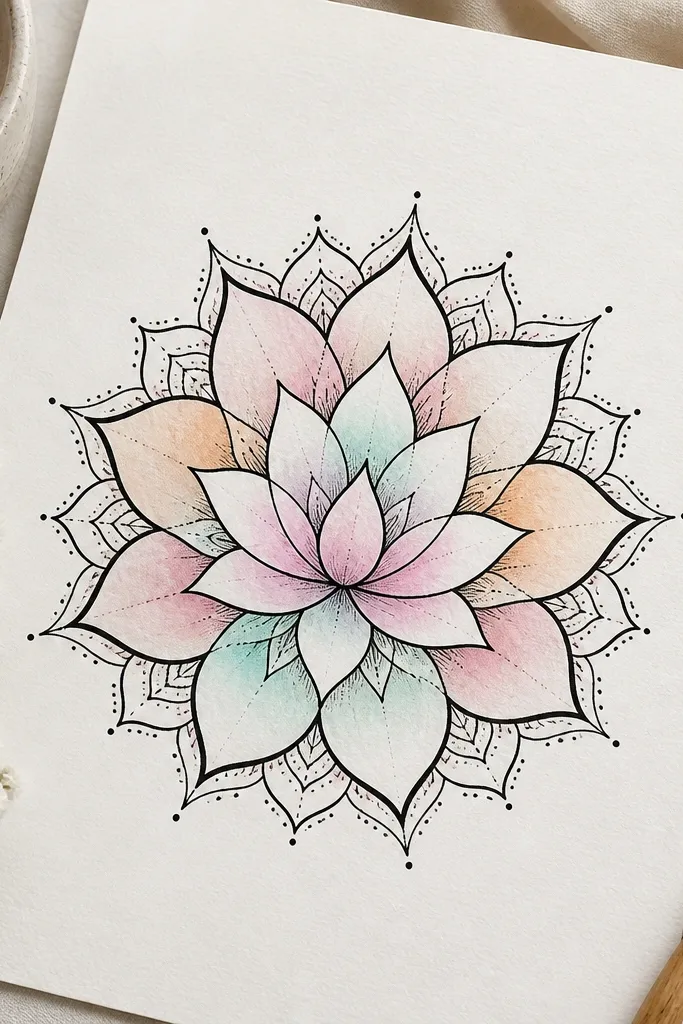
This design is built for people who want color but don’t want to fight bleeding. Keeping the ink boundaries crisp lets you paint flat wash planes inside petals. I’ve done this on thick paper and the washes dry evenly, especially when you use watercolor pencils or a small round brush with very diluted pigment. It flatters warm skin tones in photos because the pink-peach palette looks natural and not neon. The outer ring stays black so the color doesn’t run all over the page. If you’re worried about coloring mandalas, this is the easiest way to make it look intentional quickly.
Good to knowTest your wash on scrap paper and aim for the “tea” consistency, not watery puddles.
Ink the mandala first in 0.3 mm, with a clear 6-petal center and 2 additional petal rings. Leave small gaps between petals so paint has room to sit without pooling. Choose 3 colors and assign them by ring: for example, center petals in pale peach, middle ring in blush pink, outer ring in aqua with a lighter second pass. Paint each petal as one wash plane — load your brush lightly, then stop before it reaches the petal outline. Finish with dot accents in black around the outside circle once the paint dries.
Common mistakeDon’t paint over wet ink; wait until the lines feel fully dry to the touch.
11. Lotus Mandala with Beaded Outer Ring and Center Bloom Medallion
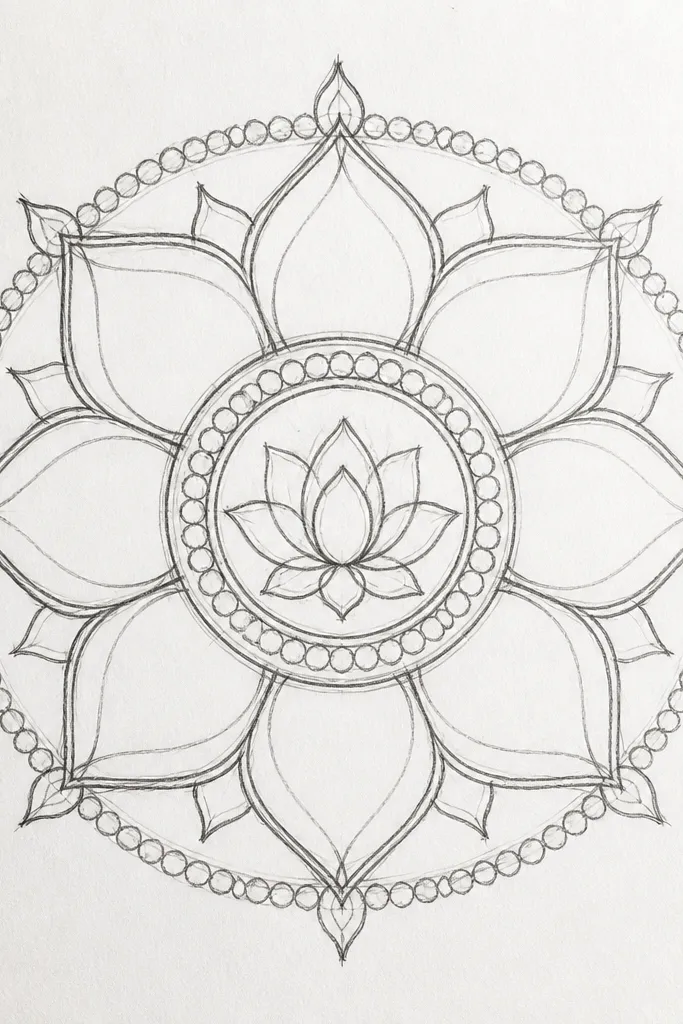
A beaded outer ring makes the whole mandala look like jewelry, which is why it’s perfect for prints you want to feel “finished” without heavy shading. The center medallion stays the focal point, and the bead ring gives a soft border that frames it. I use it for holiday cards and birthdays because the bead circles catch light when you color them with gold gel pen. It flatters most color palettes: try sage and blush for calm, or emerald and cream for bold. It also works well for larger drawings because beads look best when they’re consistent in size.
Good to knowIf your bead sizes vary, use a scrap strip of paper as a size guide for each bead diameter.
Start with a 6-petal lotus medallion in the center and add one extra petal ring around it. Keep the petal interiors simple: add 3 short curved lines inside each petal instead of filling them. Draw a larger circle for the bead ring, then mark 24 points around it evenly. At each point, draw a small circle bead outline, then connect beads with tiny curved lines to create the impression of a beaded necklace. Finish with a thicker outer boundary line so the beads don’t float.
Common mistakeAvoid uneven bead spacing; use the same number of points around the circle every time.
12. Lotus Mandala with Lotus Leaves Around the Edge (Wreath Style)
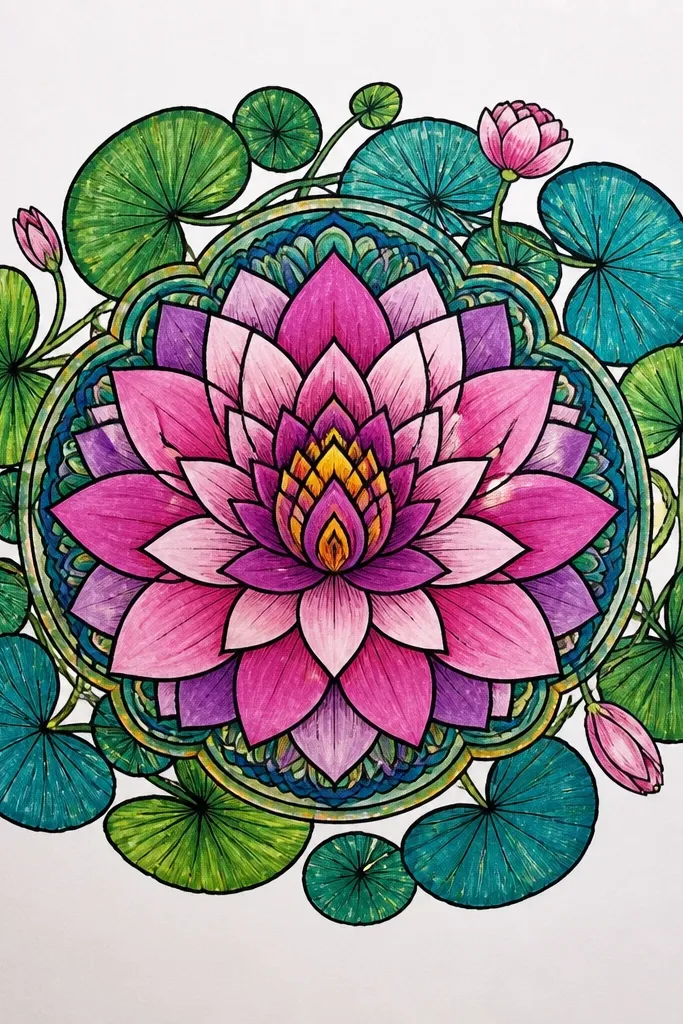
This one looks like a wreath because the outer ring is leaf work, not dots. It makes the mandala feel grounded and balanced, and it’s great for wall décor when you want a “frame” that looks organic. I’ve used it for seasonal prints where I color the leaves green and keep the center petal colors brighter. It flatters warm and earthy color palettes because leaf shapes naturally take tones like olive, moss, and muted gold. The center stays calm while the wreath adds texture.
Good to knowColor the leaves first, then color the center last so you don’t accidentally smear leaf pigment onto the focal petals.
Draw a center lotus with 6 rounded petals, then add a second ring of 6 smaller petals. Next, draw an outer circle and mark 12 positions around it. At each position, ink a lotus leaf shape that points outward slightly, alternating left and right tilt so the wreath looks alive. Add short shadow strokes on only half of each leaf (the half closer to the circle), then finish with a thin outer boundary line around the wreath tips.
Common mistakeDon’t shade every leaf the same direction; alternating shadows make it look hand-drawn.
13. Lotus Mandala with Feather Fan Rings (Like a Peony Fan)
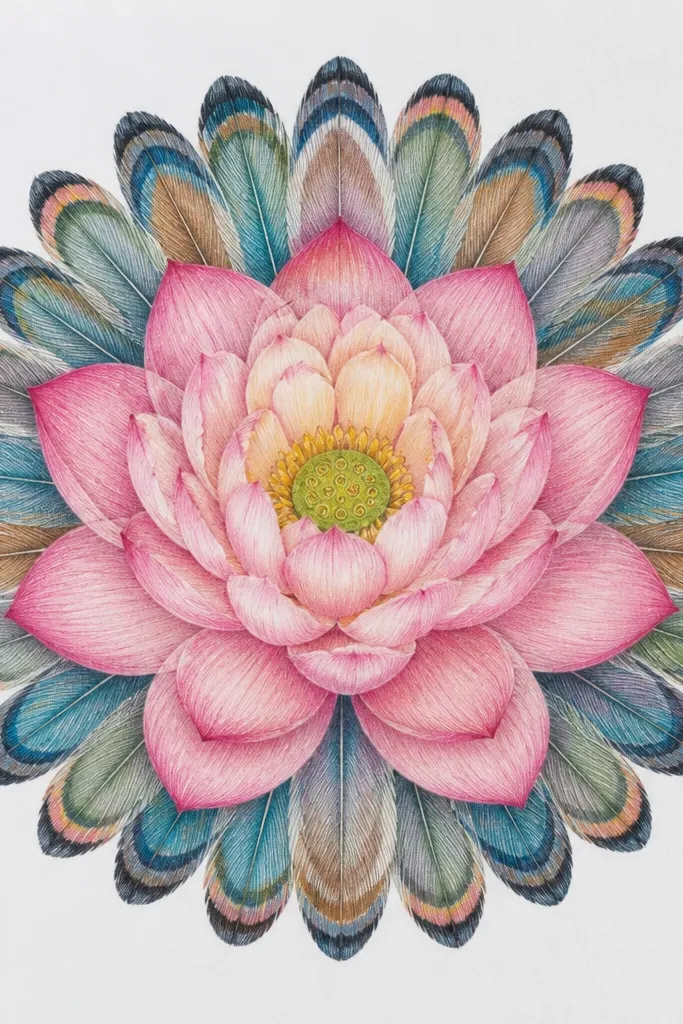
Feather fan rings give you a soft, layered feel without needing complicated shapes. The petals sit in the center, while the fan rings create a peony-like fullness. I like this for larger pages because the fan strokes look better when each feather has room to breathe. It flatters both monochrome and color because the stroke direction creates texture even if you stay black ink only. If you want something that looks “artist” but still follows a repeatable pattern, this is it.
Good to knowKeep feather strokes the same length within a ring so the texture reads as intentional.
Start with a small center lotus bud: 6 petals with a tiny spiral in the middle. Draw a circle for ring 1, then mark 12 points around it. From each point, draw a feather stroke — a narrow curved line with a slight taper — and keep the strokes evenly spaced. Repeat for ring 2 with 16 points and slightly longer feather strokes. Finish by outlining the outer boundary with 0.8 mm and adding 6 longer fan strokes that act like a crown over the rest of the ring.
Common mistakeAvoid mixing stroke lengths inside the same ring; it turns the texture patchy.
14. Lotus Mandala with Negative-Space Petal Windows
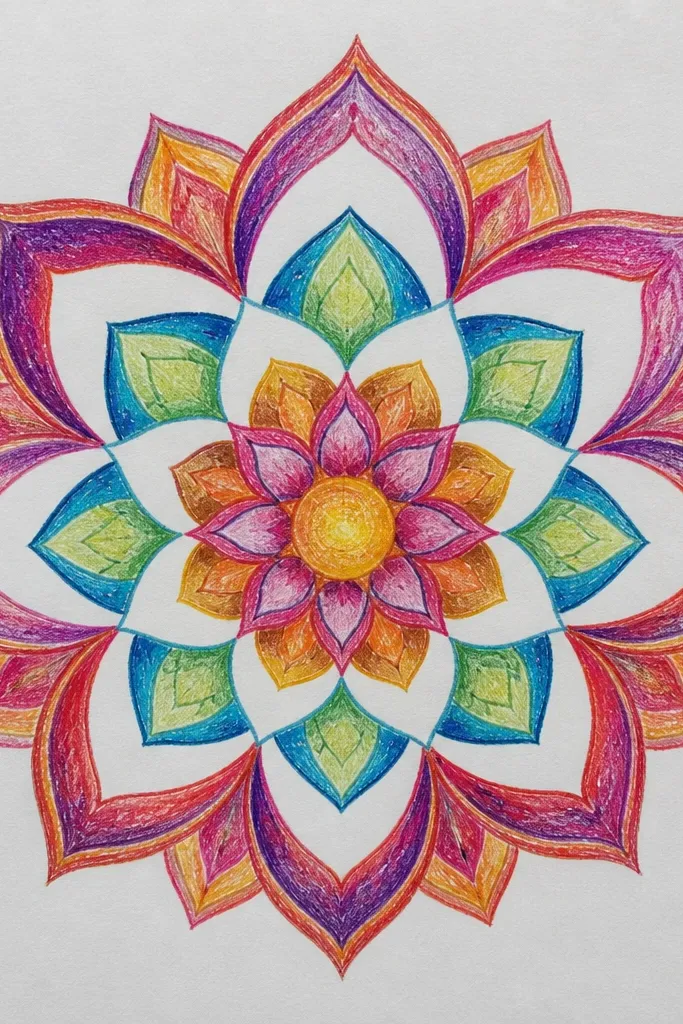
Negative-space windows make a mandala look clean and high-end because you’re using the paper as a design element. This is one I use when I want the drawing to look good even if I don’t add much color. The white windows also make the center feel lighter, which is great if you tend to over-ink. In photos, it flatters both bright and muted palettes because the contrast stays strong. It’s also beginner-friendly because the “work” is outlining and spacing, not filling everything in.
Good to knowUse a kneaded eraser lightly to clean pencil marks so the “windows” stay truly white.
Ink a 6-petal center lotus and outline the petal shapes clearly. Choose every other petal to have a window: draw a second inner outline inside those petals and leave the middle blank. Add one more petal ring around the center with 12 petals, and again leave windows in alternating petals. Place small dots only inside the blank window areas near the petal bases, then trace a thin outer circle. Keep the window outlines consistent thickness so the negative spaces look intentional.
Common mistakeDon’t fill the windows with extra lines; that defeats the purpose of the negative space.
15. Lotus Mandala with Mandala Grid Guide and Clean Calligraphic Rings
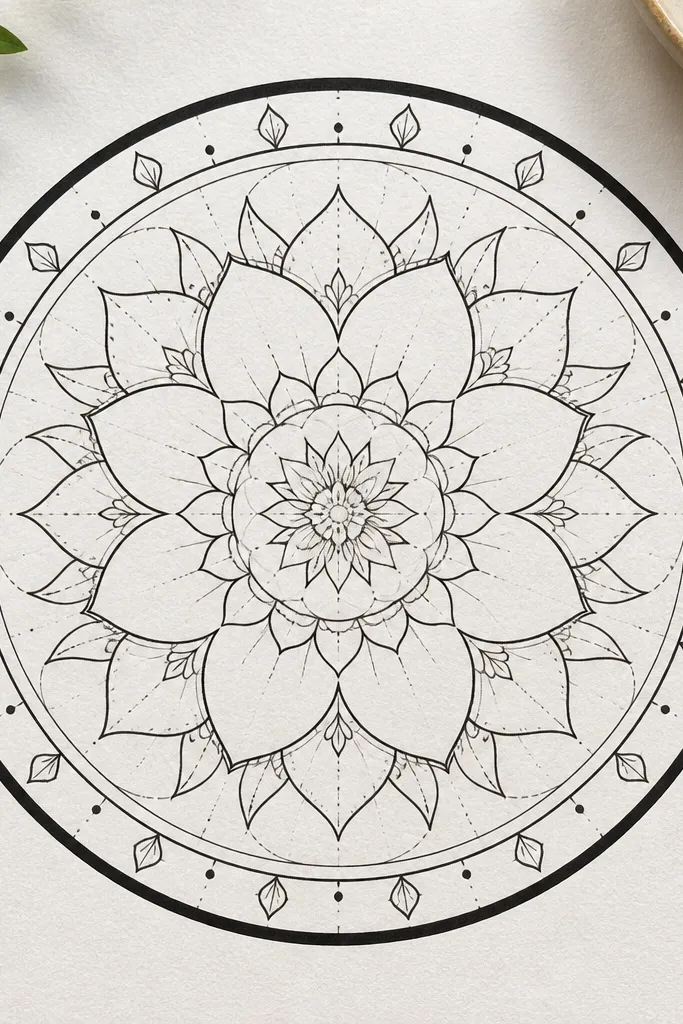
This one looks polished because the symmetry is engineered, not guessed. I draw it when I want a “print-ready” look, like a cover page or a framed drawing. The lotus petals are smooth, and the calligraphic rings add elegance without lots of tiny details. It flatters clean, modern styling — especially if you color only the center petals and keep the rings black. I also find it helps your hand because you’re following a grid rhythm, so the curves land where they should.
Lightly draw a pencil grid: divide the circle into 8 or 12 wedge sections and keep the lines faint. Ink the center lotus with 6 petals first, then draw the next ring petals aligned to the grid divisions. For the outer part, draw 3 calligraphic rings — each ring is a smooth curve that bows slightly inward at even intervals. Ink the outer boundary with 0.8 mm, then add 8 small leaf tips between the calligraphic rings. Erase the pencil grid gently once the ink is dry.
If your curves wobble, slow down on ring lines and keep your wrist moving in one direction — don’t stop mid-curve.
Avoid heavy pencil grid marks showing through; keep the grid light enough to erase cleanly.



