
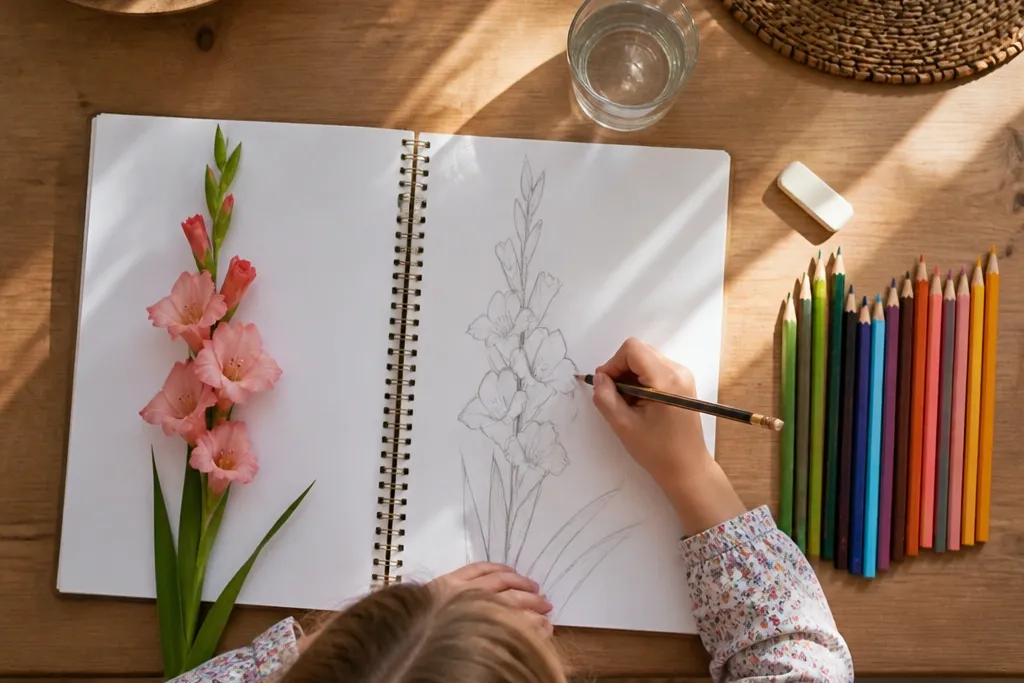

1. One-Petal Spike Gladiolus
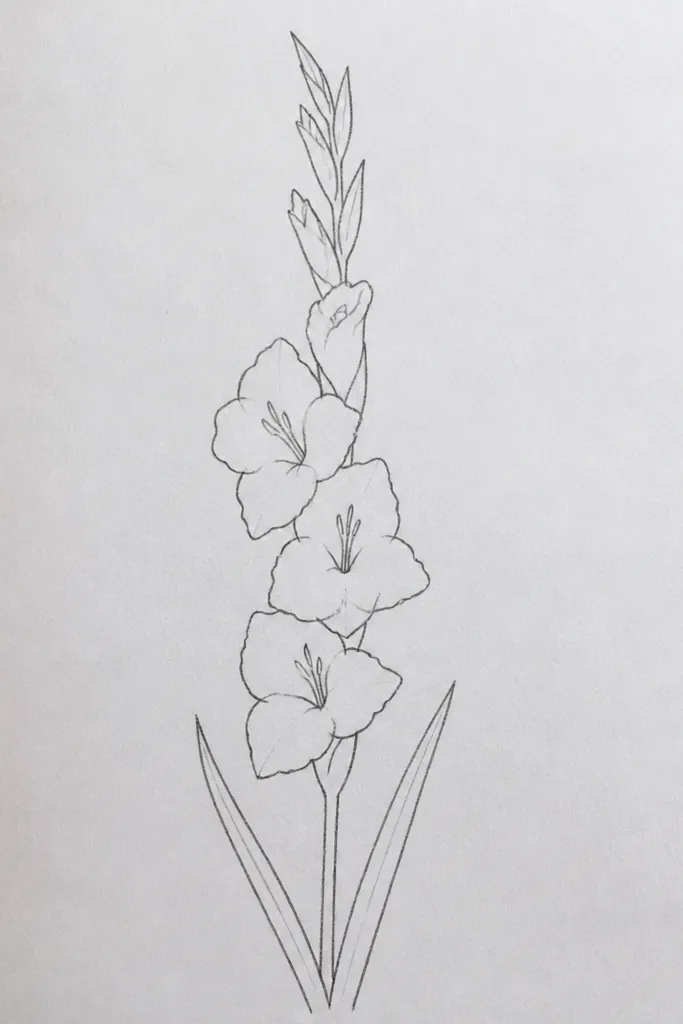
This is the fastest gladiolus sketch I know because each flower unit is the same pointed petal repeated up the spike. Use it when you want a tidy look for a kid’s card front or a practice page. The petals sit in mirrored positions, so even if the spike line wobbles, the flower still reads as a gladiolus. I like it on white printer paper with a thick black marker because the simplicity makes the silhouette strong.
Start by drawing a vertical line that tapers slightly — wider at the bottom, narrower near the top. Add small tick marks where petals will attach. Draw one pointed petal on the left of the spike, then mirror the same petal on the right at the same height. Keep petal tips aligned to a gentle curve, then add two long leaves from the bottom in a V shape. Finish by tracing the outline with a black pen and erasing pencil marks only after the ink dries.
If your petals look too sharp, round the base where it meets the spike — that one tweak makes it look softer.
Avoid spacing petals randomly; keep the distance between each pair consistent.
2. Fan Top Gladiolus
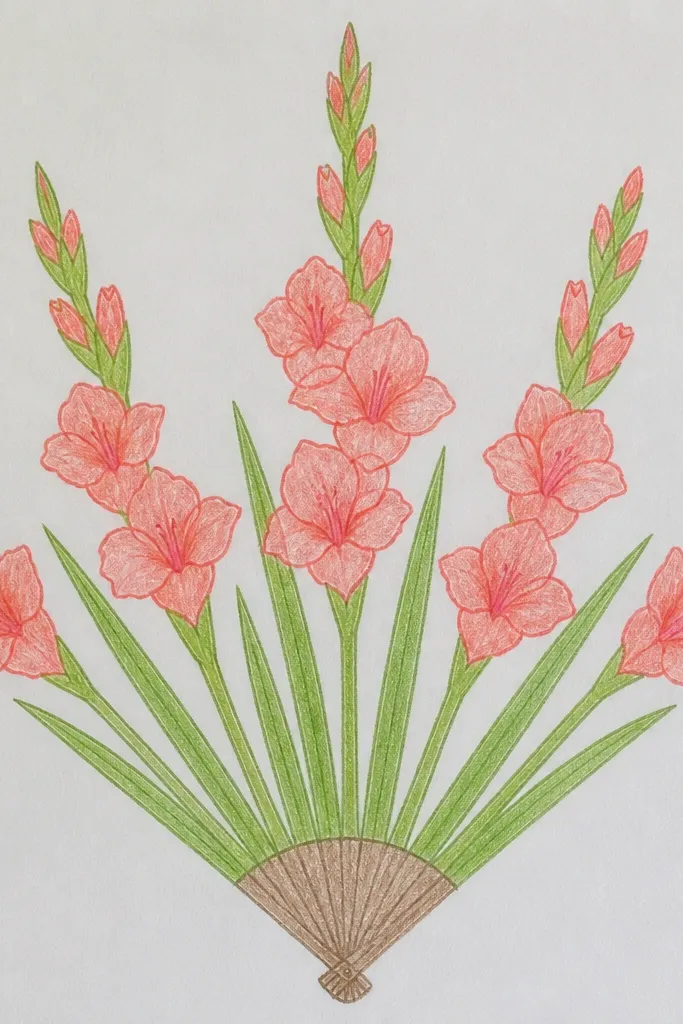
This version looks fancy without extra work because the top cluster gives you that gladiolus drama. It’s great for beginners who struggle with long spikes since your eye focuses on the fan area. I’ve used this for classroom name cards where the top needs to pop even from across the room. The rounded petals make it softer than sharp-point styles, so it reads well in pastel coloring.
Draw a tapered spike line and mark five to seven positions along the top third. At the highest marks, draw overlapping rounded petals like a hand fan — each one slightly different in curve. Below the fan, switch to simpler pointed petals placed in pairs along the remaining spike. Add two leaves that arc outward, one more curved than the other. Trace with a pen, then color the fan area darker at the base and lighter at the tips.
Color the fan petals with a darker band near where they touch the spike to create a built-in “depth” effect.
Don’t make the fan too wide at the bottom; keep it concentrated near the top.
3. Throat Stripe Gladiolus
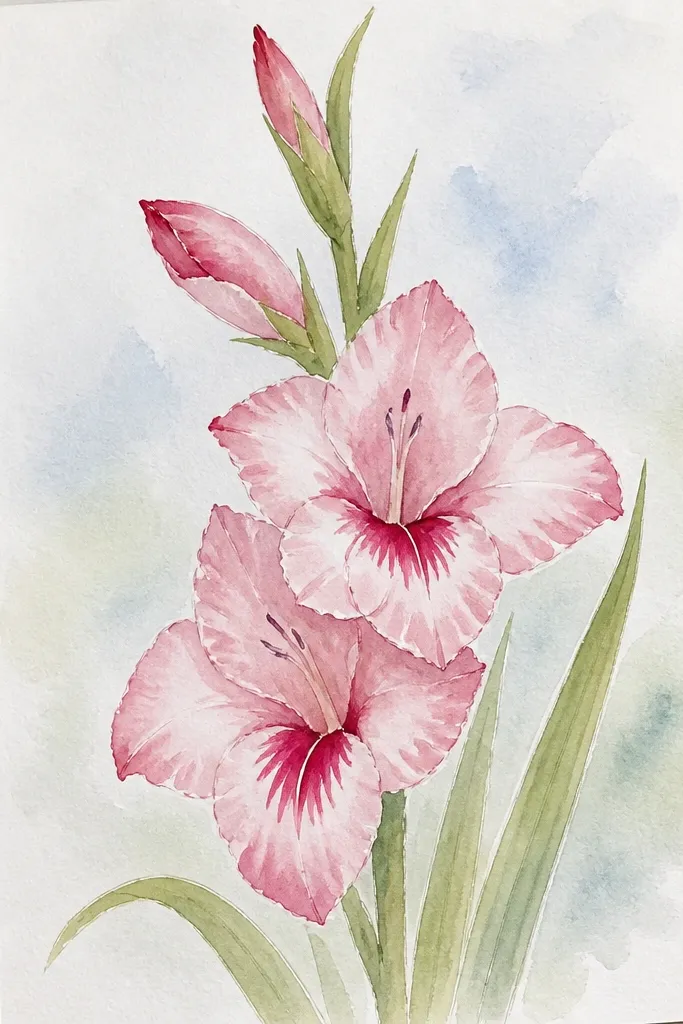
The throat stripe is my favorite trick because it makes the petals look layered even if you don’t shade. It’s also a great way to keep kids engaged: they can repeat the stripe pattern quickly. This style looks best in limited-color palettes like pink and yellow or purple and white because the stripes guide where the color goes. The result feels more realistic than plain outlines while staying simple.
Start with a tapered spike and add paired pointed petals along it. Inside each petal, draw one thin curved line starting near the petal base and fading toward the tip. Keep the stripe centered so the flower looks tidy. Add leaves as long tapered shapes with a central pencil line down the middle. Outline everything in black, then color the stripe area in a contrasting shade while leaving the rest of the petal lighter.
If the stripe looks wobbly, draw it lightly with pencil first, then commit with a pen.
Avoid stripes that touch the petal tip; leave a small gap so the petal still reads as a shape.
4. Double Petal Layer Gladiolus
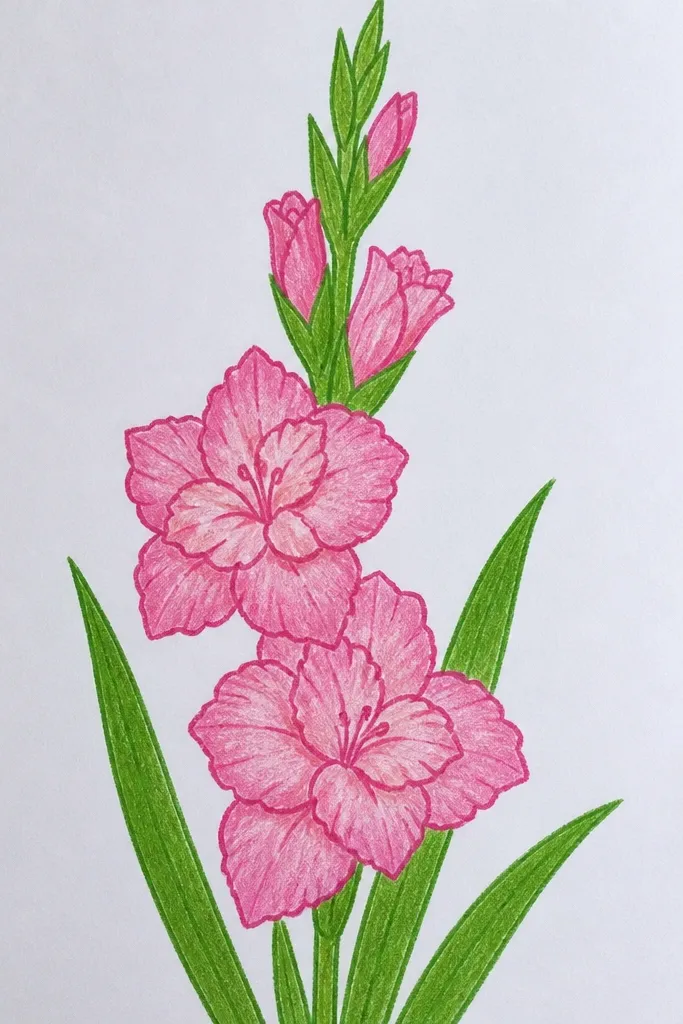
This style creates that layered “folded” look that makes gladiolus feel real. I like it when you’re using colored pencils because the inner petal gives you a natural place for darker color. It’s also forgiving: if the inner petals are slightly uneven, the layering still sells the flower. The tighter inner shapes make the spike feel fuller without adding more petals.
Draw the tapered spike first, then place paired outer petals along the spike. For each outer petal, add a smaller inner petal that follows the outer curve and sits closer to the spike. Repeat the inner layer on both sides so the flower stays balanced. Draw narrow leaves using two long blades that overlap slightly at the base. Darken the outer petal outline and keep the inner outline lighter if you’re coloring with pencils.
Use two pencil pressures: light on the inner petal, heavier on the outer petal for instant dimension.
Don’t make the inner petal the same size as the outer one; the whole effect disappears.
5. Wavy Edge Petals Gladiolus
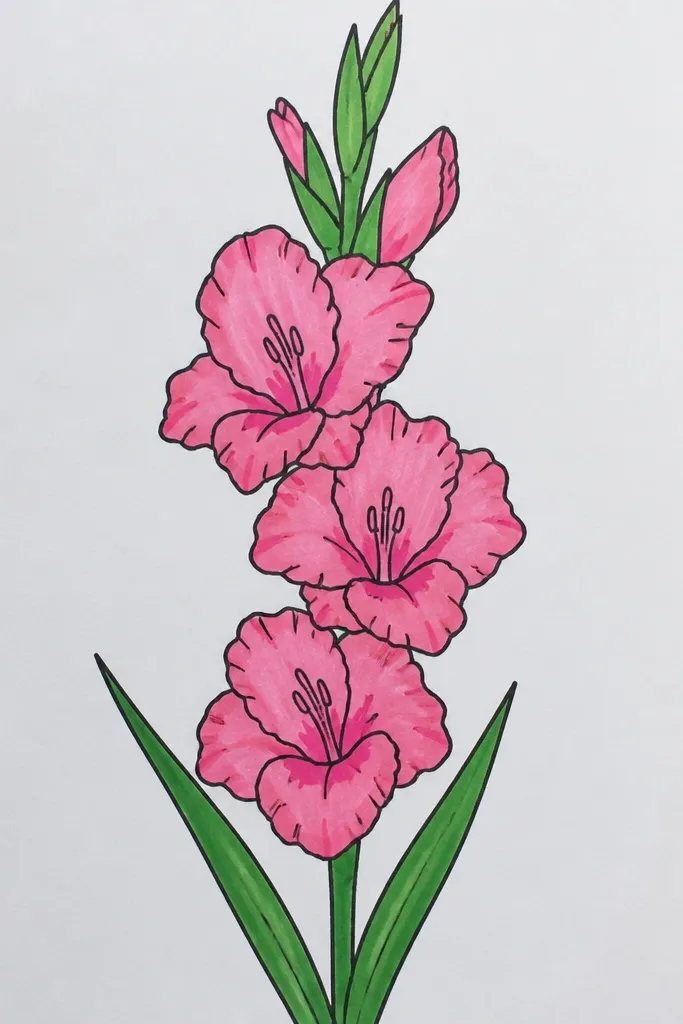
Wavy edges make the drawing look lively even with minimal shading. Kids love this one because they can “wiggle” the petal border and it still looks intentional. It also works well for marker coloring because the border shape tells you where to fill. I’ve used wavy petals for spring-themed worksheets where the goal is fun, not botanical perfection.
Good to knowColor from the base upward so the darkest part lands near the spike.
Start with the tapered spike line and add paired petal shapes, but make the outer border scalloped or wavy instead of a smooth point. Keep the petal base straight where it meets the spike. Add a few extra wavy petals near the top to make the flower look fuller. Draw leaves as long curved shapes with a slightly wavy outer edge. Outline with a black pen, then color the wavy border slightly darker to define the edge.
Common mistakeAvoid wavy edges on the leaves and petals at the same time for every section; pick one area to be extra wavy.
6. Side View Gladiolus Spike
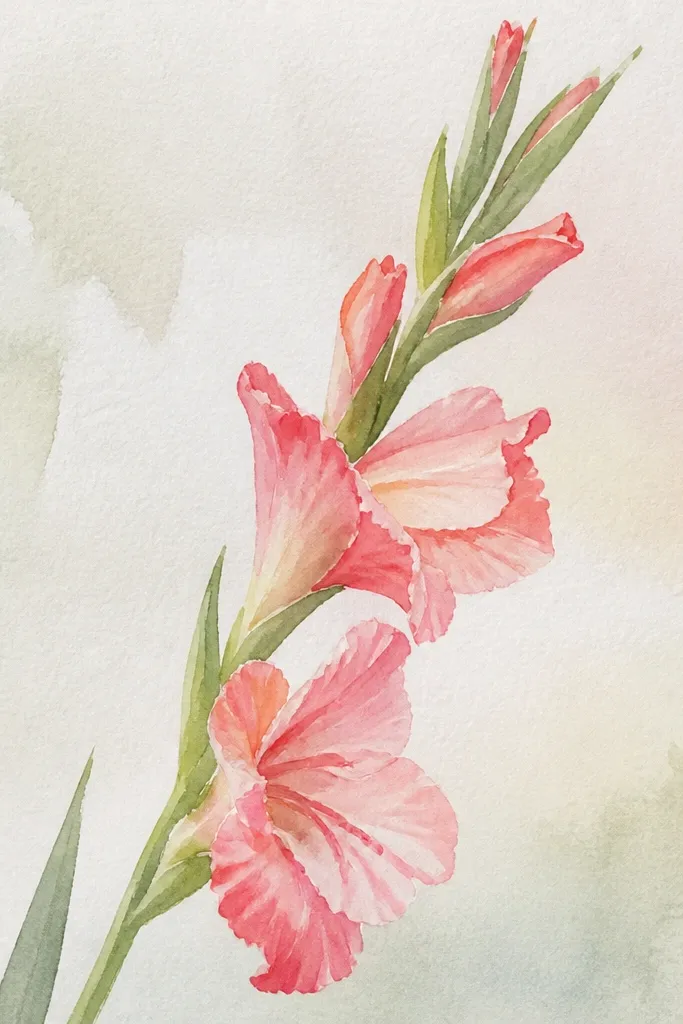
Side view looks advanced but it’s just a placement trick. Instead of drawing petals on both sides equally, you draw full petals on the near side and smaller, partial petals on the far side. This is perfect for kids who want variety without learning complex shading. The leaning leaves also make the whole sketch feel like it’s moving in a breeze.
Good to knowKeep the far-side petals lighter and shorter; that one choice sells the angle fast.
Draw a tapered spike that leans slightly right. On the near side (right), draw full pointed petals in pairs that all face outward. On the far side (left), draw only half-petals or smaller scoops tucked closer to the spike. Add two leaves that also lean in the same direction, with one leaf overlapping the stem line slightly. Ink the near-side petals more boldly so the depth reads clearly.
Common mistakeAvoid drawing the same full petals on both sides; it cancels the side-view effect.
7. Curved Ribbon Gladiolus
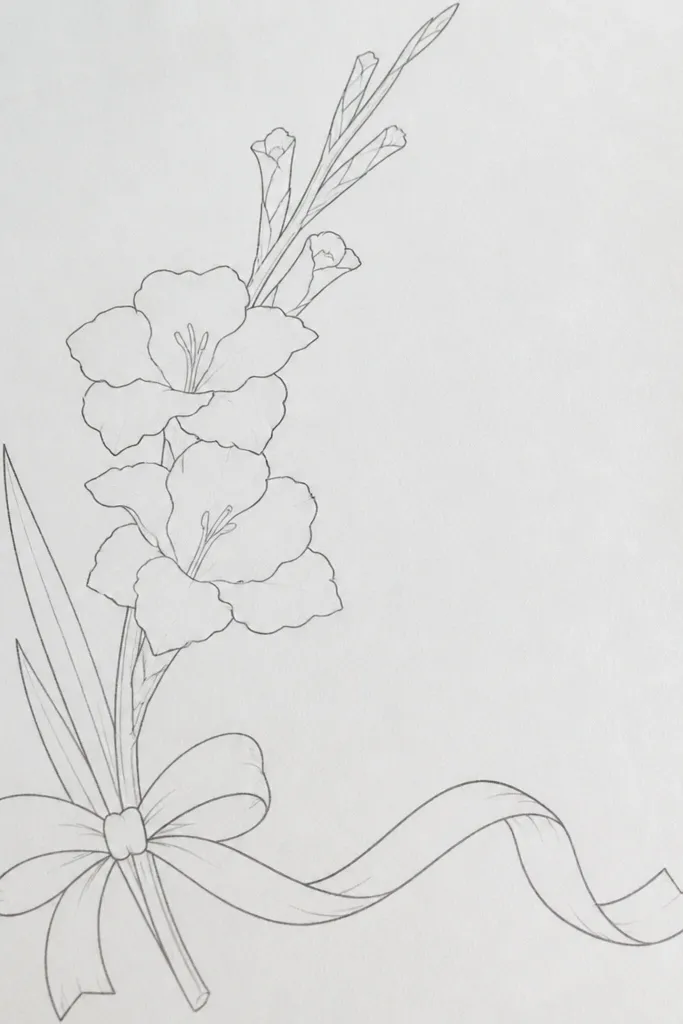
A curved spike makes gladiolus feel softer and more decorative, like a bouquet drawing. This is my go-to when the page has a border and you want the flower to “fit” the space. The petals stay simple, but the curve gives you a natural flow. Kids also find it easier to draw because they aren’t fighting a perfectly straight line.
Draw a long curve for the spike, thicker near the bottom and slimmer near the top. Mark petal positions with tiny dots along the curve. Draw paired petals that sit perpendicular-ish to the spike at each dot, so they look attached. Make leaves as two broad curved shapes that mirror the spike curve and start at the same base point. Trace with pen, then color the underside petals a slightly cooler shade if you’re using colored pencils.
Use a ruler only for the petal dots; freehand the curve to keep it lively.
Don’t swing the curve too sharply; keep it one smooth arc so petals still align.
8. Minimal Outline Gladiolus for Coloring
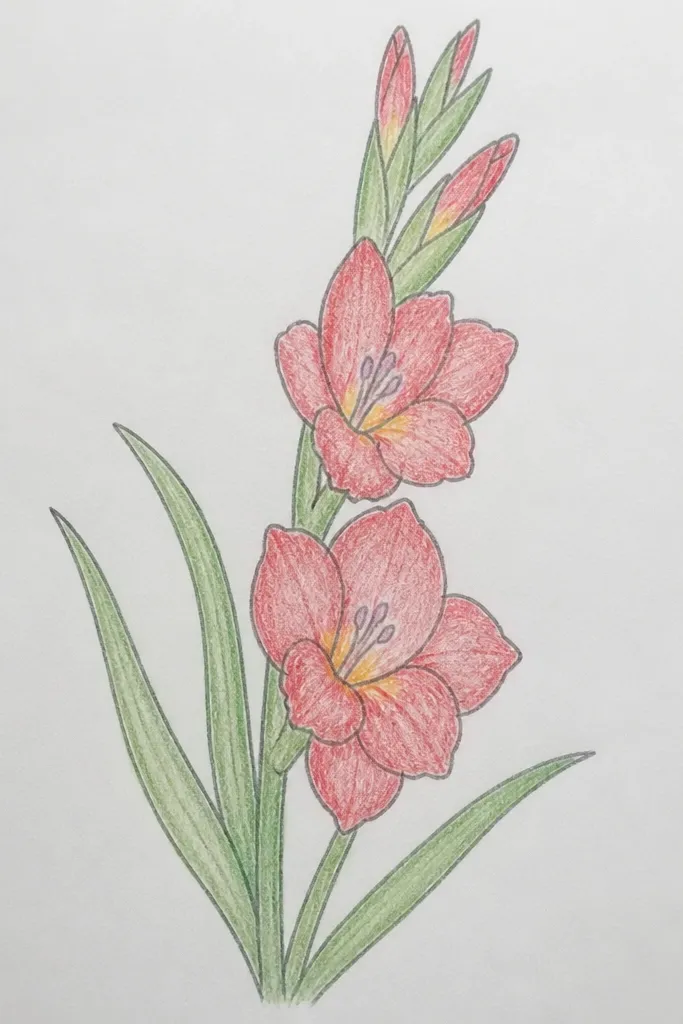
This one is for when you want a clean coloring page result. The shapes are simple enough for little hands, but the silhouette still looks like a gladiolus because the spike taper and petal repetition are there. I’ve used this layout for 8x10 coloring sheets because it gives big, fillable areas. It also works as a base for watercolor later if you draw lightly.
Good to knowColor stays neater when you keep the petal bases wider than the tips.
Draw the tapered spike as a single line with a slightly curved top. Add paired petal outlines that are mostly pointed but not too narrow, leaving room for color. Skip any internal details. Add two leaves with a central guideline lightly penciled. Use a light pencil for the whole sketch, then trace only the outer petal and leaf lines in black if you want it crisp.
Common mistakeAvoid adding stripes or extra lines; coloring gets messy when there’s too much detail.
9. Watercolor-Style Gladiolus Lines
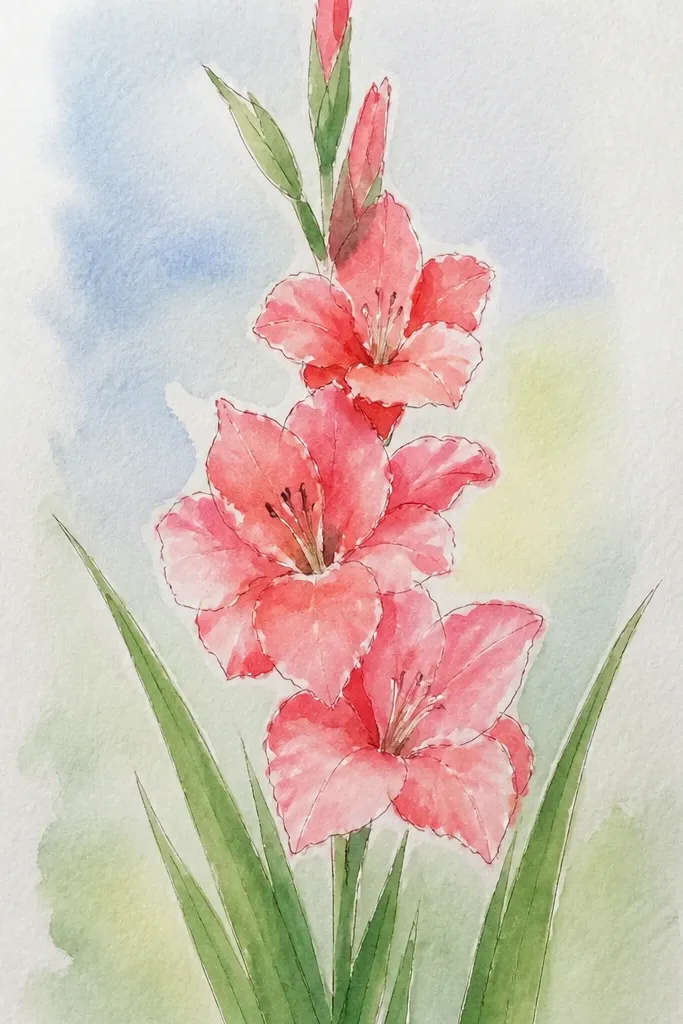
This style looks great with cheap watercolors or even watered-down marker because the outlines aren’t harsh. It’s also forgiving if the kids' line work is wobbly. The trick is to draw the petals with light, broken lines and let color do the heavy lifting. It feels airy and pretty, especially for pastel palettes like lavender, pale peach, and soft green.
Start with a lightly penciled tapered spike. Draw each petal with a double outline — one line for the edge, then a second nearby line you can break up. Add leaves as long shapes with a faint central line, then gently erase any pencil that’s too dark. Wet a small section of a petal with water, then paint a gradient from base to tip. Add a slightly stronger color at the base and let it fade as it reaches the tip.
If you’re using marker, use a clean brush to pull pigment outward from the petal base for a watercolor bleed look.
Avoid soaking the whole page; only wet the petals you’re painting.
10. Pencil Shading Throat Glow
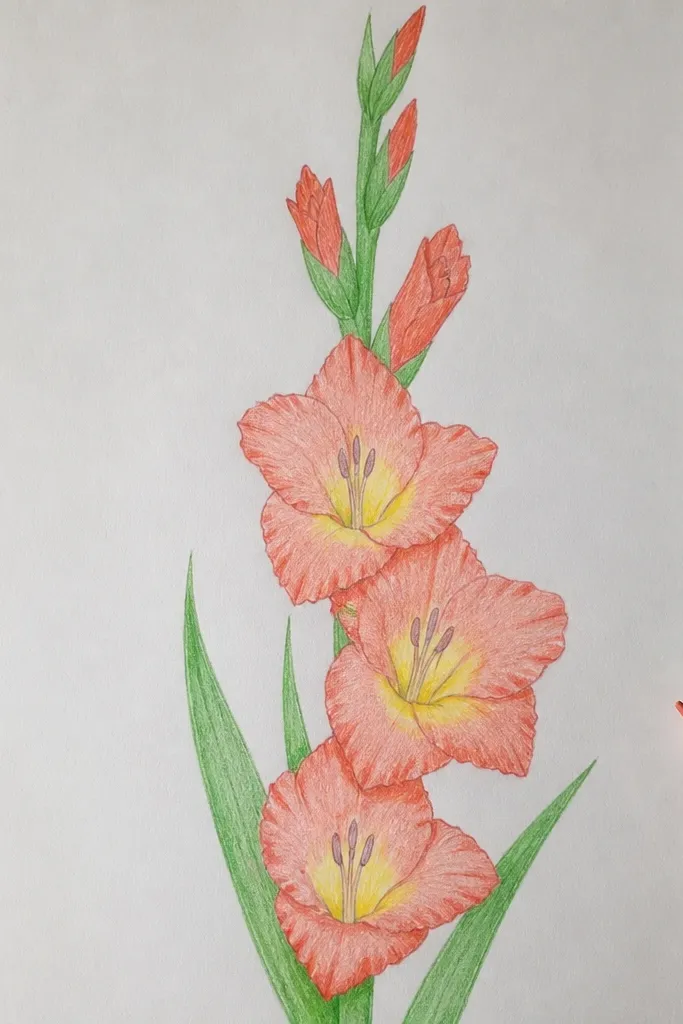
If you like realistic drawings but don’t want to color, this graphite version is the answer. The “glow” comes from shading near the petal base and keeping the tips lighter. Kids get a clear rule: dark where the petal attaches, light where it stretches. This looks especially good on toned paper or light cream paper because graphite contrast shows up better.
Good to knowUse a kneaded eraser to lift highlights at the petal tips so the flower looks glossy.
Draw the spike and paired petals with light pencil, keeping lines thin. Add a short shadow area at each petal base — about one-third of the petal height — and blend it with a finger or blending stump. Add throat stripes as lighter marks, then shade around them so they feel embedded. For leaves, draw a central vein line and add soft crosshatching near the base where leaves overlap. Fix the drawing with a gentle spray if you smudge easily.
Common mistakeAvoid shading the entire petal; it flattens the layered look.
11. Patterned Petals with Dots
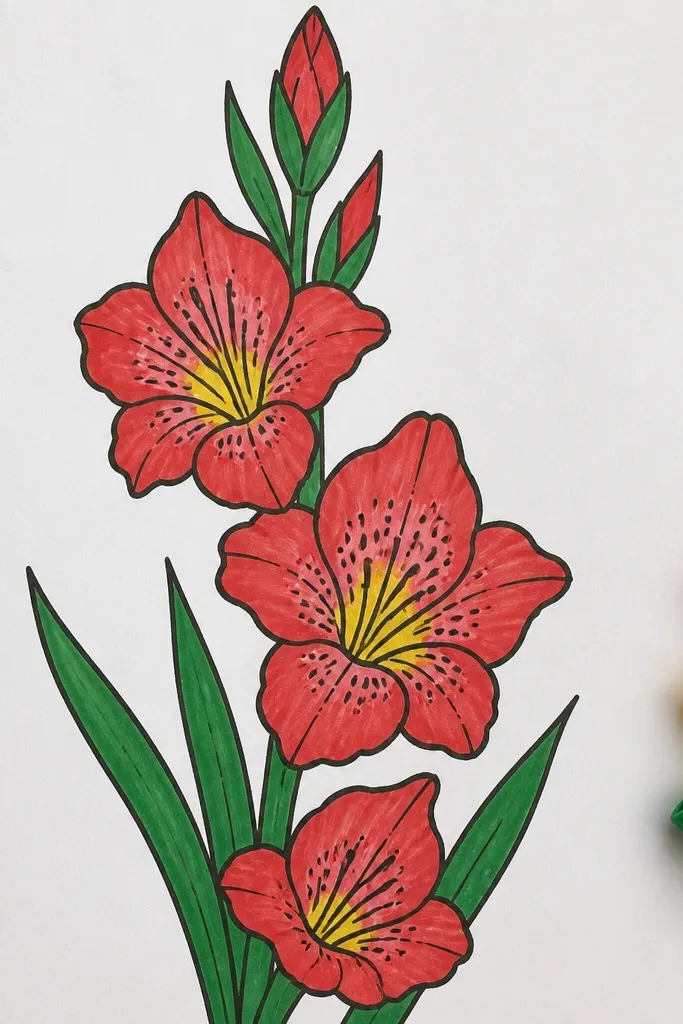
Patterns make a simple gladiolus look designed, not copied. The dots act like the “vein” texture you see in real gladiolus throats. This is a great choice for kids because it turns drawing into a repeatable decorating task. The design also holds up in black-and-white prints, which matters if you’re making cards for friends who don’t color.
Draw the spike and paired petals in clean outlines. Add a short throat area on each petal — roughly a small oval near the center — then fill it with 3-6 tiny dots. Keep dots consistent size, and place them slightly closer to the base. Add leaves as simple tapered blades with no patterns. If you’re coloring, leave dot areas uncolored or color them in a contrasting shade like yellow against purple petals.
Make one dot size your “rule” and stick to it so the pattern looks intentional.
Avoid dot clusters at random heights; keep them near the petal center.
12. Crayon Resist Gladiolus
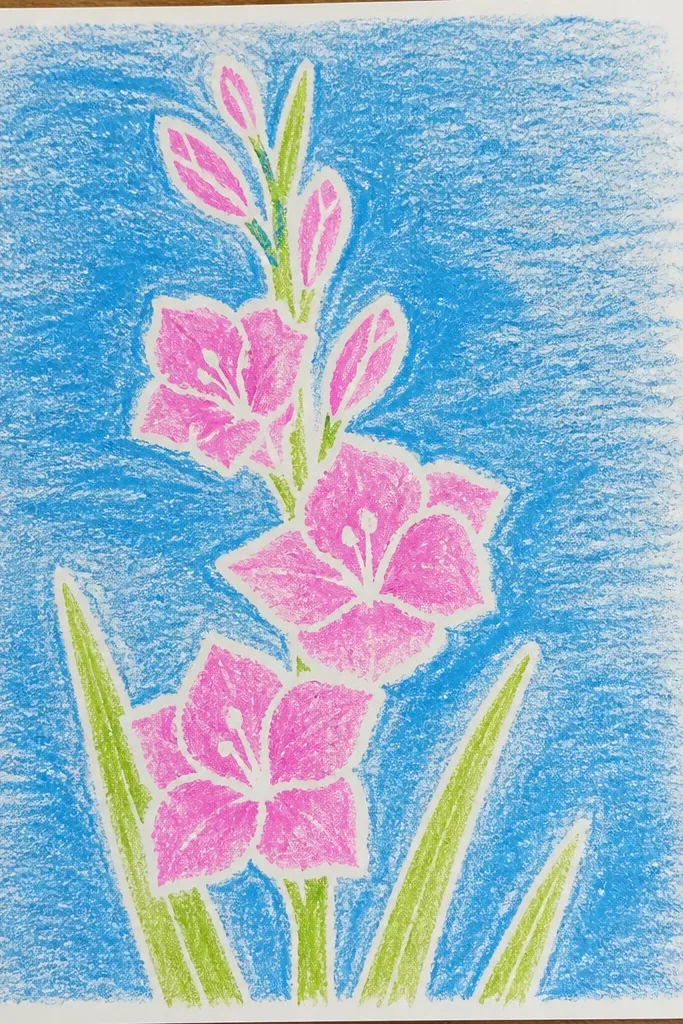
This method looks magical with very little drawing skill because the resist effect does the hard work. You get crisp highlights along petal edges and the throat lines pop. It’s also fun for kids because they can see the result while it dries. I like this for making gifts because the finished look feels more “art class” than “worksheet.”
Draw your gladiolus lightly with crayon first: tapered spike, paired petals, and two leaves. Add a simple throat stripe line on each petal in crayon. Paint over the entire flower with watercolor — start with a light wash, then add darker color near petal bases. Keep the paint watery so it spreads and creates softer gradients. Once dry, go back with a black marker to sharpen the outer outlines if needed.
Use a thicker crayon for bright resist lines; thin crayons disappear under heavy watercolor.
Don’t press so hard that the paper dents; it ruins the watercolor texture.
13. Marker Shadow Gladiolus
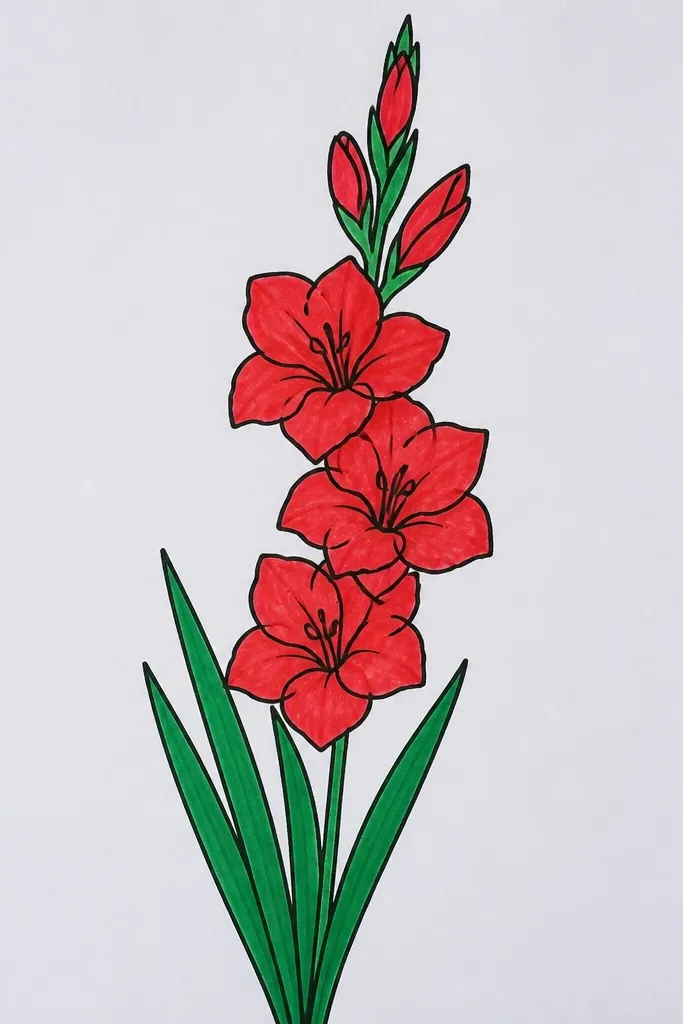
Marker shadows make the flower look dimensional without pencil blending. The trick is to pick one consistent light direction — I use light from the left — and shade the opposite side of each petal. Kids can follow the rule and the result looks like a real drawing instead of flat coloring. This style is also fast because you’re repeating the same shading pattern.
Good to knowTest your light direction on one petal first; once it looks right, repeat it upward.
Draw the spike and paired petals with a light marker or pencil. Choose one direction for shading and keep it consistent across all petals. Color the shadow side of each petal with a medium marker tone, then leave the highlight side mostly white. Add a slightly darker outline on the shaded edge only so the petal boundary looks stronger. For leaves, draw a darker vein line and shade the underside with one pass of marker.
Common mistakeAvoid shading both sides equally; that makes it look like a colored blob.
14. Chalky Pastel Gladiolus
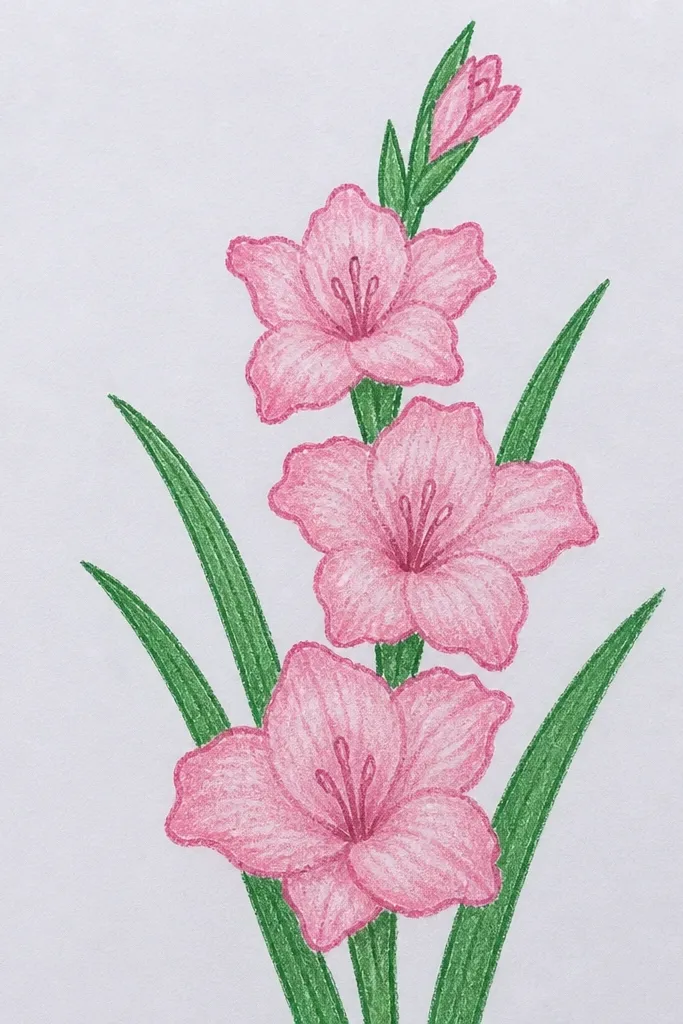
Chalky pastel looks gorgeous because gladiolus petals have that dusty softness in real life. This style is great for older kids who can handle smudging without getting frustrated. The dusty texture hides small line mistakes, so you don’t need perfect outlines. I’ve used this for posters on black paper where the flower pops like a night garden.
Draw the spike and petal outlines lightly with a white pastel pencil if you’re on dark paper. Color petals with layered pastel: start with a light base color, then add a darker tone near the petal base. Blend with a tissue or cotton swab, but keep the petal edges slightly rough so they look chalky. Add leaves in a cool green and press harder at the overlap area near the stem. Finish by adding a few lighter highlight strokes near petal tips.
Use a fixative spray from a distance if you’re hanging the piece; it reduces smearing during handling.
Avoid heavy blending all over; you lose the chalk texture that makes this style work.
15. Botanical Leaf Pair Gladiolus
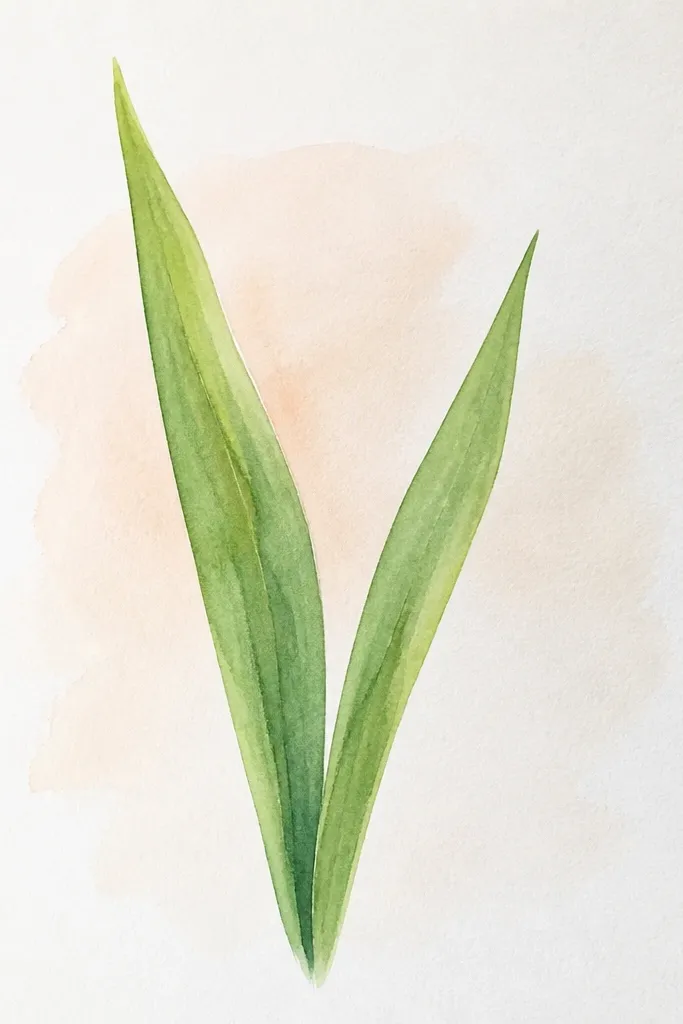
If your gladiolus petals always look okay but your drawing feels unfinished, this version fixes it by making the leaves do the heavy lifting. The leaves get the detail — a midrib line and a few side veins — while the petals stay simple. It’s a nice option for kids who like drawing plants but don’t love tiny petal patterns. The end result looks more botanical even with fewer flower details.
Good to knowUse fewer veins than you think — 4-6 per leaf looks cleaner than a fully filled pattern.
Start with a tapered spike and add paired pointed petals without internal stripes. Draw two leaves that are broad and slightly overlapping at the base. Add a clear midrib line down each leaf, then add 4-6 short side veins that curve toward the edges. Keep the leaf edges smooth and clean. Outline with pen, then lightly color the leaves a muted green so the veins show.
Common mistakeAvoid drawing tiny vein lines that stop halfway; they look like random scribbles.
16. Mini Gladiolus Buds on the Spike
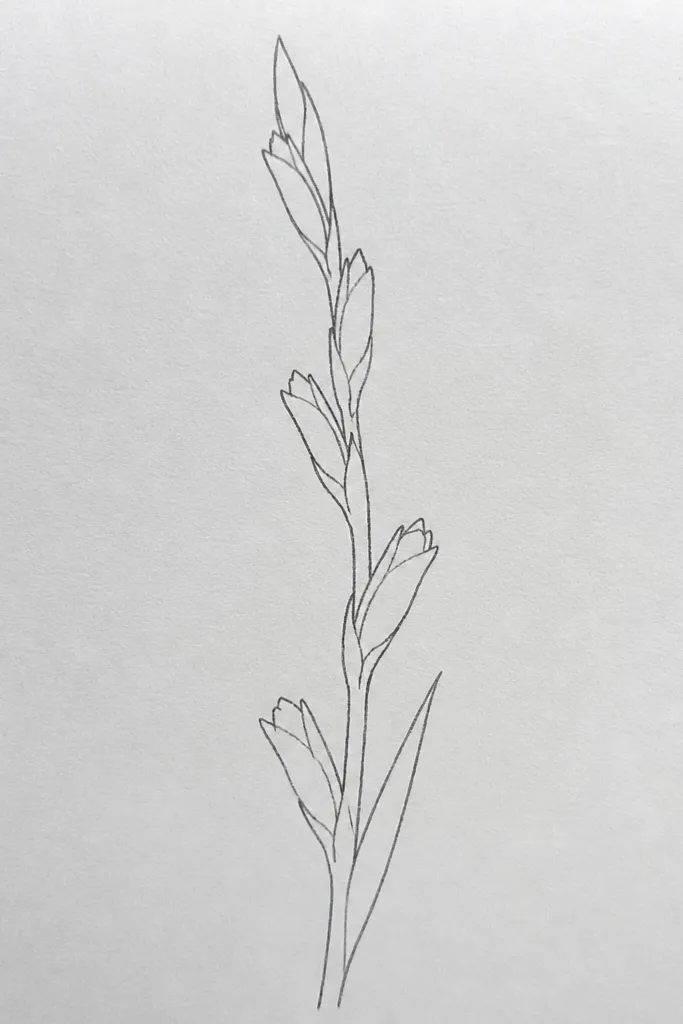
Adding buds makes your gladiolus look like it’s growing, not just sitting. It’s also a good way to break the monotony for kids: they draw small shapes first, then switch to full petals. This style looks great on scrapbook pages because it adds depth and variation along one stem. The contrast between closed buds and open flowers sells the idea of stages.
Good to knowKeep bud shapes smaller than the petal bases; otherwise the whole spike looks crowded.
Draw a tapered spike line. At the bottom third, add small bud shapes — short ovals or tiny pointed caps — spaced evenly. In the middle, add larger petals in pairs, then at the top switch to fully open petals with a throat stripe or two. Draw leaves as two long blades emerging from the bottom and slightly leaning outward. Ink the main petals and leaves, then color buds lighter so they look softer and newer.
Common mistakeAvoid starting full petals at the bottom; the stage change disappears.
17. Three-Gladiolus Bouquet Sketch
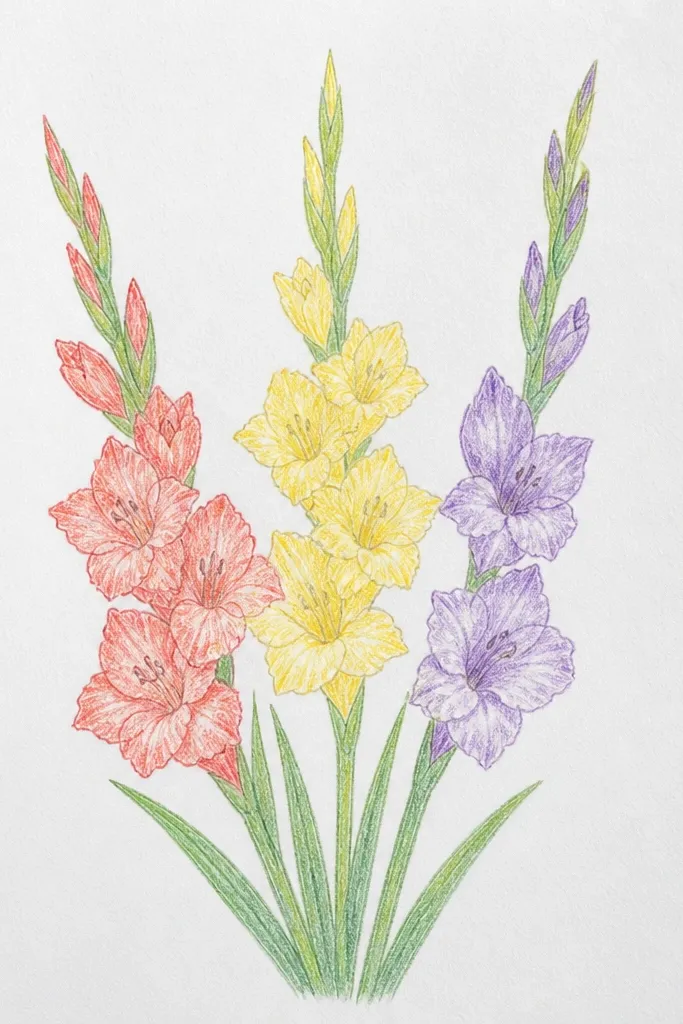
A single gladiolus can feel too simple on a blank page, so I like grouping three stems. This style looks like a bouquet drawing while still using simple, repeatable parts. Kids can vary the petal pattern on each stem so they feel creative without changing the fundamentals. It also helps your page composition because the leaves overlap and create a natural center point.
Good to knowChoose one leaf direction for the whole bouquet so it doesn’t look like three separate plants pasted together.
Draw three tapered spikes that start close at the bottom and spread slightly at the top. Give each spike a different petal style: one has plain petals, one has throat stripes, and one has wavy edges. Add leaves that overlap where the stems meet, so the bouquet looks unified. Keep the tallest spike in the middle and the other two slightly shorter for a balanced look. Outline with pen, then color each stem with a different hue family like pink, purple, and white.
Common mistakeAvoid making all three spikes the exact same height and curve; it flattens the composition.
18. Outline + Light Fill Gladiolus
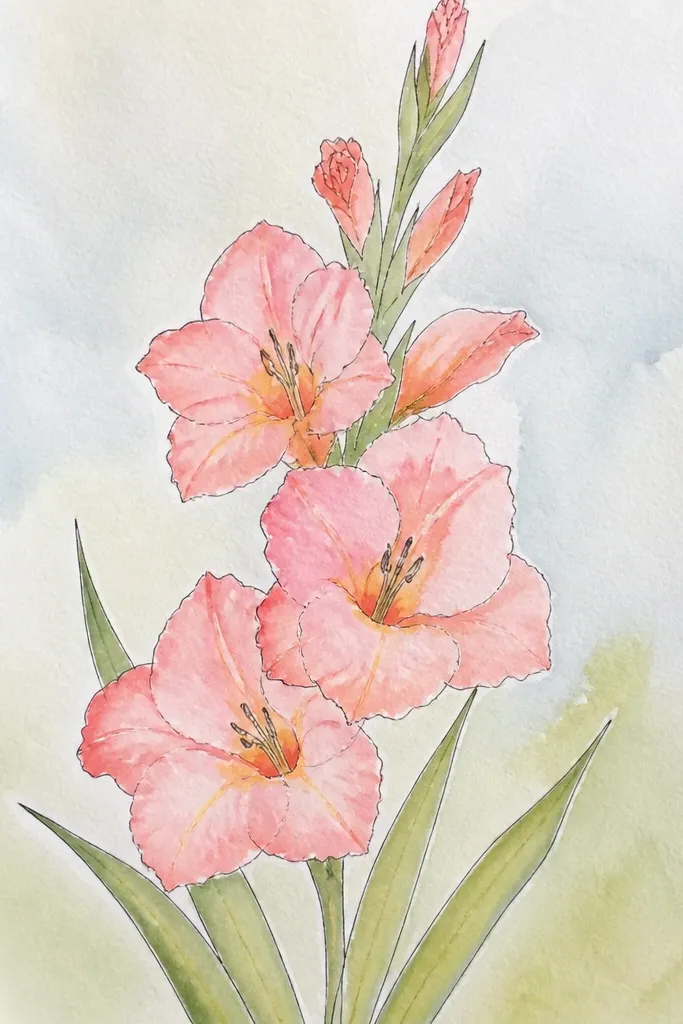
This is my “looks finished fast” approach when you’re using markers or cheap watercolors. You keep crisp outlines but you only fill part of each petal, leaving white highlights that make the flower look glossy. It’s also easier for kids because they don’t have to color perfectly to the edges. The end result looks like a handmade illustration, not a filled-in coloring page.
Good to knowUse a ruler to lightly plan highlight strips — even 2-3mm gaps make a huge difference.
Draw the spike and paired petals with pencil, then ink the outer outlines with a black pen. Color the petals with a light wash or pale marker tone, focusing on the center area. Leave a narrow highlight strip near the petal edge uncolored. Add a darker base near where the petal meets the spike, then blend lightly by scribbling with the base color. Color leaves a muted green and leave small white gaps along the leaf edges for shape.
Common mistakeAvoid fully coloring every petal edge; that removes the glossy effect.
19. Patterned Border Frame Gladiolus
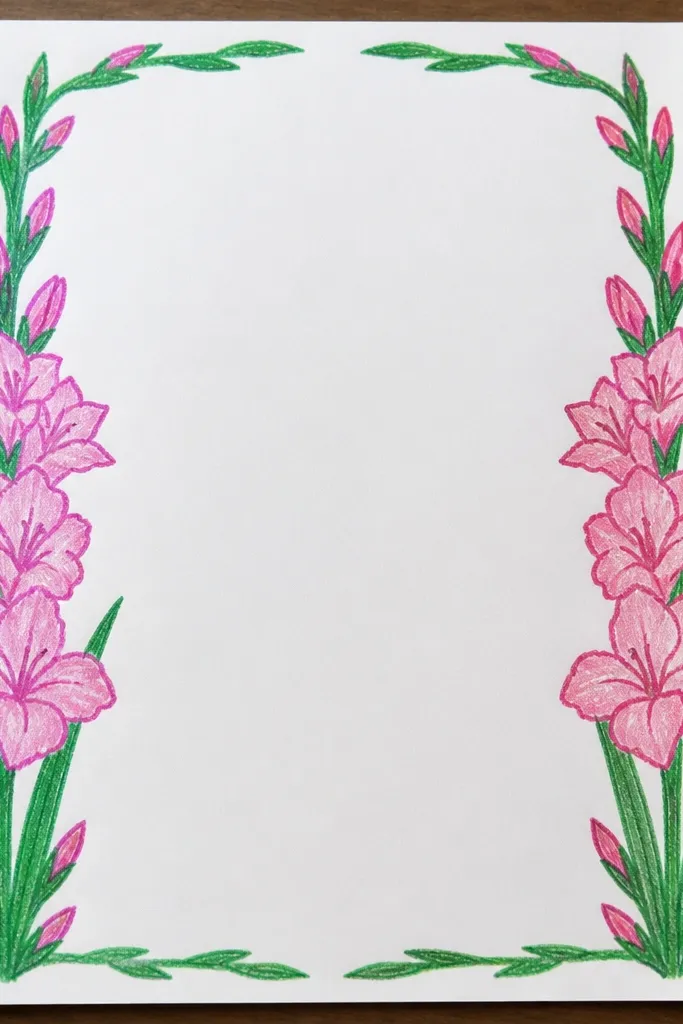
This idea is practical for making cards and printable art because it makes the gladiolus feel like part of a set. The flower stays simple, but the border repeats the same pattern language — dots, stripes, and short marks. Kids can contribute to the border without needing to redraw the petals perfectly. I like this when I’m making birthday invitations because it looks intentional even with imperfect coloring.
Good to knowUse one color for the border and one for the petals; two-color designs read clean on paper.
Draw a gladiolus in the center using a throat stripe or dot throat style. Then add a border around the page using a repeating pattern: small dots along the top and bottom, short dash marks along the sides. Keep border shapes small so they don’t compete with the flower. Shade or color the gladiolus petals first, then match the border color to one petal hue. Outline the border lightly so it stays crisp against the colored flower.
Common mistakeAvoid border patterns that touch the flower leaves; leave a small gap for separation.
20. Crosshatch Vein Gladiolus
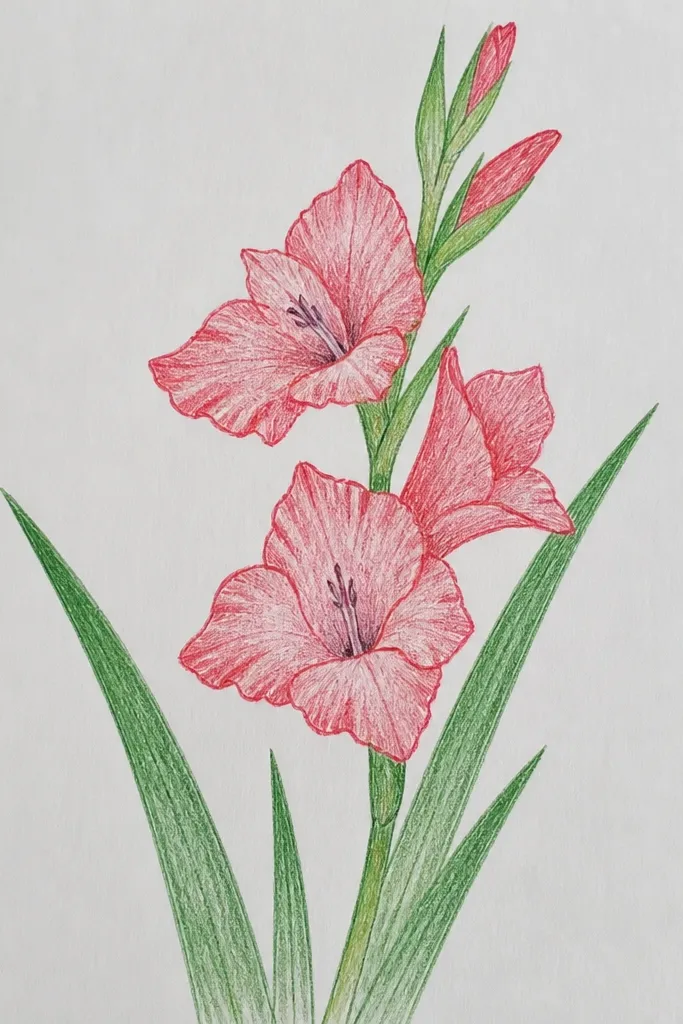
Crosshatching gives you depth without smudging, which is why I like it for pencil-only drawings. It also teaches kids a clear shading rule: darker where petals overlap or attach. This style looks good for school assignments because it reads as “sketching,” not coloring. If you use a 2B pencil, the texture shows up clearly on copy paper.
Sketch the spike and paired petals with light pencil. Add crosshatching only in the lower half of each petal, keeping the top half lighter. Add a darker patch where each petal overlaps the spike line so the attachment looks real. For leaves, crosshatch near the base and along the underside edge. Blend by lightly rubbing with a paper stump if you want softer transitions, but keep most lines visible.
Keep hatch lines parallel to the petal curve so the texture follows the shape.
Avoid random crosshatch directions on every petal; it looks messy fast.
21. Gladiolus on a Simple Vase Oval
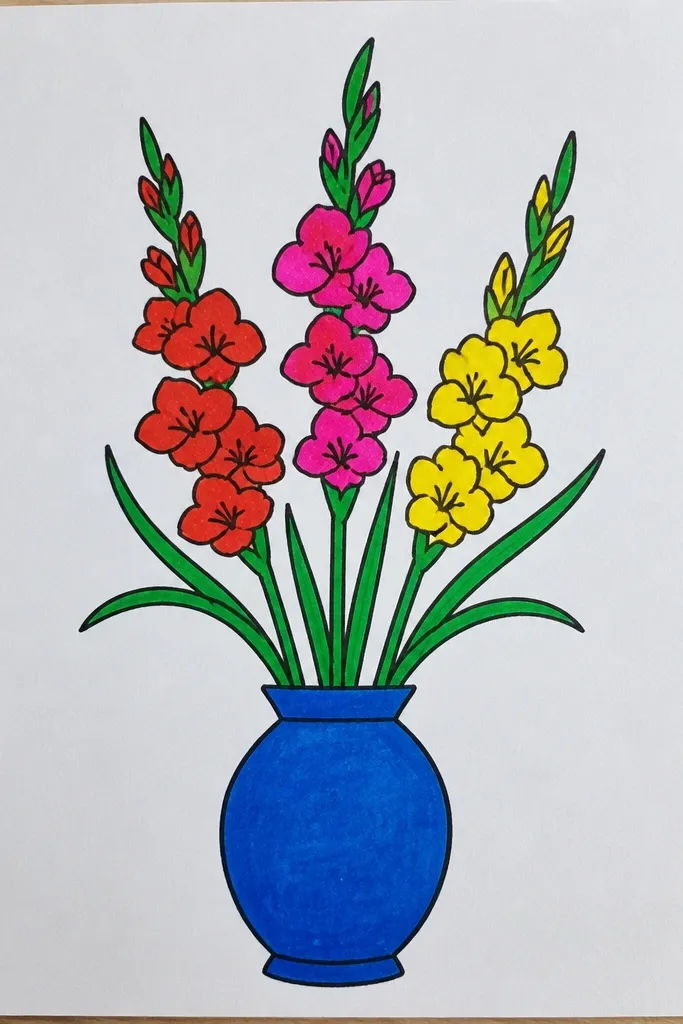
Putting the gladiolus in a simple vase instantly makes it look like a finished illustration. The vase gives you a clear anchor point, and the leaves can frame the flower like a picture. This is great for kids because the vase shape is easy and the flower becomes the main work. I like it for wall art because the vase outline makes the composition stable.
Draw a vase as a wide oval with two curved sides that meet at the bottom. Start your gladiolus spike from the center of the vase opening and draw paired petals upward. Add leaves that come out from the vase base, one leaning left and one leaning right, slightly overlapping the vase rim. Color the vase in a flat solid color and keep it darker than the petals so the flower pops. Outline the vase and flower separately so the lines don’t blur together.
Make the vase rim thicker than the sides; it reads better in marker drawings.
Avoid making the vase the same light color as the petals; it disappears.
22. Slim Pencil-Only Gladiolus
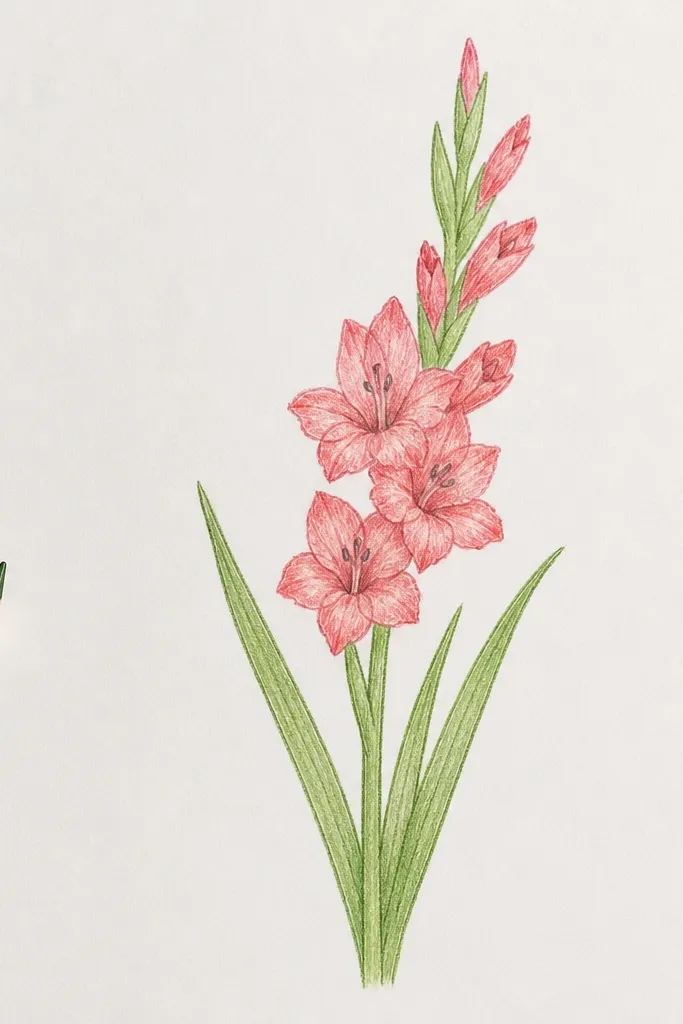
This style is for calm, minimal sketches. Thin lines and light shading make the gladiolus look delicate instead of heavy, and it fits well with sketchbook pages. It’s also a good practice for controlling pressure on a pencil. Kids who press too hard will benefit because the “light pencil” look shows them what gentle pressure looks like.
Use a light pencil and draw a very slender tapered spike. Add small paired petals that are narrower than your usual style, then keep spacing even. Shade only the petal base — a tiny crescent — and leave the rest of the petal blank. Draw leaves as long narrow blades with a faint midrib line, no heavy shading. Add a darker pencil outline only at the very end on the outer edges if you want extra definition.
Try a 2H pencil for the first sketch pass so it forces lighter pressure.
Avoid going back and darkening every line; it turns delicate into clutter.
23. Bold Marker Pop Gladiolus
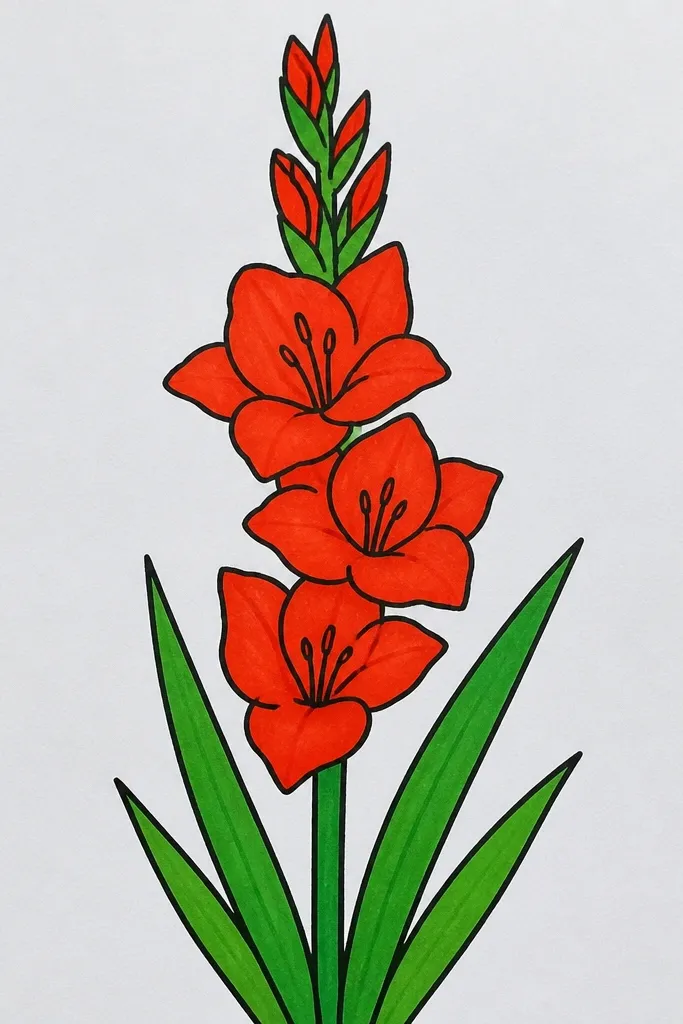
Bold marker pop is the style I use when the finished drawing needs to be seen from far away. The thick outline and flat color blocks make it clean, and the throat stripe gives it that gladiolus identity instantly. Kids can do this fast and still get a result that looks intentional. It’s also great for posters, classroom displays, and quick craft projects.
Good to knowUse a lighter color on the top half of the flower so the spike reads upward.
Draw the tapered spike with a black marker and add paired petals in a simplified pointed shape. Fill each petal with a solid color but leave a thin highlight strip near the petal edge white. Add a bold contrasting throat stripe — yellow or cream works great against purple, pink, or blue. Draw leaves with thick outline and fill them with a darker green only at the underside edge. Let the marker dry fully before adding any extra lines.
Common mistakeAvoid thin outlines; they vanish against bright flat color.
24. Gladiolus with Beak Petals
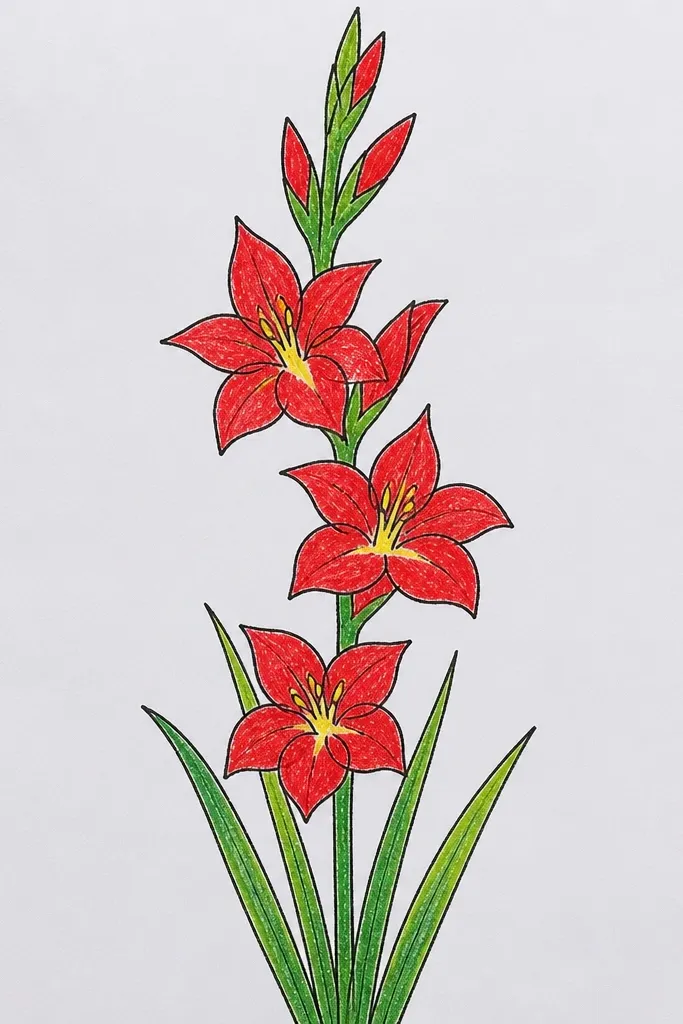
Beak petals add a quirky, cute look that still feels botanical. The petal tip has a small notch, which gives the flower a distinct silhouette. This style works well for kids because the shape is easy to repeat and hard to mess up. It also looks great in limited palettes like orange and cream because the notch catches attention.
Draw the tapered spike and place petal positions along it. For each petal, draw a pointed shape but add a tiny inward notch right at the tip — like a small V cut. Mirror the petal on the opposite side. Add leaves as two long blades with a simple midrib line. Outline with pen, then color the throat area with a contrasting shade and leave the petal tip slightly lighter.
Keep the notch size consistent across the whole flower so it reads as a style, not a mistake.
Avoid making the notch too big; it turns the petal into a different shape.
25. Gladiolus with Side Vein Lines
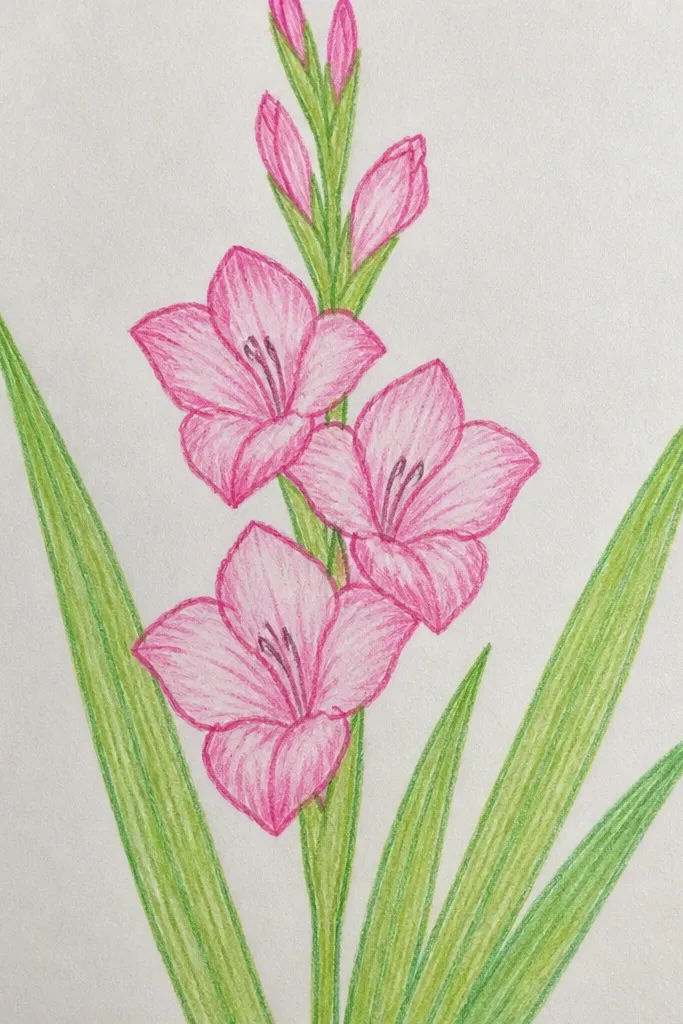
Side vein lines make the petals look structured without heavy shading. I like this for colored pencil drawings because the veins guide where to blend. Kids can follow a clear rule: two lines per petal that fan out from the throat. The result looks more detailed than a basic outline but still stays within a simple drawing workflow.
Start with a tapered spike and paired petals in outline. On each petal, draw one central throat line (or a small oval) and add two short curved vein lines starting near that throat and bending toward the tip. Keep the vein lines light so they don’t overpower the petal outline. Add two leaves with simple shapes and a single midrib line. Color petals lightly, then gently darken along the vein lines to make them show.
If the veins look too dark, draw them with pencil first and trace only the outer petal outline in pen.
Avoid drawing many veins; 2-3 per petal is enough.



