
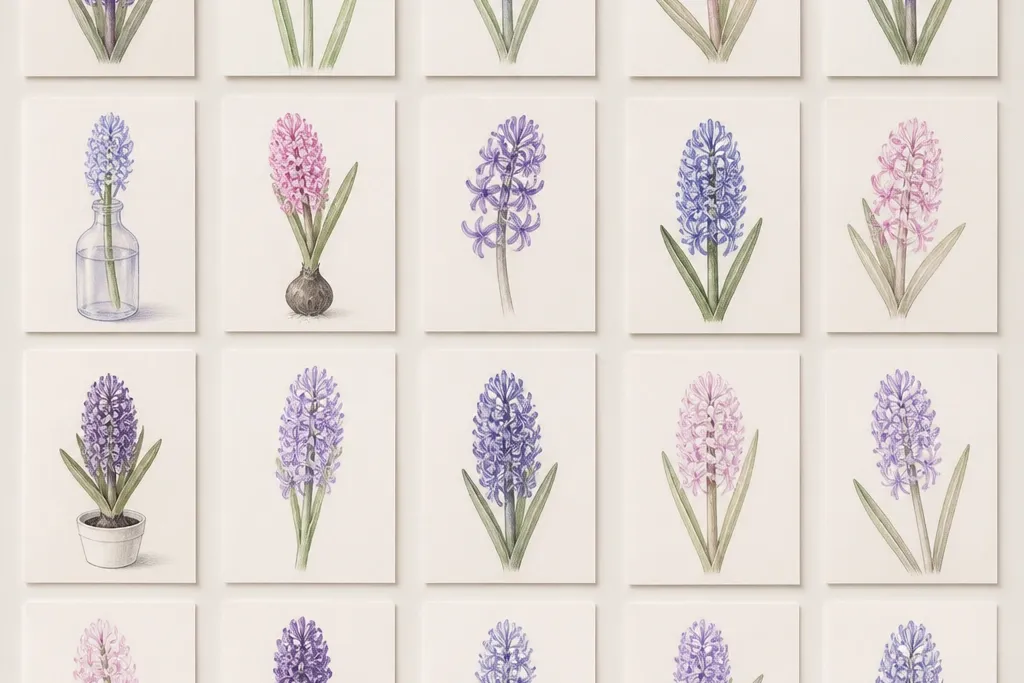
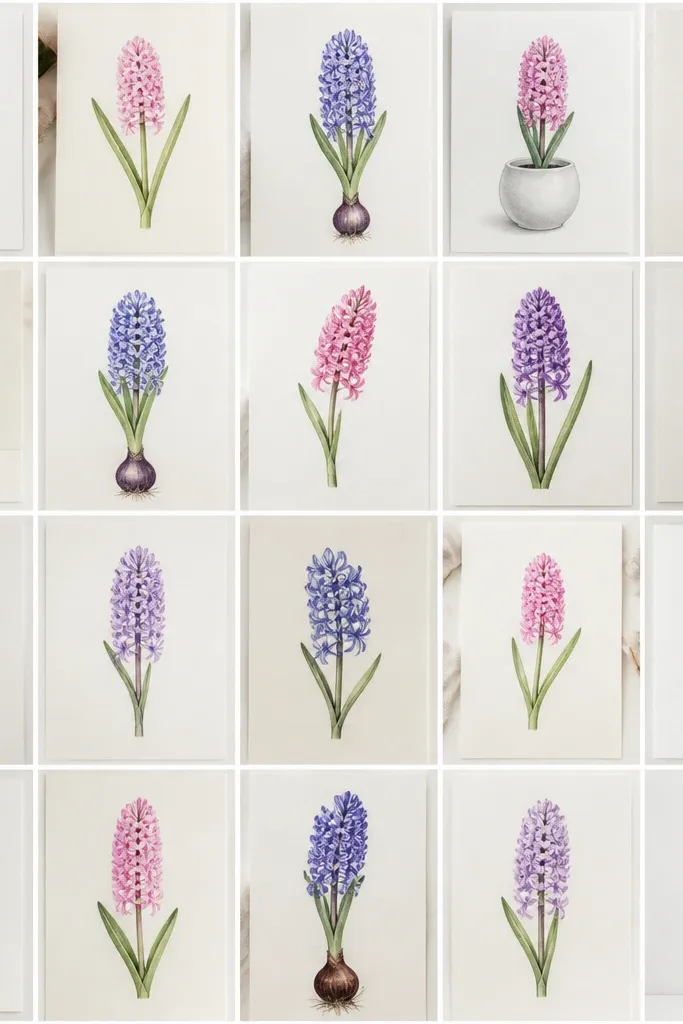
1. Lavender Bottle-Bloom on a Plain Card
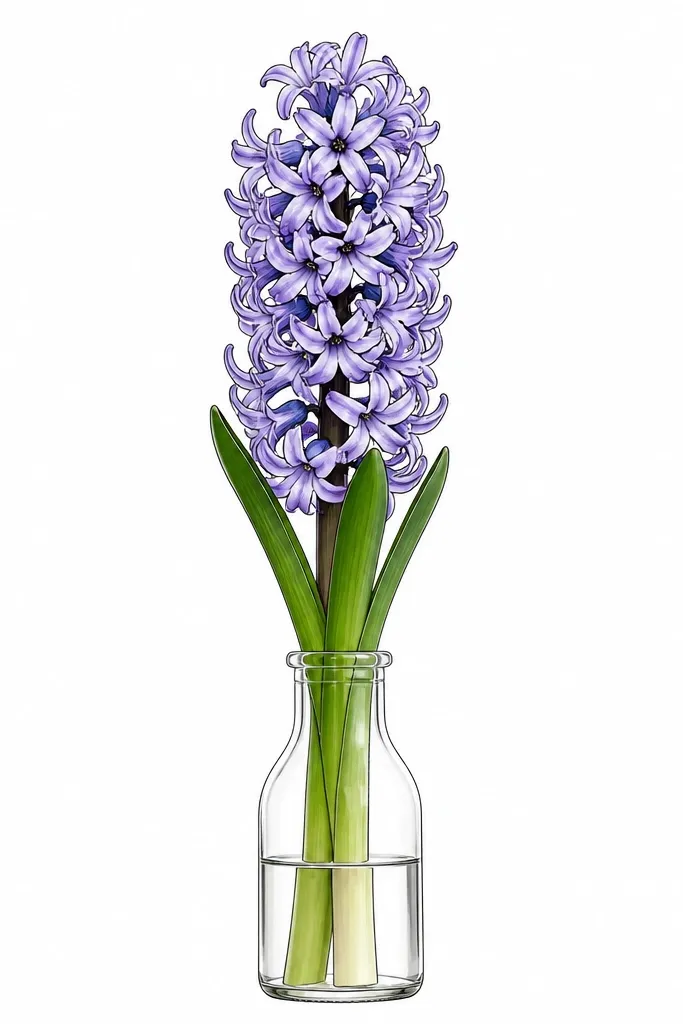
This one is my go-to when I need a "looks finished" card without extra scenery. The hyacinth head is lavender with a tiny hint of purple at the outer petal edges, so it reads clearly even if the drawing is small. I like it for kids because the bottle gives a stable shape to draw around, and the flower head stays the focus. For anyone who feels their drawings look flat, the bottle outline gives you a strong vertical frame that makes the bloom look intentional.
Start by sketching a simple bottle: draw a rounded rectangle with a slightly narrow neck and a flat base line. Then draw the hyacinth bulb at the bottle's top - a rounded mound - and add the first petal row as 6 to 8 curved "comma" shapes pointing upward. Build 2 more rows by repeating those curved segments and slightly shortening the inner ones. Finally, add two thin leaves that angle outward from the sides and color the petals with a light lavender wash, leaving the inner lines mostly uncolored.
Good to knowUse a fine liner for the outer petal edges, then add color only between the lines so the tubes stay distinct.
Common mistakeDon't color the whole head solid - it turns into a purple circle instead of stacked petals.
2. Two-Tone Pink Hyacinth with a Single Stem
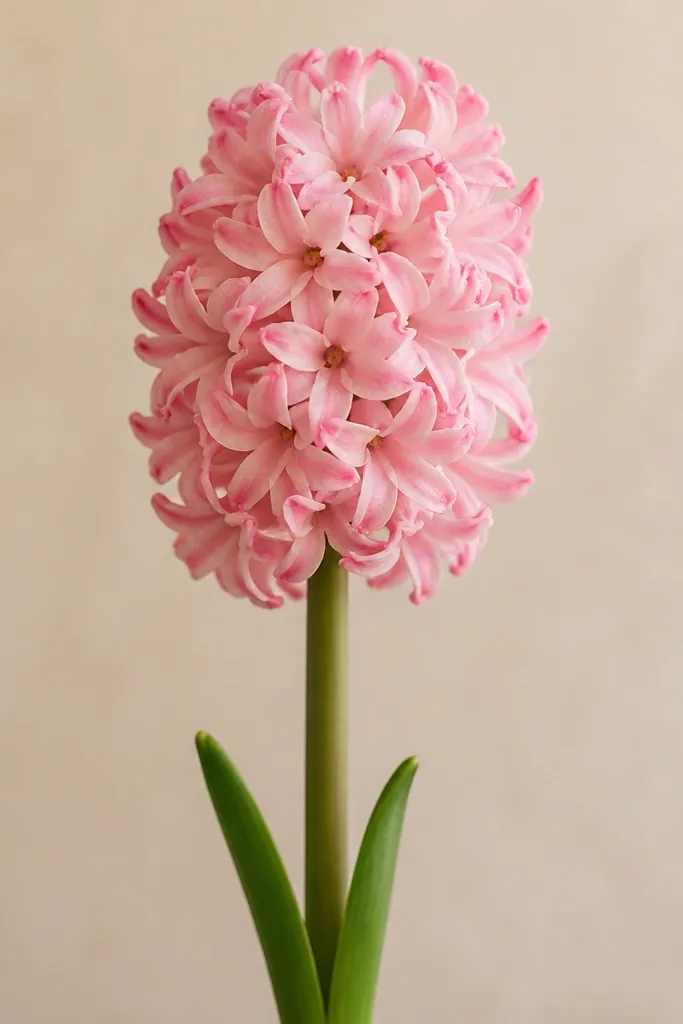
This design looks sweet and modern because it limits color to two values. The deeper pink on the outer petal tips gives the flower depth without messy shading. I use it for kids who want "pretty" results but get frustrated with gradients. It also flatters lighter skin tones in drawings because the focus stays on the flower, not on heavy backgrounds.
Draw a single stem line from bottom center. At the top, sketch the bulb as a rounded oval and add the first petal row with 7 curved tubes. For the second and third rows, repeat the curved tubes but keep them tighter at the center so the head looks full. Color the base of each petal with light pink, then touch only the outer edge of each tube with a darker pink pencil or marker. Add two leaves: one slightly left and one slightly right, both with a simple center vein line.
Good to knowIf the darker pink bleeds, dot it with a pencil instead of dragging the marker.
3. Hyacinth Cluster in a Mini Cup
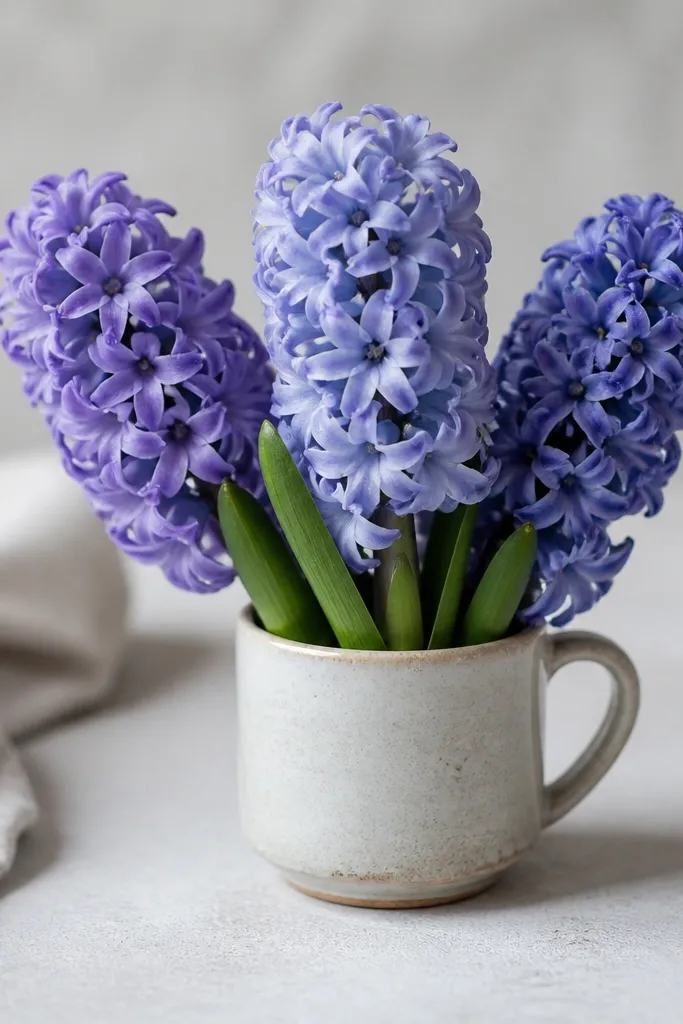
A cluster is the fastest way to make your drawing look like a real bouquet. I like three blooms because it fills the page without overcrowding. Each head can be a slightly different lavender tone, so the page looks lively even if you only use one pen and one pencil. Kids also learn spacing here because you can't cram three heads in the same spot - they naturally get separate positions.
Start with an outline of a mini cup: a slightly wider top than bottom, with a flat rim and a small handle or no handle. Place the first hyacinth head slightly left inside the cup, then the second in the center, and the third slightly right. For each head, draw a bulb base and 2 to 3 rows of curved petal tubes, keeping the rows consistent in size for that head. Add leaves that overlap the cup rim: two leaves per bloom, but only draw the closest one fully and keep the others partial. Color each head lightly: left in pale lavender, center in soft blue-lavender, right in slightly deeper purple.
Good to knowKeep each head's bulb the same size and only vary the petal color - it makes the cluster look balanced.
4. Side-Profile Hyacinth with Curved Petal Tubes
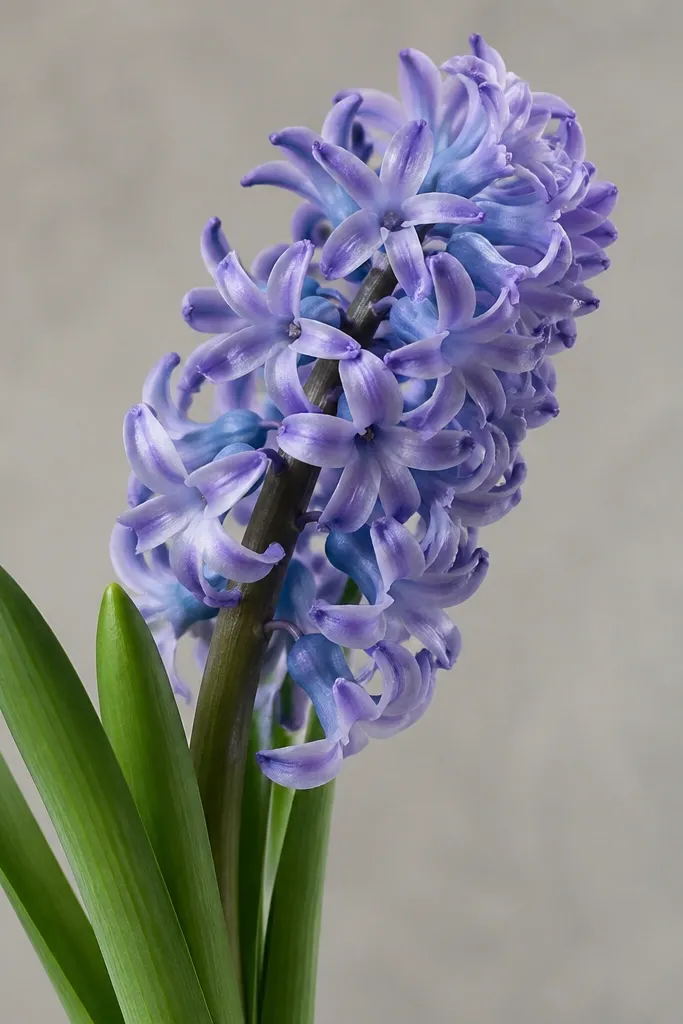
Side-profile hyacinths look artsy without needing advanced drawing. The trick is that the head becomes an angled oval, not a perfect circle, and the tubes curve backward. I use this when someone says their hyacinth looks like a lollipop. The sideways angle also looks good on bookmarks and tall skinny pages.
Draw the stalk first as a slightly slanted line. At the top, sketch a narrow angled oval for the bulb and head mass. Add petal tubes as curved segments that follow the angle - each tube should point upward but also slightly toward the back. Build 3 rows: the closest row has the longest tubes, the back row has shorter tubes tucked behind. Finish with one leaf that bends in the opposite direction of the stalk and add a light lavender wash across the outer tubes only.
Good to knowRotate your paper 20 degrees while drawing tubes; it keeps the curves smooth.
5. Doodle Hyacinth Border for a Worksheet Frame
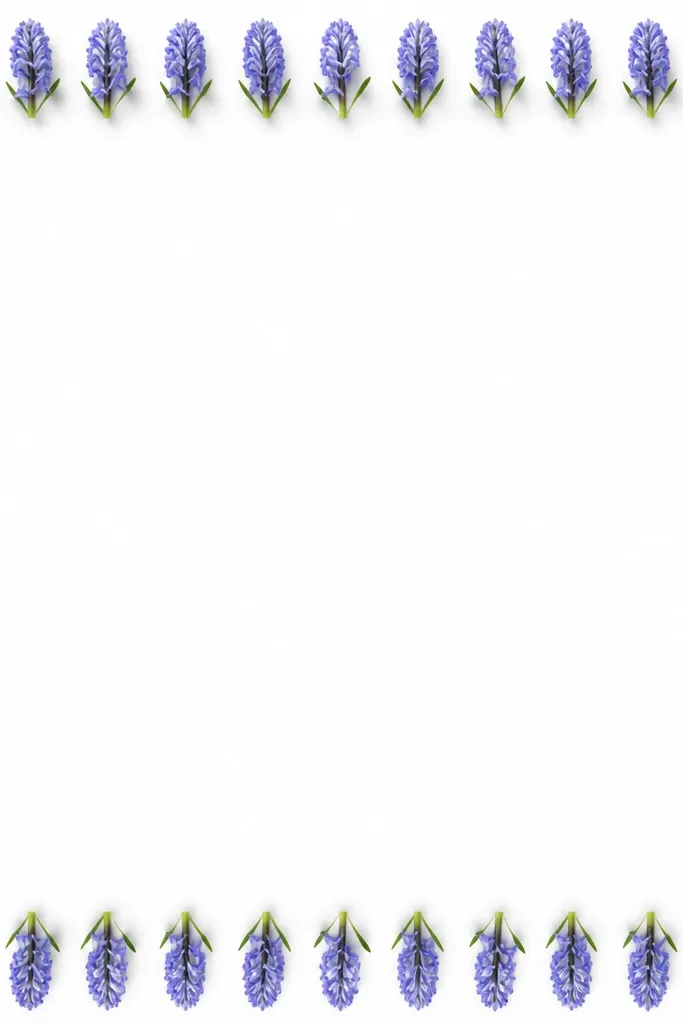
This is the drawing I use for kid worksheets because it makes the page feel special without turning it into a big busy scene. Repeating tiny hyacinths teaches consistency, and the simple two-row heads stay easy. The border also hides mistakes because the repetition makes everything look intentional. It's a great way to use up spare time on a rainy afternoon.
Draw a rectangle margin around your page, leaving 1 cm space from the edge. Along the top border, sketch 6 small hyacinth bulbs, each with 2 rows of 5 to 6 curved petal tubes. Place small leaf doodles between heads - simple V shapes with a center line. Repeat the same spacing along the sides, then the bottom. Color only every other head with a very light purple wash so the border doesn't become too dark.
Good to knowUse a ruler for spacing, then freehand the petals so it still feels handmade.
6. Hyacinth Head Inside a Circle Sticker Frame
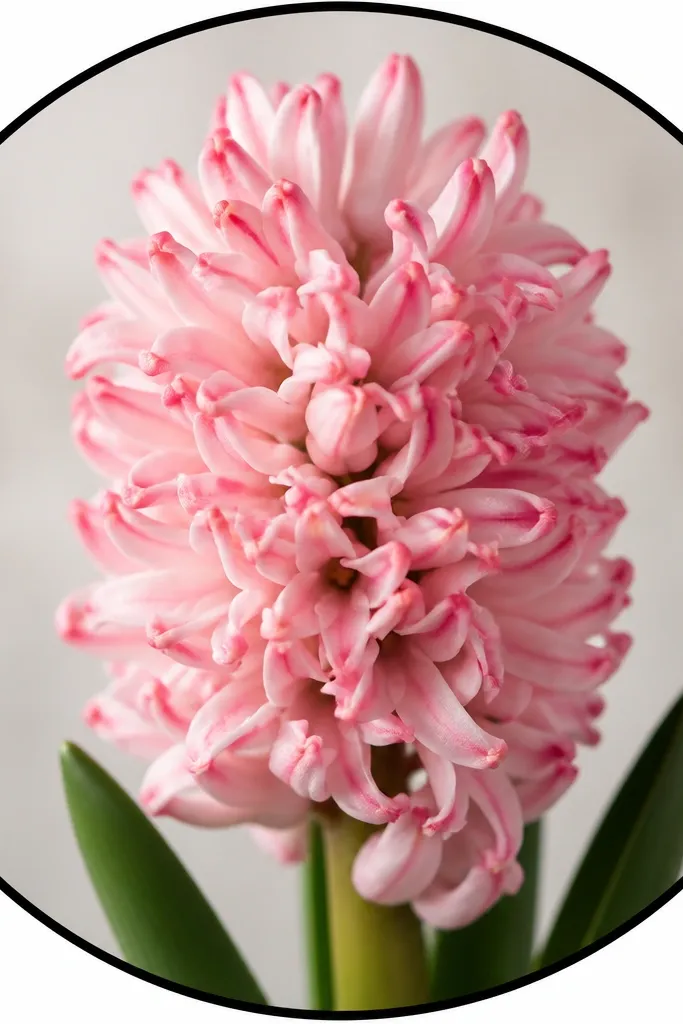
Circle frames make hyacinths look like cute stickers. The head sits right in the center, so kids don't have to worry about composition. I like this when I'm making labeling art for jars or gift tags. The contrast between the thick circle outline and the delicate petal tubes gives a clean, graphic look.
Draw a perfect circle using a cup or a compass, then thicken the outline with a black marker. Inside the circle, sketch the bulb base as a rounded dome. Add 10 to 12 curved petal tubes in the first head layer, each tube overlapping the next slightly. Add a second row around the lower half only so the top looks denser. Color lightly in pale pink, then add darker pink at the outer tips and along the lower edge for depth.
Good to knowThicken only the circle and the outer petal edges; keep inner lines lighter.
7. Minimal Hyacinth with Three Tubes per Row
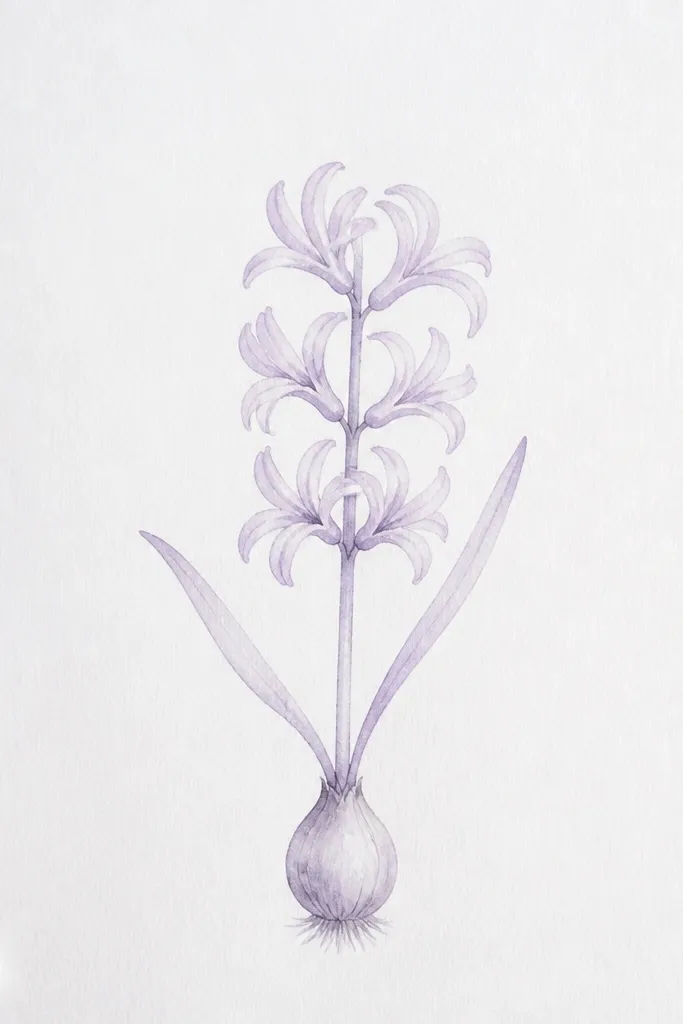
This one is for when you want hyacinth shape without filling the whole page. Three tubes per row sounds too simple, but it reads as hyacinth because the spacing and tube curvature are consistent. I use this for quick practice and for cards where you want lots of white space. It also helps kids who get overwhelmed by lots of details.
Draw a small stalk line and a bulb dome at the top. Make the first row with exactly three curved tubes, evenly spaced and all pointing upward. Add a second row with three tubes slightly larger or positioned to cover the gaps. Add a tiny third row only if the head feels too small. Color with a very light lavender wash just around the outside of the tubes, then add two leaves as thin lines with one center stroke.
Good to knowKeep tube spacing equal - uneven gaps make it look random instead of intentional.
8. Hyacinth in a Wavy Vase with Soft Blue Wash
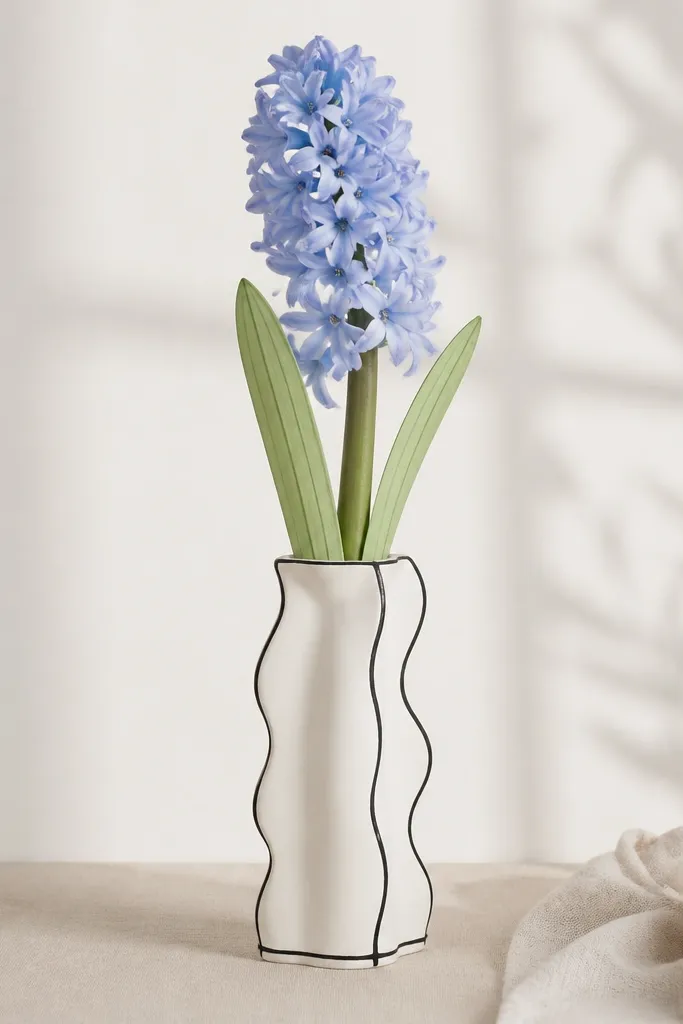
Wavy vases make the whole drawing feel playful, and hyacinths look extra pretty against cool blue. I like soft blue because it doesn't overpower black line work the way bright marker colors can. This is a good "family craft" design because it's simple to draw and forgiving if the wash is uneven. The single center vein on leaves keeps it from looking messy.
Start with a wavy vase shape: draw two curved sides that ripple gently and connect them with a flat base. Add a narrow neck at the top. Draw a bulb mound inside the vase opening, then stack 9 to 11 curved petal tubes upward in 3 rows. Color the tubes with a pale blue wash, leaving the inner tube lines visible. Add two leaves that come out from behind the vase edge, each leaf with a center vein line and a light green wash only at the lower half.
Good to knowUse a damp brush for the blue wash and stop before it pools at the bottom of the tubes.
9. Hyacinth Stem Twist with a Ribbon Bow
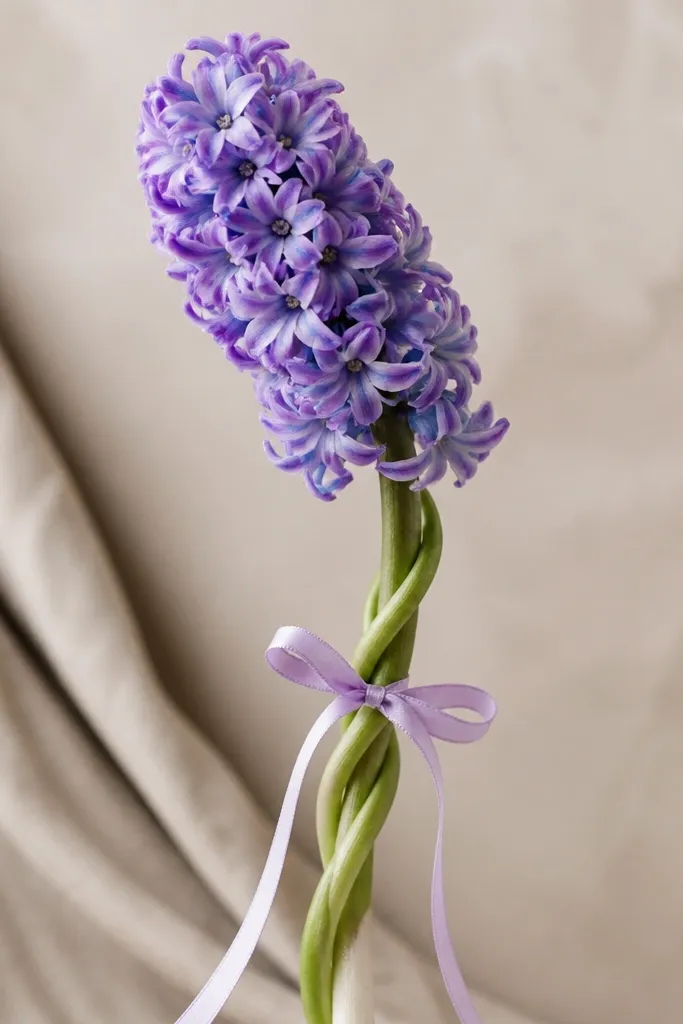
This one looks like a gift label because the ribbon gives a clear theme. The twisted stem is the main "style" move, and it makes the hyacinth feel dynamic instead of upright and stiff. I use it for kids who want to add one extra element beyond the flower. The ribbon also gives you a place to add a second color without messing with the petals.
Draw a stem that twists: start at the bottom and curve it like an S, then give it a second line close by to show thickness. At the top, draw the bulb base and add curved petal tubes in 3 rows (aim for 8 to 10 tubes total per row). Add a small leaf pair that mirrors the twist direction. Draw a simple ribbon bow around the lower third of the stem: two loops and two tails with a center knot. Color petals pale purple and color the ribbon in a muted rose or light teal.
Good to knowIf the twist looks messy, keep the ribbon and leaves simple and let the stem do the work.
10. Hyacinth Bloom with Dot Highlights
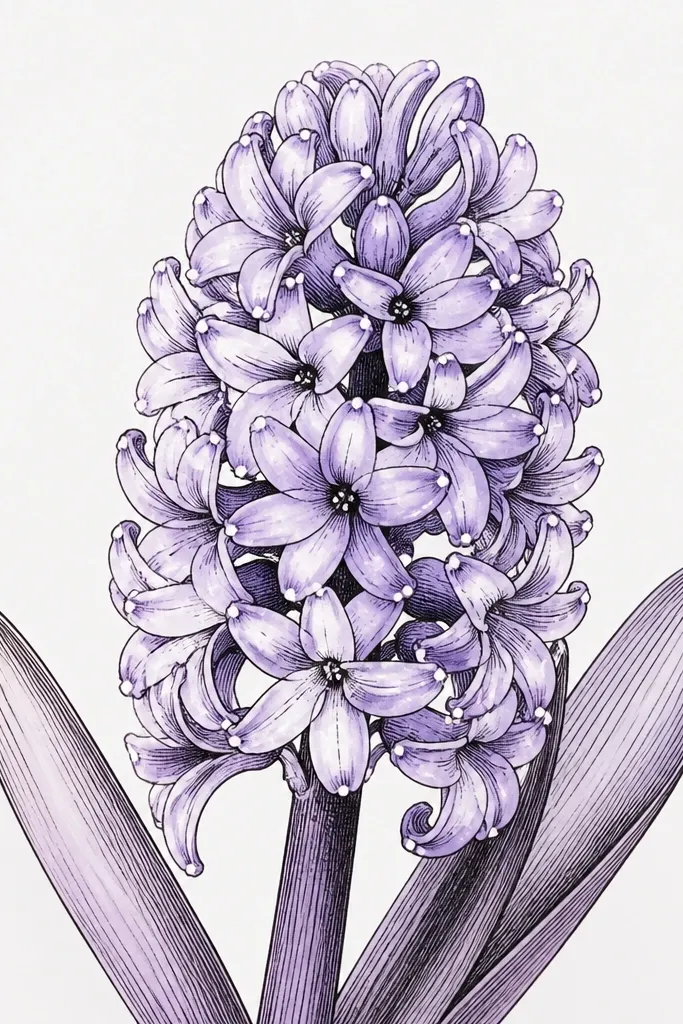
Dot highlights make hyacinths look glossy without doing real shading. I learned this when my kid smeared marker shading once and we switched to dots - it looked better immediately. The highlights also help the eye read each tube as a separate petal segment. This style works great for birthday cards or anything that needs a little charm.
Draw the bulb base as a rounded mound. Add 10 to 12 curved petal tubes in tight rows, keeping the outer tubes slightly darker in outline. Color the tubes lightly in lavender, leaving most of the inner tube line area uncolored. Then add tiny white dots at the top third of the tubes using a white gel pen. Finish with two leaves and keep leaf coloring light green so the dots stay the star.
Good to knowTest the white gel pen on scrap first; thick gel can blob on cheap paper.
11. Hyacinth Head with Watercolor Bleed Edges
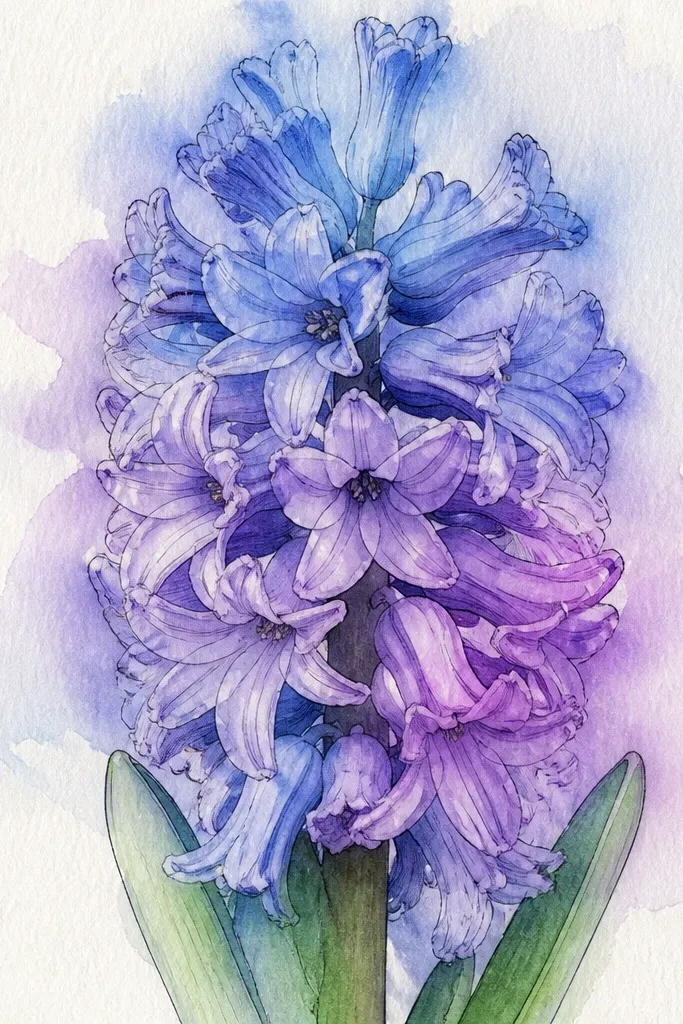
This one looks like watercolor even if you're using basic supplies. The bleed edges add softness, and the tube shape still keeps it recognizable as hyacinth. I use it when I want a dreamy look but don't want to spend time on perfect shading. It's also a great way to get kids comfortable with controlled mess.
Sketch the bulb and petal tubes in pencil first, then go over the outline with a light pen line. Use a watercolor brush with pale lavender pigment diluted heavily. Paint each tube area in short strokes so the pigment sits near the tube edges and fades toward the center line. Add a second pass only on the outer tube edges for depth. Let it dry fully, then add two thin leaves with a very light green wash.
Good to knowKeep a paper towel nearby and blot once if it pools, so it doesn't spread into a blob.
12. Hyacinth Buds on a Bare Stalk (Minimal Kid-Friendly)
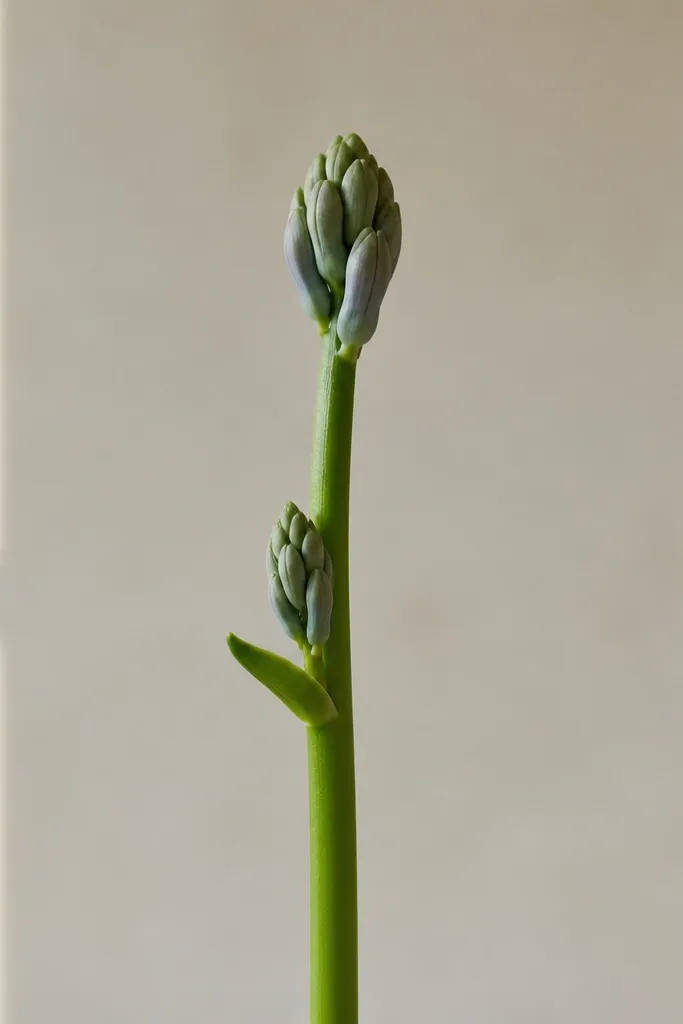
Small bud heads look adorable and are easy to draw even for beginners. This style is perfect when you want hyacinth but don't want to draw one big flower. It also works well on bookmarks because the composition climbs upward. I like it for kids because mistakes don't matter much when the heads are small and simple.
Draw a vertical stalk line with a slight curve. Add the first bud head near the top using a small bulb dome and 2 rows of 4 to 5 curved petal tubes. Place the second bud head slightly below, smaller than the first. Add one leaf near the bottom and one leaf near the middle, both as simple curved lines with a center stroke. Color only the bud tips lightly in pale purple and keep the stalk and leaves mostly uncolored or lightly green.
Good to knowKeep tube count low: 4 to 5 per row makes it read as hyacinth.
13. Hyacinth Head with Striped Petal Tubes
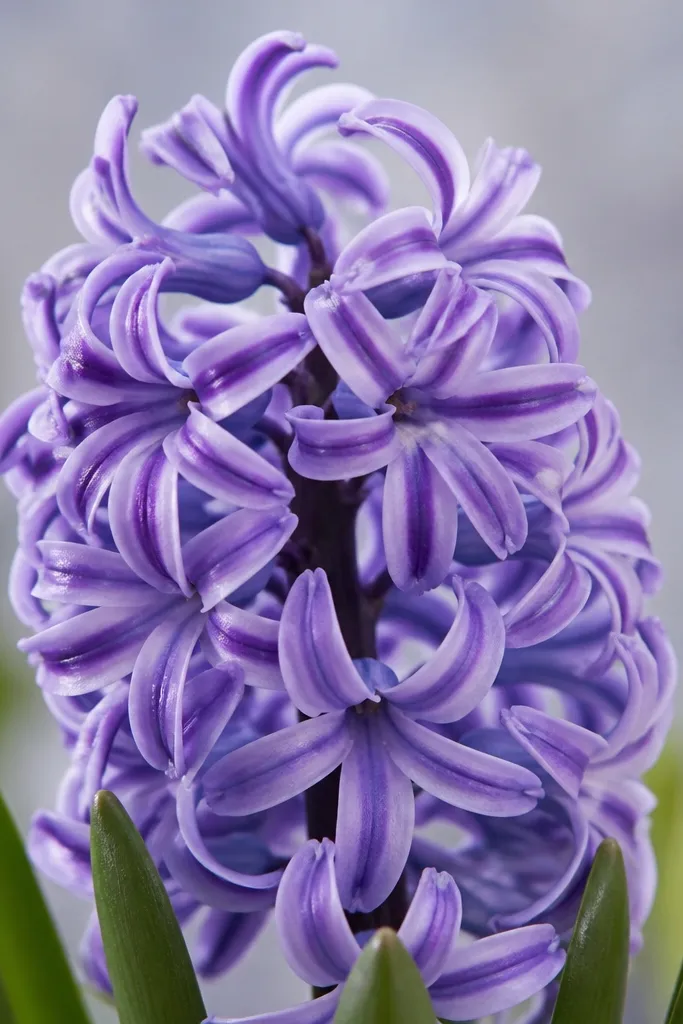
Stripes make hyacinths look textured and a little more "adult." The ribs are basically the tube's inner curve, and you draw them as a simple second line. I use this when I want the flower to stand out on a plain background without adding a lot of color. It's also a great way to practice line control for kids because the stripes repeat.
Sketch the hyacinth bulb base and then draw 10 to 12 curved tubes in 3 rows. Make sure each tube has an outer edge line and a slightly offset inner line. Color the whole head pale lavender, but keep the stripes darker in purple by going over those inner lines with a darker pencil. Add two leaves that wrap around the lower head slightly, with one center vein line. Keep the background blank so the striped texture stays sharp.
Good to knowUse a darker pencil for stripes instead of marker so you can control how bold the ribs look.
14. Hyacinth Bouquet with Simple Background Confetti
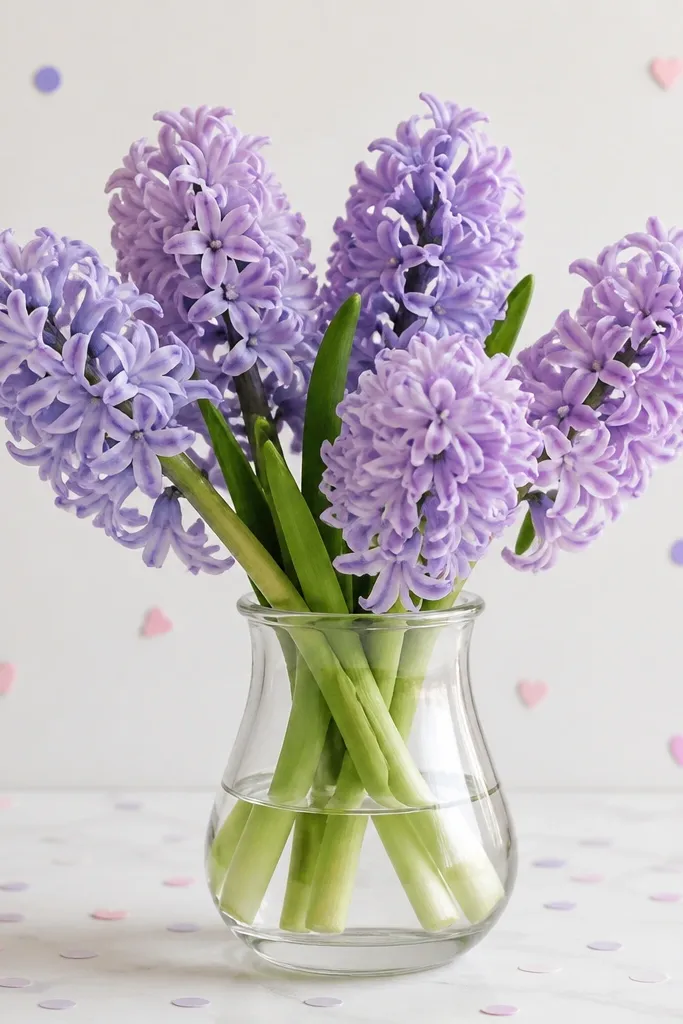
Confetti dots give the drawing a celebration feel without turning into a full scene. I've used this for quick party invitations with kids because it hides uneven coloring - the dots pull attention away from small imperfections. The hyacinth bouquet stays the main subject, but the background adds life. It also works for adults because the confetti can be only one or two colors.
Draw a vase outline first and keep it simple with a slight flare at the top. Add 2 hyacinth heads on top, one slightly higher than the other. Build each head with a bulb base and 2 to 3 rows of curved petal tubes. Color petals in pale lavender and add a darker lavender touch only at the outer edges. For the background, add small confetti dots and tiny hearts around the bouquet using a light pink or pale purple color. Avoid filling the whole page - keep most of the background white.
Good to knowKeep confetti smaller than the petal tubes so it reads as background, not another flower.
15. Hyacinth with Grid Sketch Style (Worksheet-Ready)
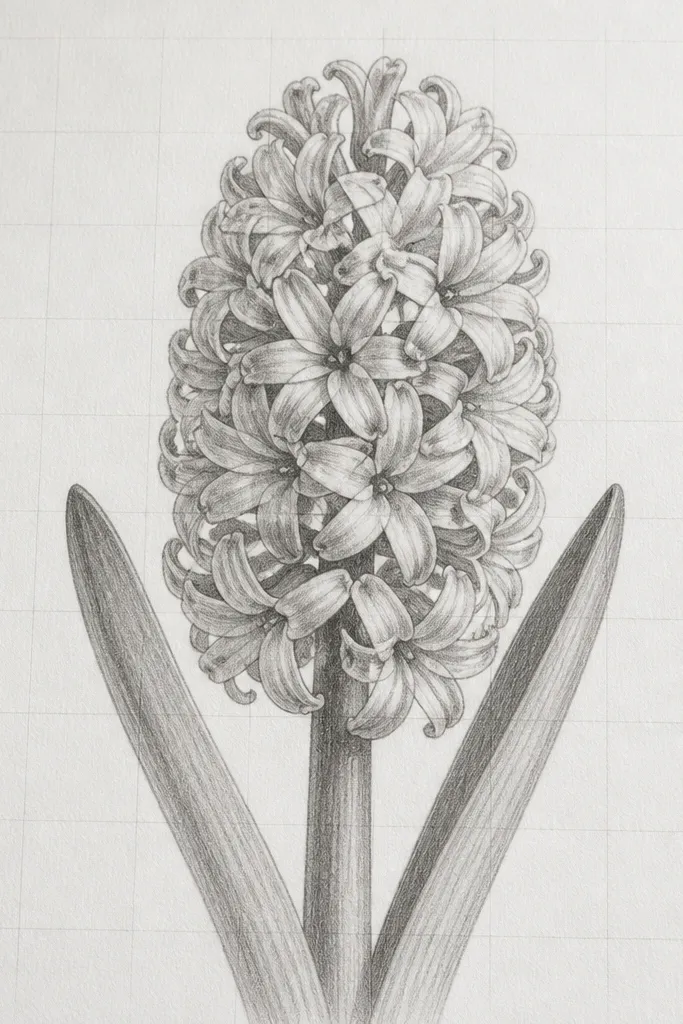
This style is a secret weapon for kids who struggle with proportions. The grid keeps the petal rows even, so the hyacinth looks "right" even when the drawing is small. I've used it for tracing and for students learning how to scale. Adults also like it because it gives a crisp, structured look that looks intentional, not messy.
Lightly draw a grid on your paper using a pencil and a ruler, like 1 cm squares. Sketch the hyacinth bulb at the top of the grid with a dome shape that spans about 2 to 3 squares. Draw curved petal tubes so each tube sits inside a few squares and stays consistent in width. Add two leaves that extend down and use the grid to keep them symmetrical. Erase the grid after you're happy with the outline, then color lightly in lavender and pale green.
Good to knowErase the grid only after the ink dries, or you'll smear pencil into your lines.
16. Hyacinth Bookmark with One Big Head
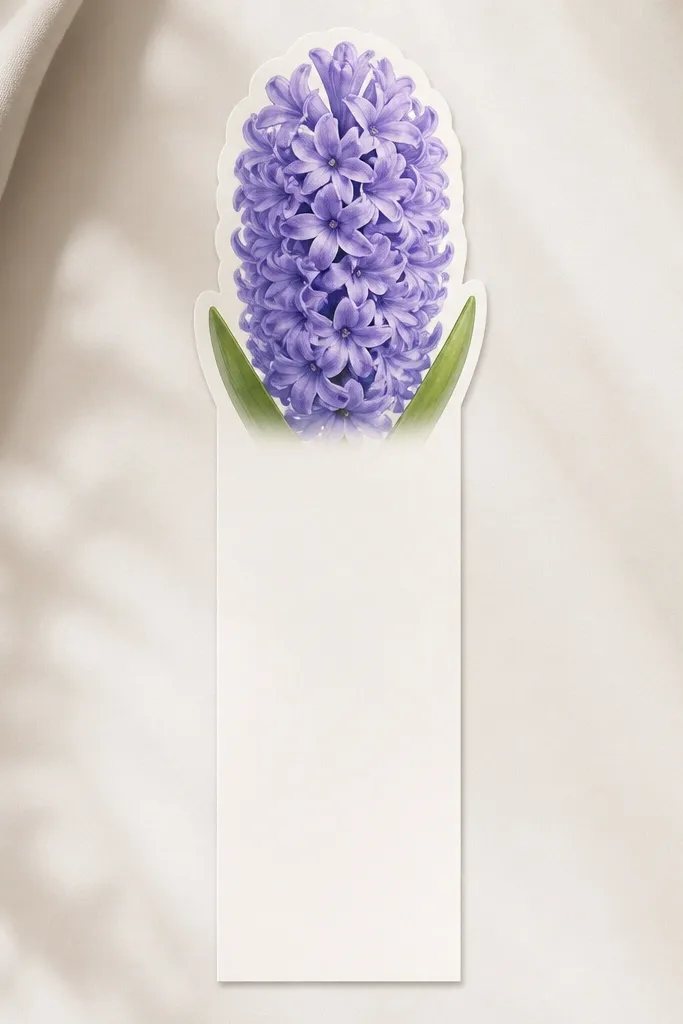
Bookmarks are where one big hyacinth head shines. The tall shape matches the hyacinth's natural vertical stacking, so it looks balanced even with minimal elements. I like this for kids because they can color it fast and then cut it out. For adults, it looks neat when you keep the background clean and only add two leaves.
Draw a tall rectangle bookmark outline with rounded corners at the top. Place the hyacinth bulb dome near the top third of the bookmark. Build the head with 12 to 14 curved petal tubes in 3 rows, each tube about the same length. Add two leaves that start from the bulb sides and angle down slightly. Color petals pale purple, then add darker purple at tube tips. Leave the rest of the bookmark white so it's easy to read and print.
Good to knowCut after coloring so the edges look clean and you don't smudge ink during trimming.
17. Hyacinth Head with Chalky Pastel Crayon Texture
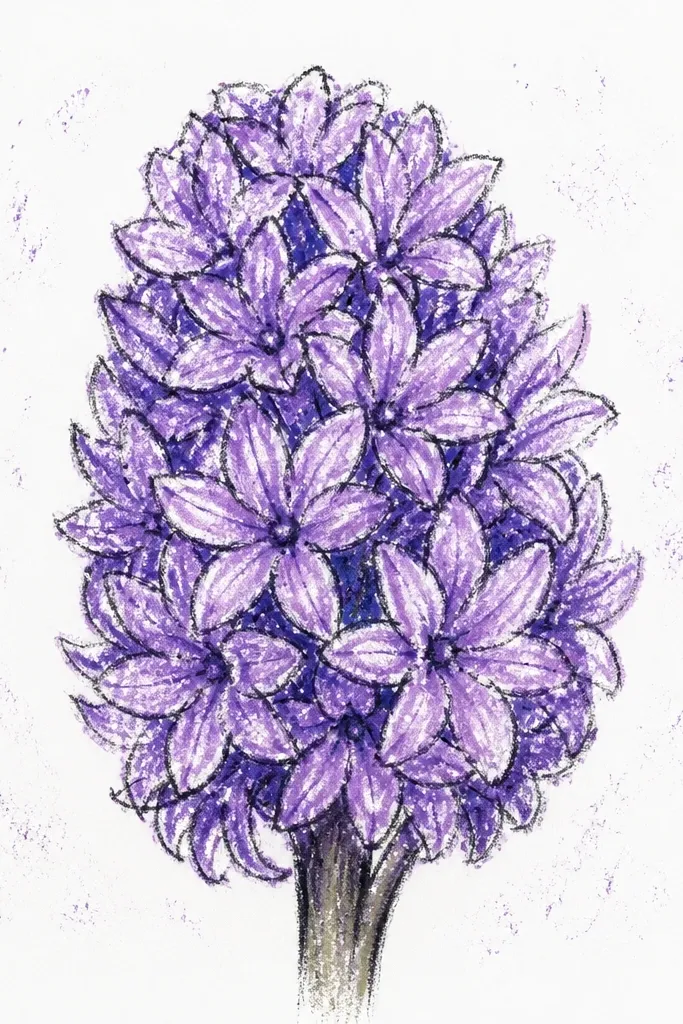
Crayon texture makes hyacinths feel cozy and handmade. The waxy layer clings to paper grain, so the petal tubes look like they're filled with soft pigment rather than flat color. I use this when kids love coloring and want a tactile finish. It also hides small line wobble because the crayon fill softens edges.
Outline the hyacinth bulb and petal tubes with a dark crayon or black marker. Fill each tube area with light lavender crayon, then add a second pass with soft purple only along the outer edges. Use short back-and-forth strokes following the curve of each tube so the texture stays directional. Add two leaves with pale green crayon, leaving a white highlight strip along the center vein. Keep the background untouched so the crayon texture shows clearly.
Good to knowPress a little harder on the outer edges of tubes to deepen them without heavy shading.
18. Hyacinth Bouquet with Two Leaves as the Main Shape
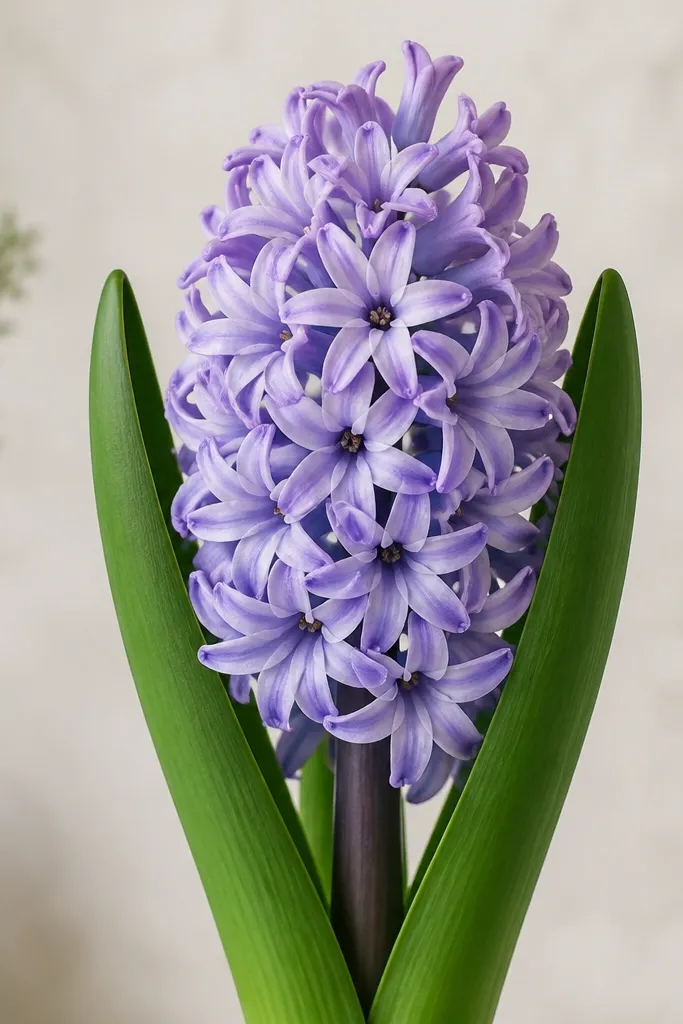
This design makes the hyacinth look stylish because the leaves do half the composition work. When the leaves are bold and slightly oversized, even a simple petal stack reads as intentional. I like it for kids who are better at leaf shapes than petal tubes. It also works well for adults because the bold leaves make the line art feel graphic.
Draw the flower stalk line and then sketch the bulb dome. Add petal tubes in 2 rows only, keeping the head smaller so leaves can balance it. Now draw two large leaves: start them at the bulb base and extend them downward with a thicker outline. Add a center vein line inside each leaf and keep the leaf edges smooth. Color petals pale lavender, then color leaves a soft green with a darker green line on the vein side.
Good to knowIf the head feels too small, add one more petal row - don't enlarge the bulb.
19. Hyacinth in a Side Pot with Tiny Ground Shadow
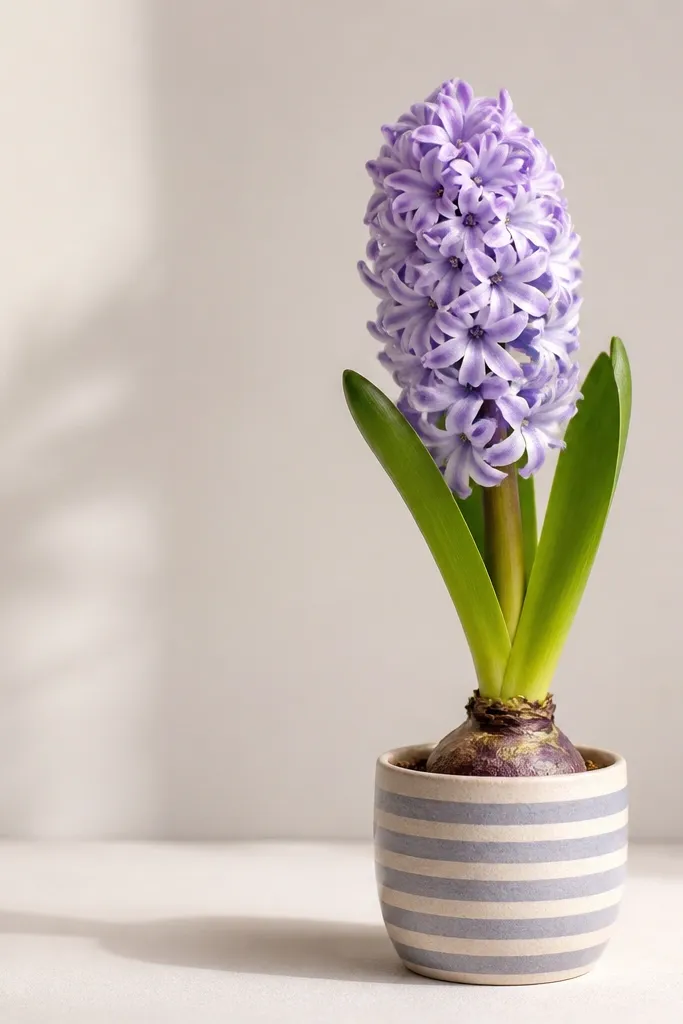
A small ground shadow makes the drawing feel grounded without turning it into a complex scene. The side pot stripes add interest, but the hyacinth still stays the main focus. I like this style for kids because it teaches one simple "depth" trick: shadow goes under the pot, not behind the flower. Adults also get a cleaner look because the shadow gives separation from the page.
Draw a small side pot outline: a rounded rectangle with a slight lip at the top and a short base. Add a few vertical pot stripes using light pencil lines. Place the hyacinth bulb at the pot opening and draw petal tubes upward in 3 rows. Add two leaves that peek out from behind the pot edge. Color petals pale lavender with darker purple tips. Draw a tiny ground shadow beneath the pot as a soft oval or a thin curved line, then lightly shade it with gray pencil.
Good to knowKeep the shadow smaller than you think; big shadows make it look like a sticker pasted on paper.
20. Hyacinth with Butterflies Tiny Accent
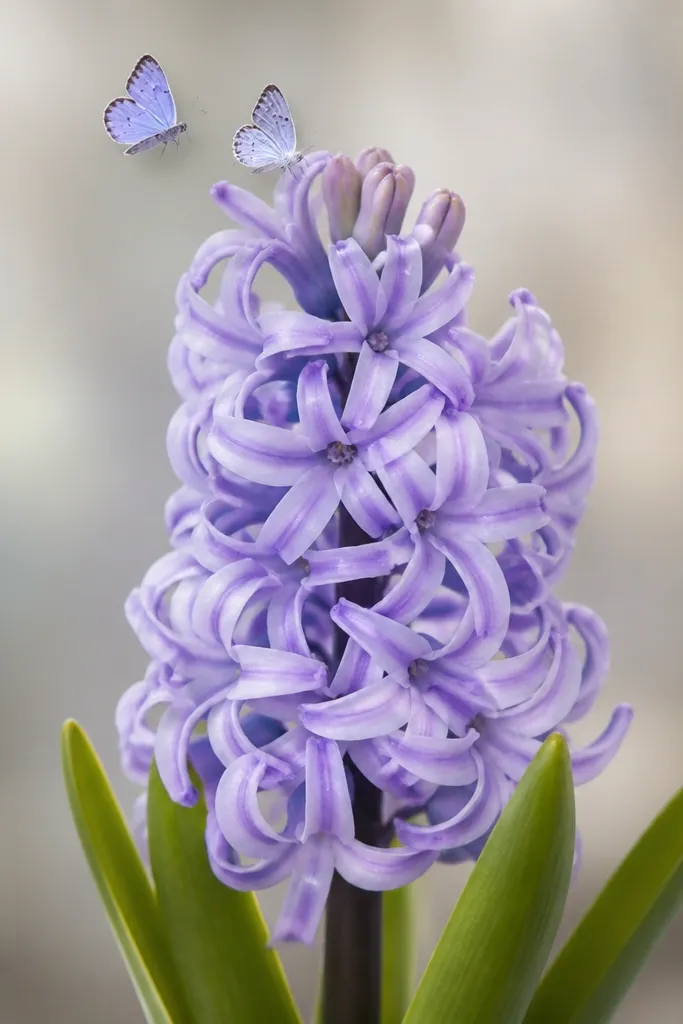
Tiny butterflies make the hyacinth feel whimsical while staying simple. I use this when the flower alone feels too plain, but I don't want a full background. The key is to keep the butterflies smaller than the petal tubes so they don't steal the show. This style looks great for kids' craft cards and for spring-themed classroom sheets.
Sketch the hyacinth bulb and add petal tubes in 3 rows, aiming for 10 to 12 tubes total. Keep the outer petal outlines slightly thicker. Draw two small butterflies near the top right of the flower: one with wings like a simple M shape, the other slightly smaller. Add a few antenna lines and a small dot body. Color petals pale lavender and add darker purple at tube tips. Leave butterflies mostly uncolored or add a pale yellow wash to the wings for a soft accent.
Good to knowPlace butterflies near the top third only; spreading them down makes the composition feel messy.



