
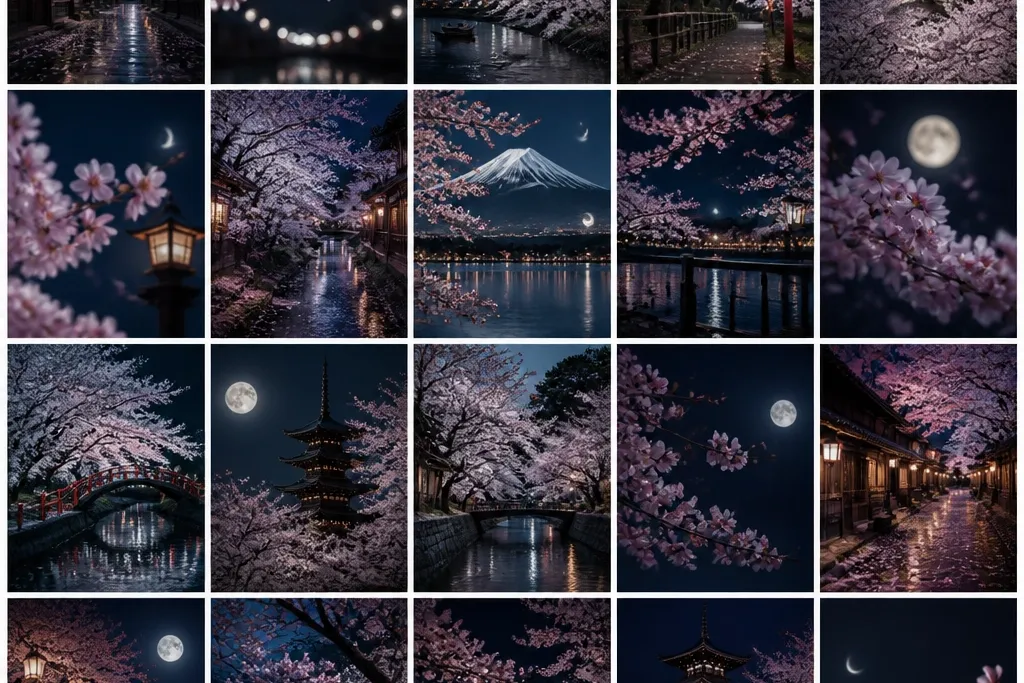
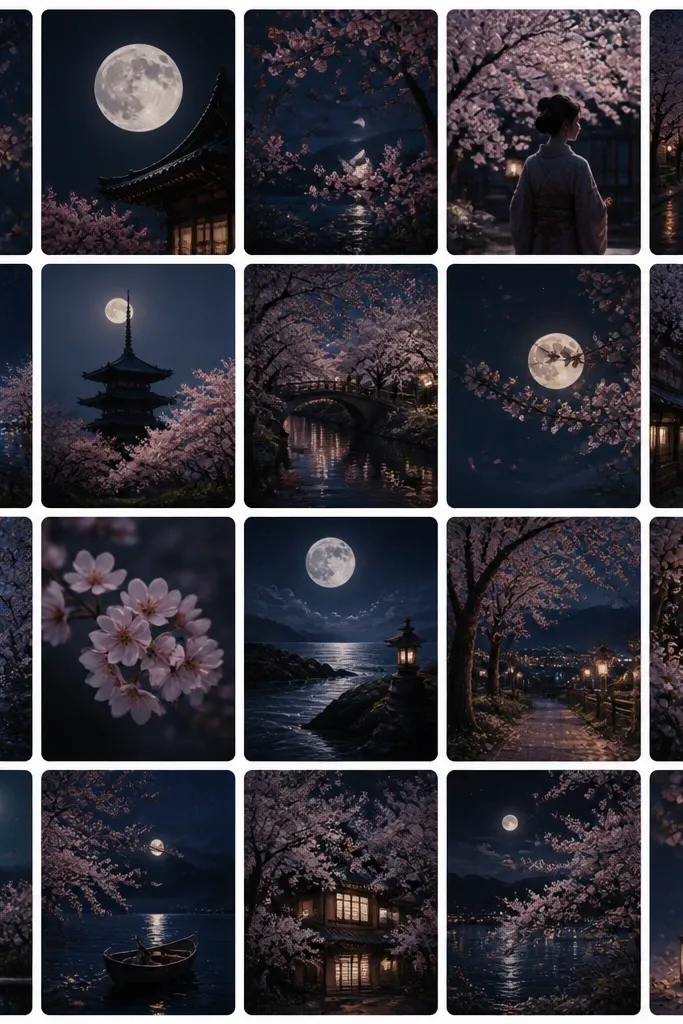
1. Lantern Path Petals in a Dark Alley
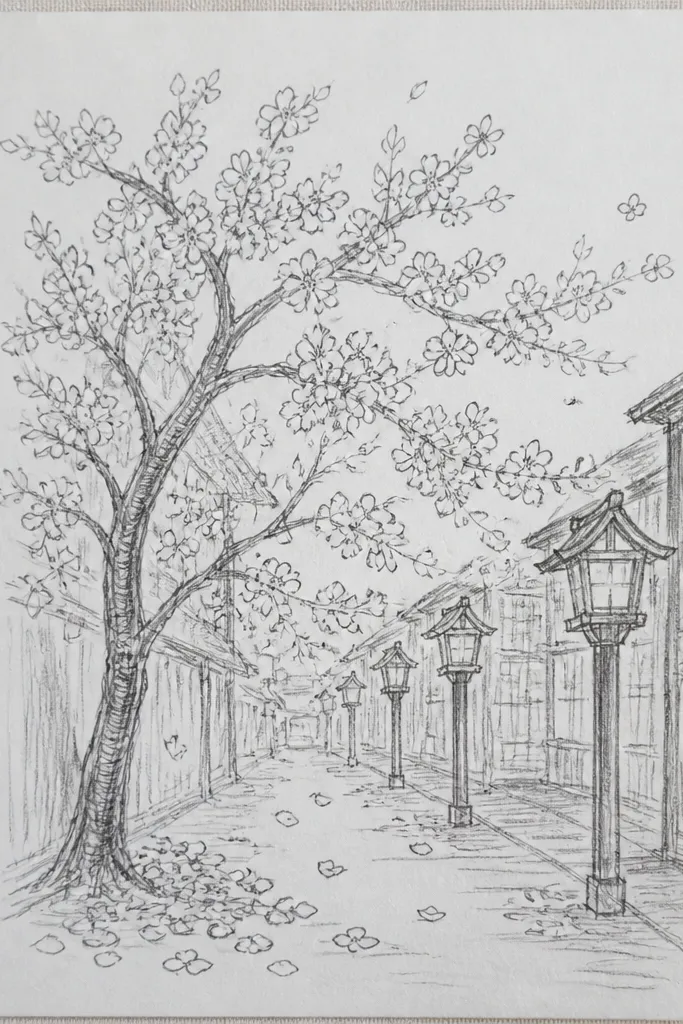
This drawing flatters small hands because the composition is basically two lanterns and a few petal clusters. I like using a warm light source (golden yellow or pale orange) against a deep navy sky so the petals look like they’re catching light. The petals should look larger in the foreground and smaller as they drift toward the lanterns. Kids with lighter skin tones tend to enjoy the warm lantern feel because it reads cozy rather than gloomy.
Start by sketching a simple alley perspective: draw two converging lines from the bottom corners toward a point slightly above the middle. Color the sky first with deep navy, then blend in indigo around the lantern glow using a circular motion. Add two lantern circles with a light yellow center and a soft orange ring — keep the edges blurry. Finally, draw petal shapes as teardrops and small “comma” strokes, placing the biggest petals near the bottom and the smallest near the glow. Use a white gel pen for tiny highlight dots where petals cross the lantern light.
Make the ground reflection by lightly dragging a pale purple pencil downward from each lantern circle, then smudging once with a fingertip.
Don’t outline every petal in black — it makes the whole thing look like a sticker.
2. Night Bloom Over a Quiet Pond
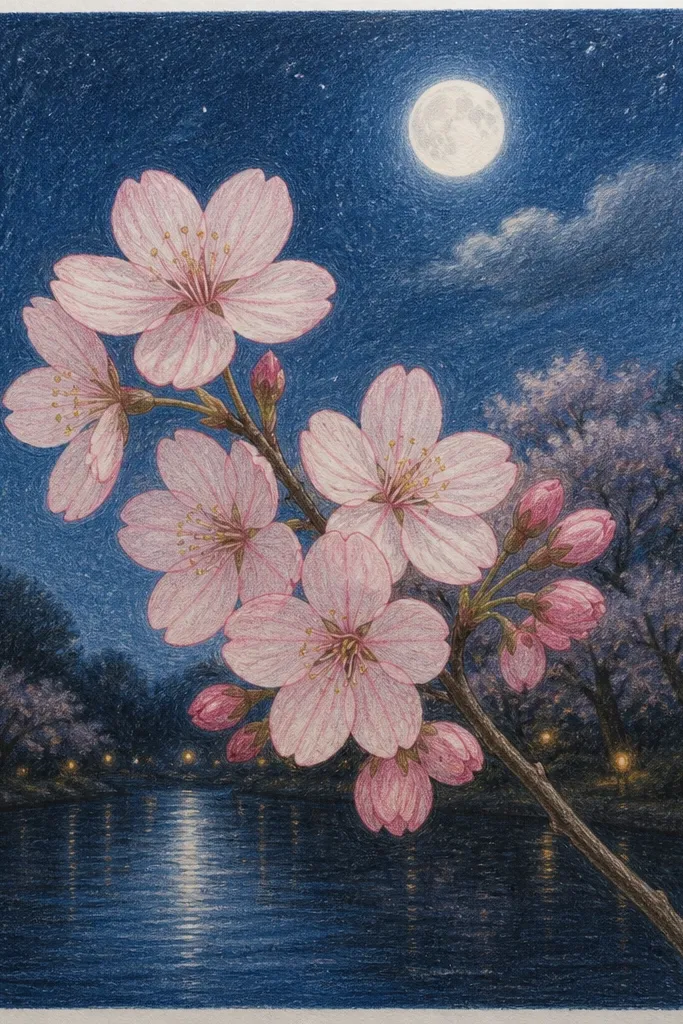
A pond scene makes petals look soft without needing perfect drawing. The water lets you repeat shapes as reflections, which is forgiving for kids and still looks intentional. I choose a cool palette: deep blue for the sky, then gray-violet for the pond surface. The blossoms look best when the branch silhouette is darker than the petals, so the petals feel like light floating.
Draw a horizon line about one-third from the top, then shade the sky below it with navy pencil. Blend a faint lighter patch near the horizon using a purple pencil, leaving it cloudy. Sketch a branch as a thick curve with smaller twig lines coming off it — keep it simple. Draw blossoms as 5-petal clusters along the branch, then lightly color the petals with pale pink and leave the center slightly lighter. For the reflection, copy each blossom shape downward but fade it with fewer pencil strokes and add 3-5 thin curved ripples with a white gel pen.
If your reflection looks too sharp, rub it gently with a tissue to blur the edges.
Skip detailed ripples everywhere — only add ripples near the glow.
3. Cherry Blossoms Around a Torii Gate Glow
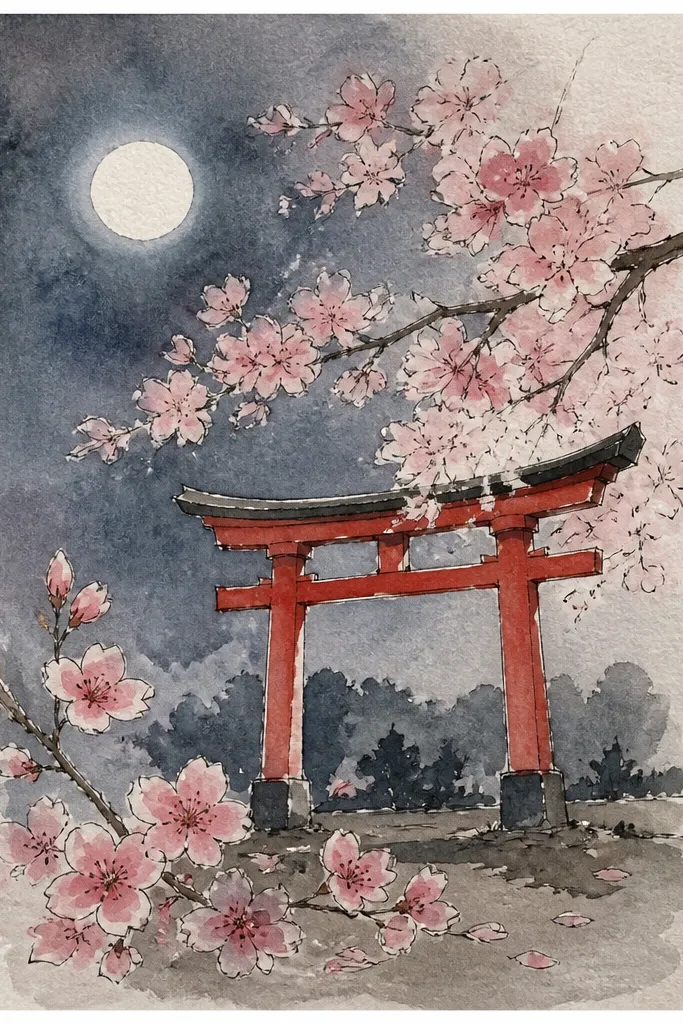
Torii gates give you a clear focal point, so the drawing looks “finished” even with minimal petals. I like this for kids who get bored with blank space because the gate creates structure. Use a warm glow behind the gate (but keep it soft), then let petals overlap it so they look lit from behind. The orange-pink contrast is flattering for most skin tones when you’re coloring with typical craft sets.
Good to knowMake the halo bigger than you think; it frames the gate and hides uneven blending.
Sketch the torii gate with straight lines and two horizontal bars, centered on the page. Shade the background sky with deep indigo, then rub in a warm halo behind the gate using light orange pencil. Color the torii posts with dark brown or muted red, and keep highlights minimal. Draw blossom clusters at the top corners and along the sides, using pale pink for petals and a slightly darker pink for the outer edges. Add a petal swirl in front by drawing a loose spiral of small teardrop petals, then place white gel highlights where the swirl crosses the halo.
Common mistakeDon’t make the gate the same brightness as the halo — it needs to sit in front of the light.
4. Starlit Night Cherry Blossoms on a Rooftop
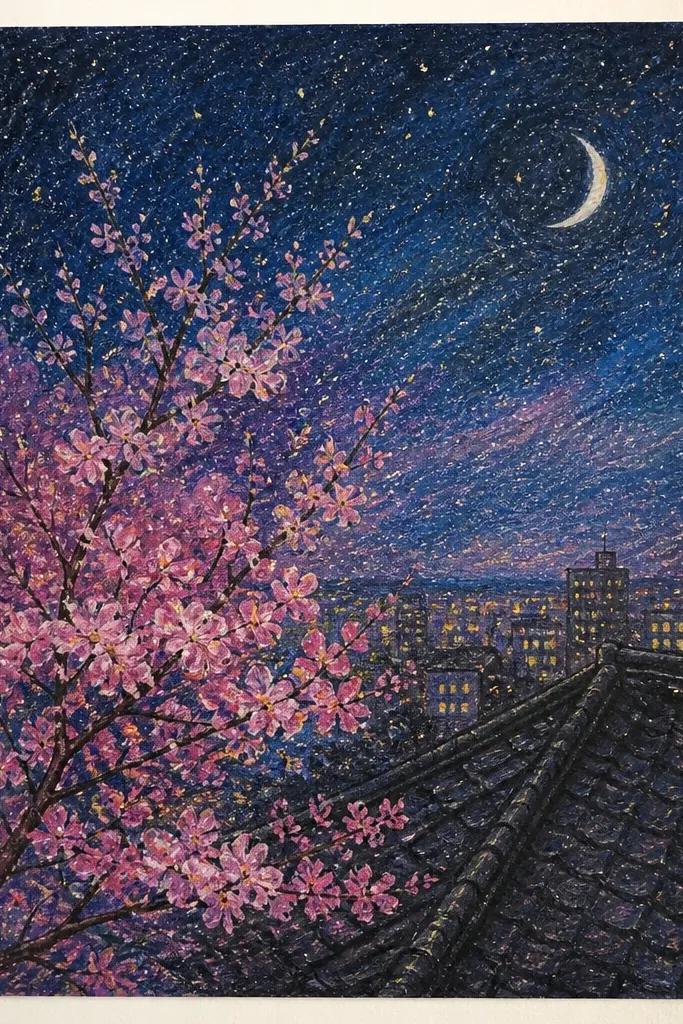
This one looks magical because stars add sparkle without needing lots of shading. The rooftop silhouette gives a clean anchor, and blossoms in front create depth by size and overlap. I use a cool palette for the sky and a warm tint only on a few petals so they feel like they’re catching moonlight. It’s great for kids because the stars are fun to dot and you can stop after the main blossoms.
Good to knowKeep stars random — if you place them in rows, it looks like a pattern sticker.
Shade the sky with navy pencil first, then blend a slightly lighter blue from the top down with a gentle stroke. Add stars by tapping a white gel pen lightly or flicking a toothbrush loaded with white paint (use a test scrap first). Draw a simple rooftop edge as a straight line with a slightly curved chimney shape. Add 2-3 blossom clusters in the foreground, making them larger than the ones in the mid-ground. Color petals pale pink, then darken only the outer edges with a rose pencil. Finish by adding a few white highlight strokes on the petals nearest the brightest part of the sky.
Common mistakeAvoid heavy black outlines around blossoms; moonlight scenes need softer edges.
5. Falling Petals on a Night Window Frame
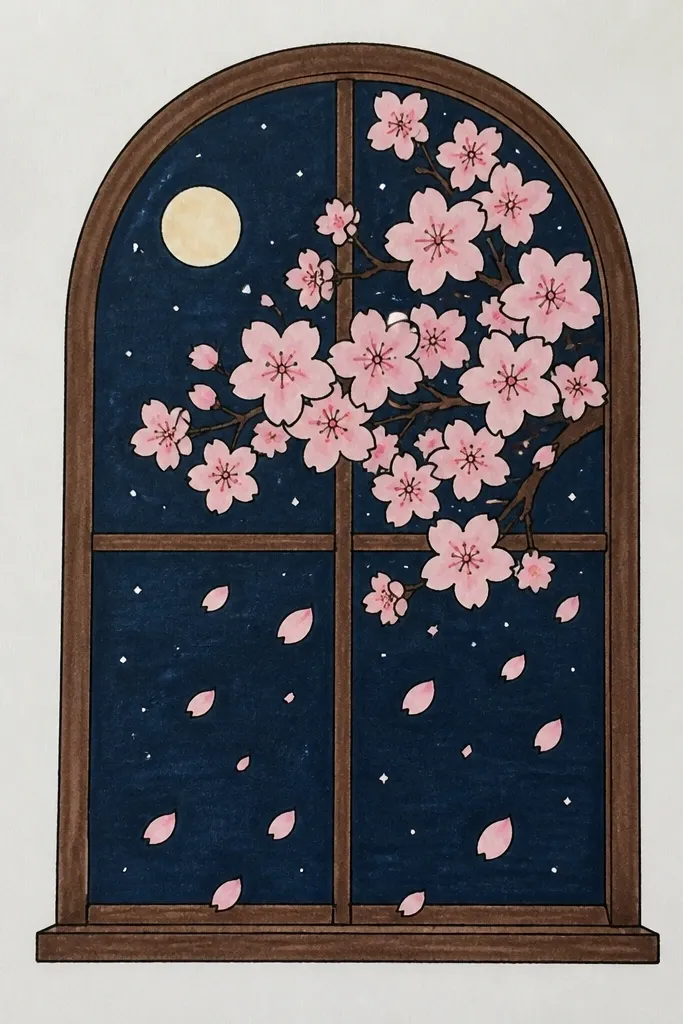
Window frames make it easy to control composition because the border holds everything in. This looks especially good for kids because they can practice drawing petals as the same shape repeatedly. I like adding a faint “glass reflection” line so the petals feel like they’re seen through something. Use a warm indoor glow on one side and a cooler night outside, so the scene has two temperatures.
Good to knowTo make petals look like they’re moving, vary their size and blur just the lower half with a light smudge.
Draw a thick rectangular window frame near the center, leaving a small margin around it. Shade outside the window with deep blue to make it feel distant, then inside the window add a warm glow using pale yellow blended with light orange. Draw falling petals as diagonal teardrop shapes that cross the frame from top left to bottom right. Color the petals pale pink, then add a darker pink only at the base of each petal. Add glass reflection by drawing 2-3 short curved streaks with a white gel pen across the glow area.
Common mistakeDon’t fill the whole window with petals — leave clear space so the glow shows.
6. Cherry Blossoms and a Soft Moon Halo
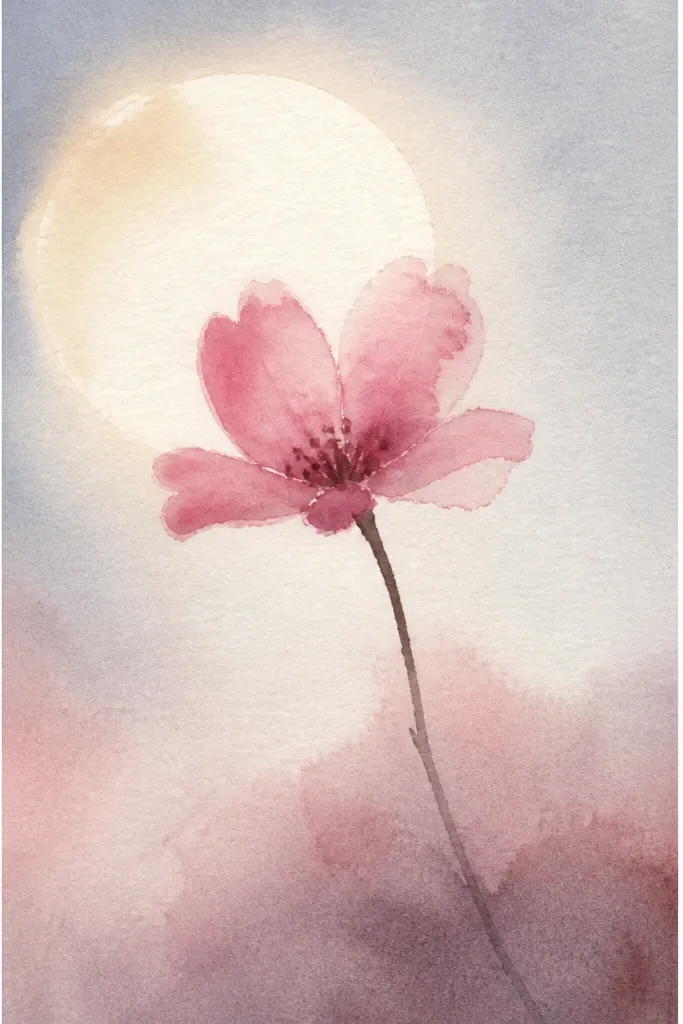
A moon halo gives you an instant focal point and makes petal highlights look natural. I like this for beginners because the moon shape is simple and the branches can be sketchy. The trick is to keep the moon light area lighter than the sky but not white — it should look like foggy light. Petals should be pale pink with slightly darker shading at the edges so they don’t disappear in the dark.
Good to knowIf your moon looks too harsh, layer it with pale blue pencil and blend once.
Sketch the moon as a circle near the top left, then draw a soft halo around it with a light pencil. Shade the rest of the sky with deep navy, blending lighter indigo toward the halo. Draw branches as two or three sweeping arcs, then add small twig lines. Place blossom clusters along the arcs, using 5-petal shapes, and lightly color them pale pink. Add a rose pencil to the outer edges of clusters and use a white gel pen for a few petal tips touching the halo. Keep the background behind blossoms slightly darker so they pop.
Common mistakeDon’t make the moon a bright white blob; it kills the night mood.
7. Street Lantern Reflection on Wet Sidewalk
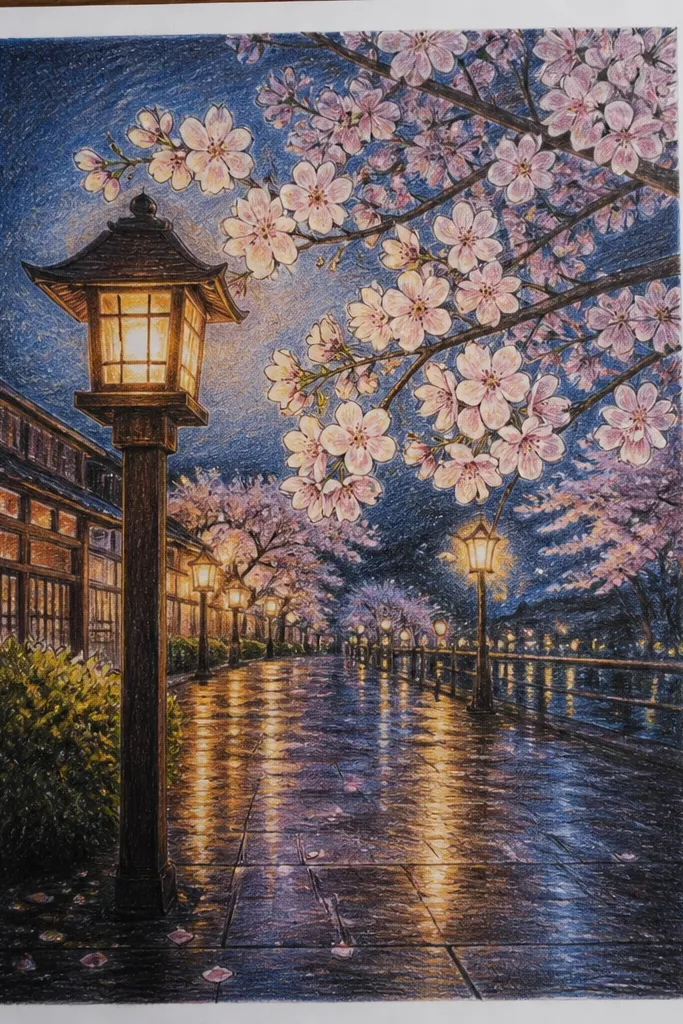
Wet surfaces are the fastest way to make a night drawing look “expensive” without extra work. You get depth by drawing reflections as elongated shapes and soft gradients. I use one lantern only, because too many lights makes kids' drawings look messy. Petals look best when they’re small near the ground and slightly larger as they float upward.
Good to knowFor reflection texture, draw 5-6 short diagonal lines across the reflection and then smudge lightly once.
Draw a horizon line about halfway up the page, then shade the sky above with deep blue and a lighter purple band near the horizon. Place one lantern circle near the horizon line, then color it warm yellow with an orange outer glow. Shade the sidewalk with gray-blue, then draw the lantern reflection as a vertical elongated oval with a lighter center and darker edges. Add a few petal shapes near the reflection, then lightly fade them toward the edges. Finish by adding tiny white highlights on petal edges and a few sparkle dots in the reflection.
Common mistakeDon’t draw puddle reflections as perfectly symmetrical — asymmetry looks more realistic.
8. Cherry Blossom Branch in Front of a Dark Sky Gradient
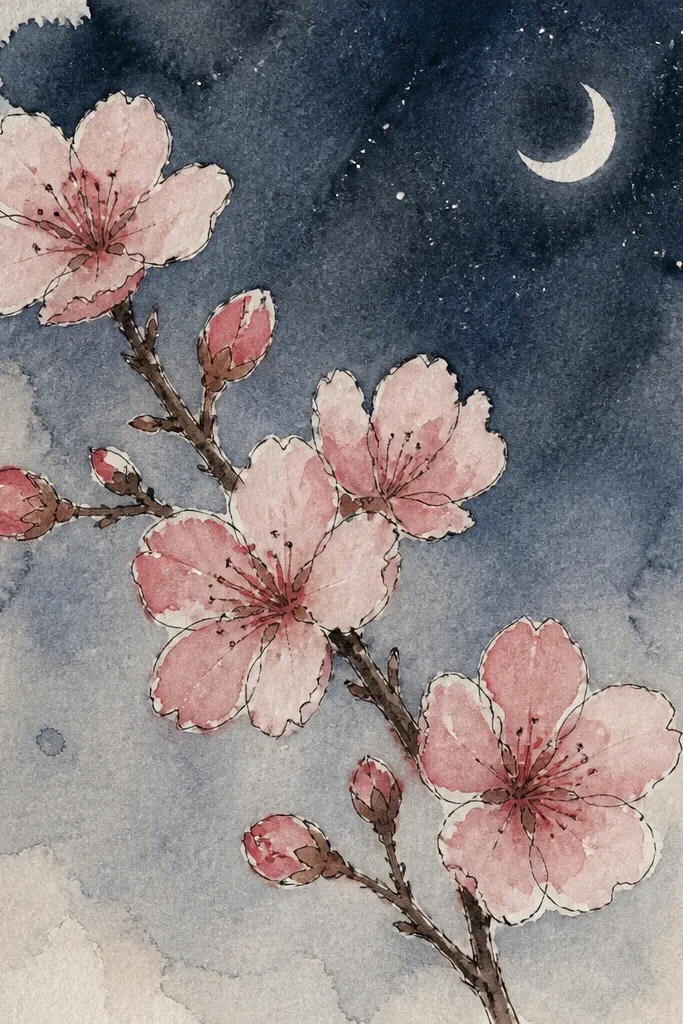
This is the cleanest option when you want something that looks like a finished print. The branch silhouette gives structure, and the gradient background makes the blossoms feel airy. I choose this when I’m working with kids who need a simple plan that still looks “art.” The blossoms should have soft edges, not thick black lines, so the night stays gentle.
Good to knowUse a paper stump or folded paper to blend the sky once — don’t over-blend or it turns gray.
Shade the paper edges with deep navy pencil, then blend toward the center with indigo to create a smooth gradient. Sketch a branch silhouette as a thick curved line with smaller twigs branching off. Draw blossom clusters as small 5-petal groups along the branch, spaced so some sky shows through. Color petals pale pink, then add a light rose ring around each cluster with gentle strokes. Use a white gel pen to add 2-3 tiny highlights per cluster on the topmost petals. Leave the branch itself darker and mostly uncolored so it reads as silhouette.
Common mistakeAvoid filling every empty spot with petals; negative space makes it look intentional.
9. Pink Petal Confetti Over a Black-to-Blue Night Sky
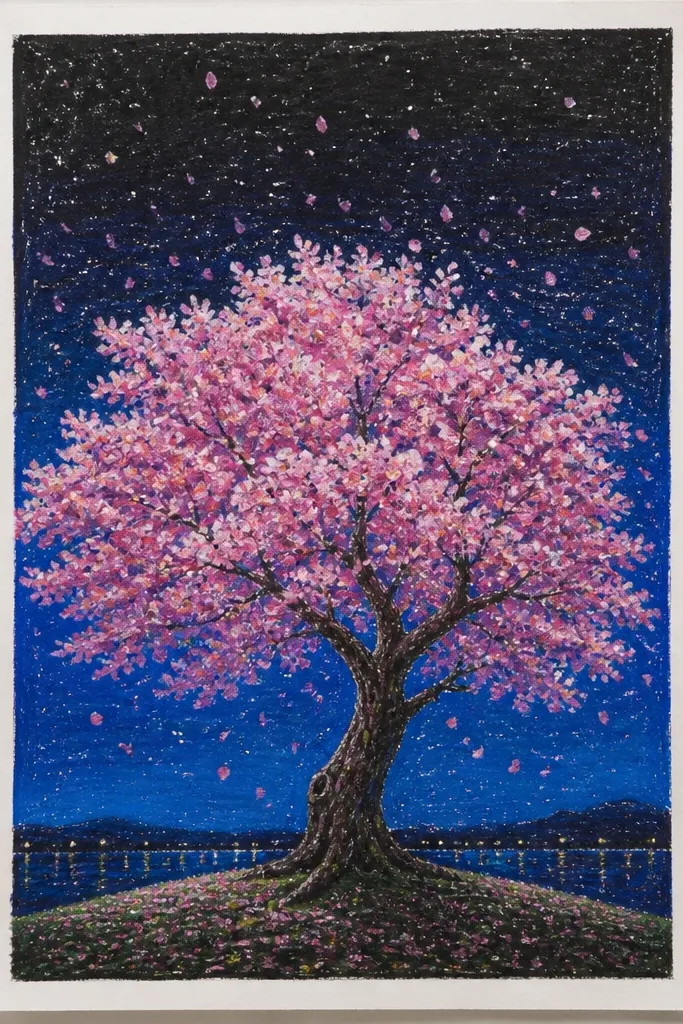
Confetti-style petals are a lifesaver when you need a quick win and you’re working with limited time. This design works because overlapping shapes create depth even without detailed scenery. I keep the background very dark so the petals look bright and light. This style also looks great on lighter paper because the gradient shows through more clearly.
Good to knowIf petals feel flat, add a faint shadow line under each petal using a darker rose pencil.
Shade the entire page with near-black pencil or very dark navy, then lightly blend blue from the edges toward the center. Draw a few petal clusters in the top third and let them scatter downward. Make your foreground petals larger and more detailed, and keep background petals smaller and lighter. Color petals pale pink, then use a slightly deeper pink only on the outer edges. Add white gel highlights on only the top layer petals so it doesn’t look like glitter everywhere.
Common mistakeDon’t highlight every petal — too much white makes it look like snow, not blossoms.
10. Cherry Blossoms Under a Bridge with a Water Glow
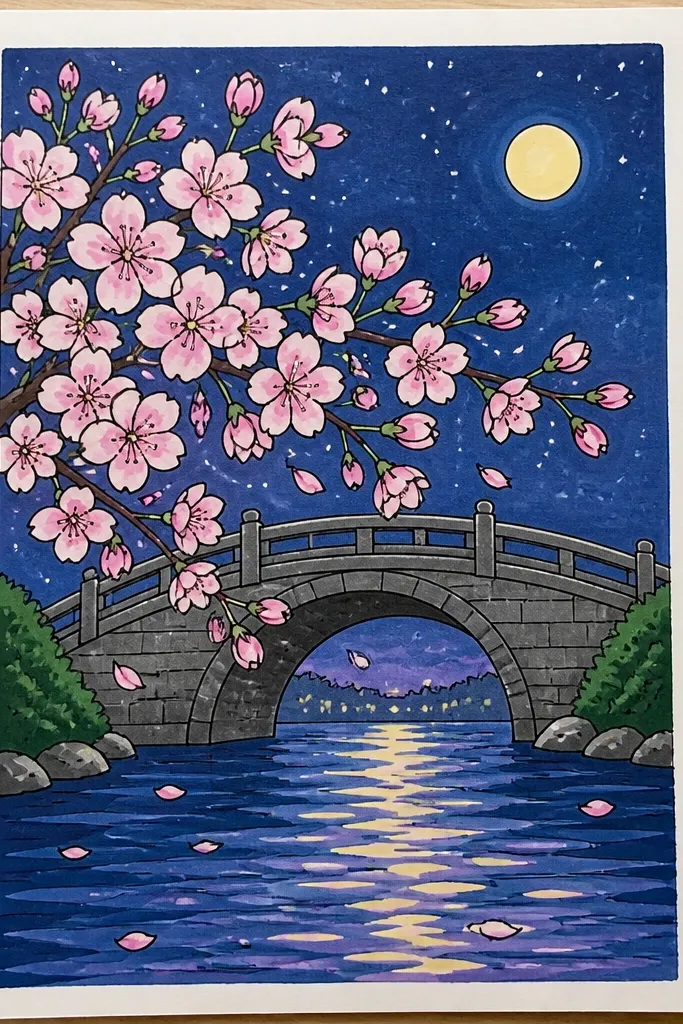
This one looks layered because you draw three zones: sky, bridge shadow, then glowing water. Kids like it because the bridge is a clear shape and the glow is fun to color. I use warm light for the water and cooler blues for the sky so the petals feel like they’re lit from below. It also flatters all ages because you can simplify the bridge details and still get a strong result.
Good to knowMake the glow irregular with soft edges; perfect circles look too artificial in water scenes.
Draw a bridge across the middle with two thick supports and a dark deck line. Shade the sky above with deep indigo and add a lighter band near where the glow would be. Color the water area below the bridge with a gray-blue base, then add a warm yellow glow center that spreads outward. Place blossom clusters under the bridge edge so they overlap the glow. Color petals pale pink, deepen outer edges with rose pencil, then add white gel highlights along the petal edges facing the glow.
Common mistakeDon’t draw bridge lines too light — if it blends with the glow, the structure disappears.
11. Night Garden Path with Lanterns and Small Blossom Trees
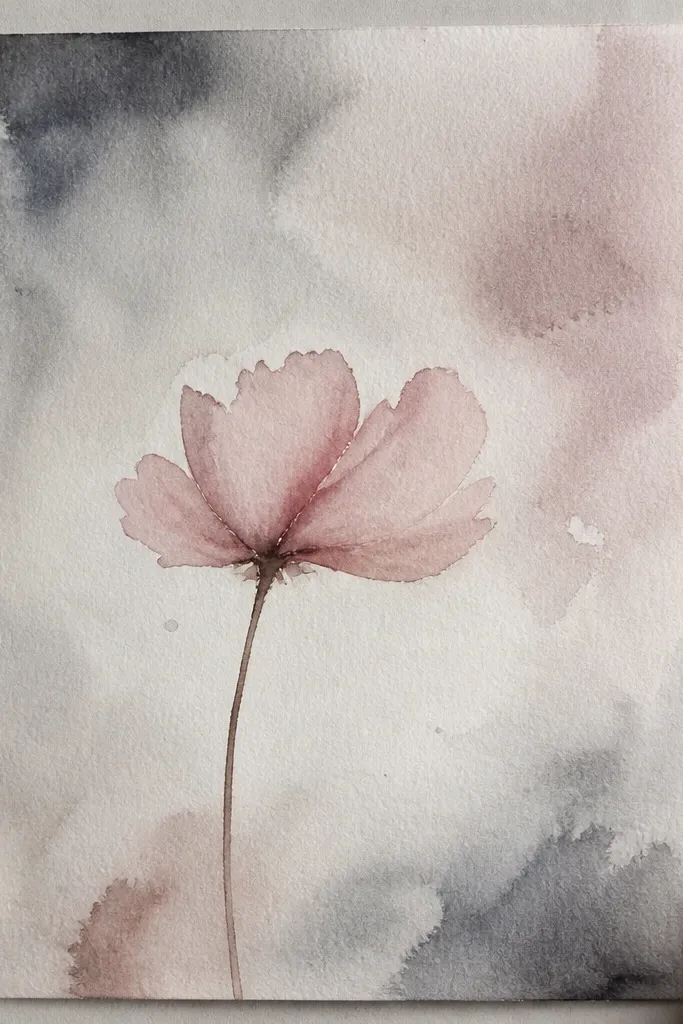
This is for when you want a fuller scene but still keep it kid-friendly. The path gives you depth, and the repeated lanterns help the viewer read the distance. I use small tree silhouettes so the blossoms don’t require perfect individual petals. The warm lantern light makes the pink clusters look cohesive across the whole page.
Good to knowKeep the far trees simpler: fewer petals, lighter pink, less detail.
Sketch a perspective path using two lines that meet near the center of the page. Place three lantern circles along the path — one large near the bottom, two smaller deeper in. Shade the sky with deep blue, then blend a faint purple haze near the center for depth. Draw side silhouettes as simple tree shapes, then add blossom clusters as small 5-petal dots and short strokes. Color blossoms pale pink and add warm tint where each lantern glow would hit. Finish with a white gel pen for a few petal highlights on the nearest tree only.
Common mistakeAvoid making the far lanterns the same size as the near one.
12. Cherry Blossoms Floating in a Light Fog (Watercolor Look)
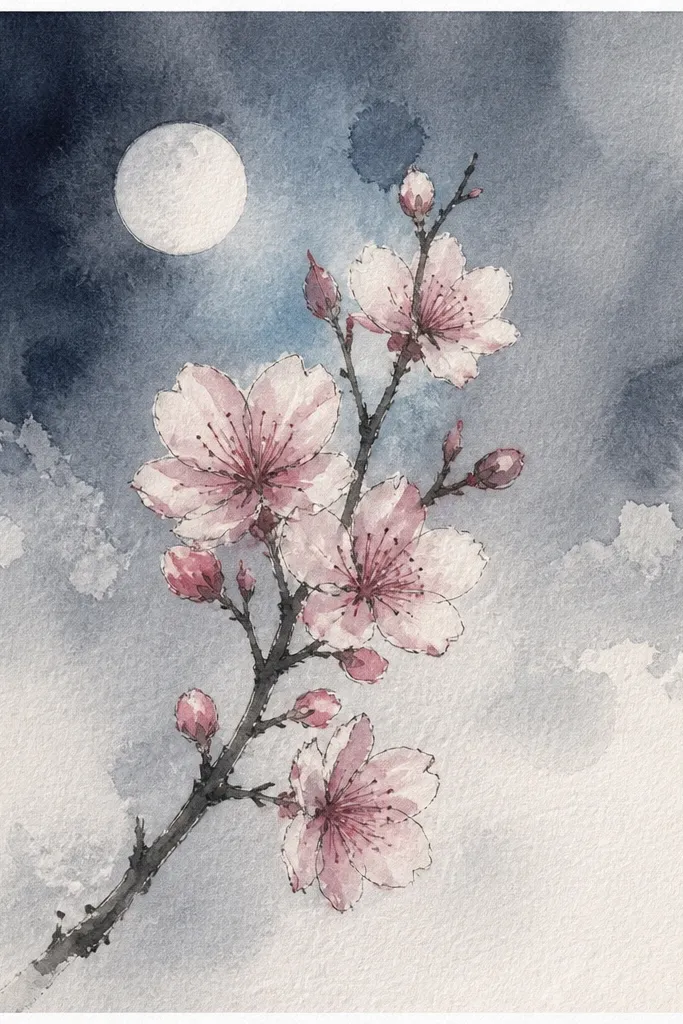
Fog scenes hide imperfect edges, so this works when your lines wobble. The glow behind the petals makes them look like they’re suspended in air. I like using watered-down purple and blue if you have it, but pencil alone works if you smudge. This style looks especially gentle and comforting, which is why kids don’t get frustrated with it.
Shade the sky with light pencil first, then smudge with tissue to create a cloudy base. If you have watercolor or ink, lightly wash purple and blue in the background and let it dry. Add a soft glow circle or oval behind where the blossoms will float. Draw blossom clusters with pale pink pencil, then smudge the outer edges slightly to mimic fog. Use a white gel pen sparingly for highlights on only the topmost petals. Add a few tiny dot specks around the glow to suggest mist sparkle.
Let the fog dry fully before adding white highlights so they don’t bleed.
Don’t over-smudge the petals until they disappear.
13. Night Cherry Blossom Wind Swoosh
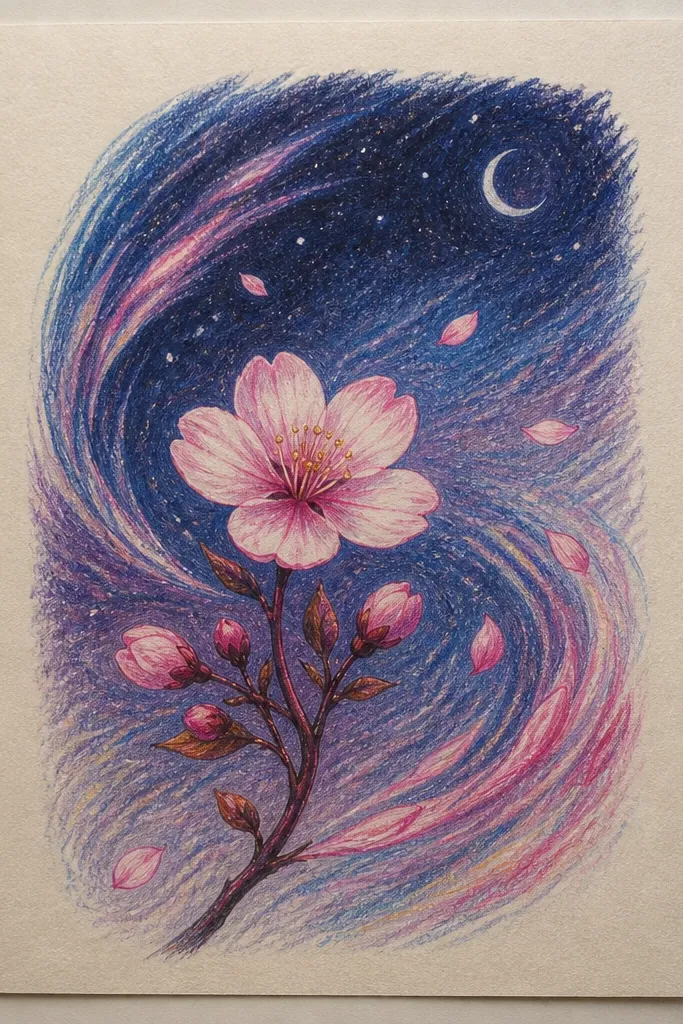
A wind swoosh gives motion without needing a full background. I like this when kids want action and movement but don’t want to draw buildings or trees. The swoosh trail creates a sense of direction, and petals sit on it like they’re riding the air. Use a cool shadow color under the petals and a lighter highlight color on the top side so the petals feel dimensional.
Draw a diagonal curve across the page from top left to bottom right. Shade the swoosh trail with deep blue at the edges and a lighter indigo in the center, blending outward. Place one blossom cluster near the top of the swoosh and keep the rest of the petals scattered along the curve. Color petals pale pink, then add tiny darker rose marks on the trailing edge. Use a white gel pen to draw short highlight strokes on the leading edge of a few petals. Keep the rest of the background mostly dark so the motion stands out.
Make the swoosh thicker near the center — it reads like wind strength.
Don’t turn the swoosh into a thick black stripe; it kills the light effect.
14. Cherry Blossom Candle Lantern on the Page Edge
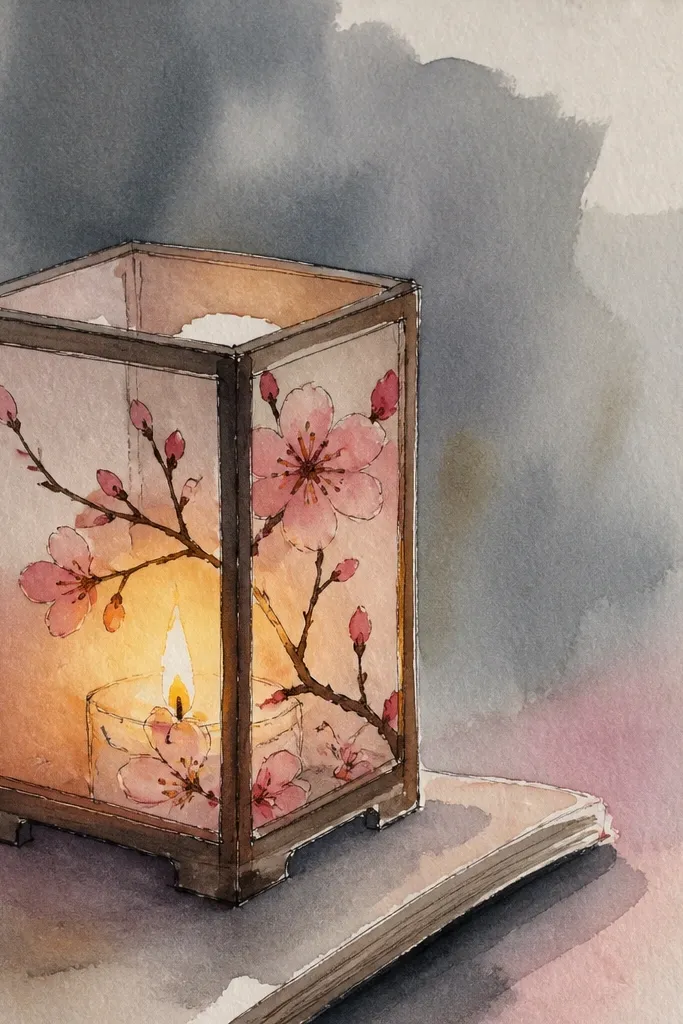
Putting the lantern near the bottom edge creates a strong upward light beam. That makes petals look like they’re rising, which feels lively without clutter. I like this for kids because the lantern shape is small and manageable, and the blossoms can be simplified into clusters. The warm glow also helps the pink petals look clean instead of muddy.
Sketch a small lantern shape near the bottom, like a rectangle with a rounded top and a tiny handle. Shade the sky deep blue, then blend a warm yellow-orange beam upward from the lantern. Color the lantern body dark brown or charcoal, then add a bright warm center where the light comes through. Draw blossoms above the lantern in a loose cluster, with the largest petals closest to the glow. Color petals pale pink and add rose edges only on the petals nearest the light. Finish with white gel highlights on petal tips and a few tiny spark dots in the beam.
Use a ruler for the lantern outline so the glow reads as intentional.
Avoid coloring the entire sky orange — keep it as a beam.
15. Cherry Blossom Night Sticker Style (Outline + Soft Color)
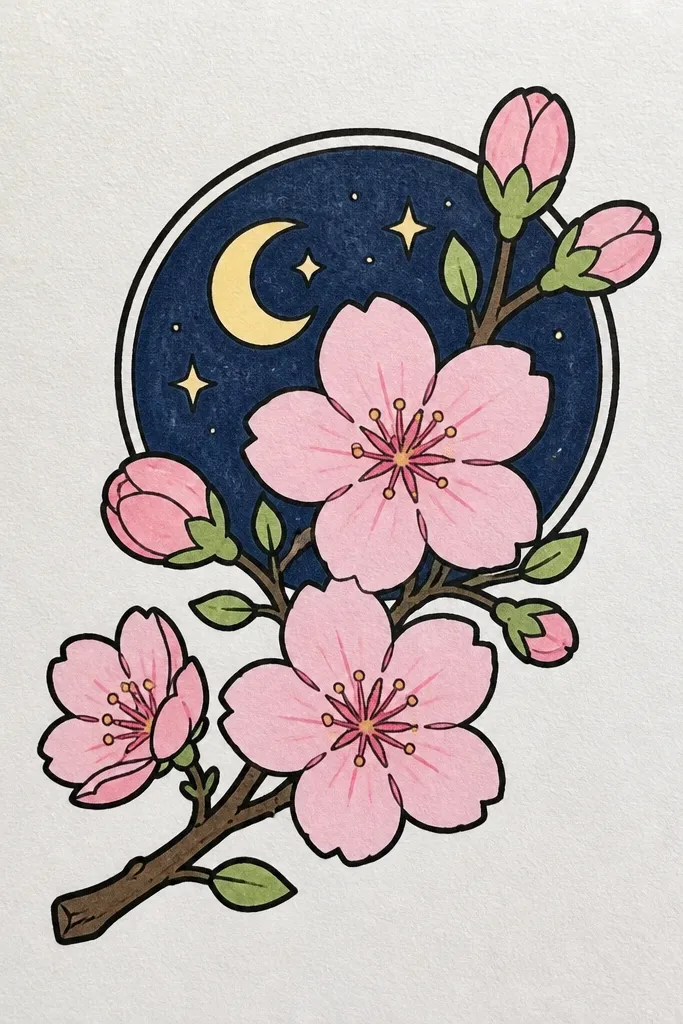
Sticker style is great for kids because you can repeat the same petal pattern and get consistent results. The dark background makes the clusters pop, and the clean outline keeps shapes readable. I use it when I want the drawing to look cute and graphic, not realistic. Warm-white highlights make it look glossy without needing fancy shading.
Good to knowIf your outline is too dark, erase the pencil a bit and re-outline with a lighter hand.
Shade the background with dark blue pencil, then leave the center slightly lighter for contrast. Draw 6-10 blossom clusters scattered across the page — keep them different sizes. Outline each cluster lightly with a darker pink or soft black pencil, then fill with pale pink pencil. Add a small darker rose dot or crescent in the center of each cluster. Use a white gel pen to add 3-4 highlight strokes per cluster, mainly on the top petals. Leave small gaps of blue between clusters so the drawing doesn’t feel crowded.
Common mistakeDon’t over-shade the background — it should frame the blossoms, not compete.
16. Cherry Blossom Night Skyline with Paper-Cut Silhouettes
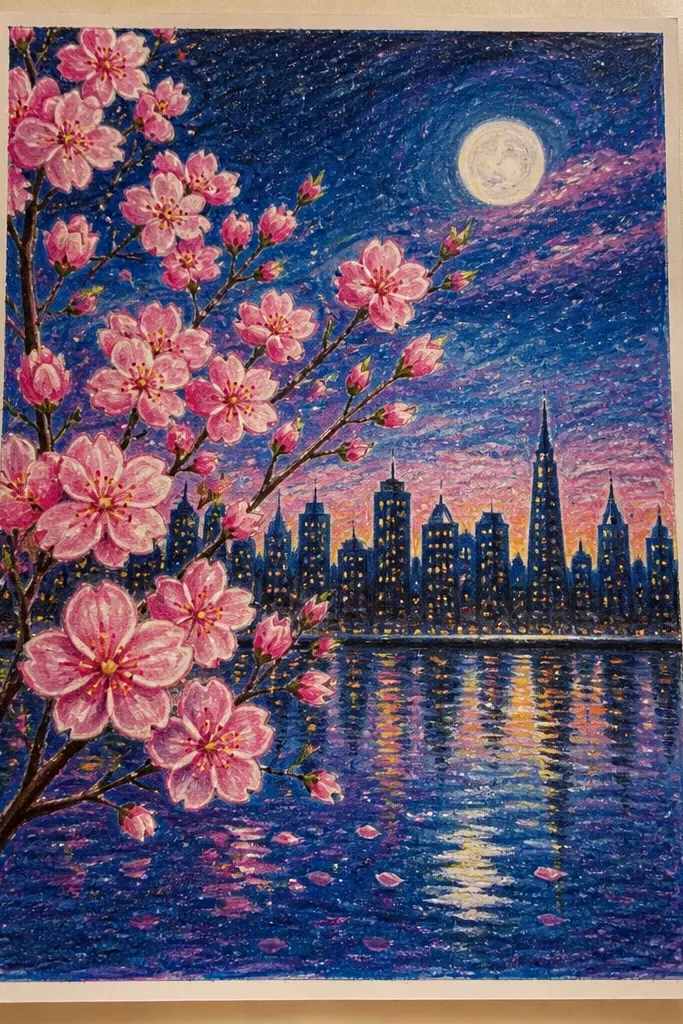
Paper-cut silhouettes are a trick I use when I’m short on time and still want a crisp look. The skyline hides background complexity, while the blossom branches bring the aesthetic. I keep the city silhouette in near-black so the sky gradient and moon glow stand out. The blossoms should be lighter than the skyline, with pink clusters that look like they’re floating in front of the light.
Shade the sky with deep navy and blend lighter blue toward the top. Add a faint moon glow as a soft pale oval near the upper area. Draw a simple skyline silhouette along the bottom with blocky building shapes — no need for windows. Sketch one main blossom branch that crosses the page and add smaller side twigs. Color blossom clusters pale pink and lightly shade the outer petals with rose pencil. Use a white gel pen to add a few highlights that match the moon glow direction.
If you want paper-cut texture, lightly press a pencil side along the silhouette edges to create tiny unevenness.
Avoid drawing tiny building details; the blossoms are the focus.
17. Cherry Blossom Night Mandala in a Circle of Glow
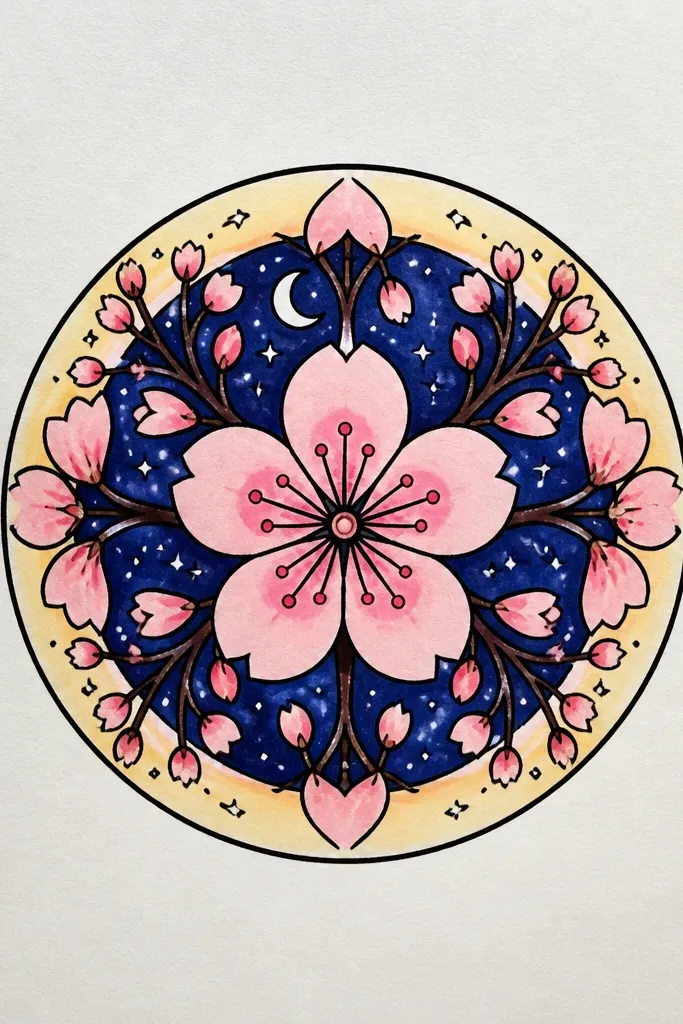
Mandala layouts look impressive even when you keep them simple. A circular glow gives you a built-in light source, so the petals look like they’re radiating. I use this for kids who like patterns because symmetry helps them place shapes without overthinking. The colors stay controlled: deep blue background, pale pink petals, and white highlights on the outer petals only.
Good to knowUse a compass or a cup to trace the glow circle so symmetry looks clean.
Draw a circle in the center lightly, then shade around it with deep navy. Color a soft warm glow behind the circle using pale yellow blended outward. Create blossom petal clusters along the circle edge, repeating a 5-petal shape with small spacing. Keep the center mostly dark and only add a few small blossom dots in the middle. Color petals pale pink, then add a rose edge on every other cluster to create rhythm. Finish with white gel pen highlights on the outer ring petals and a few tiny dots in the glow.
Common mistakeDon’t fill the entire circle with heavy pink; leave some dark for contrast.
18. Cherry Blossoms Over Dark Steps with Soft Light Bands
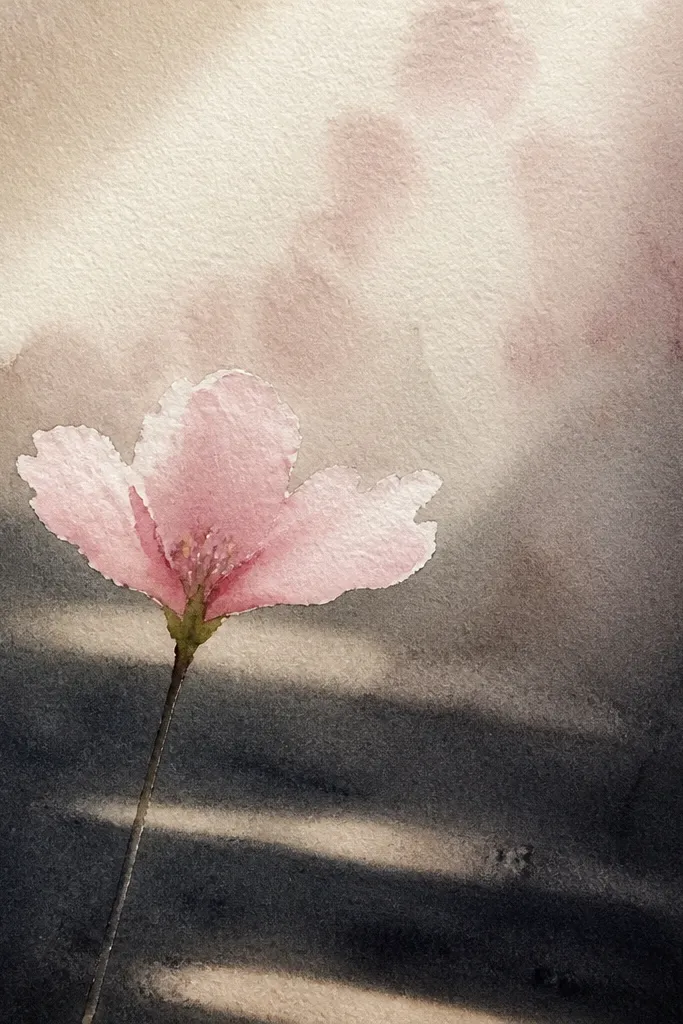
Steps add depth lines, so blossoms look like they’re sitting in real space. I like this for kids because the steps are easy to draw as rectangles that get smaller. The soft light bands make the scene feel like lanterns or a passing train, without needing extra buildings. Petals read best when they cross the light bands, because that’s where the highlights matter most.
Good to knowMake the nearest step light band strongest; it sells perspective instantly.
Draw three or four step platforms as stacked rectangles that decrease in size toward the back. Shade the background sky deep indigo and keep it darker behind the steps. Color the step surfaces gray-blue, then add soft light bands across them using pale yellow or warm cream, blending the edges. Place blossom clusters on top edges and a few floating petals between steps. Color petals pale pink and add rose edges lightly. Use a white gel pen to add highlight strokes only where petals overlap the light bands.
Common mistakeAvoid making every step band the same width — it flattens the drawing.
19. Cherry Blossom Night Starry Sky with Hanging Branches
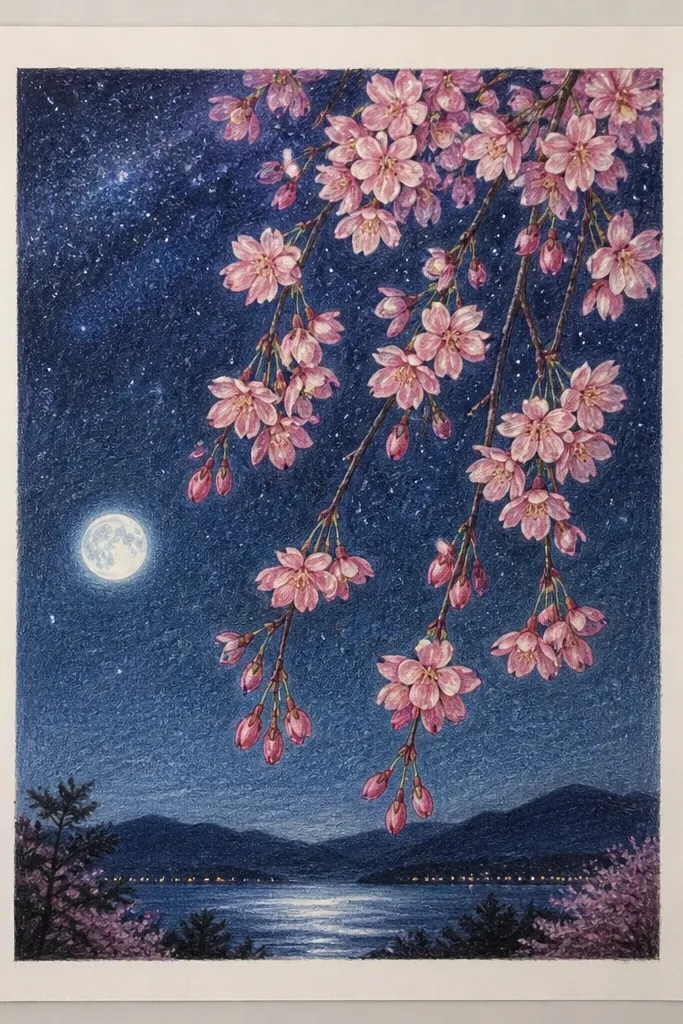
Hanging branches are a fun twist because they let kids focus on simple curves instead of complex buildings. A dense star field makes the background exciting, so the blossoms only need a few well-placed highlights. I keep the blossoms pale and use white gel highlights sparingly so the whole page doesn’t turn into glitter. This style looks best when blossoms are slightly higher contrast than the sky.
Shade the sky deep navy, then add many tiny stars with a white gel pen by tapping lightly. Draw two hanging branches from the top edge with curves that taper downward. Add blossom clusters along the branches, using 5-petal shapes and spacing them so the stars still show through. Color petals pale pink and add a rose edge only on the outer petals. Add a soft pale blue haze behind the blossoms by blending lightly with a light pencil, then finish with white gel highlights on the top petals closest to the branch curve.
If stars overpower the blossoms, pause and add only 1 highlight per cluster.
Don’t press hard on the gel pen — thick white dots look like paint drops.
20. Cherry Blossom Night Bicycle with Petal Trail
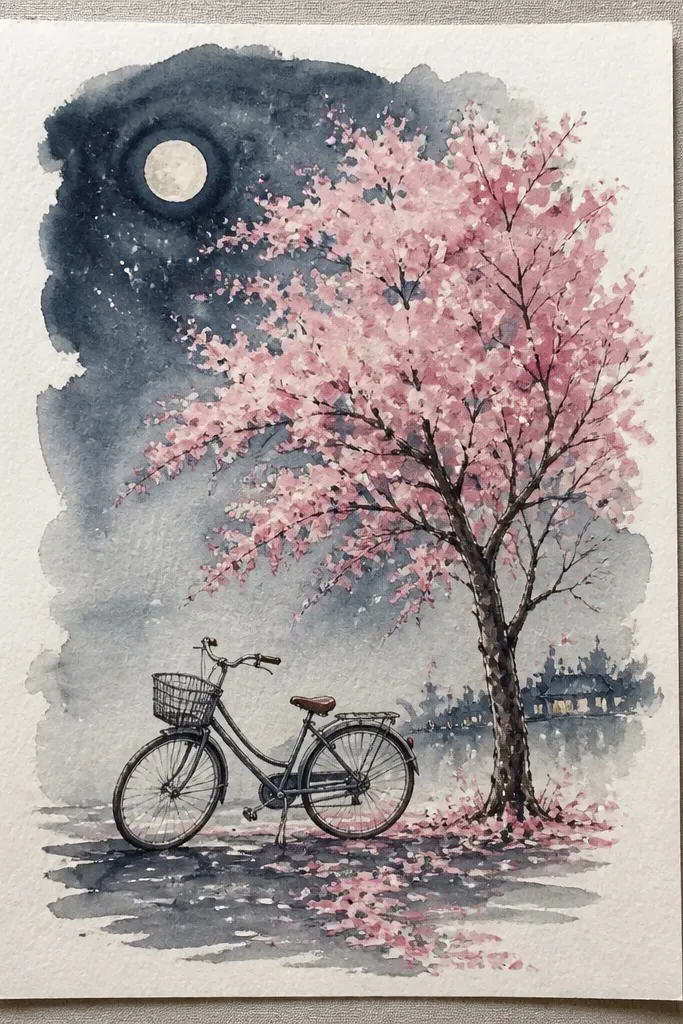
This is my favorite when kids want a character object without drawing people. The bicycle silhouette gives strong shapes, and the headlight glow tells you where the light is coming from. Petals trailing behind make motion obvious even if the bike is drawn simply. I use cool dark blues for the background and warm yellow-white for the headlight glow so the petals look like they’re lit in midair.
Sketch a bicycle silhouette with two big circles for wheels and a simple frame — keep lines light. Place a small headlight circle near the front wheel, then shade a warm glow around it with pale yellow and a touch of orange. Shade the sky with deep indigo and add a few faint streaks or star dots. Draw a petal trail behind the bike as a curved line filled with small teardrop petals that get smaller farther back. Color petals pale pink, deepen edges with rose pencil, then add white gel highlights on the few petals closest to the headlight. Add one or two tiny sparkle dots near the glow to finish.
Make the petal trail thicker near the wheels and thinner as it moves away.
Avoid drawing too many petals in a straight line — curves look more natural.



