
1. Classic 12-Petal Daisy Stack
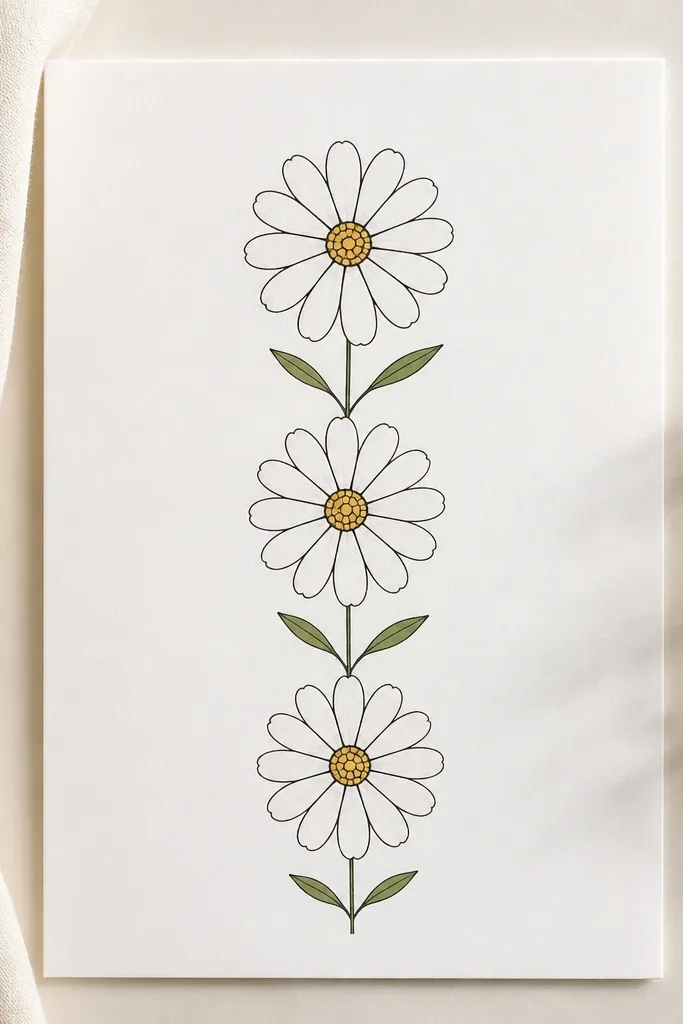
This one is the easiest way to make a daisy look crisp without overthinking. The petals are evenly spaced arcs, and the center stays small enough that the petals do not sink into it. I like it for kids because you can count petals out loud: 12 per flower. It also works great for adults who want neat, repeatable results for cards because the shape stays consistent from flower to flower.
Good to knowIf your petals look like separate blobs, lightly erase and redraw so the arcs overlap before you ink.
Start by drawing three circles in a column, each about 1 cm wide, with the middle one slightly larger. Then draw 12 petal arcs around each center — each arc should touch the next petal by about one-third of its width. Add a few short dashes inside the center circle, keeping them tight so the center looks textured. Finish with a thin stem line down from each daisy and add two small leaves using simple teardrops.
Common mistakeDon’t make the center bigger than the petals' base line — it makes the daisy look like a flower sticker.
2. Half-Petal Daisy (Side View)
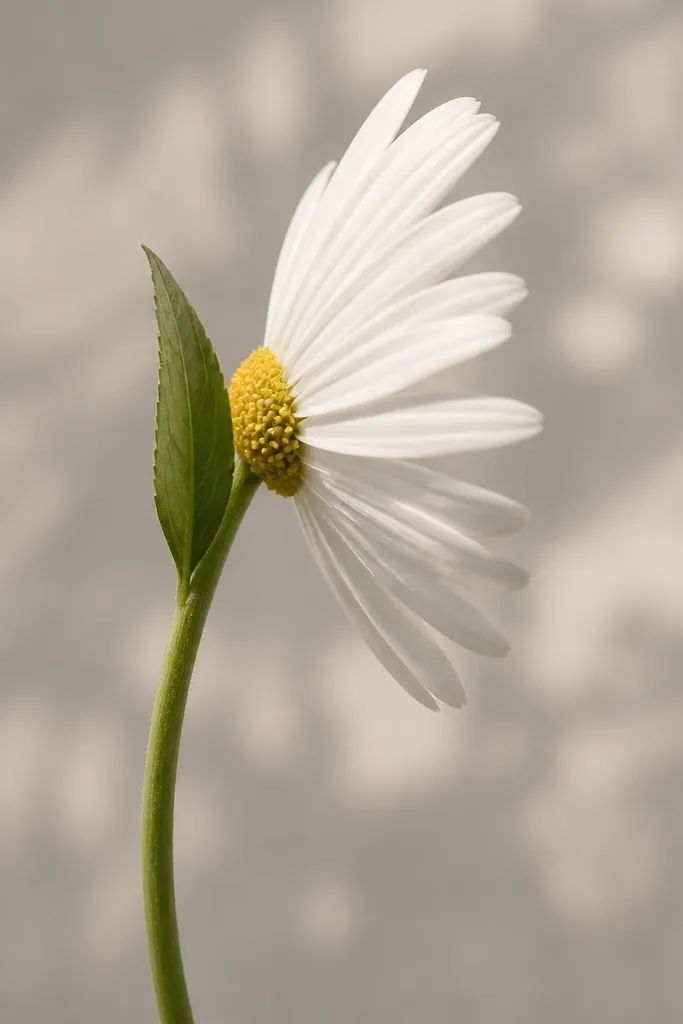
Side-view daisies look more interesting even when the drawing is simple. You’re keeping the center the same size but reducing the number of visible petals, so the flower reads as angled. This flatters kids' drawings because it hides shaky symmetry — the “fan” of petals forgives uneven spacing. It also looks cute on bookmarks and the front of small paper tags.
Draw one small circle for the center, then add dot texture with tiny dots clustered more on the bottom half. Next, draw 6-8 petal arcs only on the right side of the center, with the arcs slightly shorter than the full front petals. Add a curved stem line that leans toward the petals, then place one leaf shape behind the center using a teardrop with a center vein line.
Make the petal arcs a little thinner near the center and thicker at the ends for a more natural taper.
Don’t draw full petals all the way around if you want the side look — keep them mostly one-sided.
3. Daisy in a Polka-Dot Frame
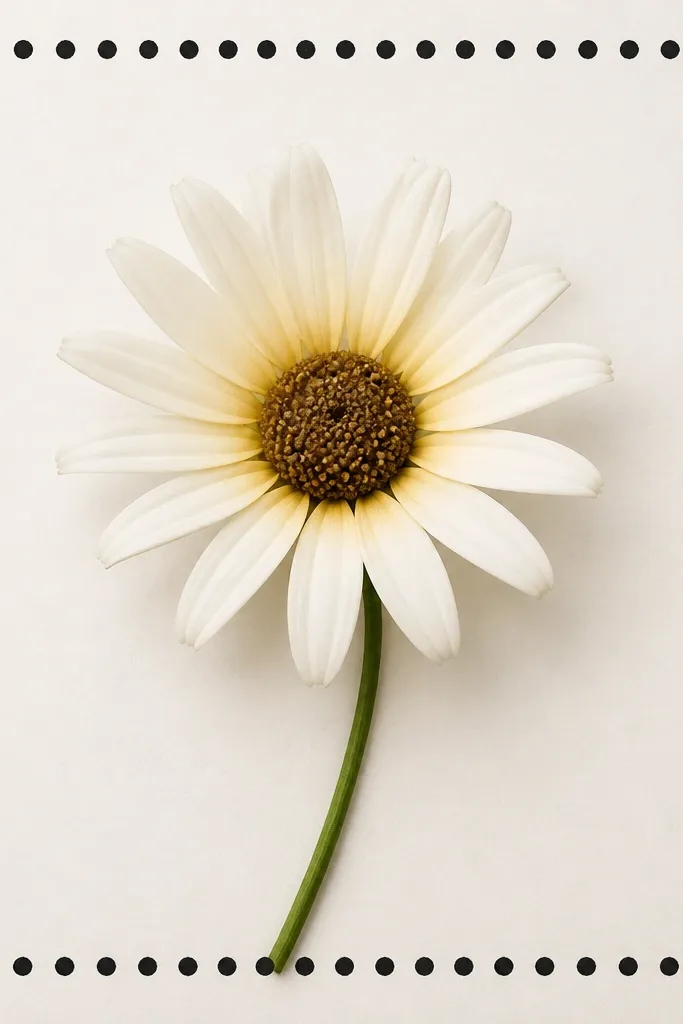
A simple frame makes the drawing look finished even if the background is otherwise blank. The daisy stays the star, and the polka dots give a playful rhythm that kids love. I’ve used this layout for birthday cards because the frame gives you a clear “spot” for the message. It also hides rushed petal edges since the border brings structure to the page.
Good to knowDraw the frame first so you don’t accidentally place the daisy too low and squeeze the dots.
Start by drawing a rectangle border with a pencil, leaving about 1 cm margin from the paper edge. Then fill the border area with polka dots using a fine marker — keep them consistent in size. Place a daisy in the middle: draw a small center circle, add dot texture, then ring 10-12 petal arcs around it. Color the petals with a very light yellow or peach wash, leaving white highlights, and finish with a thin green stem and one leaf.
Common mistakeDon’t make the dots huge — large dots overpower the daisy and look messy.
4. Single Daisy on a Wavy Stem
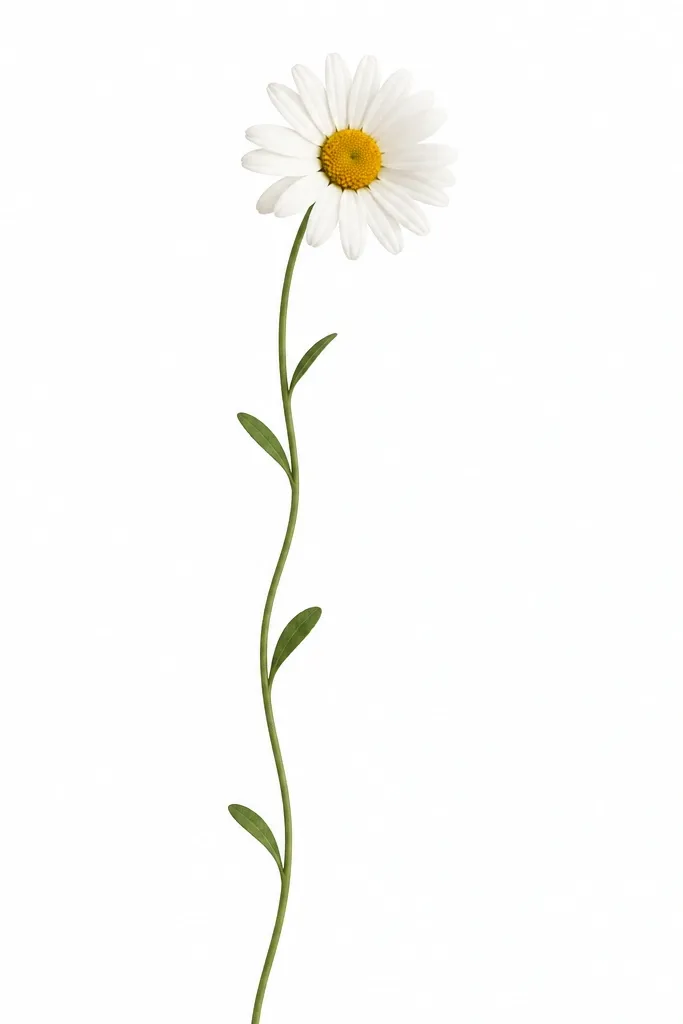
This layout is calm and clean, and it’s perfect for kids who get overwhelmed by lots of elements. The wavy stem adds motion, so even a basic daisy looks like a real plant. I like it for school art sheets because it gives a clear vertical composition and doesn’t require shading. It also looks good in monochrome if you only use pencil and black ink.
Good to knowKeep the stem line smooth by drawing it in one go — wobble shows up even in simple sketches.
Draw a light pencil stem line that curves like a gentle S from bottom to top. Add a small circle at the top for the center, then fill it with tight dots or short dashes. Draw 10-12 petal arcs around the center, keeping them evenly spaced and slightly overlapping. Add two small leaves along the stem as teardrops with a single center vein line, then ink the outlines with a fine marker.
Common mistakeDon’t add too many leaves — two or three small ones look intentional.
5. Daisy Bouquet Row (3 Sizes)
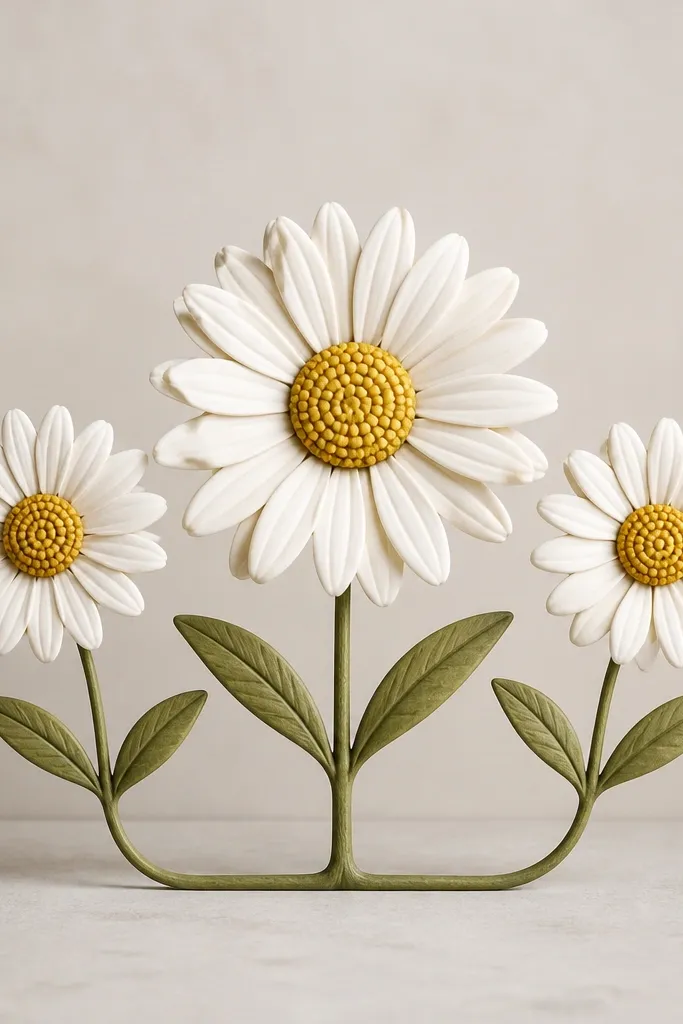
Using three sizes makes a bouquet feel fuller without drawing a background. The big center daisy anchors the composition, and the smaller side flowers add rhythm. This also helps kids who struggle with proportion because they can follow a simple size rule: big, medium, small. I’ve done this on paper placemats and it looks cute even when the coloring is light.
Good to knowIf spacing looks tight, reduce petals on the small daisies by two or two — it keeps them from crowding.
Sketch a shared base line at the bottom of the page. Draw three centers: large center flower about 1.2 cm wide, side flowers about 0.8 cm. Then draw petals around each center: 12 petals on the large one, 10 on the smaller ones. Connect each flower to the base with a thin stem line and add two small leaves near each stem using teardrop shapes.
Common mistakeDon’t make all three daisies the same size — the row will look flat.
6. Daisy Bud and Bloom Pair
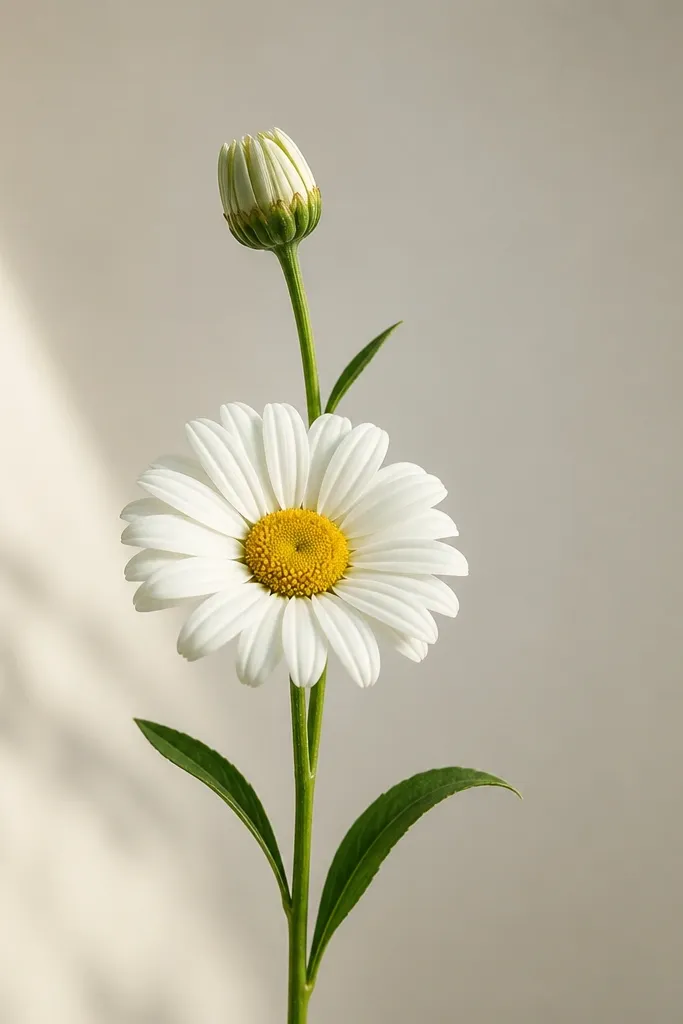
This pair looks more “real plant” because you’re showing growth. The bud gives the drawing a focal point above the bloom, so it feels like a story instead of a single sticker. Kids usually get the bud shape faster than they think, and it adds variety without adding difficulty. I use it for spring-themed worksheets because it teaches how to simplify complex flowers into two stages.
Draw one long stem line. At the top, draw a small oval bud and add 5-7 short petal tips around it like a crown. Below the bud, draw a small center circle for the full bloom, then add 10-12 petal arcs around it. Add dot texture to the bloom center, then place two leaves on the stem — one on each side — and ink everything with a fine marker.
Make the bud petal tips shorter than you think so it reads as closed, not open.
Don’t put a dotted center on the bud — keep it smooth so it looks closed.
7. Daisy Wreath Mini-Circle
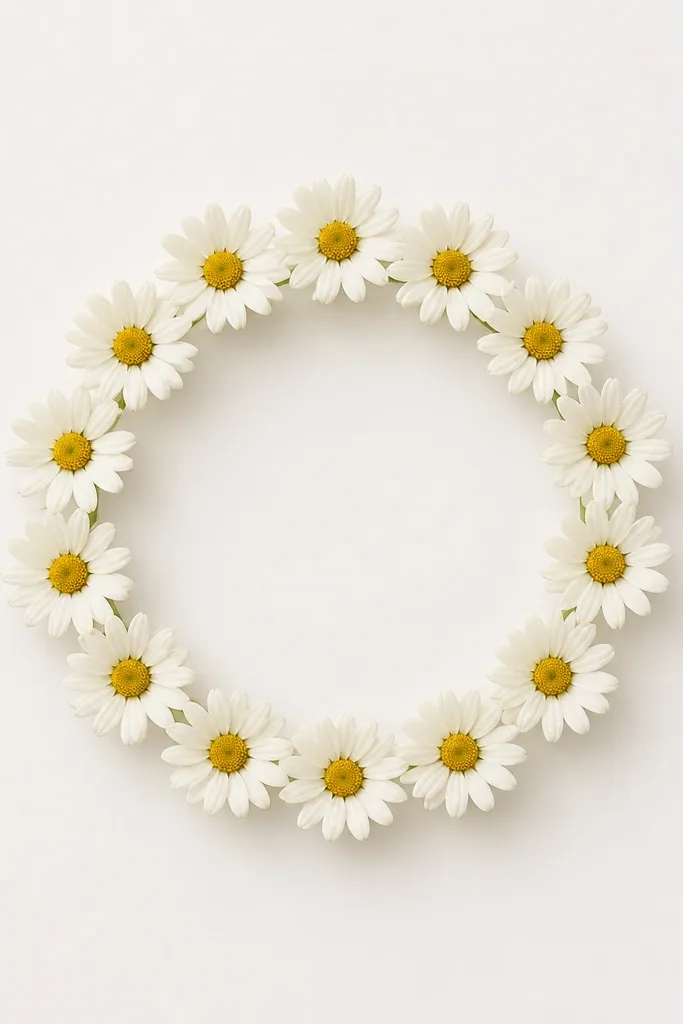
Wreaths turn simple drawings into something you can actually use — sticker-like circles, card fronts, or art for a frame. The trick is to keep the ring tight and consistent so each daisy faces outward. I’ve used this with kids because it teaches repeating shapes while still letting each flower vary slightly. It also looks great in pencil-only since the repetition does the work.
Good to knowMark the circle into 8 sections first — it stops petals from drifting unevenly.
Draw a light circle guide about 6-7 cm across. Place 8-10 daisy centers evenly around the circle — each center about 0.6-0.8 cm wide. For each daisy, draw 10 petal arcs pointing outward from the ring, overlapping about a third. Add dot texture to each center, then lightly erase the guide circle so only the daisies remain. Ink the outlines and color petals with a light yellow wash if you want.
Common mistakeDon’t let centers touch — gaps between flowers make the wreath look intentional.
8. Daisy Face (Cute Character Style)
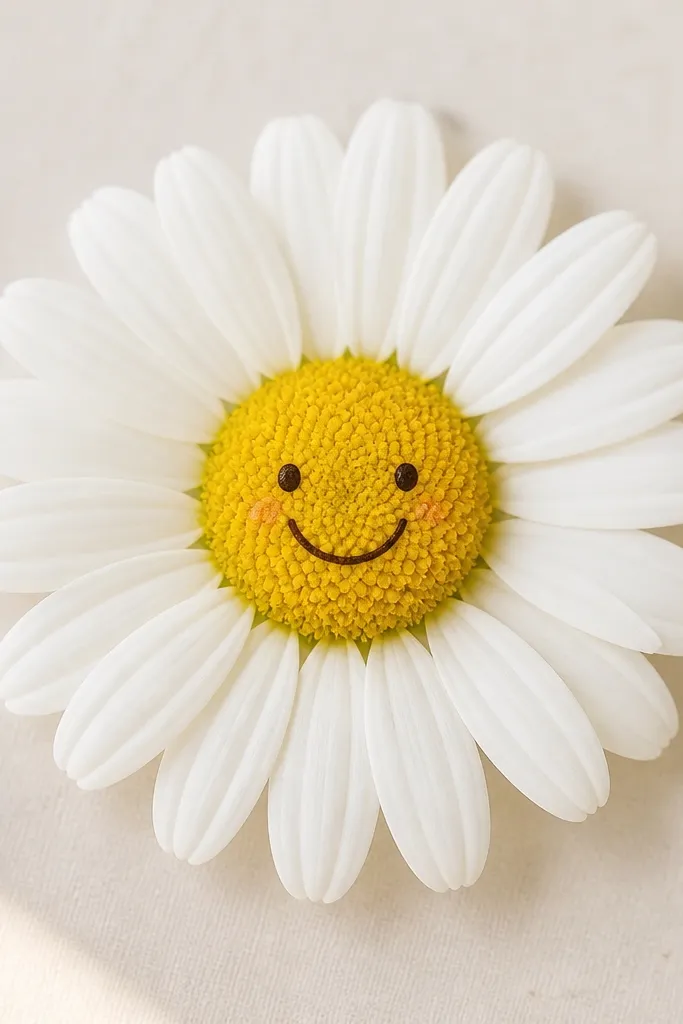
Turning a daisy into a face makes drawing feel playful, and it gives kids a reason to place features accurately. The petals become the “hair,” and the center becomes the face area. This is especially good for younger kids because they focus on placing eyes and smiles, not perfect petal symmetry. I’ve seen this style get kids to finish their page because it feels like a character.
Good to knowKeep the eyes smaller than you think — big eyes make the daisy look like a cartoon coin.
Draw a daisy center circle about 1 cm wide. Add dot texture lightly, then leave a small area inside the center for facial features. Draw two small eyes as tiny filled circles and a curved smile just below them. Then add 10-12 petal arcs around the outside of the center. Color the petals lightly and keep the face area slightly lighter so the eyes read clearly.
Common mistakeDon’t smear the center texture over the eyes and mouth — keep facial features clean.
9. Daisy Corner Doodle (Page Accent)
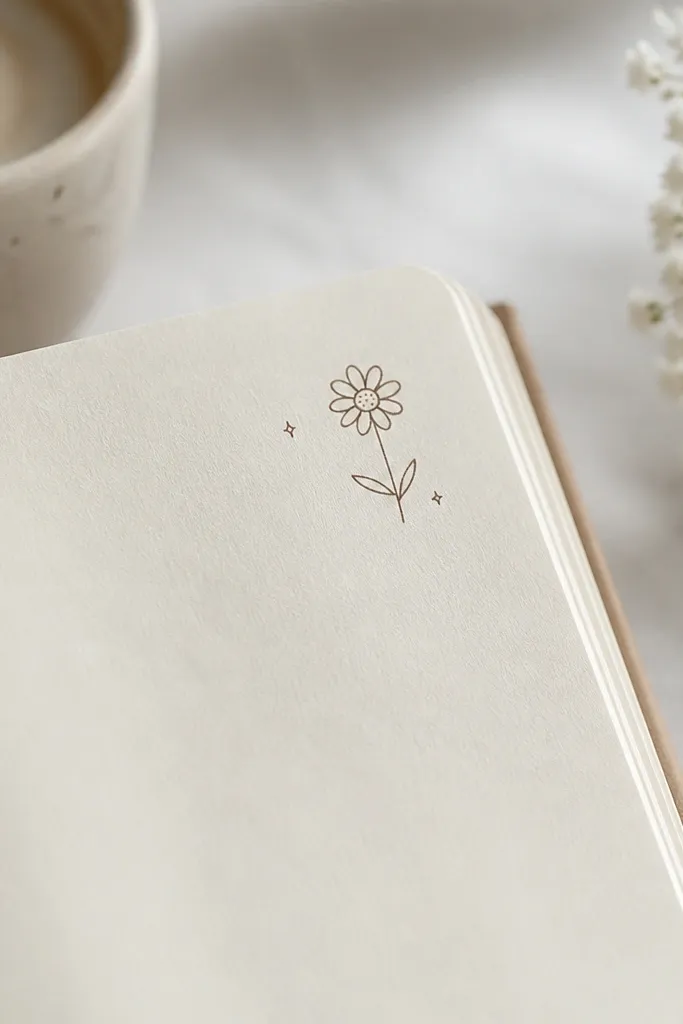
Corner doodles make a page look designed without taking up much space. I like this for kids because it’s a low-pressure “finish line” — one small daisy can make the whole sheet feel complete. The sparkle dots add charm and help hide uneven spacing around the corner. It also works if you’re making a homework cover page and want it to look cute fast.
Choose a corner and leave at least 2 cm margin from the page edges. Draw a small center circle, then add 10 petals as short arcs — keep them tighter than a full flower so it fits the corner. Add a short stem line downward from the center and one leaf on each side of the stem. Ink with a fine marker, then add two tiny filled dots as “sparkles” near the petals.
If the petals look too long for the corner, shrink the petal arc length before you ink.
Don’t put the daisy too close to the edge — it looks cramped when you cut or frame.
10. Daisy with Marker-Only Outline
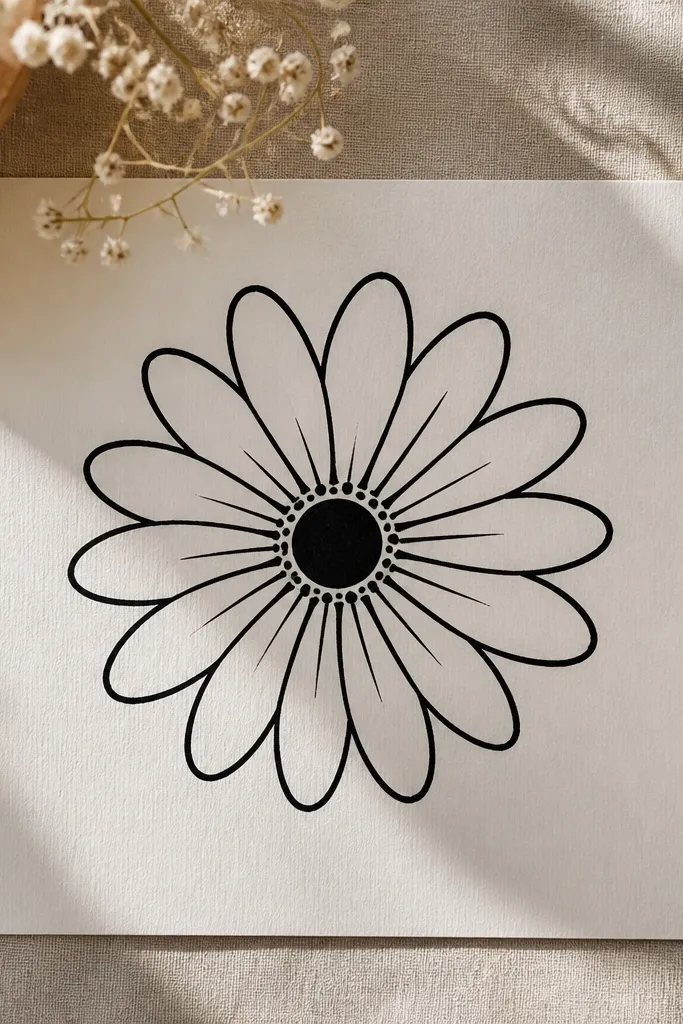
This is the style I use when I need a quick result and I don’t want to manage erasing. Marker-only drawings look bold and tidy, which is perfect for kids' posters and label tags. The center dots give texture even without coloring, so the flower still looks finished. It also helps kids practice steady hand control because the marker line makes mistakes obvious.
Good to knowUse short, confident strokes for petals — long sweeps wobble.
Start by drawing a small circle center with the marker. Add dot texture by placing tiny dots around the inside edge first, then fill the middle lightly. Now draw 10-12 petal arcs around the center, each one starting slightly behind the last petal so they overlap visually. Add a single stem line and one leaf, then let the marker dry fully before touching up any lines.
Common mistakeDon’t over-color the center with thick marker — it turns into a blob.
11. Daisy Petal Pattern Fill (Color Blocks)
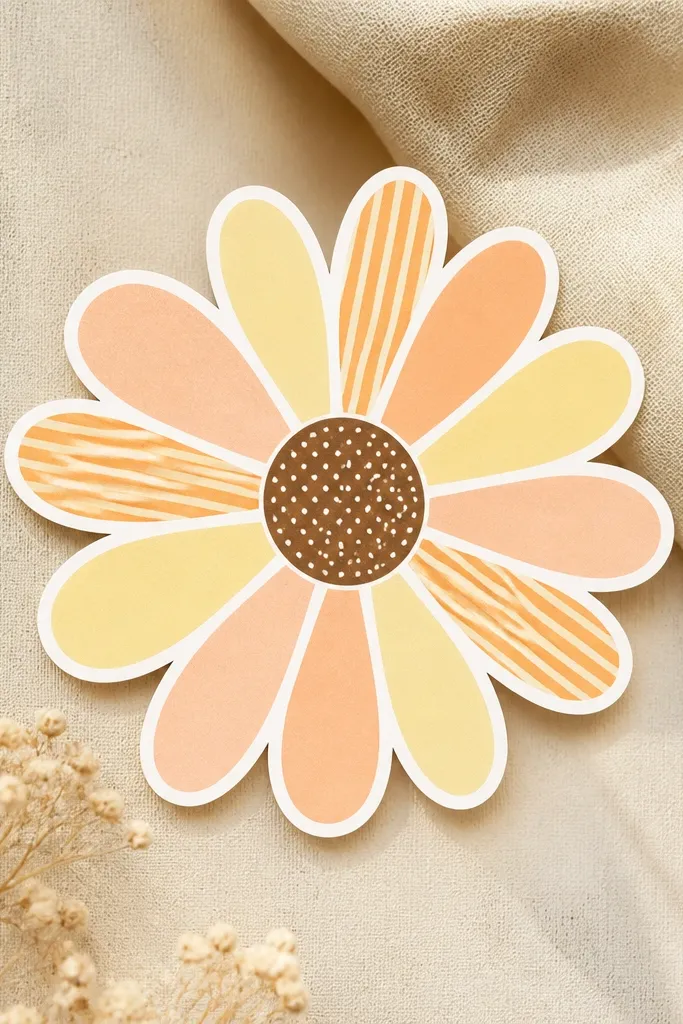
Pattern-filled petals make daisies look more artsy without needing shading skills. The “color blocks” approach keeps everything kid-friendly because you’re filling shapes you can see. I like this for older kids who want their drawing to look like a design, not just a picture. It also works for adults because the pattern gives a polished look even with basic lines.
Sketch the daisy with pencil first: small center circle, then 12 petal arcs. Ink the outline with a fine marker and erase pencil marks. Color alternating petals with pale yellow and pale peach — leave tiny white highlights by not coloring the very tips. Add a few petals with light orange stripes by drawing 2-3 short lines near each petal edge. Finish by adding brown dot texture in the center.
Color in the direction of the petal arc so the wax or pencil texture follows the shape.
Don’t color every petal the same color — it flattens the flower.
12. Daisy and Grass Blades

Adding grass turns a simple flower drawing into a scene. The daisy stays the focal point, while the grass gives texture at the bottom so the page doesn’t look empty. This works especially well for kids because grass blades are repetitive and forgiving. I’ve used it for spring bulletin boards since it looks lively even with minimal coloring.
Draw the daisy first: small center circle, dotted texture, then 10-12 petal arcs. Add a short stem line but plan to hide part of it under the grass. At the bottom of the page, draw 25-35 grass blades as thin lines, varying lengths from 1 cm to 3 cm. Color the grass lightly green, then add a few darker blades with a deeper green pencil. Ink the daisy outlines last so the grass doesn’t overpower it.
Vary blade height — draw some very short ones near the daisy and taller ones toward the edges.
Don’t draw grass as thick clumps — thin blades read more like real grass.
13. Daisy in a Teacup Pot
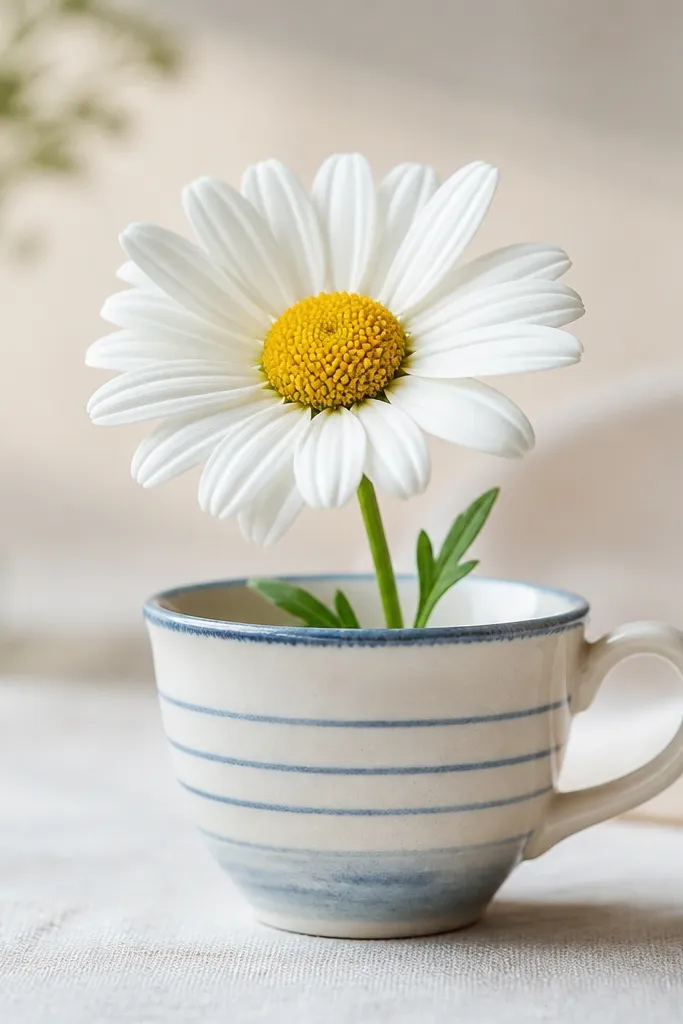
Putting a daisy in a teacup makes the drawing feel like a gift, even if it’s just one flower. The cup shape creates a natural frame for the stem, and the stripes add detail without complexity. Kids like drawing the handle, and the rim gives a clear placement for the flower. It also looks adorable for teacher notes and small thank-you cards.
Good to knowKeep the cup rim thicker than the stem so the flower reads clearly above it.
Draw a teacup: an oval opening, a slightly wider base, and a simple handle as a rounded loop on the right. Add 3-4 horizontal stripe lines across the cup body and lightly shade them with a pale gray or light brown pencil. Place the daisy stem so it comes out from the center of the cup opening. Draw the center circle and dot texture, then add 10-12 petals around it. Add one leaf that peeks out behind the cup rim for depth.
Common mistakeDon’t shade the cup too dark — it will steal attention from the petals.
14. Daisy Mandala Ring (Beginner-Friendly)
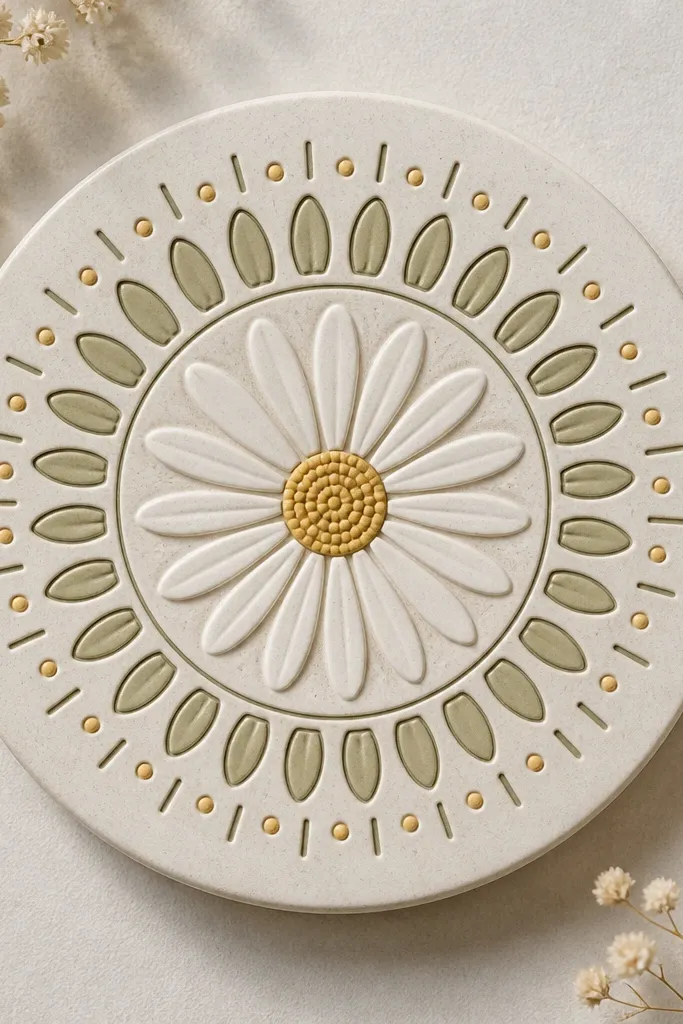
This looks more complex than it is. You’re still drawing daisies, but you’re adding a simple repeating ring that makes the whole page feel intentional. The symmetry looks great for both pencil sketches and marker ink. Kids who can draw one daisy can do this, and it turns into a satisfying “pattern project” that fills time. Adults also like it because it gives a relaxing, repeatable structure.
Good to knowUse a compass or a cup to lightly guide the circle rings so spacing stays even.
Start with a central daisy: draw a small center circle, add dot texture, then add 12 petals. Around it, draw a ring of 12 larger teardrop shapes — each teardrop points outward and touches the next slightly. Add a second outer ring with 24 tiny dots spaced evenly, then sprinkle a few short line accents between dots. Ink the main daisy outlines, then color petals light yellow and keep the mandala ring mostly white with just dot shading in pale brown.
Common mistakeDon’t add too many rings — two rings plus dots looks crisp; extra layers look crowded.
15. Daisy and Butterfly Pair

This pair gives kids a reason to vary line quality. The daisy uses smooth arcs, and the butterfly uses quick wing strokes, so the page doesn’t feel repetitive. I like it for spring art because it adds motion with almost no shading. It also makes a nice “set” drawing when you want more than one subject but still keep it simple.
Good to knowPlace the butterfly slightly higher than the daisy center so the composition feels airy.
Draw the daisy first: small center circle with dot texture, then 10-12 petals around it. Add a thin stem and one leaf so the flower looks grounded. Next, draw a butterfly to the right: sketch a small body line in the middle, then two wing shapes as curved outlines. Add simple spots on the wings using 6-8 small dots and a few short antenna lines. Ink everything with a fine marker and color the daisy petals pale yellow while leaving the butterfly spots a slightly darker tone.
Common mistakeDon’t make the butterfly wings larger than the daisy petals — it will take over the page.



