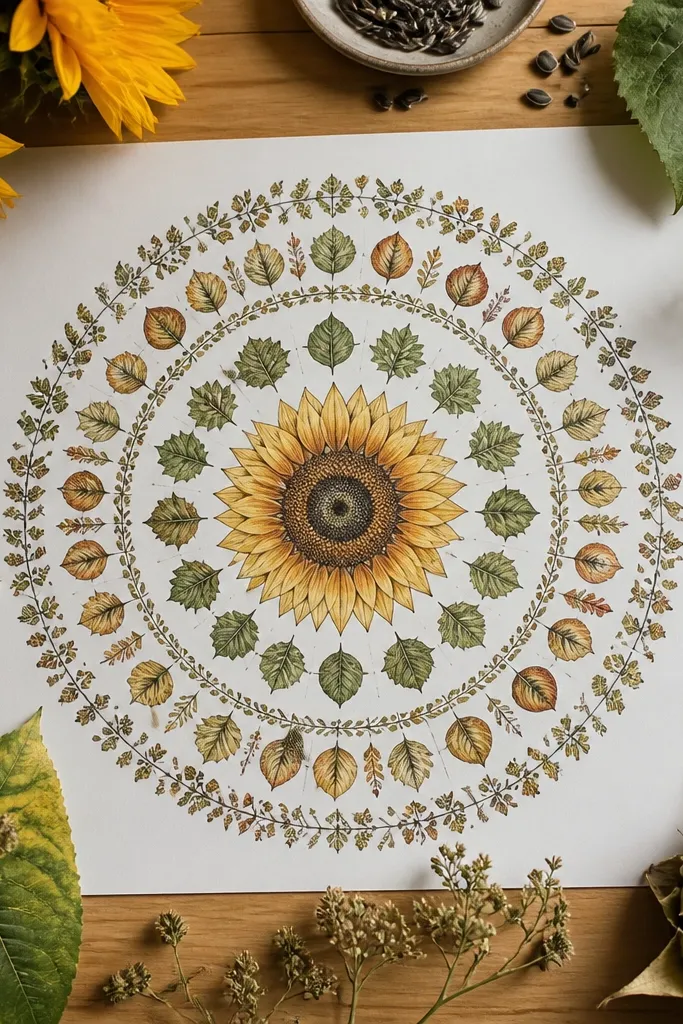
1. Classic Ring Leaves with a Dotted Sun Center
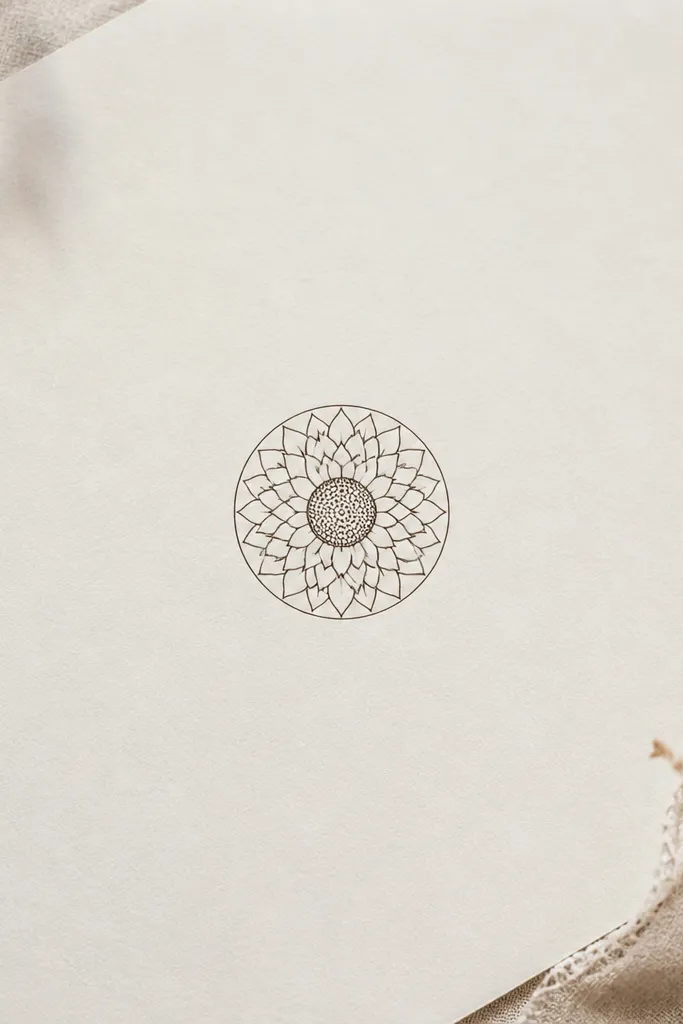
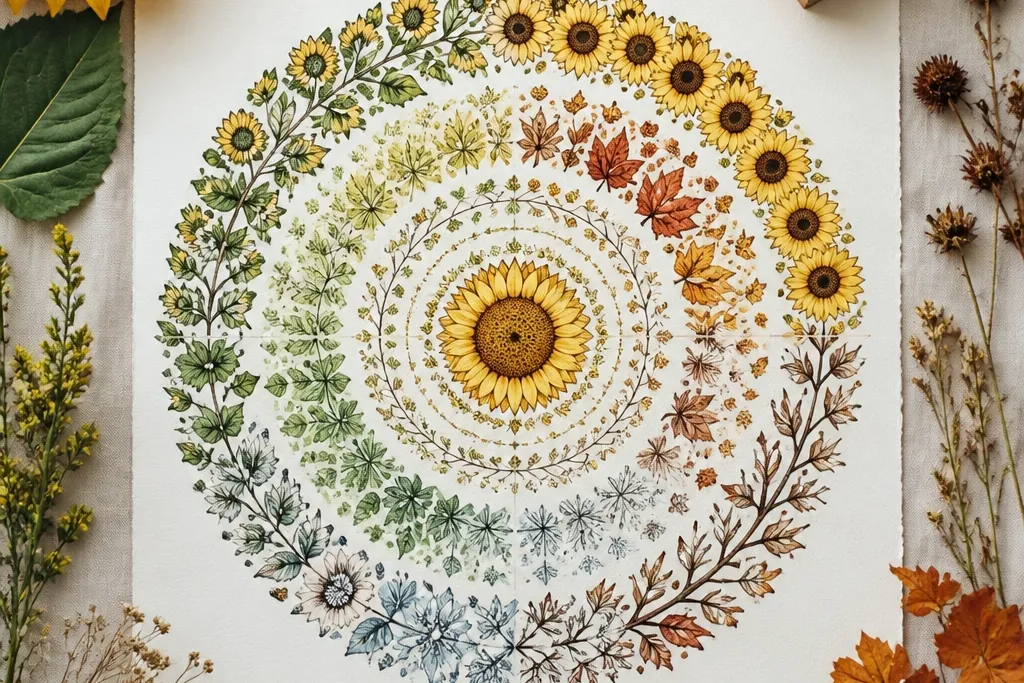
This one is the easiest layout that still looks "designed." The dotted center makes the middle feel alive without heavy shading, and the teardrop leaf rings keep the shape readable from across a room. I like it most on warm skin tones because the beige-yellow shading reads soft, not harsh. It also flatters small spaces - a 5x7 card looks balanced with a center that stays small and leaves that do the work.
Start by drawing a circle about 1.5 cm wide for the center. Fill it with dots using a fineliner, keeping the dot spacing tight so it looks like seeds. Then draw the first leaf ring: place 10 to 12 teardrop leaves around the center, all pointing inward. Add two more rings, increasing the leaf size by about 1 to 2 mm each ring. Finish with a single thin outer circle line that follows the widest leaf tips.
Good to knowIf your leaves look uneven, draw one teardrop first and trace its shape lightly for the rest before you ink.
Common mistakeDon't thicken every line - heavy outlines only in the center make the edges look messy.
2. Spiral Leaf Mandala with a Feathered Seed Center
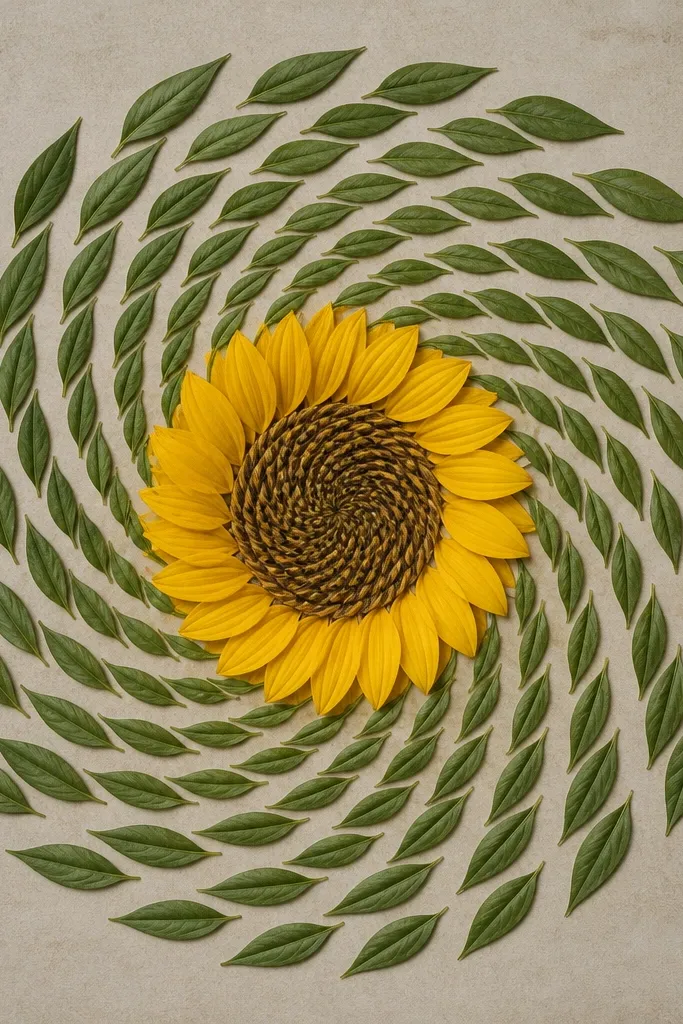
This layout is for when you want movement, not symmetry. The spiral leaf path creates a sense of flow, and the feathered center adds texture without turning into a black blob. I've used this on off-white paper and it looks especially good because the pencil strokes show up with a soft, smoky warmth. It flatters anyone who likes delicate linework and wants a mandala that feels airy instead of busy.
Draw a small center circle and shade it with short curved pencil strokes radiating outward. Then place your first leaf at the 12 o'clock position and draw the next leaf slightly rotated clockwise, about 1 leaf width away. Keep the leaves spaced so they follow a clean spiral - aim for 16 to 20 leaves total. Add a thin ring line behind the spiral tips only once, at the outer edge, so it frames the motion. Finally, lightly shade the underside of each leaf with a pencil line, leaving the top edge unshaded.
Good to knowUse a 2B pencil for the center only, then switch to HB for leaf shading so the texture stays controlled.
Common mistakeDon't crowd the spiral - if leaves touch, the pattern stops reading as spiral and turns into a tangle.
3. Alternating Leaf Heights Wreath Border
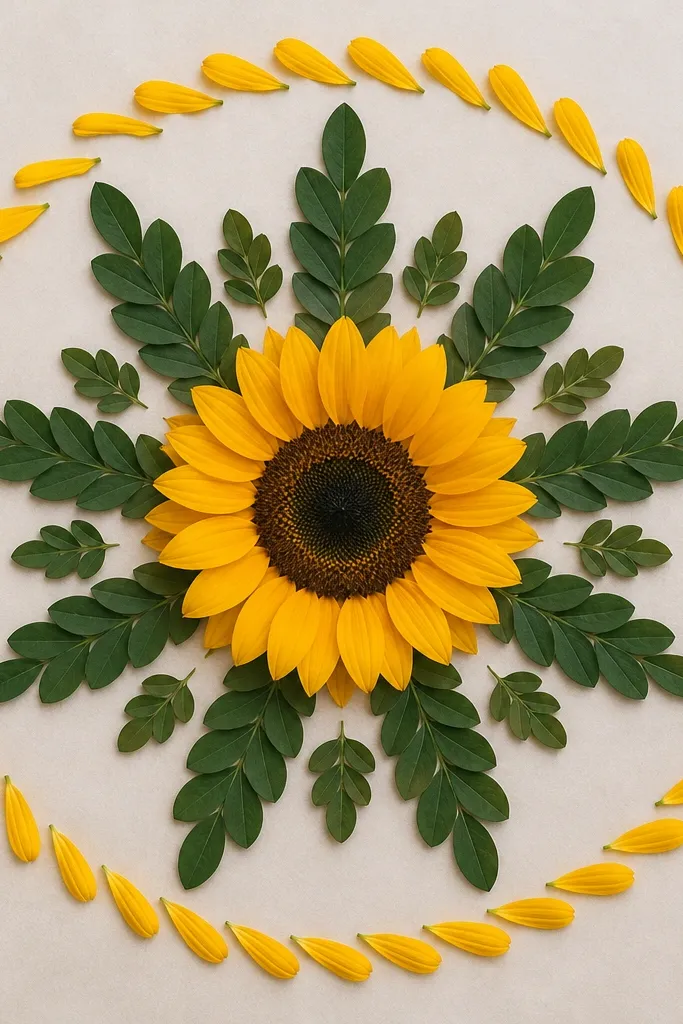
This is the one I use when I want the sunflower to look playful but still structured. Alternating tall and short leaves makes the ring feel rhythmic, like a hand-drawn crown. The wreath border gives you a finishing frame so the page doesn't look unfinished. It works well for bold paper colors - I've done it on sage-green cardstock and the leaf outlines pop without needing heavy coloring.
Draw the center circle and fill it with small seed strokes, not dots. Create your inner leaf ring first: draw 12 leaves, but make every other leaf taller by about 3 to 4 mm. Keep the leaf widths consistent so the height change is the only variation. Add a second outer leaf ring with the same alternating rule, but rotate the pattern by half a leaf spacing. Finish by drawing a border of small curved petals around the outside ring - 24 petals evenly spaced.
Good to knowIf you want it to look extra tidy, lightly mark the leaf positions with a pencil dot guide before inking.
Common mistakeAvoid making all the tall leaves in a straight line - stagger them around the circle so it reads like a wreath.
4. Double-Layer Leaves with a Thin Inner Halo
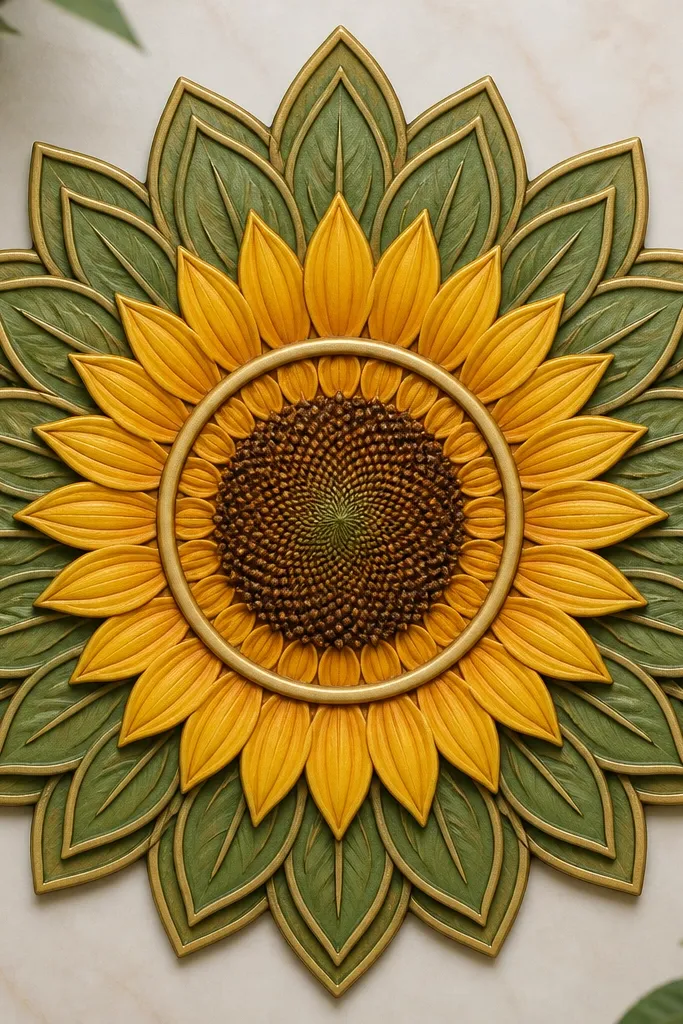
Double-layer leaves look expensive even when you're just using pencil and pen. The thin inner halo circle gives the eye a clean transition from the center to the foliage. I love this for journals because it makes the drawing feel intentional even when it's small. It also flatters cooler color palettes - pair it with light gray pencil shading and it won't look muddy.
Draw a center circle and lightly shade it with a ring of pencil, leaving the core lighter. Add a thin halo circle around the center at about 0.5 cm away. For the leaf layer, draw one teardrop leaf outline, then trace another outline just outside it by 1 to 2 mm. Repeat around the circle - aim for 10 to 14 leaves. Add a second outer leaf layer with the same double-outline technique, but rotate each leaf by 15 degrees so the layers don't line up perfectly.
Good to knowUse a ruler for the halo circle only. Freehand halos tend to wobble and the whole piece looks off.
Common mistakeDon't leave gaps between the two leaf outlines - the double line should feel like one leaf with a rim.
5. Sunflower Leaf Rays Like a Wheel
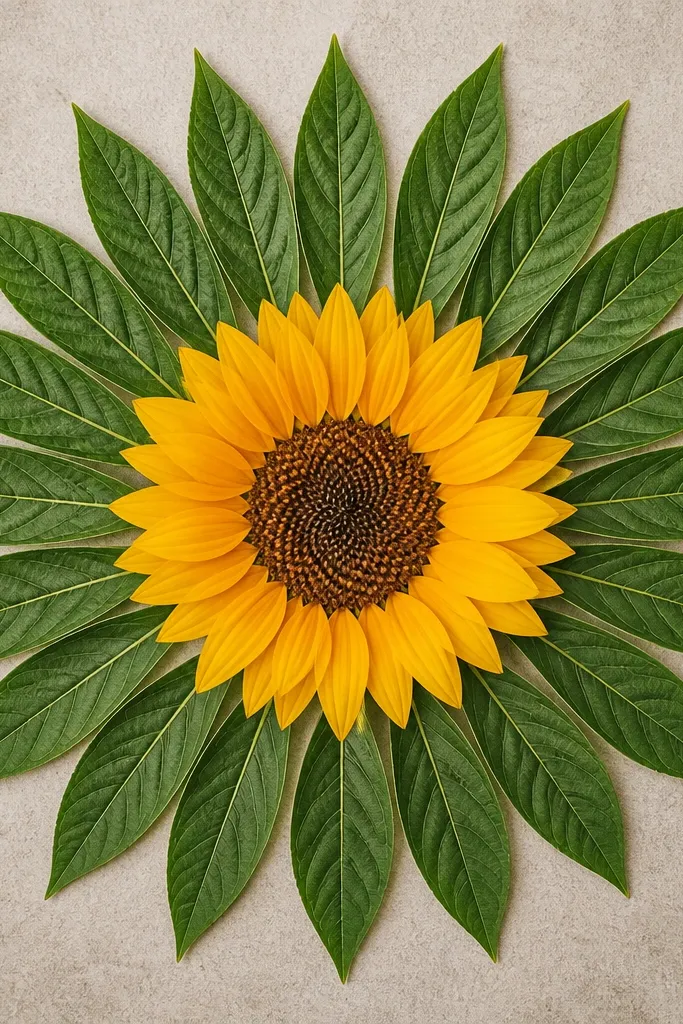
This version reads like a wheel, and that makes it look bold on upcycled covers. The straight alignment gives the drawing a graphic feel, which works great if you're printing or using it as a stencil later. I've used it on kraft paper and it looks warm without needing color fill. It flatters clean, minimal aesthetics - the leaves look crisp and you don't have to shade a lot.
Draw a center circle about 1 cm wide and fill it with tiny seed marks using a fine tip. Then draw a second circle to set your leaf start radius. Create 16 to 18 leaf rays: each leaf is a teardrop stretched slightly, placed like a spoke pointing outward. Keep the leaf base touching the start circle. Add a thicker outer ring line around the tips, then shade the base of each leaf with a light pencil stroke so the wheel has depth.
Good to knowMark the spoke angles lightly with pencil first, then ink over your guides so the rays stay evenly spaced.
Common mistakeDon't vary the leaf angle randomly - the wheel effect disappears when the rays drift.
6. Petal-Leaf Mix Border Around the Sun
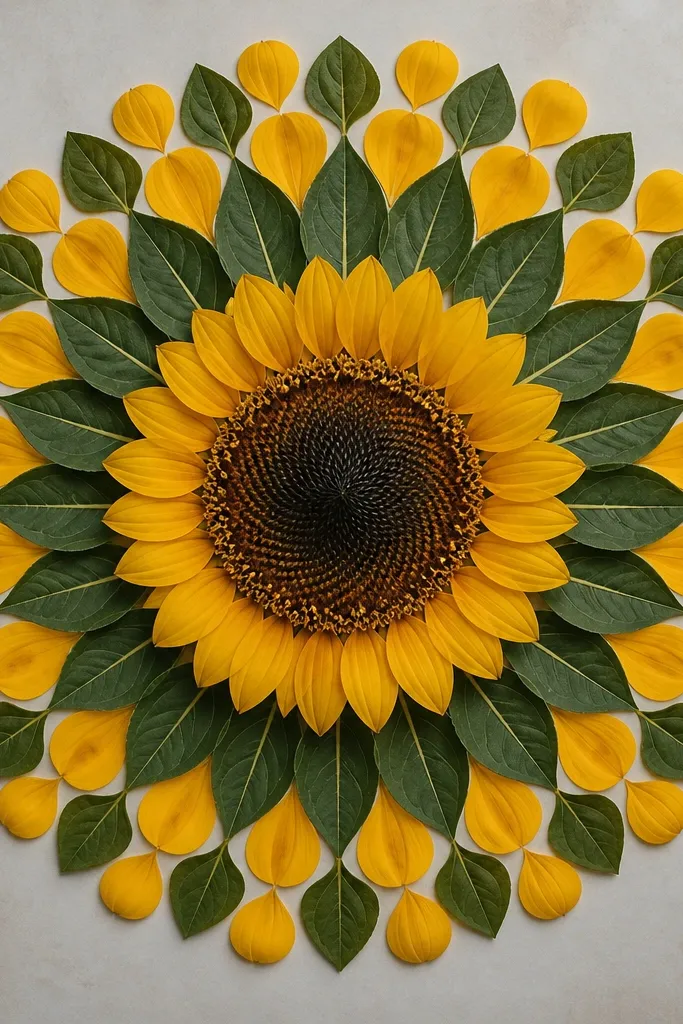
When you mix leaves and petals, the sunflower looks fuller without getting heavy. The petals act like little beaters around the leaves, giving you a soft edge that still feels structured. I like this layout for greeting cards because it frames the center nicely even if the card is cut smaller than planned. It also flatters people who want a "garden" feel but don't want to color everything.
Start with a center circle filled with seed dots or short strokes. Draw an inner ring of 10 teardrop leaves pointing inward. Around that, add an outer ring that alternates leaf and petal: leaf, petal, leaf, petal. Use 10 leaves and 10 petals for a balanced count. Finish with a thin outer circle line that connects the widest petal tips.
Good to knowUse two slightly different sizes for the outer petals (one at 6 mm, one at 7 mm) so it looks hand-made, not stamped.
Common mistakeAvoid using identical petal shapes all the way around - perfect repetition makes it look like a template.
7. Corner-to-Center Leaves for a Page-Friendly Layout
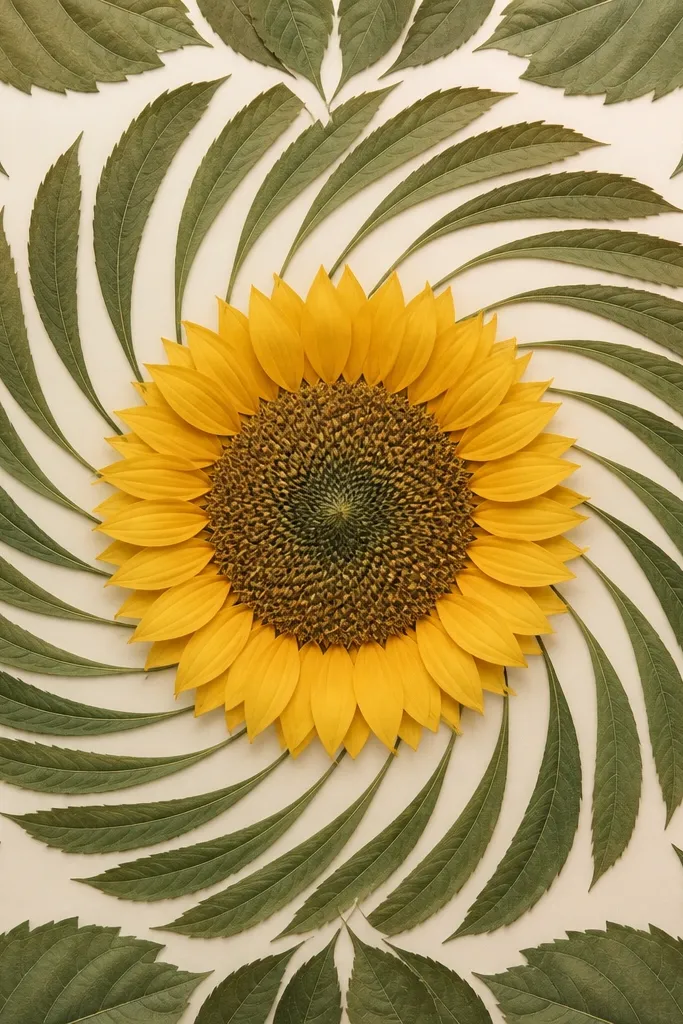
This is a "use the whole page" drawing when you don't want a tiny mandala floating in the middle. Curving the leaves from corners toward the center makes the composition feel grounded, and it looks great on printer paper you plan to cut into strips. I like it for warm-toned paper because the pencil shading catches light along the curved leaf edges. It flatters layouts where you're adding text around the drawing later.
Lightly sketch a center circle first, then draw four large arcs that go from near each corner toward the center. Place large leaf shapes along each arc, alternating left and right so the curves meet around the center. Keep the leaf bases slightly wider near the corners, then taper toward the inner ring. Add a smaller inner ring of 8 to 10 leaves pointing inward to tighten the center. Finally, fill the center with seed dots and add a thin halo circle around it.
Good to knowLeave a clean margin of 1.5 cm around the edges so the lines don't feel cramped when you trim the paper.
Common mistakeDon't let the corner leaves hit the edge of the paper - it looks accidental after trimming.
8. Leaf Lattice Mandala with Open Negative Space
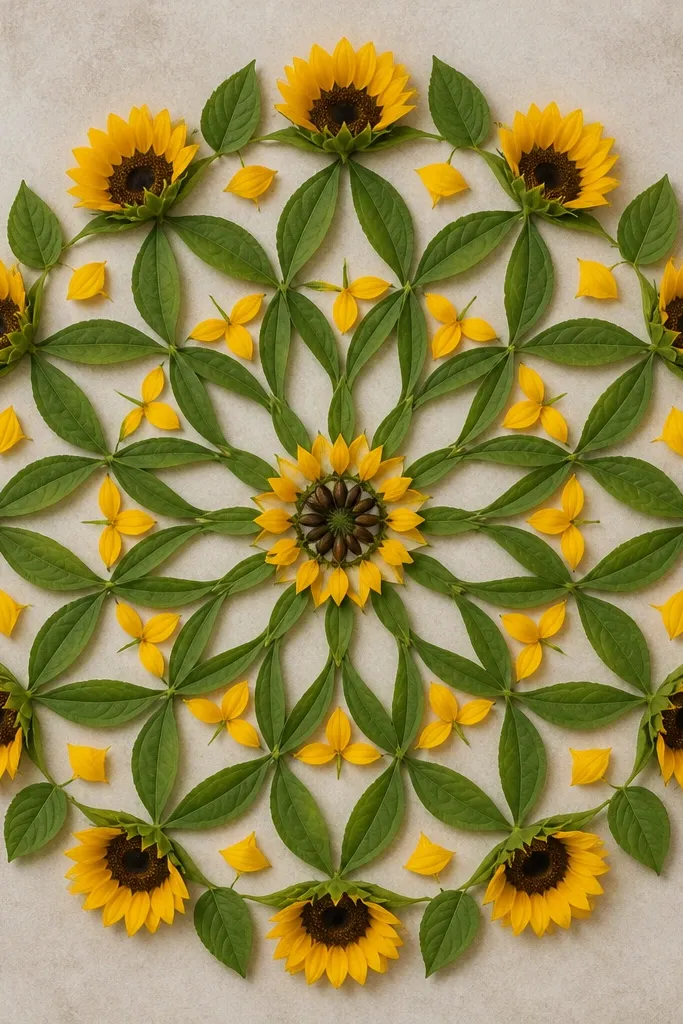
If your drawings usually look cluttered, this layout fixes that. The lattice approach uses overlaps sparingly, leaving negative space that makes the sunflower feel airy. I've done this with a single black fineliner and it still looks finished because the spacing does the work. It flatters minimal color choices, especially if you're using only yellow and brown pencil accents.
Draw the center circle and fill it with seed marks that vary in length - keep it light. Build a ring of 12 leaves, but overlap each leaf by only about one-third of its width with the next leaf. Then add a second lattice ring where the leaf tips reach into the gaps, not on top of the leaves. Keep the outer border simple: one thin circle line. Add two or three bold seed strokes at the center to give it a focal punch.
Good to knowUse a light hand on overlaps. If lines get too dense, the lattice stops looking deliberate.
Common mistakeAvoid filling every gap with extra petals - open space is the style here.
9. Ruffled Leaf Edge Mandala
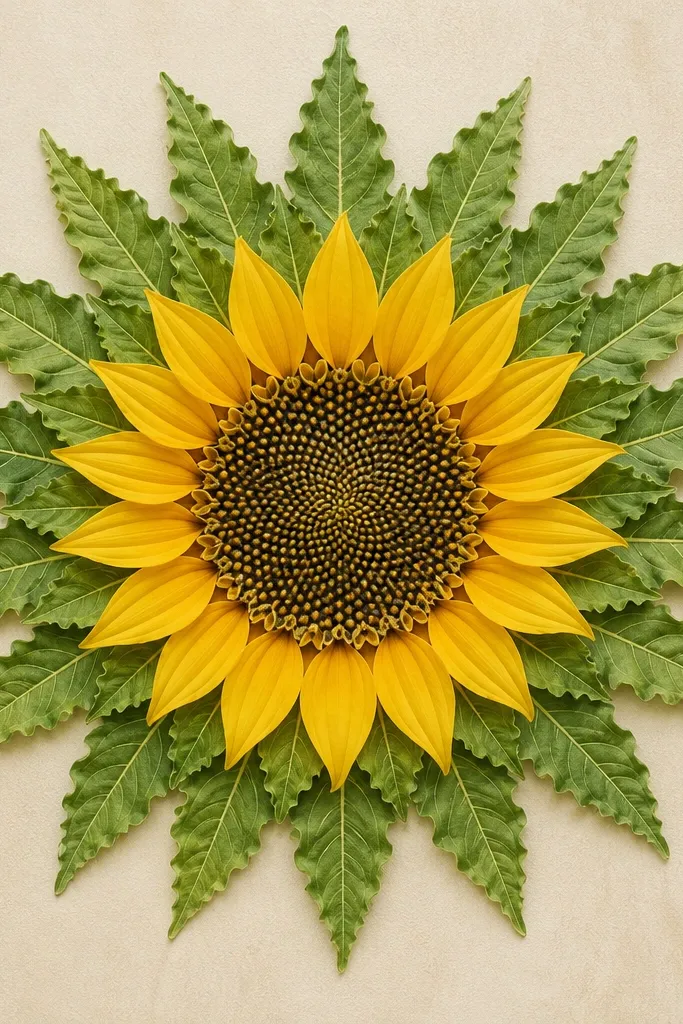
Ruffled edges make the mandala look like it's made from fabric, even when it's just ink. The center stays simple with dots, so the leaf texture becomes the star. I use this when I'm making upcycled bookmarks because the ruffles show up clearly at small sizes. It flatters people who like soft, romantic linework and want the drawing to look tactile.
Draw a center circle about 1.2 cm wide and fill with dots. For the first leaf ring, draw 10 to 12 teardrops pointing inward. Add a ruffle by tracing a second wavy line along each side of the teardrop, leaving the middle outline intact. For the outer ring, use fewer leaves (8 to 10) so the ruffles don't crowd. Finish with a simple outer circle line and lightly shade under the ruffle lines with a pencil to separate layers.
Good to knowPractice the ruffle on scrap paper first. Consistent wave spacing makes the whole mandala look intentional.
Common mistakeDon't ruffle the center too - it makes the middle muddy and removes the focus.
10. Sunflower Leaf Beads on a Circle String
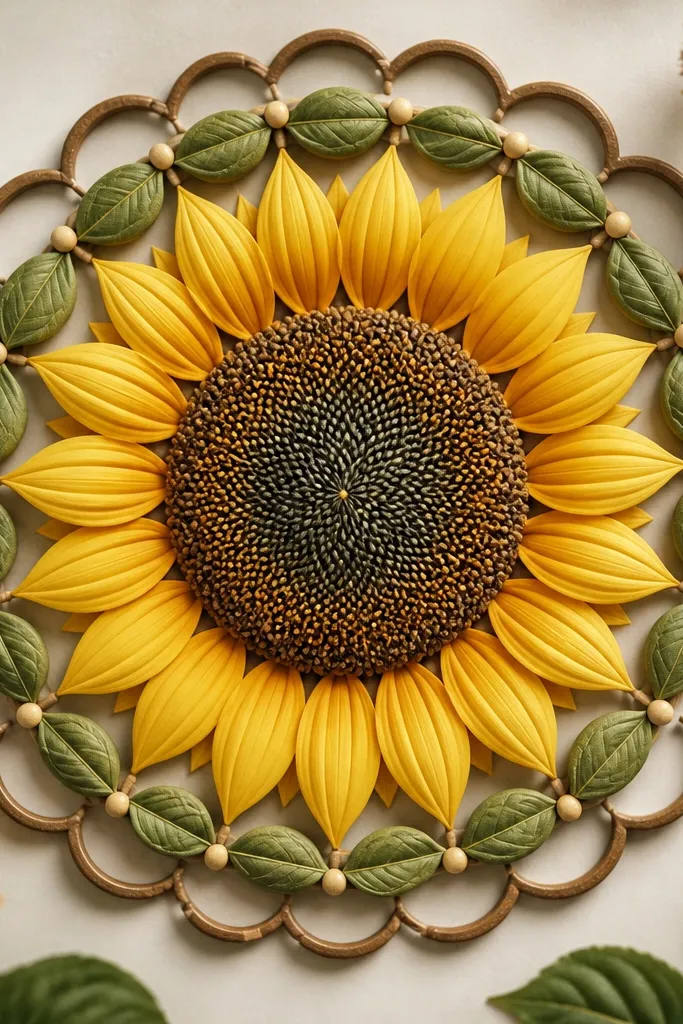
This one is for a clean, craft-store look without using stickers. The bead dots between leaves give the mandala a jewelry feel, and the scalloped circle keeps it from looking flat. I've used it to decorate upcycled cereal box covers and it looks crisp even after printing. It flatters lighter skin tones and cool outfits because the black linework stays sharp and the shading stays minimal.
Draw the center circle and fill with seed dots, but leave a small unfilled spot to keep it from looking fully black. Place a ring of 14 leaf beads around the center, each leaf drawn like a teardrop but with a tiny notch at the tip. Add a small dot between each leaf on the ring. Then draw a scalloped outer border: 28 scallops around the outside, each scallop touching the next. Shade the leaf bases lightly with pencil so the beads look raised.
Good to knowIf your dots look wobbly, use the side of the pencil for the seed shading and only use pen for the bead dots.
Common mistakeAvoid giant scallops - if the border is too big, it steals attention from the center.
11. Half-Clock Leaf Mandala for Asymmetry
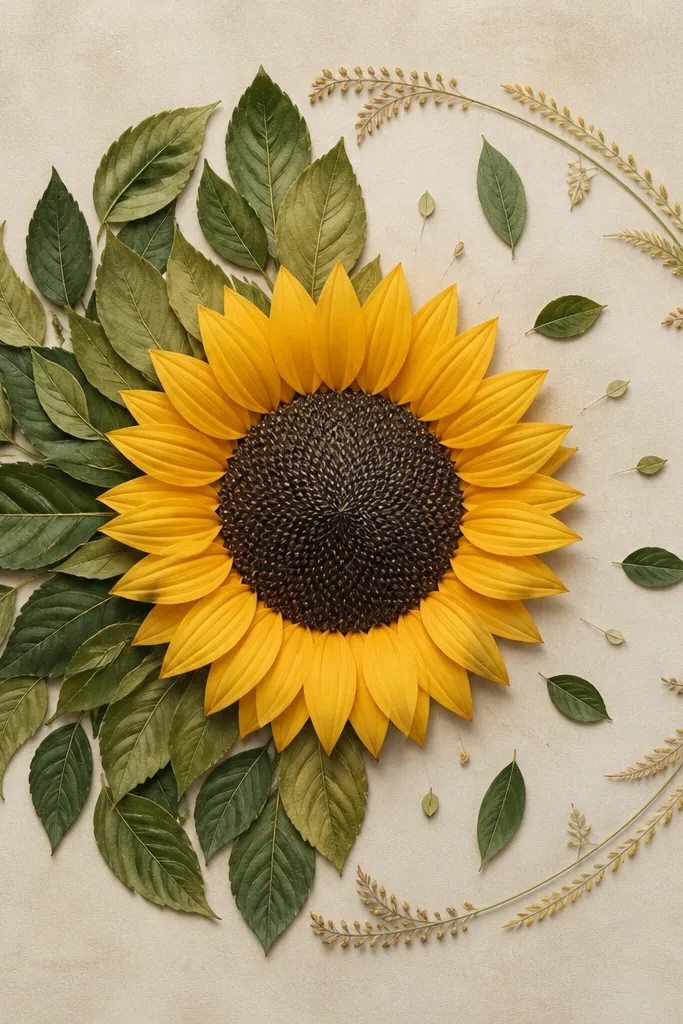
Asymmetry looks modern and it's forgiving when you're drawing on uneven paper. The half-clock feel keeps the sunflower from turning into a strict rosette. I like it when I'm working on torn-edged junk journal pages because the uneven side matches the page texture. This layout flatters people who like bold negative space - it looks intentional even when your lines vary slightly.
Draw the center circle and fill it with seeds evenly. Then draw a guide line down the center of the mandala to decide where the heavy leaf work goes. On one side, draw 12 leaves in a tight ring, pointing inward. On the other side, draw only 6 leaves spread out with larger gaps, plus a thin outer circle line that's broken in two spots. Add a small leaf cluster at the center edge of the heavy side so the transition looks natural.
Good to knowUse a broken outer circle on purpose. Two gaps make it feel design-led instead of like you ran out of space.
Common mistakeDon't leave the light side empty - even 4 stray leaves make the asymmetry look finished.
12. Layered Leaf Fans with a Tight Center Knot
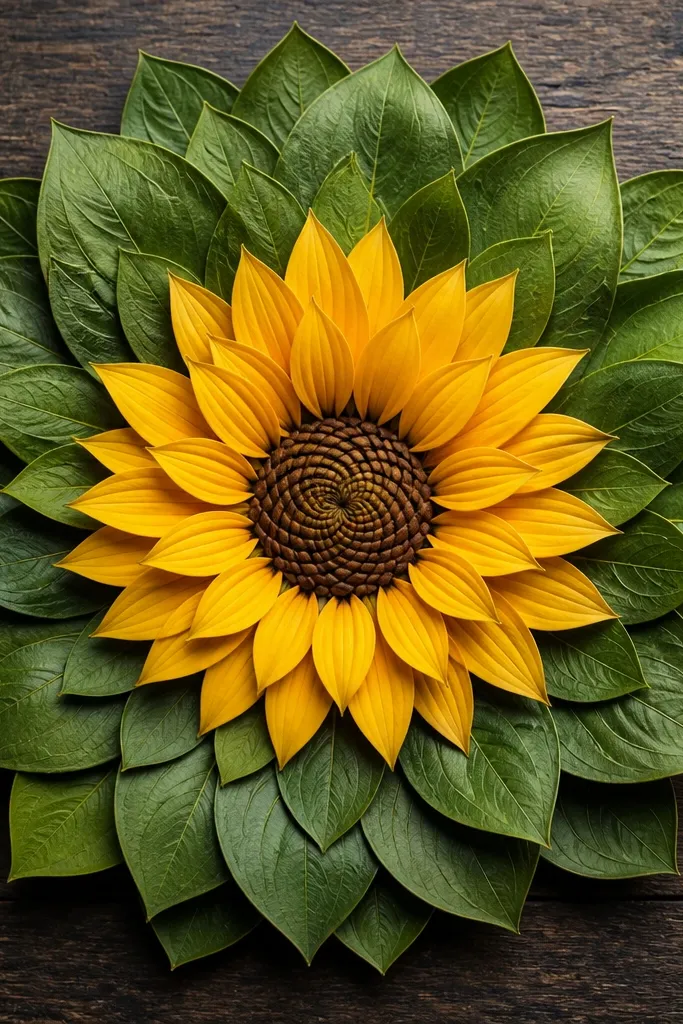
Fan layers create a soft, dramatic look without needing color fill. The "knot" center - overlapping seed lines - gives you a dense focal point that balances the flowing leaf fans. I used this on a recycled fabric scrap card and the linework looked like stitching. It flatters warmer palettes because the pencil shading on the leaf overlaps reads like shadow under fabric.
Start by drawing a tiny center circle and then draw overlapping curved seed lines inside it like an interwoven knot. For the first leaf fan layer, draw 5 to 6 leaves that arc outward and overlap slightly, all pointing toward the center. Add a second fan layer with larger leaves, offset so the tips sit between leaves of the first layer. Repeat for a third layer, but keep it lighter and smaller so it doesn't overtake the page. Finish with a thin circle around the outermost leaf tips and shade under the overlaps with a soft pencil line.
Good to knowKeep your fan layers at consistent spacing. If one layer overlaps too much, it starts to look tangled.
Common mistakeAvoid huge leaf fans on small paper. They crowd the center and the knot loses its focus.
13. Mandala Sunflower Leaves in a Scalloped Square
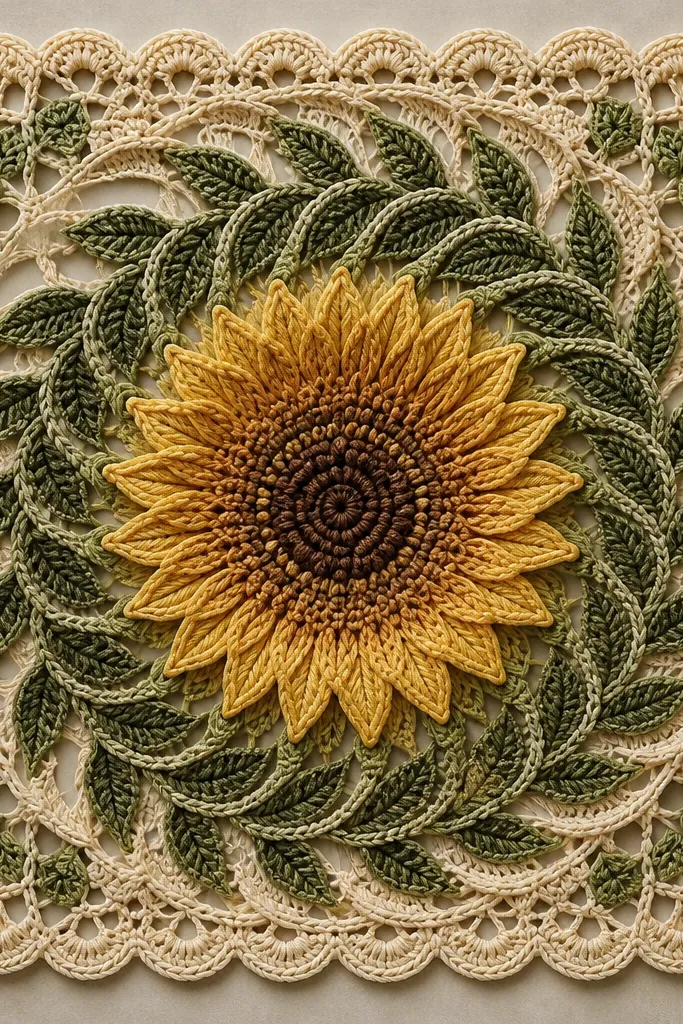
A scalloped square frame makes the drawing feel like it belongs on a coaster, a cover, or a wall print. The frame also gives you a boundary for your leaf rings so they don't drift. I like it on upcycled cardboard because the square shape hides minor paper warps - the border holds everything visually. It flatters clean decor styles and looks great with simple yellow-brown shading.
Draw a square that leaves at least 2 cm margin from the edges of your paper. Turn the square into a scalloped frame by adding half-moon bumps along each side - aim for even spacing. Place your sunflower center in the exact middle and draw a dotted seed circle. Build two or three leaf rings inside the square, rotating each ring by a small amount so the leaves don't line up perfectly. Finish by adding a thin inner square line just inside the scallops, then lightly shade under the outer leaf ring.
Good to knowUse a light pencil for the square first. Ink over it only when you've checked it for even margins.
Common mistakeDon't make the scallops too thick. Heavy scallops look like a coloring book border.
14. Sunflower Leaf Mandala with Stitched Dashes Border
This is my go-to when I want the drawing to look like it belongs on a handmade quilt label or stitched journal cover. The stitched dash border adds a tactile feel even if you're only using pen and pencil. I've made versions on matte black paper with white gel pen for the stitches and it looks sharp and graphic. It flatters people who like craft details more than heavy color.
Draw a center circle and fill it with seed dots. Add one inner leaf ring of 12 leaves pointing inward. Add an outer leaf ring of 10 leaves, slightly tilted so the ring feels dimensional. Keep shading simple: a pencil shadow under each leaf tip on one side. For the border, draw a thin circle around the leaves, then add paired dash marks around it like stitches, keeping the dash length consistent. Space the stitches evenly and stop the border at the same point each time so it looks "hand done."
Good to knowIf you want the stitched look to pop, use a gel pen or a thicker fineliner just for the dashes.
Common mistakeAvoid long, uneven dash lines - they read sloppy instead of stitched.