
1. Cobalt Petal Wash on Thrift Linen Scarf
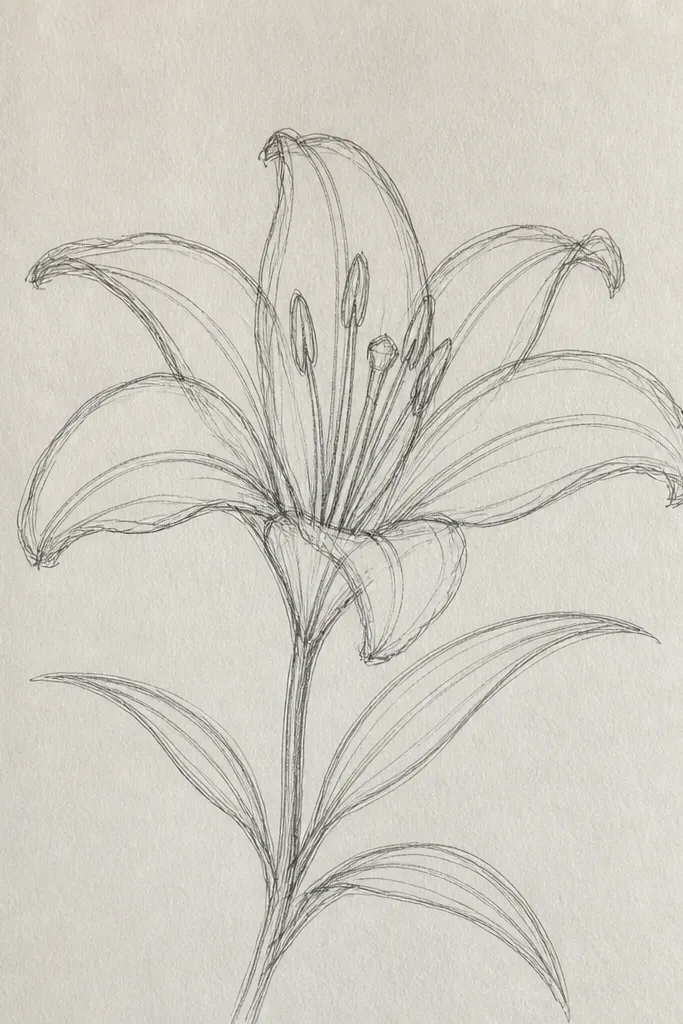
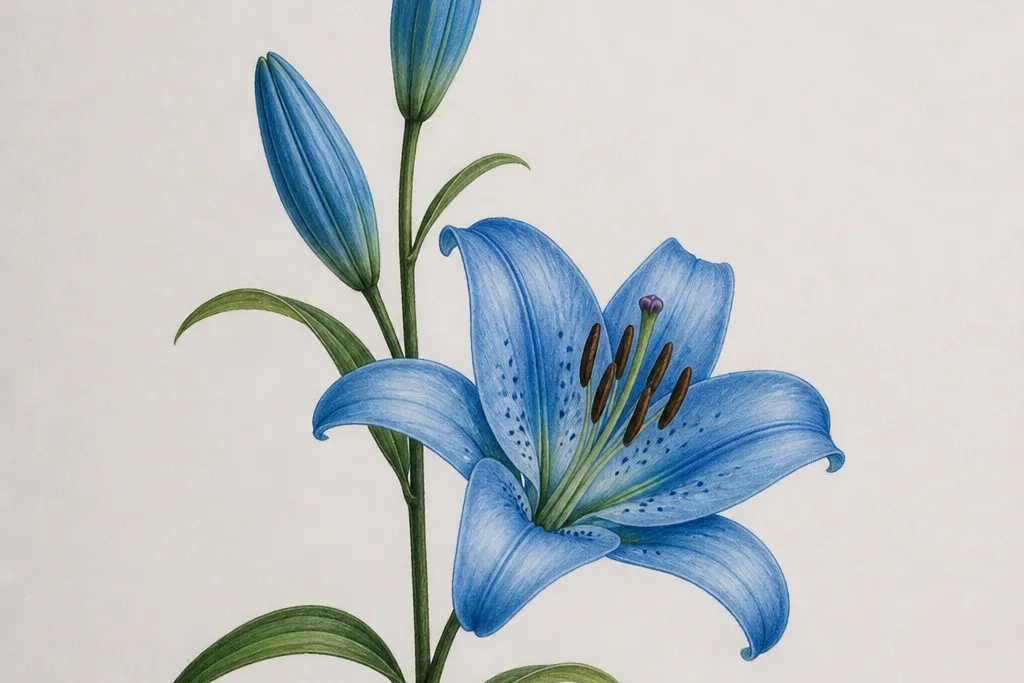
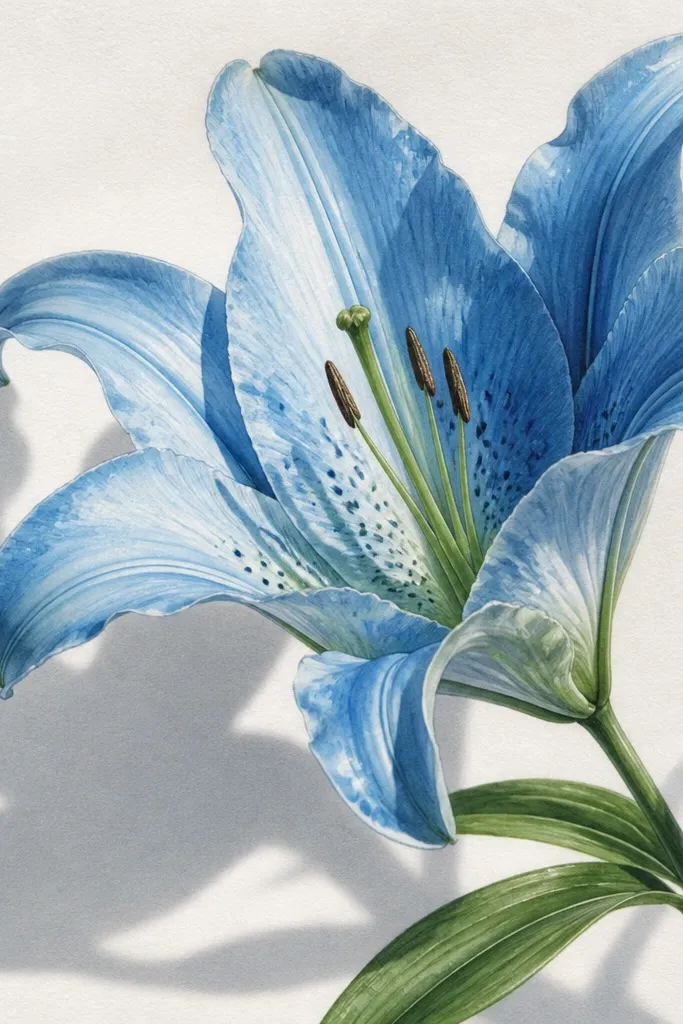
This works because linen holds a wash in a way that keeps the petal edges airy. I paint the petals with a cobalt tone first, then I add indigo veins only where the petal curves inward. The yellow-green center pops against the cream background, so it looks crisp even on days when you’re wearing minimal makeup and simple jewelry. It flatters most skin tones because the contrast is clean — cream plus cobalt reads bright on cool and warm undertones alike. Wear it with a white tee or a camel sweater and let the scarf do the talking.
Start by marking a loose placement using a washable fabric pencil — I aim the lily about 3 inches from the scarf hem and centered along the fold. Then paint petals with a watered-down acrylic ink or fabric paint in cobalt, keeping each petal edge lighter than the middle. Once it’s dry, add indigo veins with a fine brush, using 2-3 curved lines per petal rather than lots of scribbles. Finish the center with a tiny cluster of yellow-green dots and a few short teardrop dashes pointing toward the stigma. Heat-set with an iron on low using a pressing cloth for 2-3 minutes total, letting sections cool between passes.
If your blue bleeds, slow down and use less water — linen forgives, but it still spreads if you flood it.
Don’t outline everything in dark blue; it makes the lily look like a sticker.
2. Indigo Line Art Lily on Denim Tote
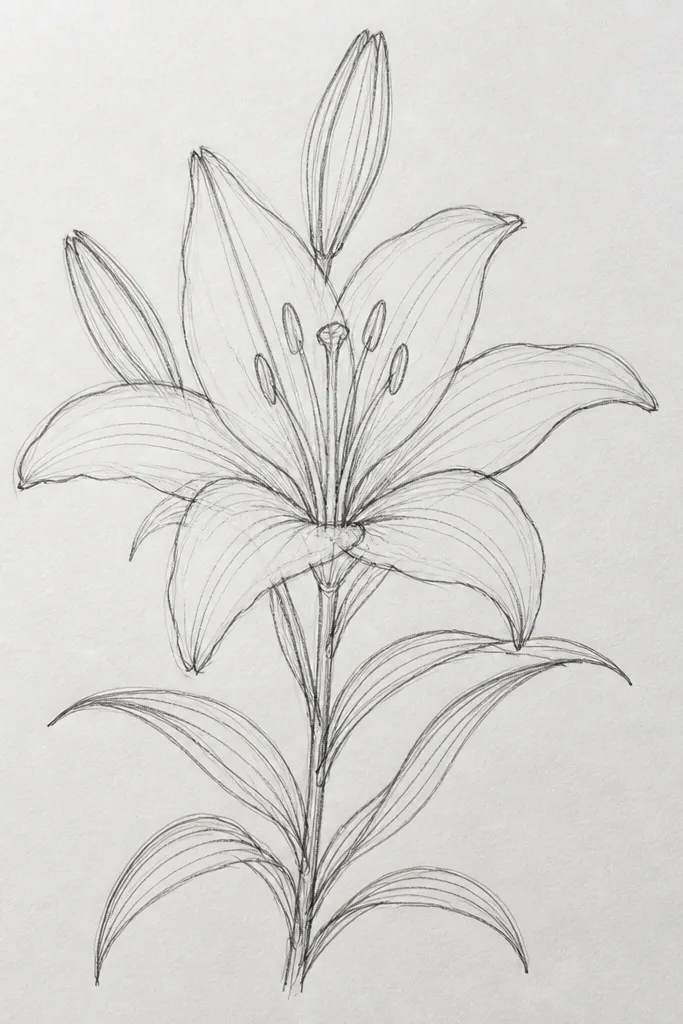
Line art looks best on denim because the weave gives texture, so the lily never looks flat. I keep the fill minimal — mostly the denim is the “paper,” and the blue ink lines do the shaping. This style flatters small frames and petite builds because the flower stays airy and doesn’t crowd your outfit. It also photographs well because the lines catch light from the bag’s surface texture. If you wear black, navy, or gray a lot, this tote adds a soft blue focal point without feeling loud.
First, tape a piece of thin cardboard inside the tote so the marker doesn’t bleed through. Sketch the lily lightly with a pencil, then go over the outer petal edges with an indigo fabric marker using steady pressure. Add inner veins with lighter, shorter strokes — I keep them thinner than the petal outline. Fill the center with 7-10 tiny yellow-green dots, then add two or three short dashes to suggest the pollen area. Let it dry fully, then heat-set by ironing through parchment for 3 minutes on medium-low.
Good to knowPractice on a scrap denim square first; denim takes ink differently depending on how tightly the fibers are woven.
Common mistakeAvoid thick, wobbly lines — they look cheap fast on a textured fabric.
3. Blue Lily in a Gold Frame on Upcycled Cardboard
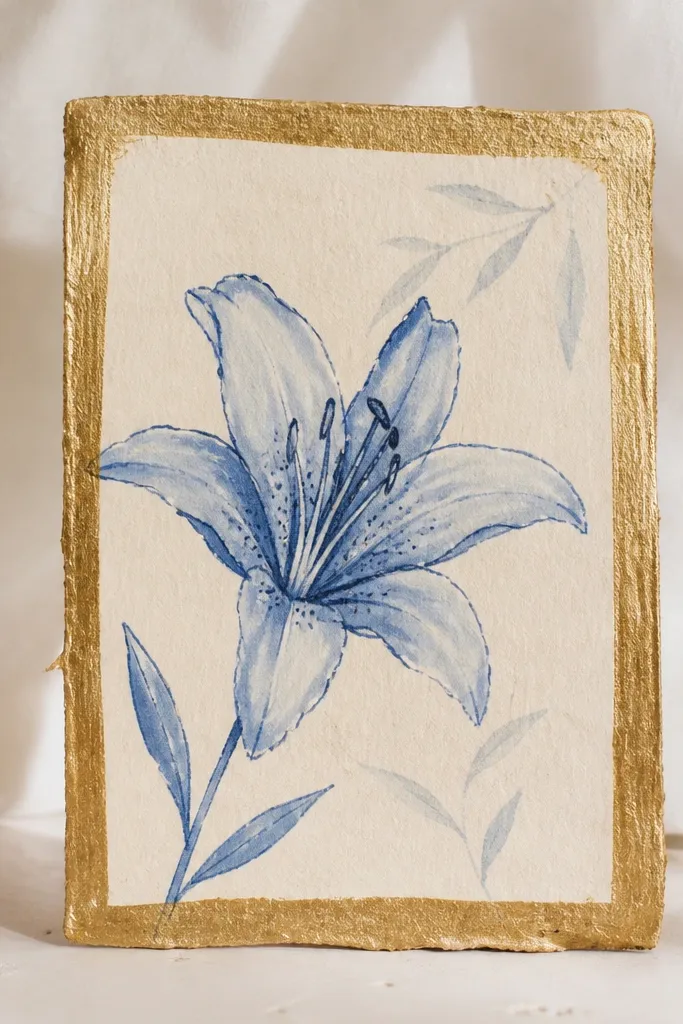
This is the “gallery look” version without spending money. The gold frame border makes the blue lily read more intentional, and the cream base keeps the drawing from competing with the cardboard texture. I use a watercolor wash for petals so they look soft, then I add a controlled indigo outline only at the petal edges. This style suits anyone who likes clean decor because it doesn’t need extra patterns or clutter. It also works for warm or neutral interiors since gold and cream harmonize with both.
Cut cardboard to a small frame size, then cover it with a thin layer of gesso or craft paint in cream. Draw a lily in pencil inside the frame, keeping the flower about 70% of the inner height. Paint petals with cobalt watercolor, letting lighter puddles form at the top of each petal. After drying, trace only the outer petal contours with a thin indigo liner, then add 2-3 vein lines per petal. Finish the center with yellow-green dot clusters and a tiny dot line on the stigma. Seal with a matte acrylic spray from 10-12 inches away in two light coats.
Good to knowIf cardboard texture shows through, add one extra thin paint coat before drawing.
Common mistakeDon’t add too many background details; it fights the lily as the focal point.
4. Blue Lily Monoline on White Porcelain Mug
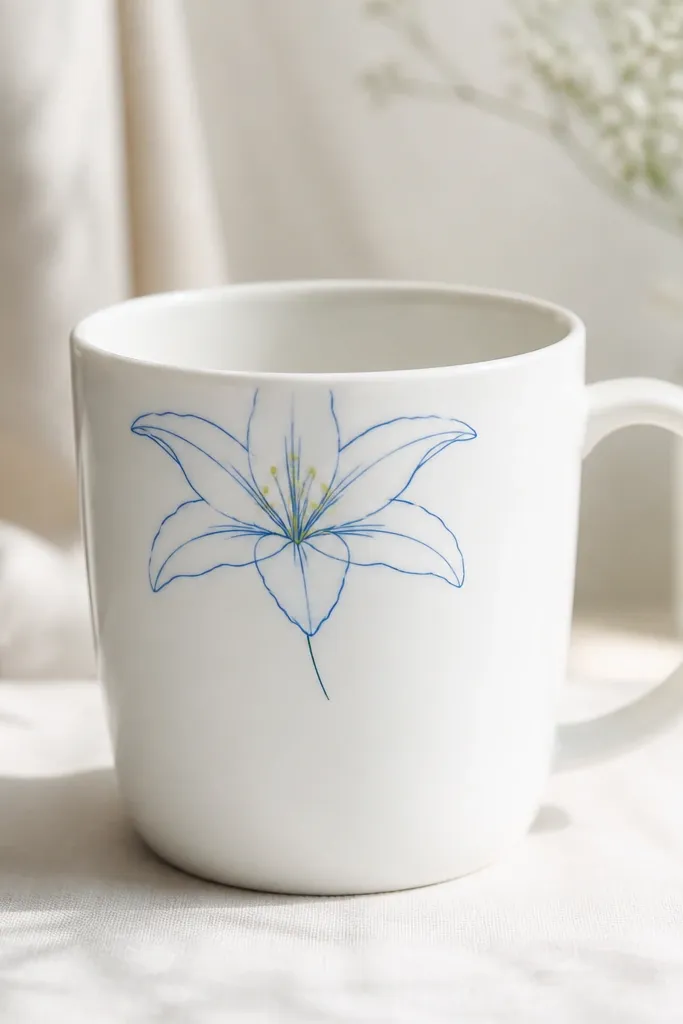
Monoline drawings look sharp on glossy porcelain because the surface smooths the ink into clean edges. I keep this one simple: cobalt outlines, no big washes, and just enough center detail to make it lily-shaped. This flatters casual everyday use because it doesn’t clash with other patterns you might put near it on a shelf. It also looks good from different angles since the mug curves — the lily stays readable. Choose this if you want a gift that looks thoughtful but still takes under an hour to finish.
Clean the mug with rubbing alcohol so the paint grips. Draw the lily placement first by wrapping a strip of paper around the mug to estimate where the flower sits. Use porcelain paint or an acrylic marker made for ceramics to draw thin cobalt outlines for petals and a short stem. Add indigo to the underside edges of two petals only, so there’s one shadow direction. Dot the center with yellow-green paint and let it sit 20 minutes before baking. Bake in a cold oven, then heat to the paint brand’s cure temperature (commonly around 350°F/175°C) for the required time.
Good to knowKeep your lines slightly lighter on the top petals — porcelain highlights will make them look darker later.
Common mistakeSkip heavy filling; thick paint on mugs can crack around the curve.
5. Watercolor Blue Lily on Recycled Book Page
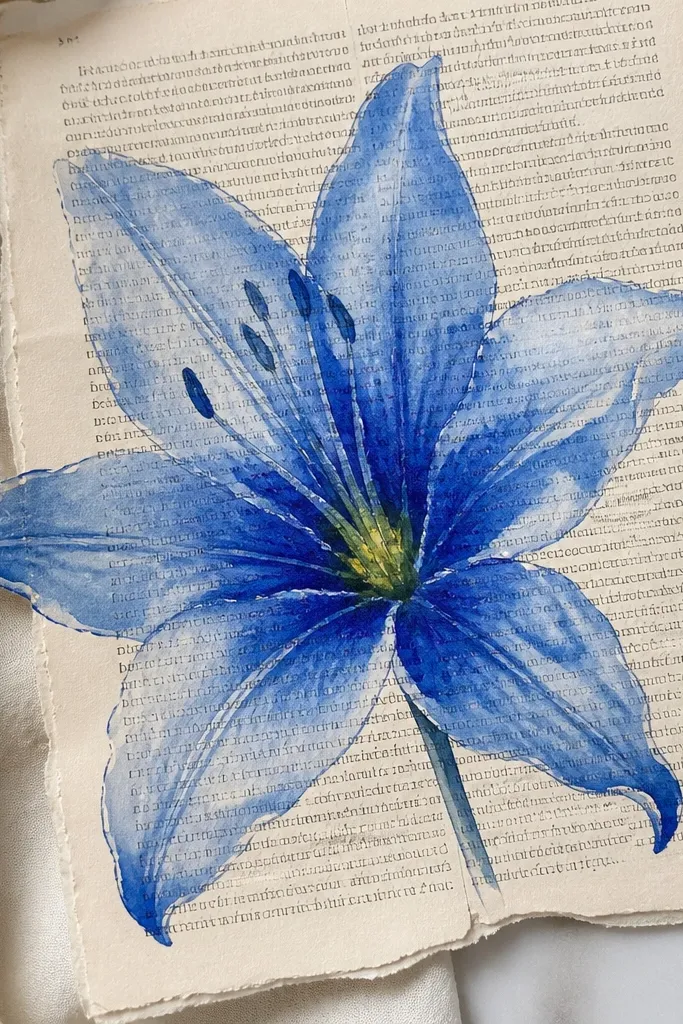
Book pages add texture and a “found art” vibe, and lilies look extra delicate against the printed history. I paint the lily with a loose watercolor style so some paper text shows through the lighter washes. This works best if your lily is small to medium — about the size of your palm — so it doesn’t overpower the page. It flatters vintage decor and looks great in a neutral room because the blues stay cool and calm. If you like minimal wall art, this gives you a soft focal point without a lot of color blocks.
Tear a book page and flatten it under a heavy book. Lightly mask around where the lily will go with painter’s tape so the wash stays clean. Paint cobalt petals first, leaving tiny gaps for highlights near the petal tops. When dry, add indigo vein lines and a slightly darker edge on one side of each petal. Dot the center with yellow-green and add two or three tiny pollen strokes. Press the finished page between wax paper pages, then seal with a light matte medium spray to protect the watercolor.
Good to knowUse a small round brush and keep your water controlled — too much water makes the inked text bleed.
Common mistakeDon’t paint over the entire page; let the background text breathe around the flower.
6. Blue Lily Botanical Tape Resist on Craft Paper
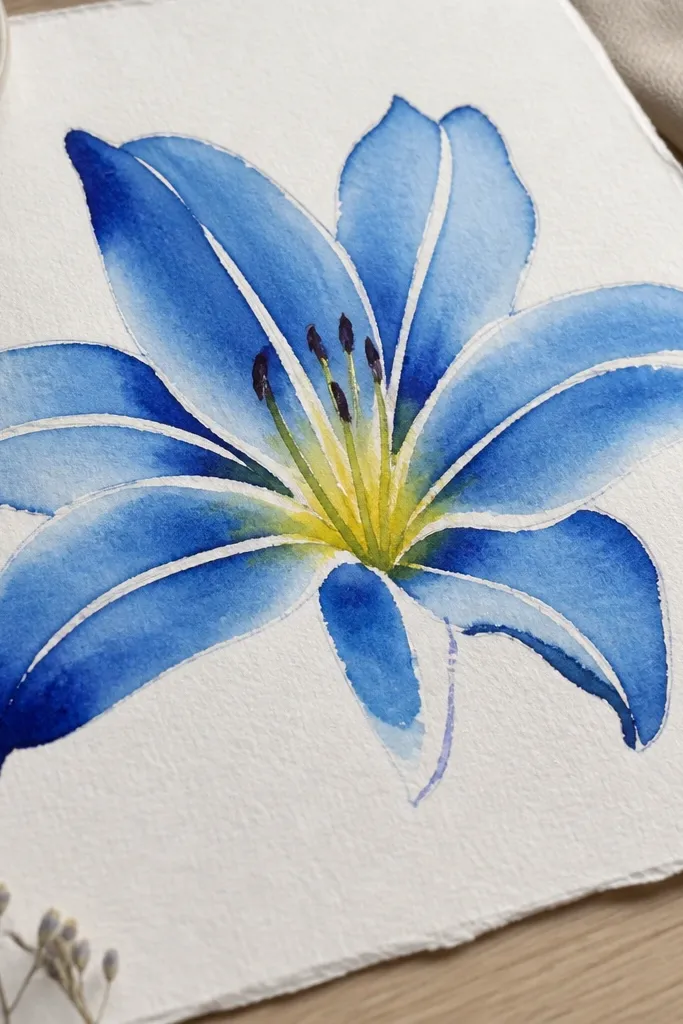
Tape resist is how you get that crisp “highlight vein” look without over-drawing. Craft paper makes the colors feel grounded, and the white resist lines look like natural glare on the petals. I use this when I want a lily that looks graphic but still has watercolor softness. It flatters anyone who likes clean, modern art — the negative space does the work. Hang it as a single piece or use it as a label tag on upcycled gifts.
Sketch a lily in pencil on craft paper, then tear small pieces of washi tape and place them along where you want highlights on each petal. Paint cobalt wash over the taped areas, then deepen one side with indigo while it’s still slightly damp. After the wash dries, remove the tape slowly at a 45-degree angle. Add indigo vein lines with a fine brush, then dot the center with yellow-green and a few short dashes. Finish with a thin matte seal so the resist stays sharp.
Use washi tape, not masking tape — washi peels cleaner off paper fibers.
Don’t rush tape removal; pull it when the paint is fully dry or you’ll smear the edges.
7. Blue Lily Stencil on Upcycled T-Shirt Sleeve
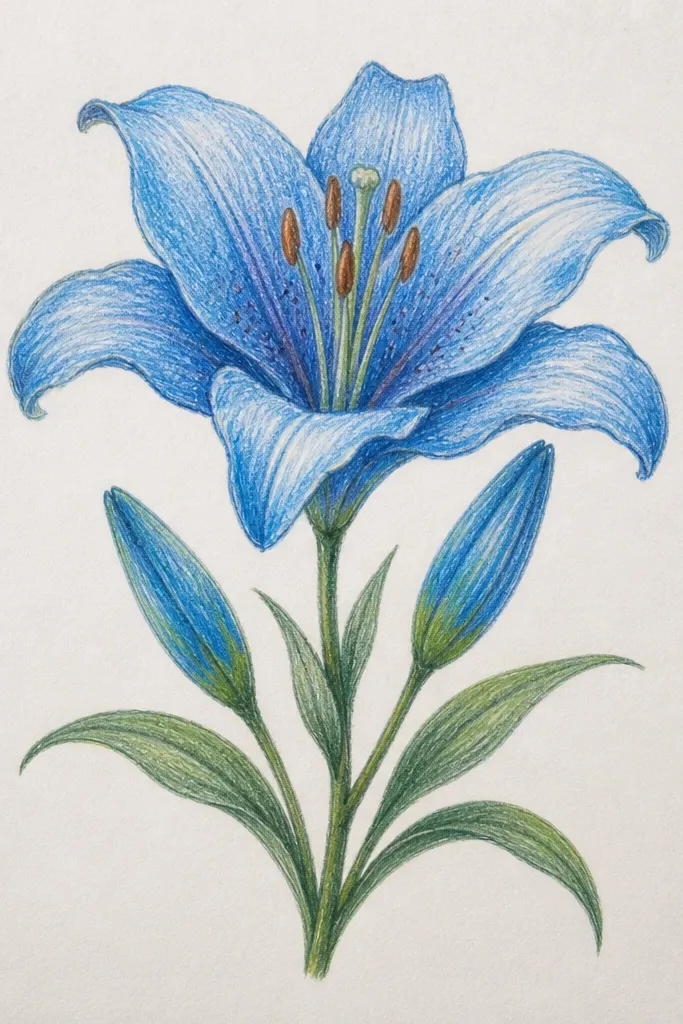
Stenciling is my go-to when I want symmetry without fighting my hand. The stencil keeps petal shapes consistent, and you can add a darker outline to make the lily look dimensional. This one flatters everyday casual outfits because it sits on the sleeve, so it’s subtle until you move. It’s also forgiving on cotton because the color sits right on the fibers. If you’re repurposing an old shirt that’s otherwise plain, this gives it a clear focal point fast.
Wash and dry the shirt so sizing doesn’t mess up the stencil. Place a lily stencil where you want it, usually 1-2 inches above the cuff seam. Tape the stencil down with painter’s tape to stop shifting, then dab cobalt fabric paint using a sponge dauber rather than brushing. Let it dry 10 minutes, then go over edges with indigo for an outline effect. Add the center with a small dot brush and yellow-green paint. Heat-set by ironing through a pressing cloth for 3 minutes total.
Good to knowUse a sponge dauber in light taps; dragging the sponge makes stencil edges look fuzzy.
Common mistakeDon’t overfill the stencil openings — thick paint cracks on stretchy fabric.
8. Blue Lily Ink Wash on Reclaimed Wood Tag
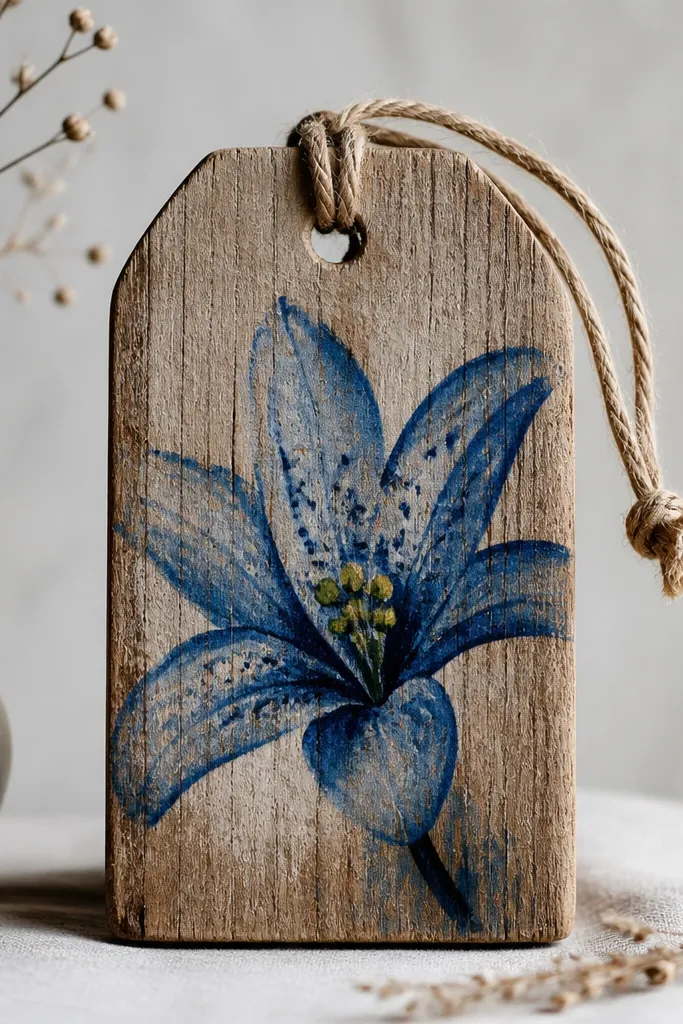
Wood grain gives the lily a natural texture that you can’t fake with paper. Ink wash sinks in slightly, so the petals look airy and organic rather than painted flat. I like this for hang tags, keychains, and small wall decor because the lily stays readable even at a glance. It also looks good in kitchens and entryways since the blues feel clean against warm wood tones. If you’ve got scraps from furniture projects, this is one of the fastest repurpose wins.
Sand the wood tag lightly so the surface isn’t splintery, then wipe off dust with a damp cloth. Seal the tag with a thin coat of water-based clear sealer and let it dry. Sketch the lily lightly with pencil, then paint cobalt ink wash on petals, keeping the edges lighter. Add indigo veins with a fine brush, pulling lines from petal base to edge. Dot the center with yellow-green and let the piece dry fully. Seal again with matte varnish to protect the ink from fingerprints.
Good to knowIf ink beads on top of the sealer, wait 24 hours for full cure before painting.
Common mistakeDon’t skip sealing; wood stains and your blue will fade where you touch it.
9. Blue Lily on Upcycled Leather Belt Buckle Backing
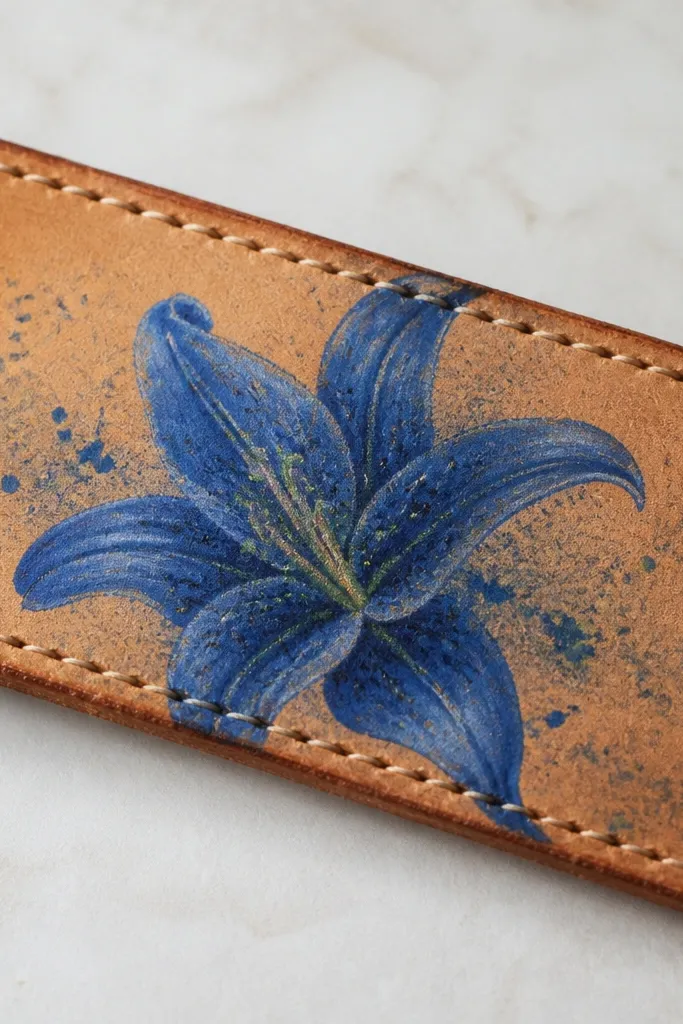
Leather takes pigment differently than fabric cotton, and you get a slightly muted, buttery look that I really like for lilies. This style looks expensive because the tan leather acts like warm paper beneath cool blue. I keep the outline lighter and let the shading do the structure, so the lily feels soft rather than harsh. It flatters neutral wardrobes and looks great with denim, cream knits, and black boots. If you’re into upcycling hardware pieces, this makes the buckle area look intentional.
Clean the leather with a damp cloth and let it dry completely. Trace the lily shape with a pencil, then use acrylic leather paint thinned slightly for the cobalt petal wash. Paint petals in layers: first a light cobalt base, then add indigo shading along the underside of each petal. Add a small center cluster in yellow-green dots, then a few tiny indigo specks to mimic depth. Let it cure overnight, then rub a thin coat of clear leather finish over the painted areas.
Test your blue on a hidden spot first; leather can darken pigment as it cures.
Don’t use watercolors straight on leather; they smear and never lock in.
10. Blue Lily Drawing on Upcycled Window Shade Fabric
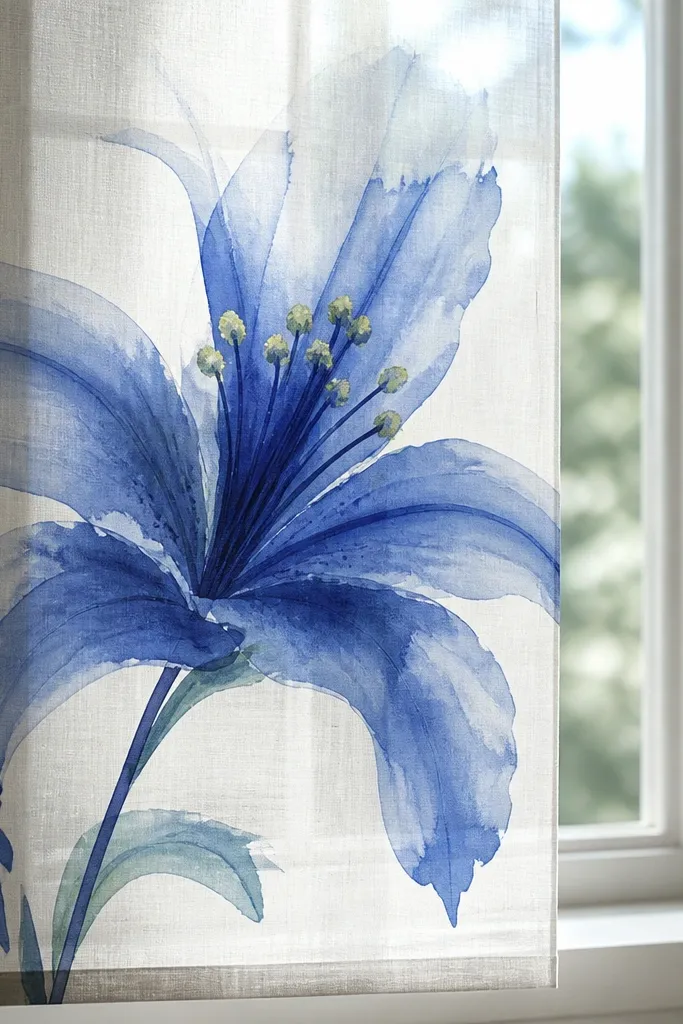
This is the prettiest way to use blue lilies because light makes the petals look like stained glass. I paint the lily with thin layers so you can see through — thick paint turns it opaque and loses the glow. It flatters bright rooms because the lily looks crisp against daylight, and it looks softer in the evening when the light goes warm. If your space is minimal, this adds one gentle focal point without adding clutter. It also works for small apartments since a single shade panel takes up little visual space.
Stretch the fabric panel flat and secure it to a board with clothespins. Mix cobalt paint with a little fabric medium so it stays translucent, then paint petals in thin washes. Let each layer dry so the veins don’t muddy. Add indigo veins with a fine brush, keeping lines light enough to still show daylight. Dot the center with yellow-green and add a tiny highlight gap at the petal top. Let it cure fully, then set with heat per your fabric paint directions.
Hold the fabric up to a window as you paint — you can adjust translucency on the spot.
Avoid heavy, opaque fills; they kill the backlit effect.
11. Blue Lily Pattern Repeat on Refashioned Apron Pocket
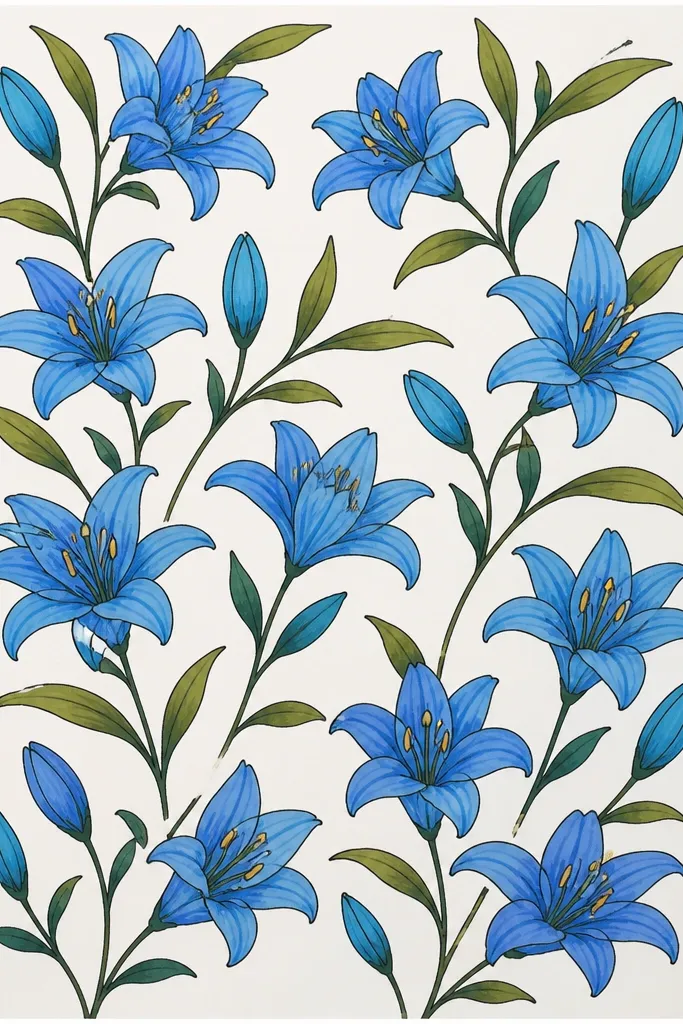
A repeat pattern is how you make an apron feel intentional instead of “one random drawing.” I keep each lily small, around 2 inches tall, so the pocket stays useful and doesn’t feel crowded. The cobalt plus indigo combo reads consistent, and the yellow-green dots keep each flower from blending into the fabric. This style flatters anyone who cooks a lot because the pattern hides minor stains better than a single big motif. It also looks cute with denim aprons and gingham outfits.
Cut a pocket panel from a contrasting fabric if your apron is plain — cream or light gray works great with blue lilies. Mark a grid on the pocket panel with a fabric pencil, spacing lilies about 3 inches apart. Paint cobalt petals for each lily first, then add indigo veins after drying. Dot each center with yellow-green and keep the number of dots consistent across the repeat. Let everything dry, then heat-set. If you want extra crispness, outline just the outer petal edges with a fine indigo marker.
Good to knowUse a small template for the lily size so your repeats look like a designed print, not hand-drawn chaos.
Common mistakeDon’t vary the center size too much; it makes the repeat look uneven.
12. Blue Lily Ombre on Recycled Paper Envelope
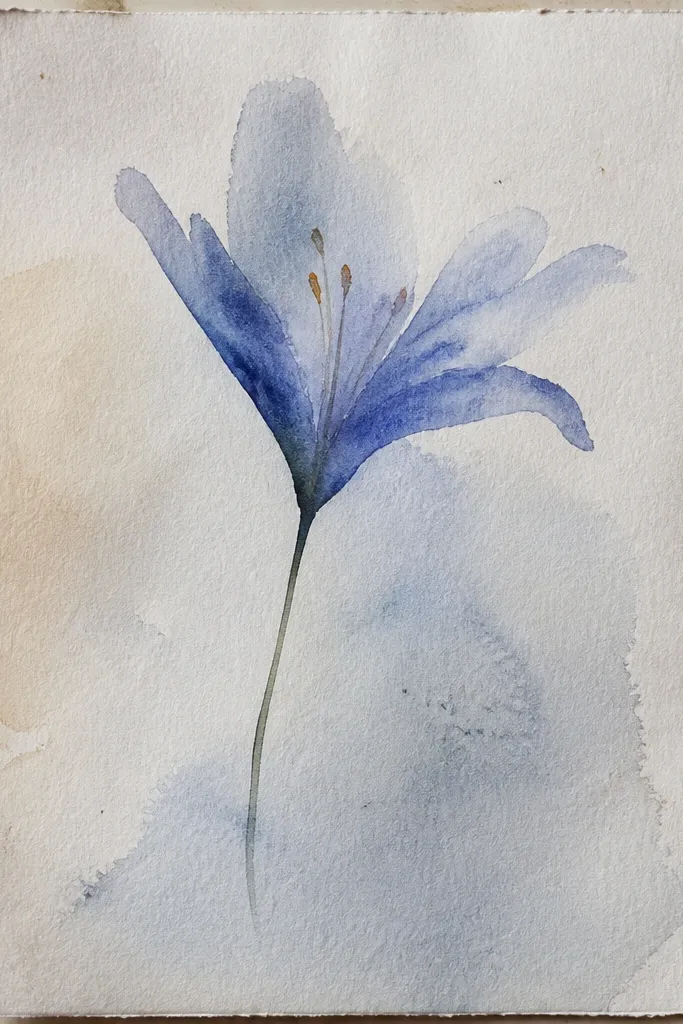
Ombre petals are where lilies start looking “alive.” Kraft paper gives warmth, and the blue-to-indigo gradient adds depth without needing heavy line work. I like this for envelopes because people notice it when they pick up the mail — it looks like a custom stationery set. It flatters warm-toned homes and works with both gold and silver accents. If you’re sending invitations or thank-you notes, this style makes a cheap envelope look like you paid for custom printing.
Flatten the envelope and sketch a single lily about 2 inches above the bottom flap seam. Wet the petal area lightly with clean water using a flat brush, then drop cobalt at the top and let it fade downward. While it’s still damp, add indigo to the lower petal area for the shadow gradient. Let it dry, then add inner veins with a fine brush using indigo. Dot the center with yellow-green and add two short pollen strokes. Seal with a matte medium spray so it doesn’t smear when handled.
Good to knowPractice the ombre on a scrap kraft piece — kraft drinks pigment, so your first attempt is your calibration.
Common mistakeDon’t outline with black; indigo shadows look natural and stay soft.
13. Blue Lily Corner Border on Upcycled Stationery Card
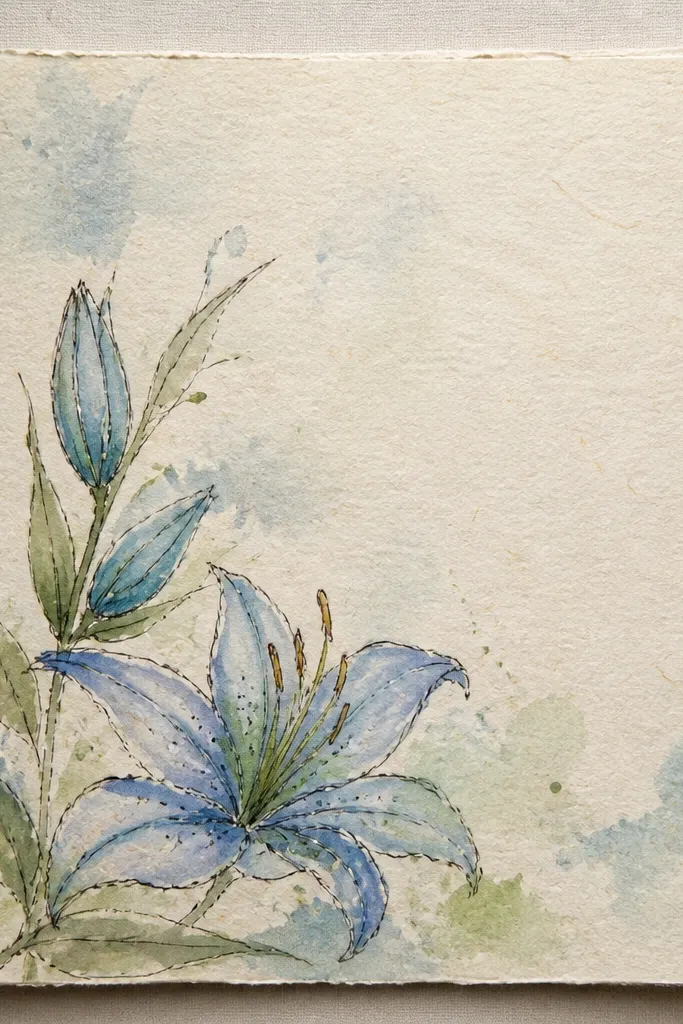
Corner borders make a card feel finished even if you’re using plain recycled paper. The lily sits close to the edge, so it reads like decoration rather than a giant central picture. I keep the border line thin and the leaves minimal so the lily remains the star. This flatters clean typography layouts since you can still write a message without battling busy art. It’s also a good entry option if you’re learning drawing because the composition is simple.
Cut a card from thick recycled paper and fold it cleanly. Draw a thin indigo border line about 1/4 inch from the top and right edges. Place the lily in the top-right corner, with the stem pointing down and left. Paint cobalt petals first, then add indigo veins and a few darker edges on one side for depth. Dot the center with yellow-green and add 2-3 tiny leaf marks in muted green-blue. Let it dry flat, then seal with matte varnish.
Good to knowUse a ruler for the border line; crooked corners make even good lilies look messy.
Common mistakeDon’t cram tiny flowers everywhere; one lily plus a couple leaves is enough.
14. Blue Lily Emboss Resist with Gel Pen Highlights on Glossy Paper
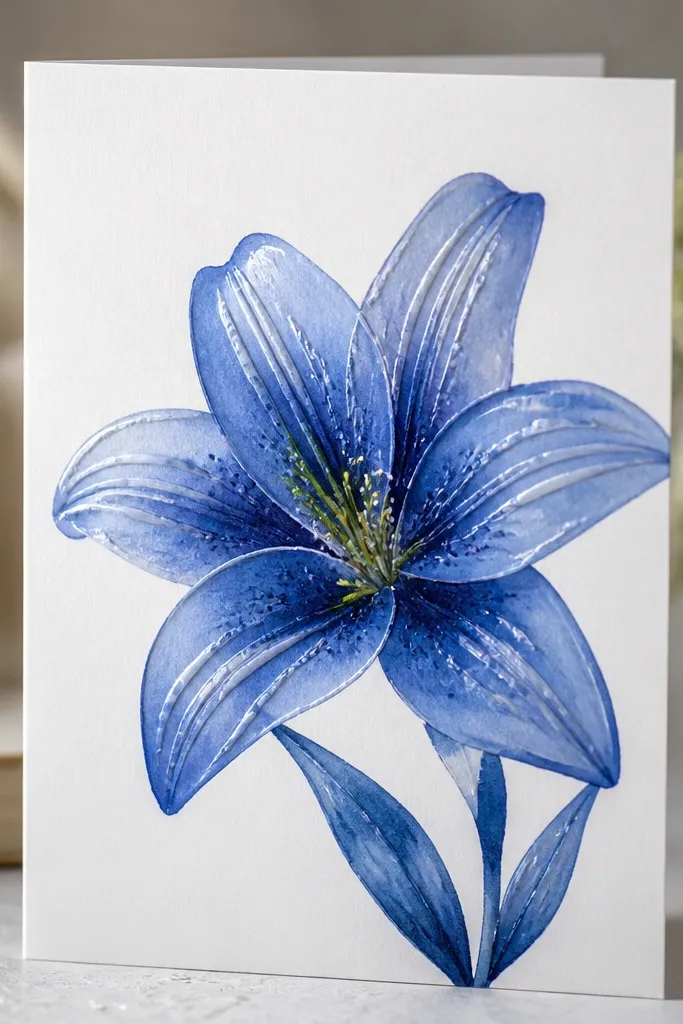
Raised highlights make blue lilies look glossy, like the petals are catching morning light. I use glossy paper because the sheen makes the raised parts pop more than matte paper does. This style works well if you like crisp details and you don’t want watercolor to spread. It flatters minimalist art lovers since the lily stays sharp, not dreamy. Use it for bookmarks, mini prints, or gift tags where people hold the piece close.
Choose glossy cardstock and sketch the lily lightly. Apply emboss resist or a clear gel medium along petal highlight edges and a couple vein lines, then let it dry. Paint a cobalt wash over the petals, followed by indigo on the shaded sides. Once dry, remove the resist if your product requires it, then add the center with yellow-green dots. Use a white gel pen to place tiny highlights on the petal tops and one dot near each center dot. Let the pen dry flat and seal lightly with a clear spray if you’re using it as a tag.
Good to knowKeep highlight marks small — 1-2 per petal top — so the lily stays elegant and not sparkly-chaotic.
Common mistakeDon’t flood emboss resist; thick raised areas crack when folded.
15. Blue Lily Drawing on Upcycled Picture Mat with Dry Brush Veins
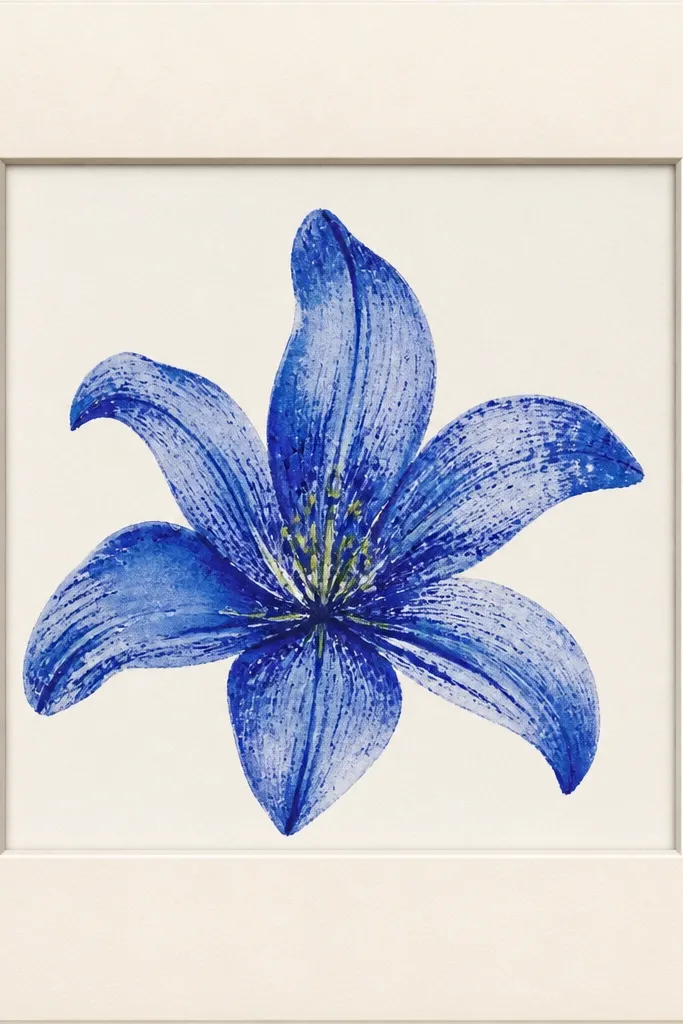
Dry-brush veins are the trick when you want a lily that looks hand-made but still clean. The texture from dry brushing makes the petals feel layered, even without heavy outlines. I like this style on a picture mat because it looks like botanical illustration under glass. It flatters people who want art that matches home frames and doesn’t look like craft foam. In a neutral room, the blue stays cool and calm, while the dry texture keeps it from looking too flat.
Cut a mat board piece and lightly sand it so paint grabs evenly. Sketch the lily in pencil, then paint a cobalt base wash across the petals, leaving a lighter edge at the top. For veins, use a flat brush with most paint wiped off — it should feel almost dry — then drag thin indigo lines from petal base to edge. Add yellow-green dots in the center, then a few tiny indigo accents to deepen the center. Let it dry overnight, then place it in a frame with glass or a protective sheet to stop smudging.
Test dry-brush on the corner of the mat first so you know how textured it will look.
Avoid using a wet brush for veins; wet veins bleed and turn into one dark blob.



